How to work with third-party rover over UHF radio
This guide explains how to configure your Reach RS4 / RS4 Pro to work with a third-party rover over UHF radio.
Overview
You can configure your Reach RS4 or Reach RS4 Pro as a base to work with a third-party rover over UHF radio.
Reach RS4 and Reach RS4 Pro have a built-in UHF radio that operates in the 410–470 MHz band, provides up to 2 W output power, and works using the Trimtalk 450S* protocol, with regional limits applied according to local regulations. In most regions, the RS4 series ships with region-specific channel plans and power limits preconfigured in Emlid Flow to support compliant operation. Depending on your jurisdiction, UHF operation may still require a license.
To set up UHF radio communication, use the supplied UHF antenna.
*Trademark of Trimble Inc.
Set up Reach RS4 / RS4 Pro base
To set up your base, follow the steps below:
-
Open the Emlid Flow app and connect to Reach RS4 / RS4 Pro.

-
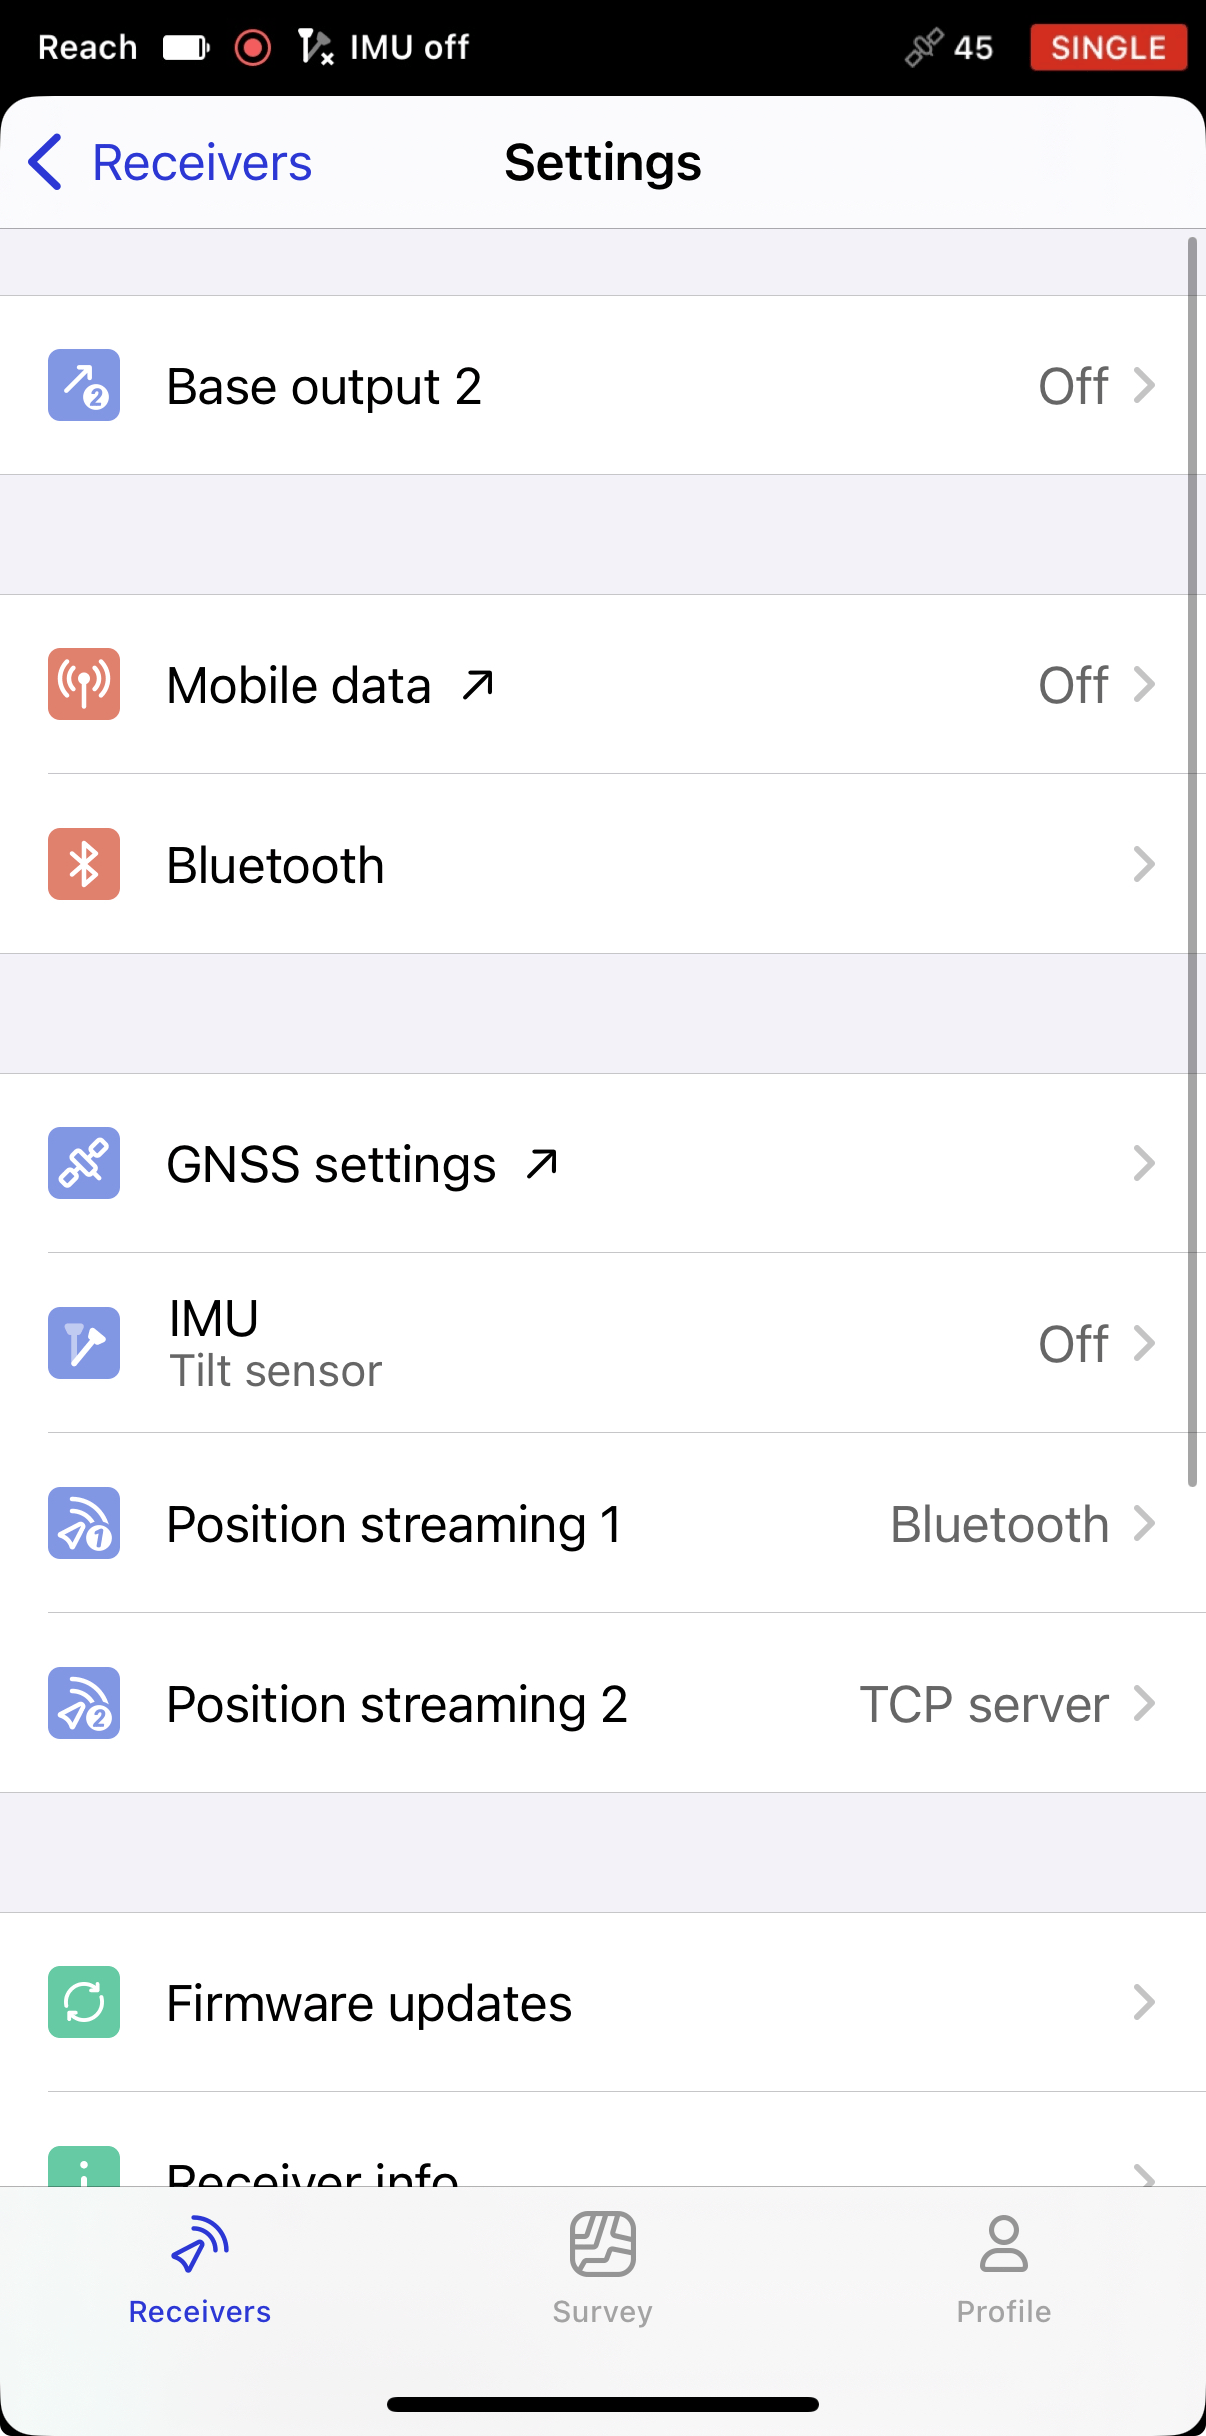
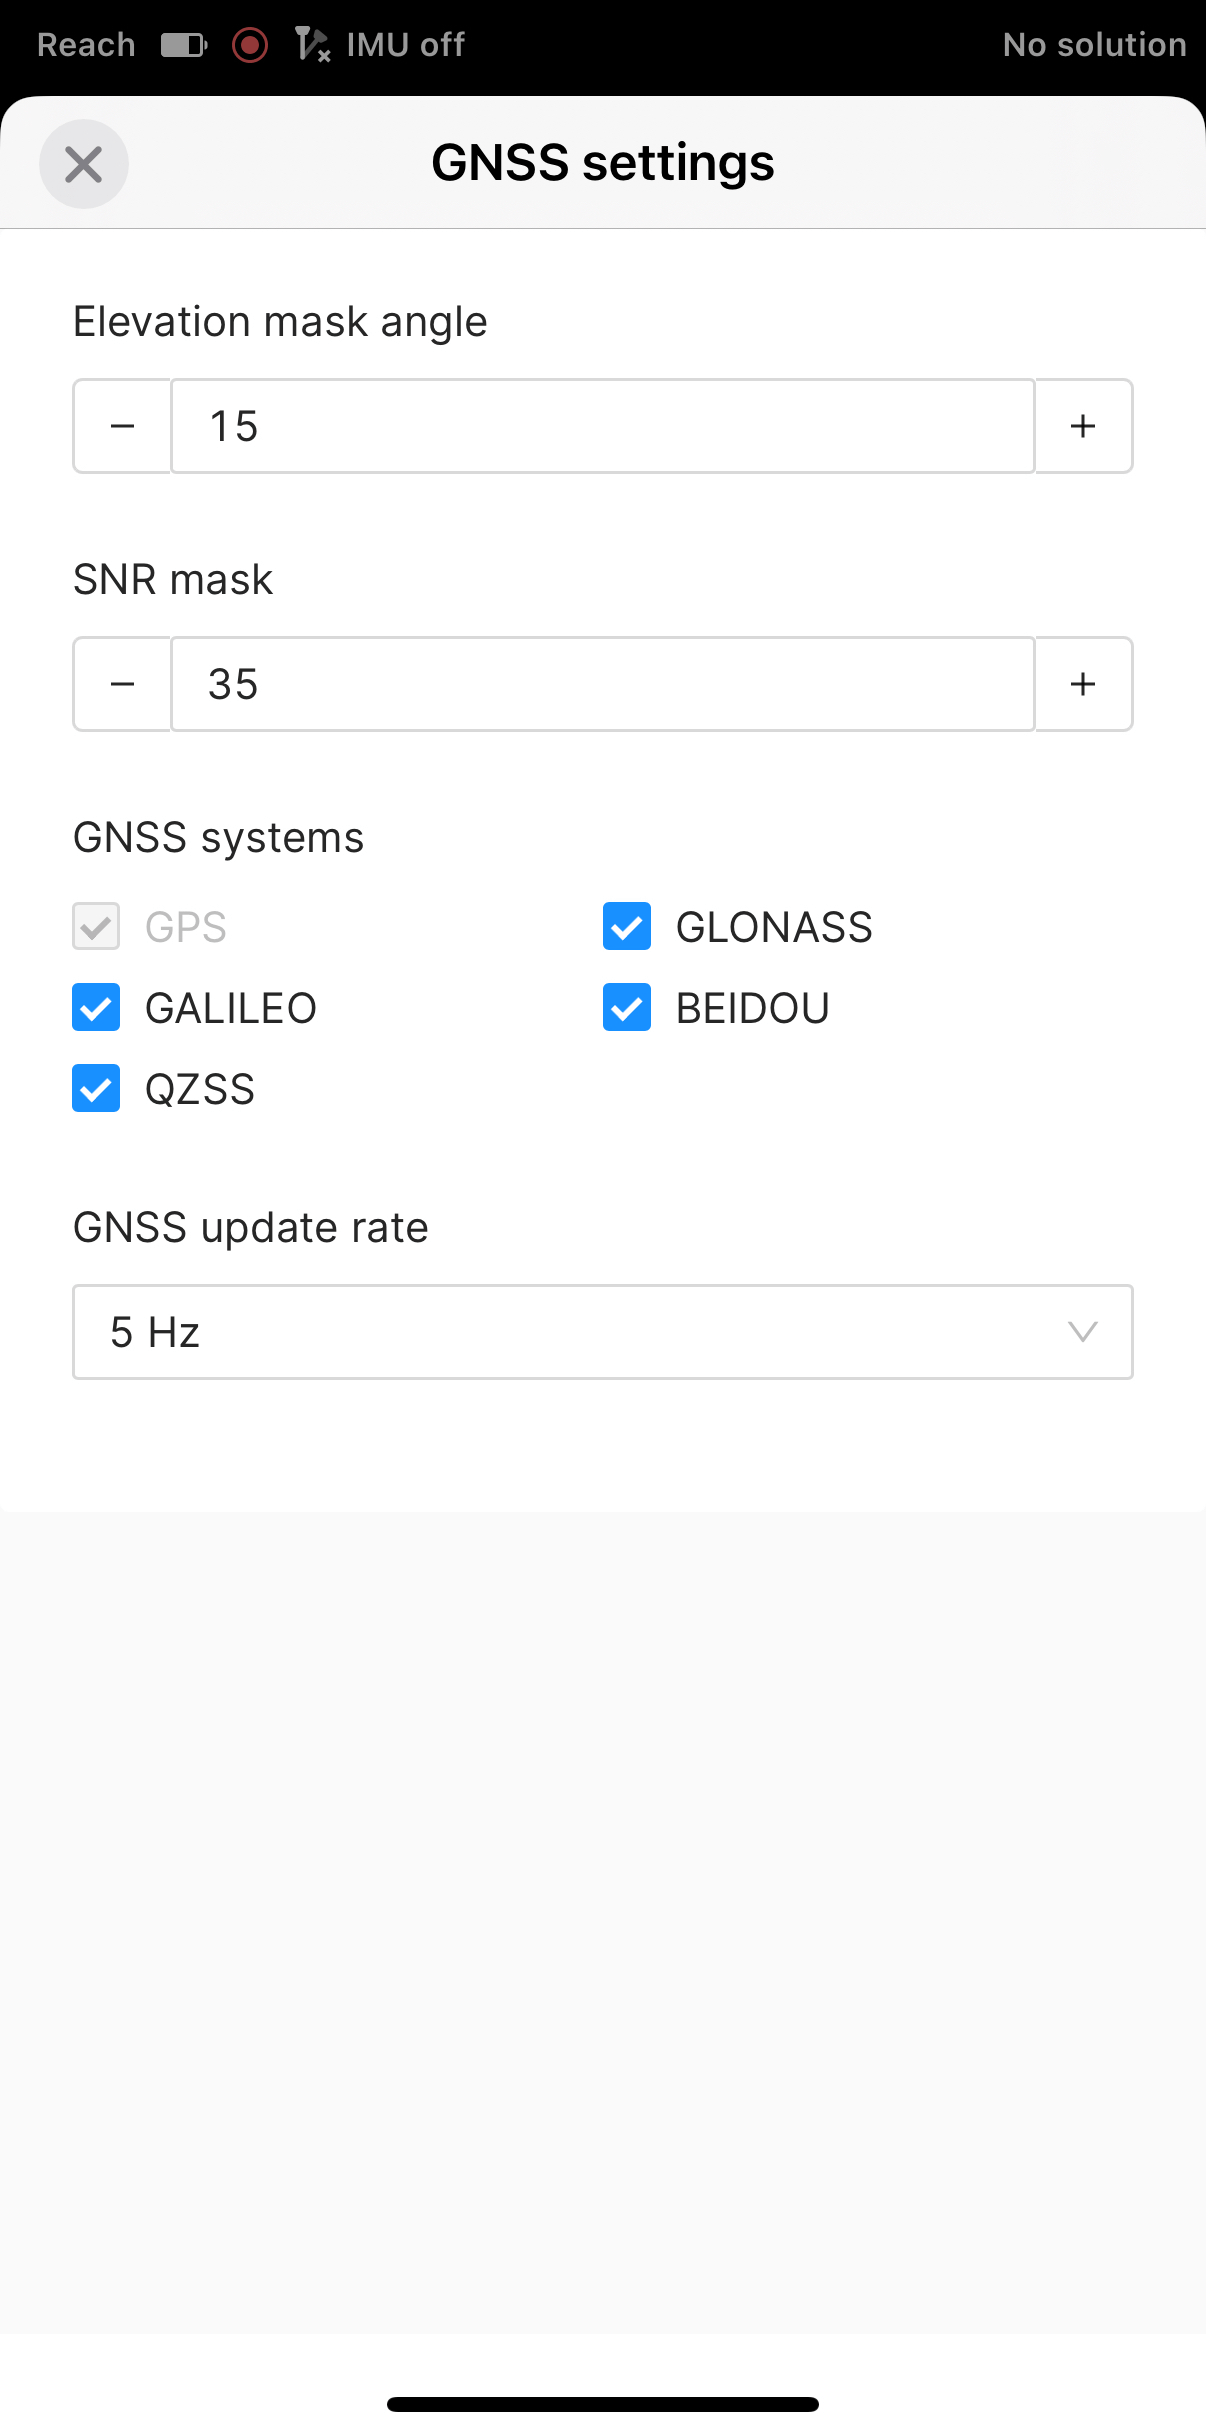
Go to Settings and tap GNSS settings.
-
Keep the default constellation selection and update rate, as shown in the screenshot below.
-
Go back to the Receivers screen and tap Base settings.
-
Tap RTCM3 messages. By default, all RTCM3 messages are enabled.
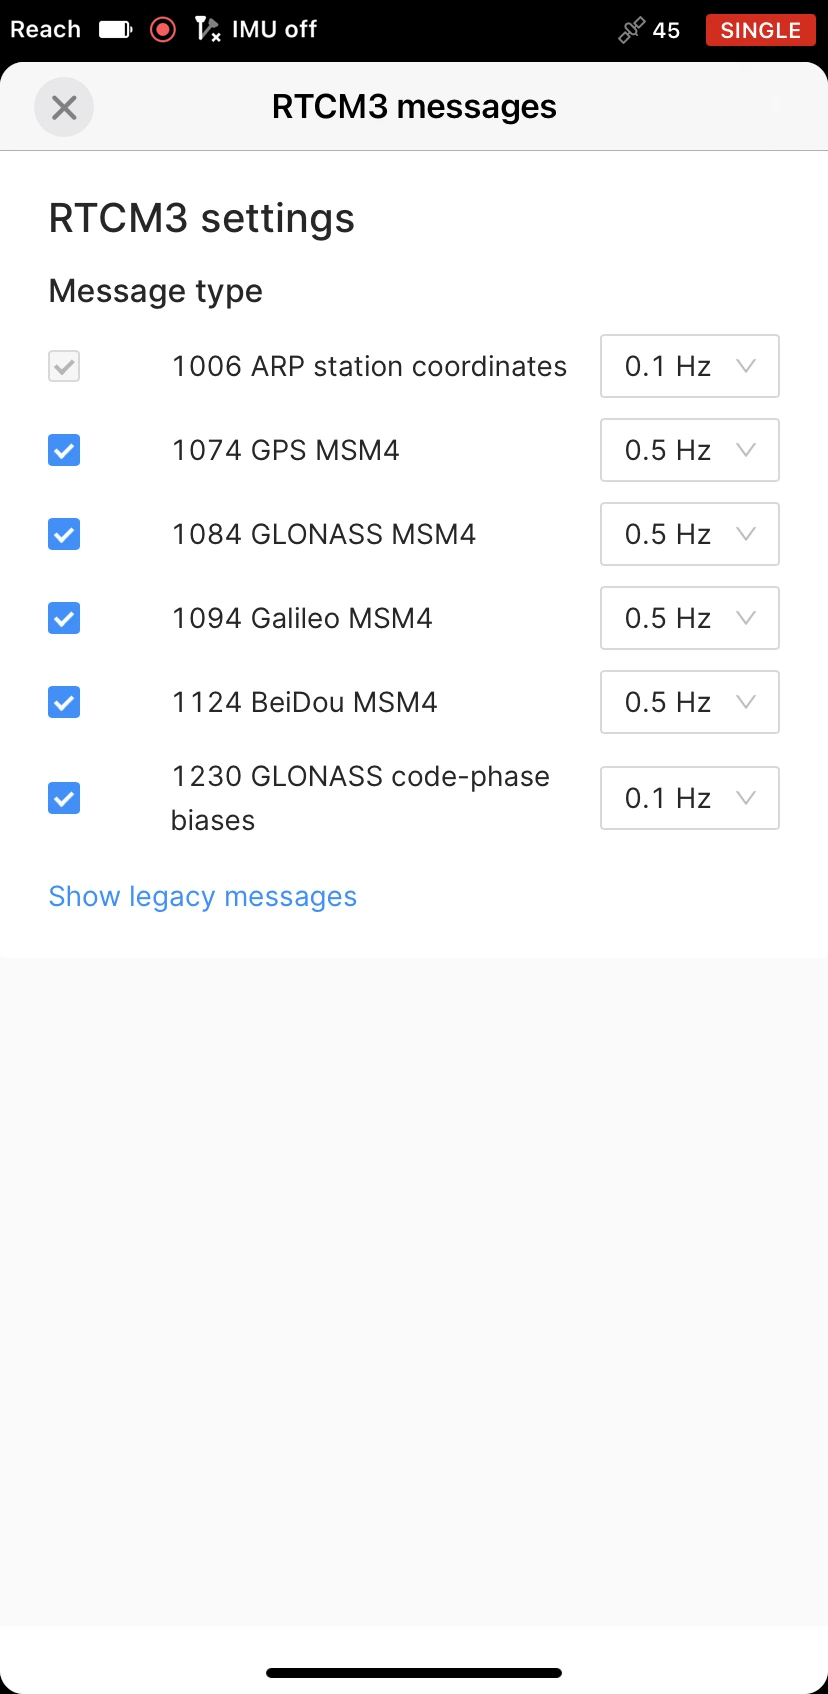
However, in some regions, local regulations may limit the available radio bandwidth, preventing Emlid Flow from using the default message set. In this case, we recommend applying one of the following configurations depending on your region:
Region Recommended constellations Europe GPS + Galileo Northern Europe GPS + Galileo + GLONASS Asia GPS + BeiDou North America GPS + Galileo or BeiDou + GLONASS South America GPS + Galileo or BeiDou Africa GPS + Galileo or BeiDou Australia/Oceania GPS + BeiDou + Galileo GPS is used as the baseline constellation. Galileo, BeiDou, and GLONASS all provide global coverage, but may offer regional advantages due to their orbital configuration. Galileo is typically preferred in Europe, BeiDou in Asia and Oceania, and GLONASS at higher northern latitudes. When bandwidth is limited, we recommend enabling GPS and the constellation most relevant to your region.
-
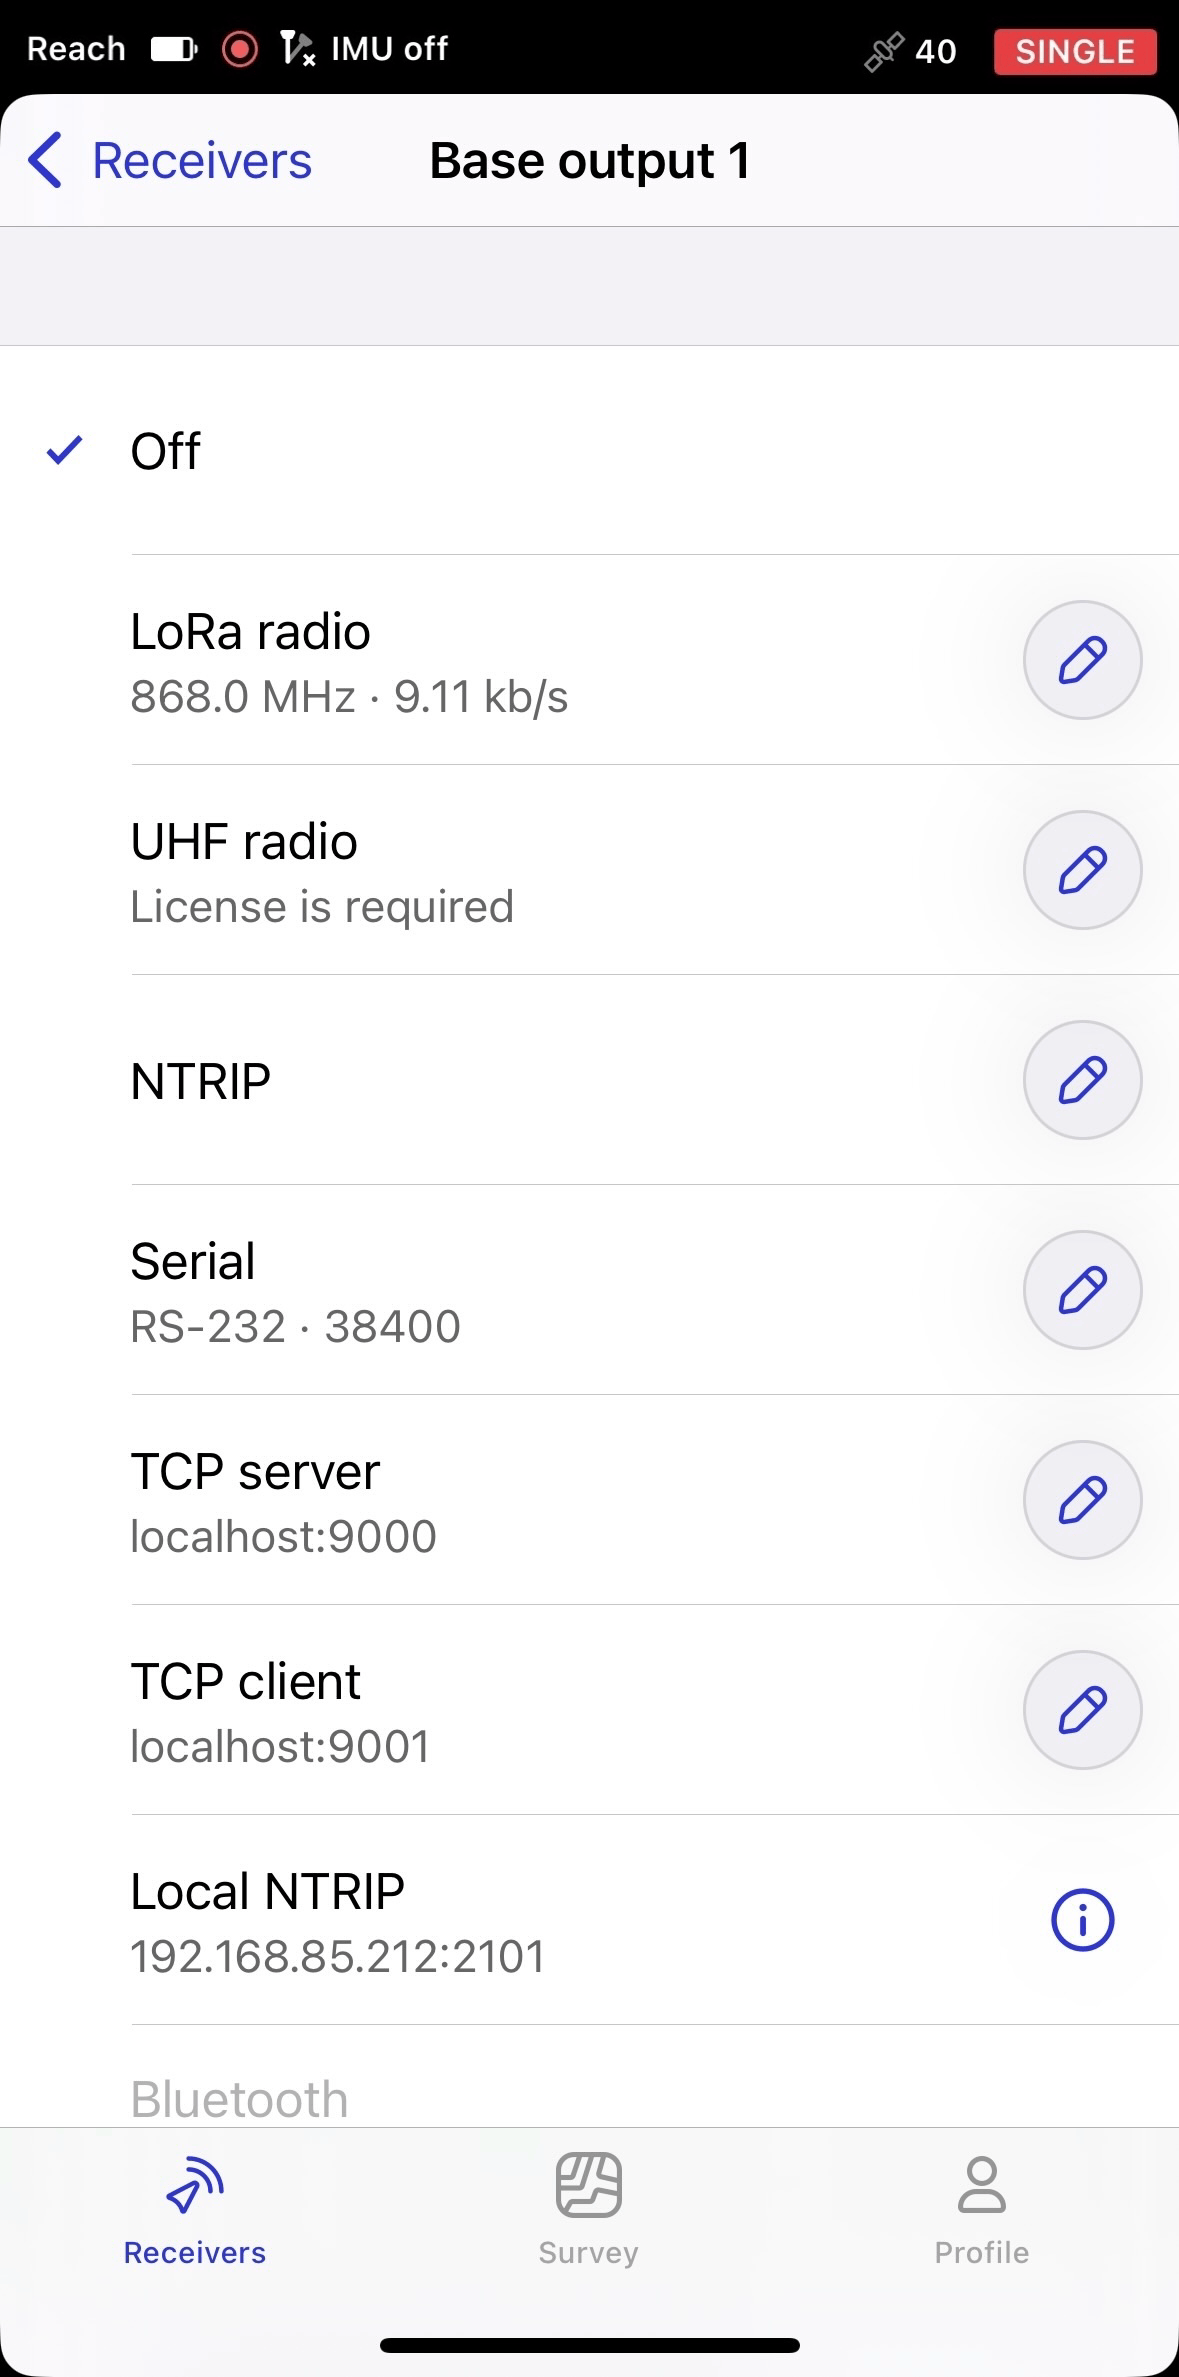
Go back to the Receivers screen and tap Base output 1.
-
Select UHF radio and tap the Edit button to set up the output.
-
note
This step applies to the US only. In the United States, UHF transmission requires a valid FCC license issued by the Federal Communications Commission (FCC), the US government agency responsible for regulating radio communications. For this reason, the UHF output interface remains blocked until a valid license is submitted to our Support team for verification. For more information on obtaining a license, consult the FCC’s official licensing process.
To request activation from our Support team, do as follows:
1. Select UHF radio.
2. Tap Submit license. This will open the form, where you can submit your FCC license, the receiver’s serial number, and your email address, required for the UHF output activation.
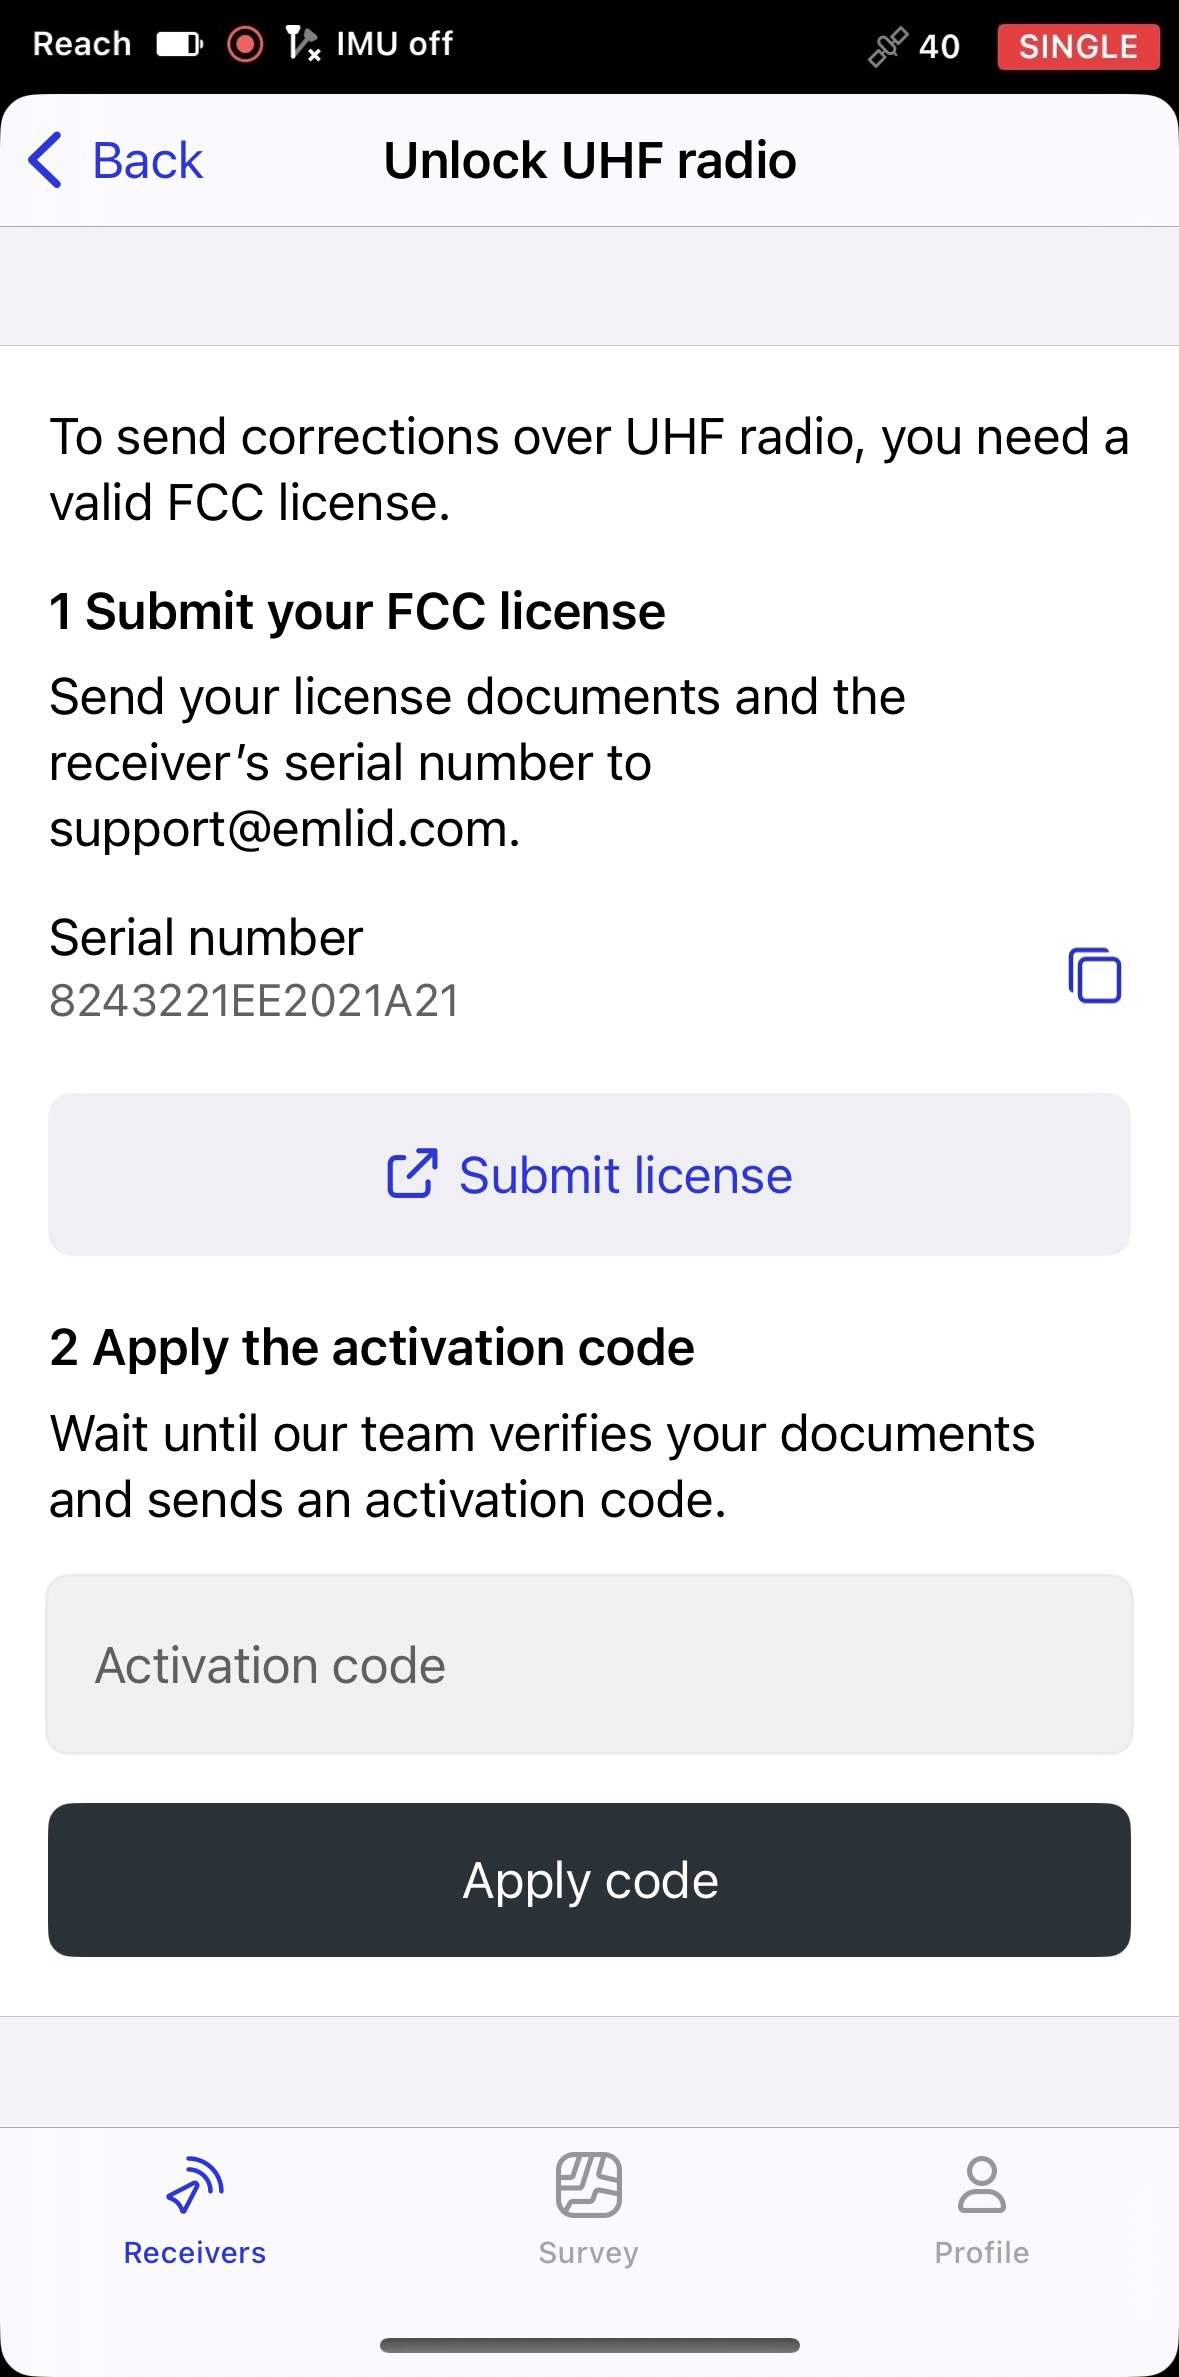
3. Once your submission is verified, usually within one working day, you will receive an activation code at the email address you provided in the form. The code is issued specifically for the receiver identified by the submitted serial number. Enter this code in Emlid Flow, and tap Apply code.
After you enter the activation code, the UHF channel will operate only on the frequencies and output power allowed by your license. The UHF screen will display your license details, call sign, and expiration date. When your license expires, the system will automatically block the UHF channel, and you will have to submit a new license to restore access.
If you take the receiver to another country, you need to provide a local license if the country requires one. If no license is needed, you can unlock the UHF channel for use without additional documentation.
cautionTo remove the license, reflash the receiver. Resetting settings or updating the firmware will not remove it, because the license is stored on the receiver, not in the app. Consequently, if you connect a receiver without a license to Emlid Flow, the app will prompt you to enter one.
-
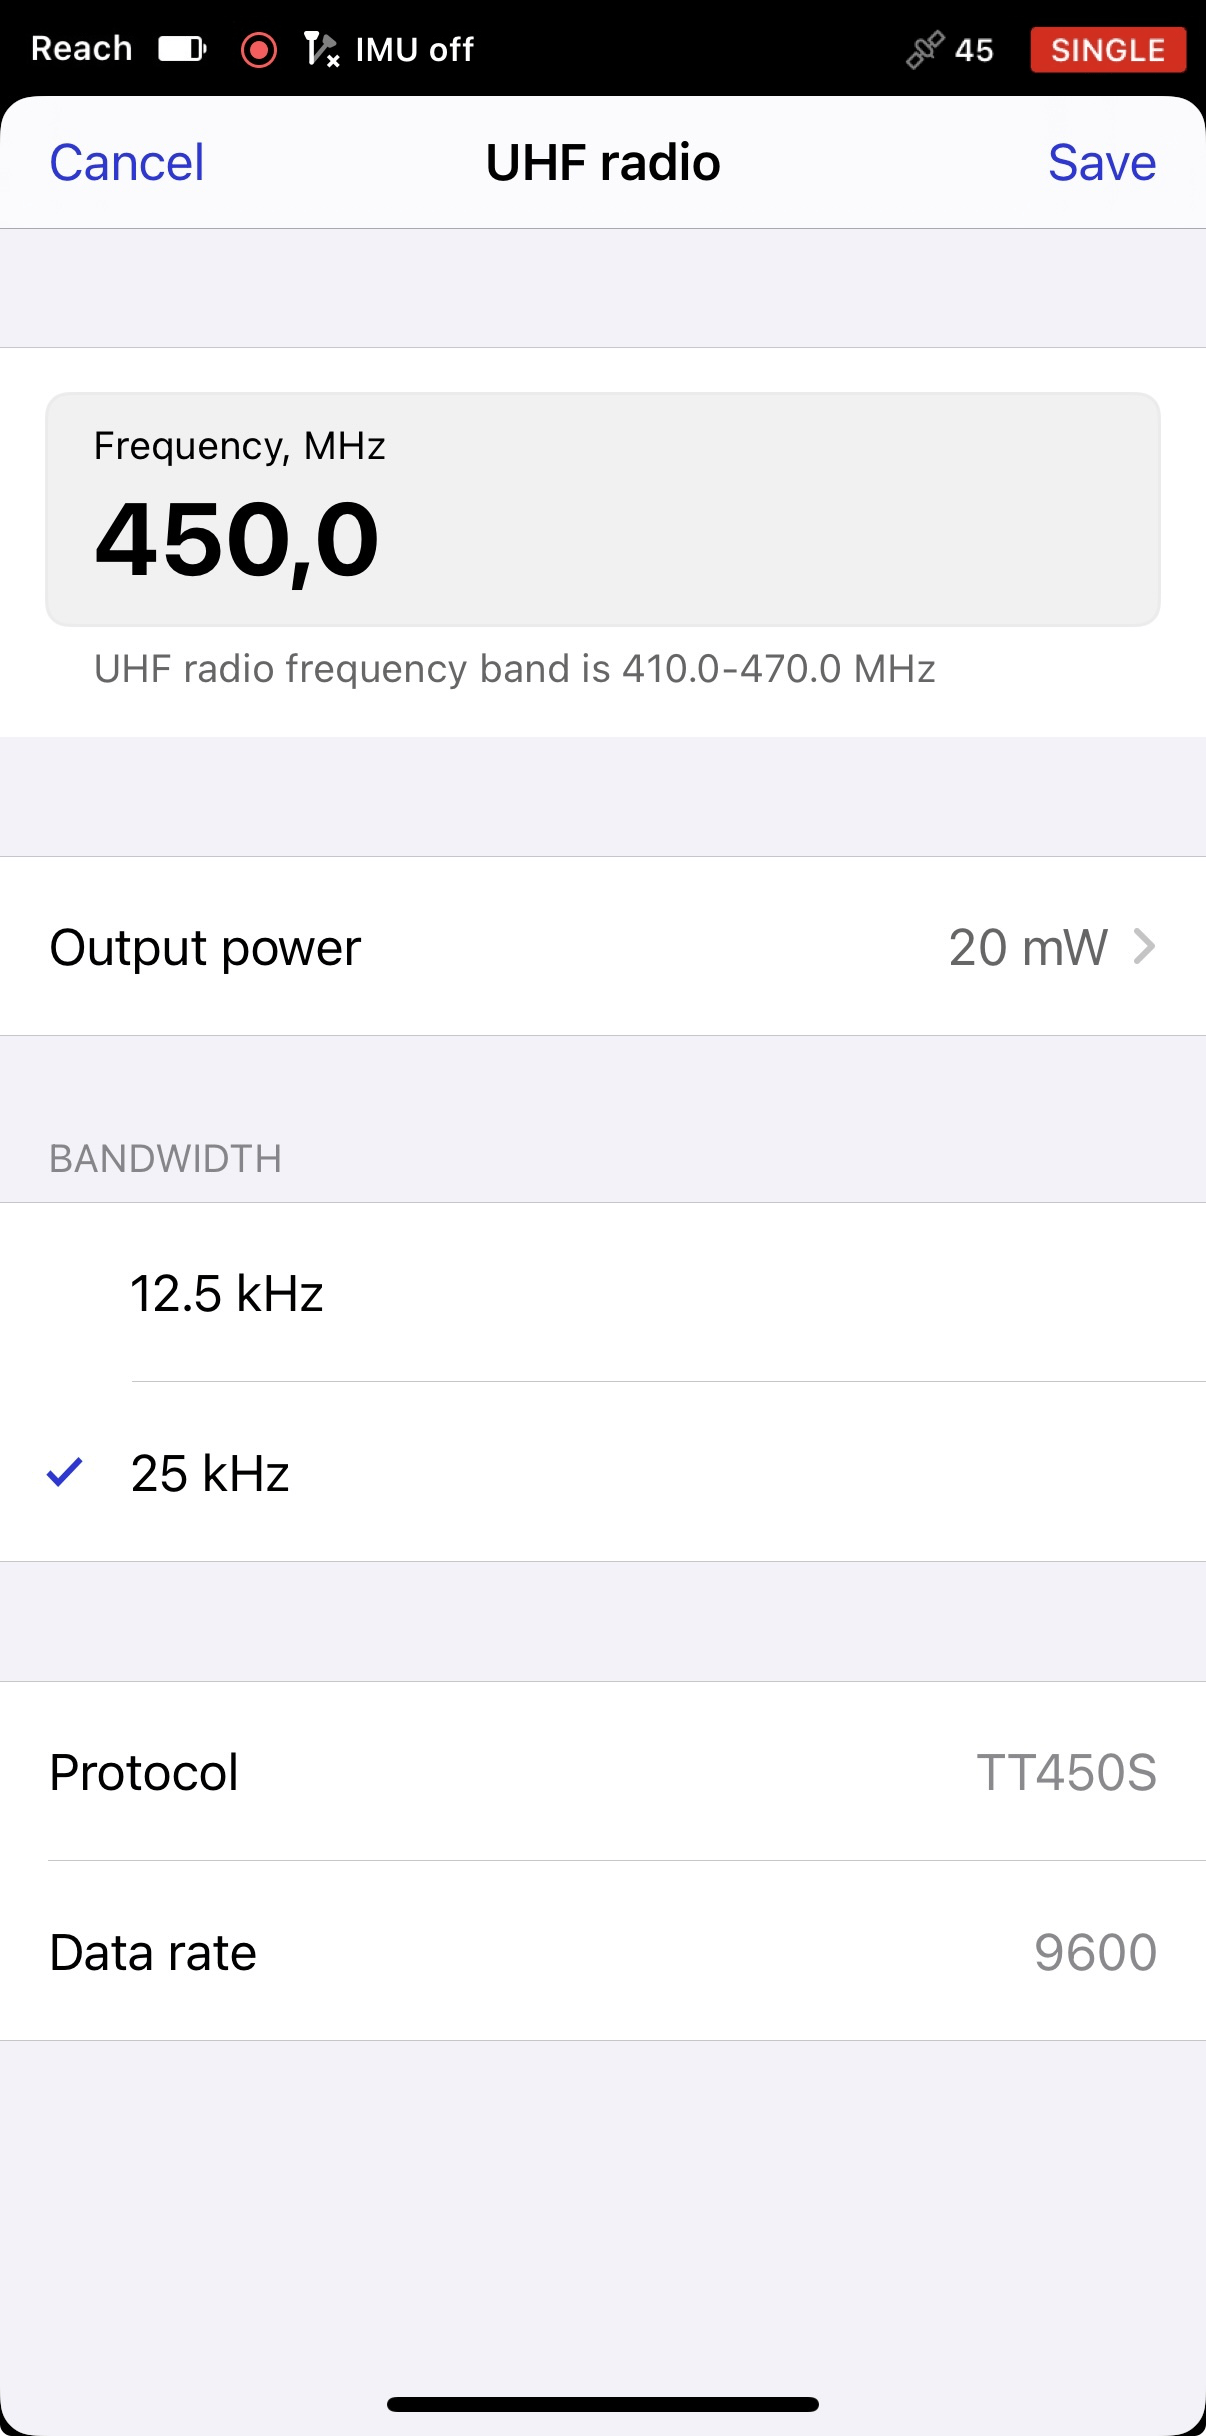
Configure the output according to your requirements, then tap Save.
Set up your third-party rover
Configure RTK settings and UHF radio communication on your third-party rover. Make sure that you use the same frequency and bandwidth as for the base. Setup details depend on the rover model you are using.
To properly set up your third-party base, follow the manufacturer's instructions.
Place units
When you configured settings on both base and rover, you are ready to go outside to place the base and complete the setup process. For the field works, you will need a tripod and a survey pole. To place the units, follow the steps below:
Before placing the base, make sure that you are in an open area with a clear sky view. This will ensure good signal reception and a fair number of available satellites.
-
Mount your base on the tripod and accurately level the tripod.
-
Put the rover on the pole.
-
Attach UHF antennas to both units.
-
Turn on the receivers.
-
Complete the base setup by configuring base coordinates entry method.
noteLearn more about base coordinates entry method and specifying base position in the Choosing base setup method guide.
View results
When you completed your RTK setup over UHF radio, check out the current solution status on your third-party rover:
-
SINGLE means that the rover has found a solution relying on its own receiver and base corrections are not applied. Precision in standalone mode is usually at the several-meter level.
-
FLOAT means that the rover receives the base station's observation data and position but cannot resolve ambiguities needed to calculate its position with centimeter-level accuracy. In this case, the positioning accuracy can vary from a few centimeters to about 1 meter.
-
FIX means that the rover using corrections from the base resolved the ambiguities in its positional calculation and achieved the solution with the centimeter-level precision.
After a short period of time, the rover gets a fixed solution. In good environments, it will take a few seconds to get a fixed solution. In tough conditions, it may take a little longer. Once rover gets FIX, you are all set for surveying.