Collect points
This guide shows how to collect points to store their positions in a project using Emlid Flow.
Overview
Collector is a survey tool in Emlid Flow that allows making project-based points collection. Using the Collector tool, you can place
Ground Control Point is a point on a surface with known coordinates. The GCPs are actively used in aerial mapping and photogrammetry. The surveyors set GCPs over the area, mark them so they can be visible from the drone. The GCPs are then surveyed to find their exact coordinates and used as reference points for future data processing.
Collecting points
- Emlid Flow
To collect a point using Emlid Flow, follow the steps below:
-
Open Emlid Flow and connect to your Reach.
-
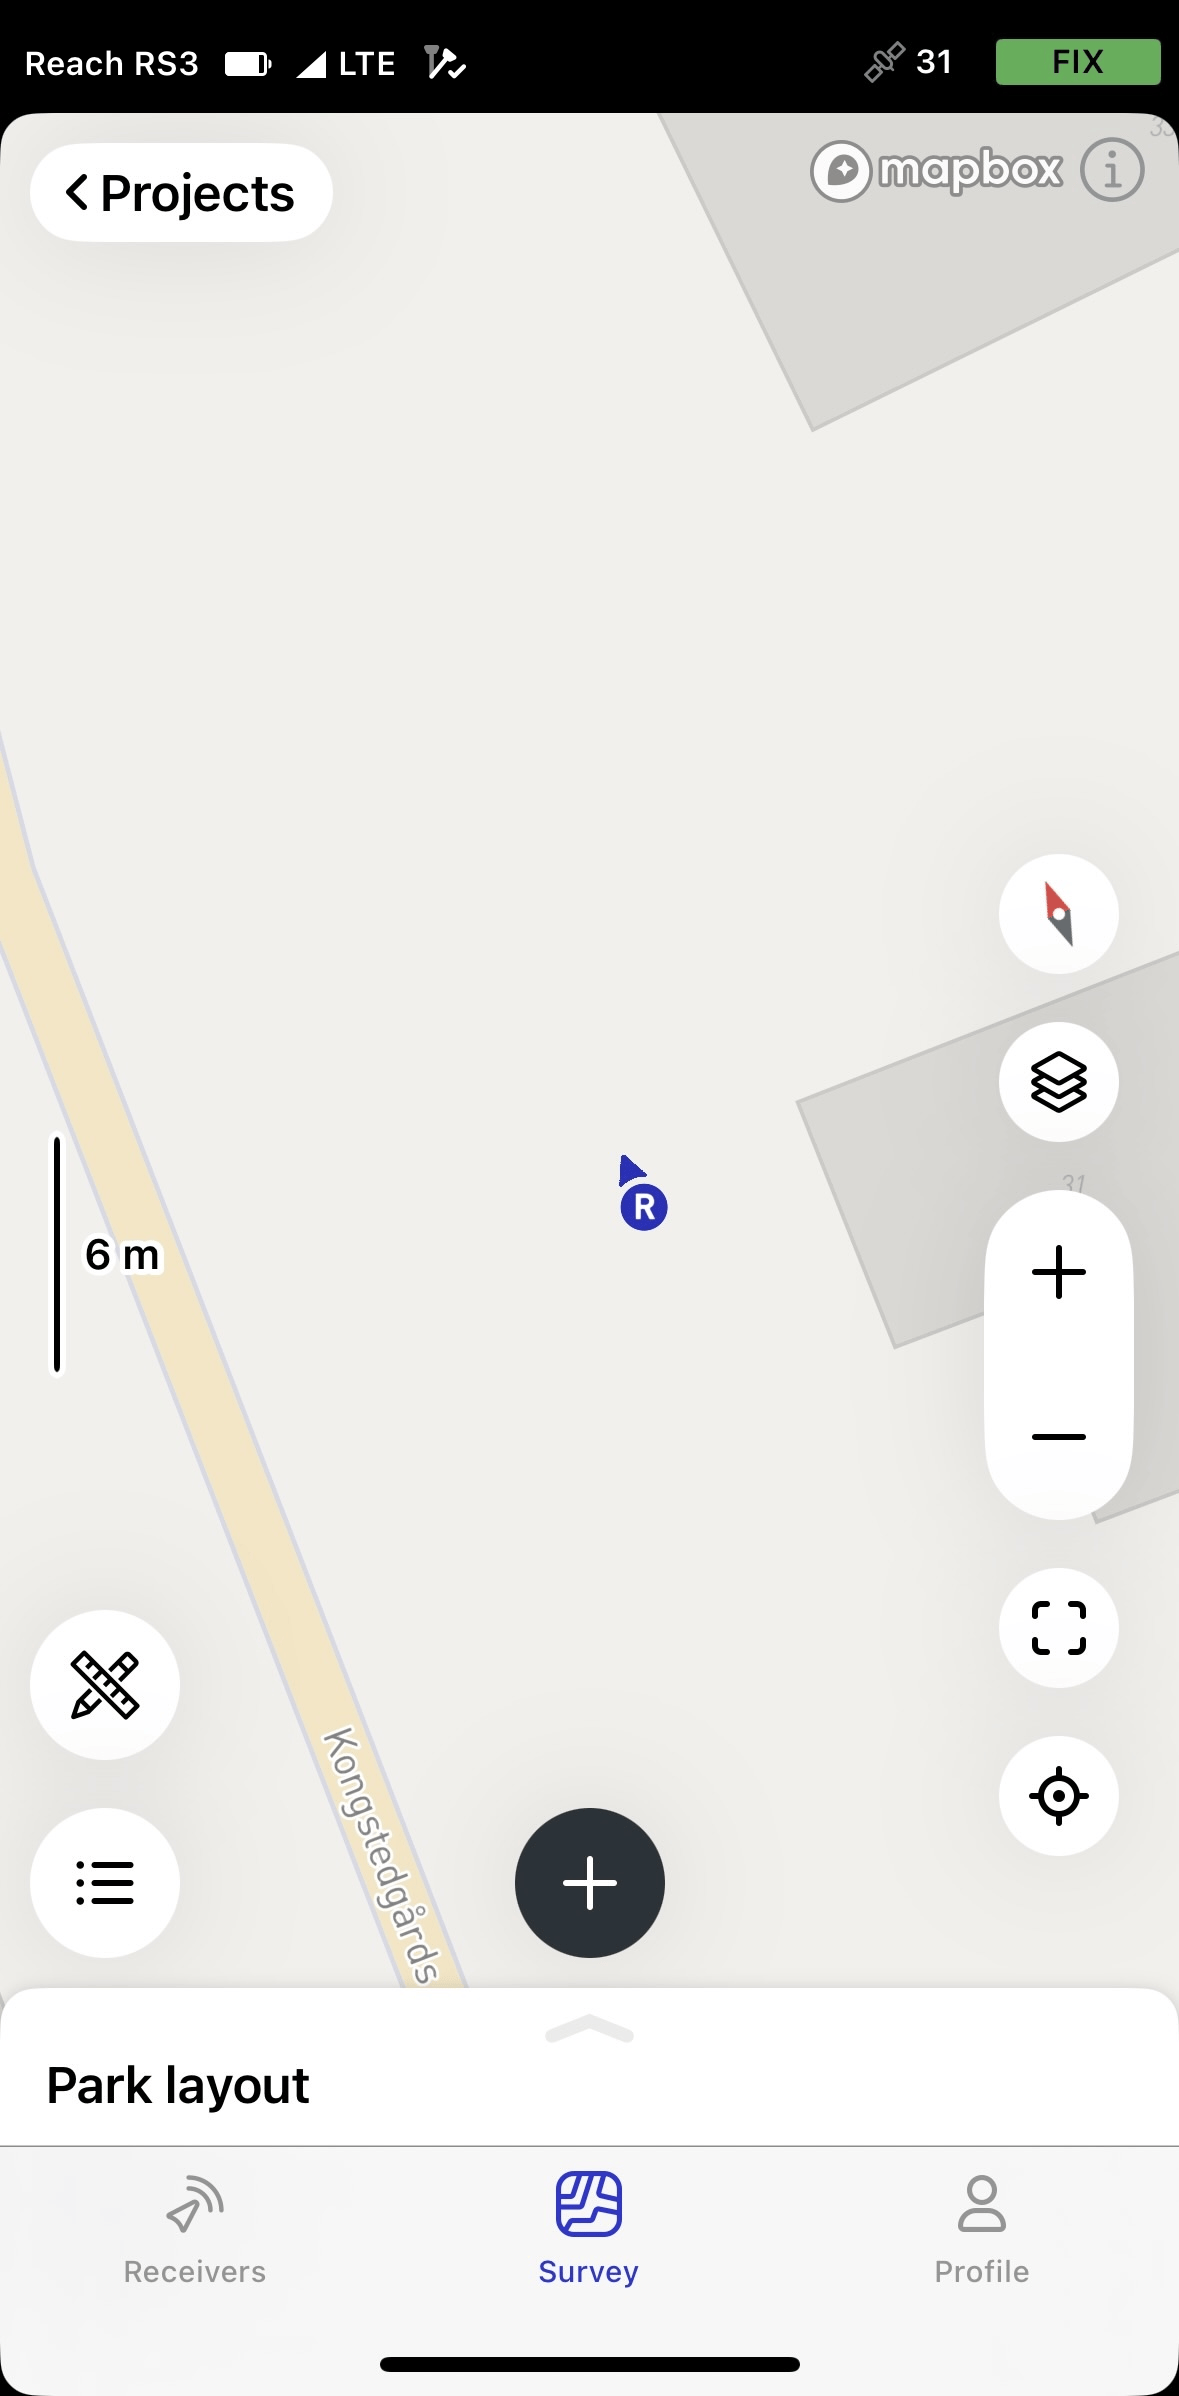
Go to the Survey tab and open or create a project.
tipTo learn how to create a project, check the Create or import project guide.
-
Tap the Plus button to open the Collector menu.

-
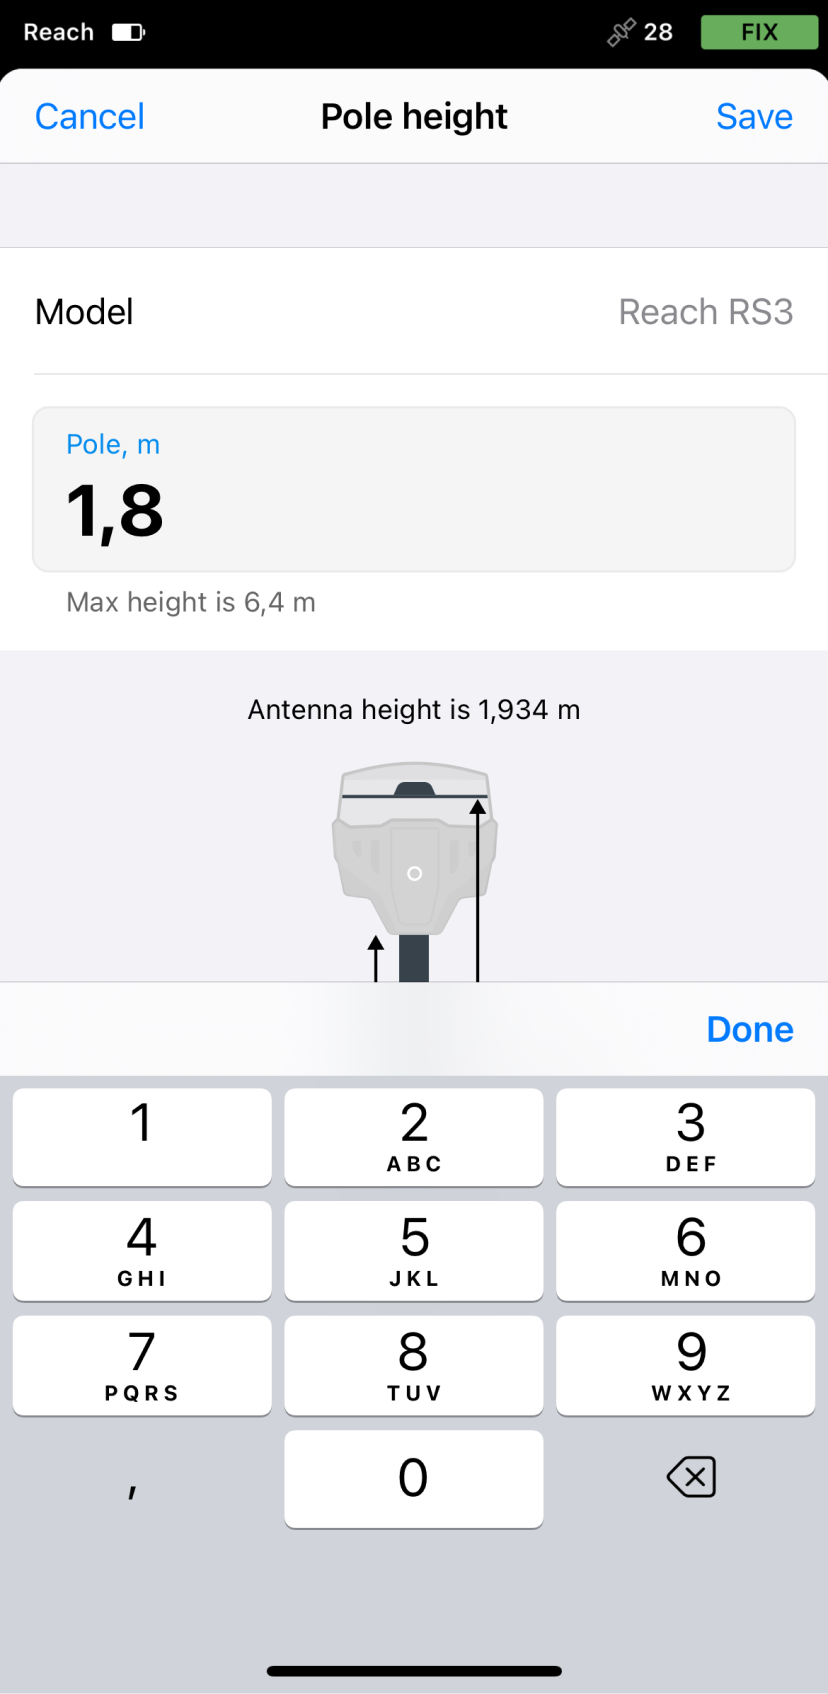
Set the
pole height. By default, this parameter is set to 1.8 m.When preparing for point collection, configure the height of your survey pole in Emlid Flow. It will help the app to automatically calculate the antenna height.
-
To adjust survey settings, tap the gear icon and enable or configure the following options:
- Only for Reach RS3: Tilt compensation. You can turn on and off tilt compensation.
- Precision control. You can set your receiver to collect data only when your Reach has the FIX solution status.
Solution status defines the precision that can be achieved at the moment. There are three solution statuses you can see when working with Reach devices.
SINGLE means that the rover has found a solution relying on its own receiver and base corrections are not applied. Precision in standalone mode is usually at the several-meter level.
FLOAT means that the rover receives corrections from the base but cannot resolve all ambiguities, and in this case, the precision is usually at the submeter-level.
FIX means that the rover using corrections from the base resolved the ambiguities in its positional calculation and achieved the solution with the centimeter-level precision.
- Precision limit. You can set horizontal and vertical precision tolerance values. The units for these values are the same as those set for your project.
- Collect mode. You can specify the time interval of data collection—select instant mode, set averaging time, or apply the Auto collection mode by time or by distance. Auto collection is available under the
 plan.
plan.


-
With the Pro plan, you can add a survey code with description, an already configured color, and attributes by tapping the Code selector button. Choose a code from the library and enter the associated attributes, if required.

-
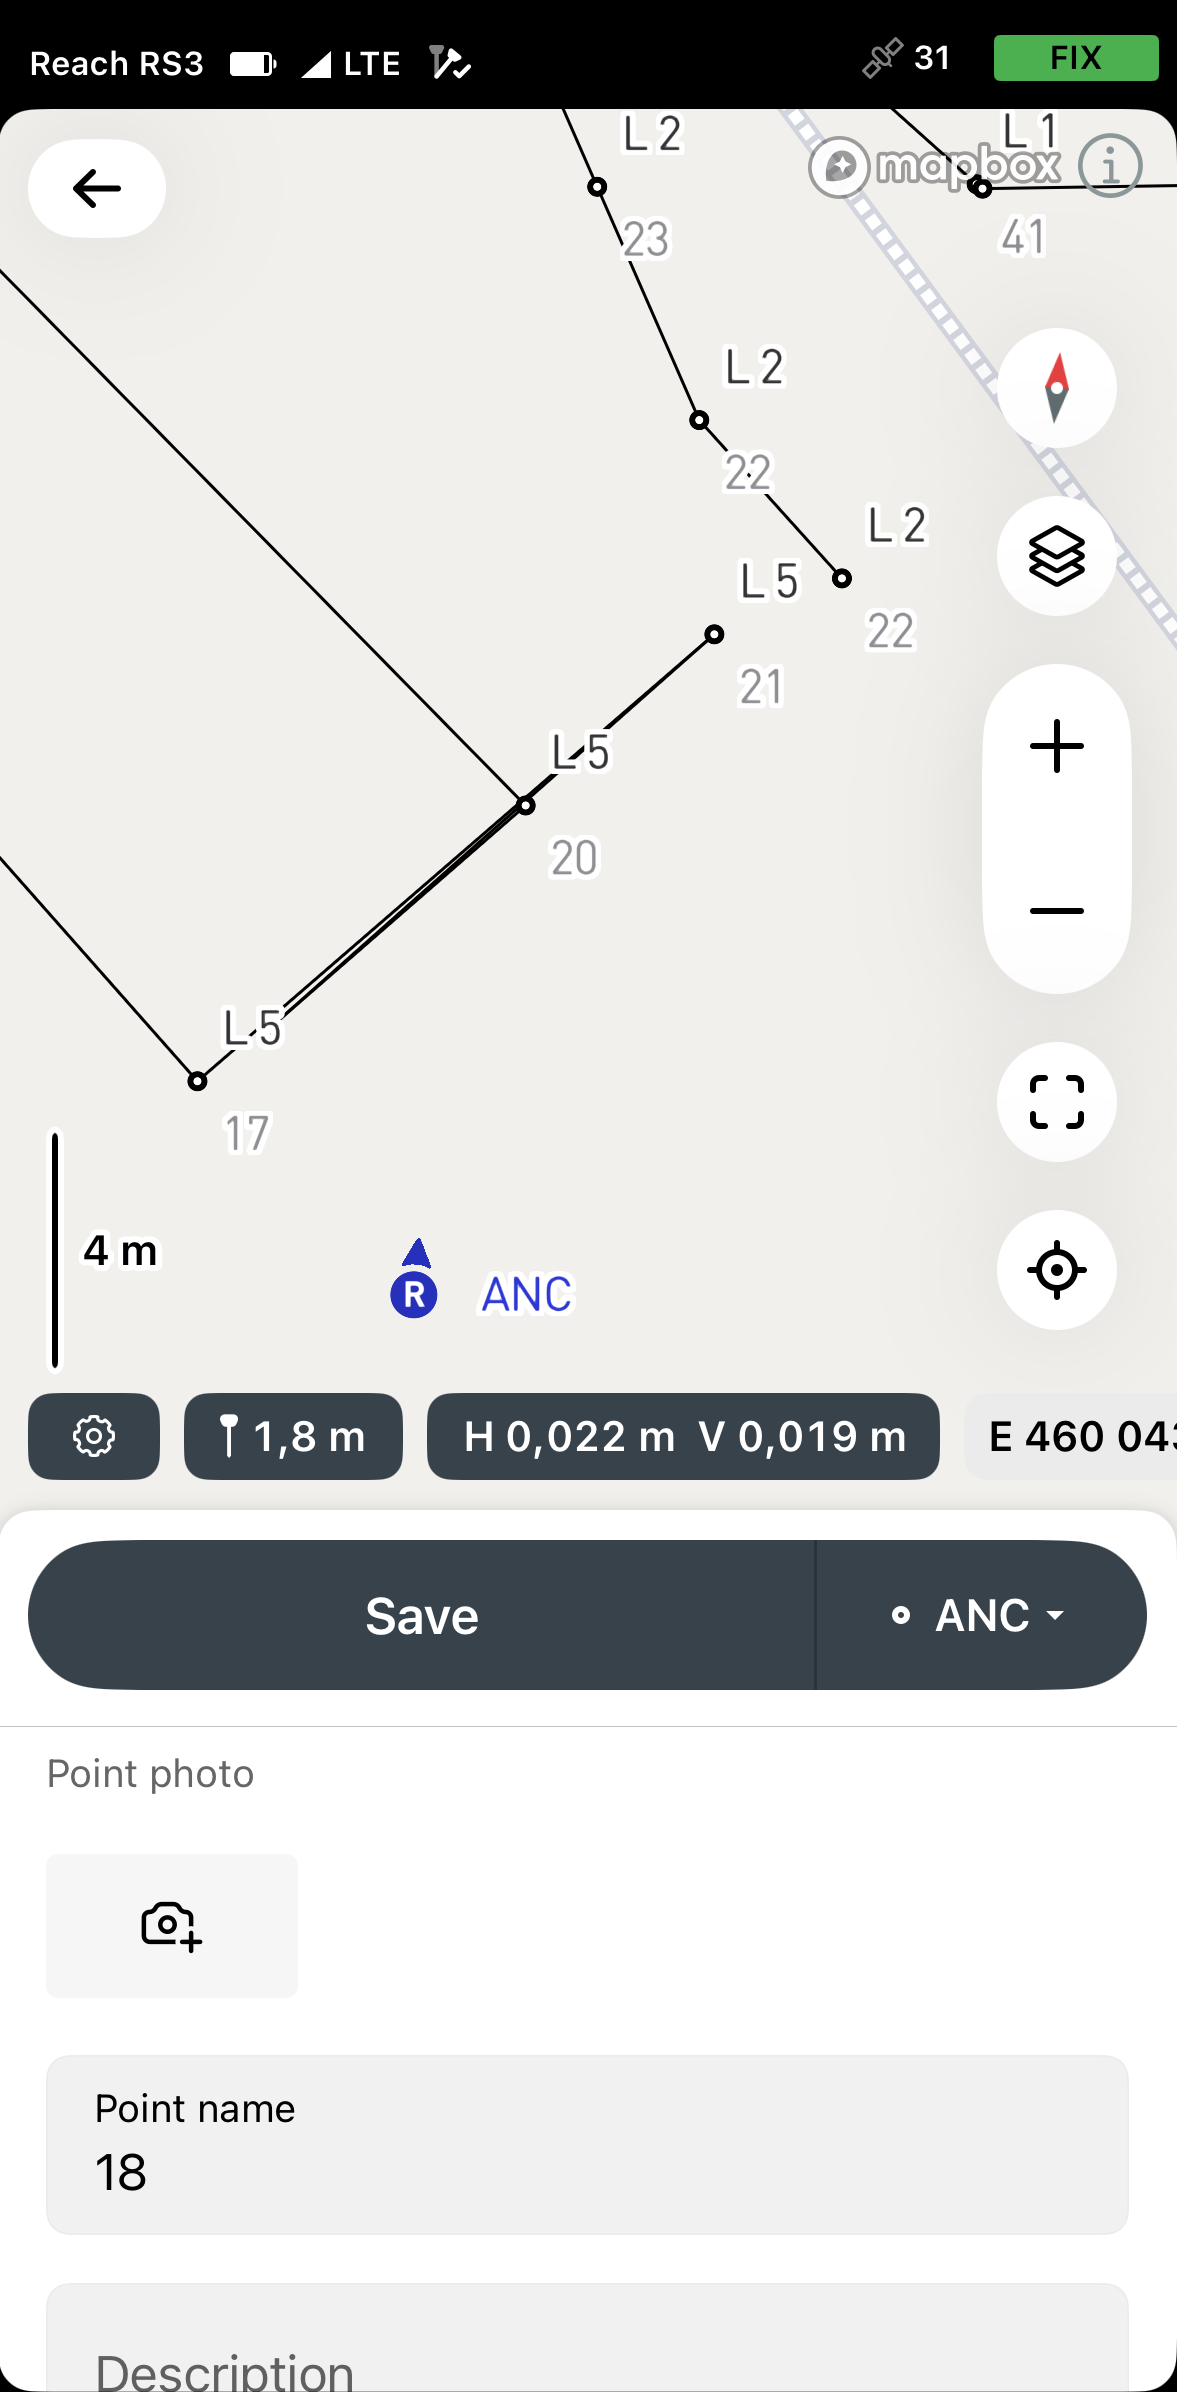
With the Pro plan, you can attach one photo to the point in two ways:
-
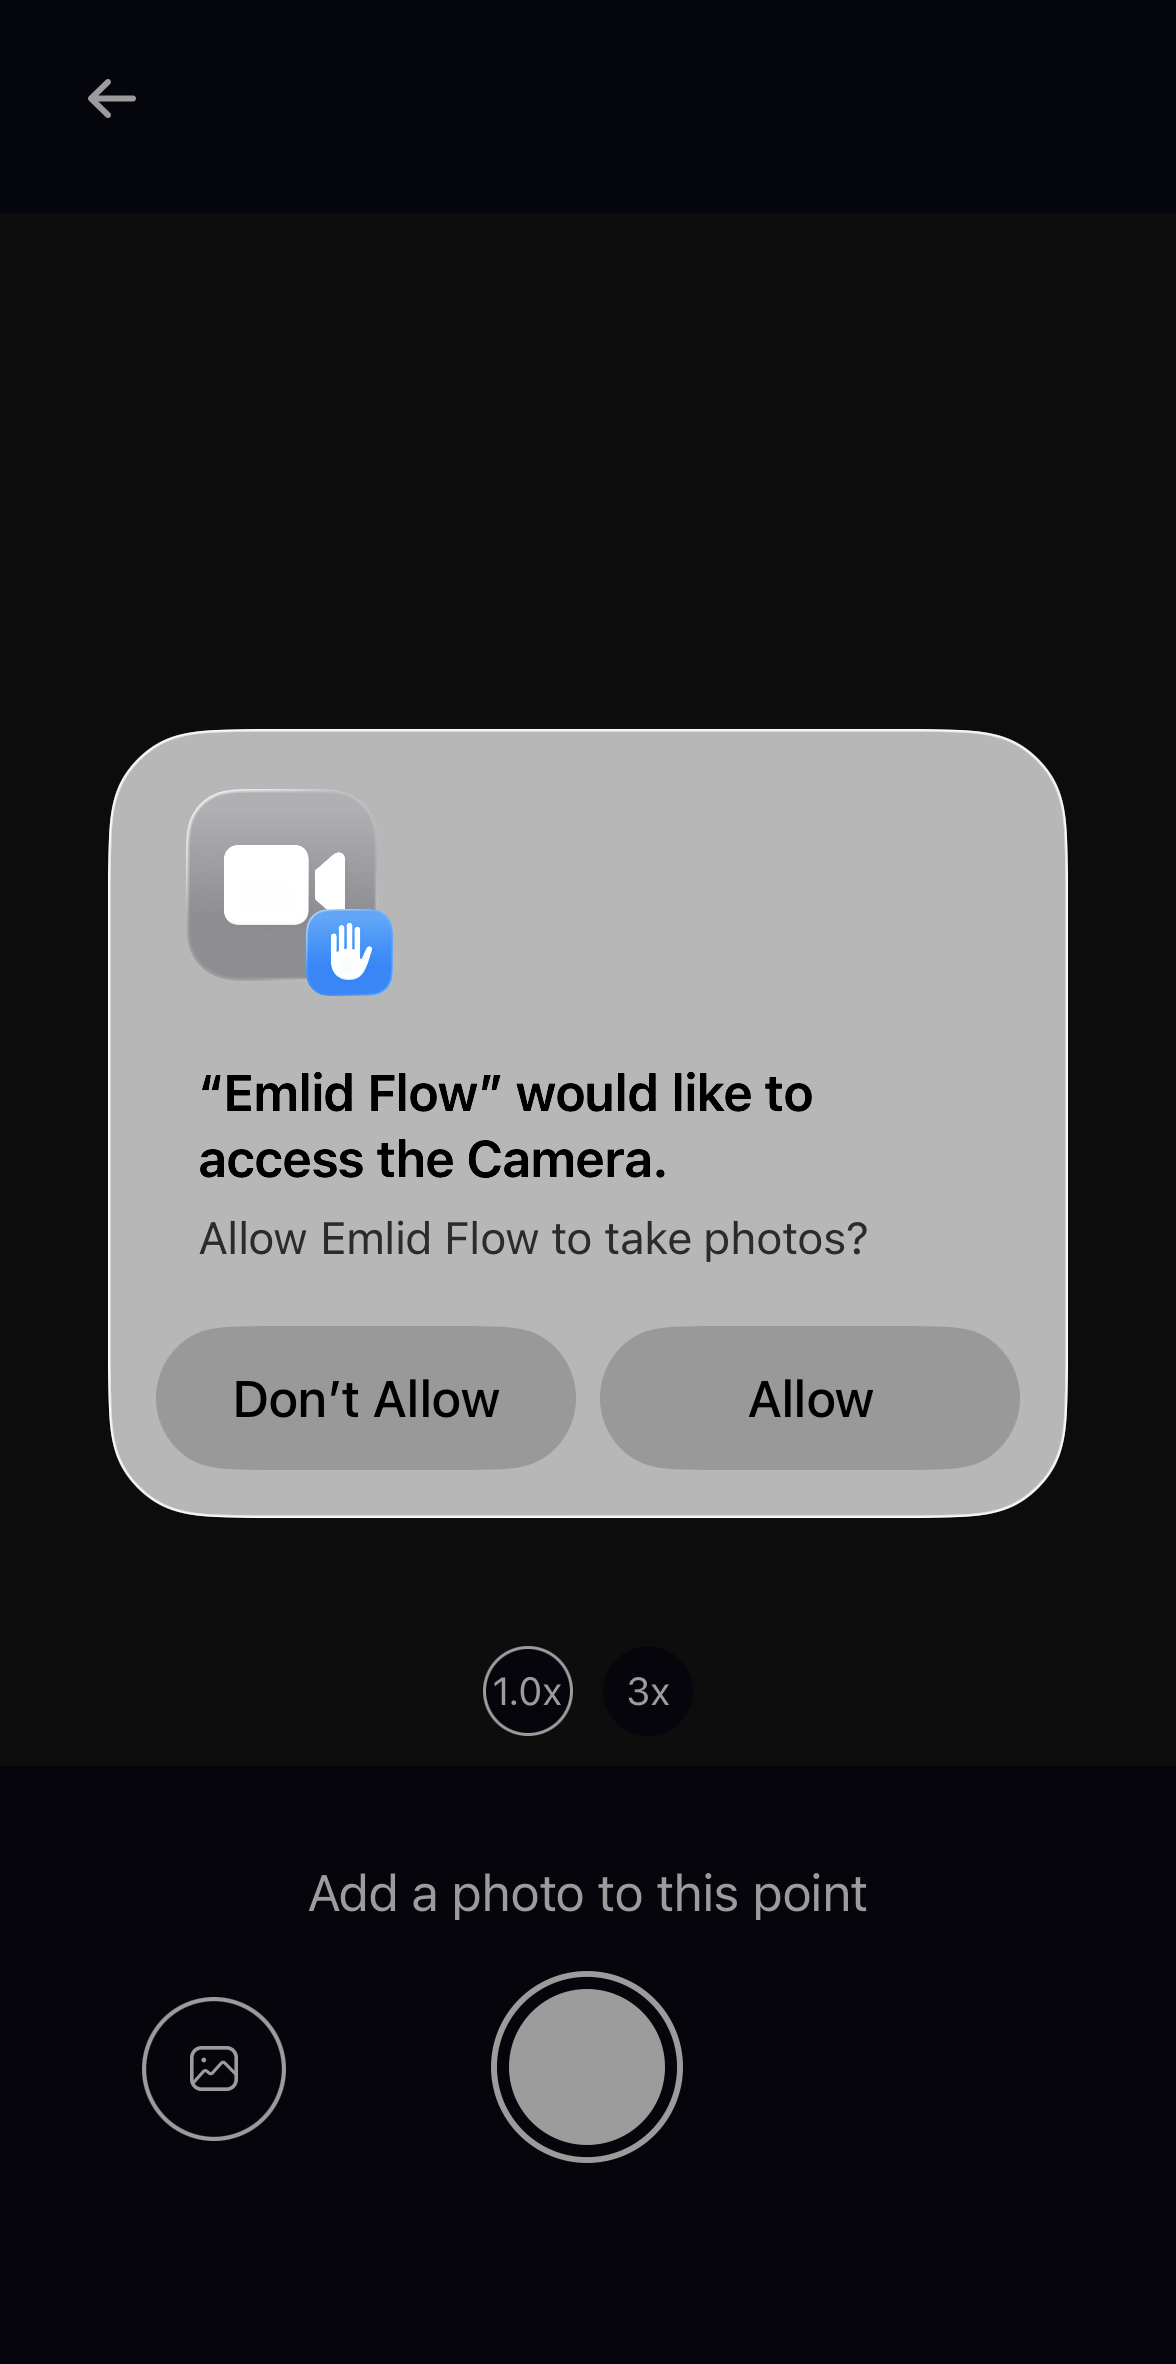
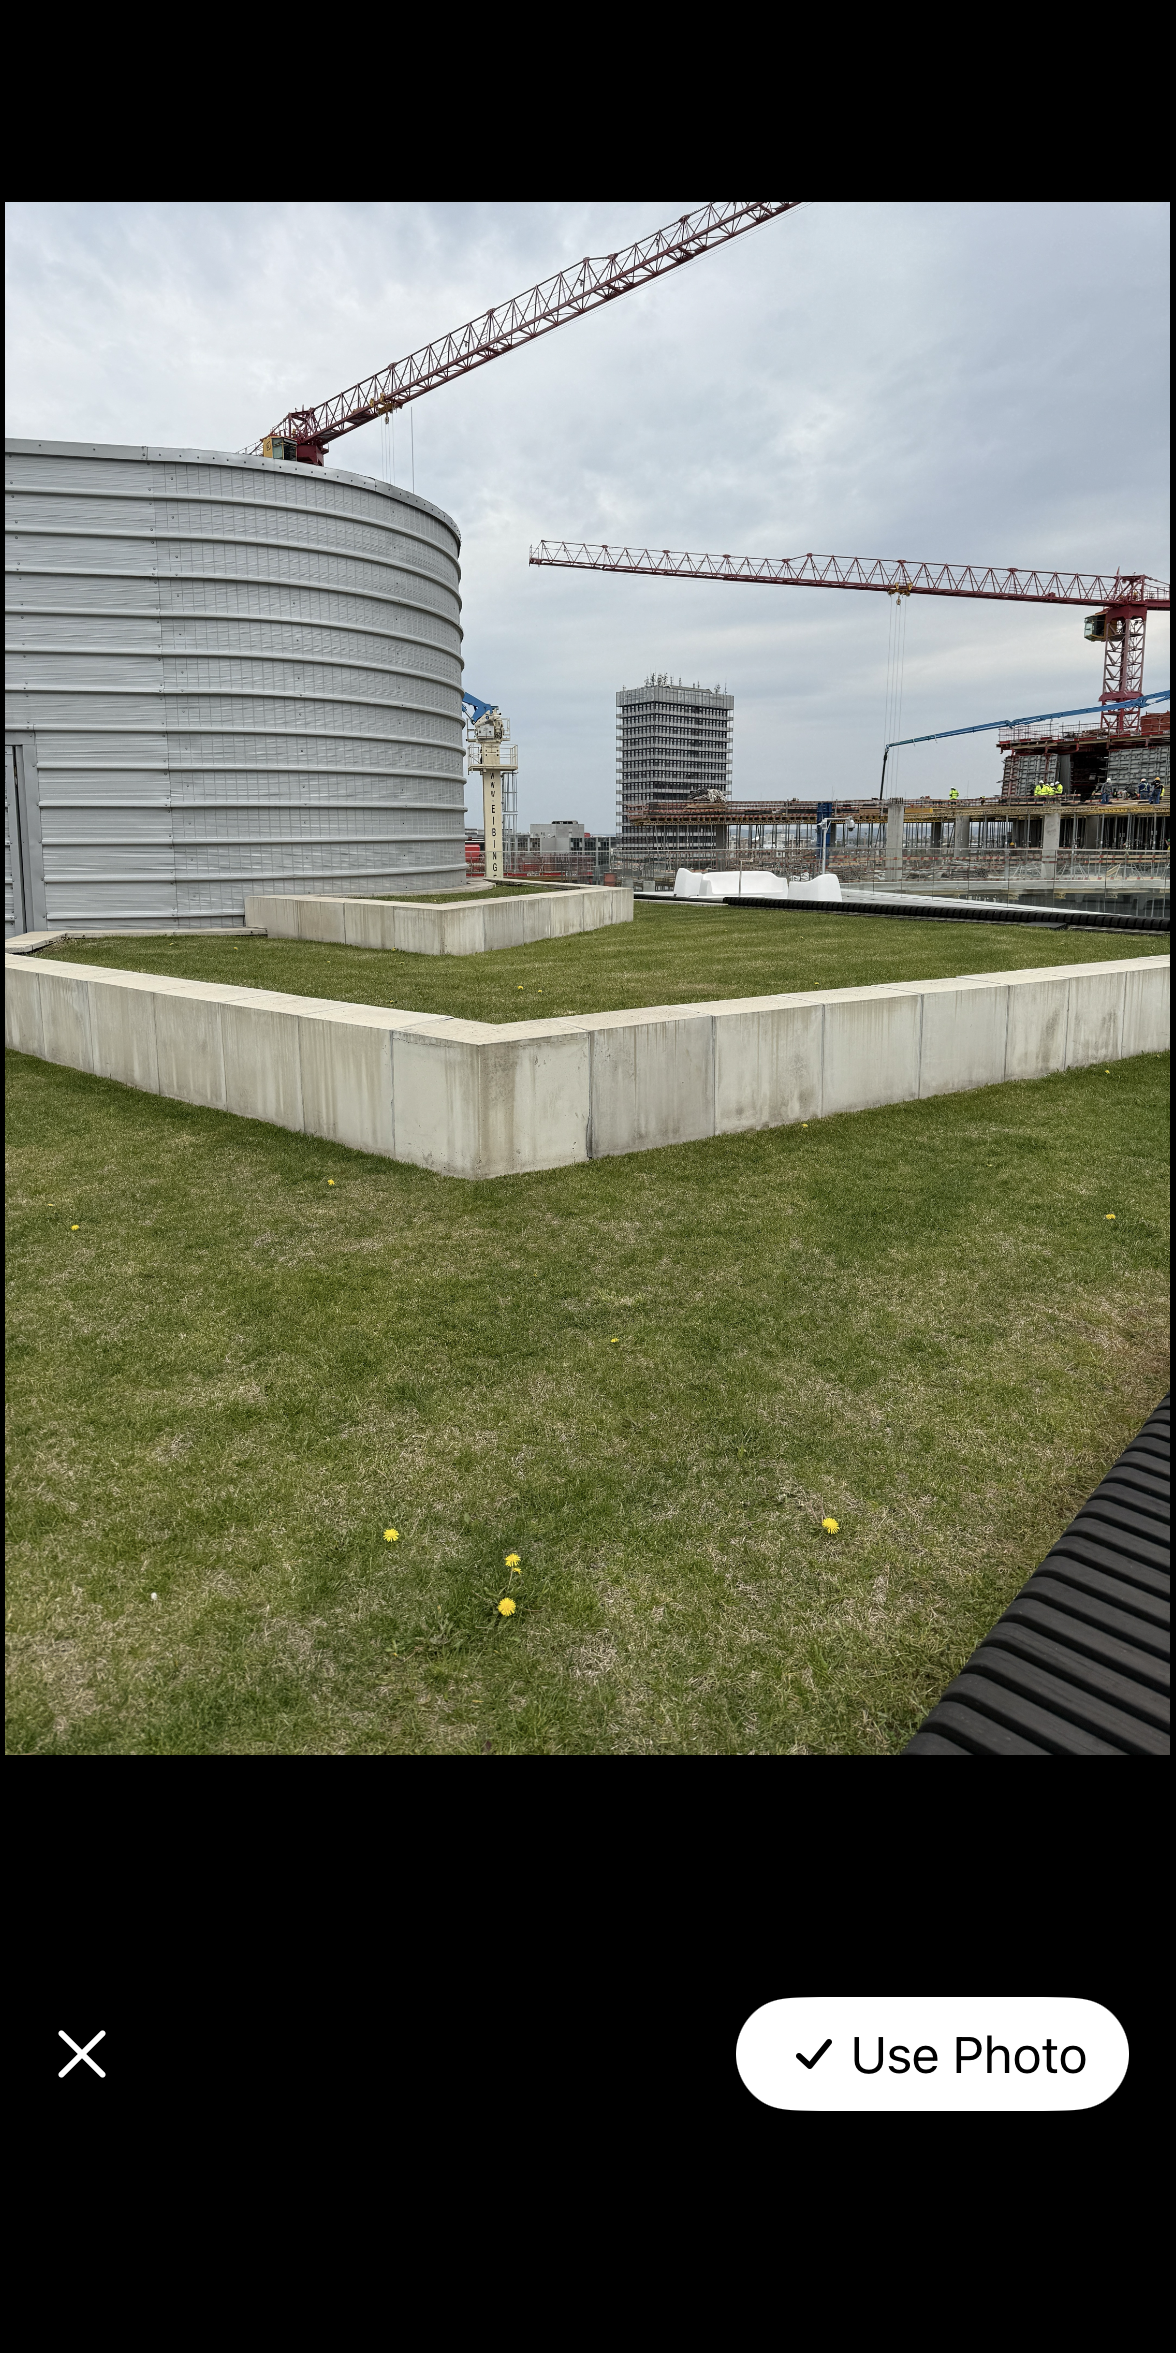
Take a photo directly in Emlid Flow. Navigate to the object, tap the Camera button, provide access to the camera, and take a photo of the point.
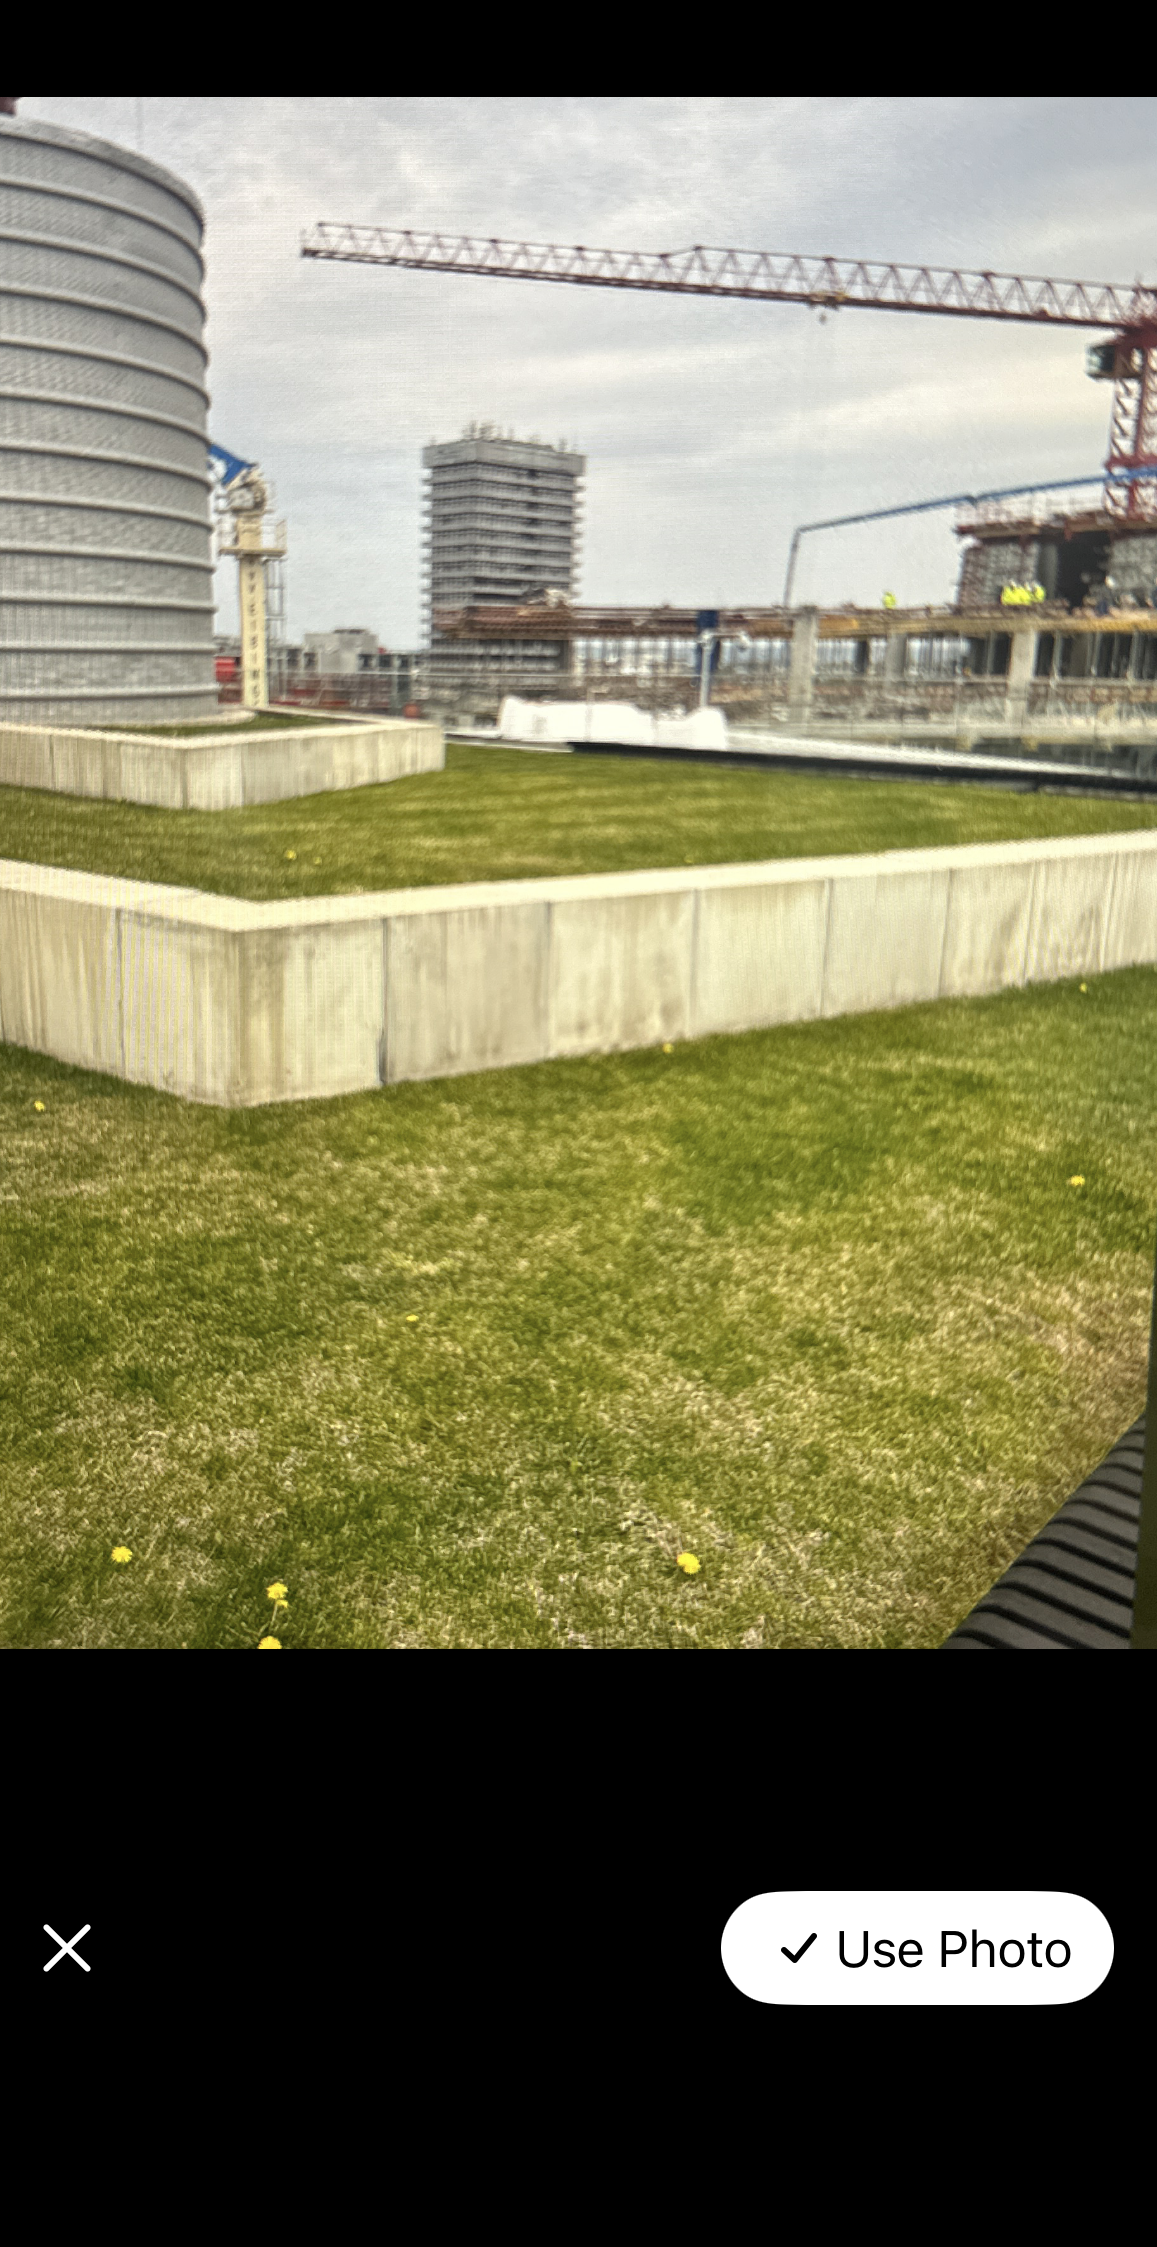
-
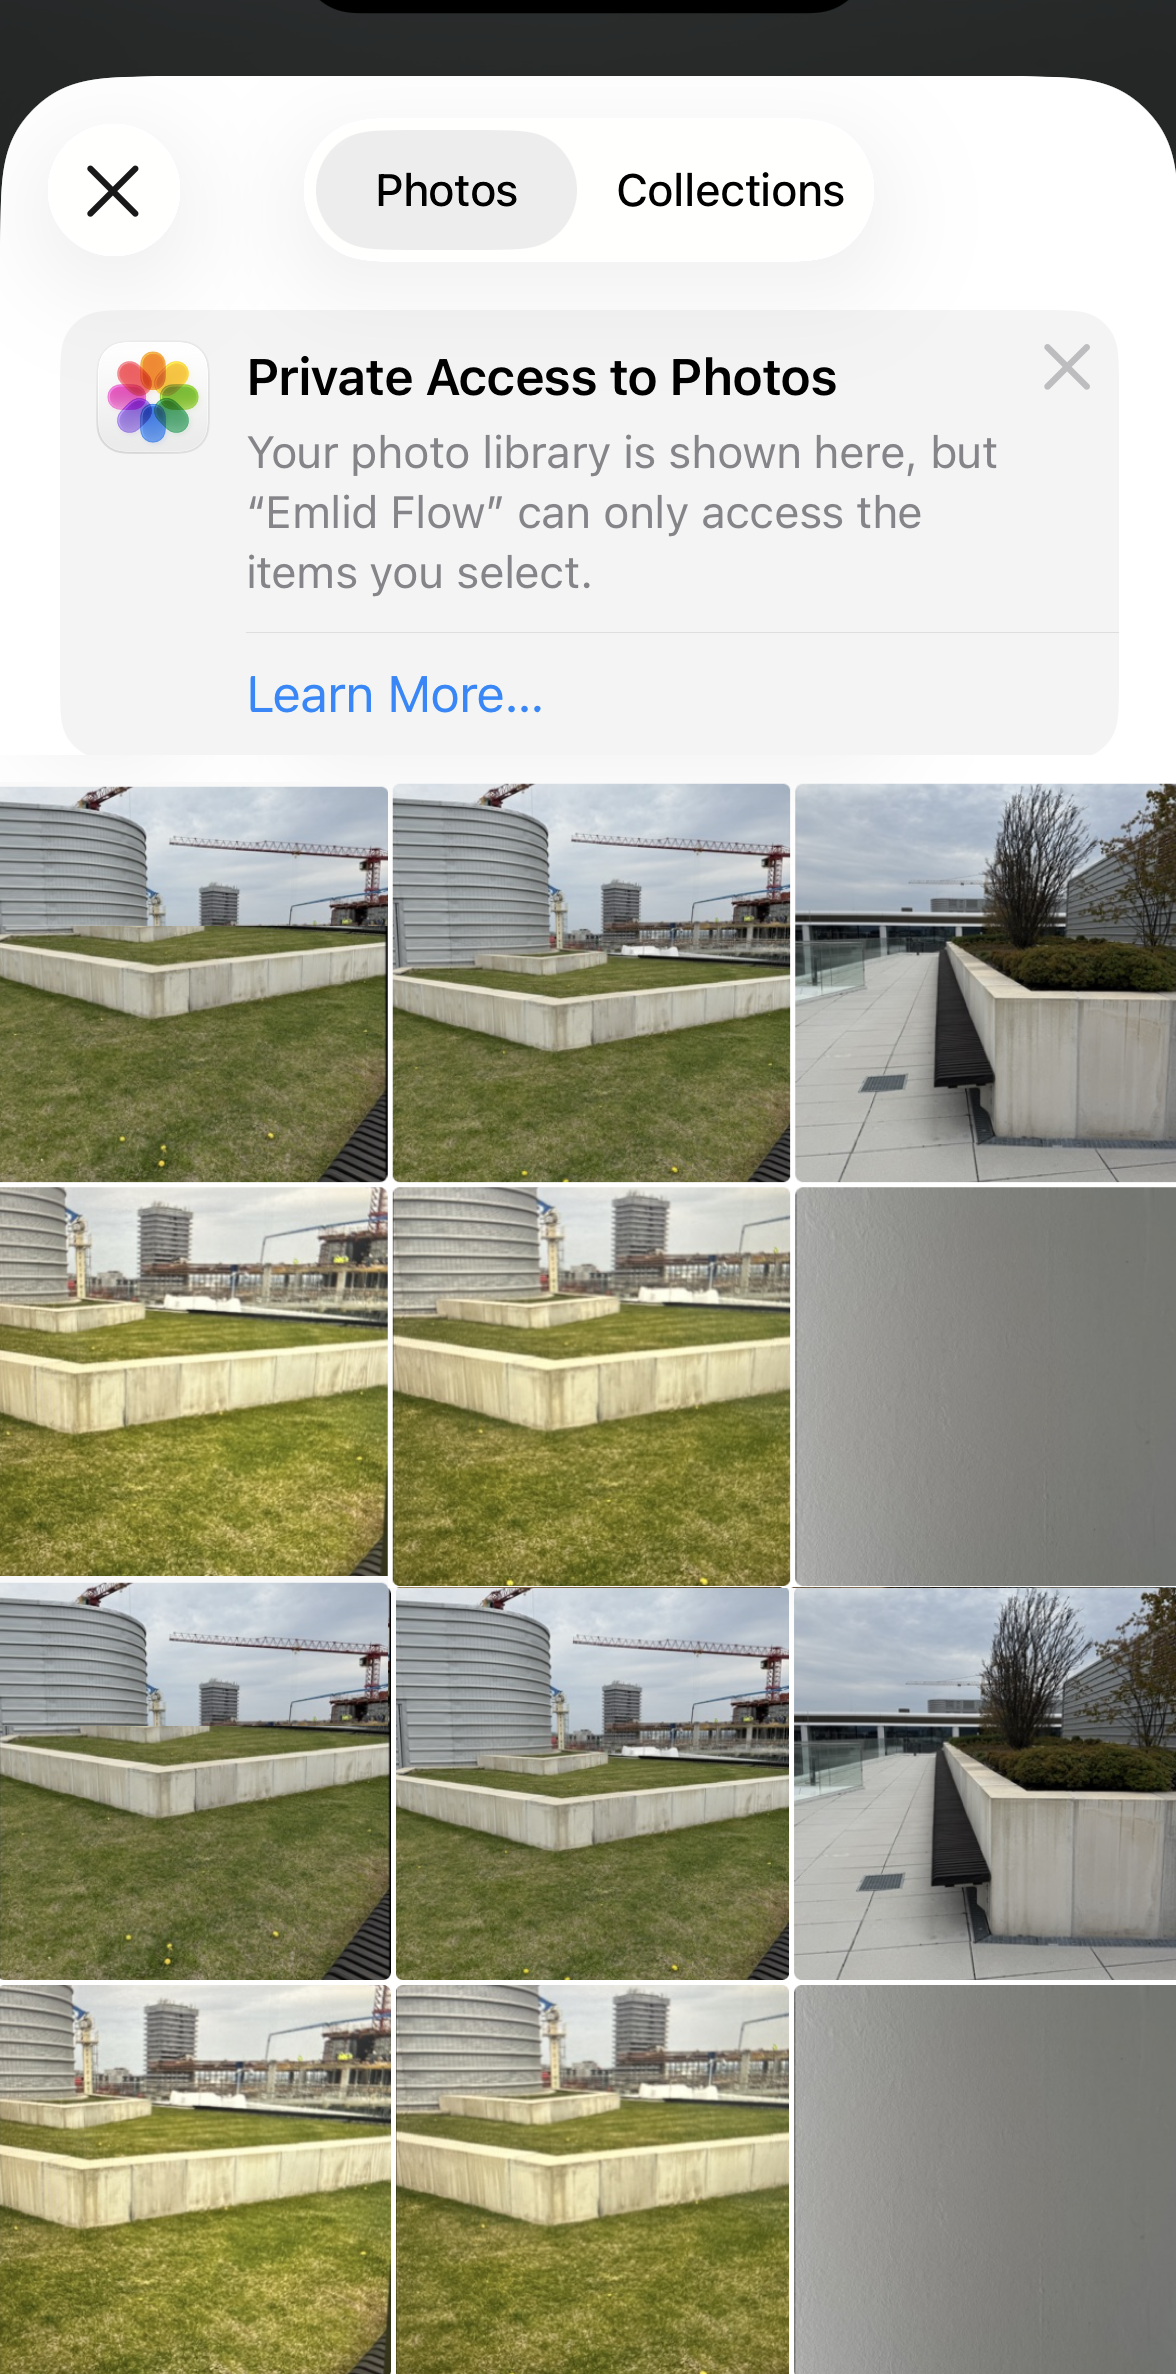
Add a photo from your gallery. Tap the Camera button, provide access to your device’s gallery, and select the required photo.
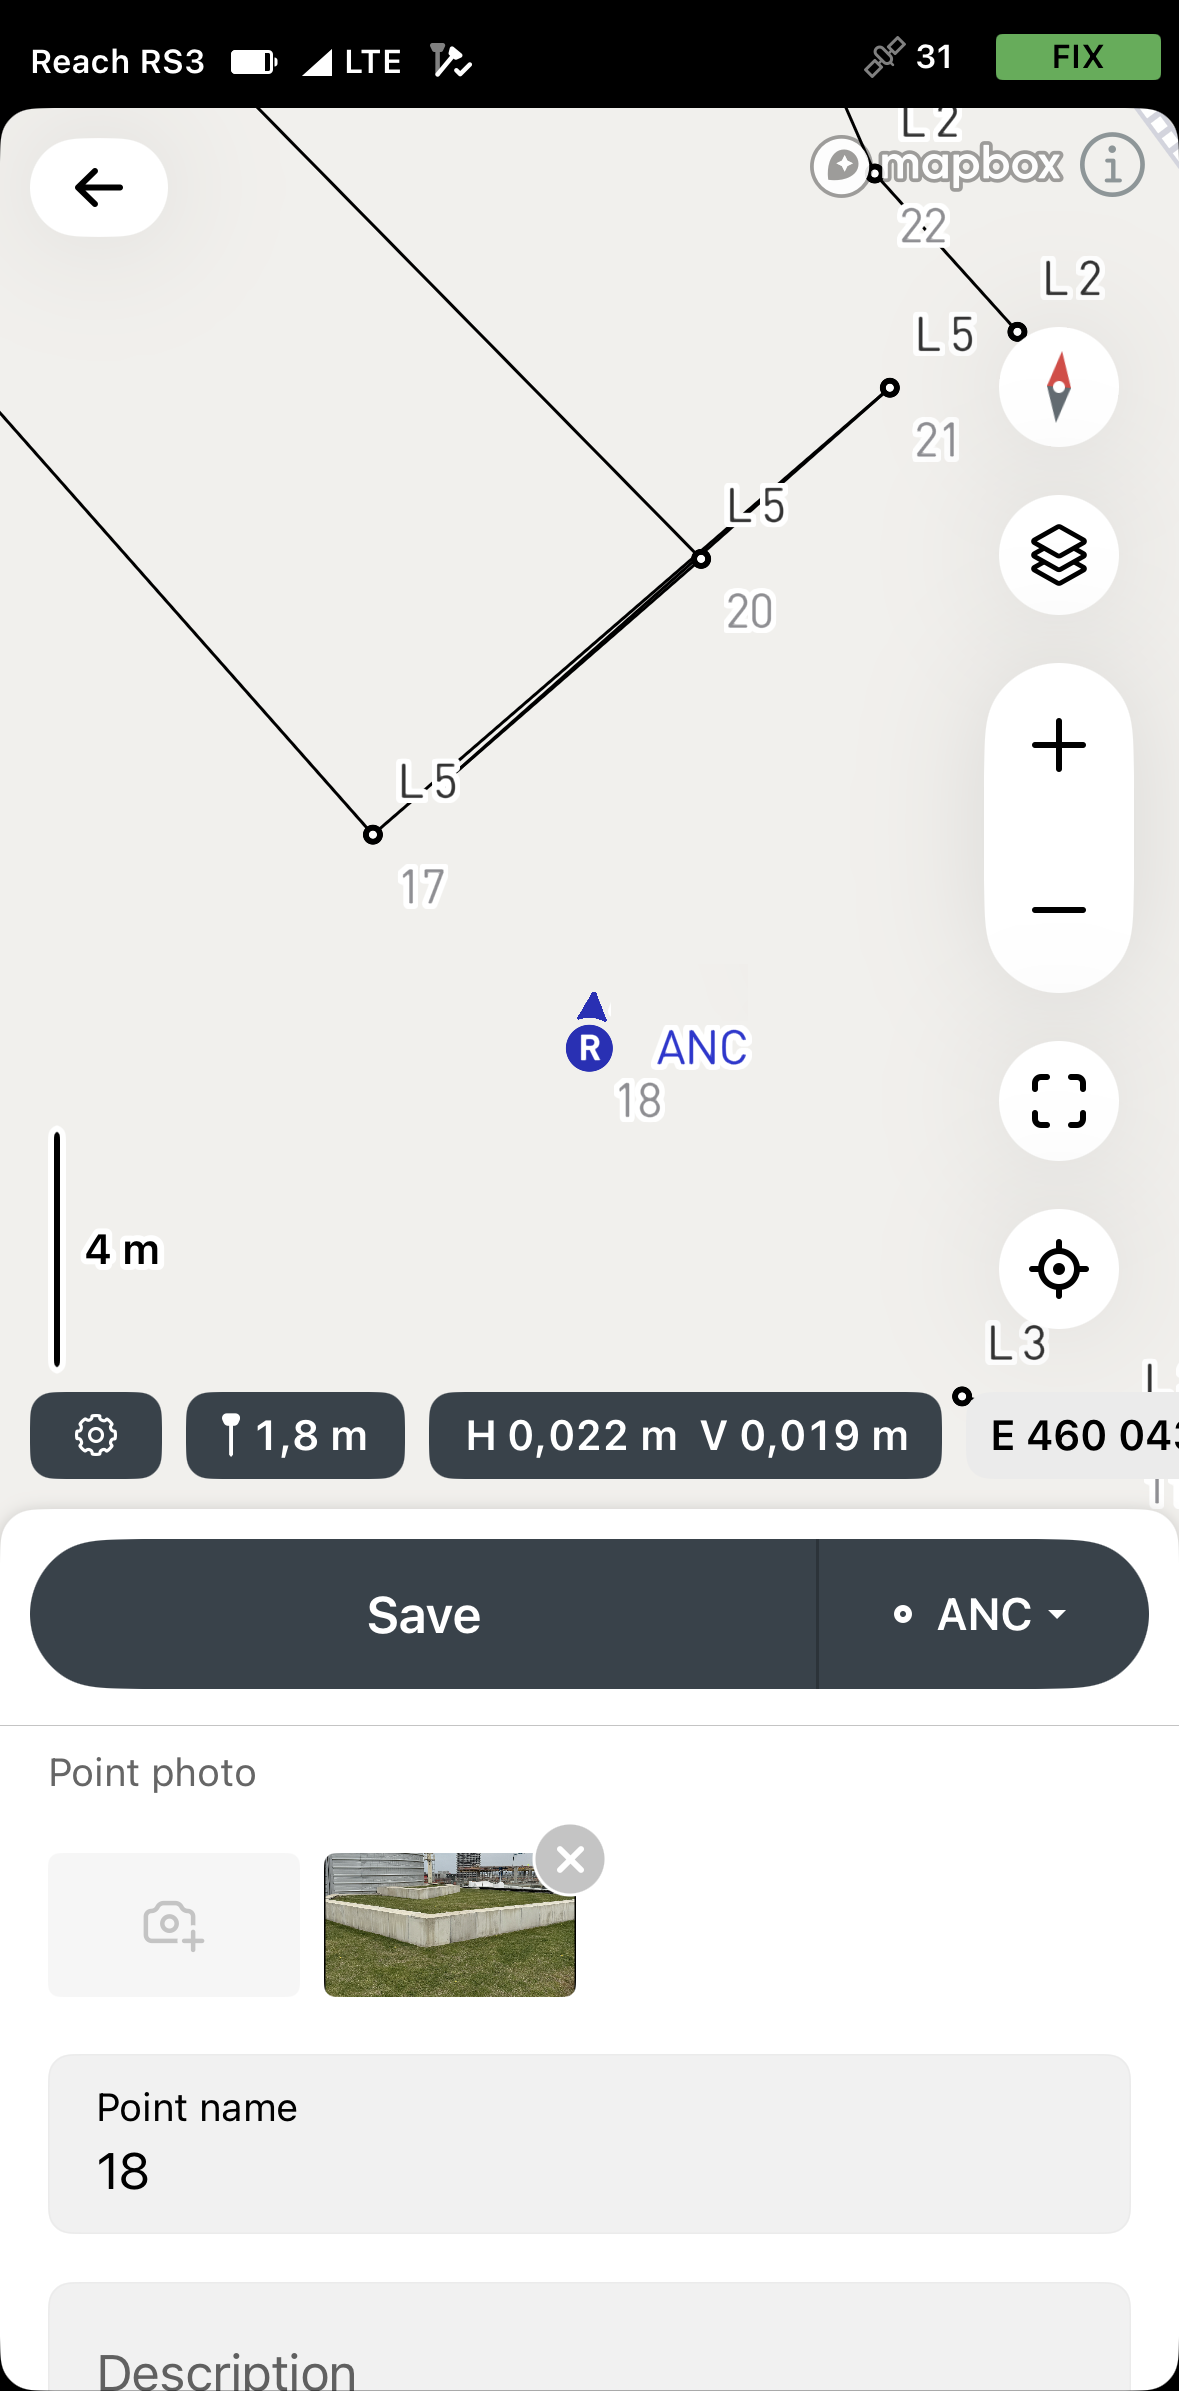
The attached photo will appear in the Point photo field. If needed, you can delete it and replace it with a new one.
After you collect the point, the attached photo will appear in the point info. On Android, a photo icon will also appear next to points with attached photos in both object list and point info. This feature will also be available on iOS soon.
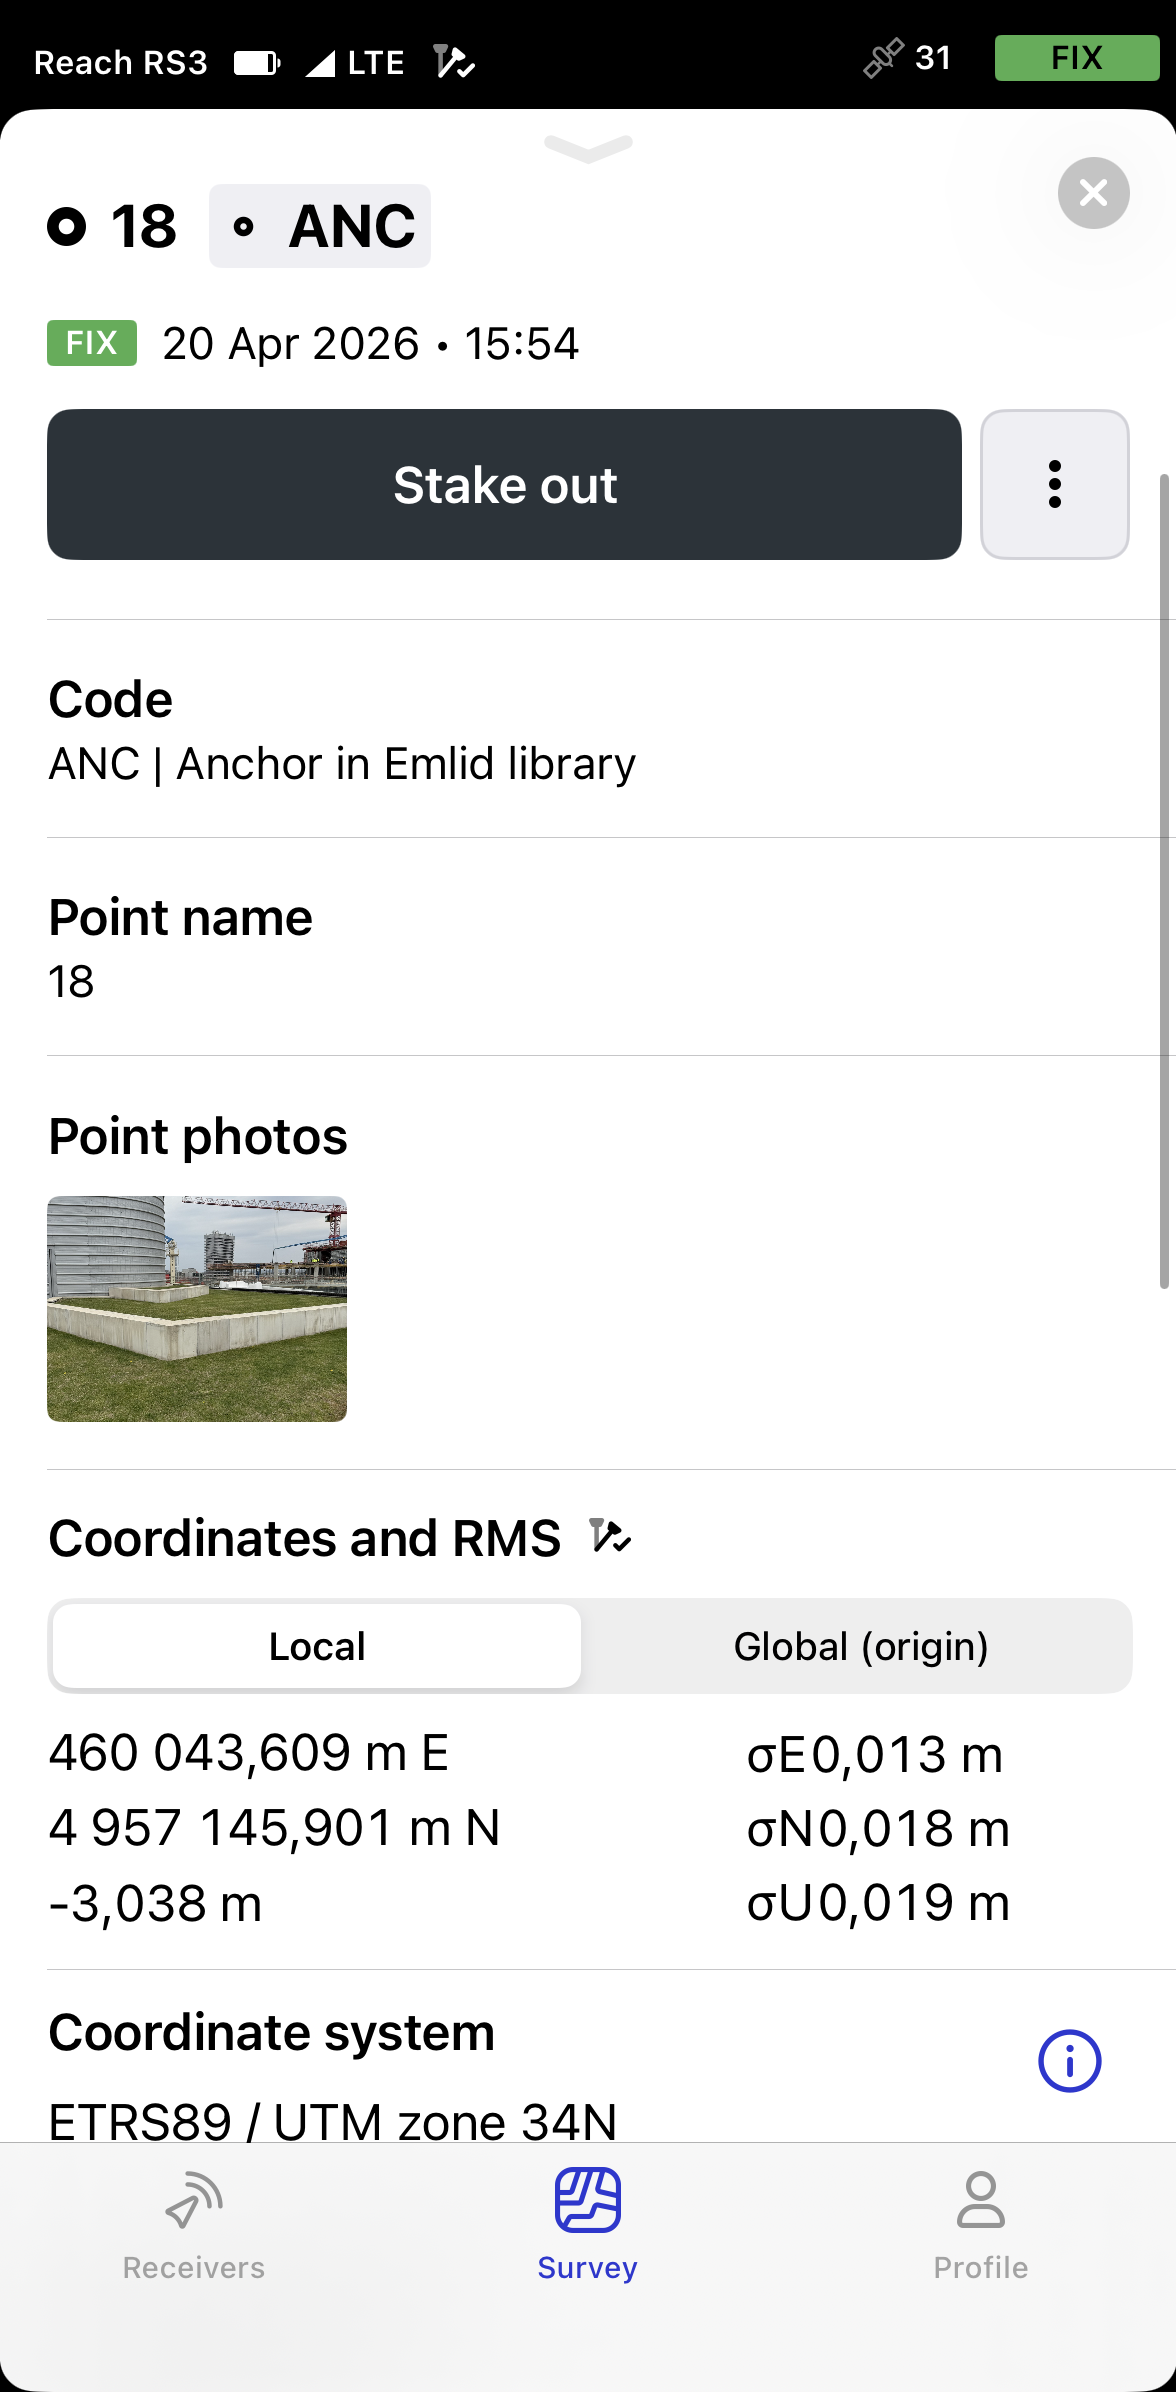
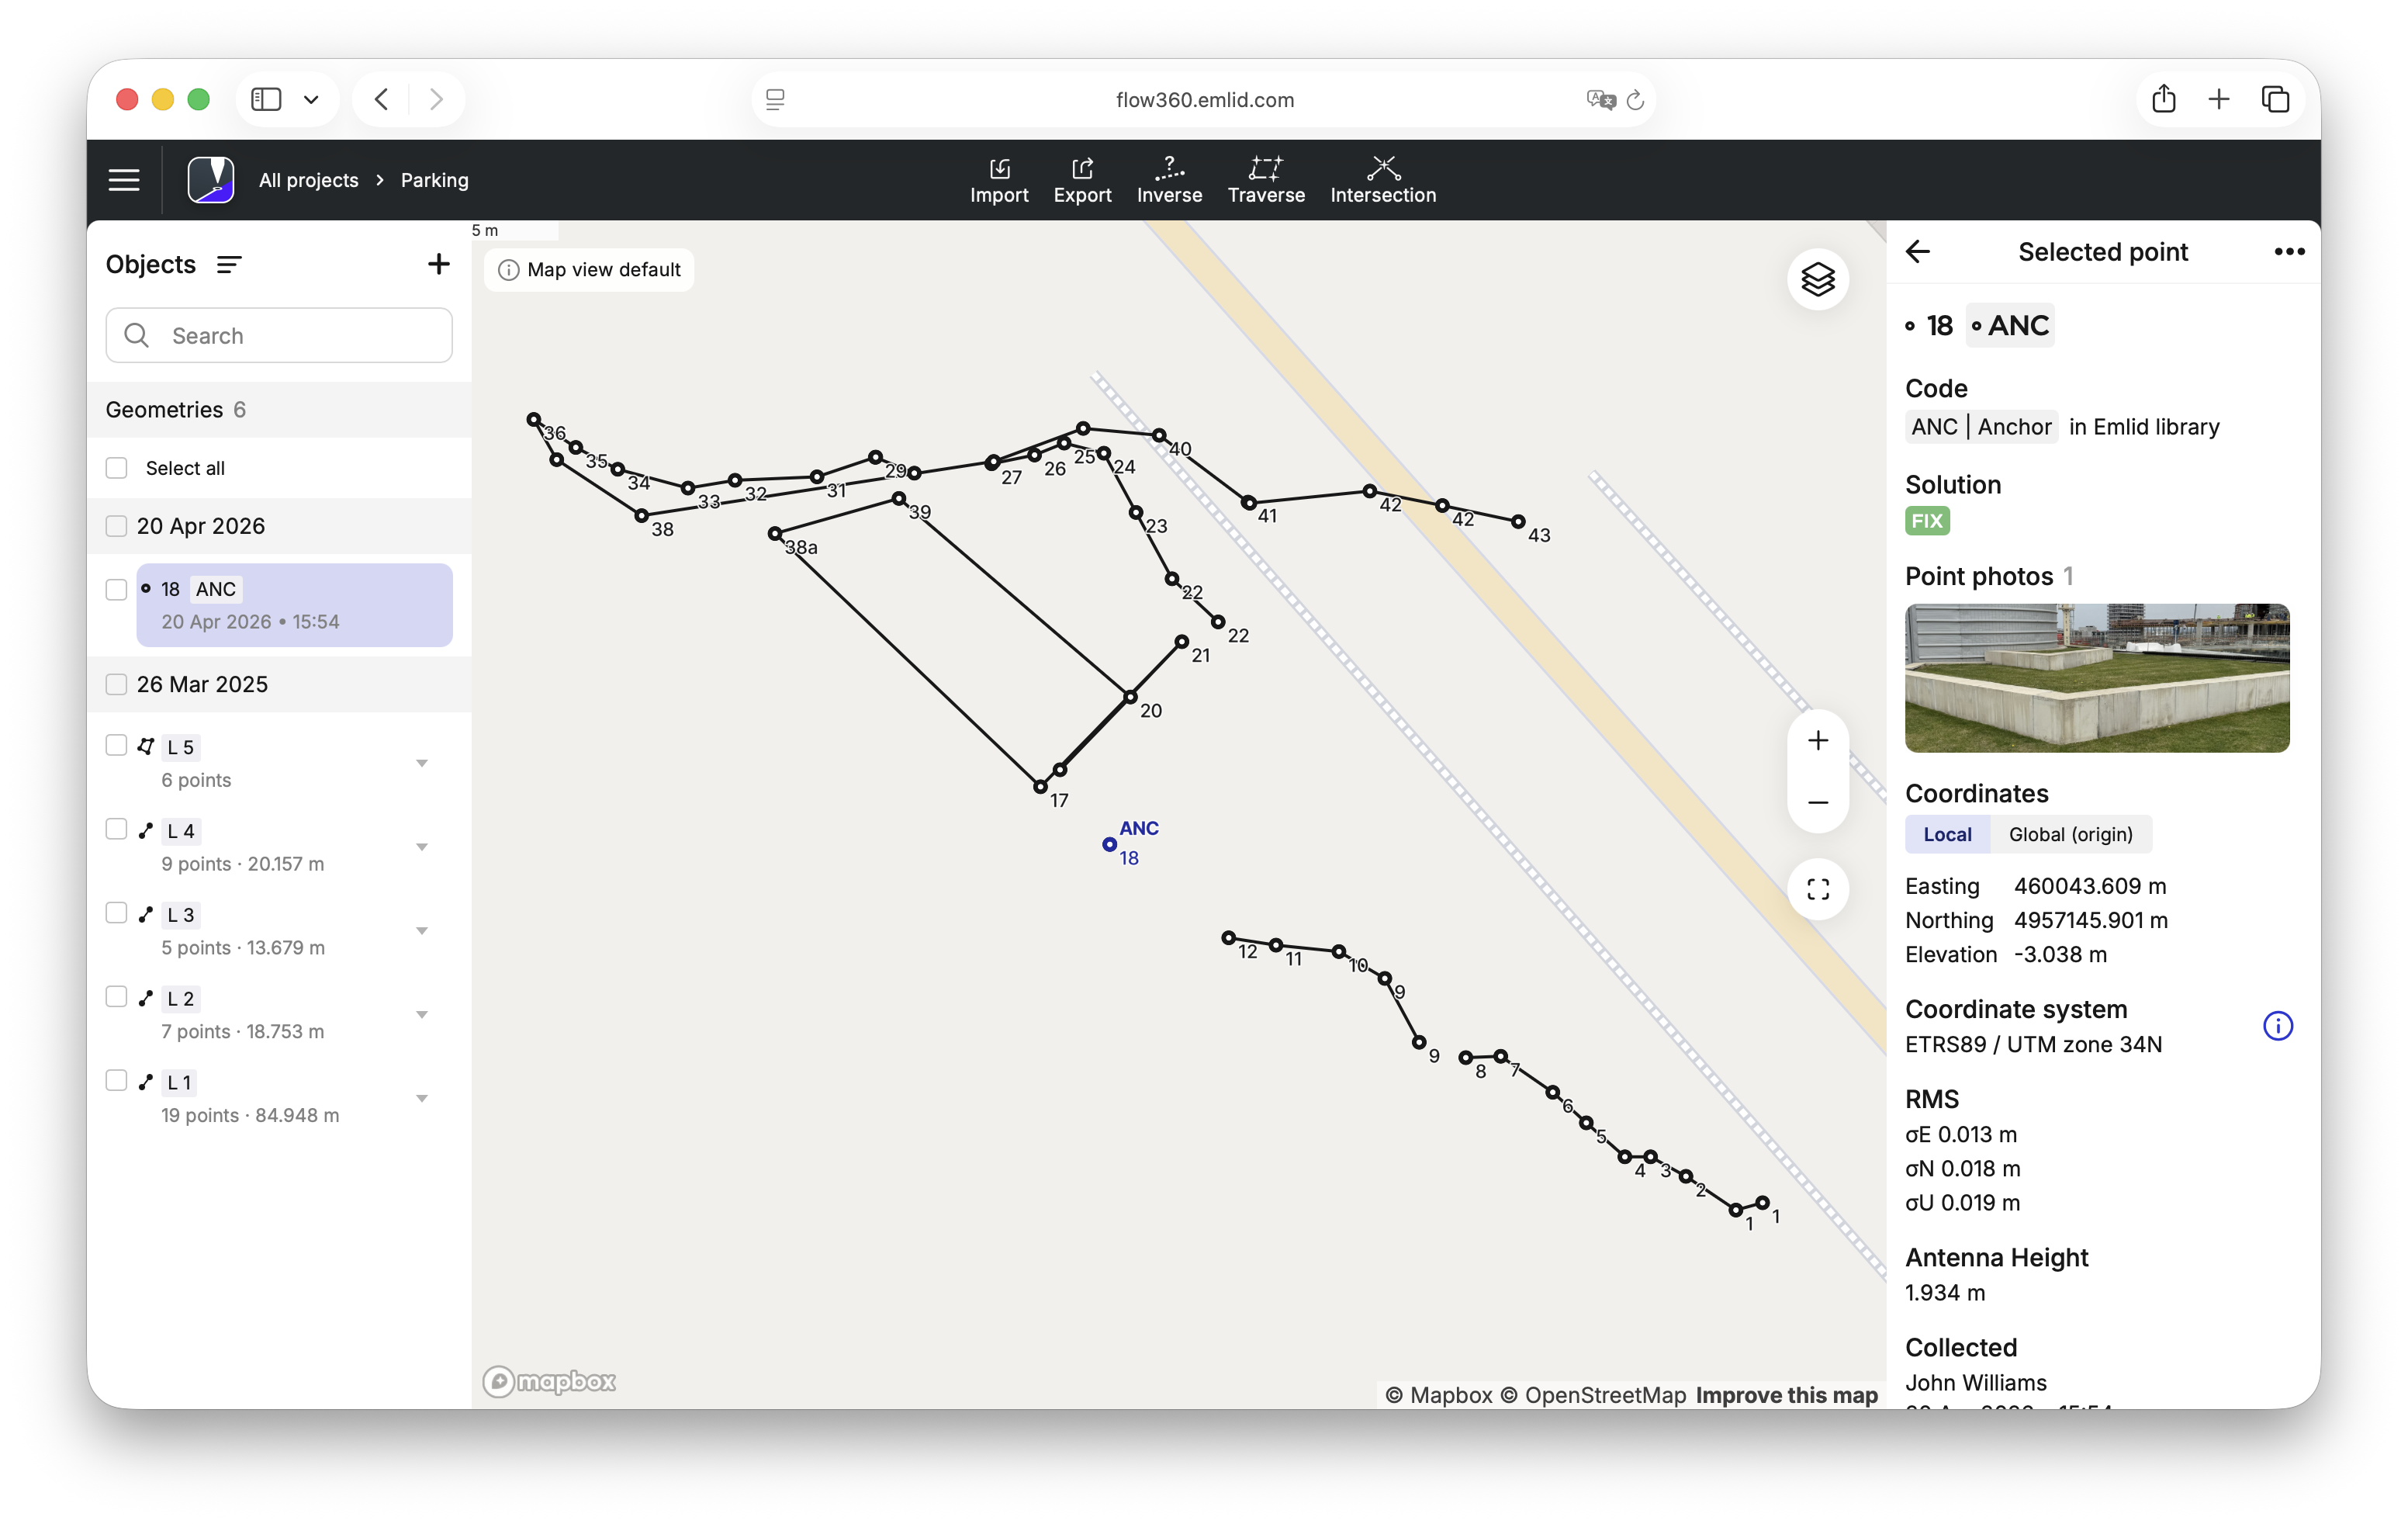
The attached photo will also appear in Emlid Flow 360 when you are logged in to your account and have an active internet connection.You only need to refresh the page.
noteIf you add photos on Android, restart the Emlid Flow app to sync them with Emlid Flow 360. This will be resolved in the upcoming release.
 caution
Photo deletion is only available in Emlid Flow.
-
-
If needed, rename the point and add a description.
-
Collect the point by tapping the Save button. Once the process is over, the collected point will appear on the map.
Now, you can continue collecting points to store their positions in the project.