Working with layers
Unlock the full set of features for topo, set-out, and as-built surveys
This guide describes how to work with WMS layers in Emlid Flow to get visual control and context of your survey area in the project.
Overview
Emlid Flow allows you to survey with WMS layers added to the project to get visual control and context of your survey area.
To use WMS layers, you need to add them to the project in Emlid Flow 360 first and then open this project in Emlid Flow using the same Emlid Account you log in to Emlid Flow 360.
You can add layers to the project only in Emlid Flow 360. Learn more about adding layers in the Create WMS layers library and Add WMS layers to project guides.
Workflow
- Emlid Flow
Make sure you log in to the same Emlid Account you use in Emlid Flow 360.
To work with WMS layers in Emlid Flow, your smartphone or tablet should have an intermittent internet access.
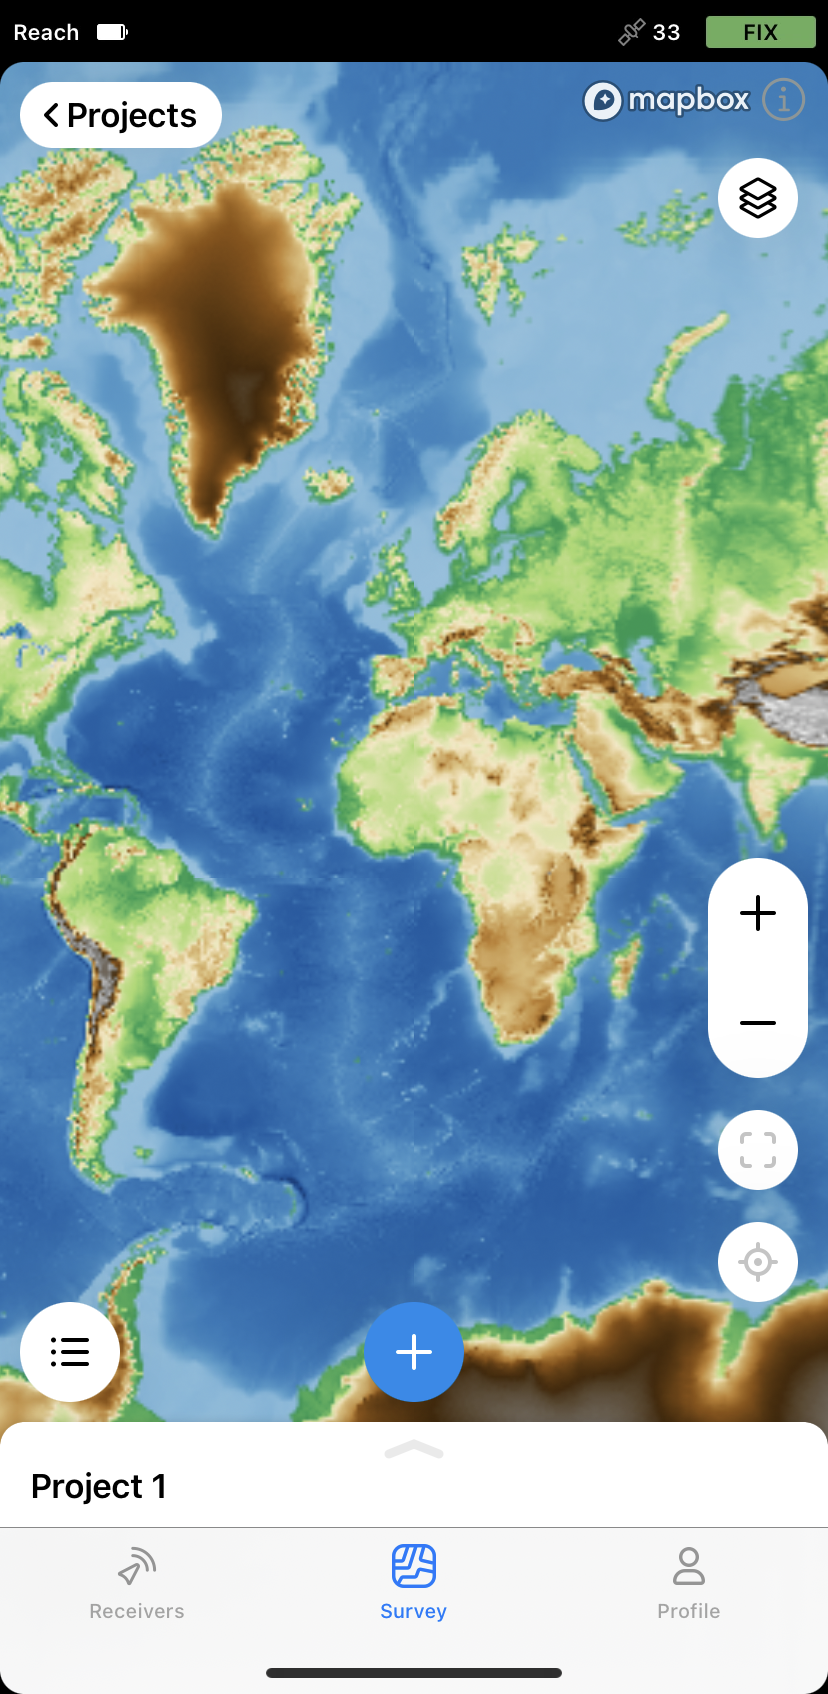
Access project with layers
Tap the Map layers button to switch between vector and satellite map types.
Access your project with added WMS layers in Emlid Flow as follows:
-
Open Emlid Flow and go to the Profile tab.
-
Tap Emlid Account and log in using the Emlid Account you use for Emlid Flow 360.
-
Go to the Survey tab and open the project with added layers.
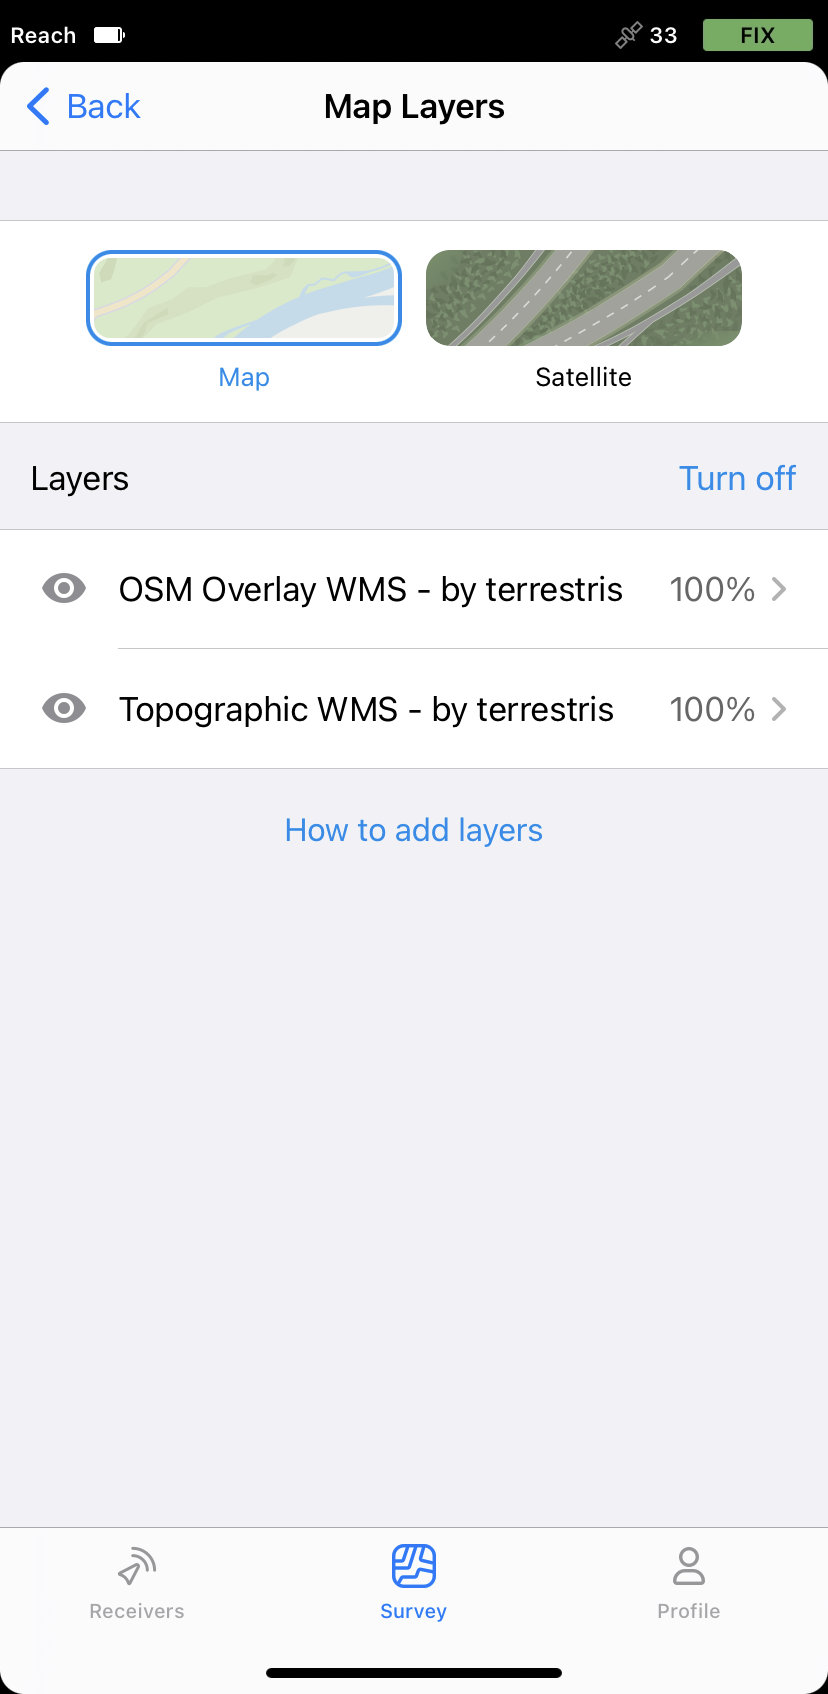
The project will open with already applied layers. If necessary, you can change their visibility and opacity on the map.
Change layers’ visibility and opacity
By default, map type, layers order, visibility, and opacity are imported from Emlid Flow 360.
You can change layers' visibility and opacity on the map as follows:
-
On the Project view screen in the top right corner, tap the Layers button. The Map layers screen with the layers settings will open.
-
To hide a layer, tap the eye icon near the layer’s name.
tipYou can hide all layers on the map at once using the Turn off button. To bring them back to the map, tap Turn on.
-
To change the layer's opacity, tap the arrow icon near the layer's name. The Opacity settings screen will open-change opacity as needed.
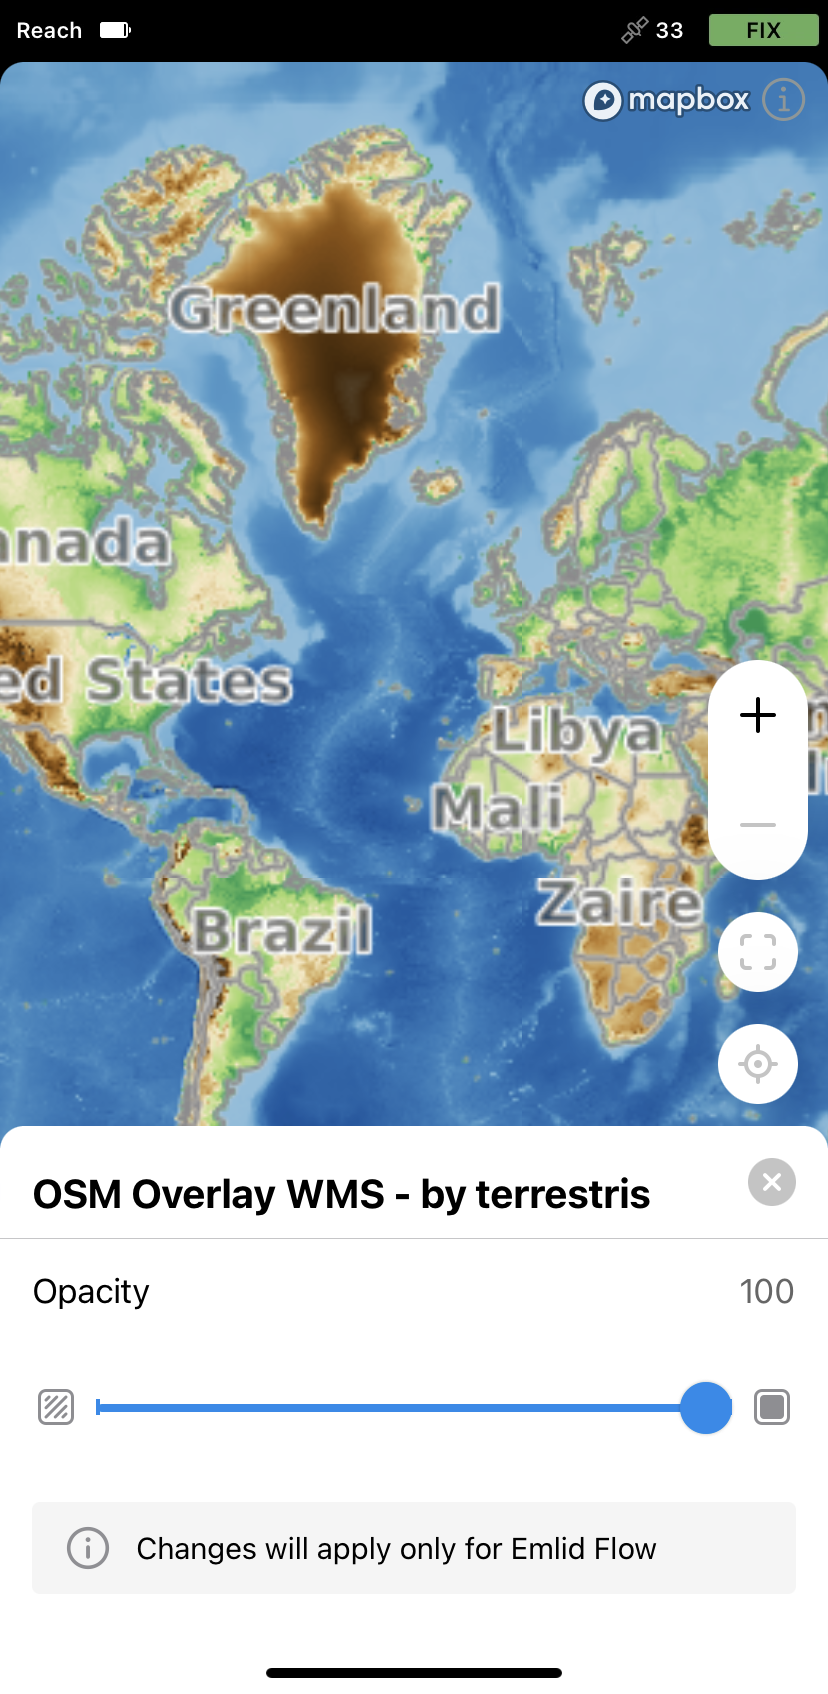
Changes will be applied only for the project in Emlid Flow.