Export projects
This guide shows how to export project data from Emlid Flow or Emlid Flow 360 for further use in third-party GIS software.
Overview
With Emlid Flow and Emlid Flow 360, you can export your projects as CSV, Custom CSV, DXF, KML, or Shapefile to work with them in third-party GIS software.
Exporting project
To export the project, follow the steps below:
- Emlid Flow
- Emlid Flow 360
-
Open Emlid Flow and go to the Survey tab.

-
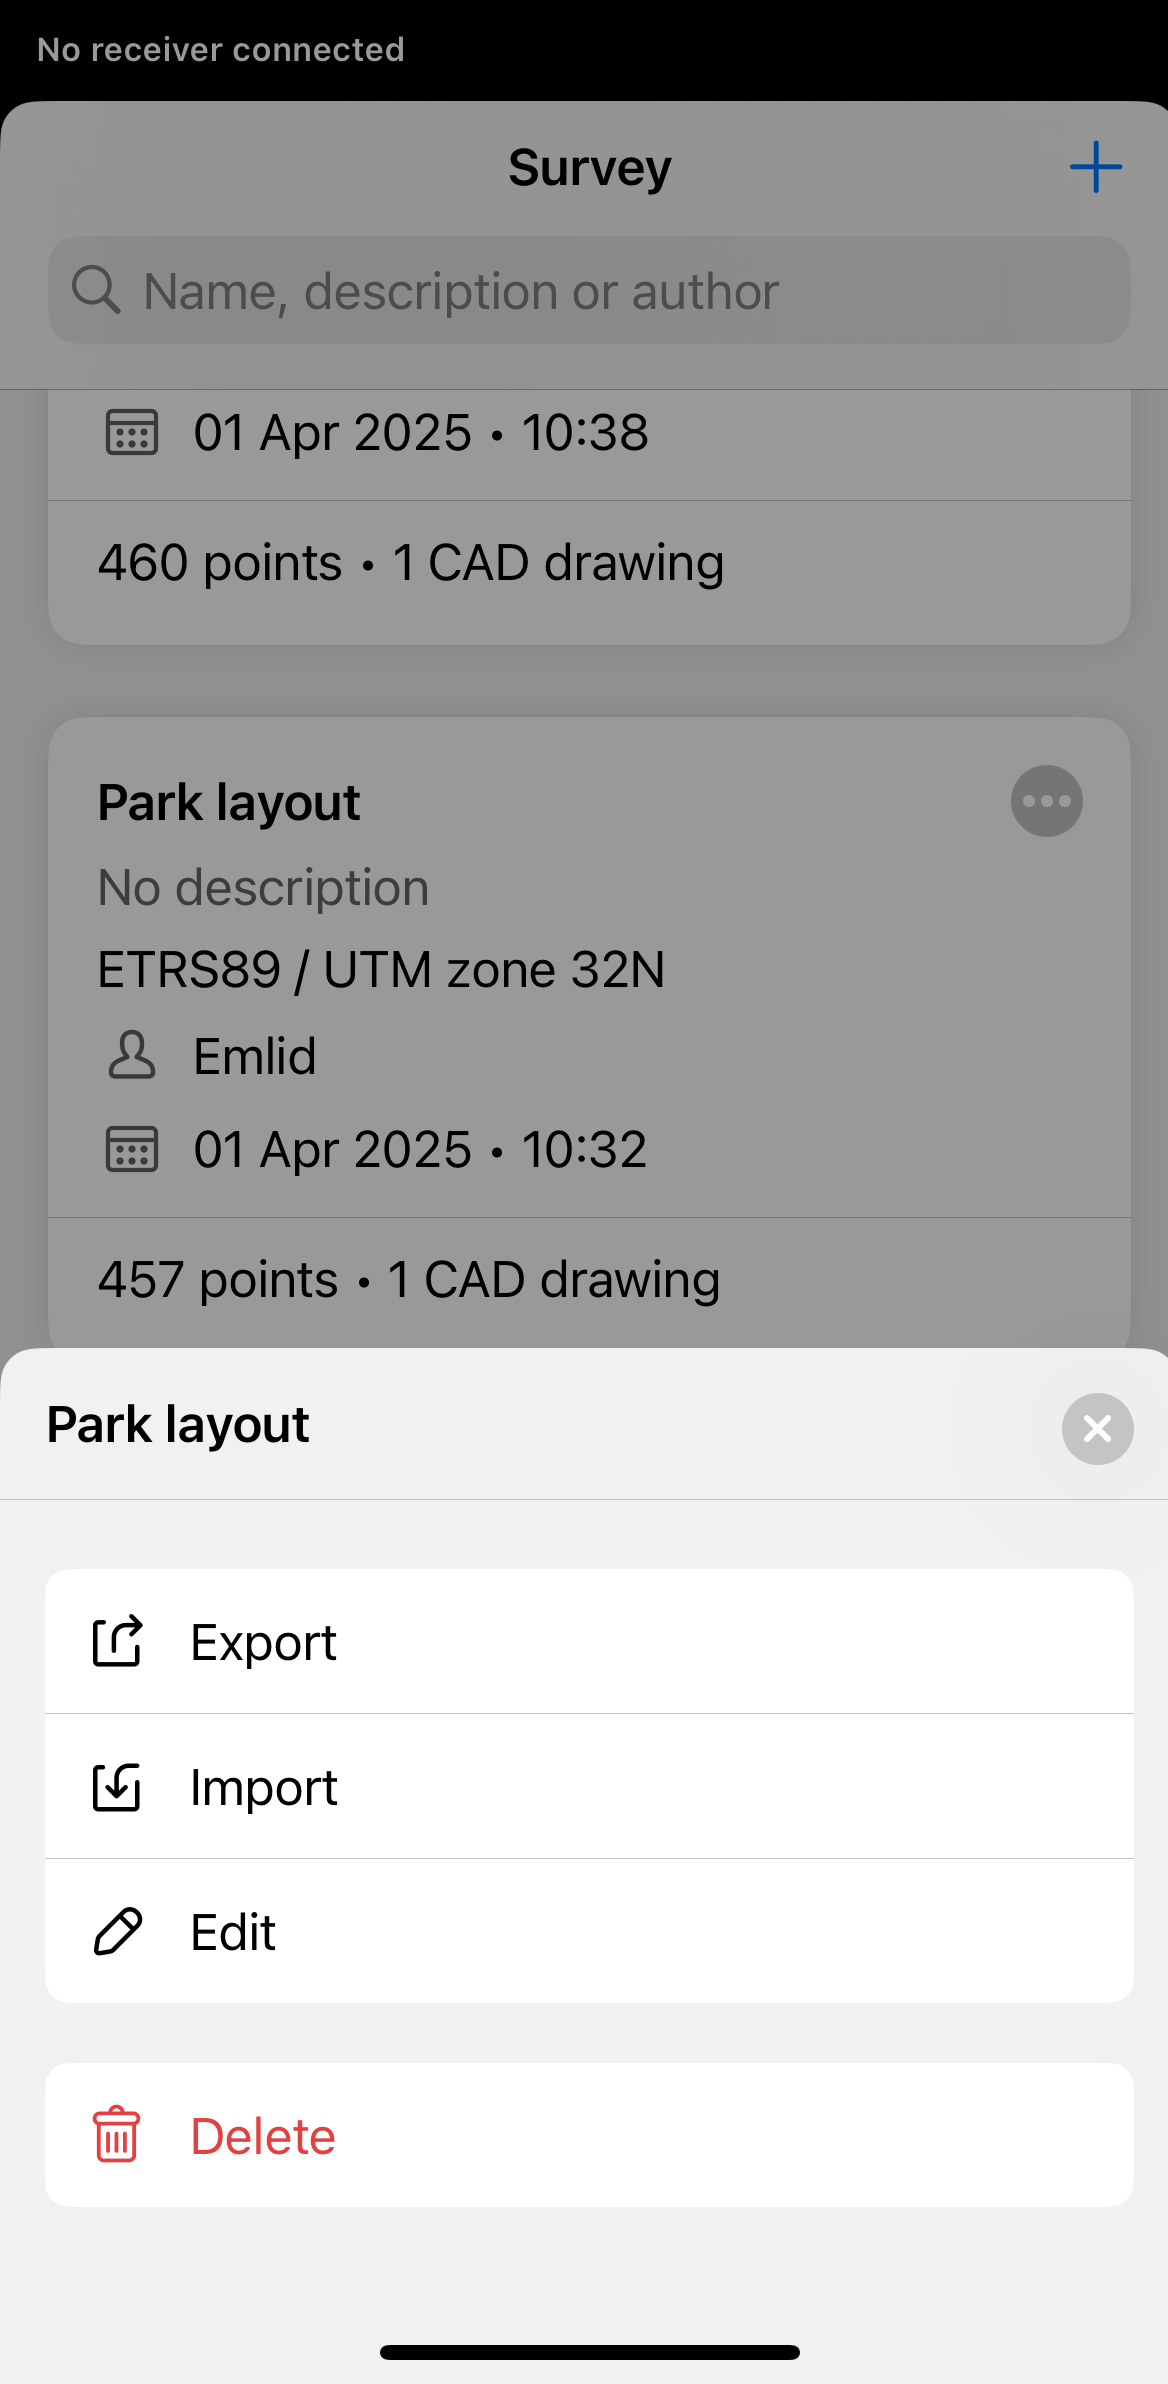
Find the project you want to export and tap the 3 dots button in the top right corner.
-
Tap Export.
-
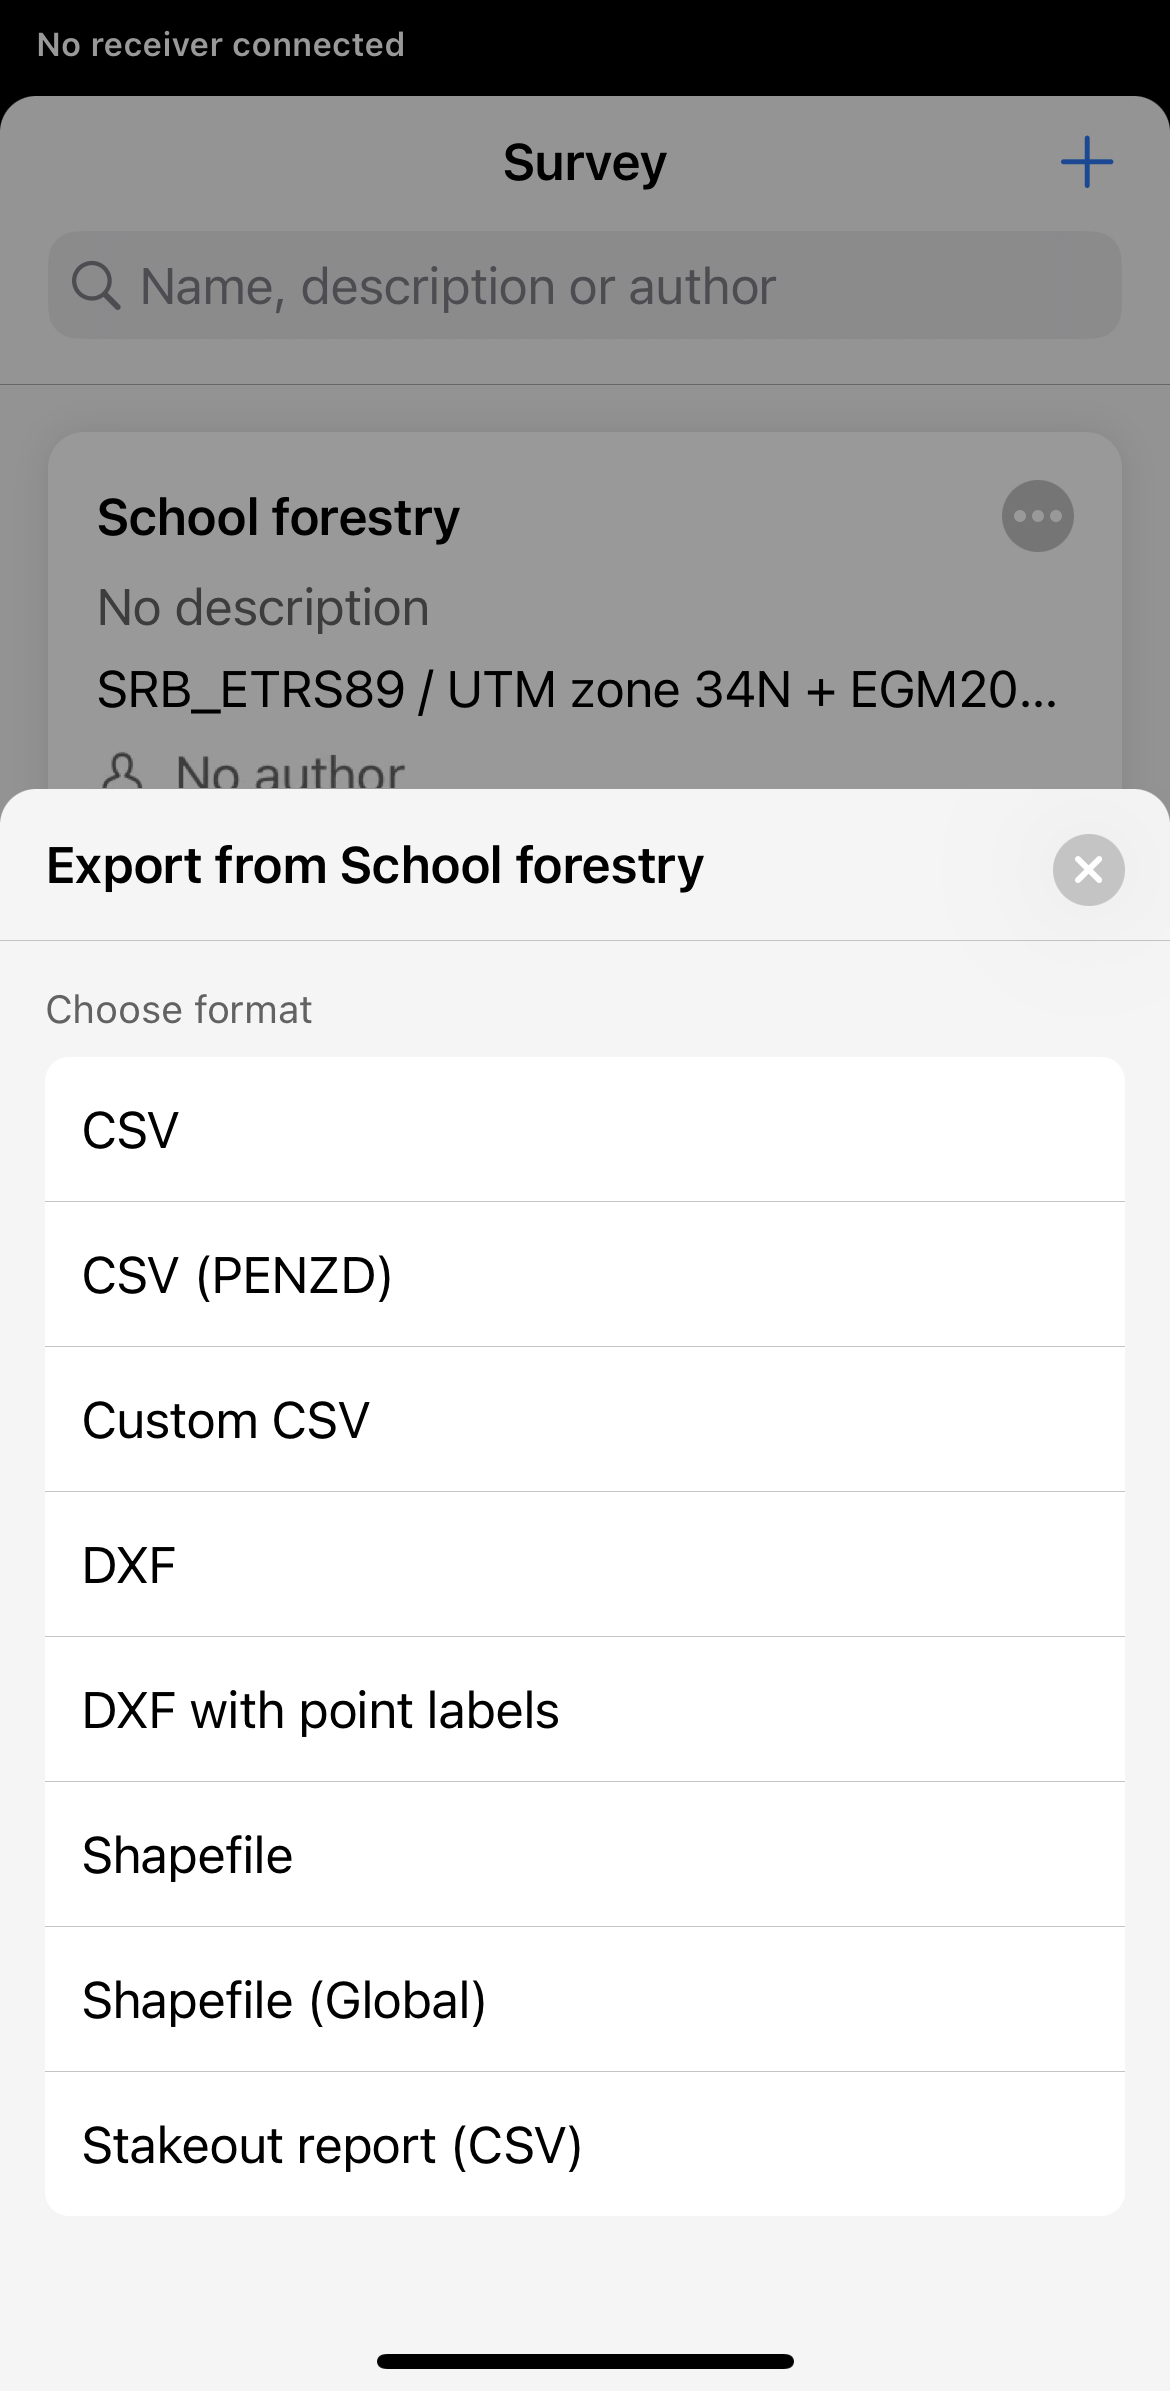
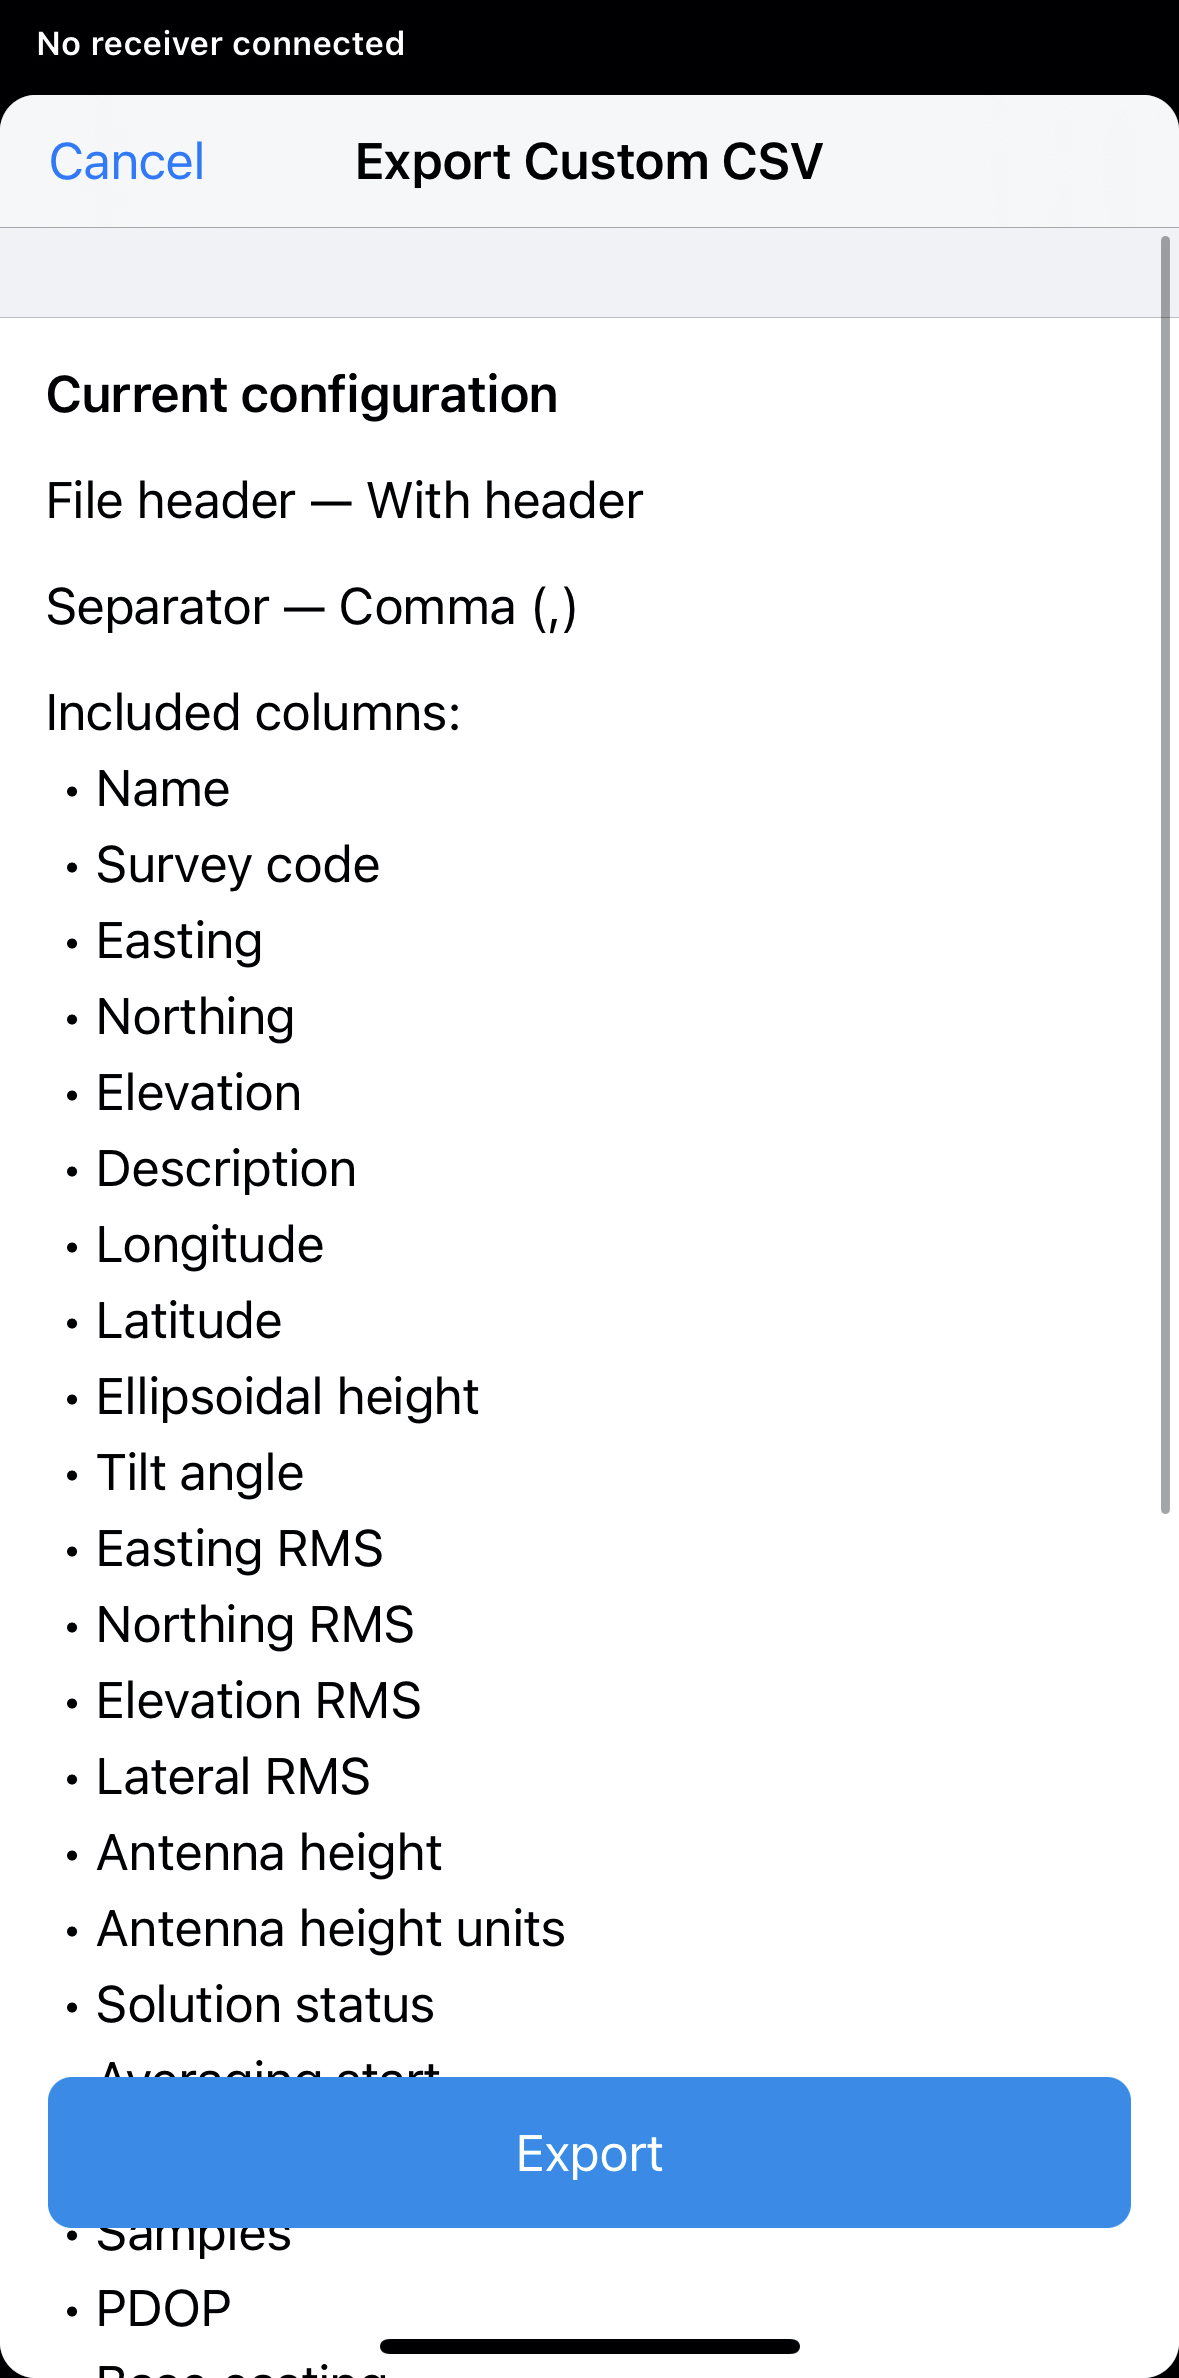
Choose the format in which you want to export your project and, if necessary, adjust its configuration.
-
Wait until Emlid Flow finishes to export your project. Save the file depending on the device you use.
-
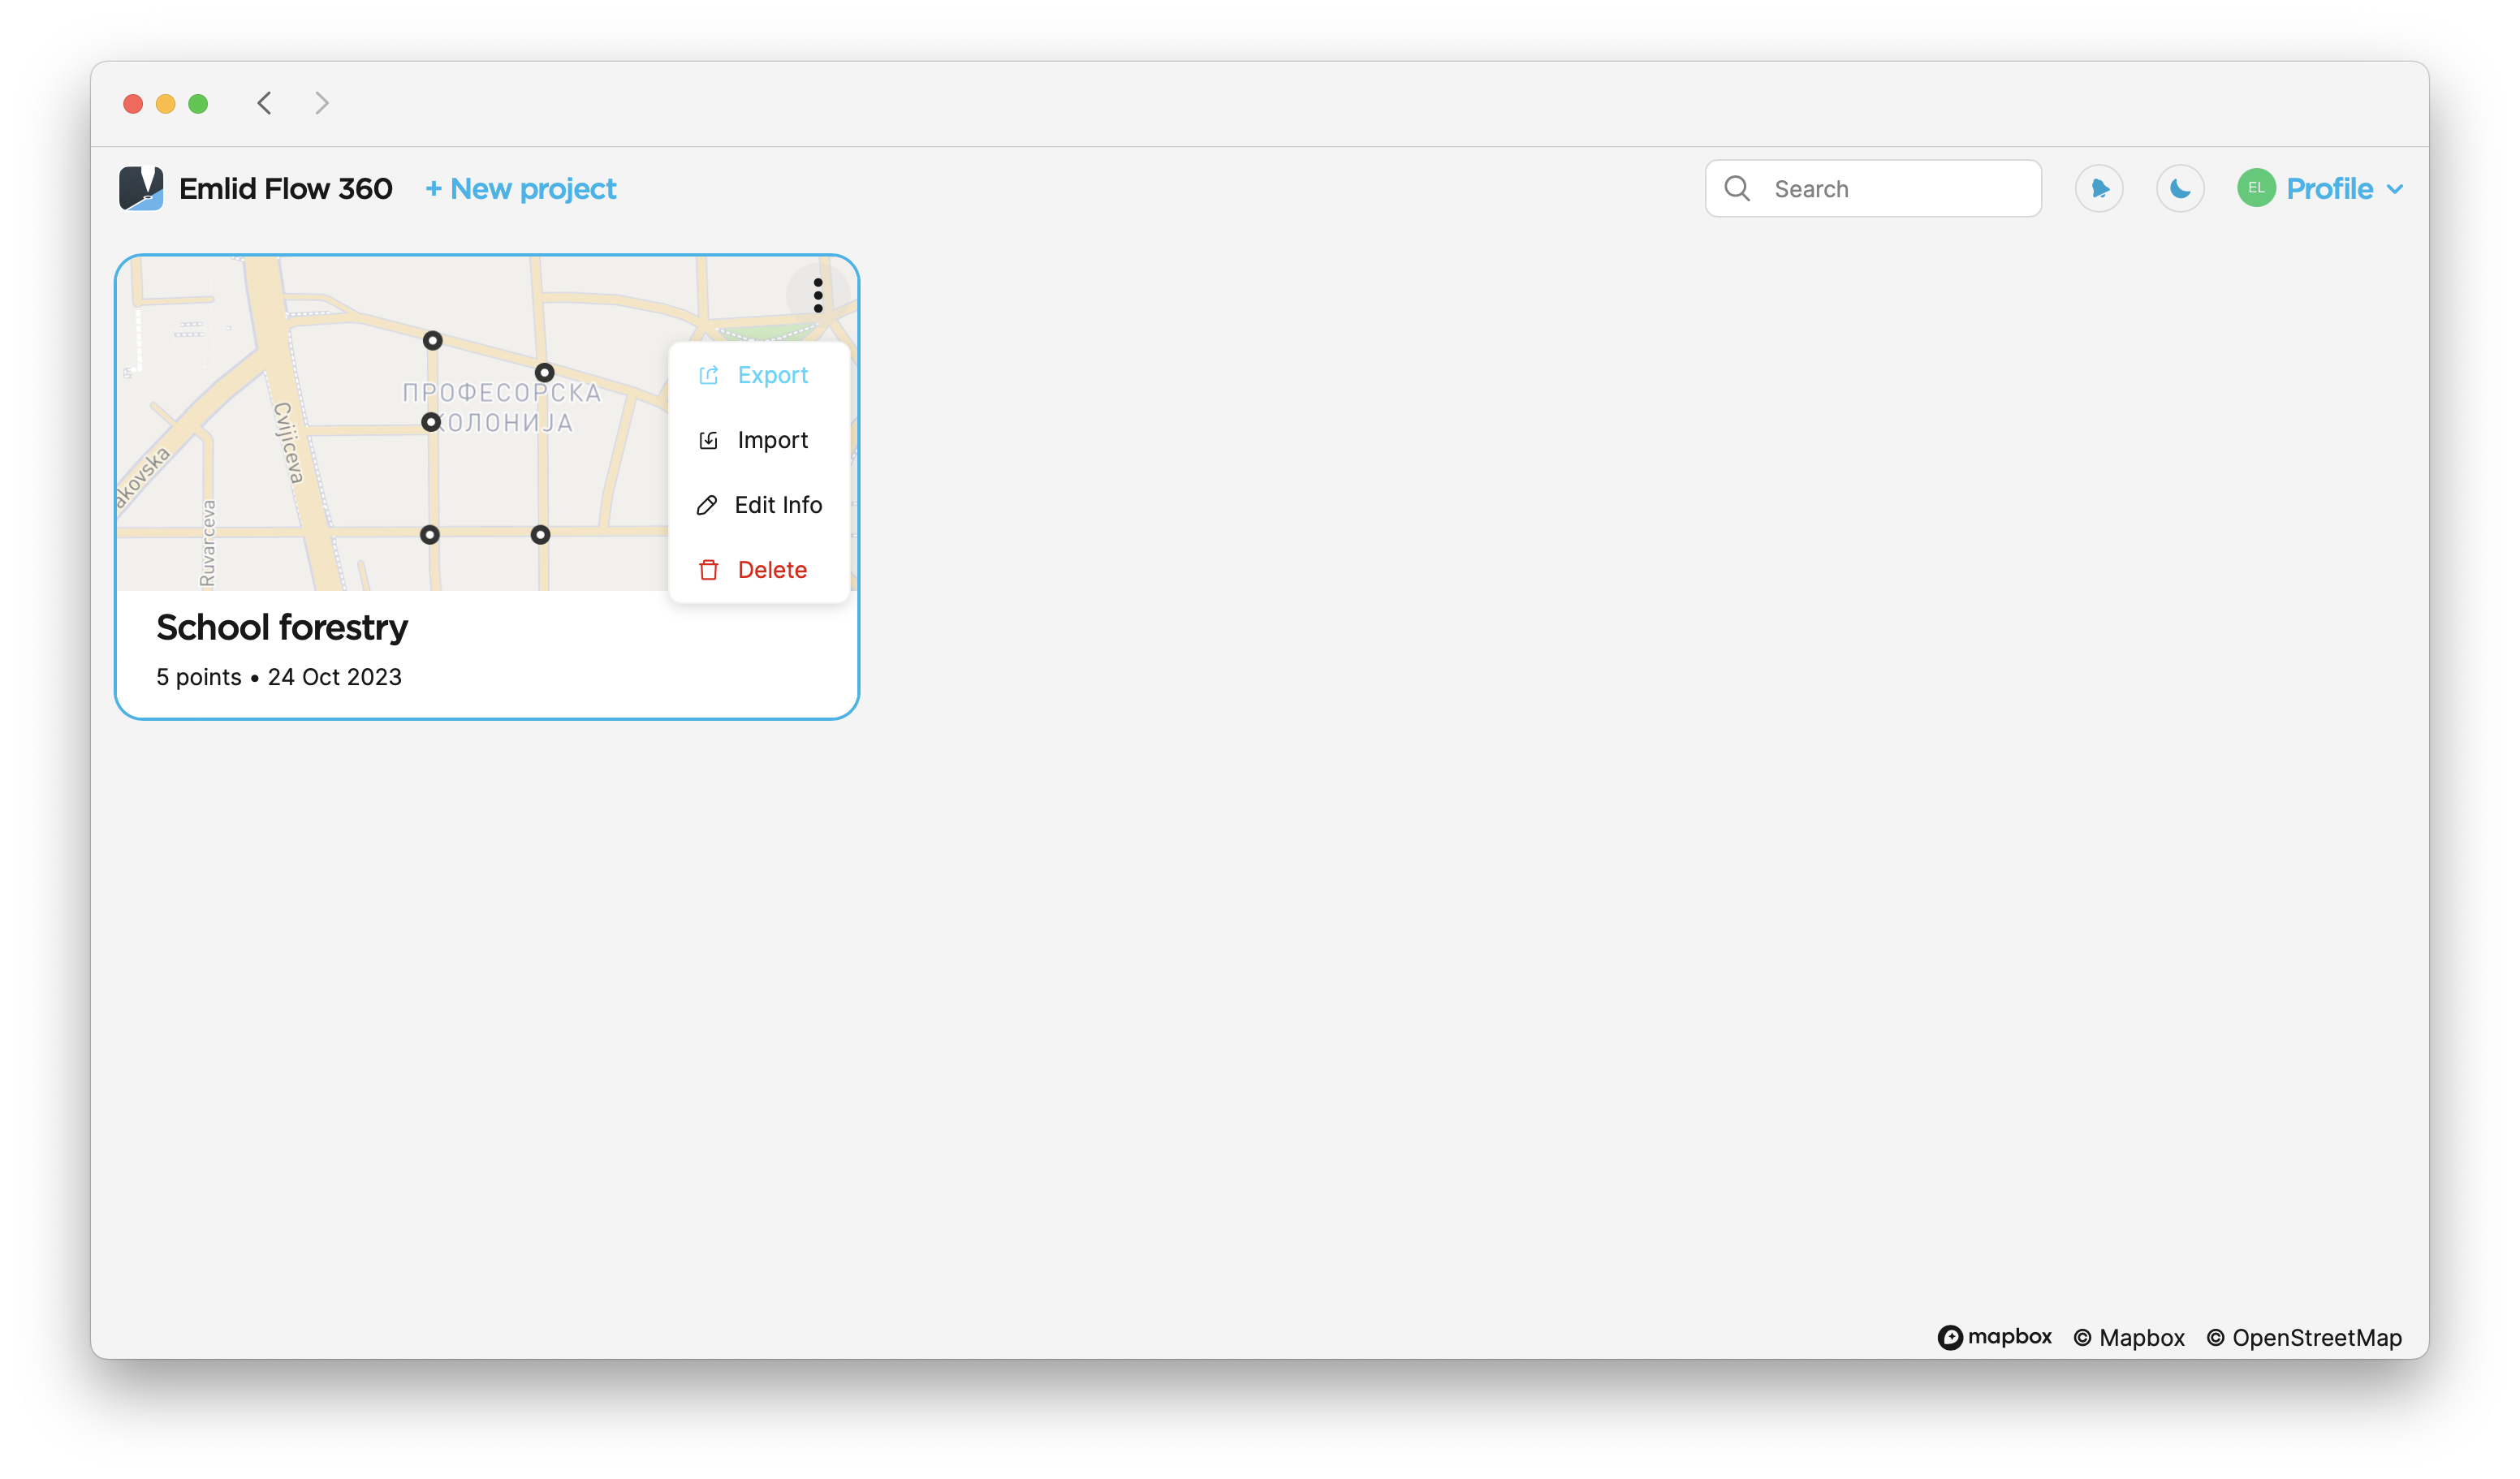
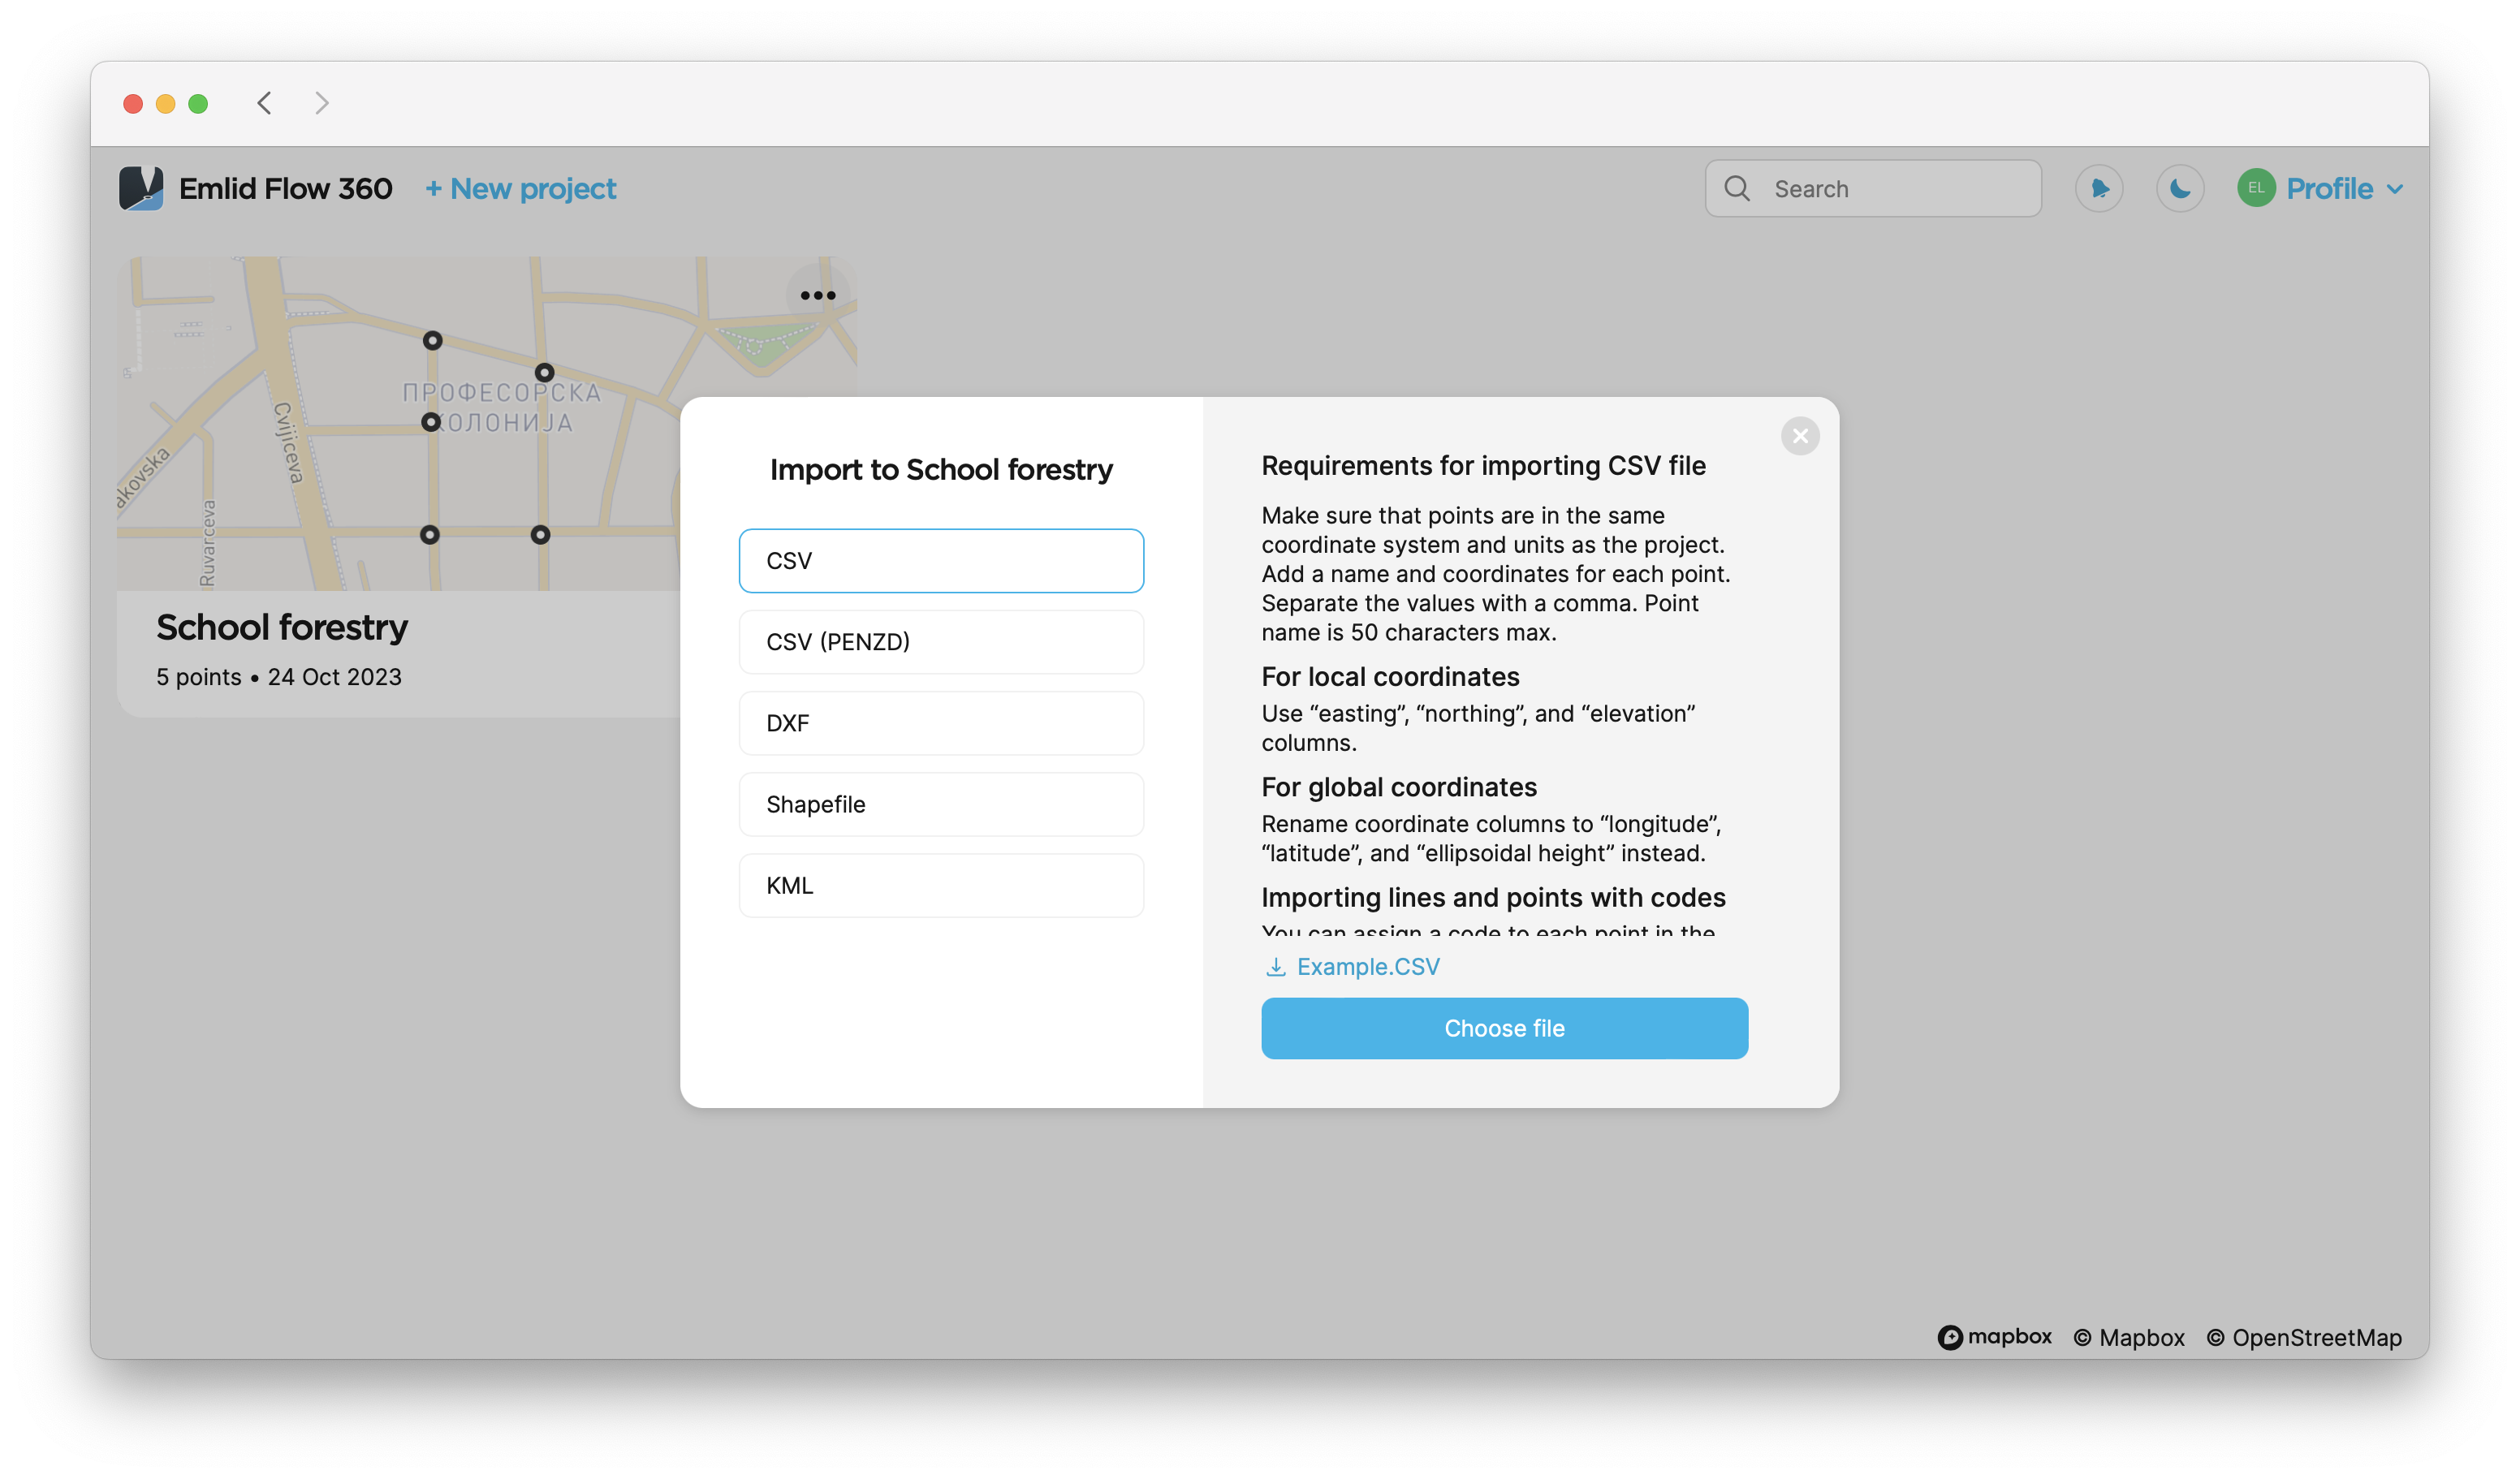
Open Emlid Flow 360 and find the project you want to export.
-
Tap the 3 dots button in the top right corner of the project’s plate. Click Export.
-
Choose the format in which you want to export your project and, if necessary, adjust its configuration.
-
Wait until Emlid Flow 360 finishes to export your project. Save the file depending on the device you use.
Now your project’s data is ready for further use in third-party GIS software.