Create or import project
If you don’t have an Emlid account or your data isn’t visible in Emlid Flow 360, do not remove or reinstall the app, as your projects won't be saved. In case of any difficulties, please contact us at [email protected], and we'll be sure to help you out.
We recommend creating projects before the survey since some
Coordinate system is a coordinate-based local, regional or global system used to locate geographical entities. A spatial reference system defines a specific map projection, as well as transformations between different spatial reference systems.
This guide describes how to create or import a project and use folders in Emlid Flow or Emlid Flow 360 to survey.
Overview
Projects are a way to group and operate your survey data. Using projects, you can collect and stake out data in the preferred
Coordinate system is a coordinate-based local, regional or global system used to locate geographical entities. A spatial reference system defines a specific map projection, as well as transformations between different spatial reference systems.
Workflow
Every survey starts with a project.
Creating project
To create a project in Emlid Flow or Emlid Flow 360, follow the steps below:
- Emlid Flow 360
- Emlid Flow
-
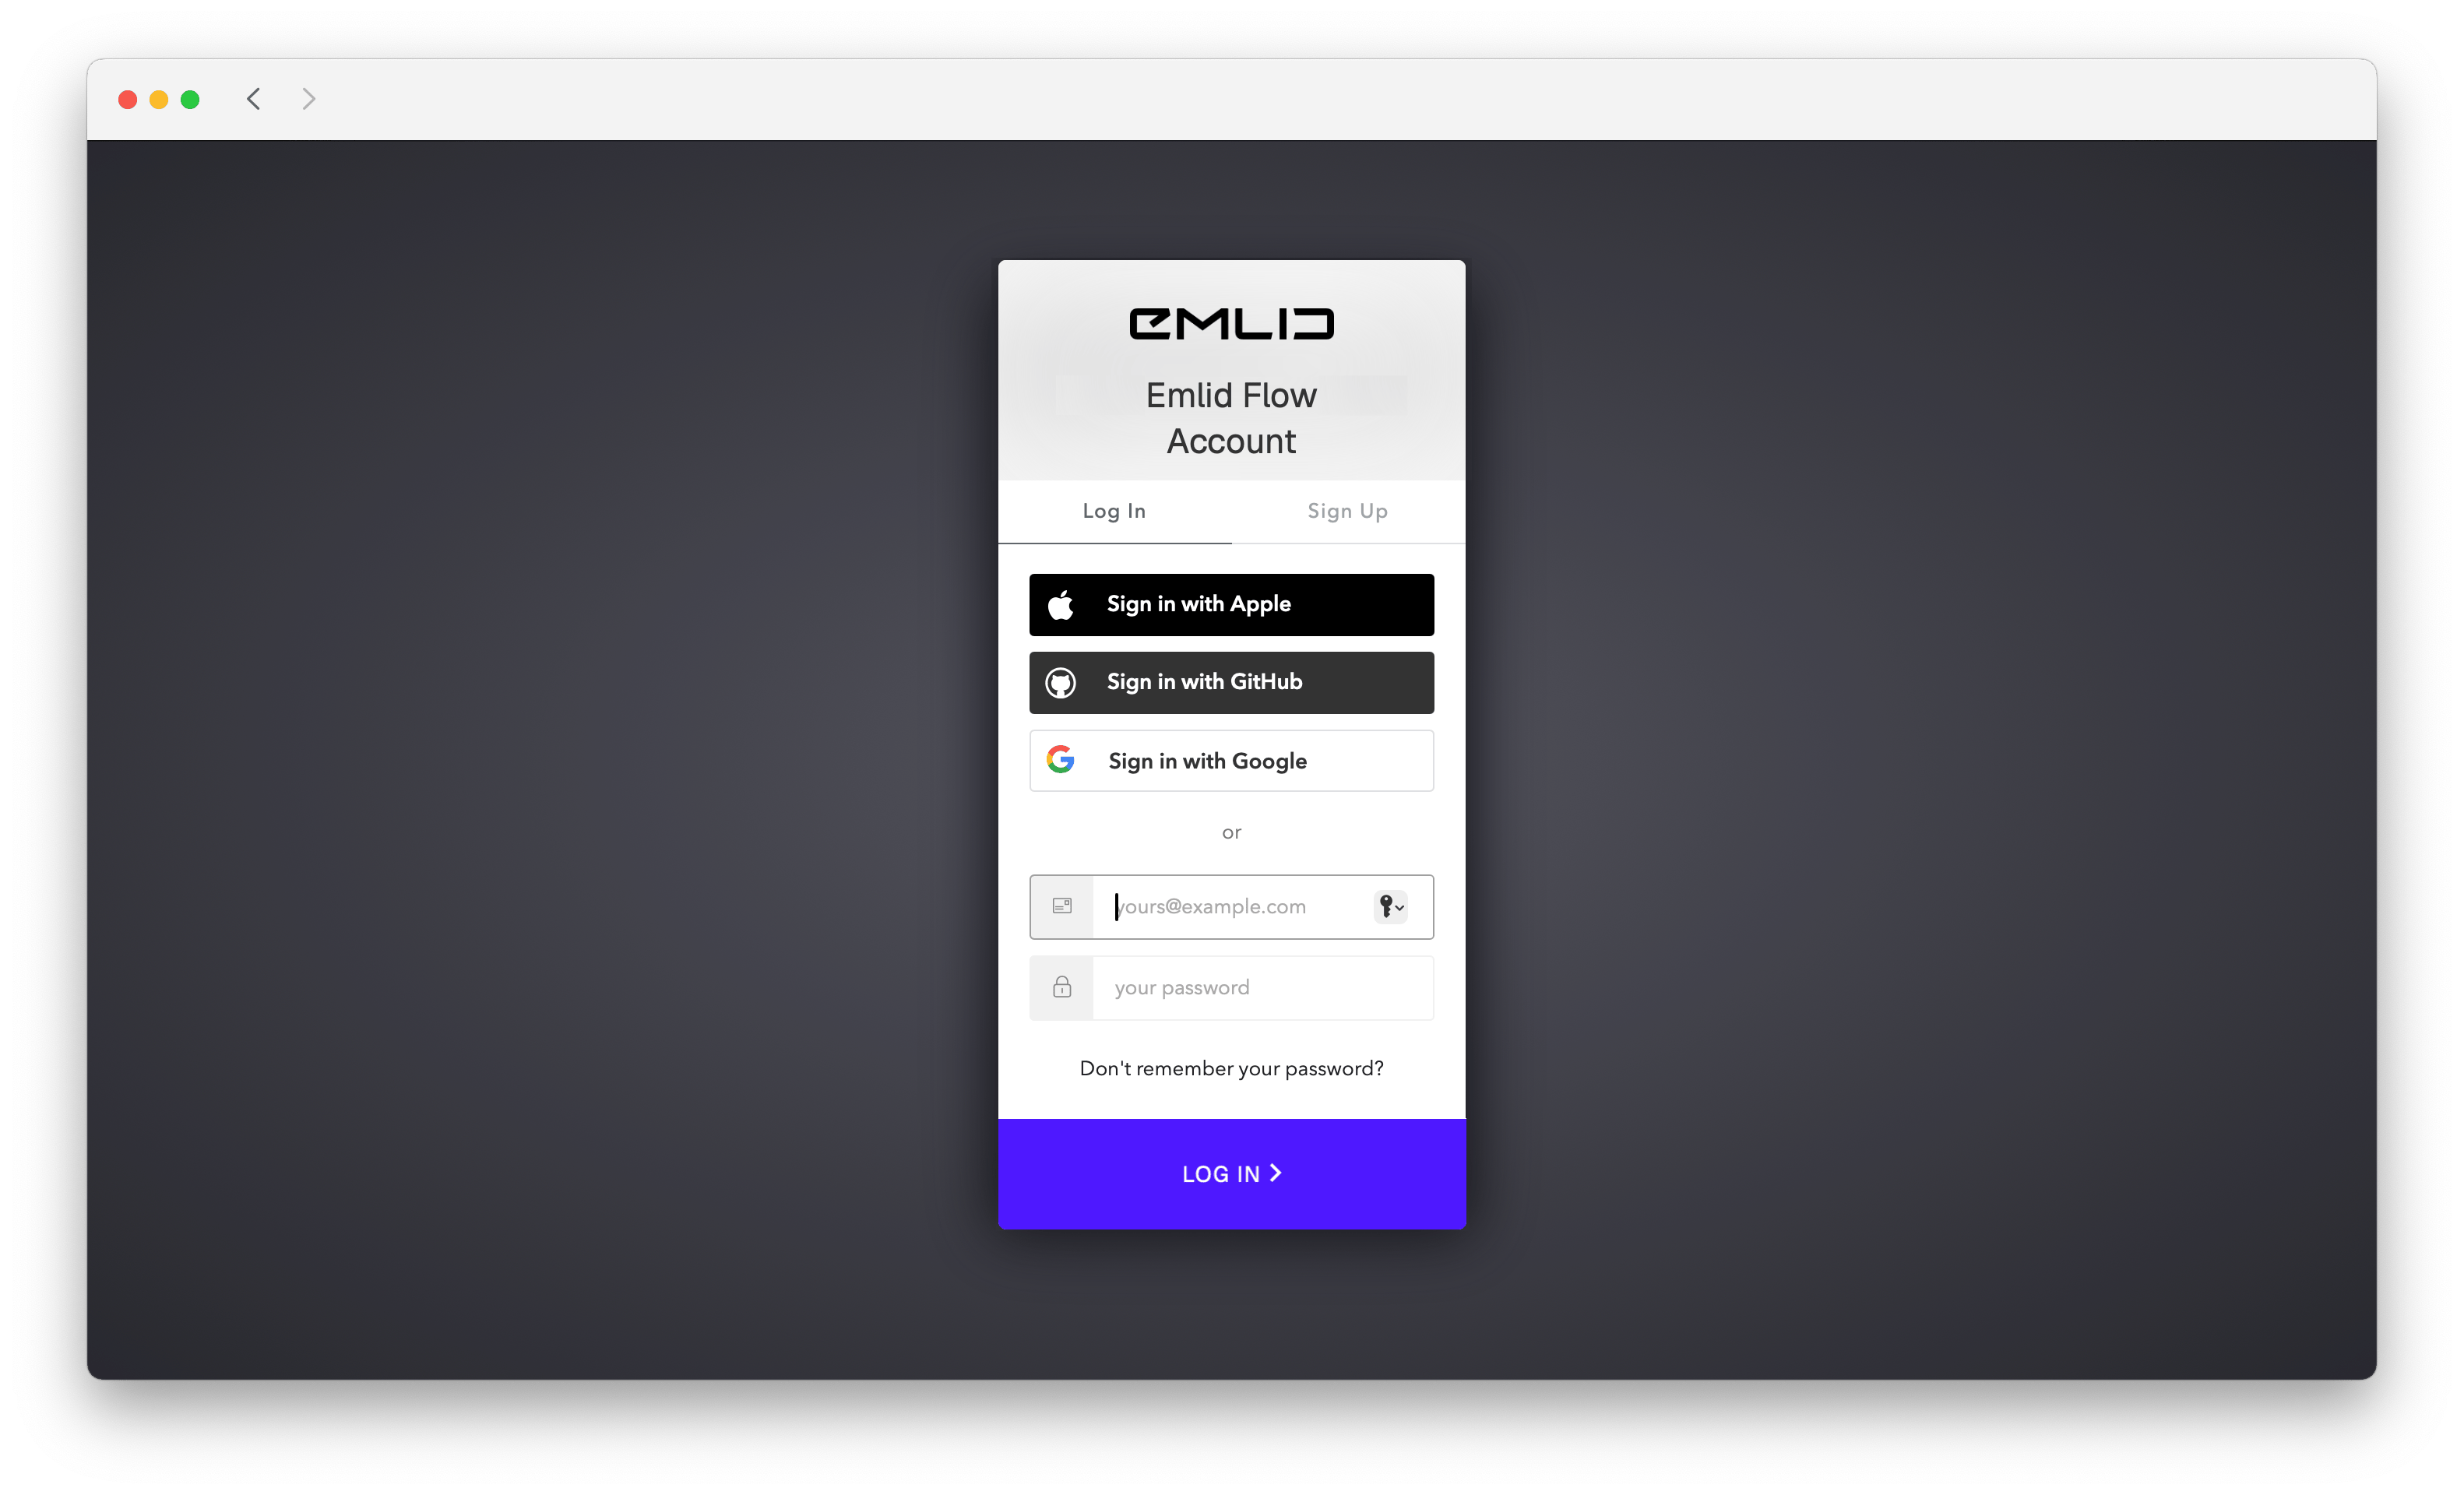
Go to flow360.emlid.com and sign up or sign in using your Emlid account.
tipTo learn how to create an Emlid account, check the Getting started guide.
-
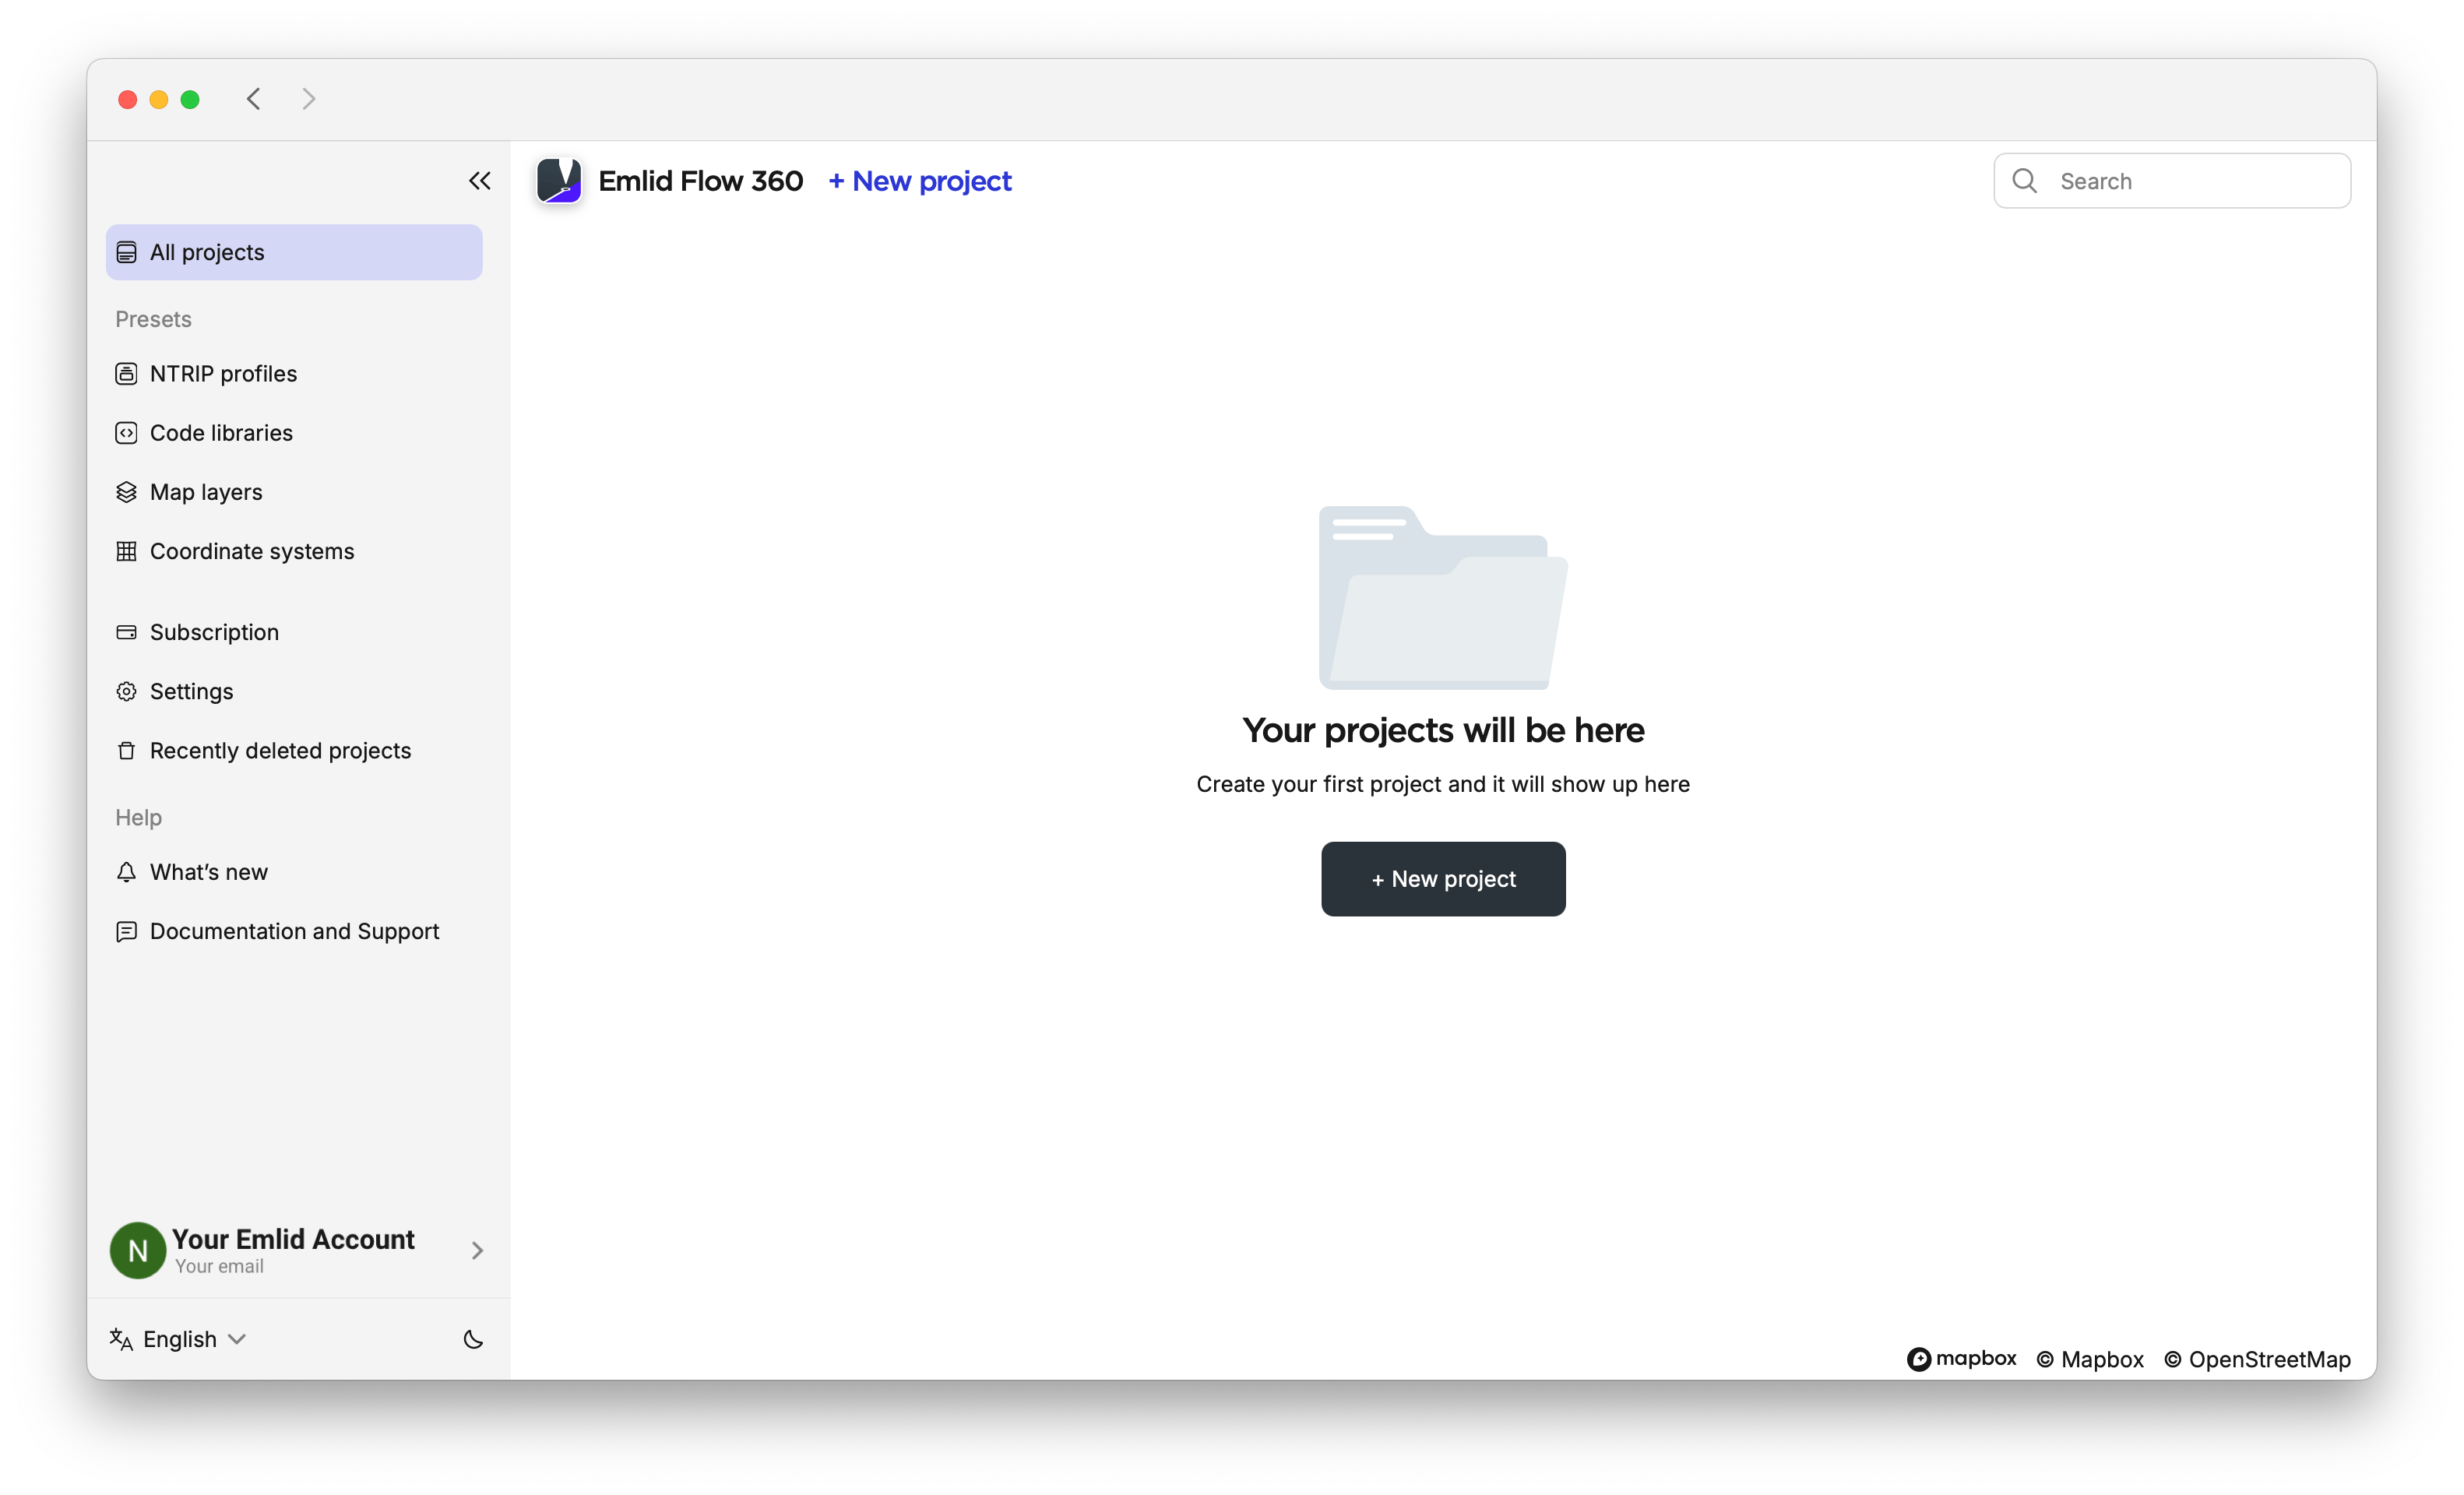
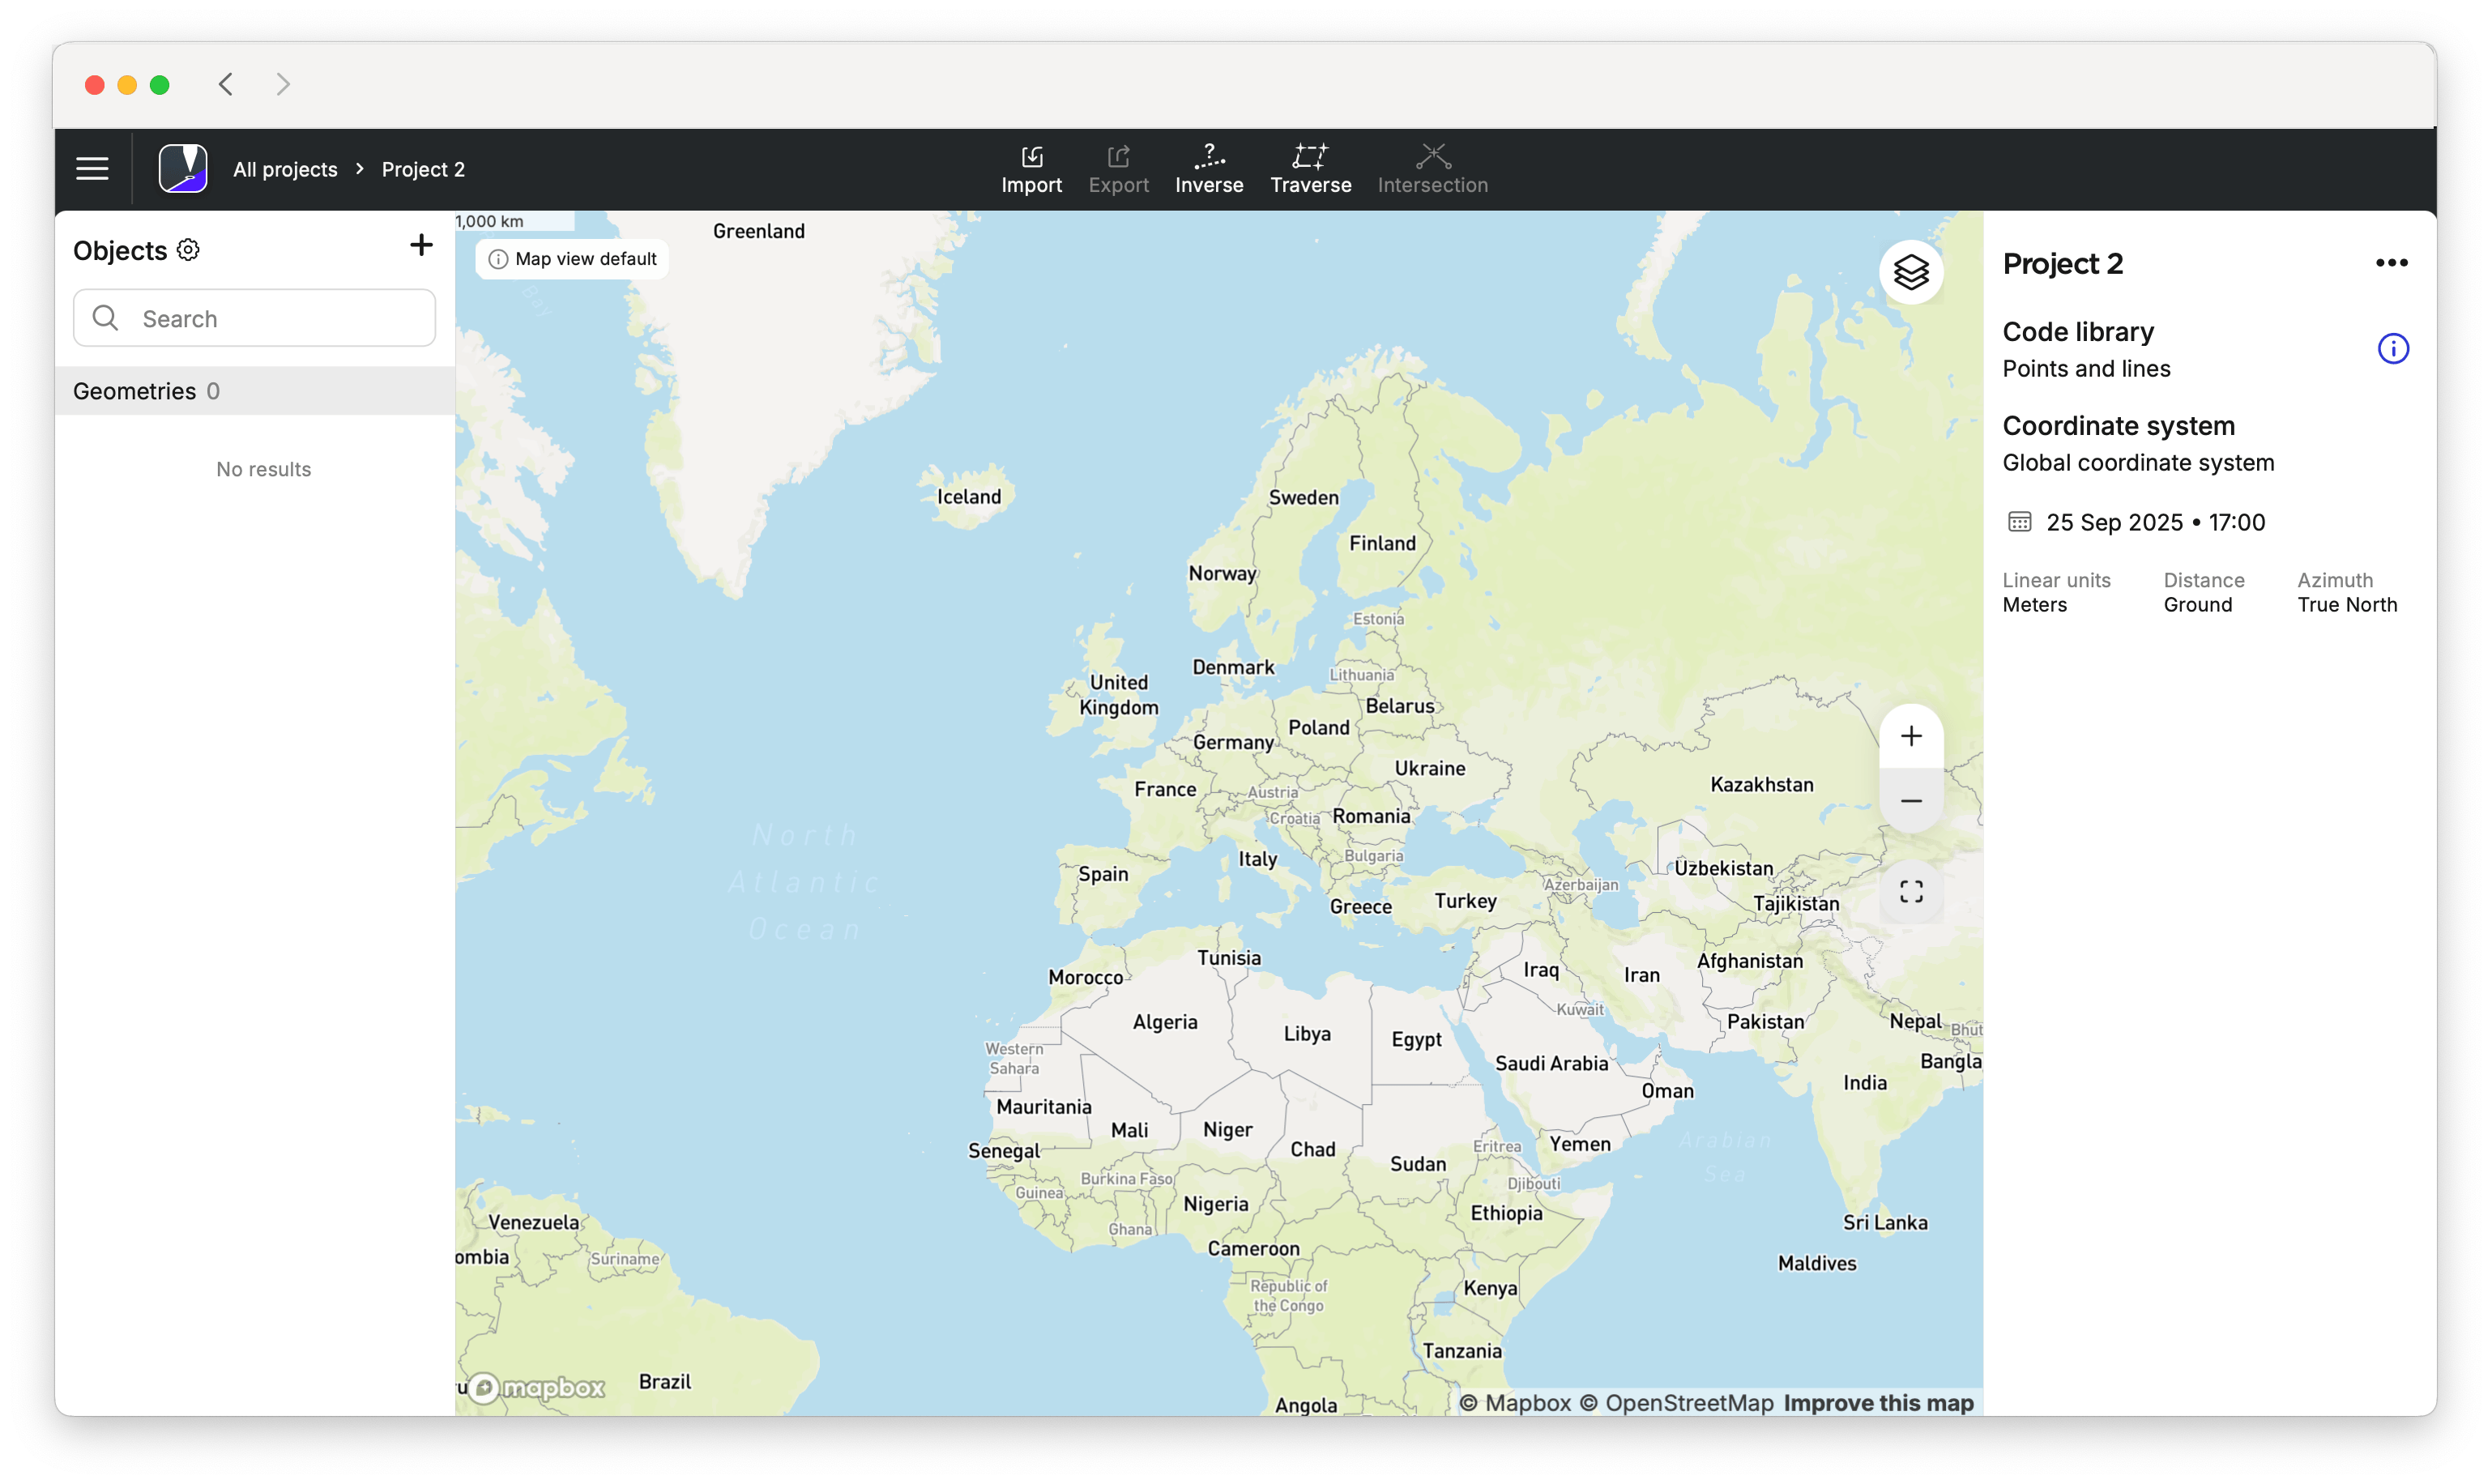
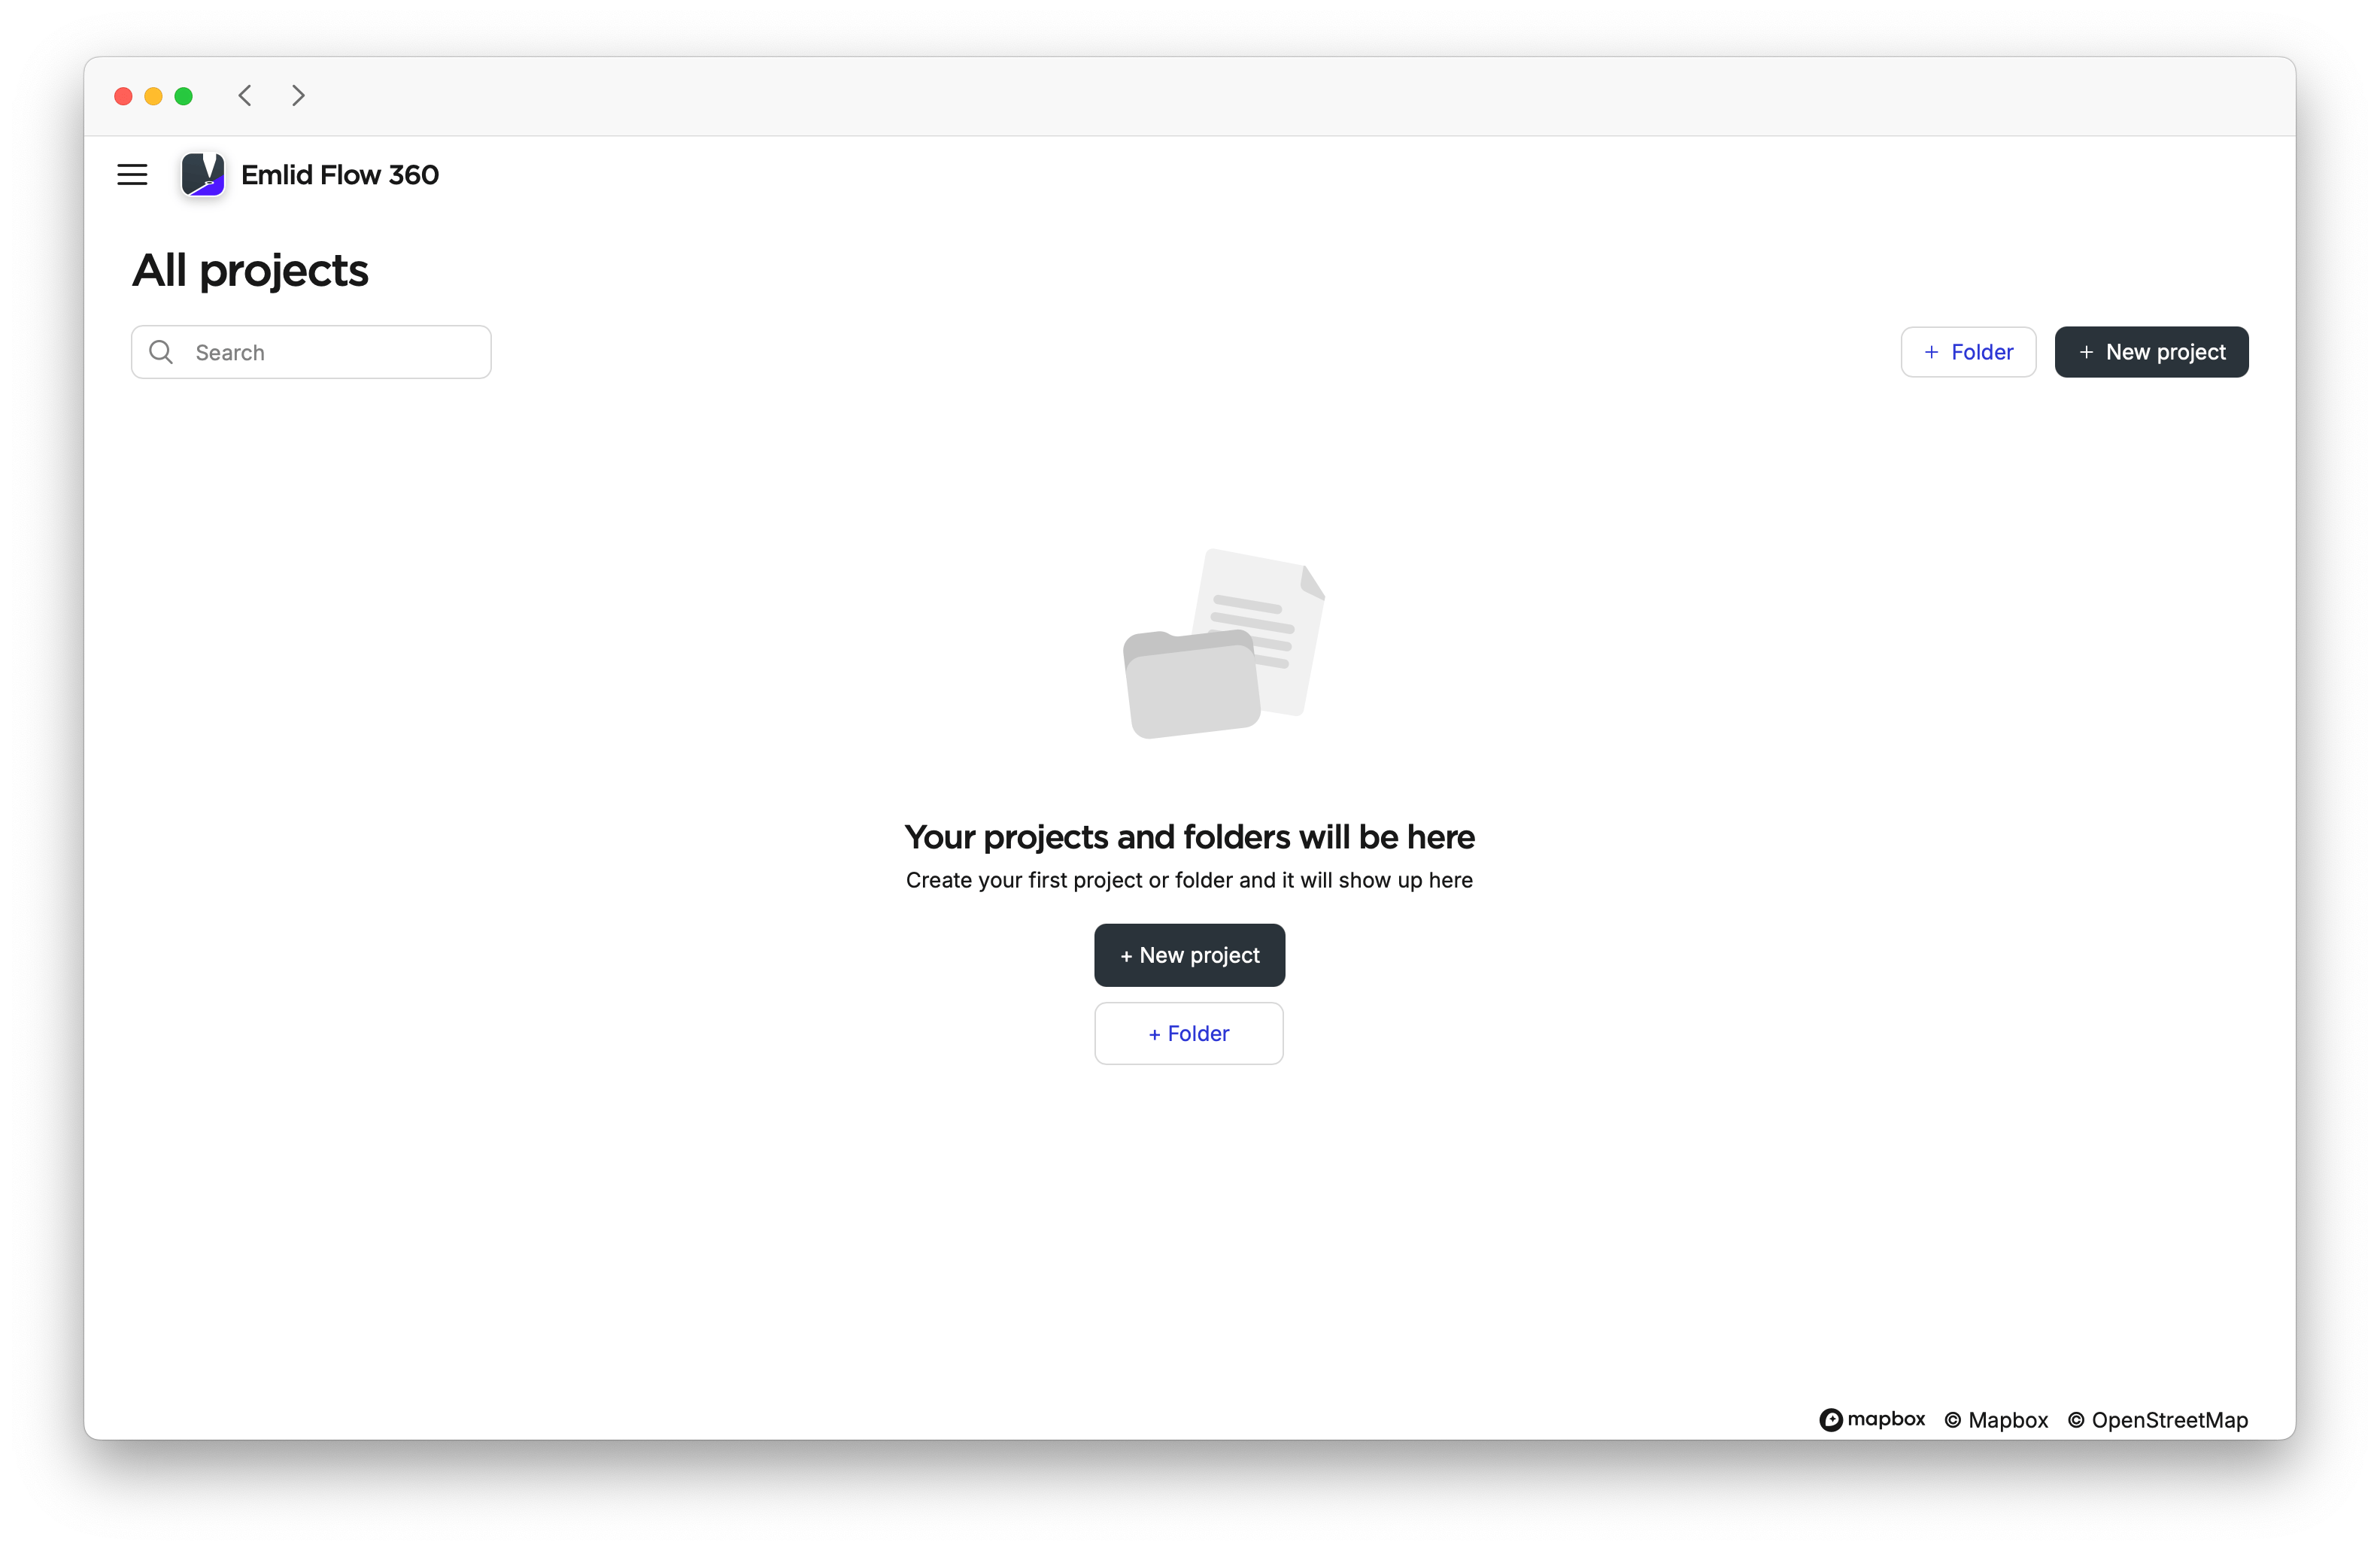
Click + New project on the main screen.
-
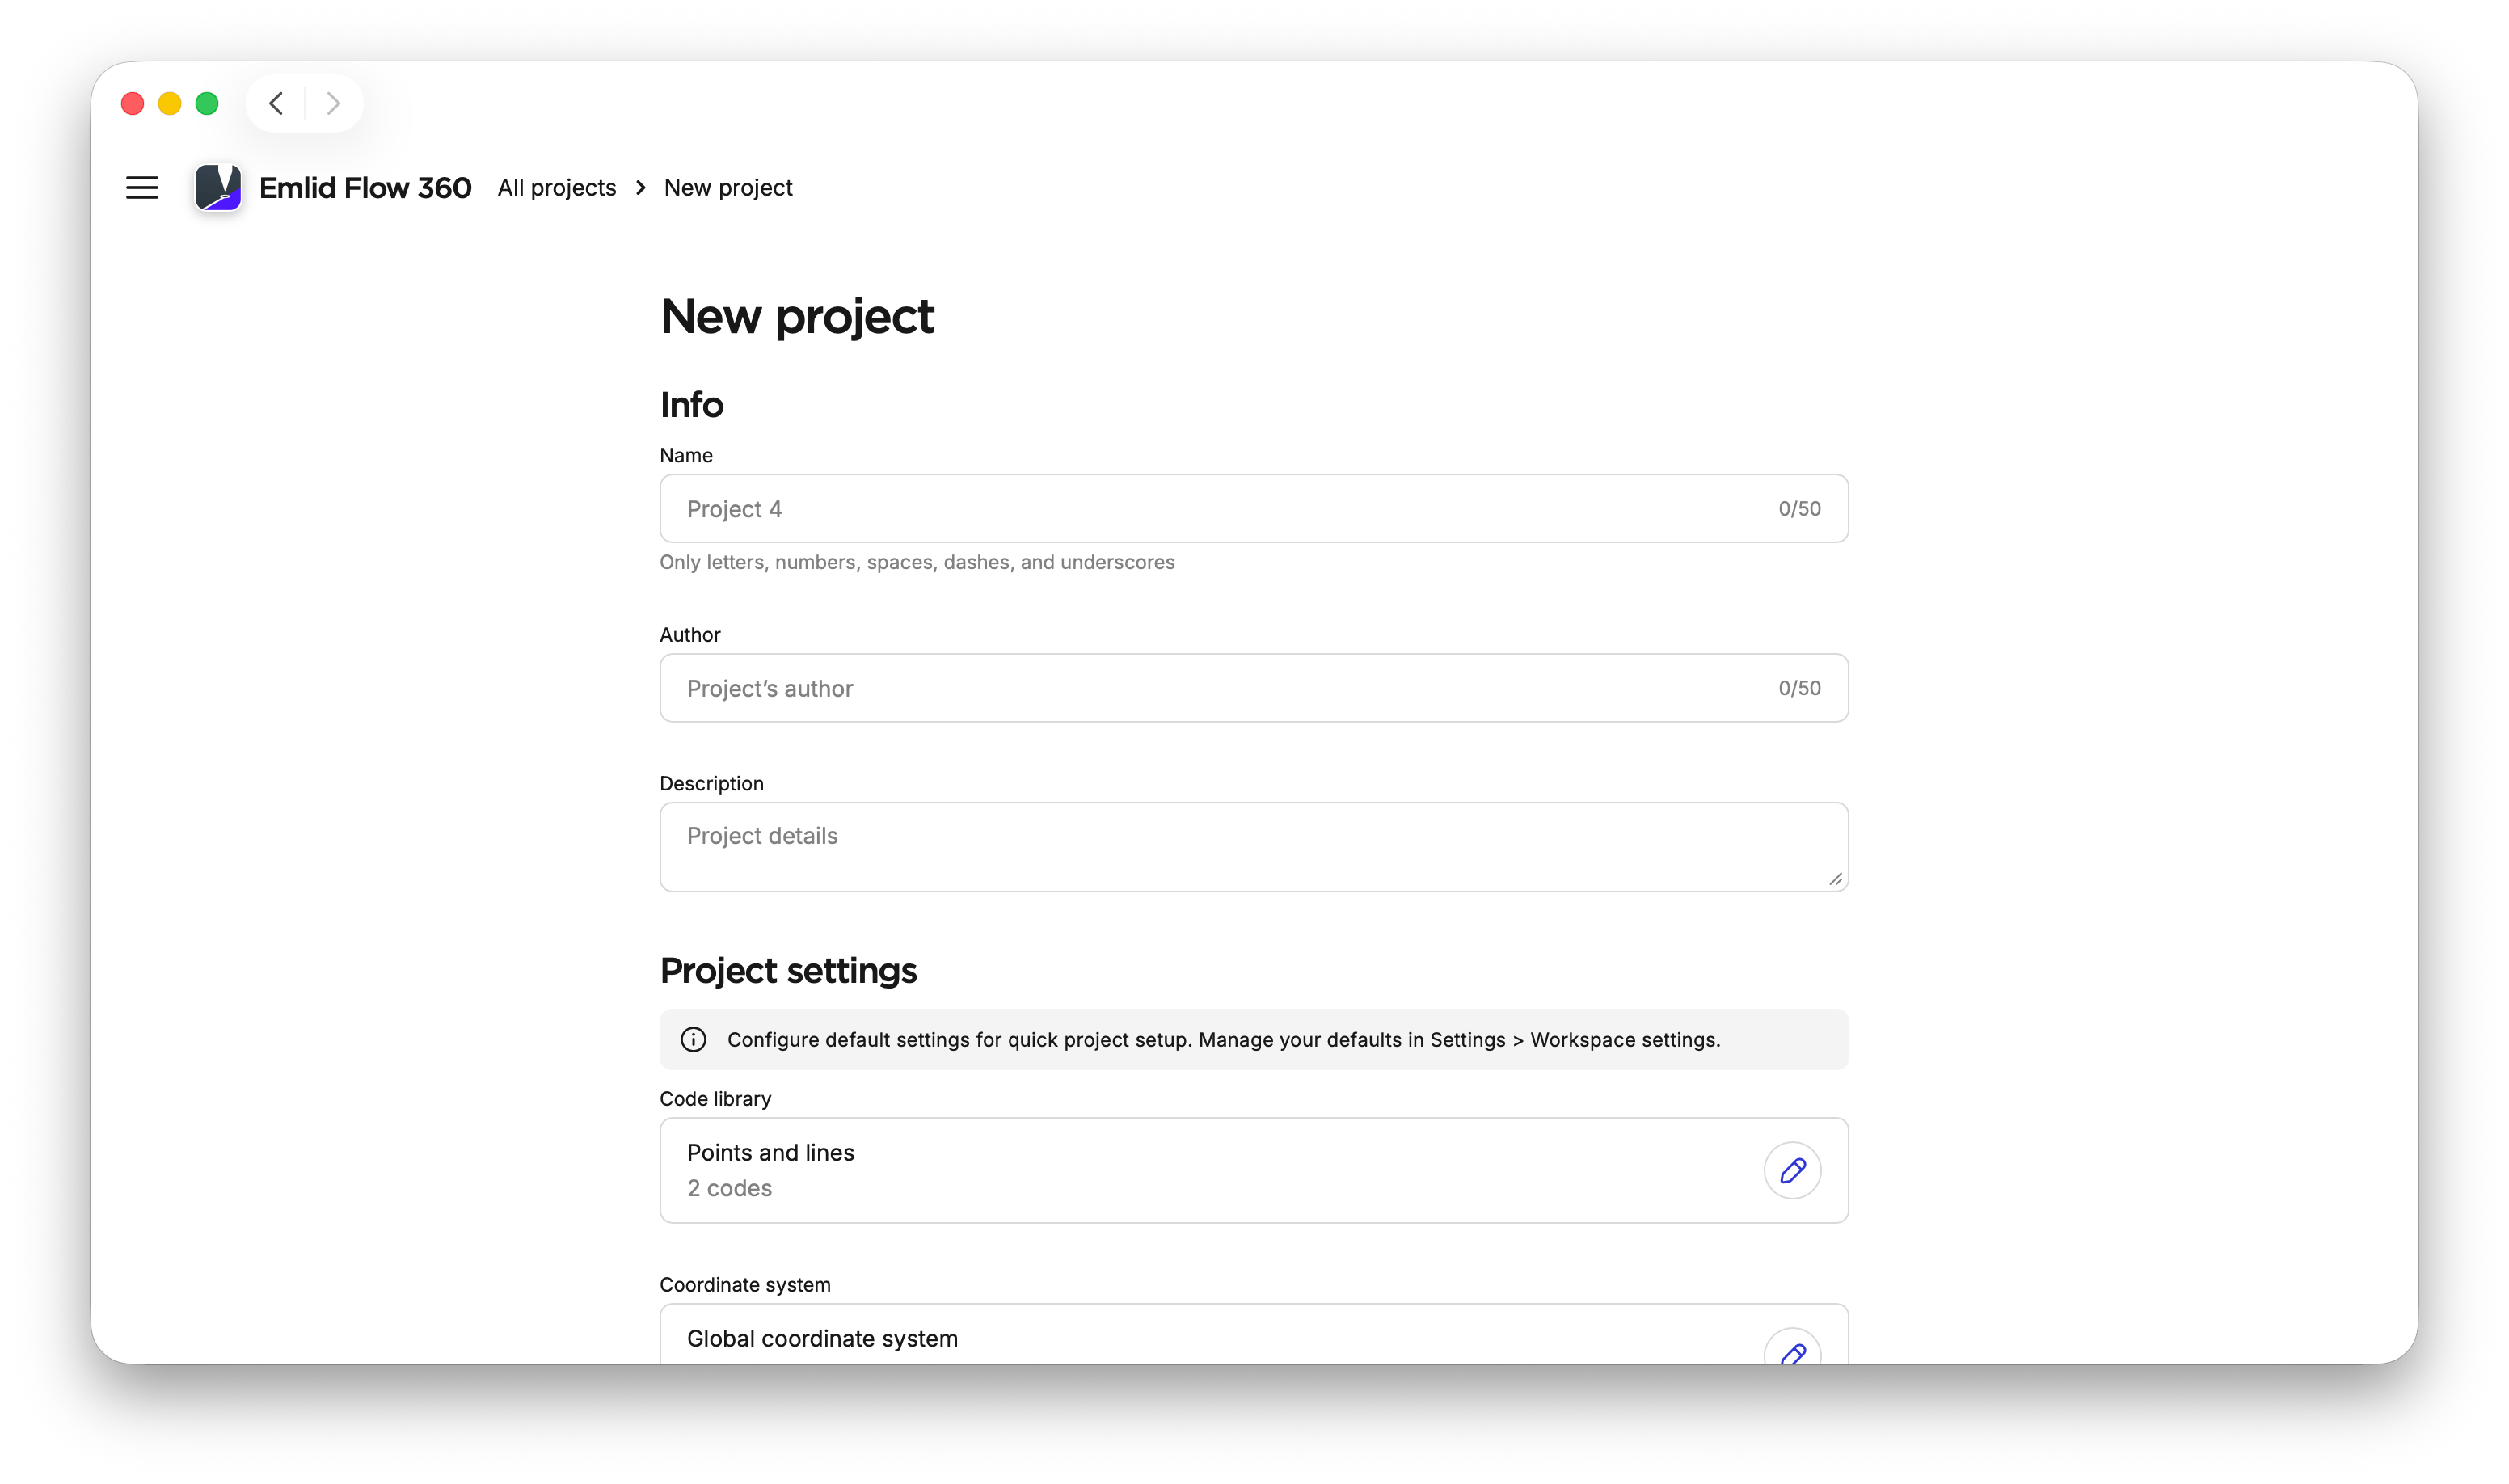
Fill in your project info.
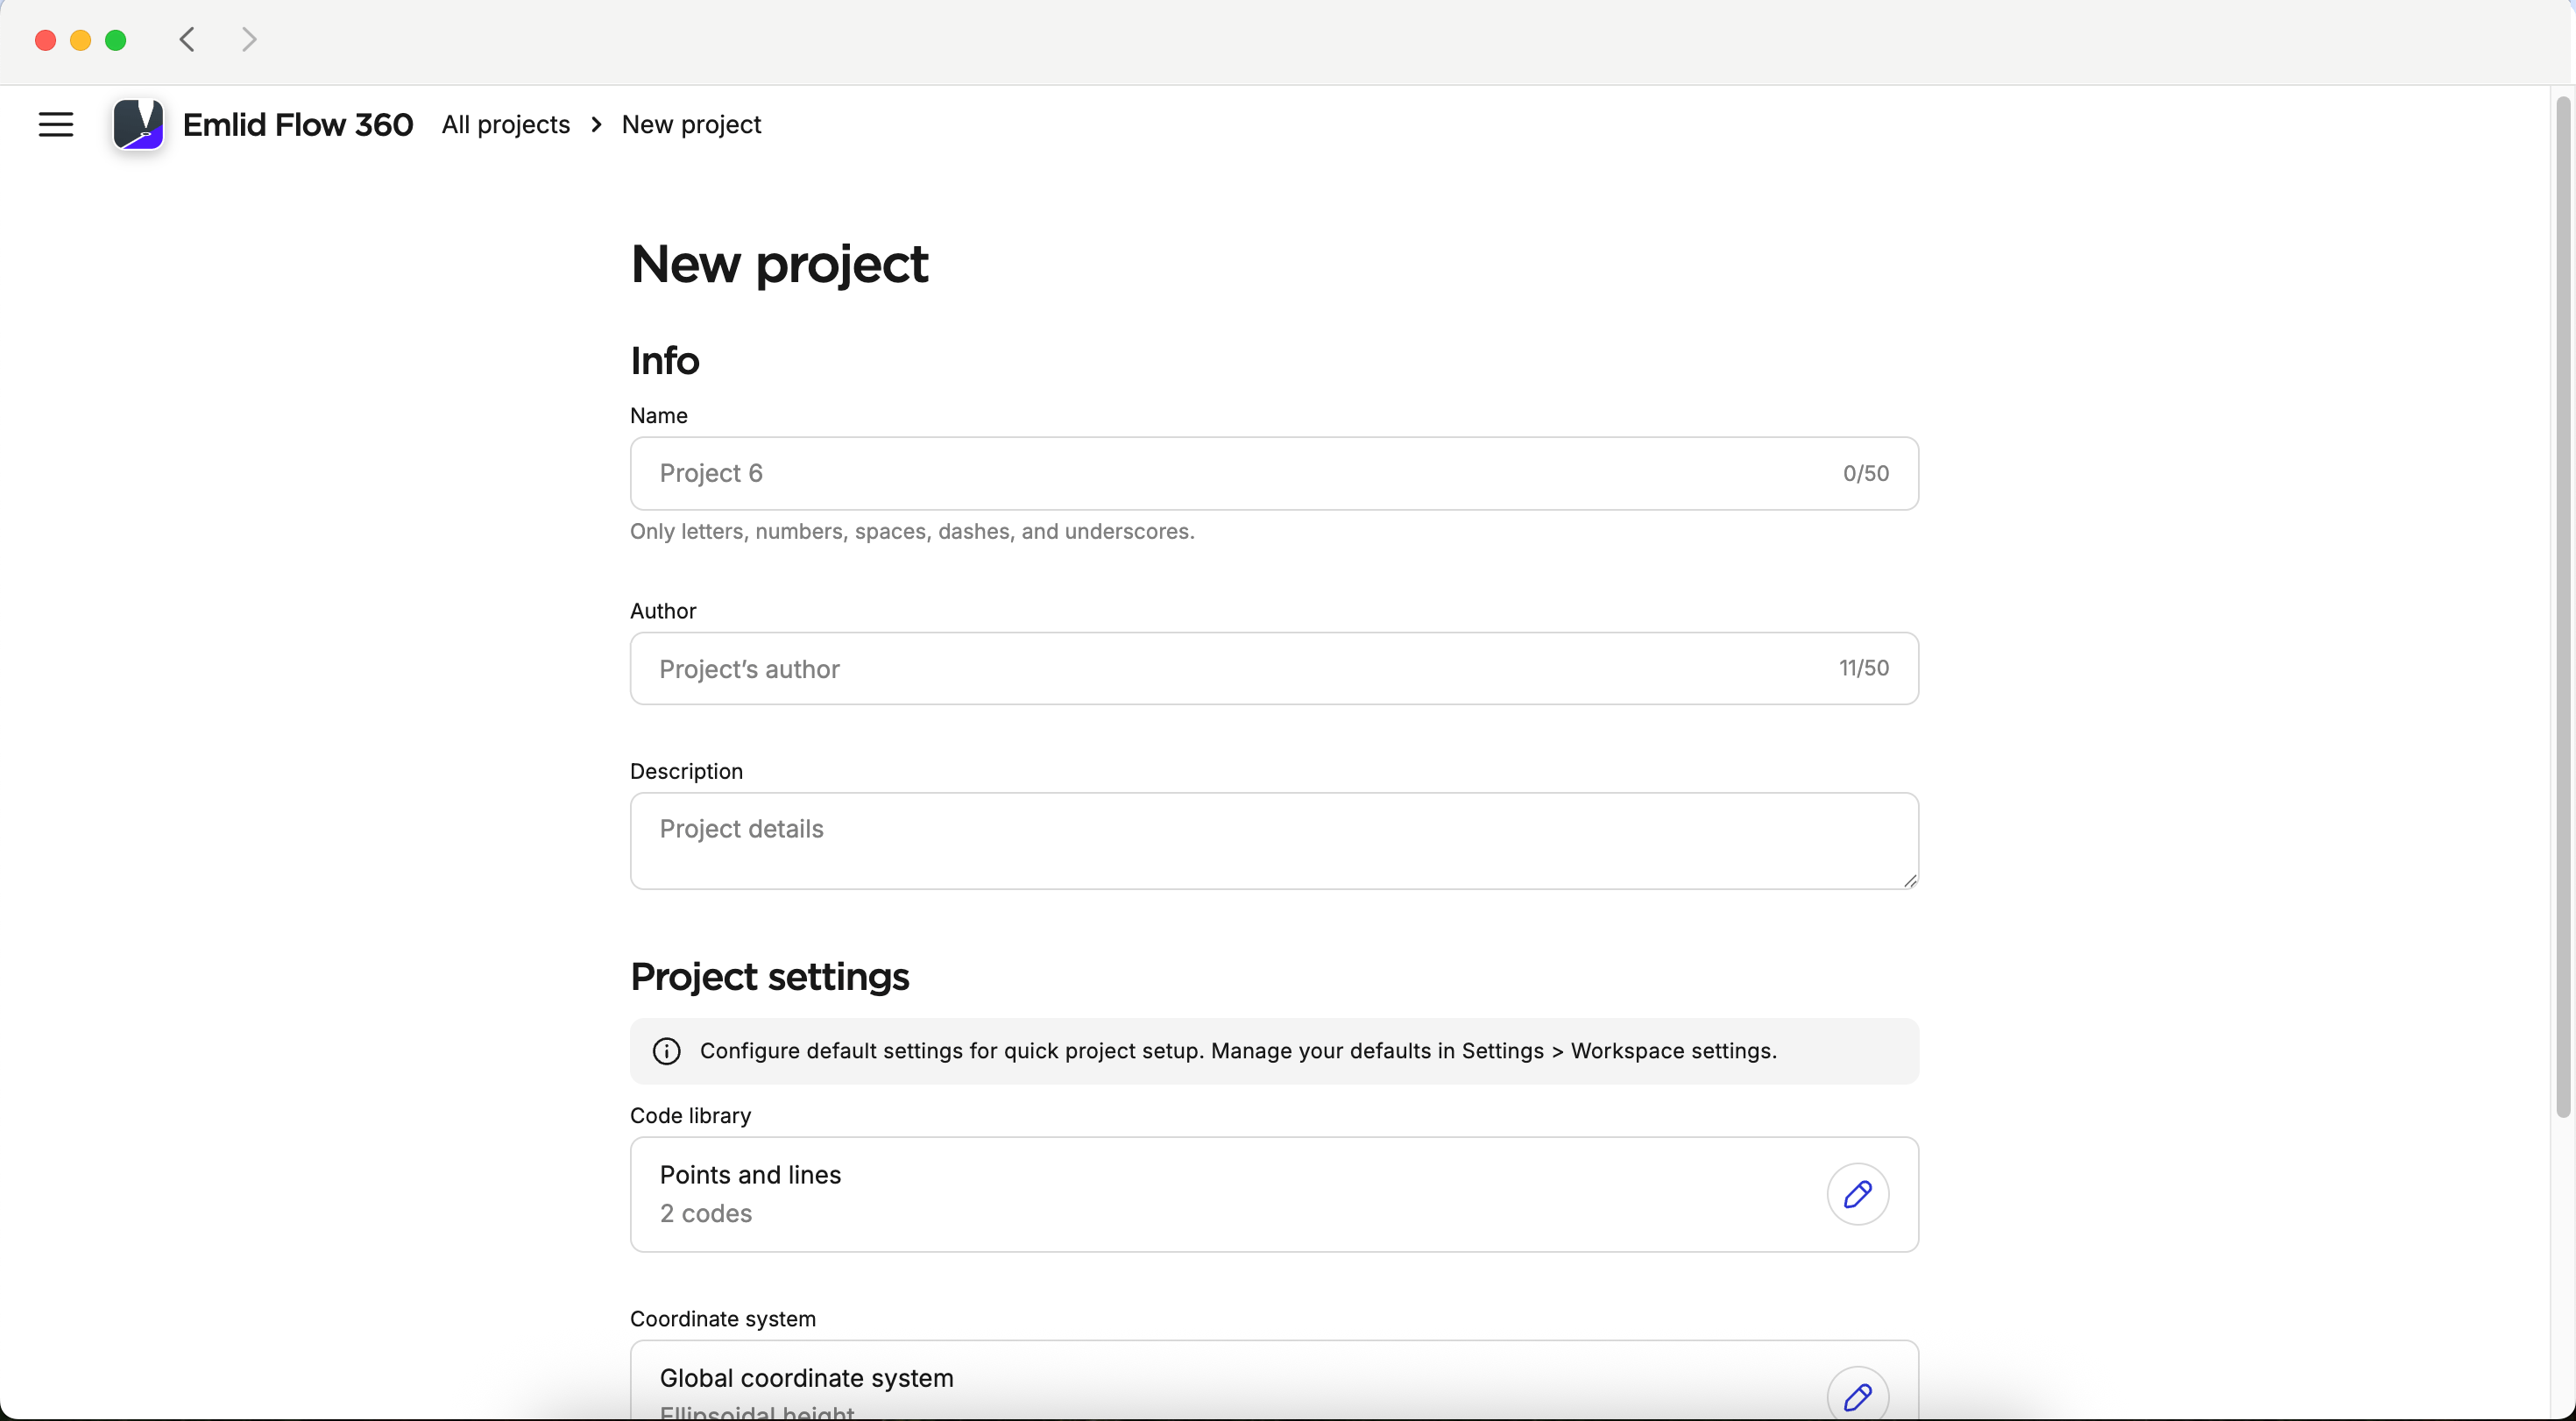
noteIf you want to create a default configuration, like the code library, coordinate system, linear and angular units for your project, check step 8.
-
With the
 subscription plan, you can link a code library to your project to work with lines and codes.note
You can specify the linked code library only when creating a project.
-
To specify the coordinate system you want to work in, click the Edit button in the Coordinate system cell.
tipCheck the Coordinate systems introduction to learn more.
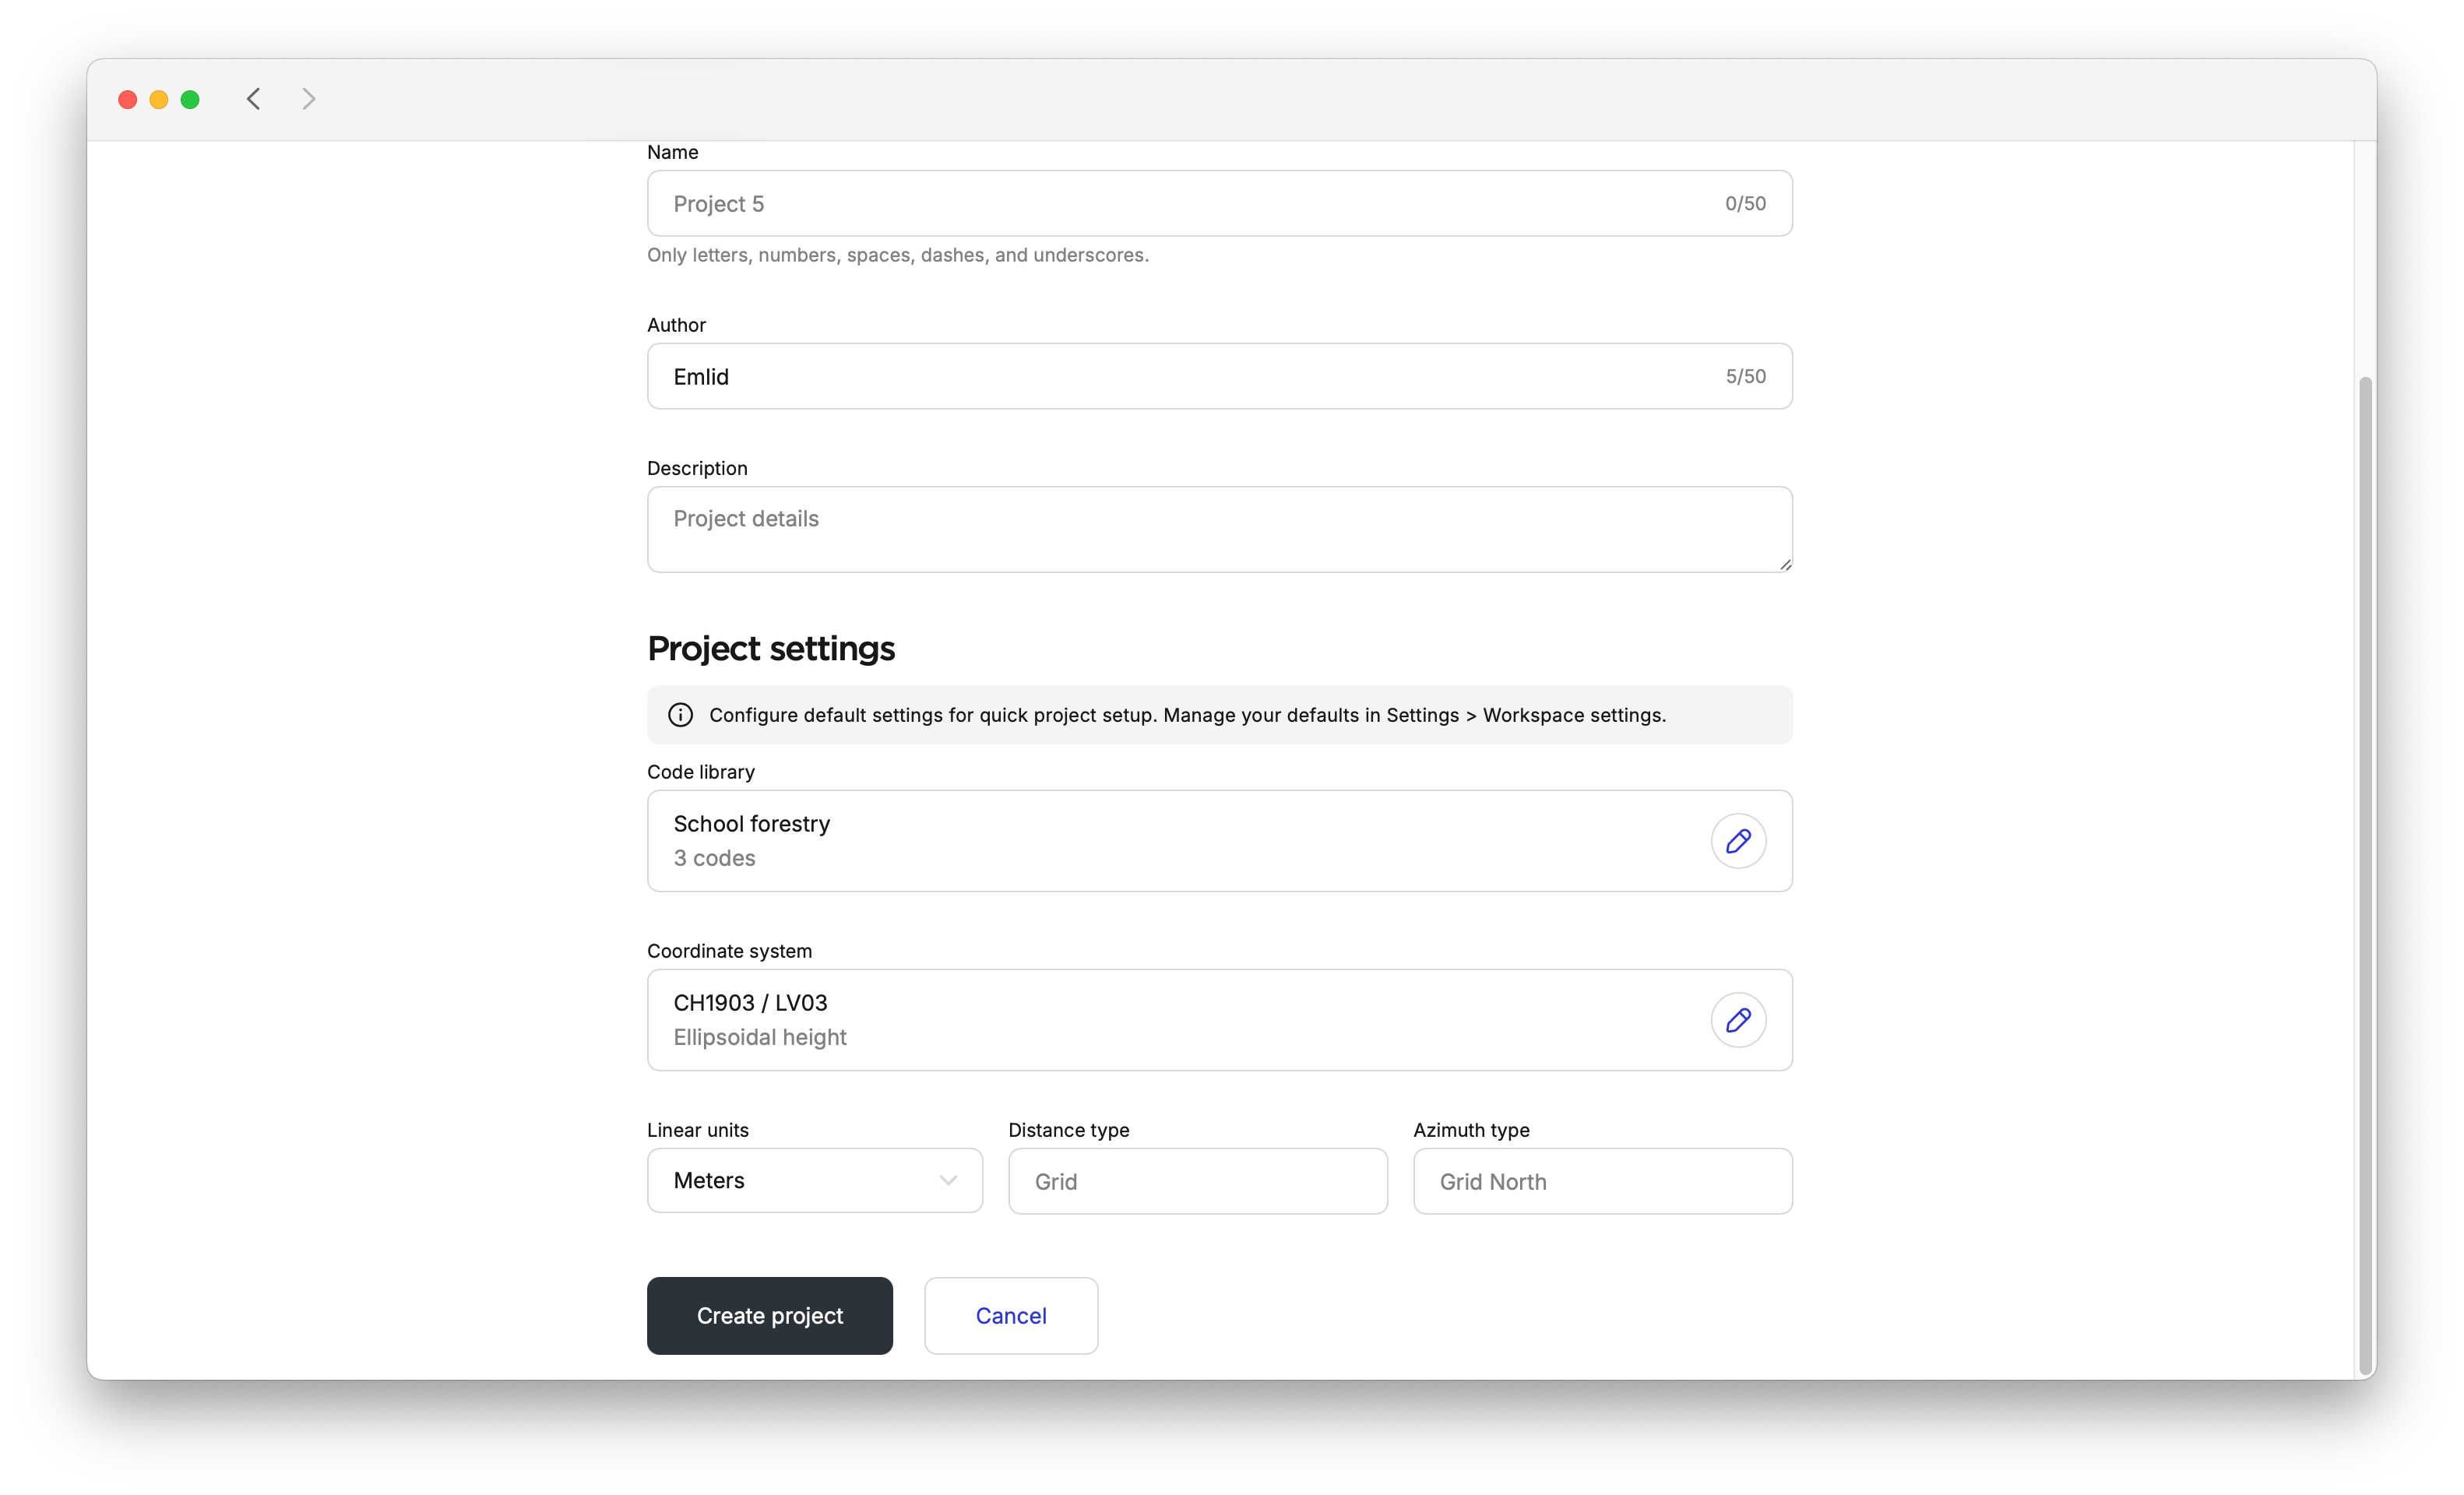
By default, angular units are in the DD format.
-
Click the Create project button. Emlid Flow 360 will open the project.
-
Open your project in Emlid Flow and ensure the coordinate system files are downloaded to your mobile device.
-
note
This step is optional.
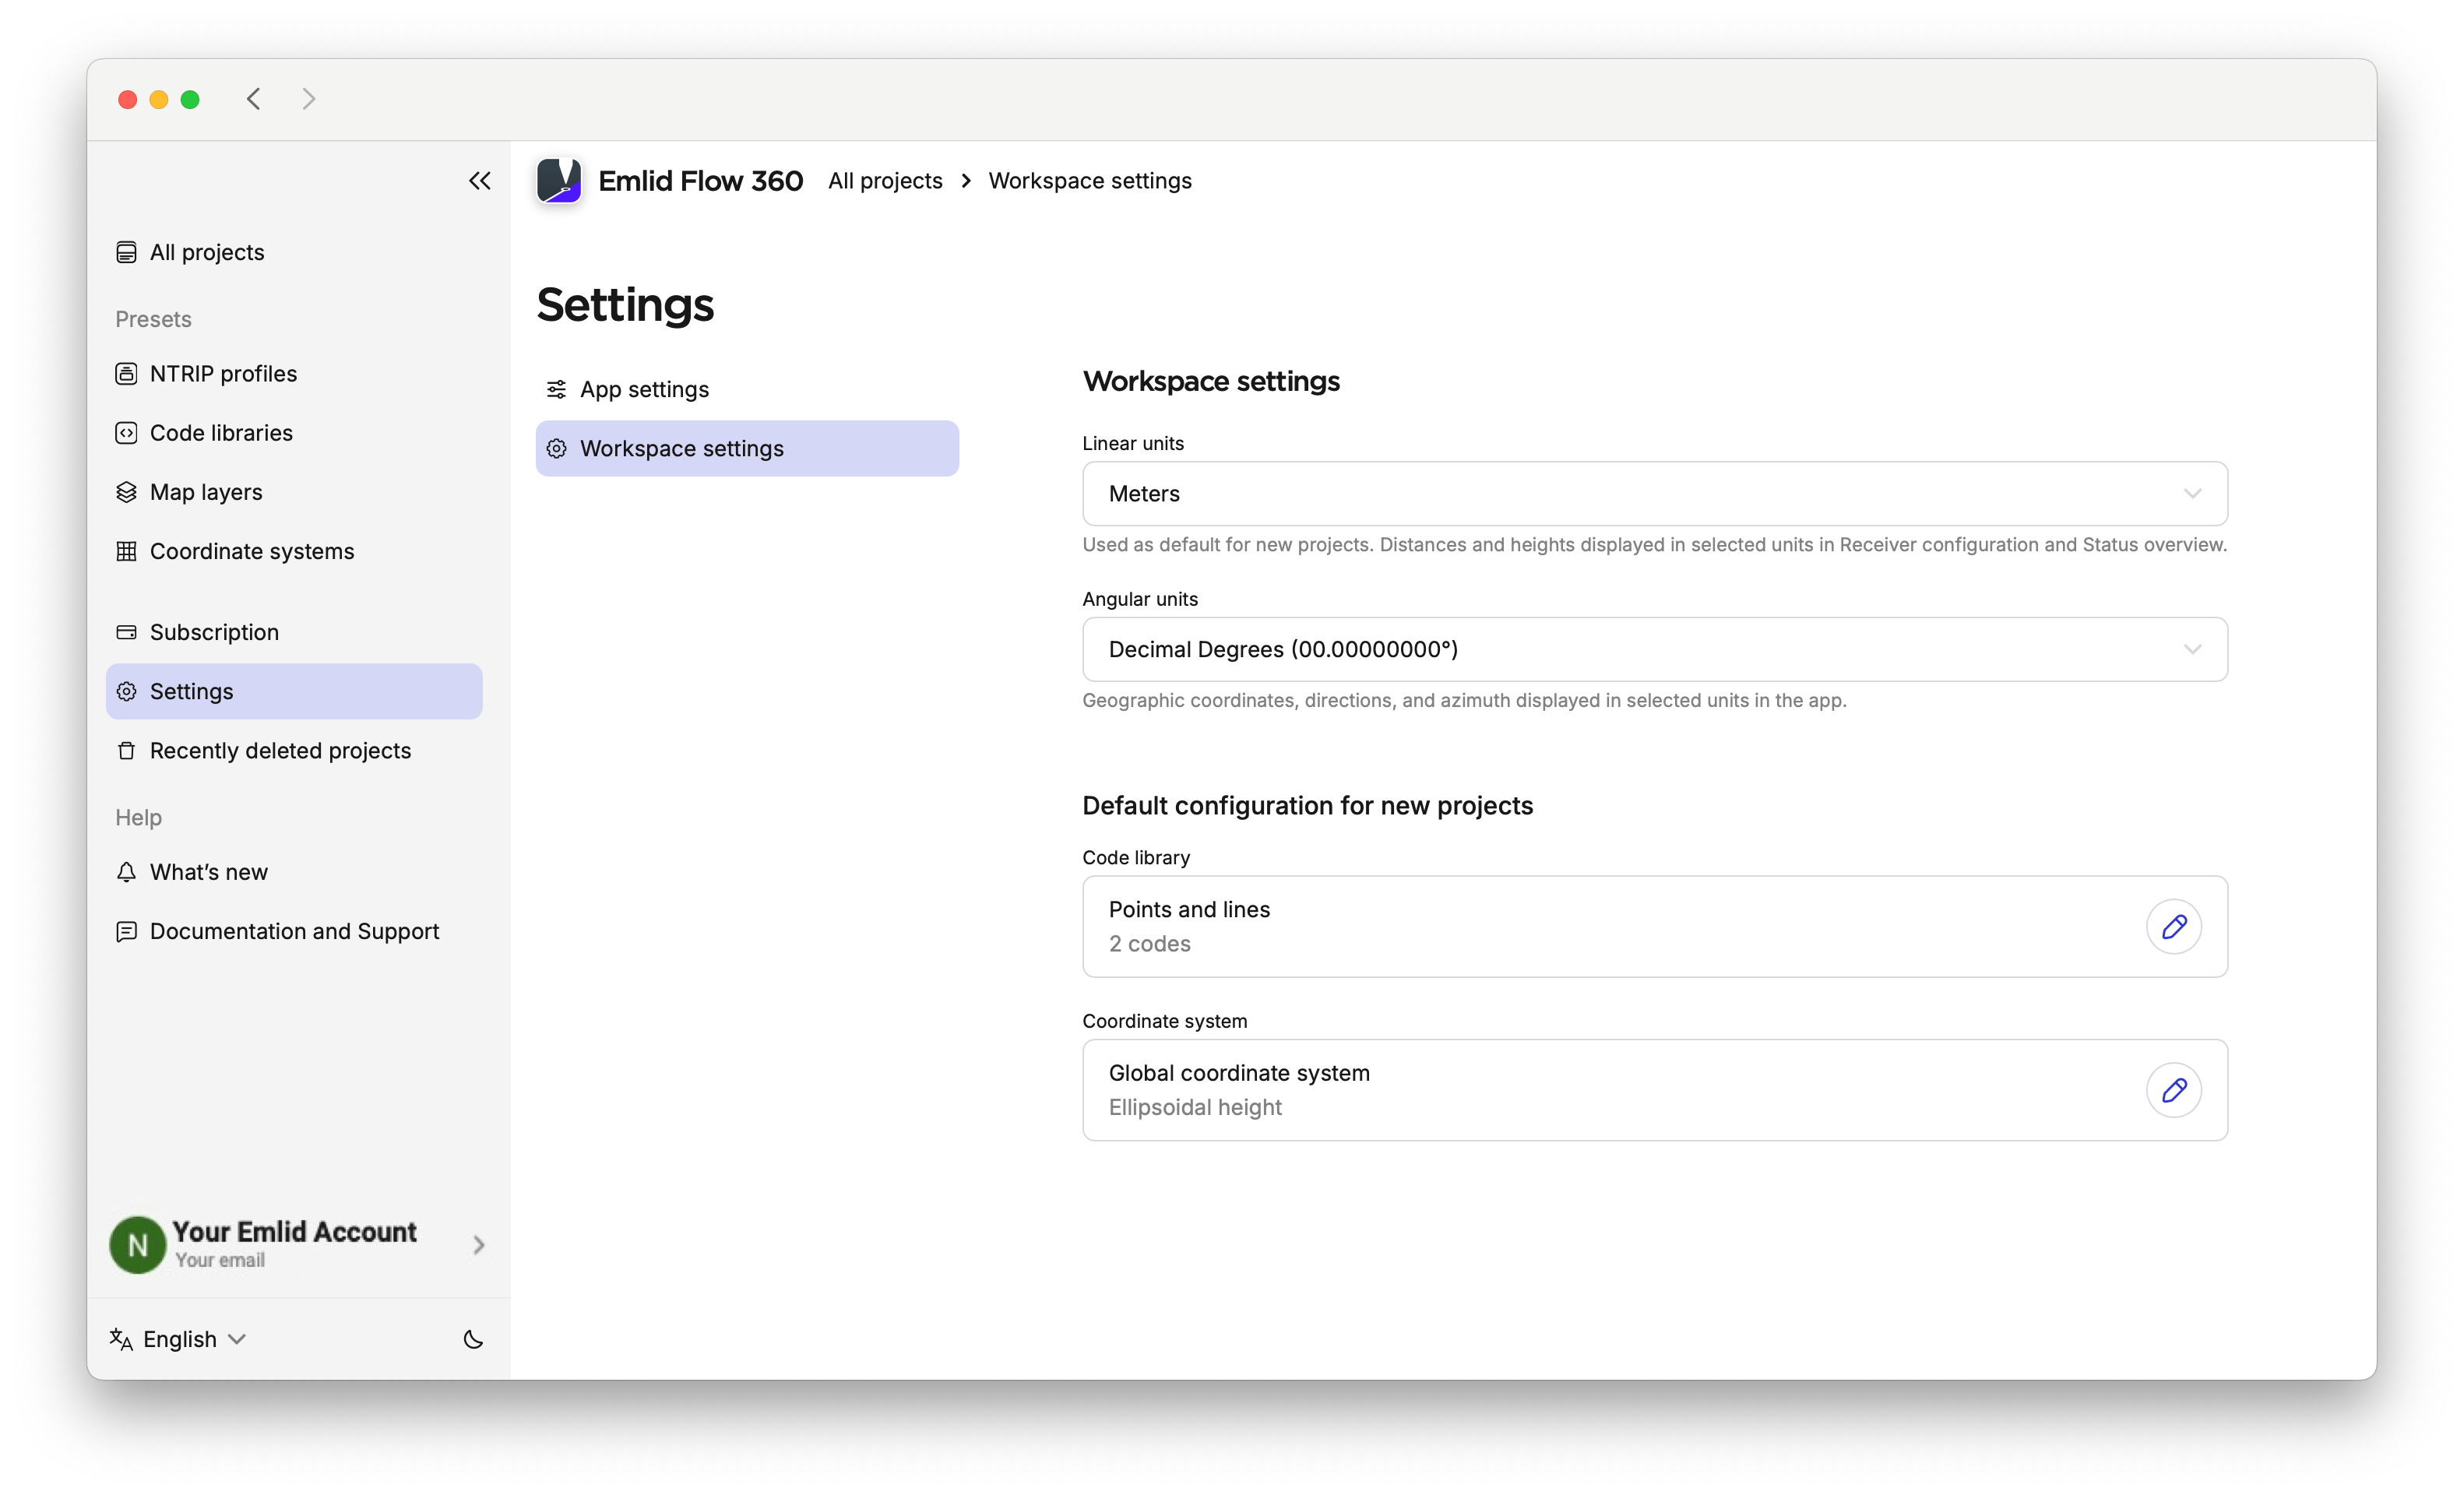
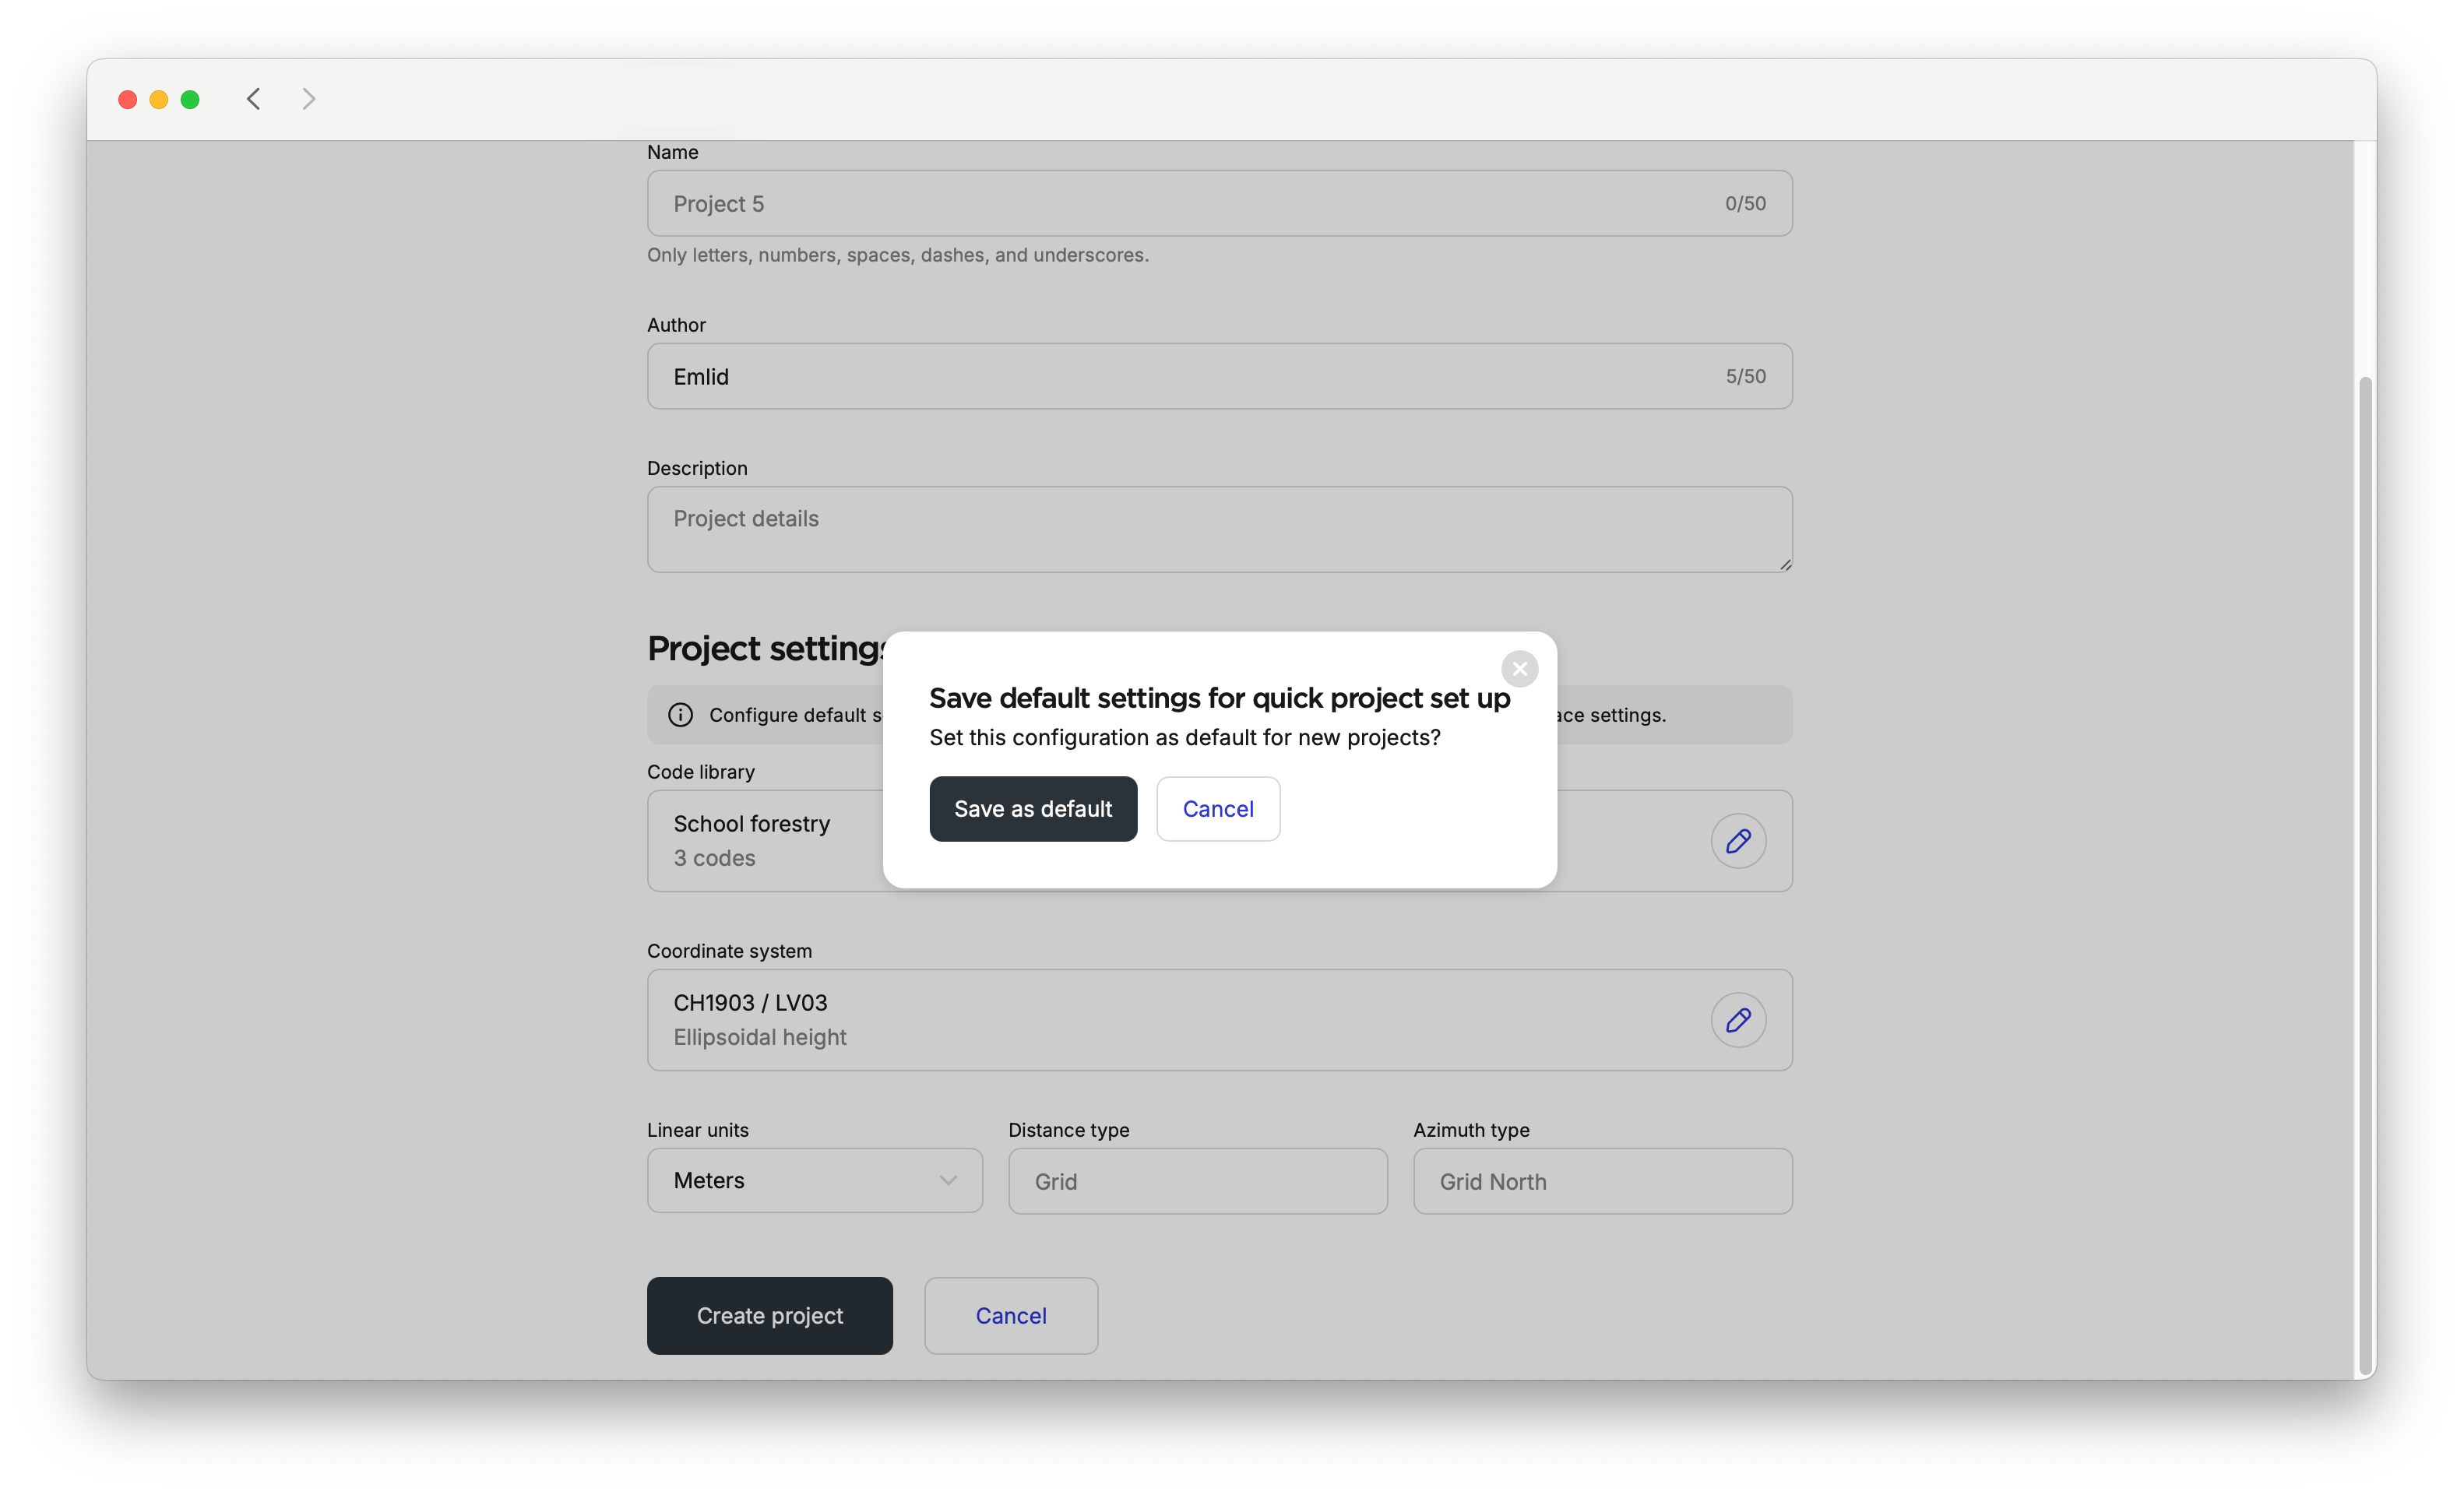
Emlid Flow 360 allows you to configure default settings for quick project setup. Go to the menu on the left and enter Workspace settings. There, you can configure default linear and angular units, add code libraries and a coordinate system, and set them as the default for future projects. After that, these settings will be applied by default when creating a new project. If needed, you can change the default configuration later. You can also edit default settings within a created project. The app will ask if you want to save the new configurations as defaults.
noteIf you delete a default coordinate system or code library, the projects using them will remain unchanged. However, new projects will have a default code library with points and lines, and use a global coordinate system.
Learn more about code libraries and coordinate system setup in the Manage Code Libraries, Set Up Coordinate System from Library, and Set Up Custom Coordinate System guides.
Once the project is created, you can start surveying with Emlid Flow.
-
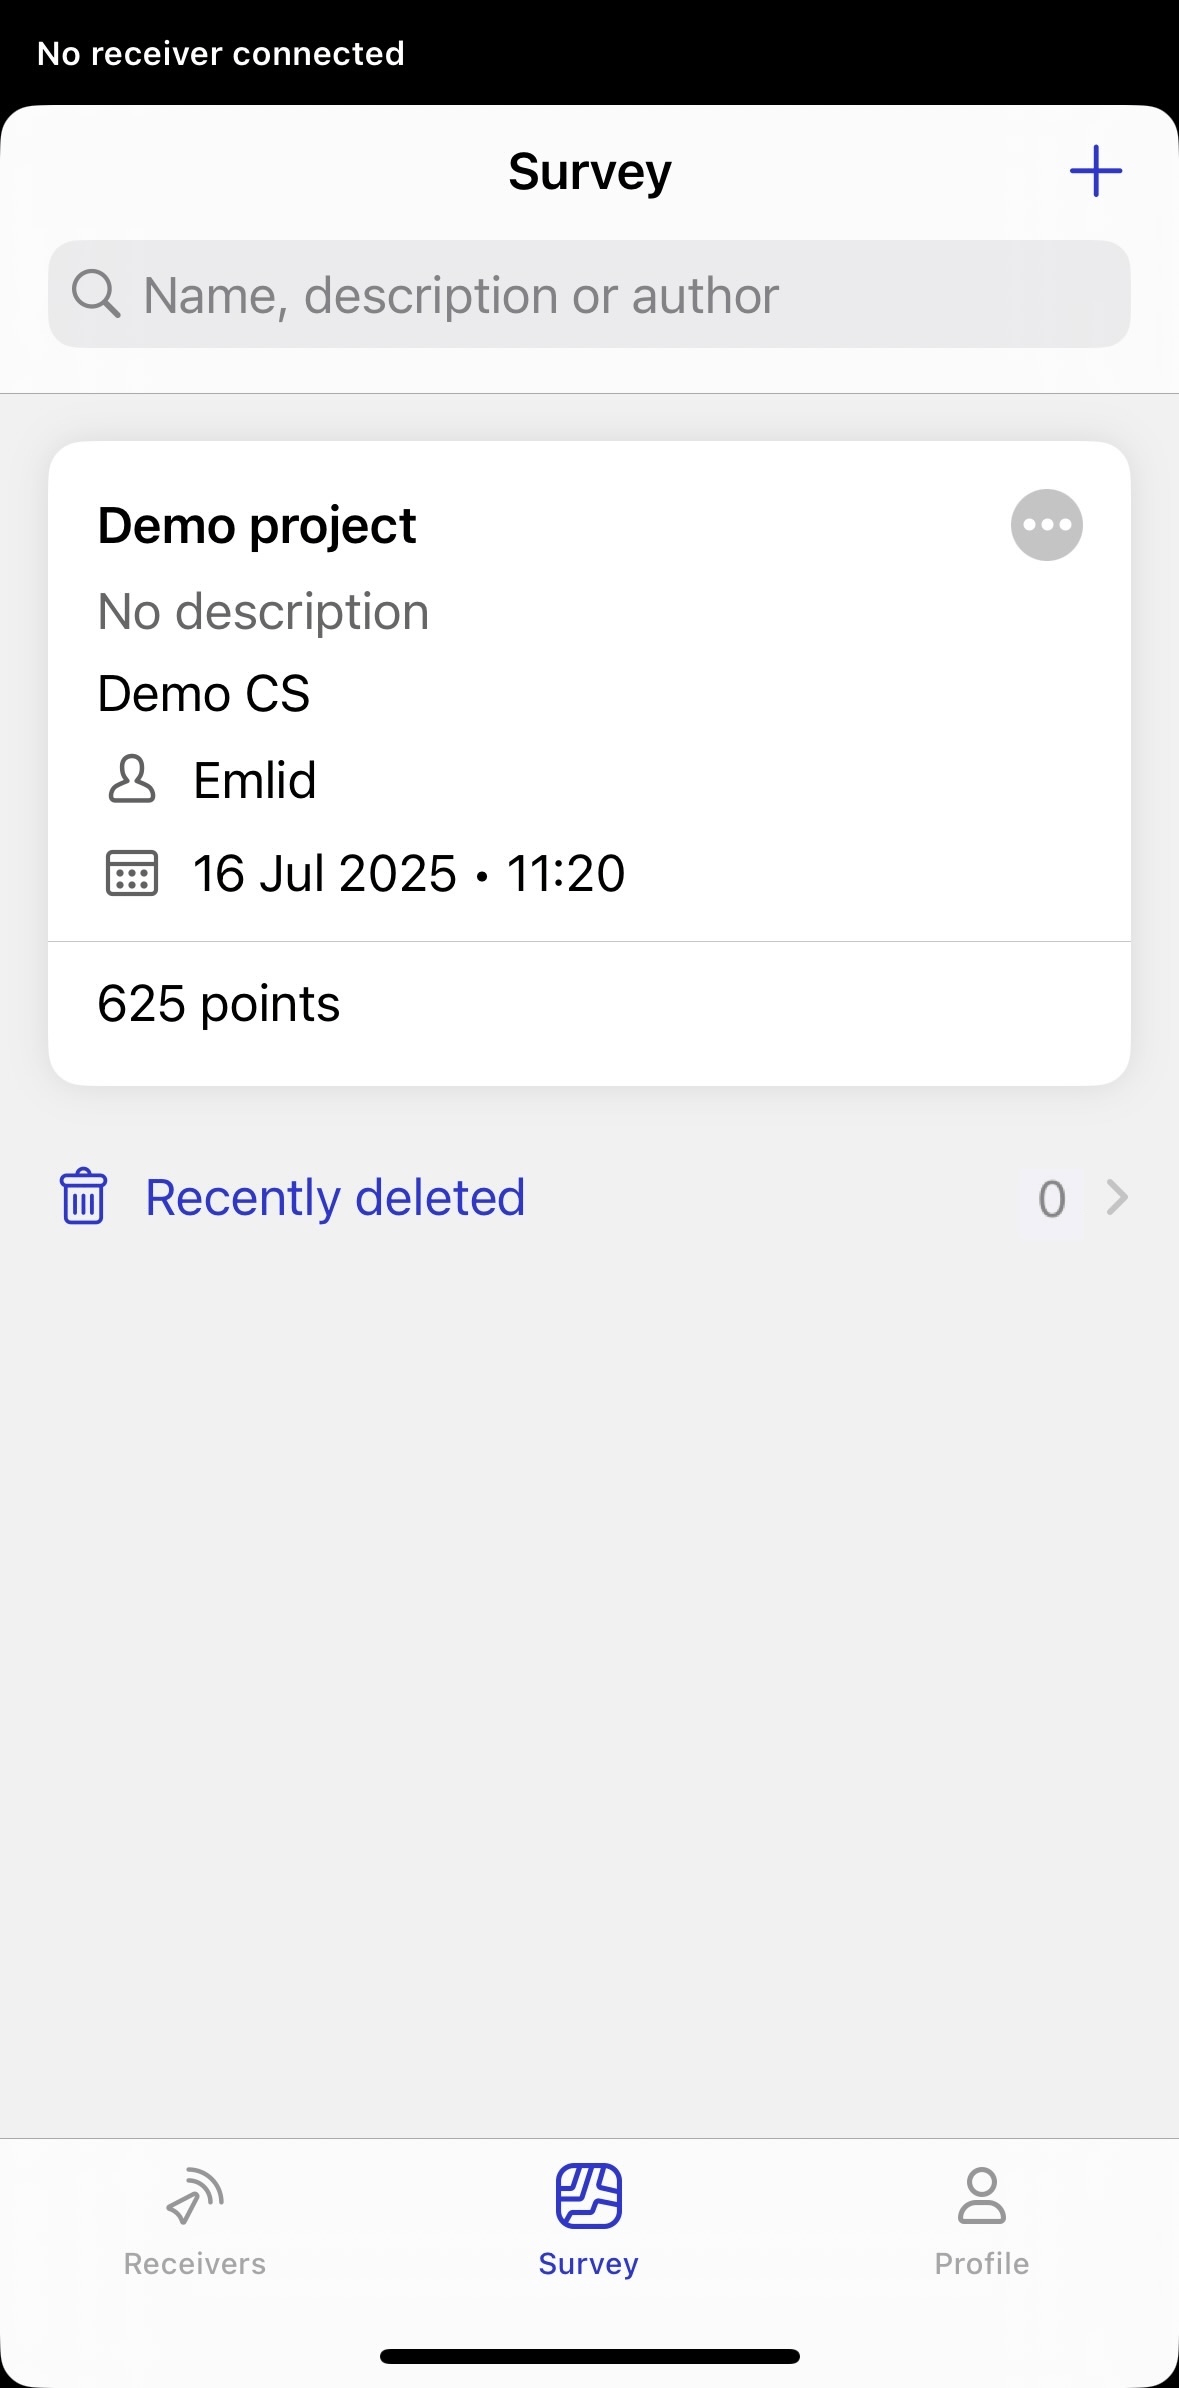
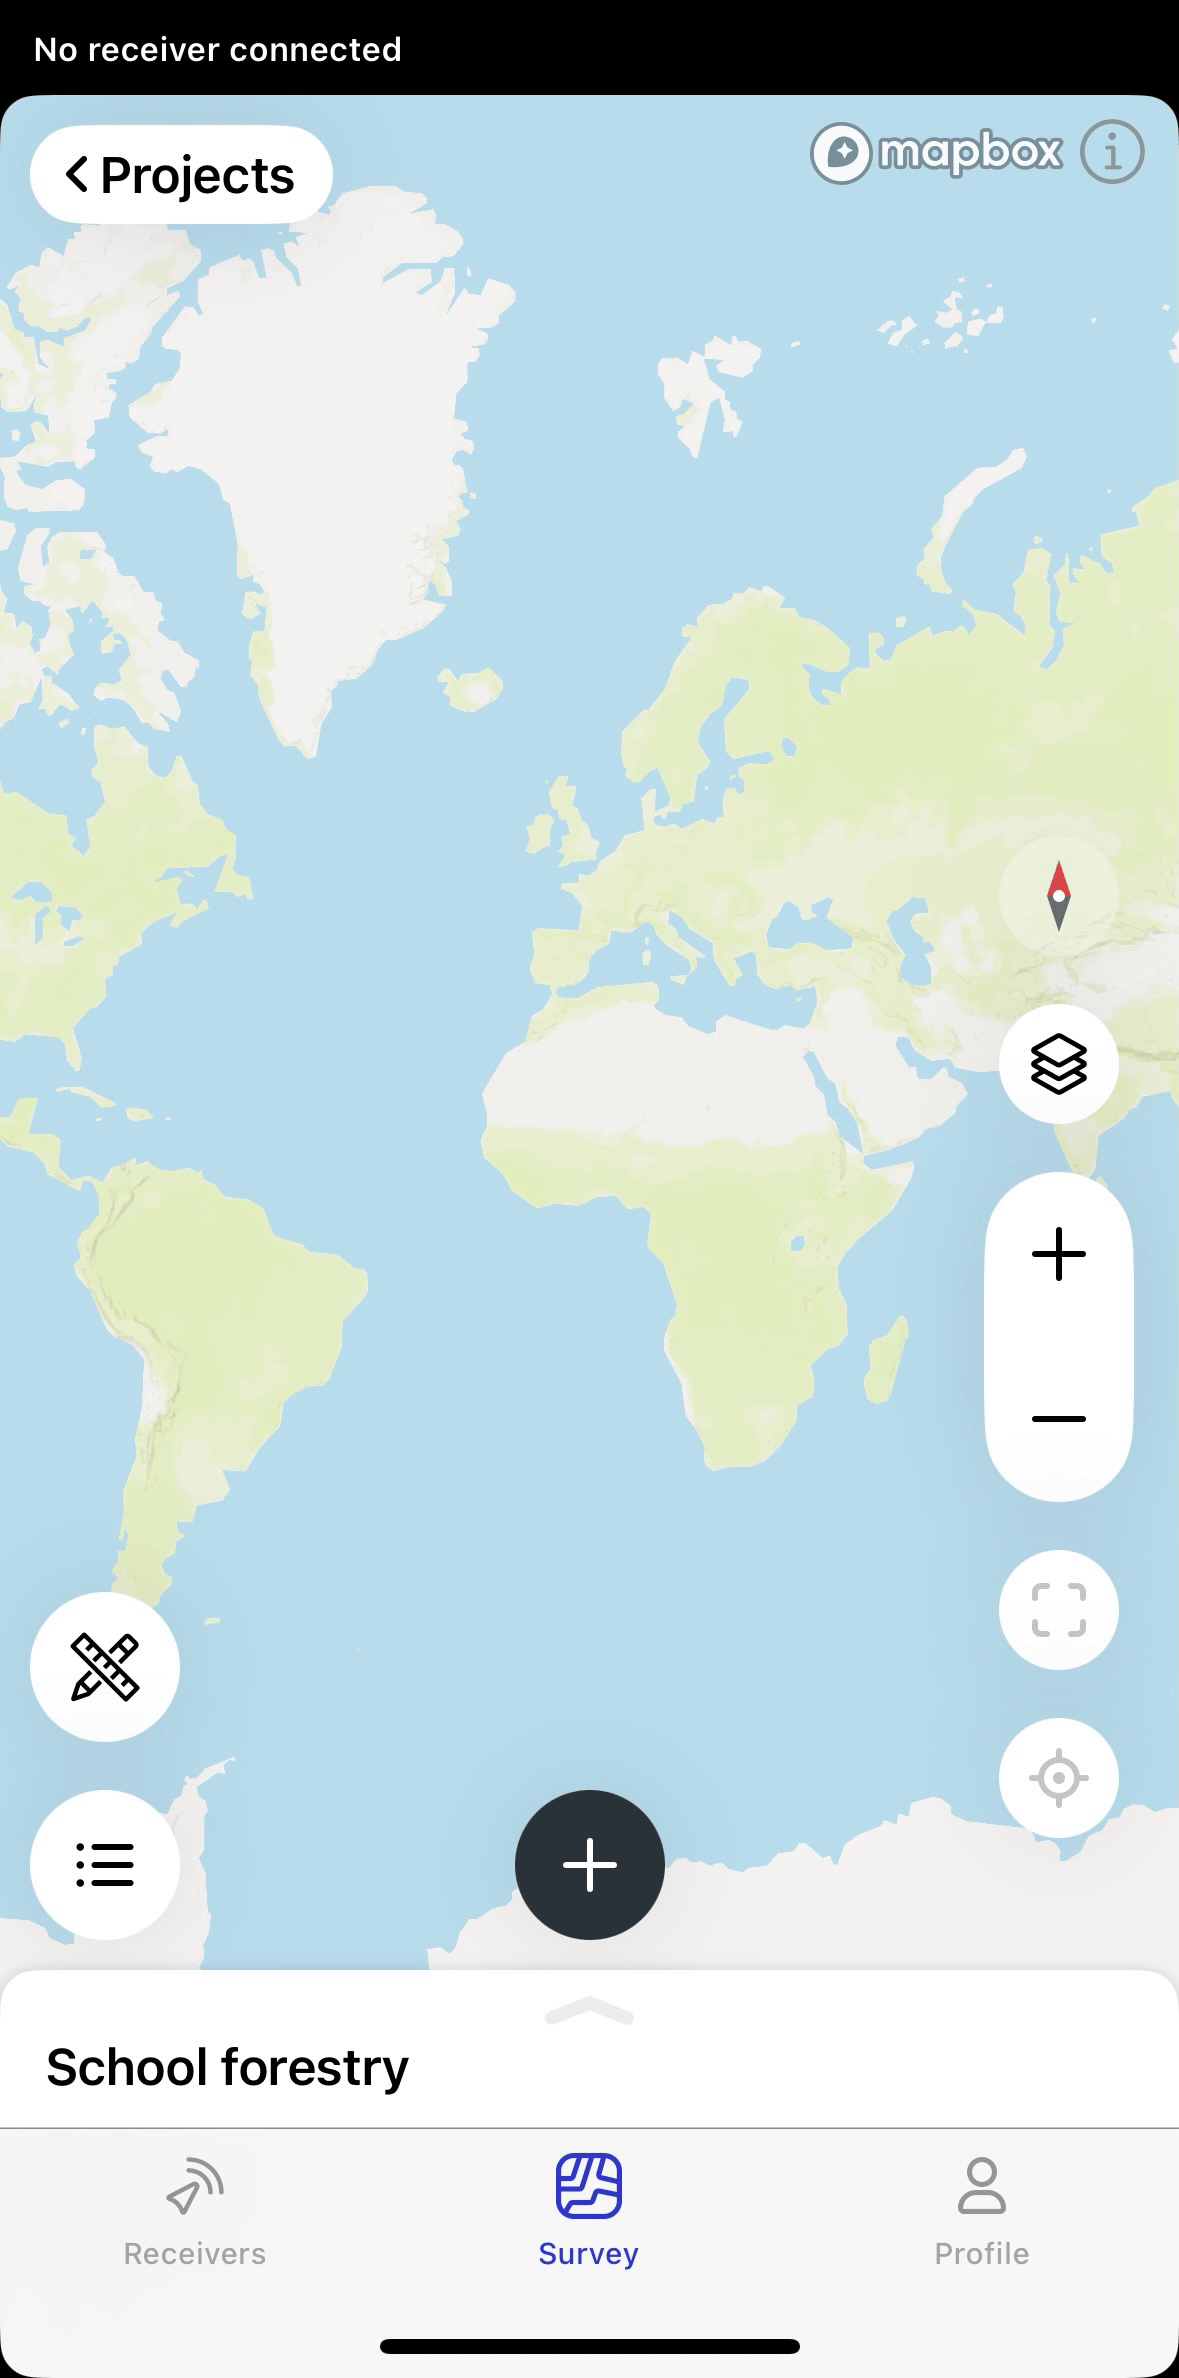
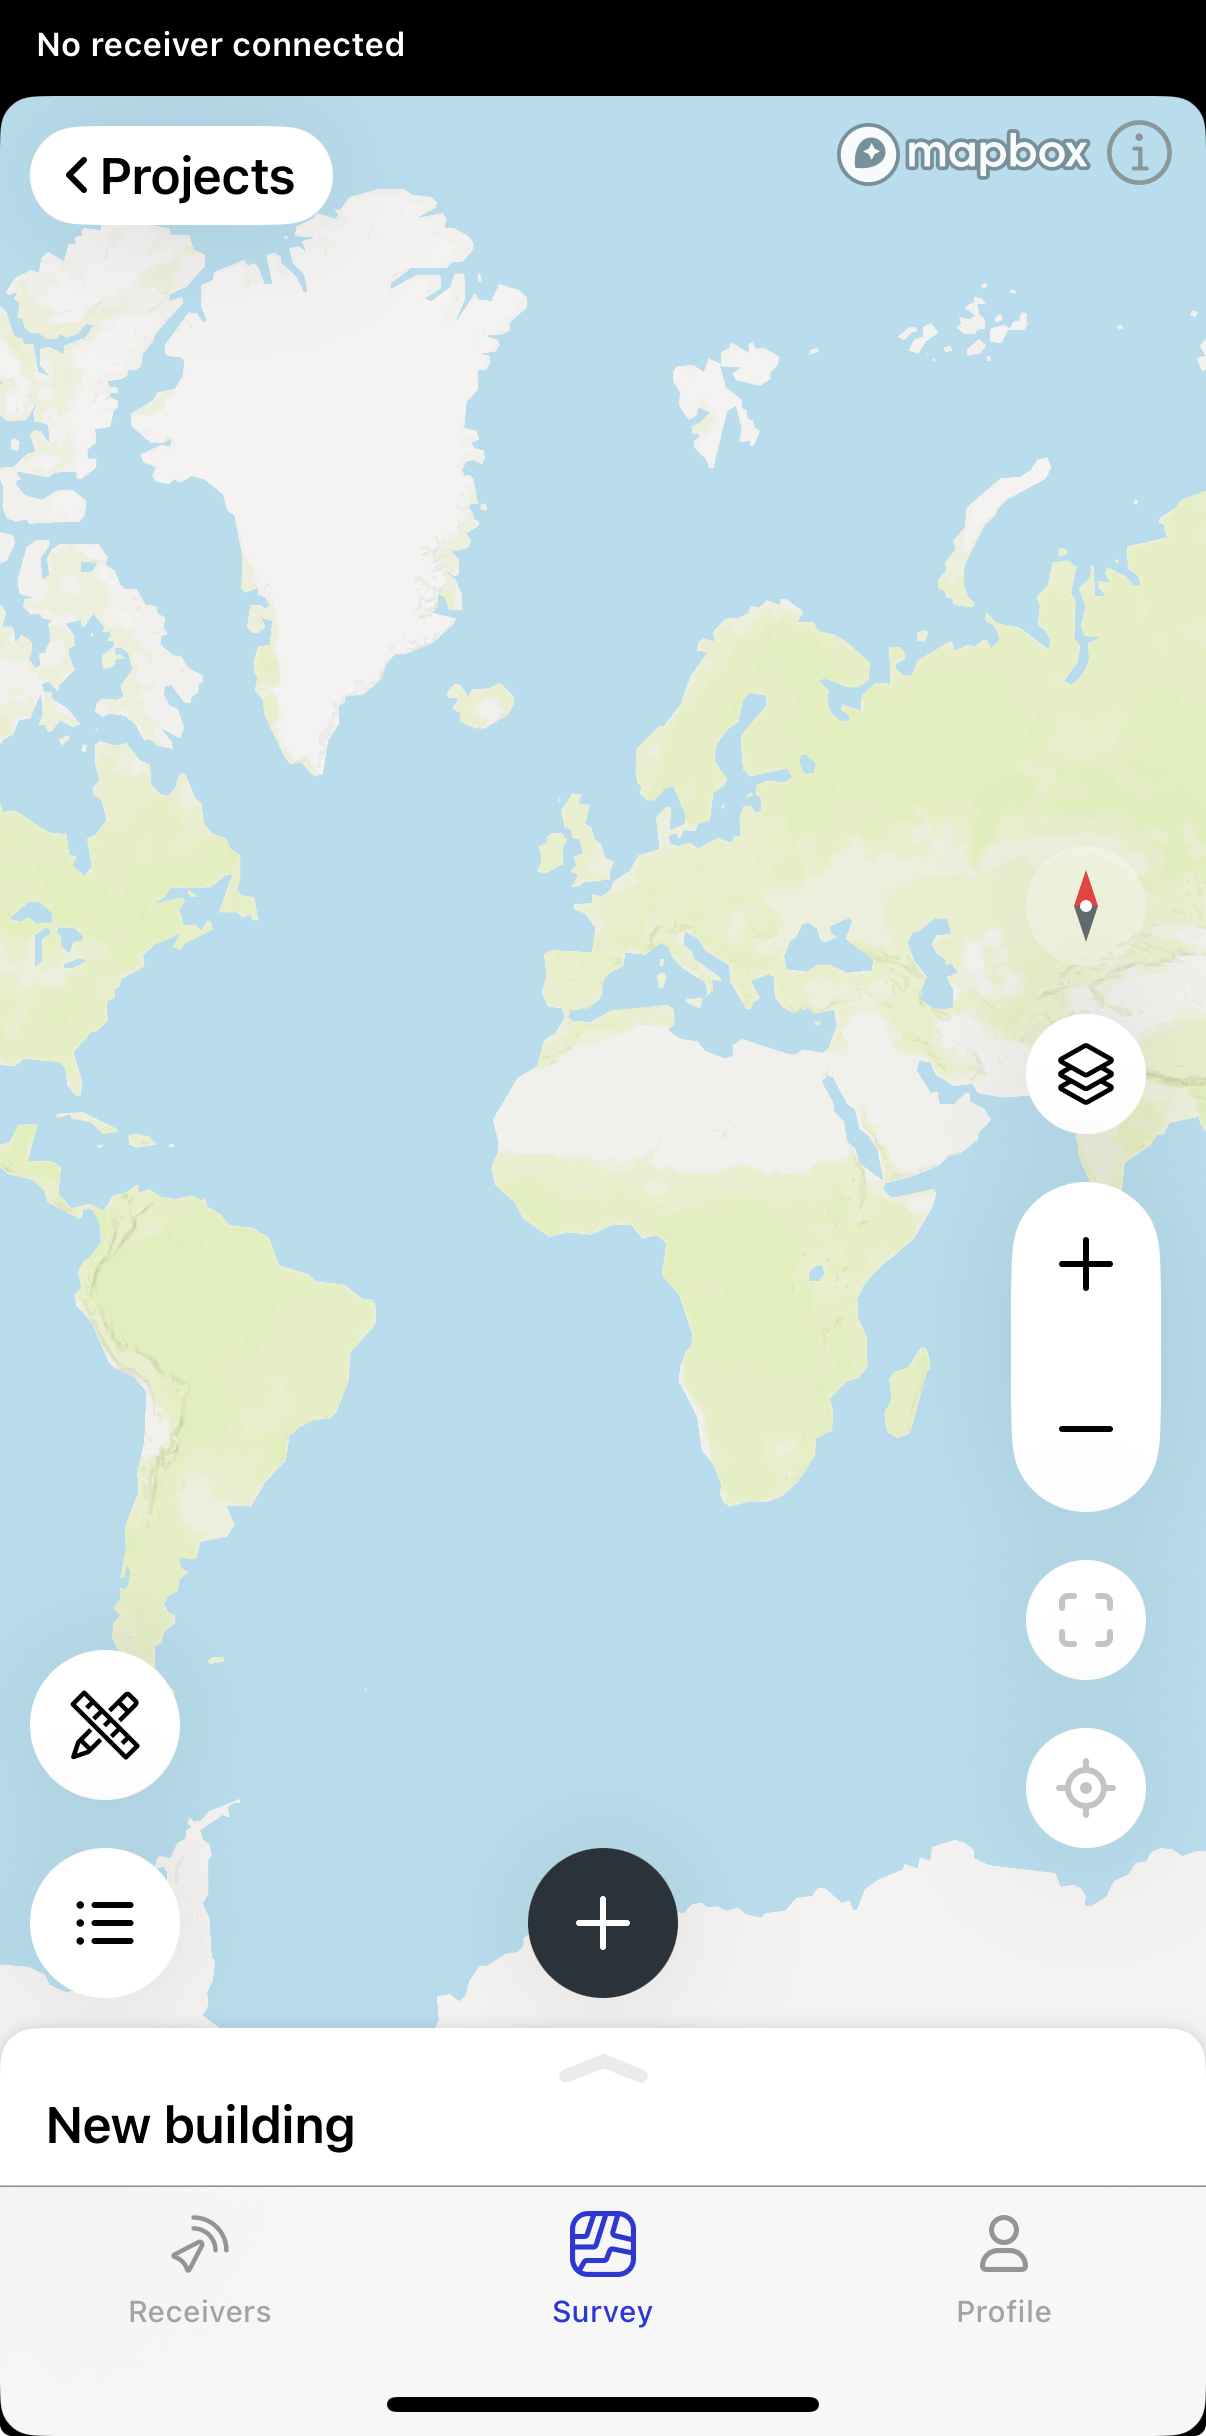
Open Emlid Flow and go to the Survey tab.
-
Tap the Plus button in the top right corner to open the New project screen and fill in your project info.
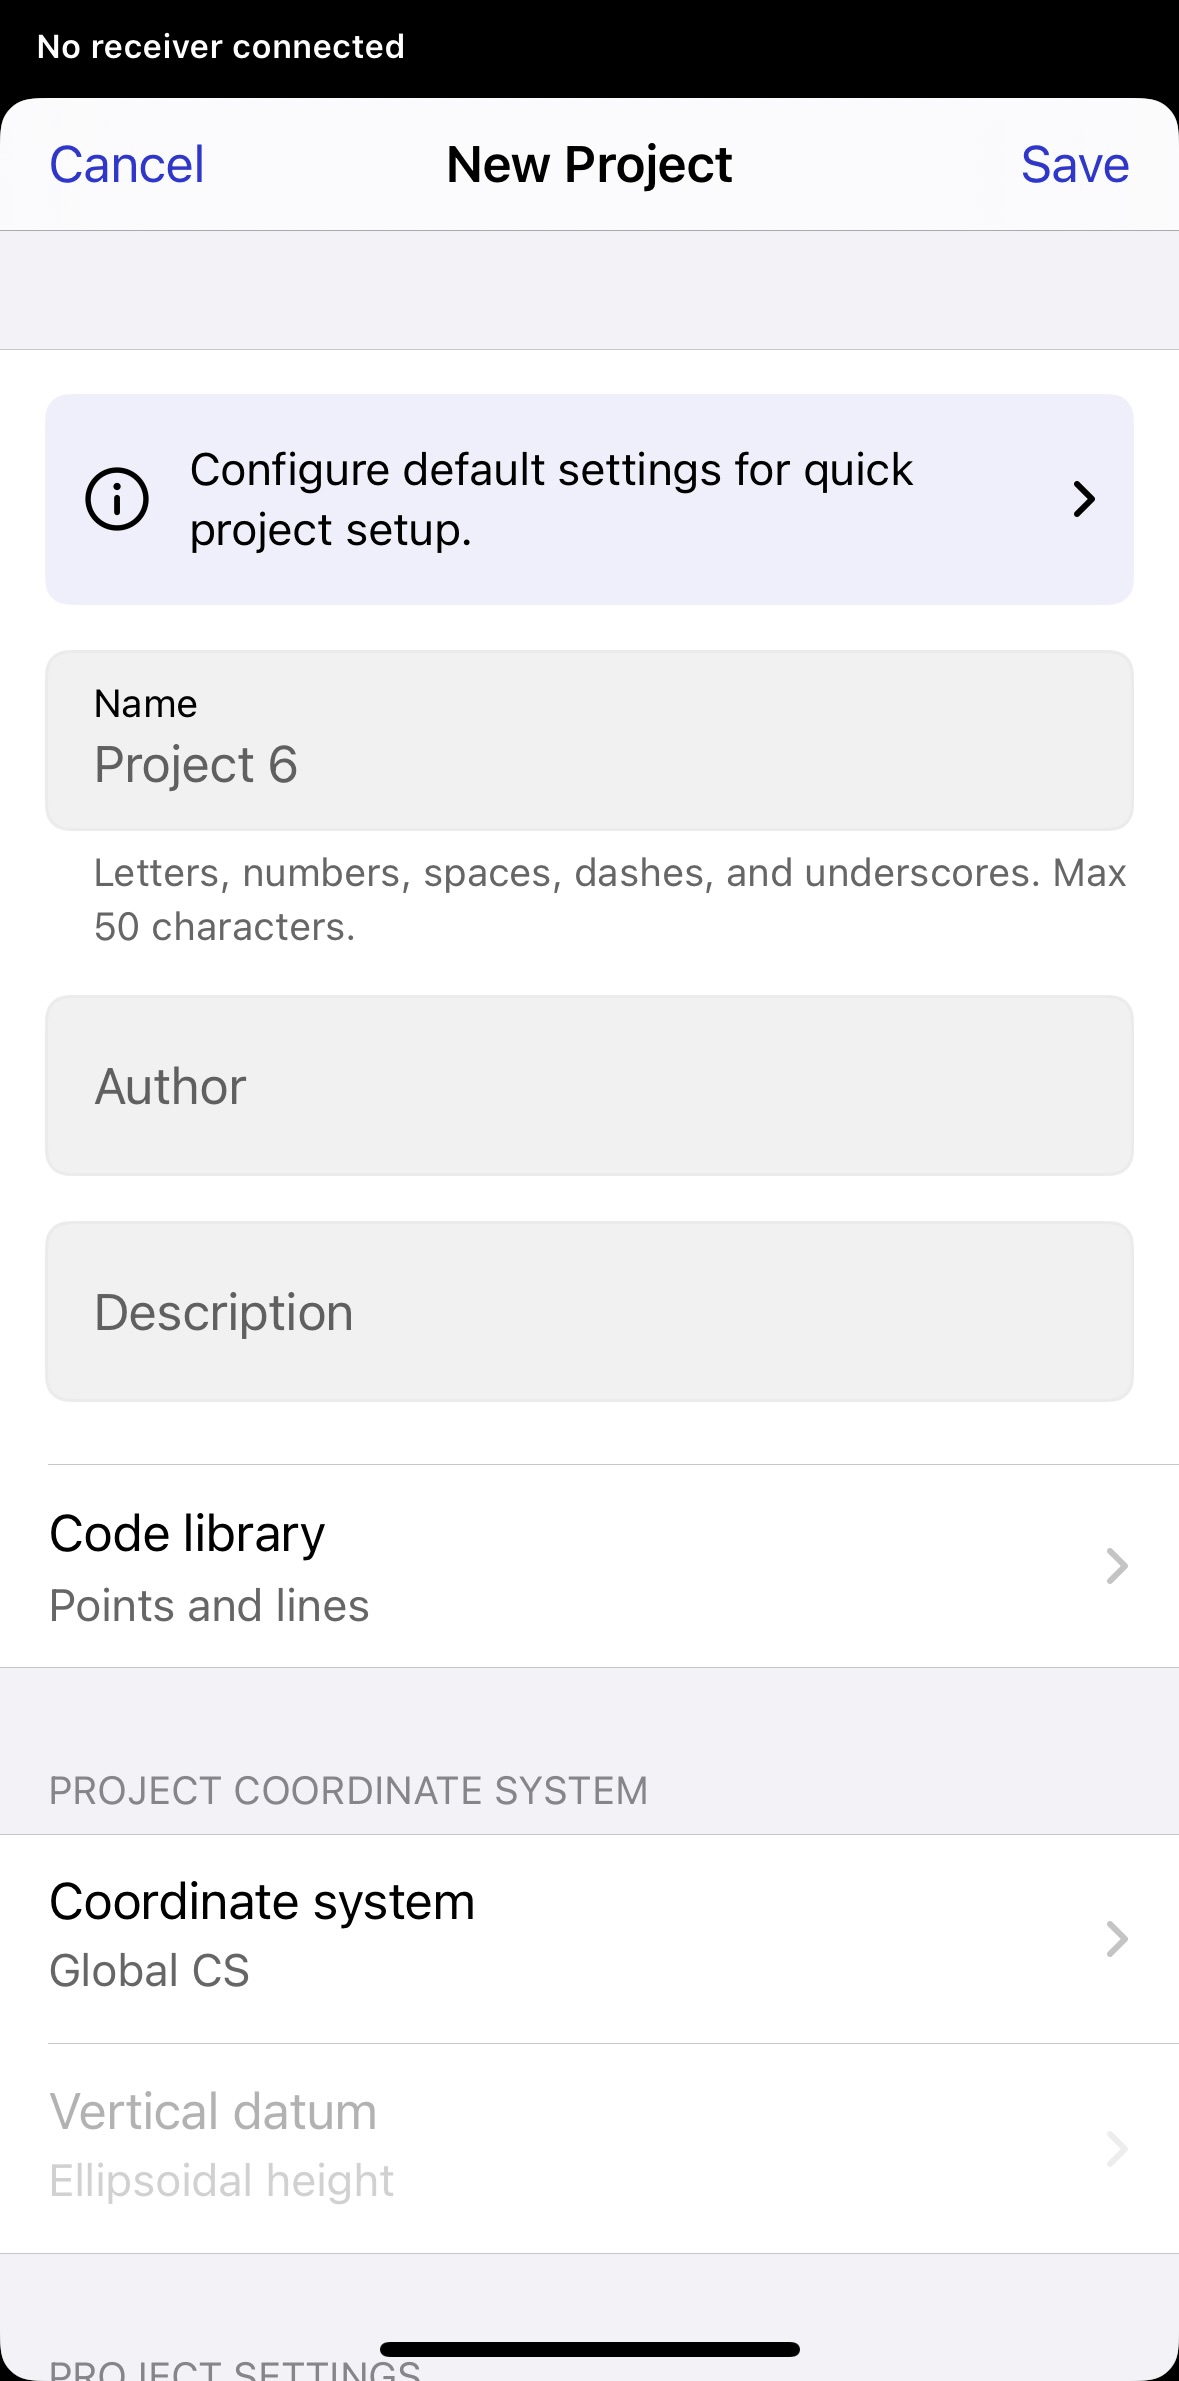
noteIf you want to create a default configuration, like the code library, coordinate system, linear and angular units for your project, check step 8.
-
With the
subscription plan, you can link a code library to your project to work with lines and codes.noteYou can specify the linked code library only when creating a project.
-
Specify the coordinate system you want to work in.
tipCheck the Coordinate systems introduction to learn more.
-
Select the measurement units for your project from the Linear Units drop-down menu.


-
Select the angle display format: DD or DMS.
By default, all geographic coordinates, directions, and azimuths are displayed in the DD format.

-
Tap Save. Emlid Flow will open the project.
-
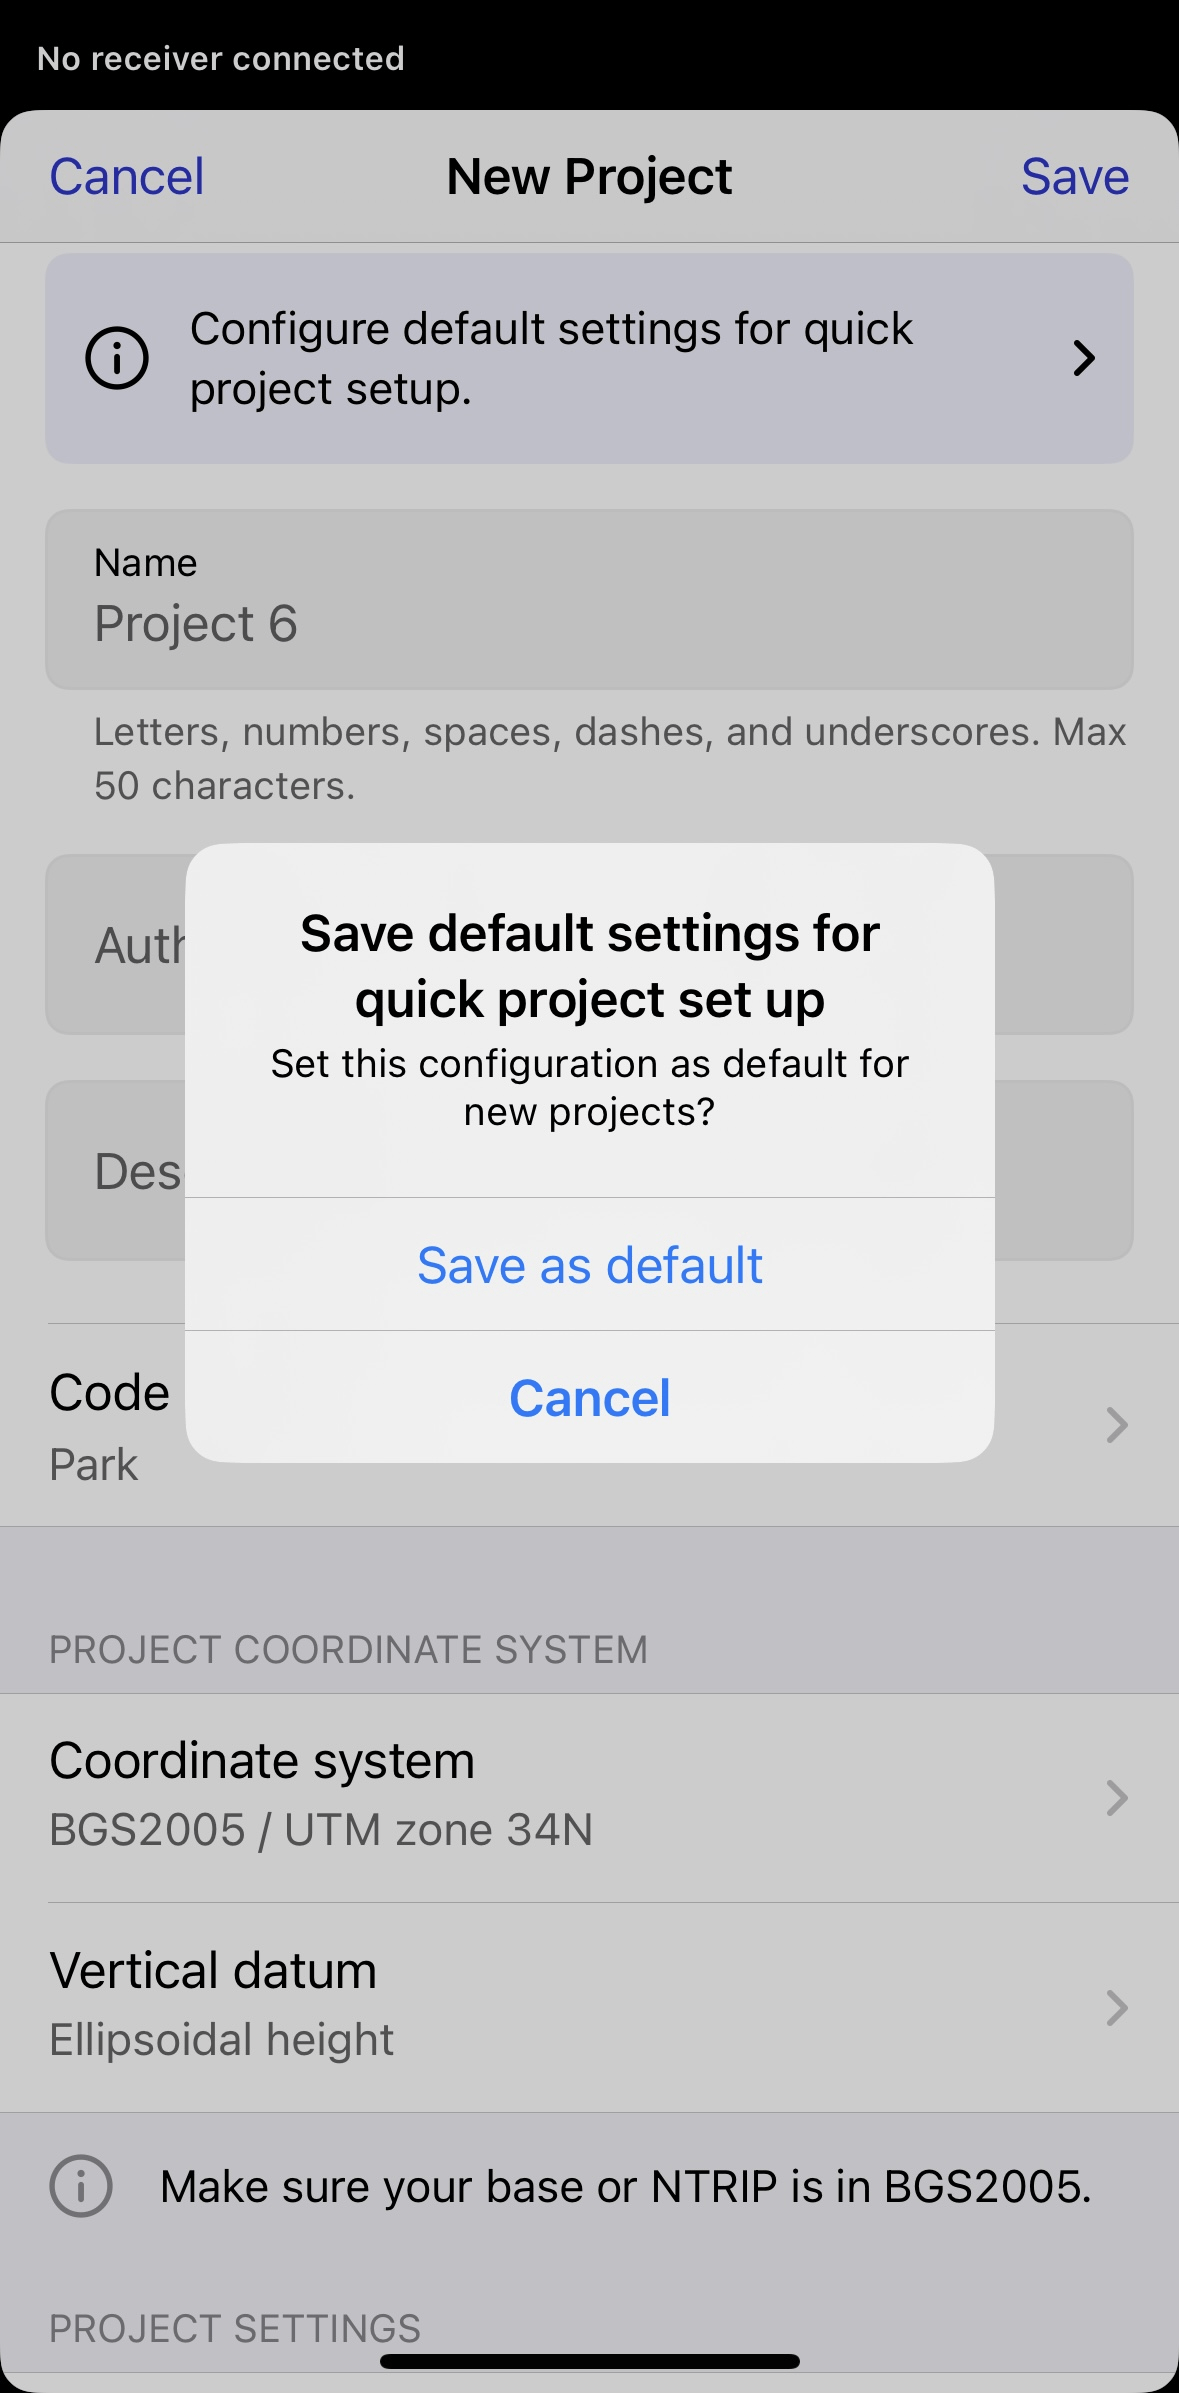
note
This step is optional.
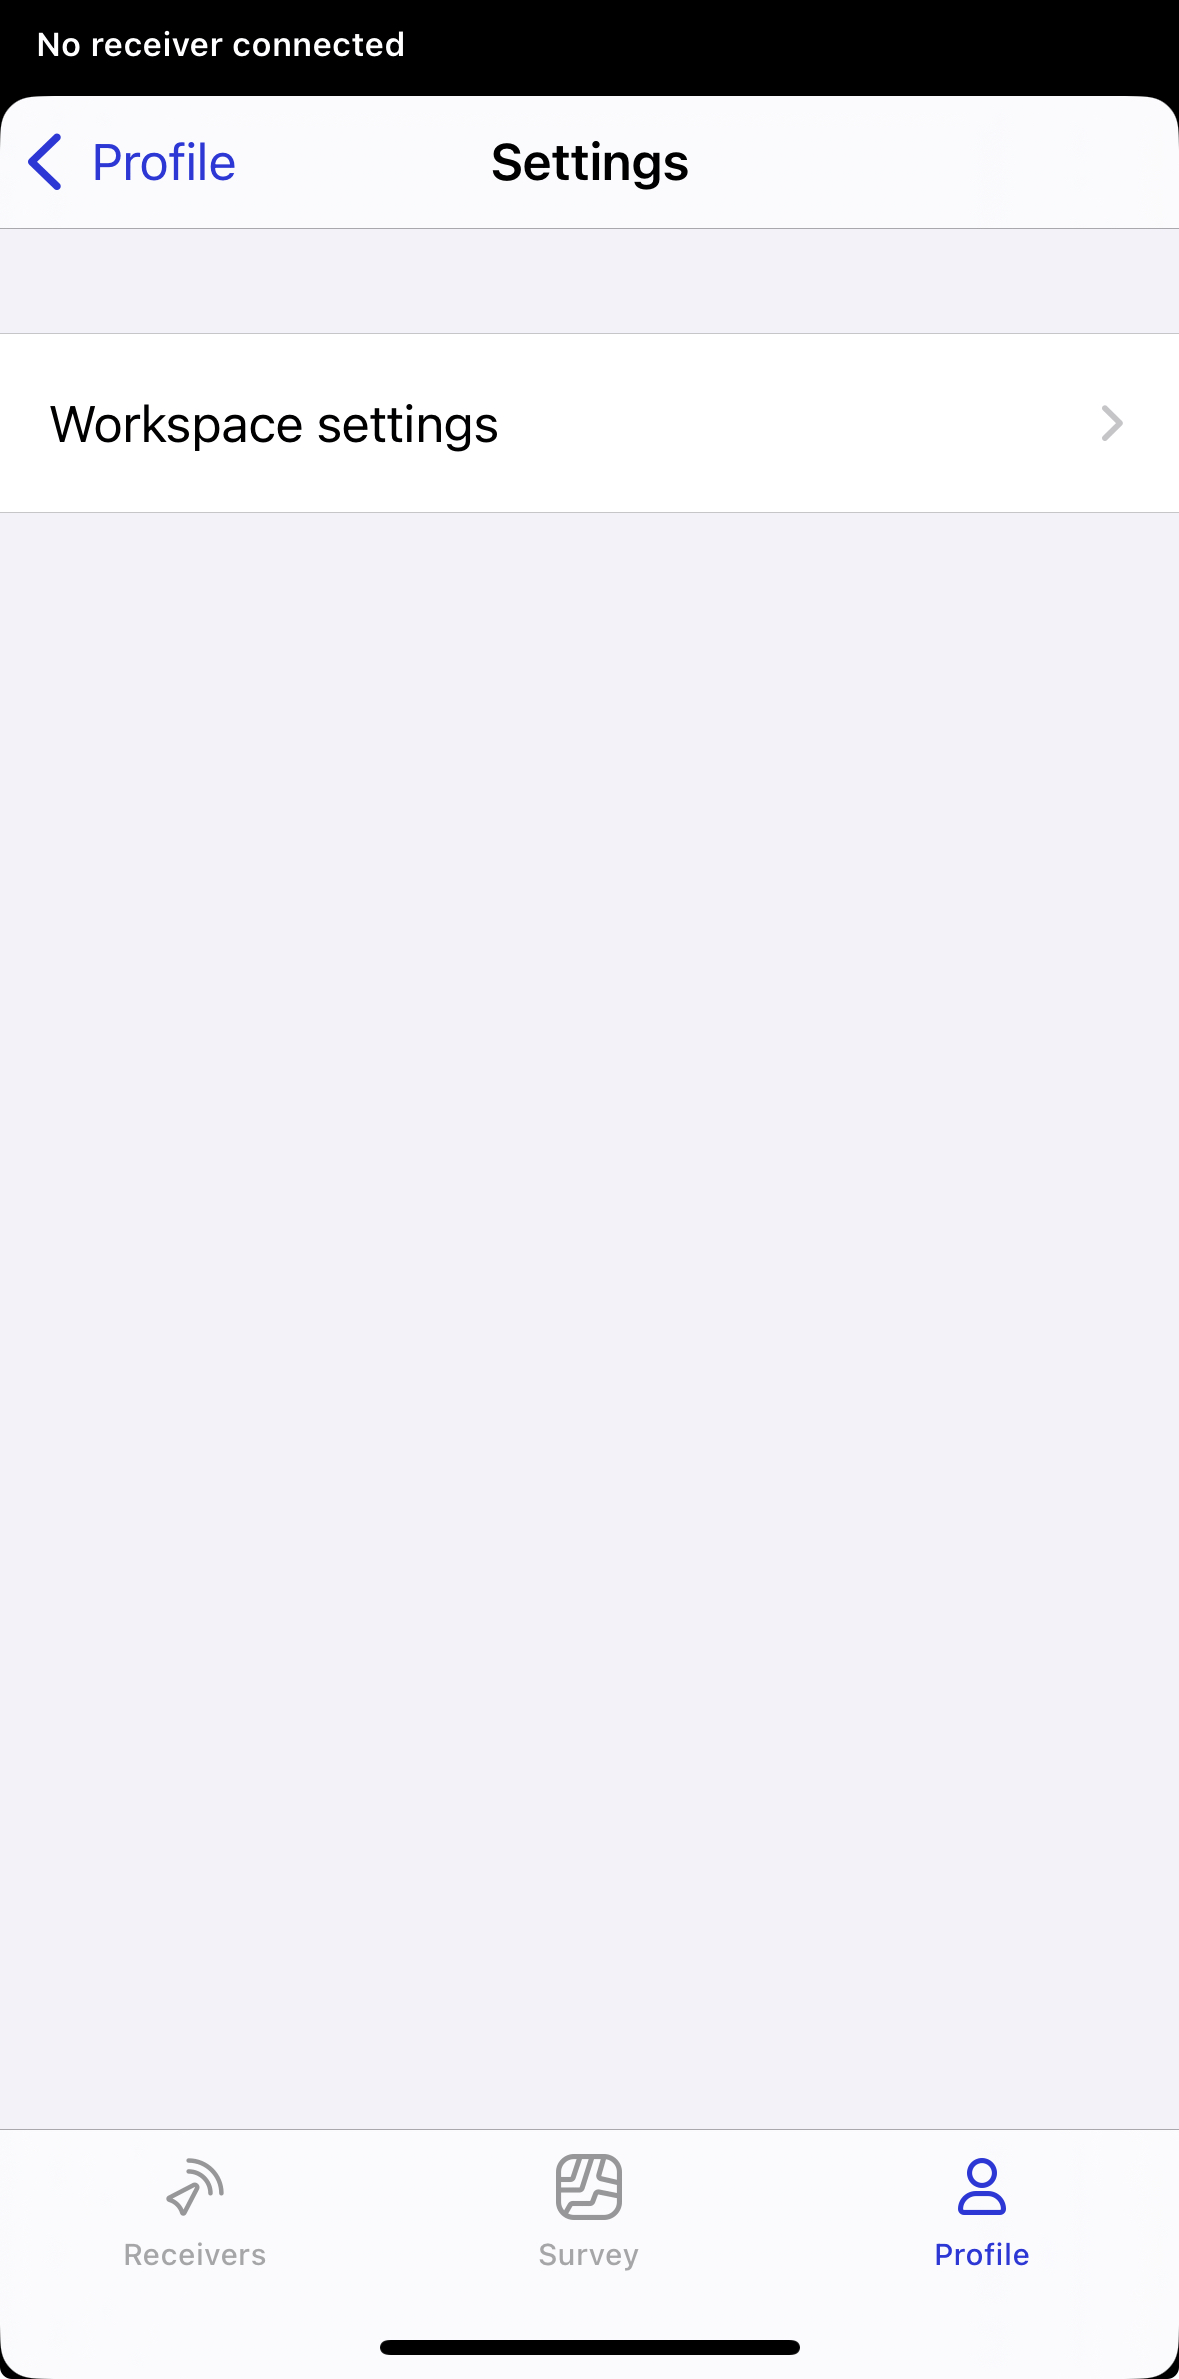
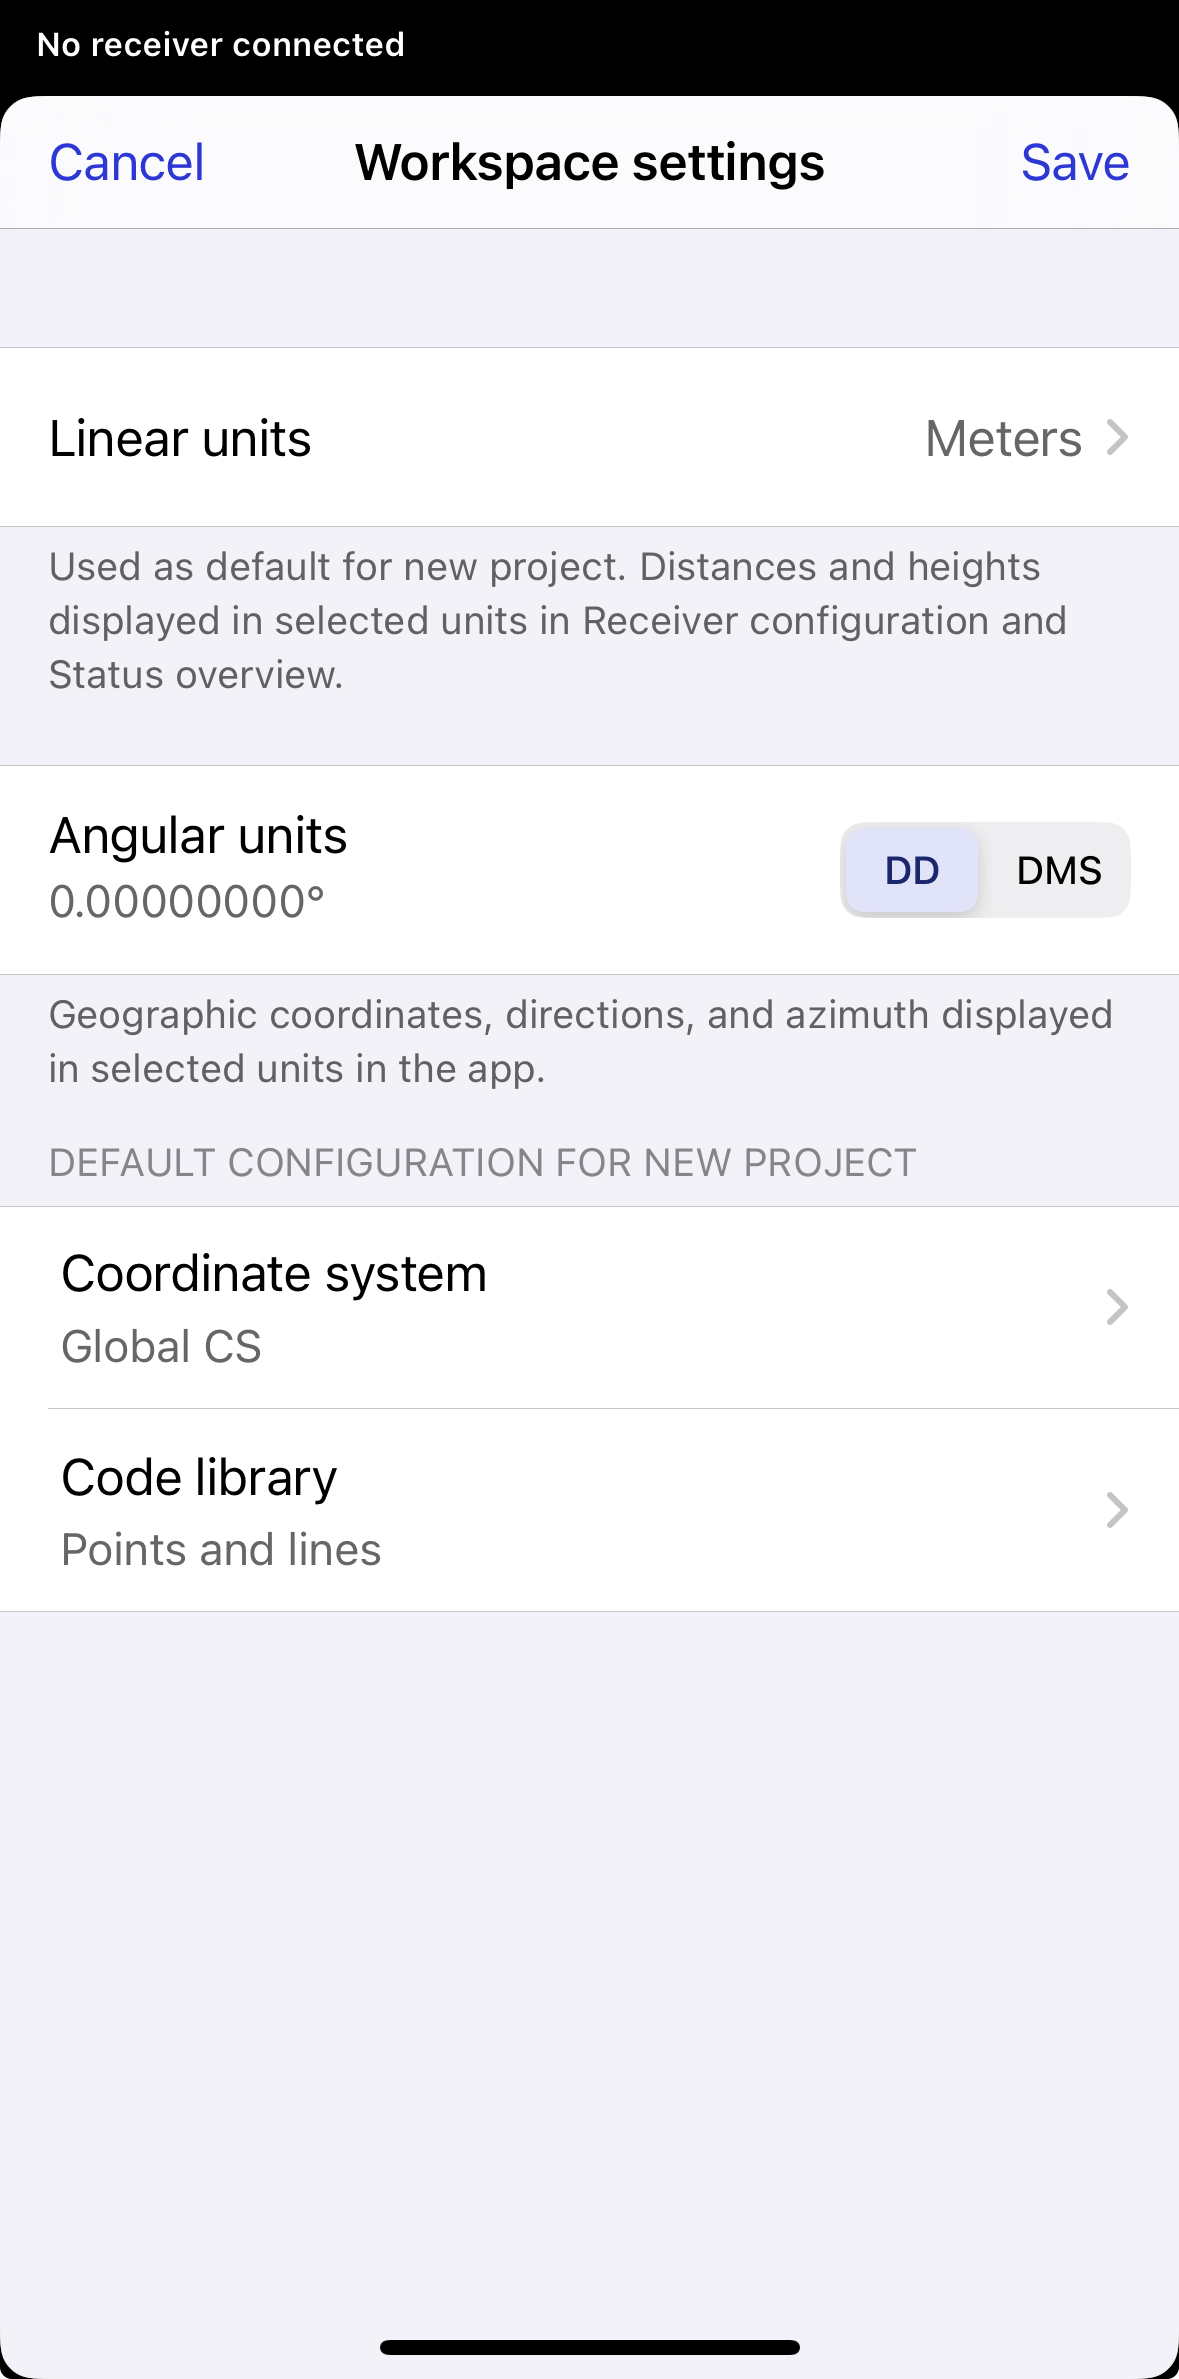
Emlid Flow allows you to configure default settings for quick project setup. Go to Settings in your profile and enter Workspace settings. There, you can set default linear and angular units, add code libraries and a coordinate system, and set them as the default for future projects. After that, these settings will be applied to your project by default when creating a new project. If needed, you can change the default configuration later.
noteIf you delete a default coordinate system or code library, the projects using them will remain unchanged. However, new projects will have a default code library with points and lines, and use a global coordinate system.
Learn more about code libraries and coordinate system setup in the Manage Code Libraries, Set Up Coordinate System from Library, and Set Up Custom Coordinate System guides.
Once the project is created, you can start working with survey tools in Emlid Flow.
Importing project data
With Emlid Flow and Emlid Flow 360, you can import geometries and additional data, such as surface files, CAD drawings, and layers in a variety of formats. To import the project data, follow the steps below.
For step-by-step instructions on importing and managing these files, read the Working with layers, Working with CAD Drawings, and Working with Surfaces guides.
To import the project, follow the steps below:
- Emlid Flow 360
- Emlid Flow
-
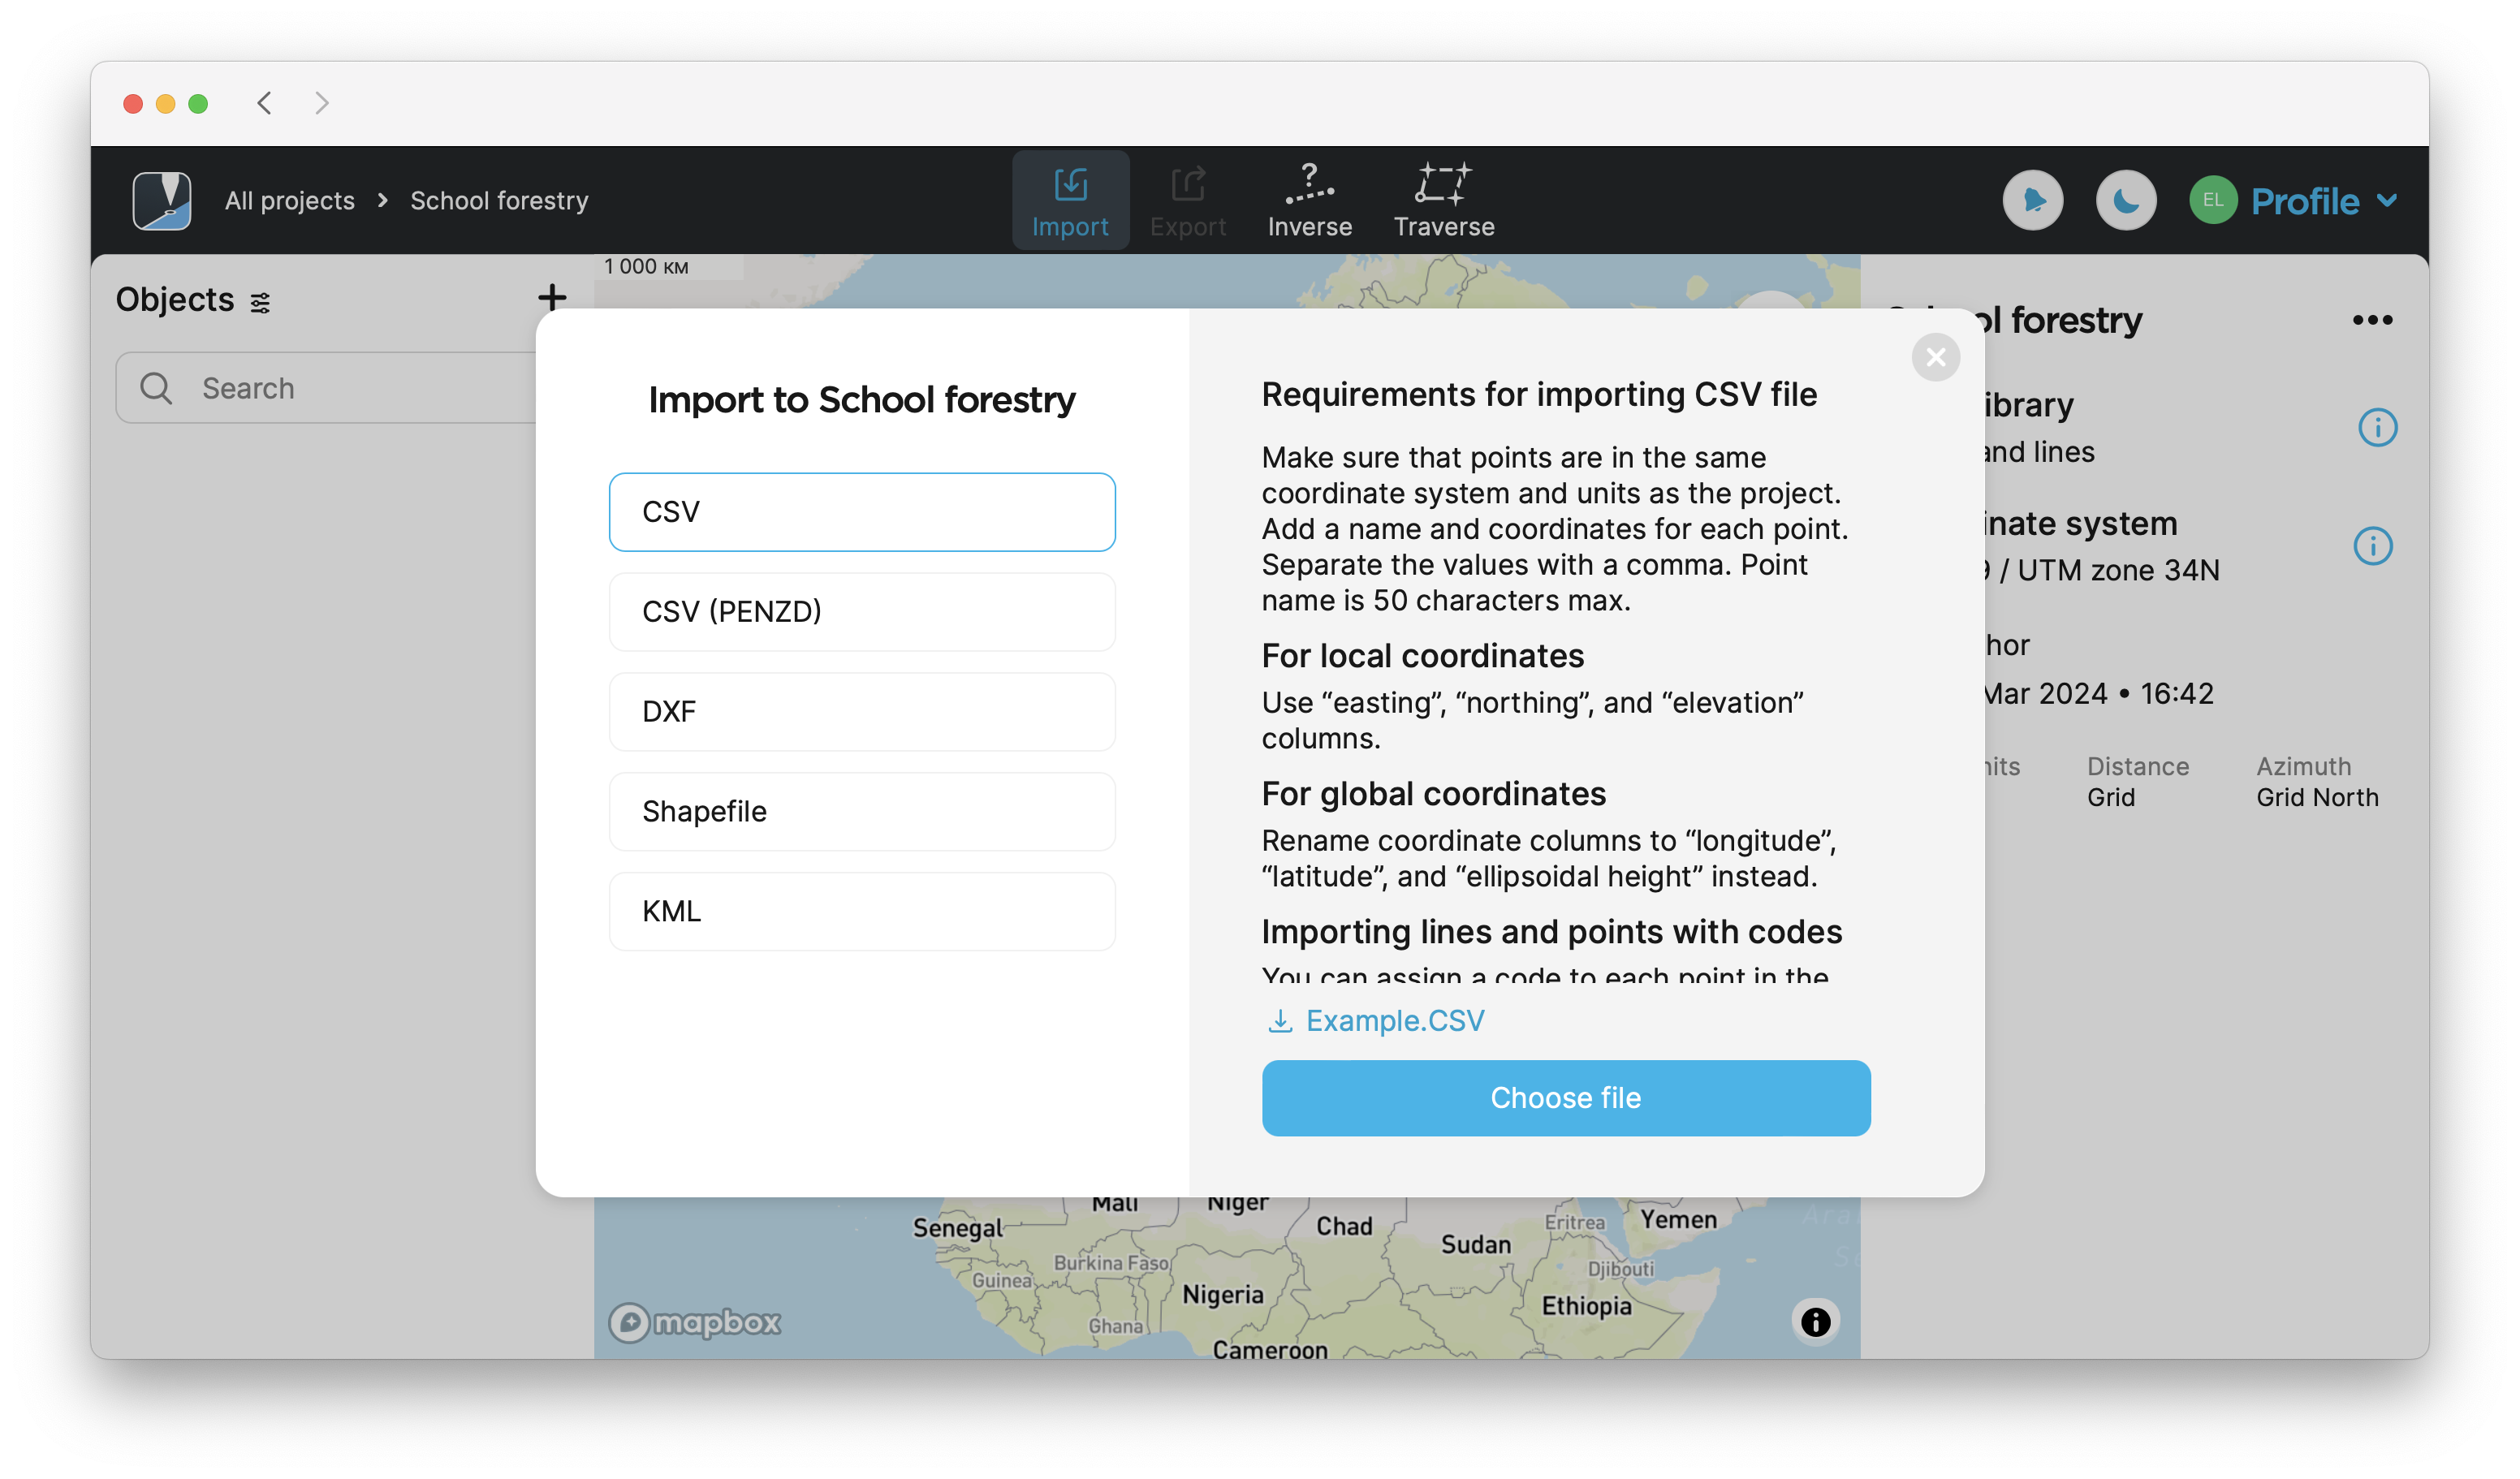
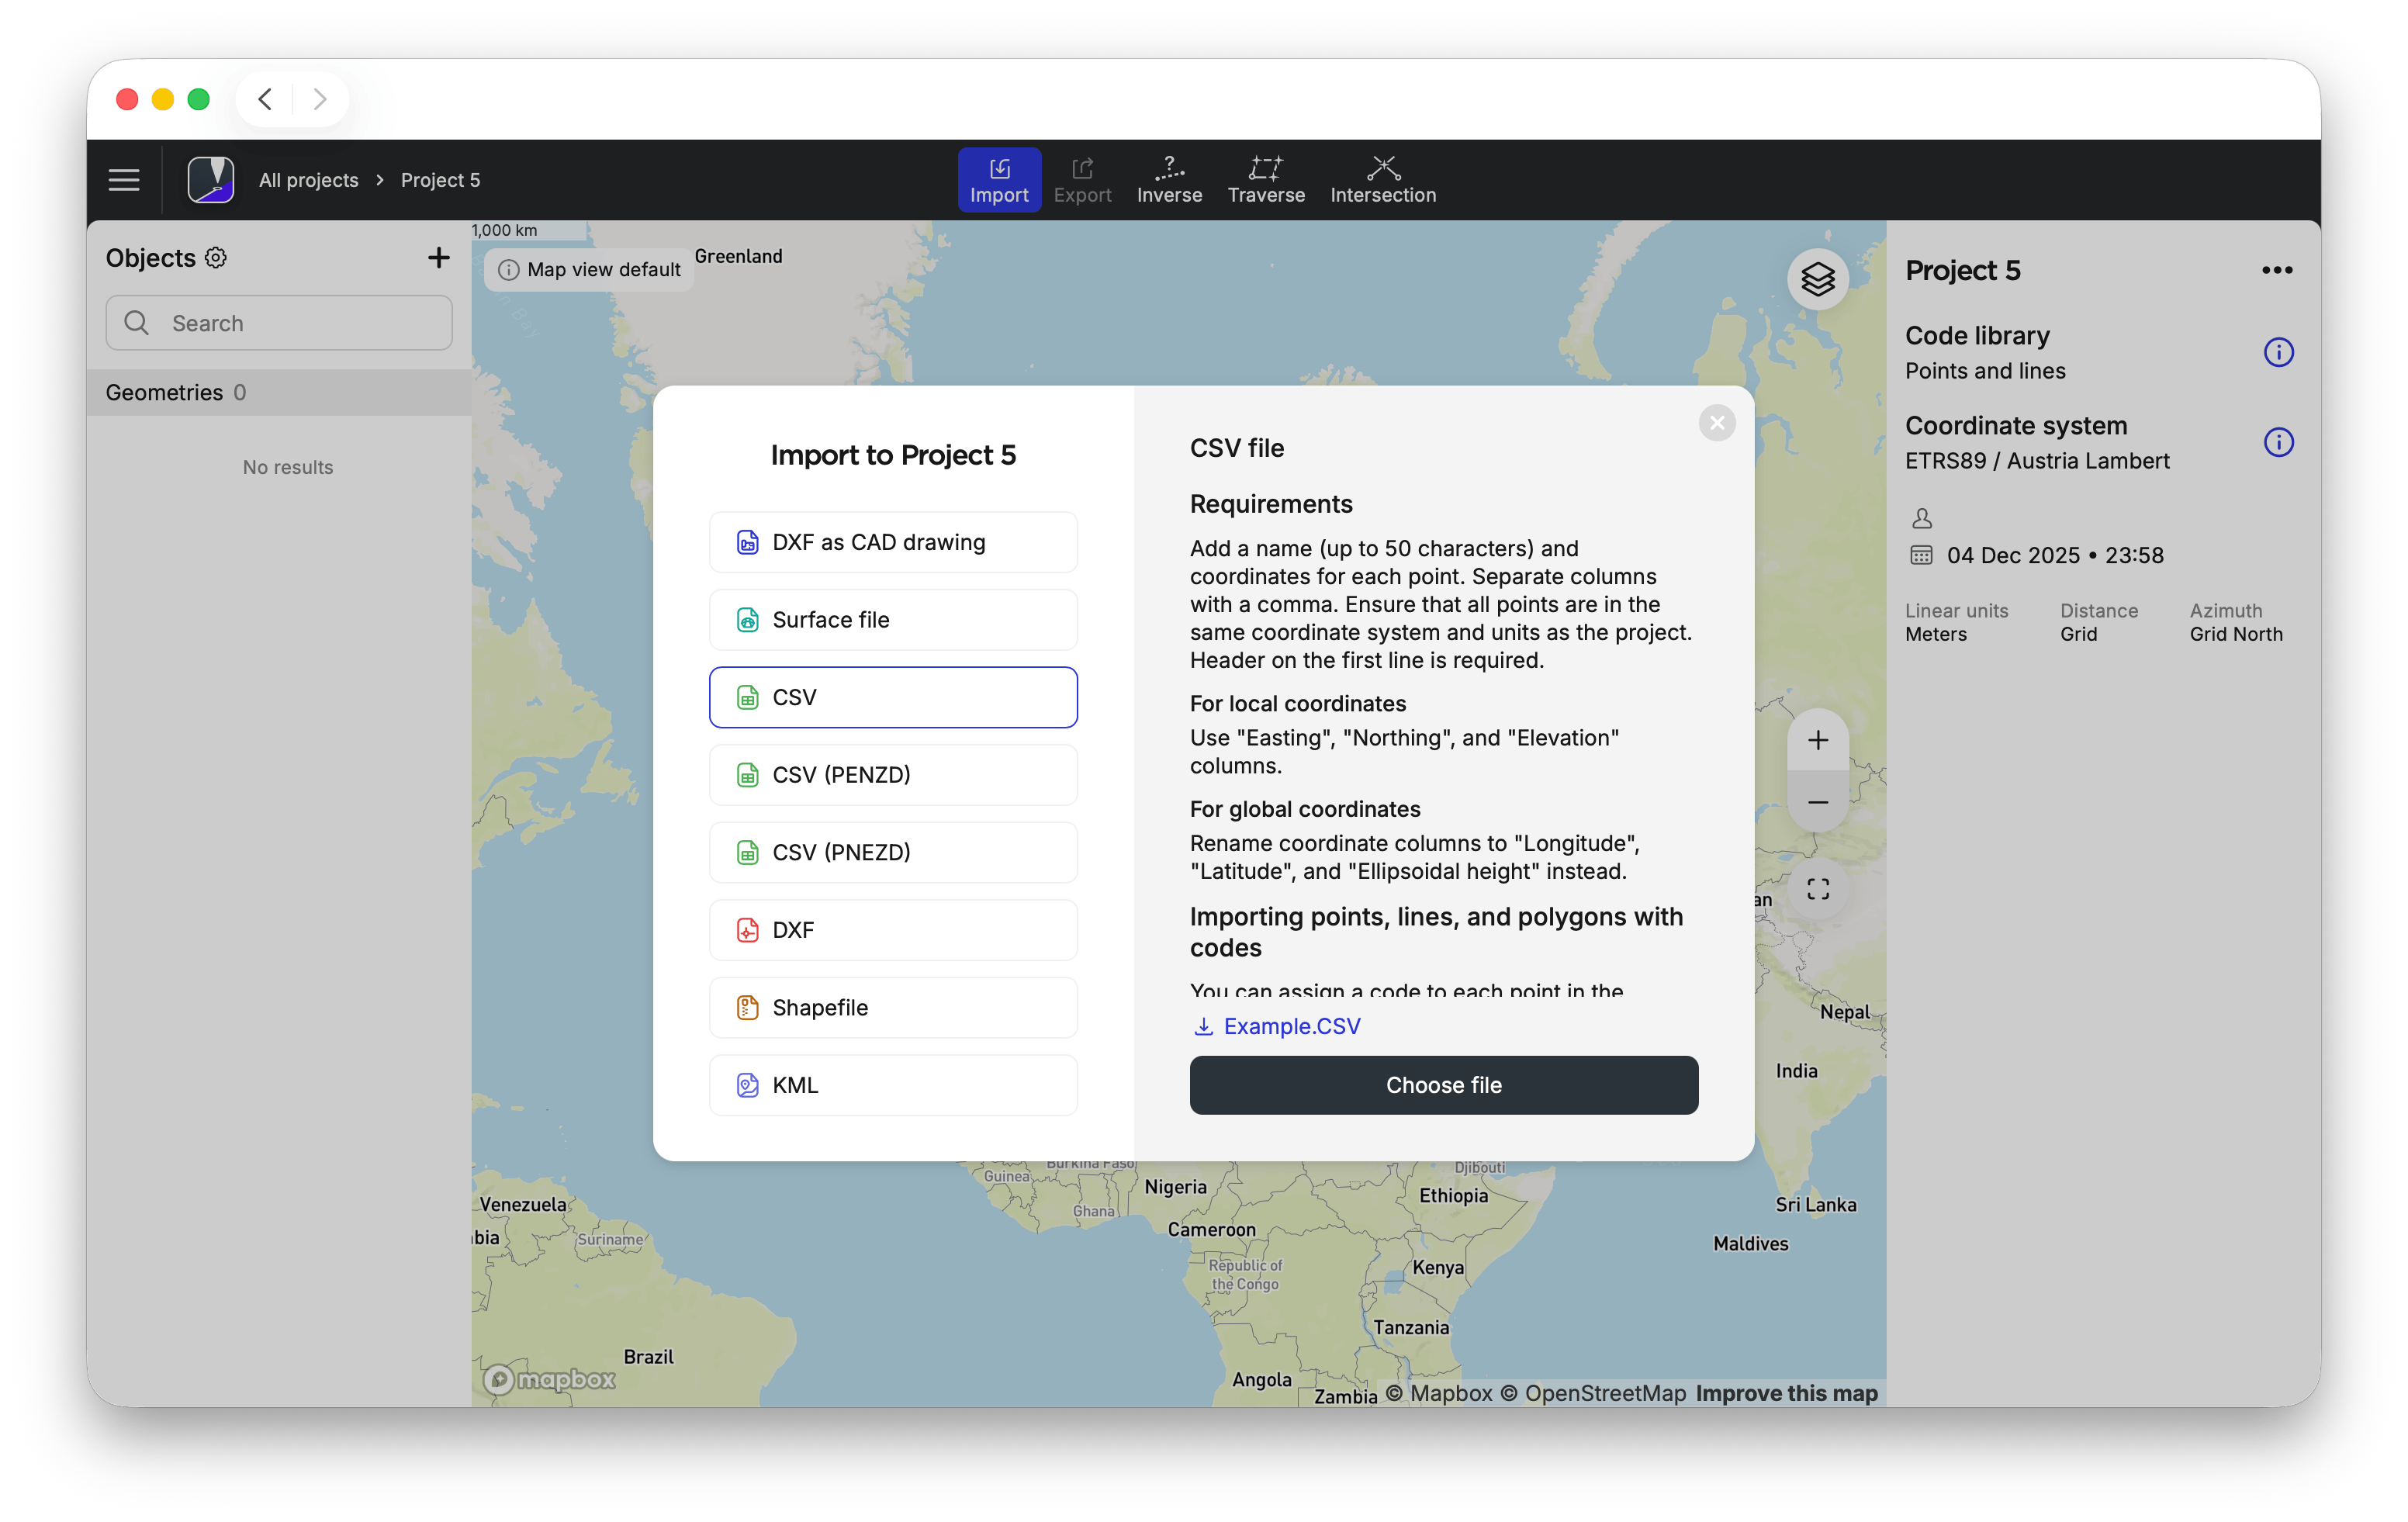
Click on the Import button on the top panel.
-
Tap the import format you want to use. The format requirements will appear.
-
Choose the project file.
noteEmlid Flow supports projects only with points and lines. Lines support is included only in the
subscription plan. -
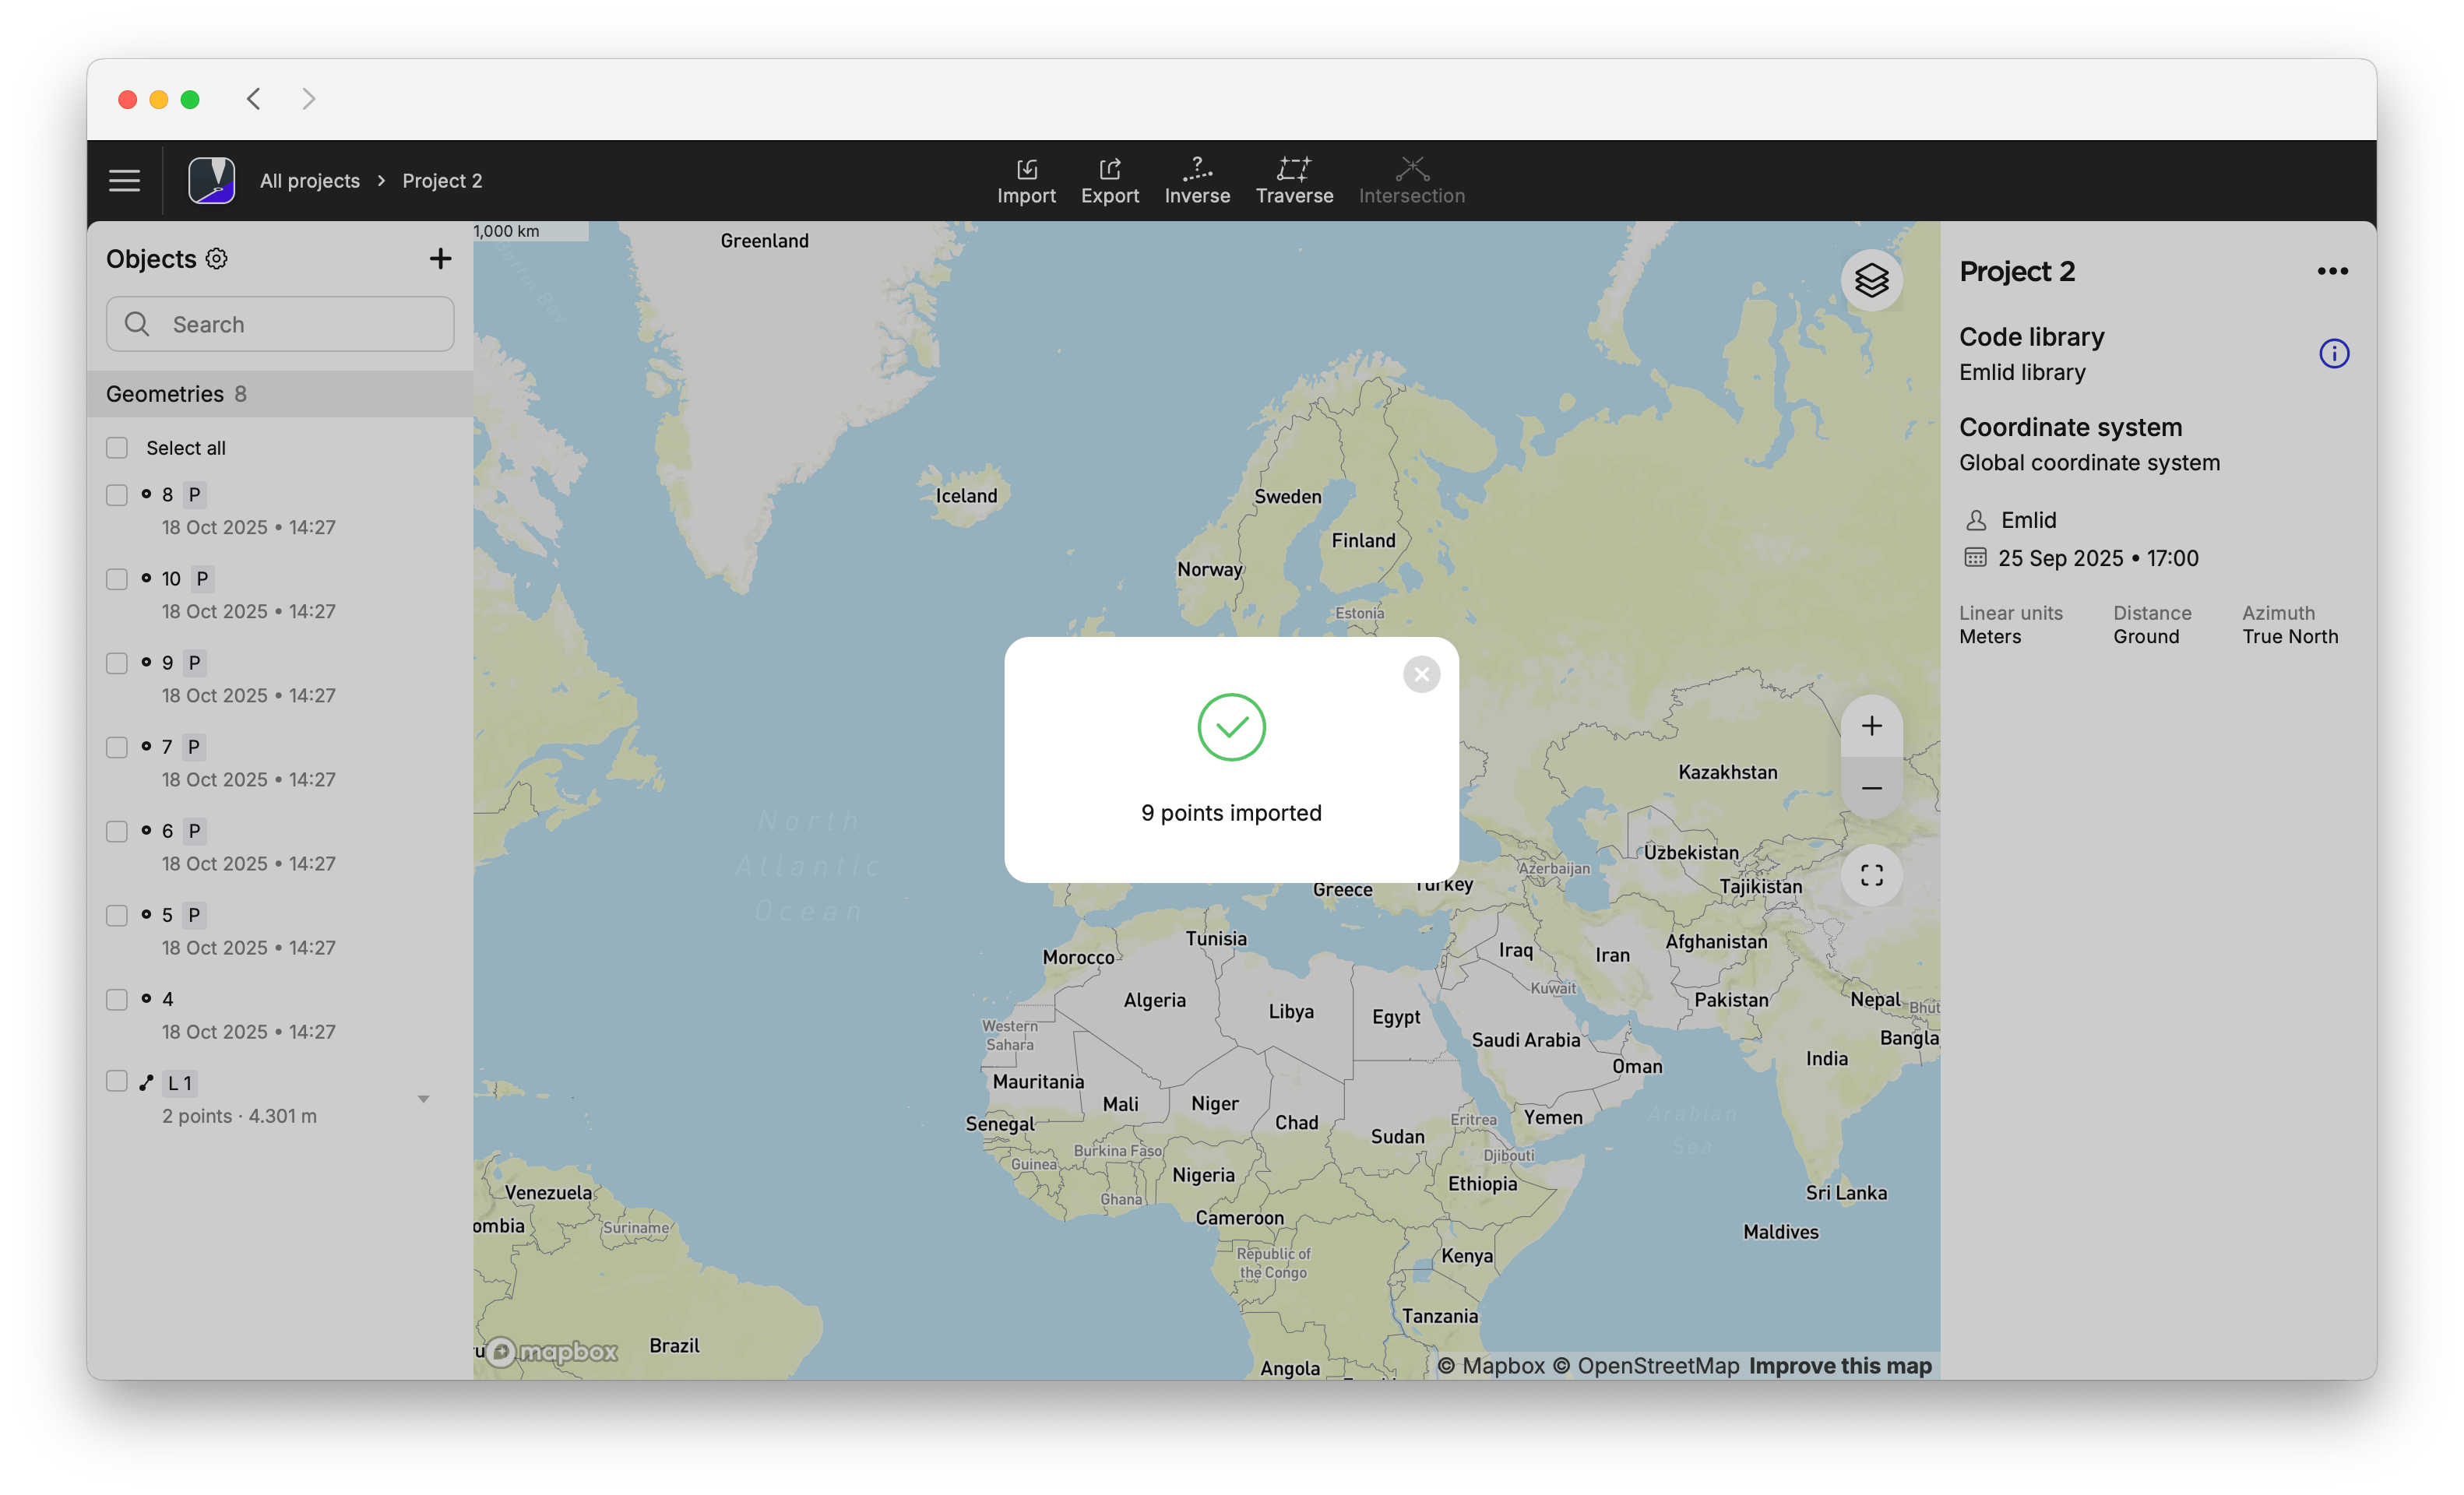
Wait until Emlid Flow 360 finishes importing the project. Once the project is imported, you will see the confirmation sign.
-
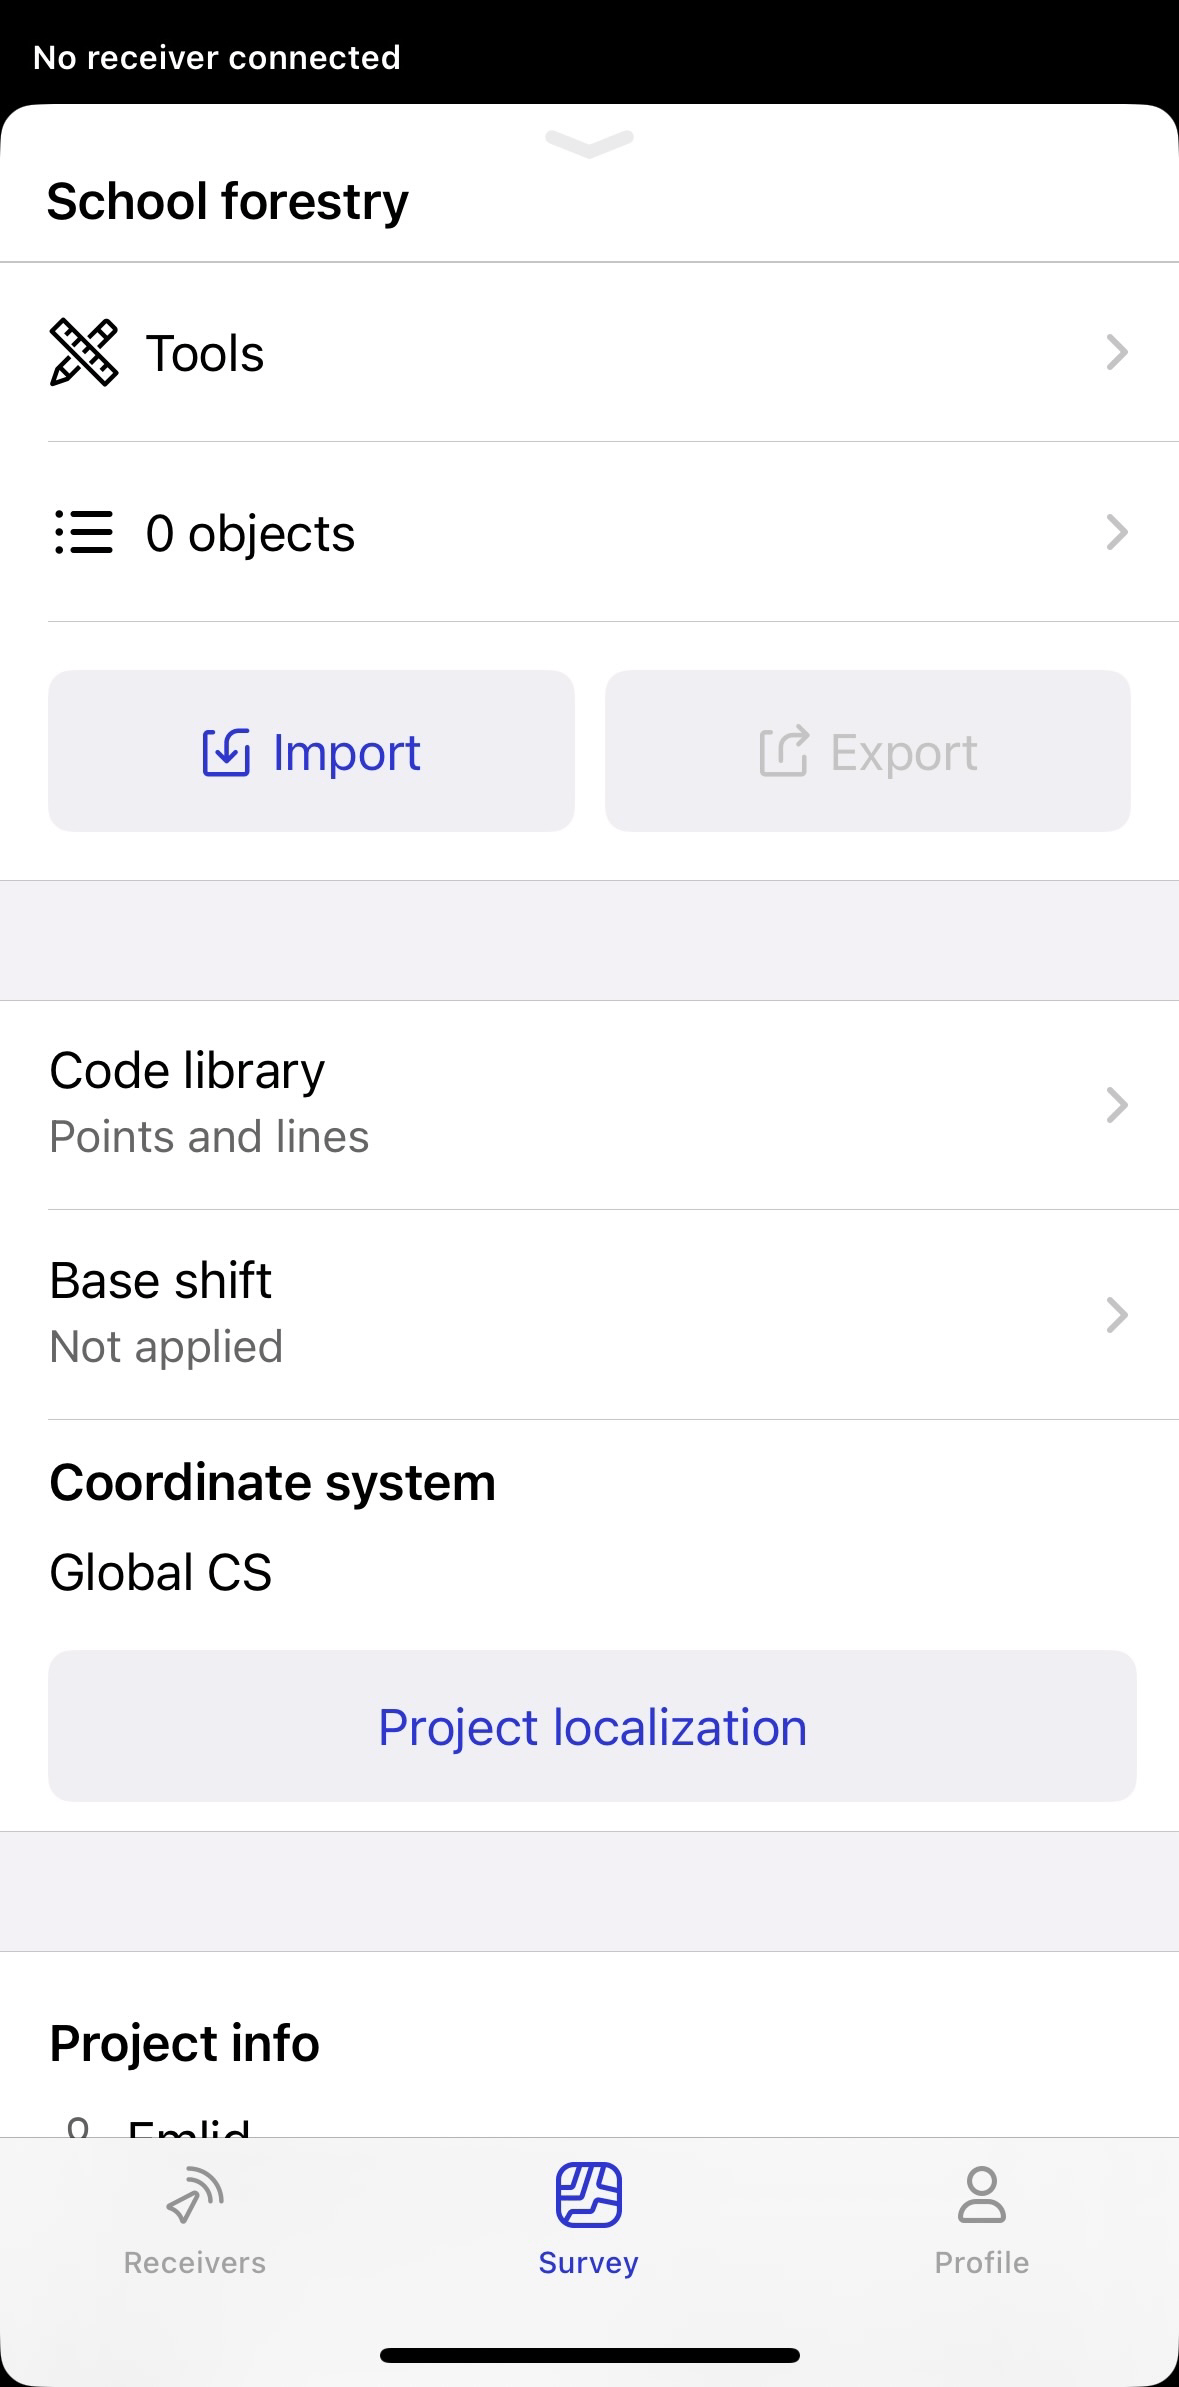
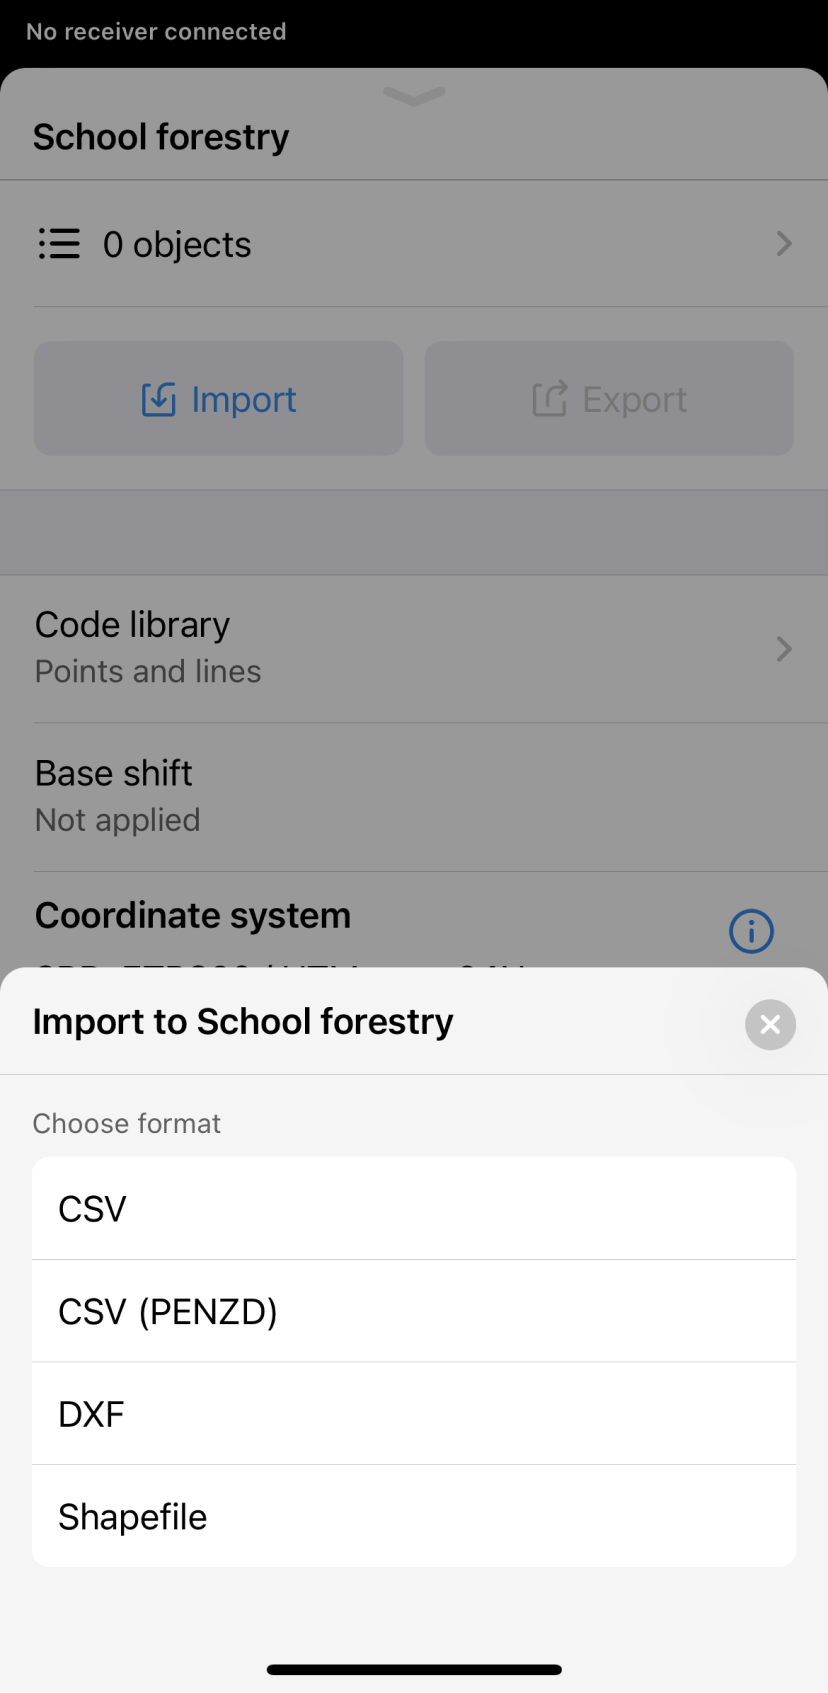
Swipe up the project drawer and tap the Import button.
tipYou can also import the project from the Survey tab by tapping the 3 dots in the top right corner.
-
Tap the import format you want to use. The format requirements will appear.
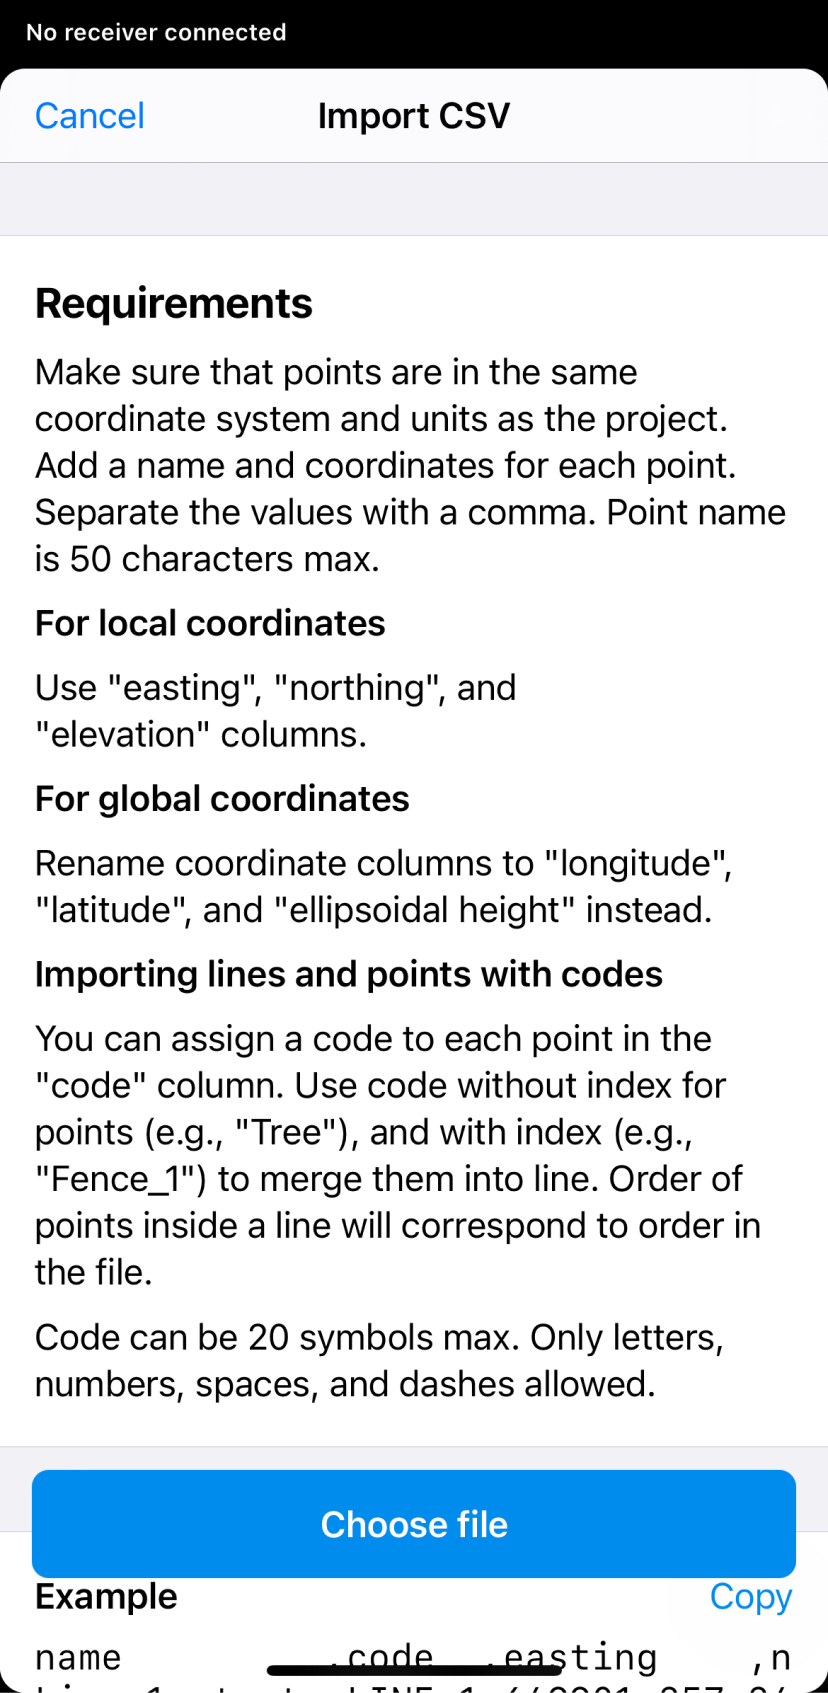
-
Choose the project file.
noteEmlid Flow supports projects only with points and lines. Lines support is included only in the
subscription plan. -
Wait until Emlid Flow finishes importing the project. Once the project is imported, you will see the confirmation sign.
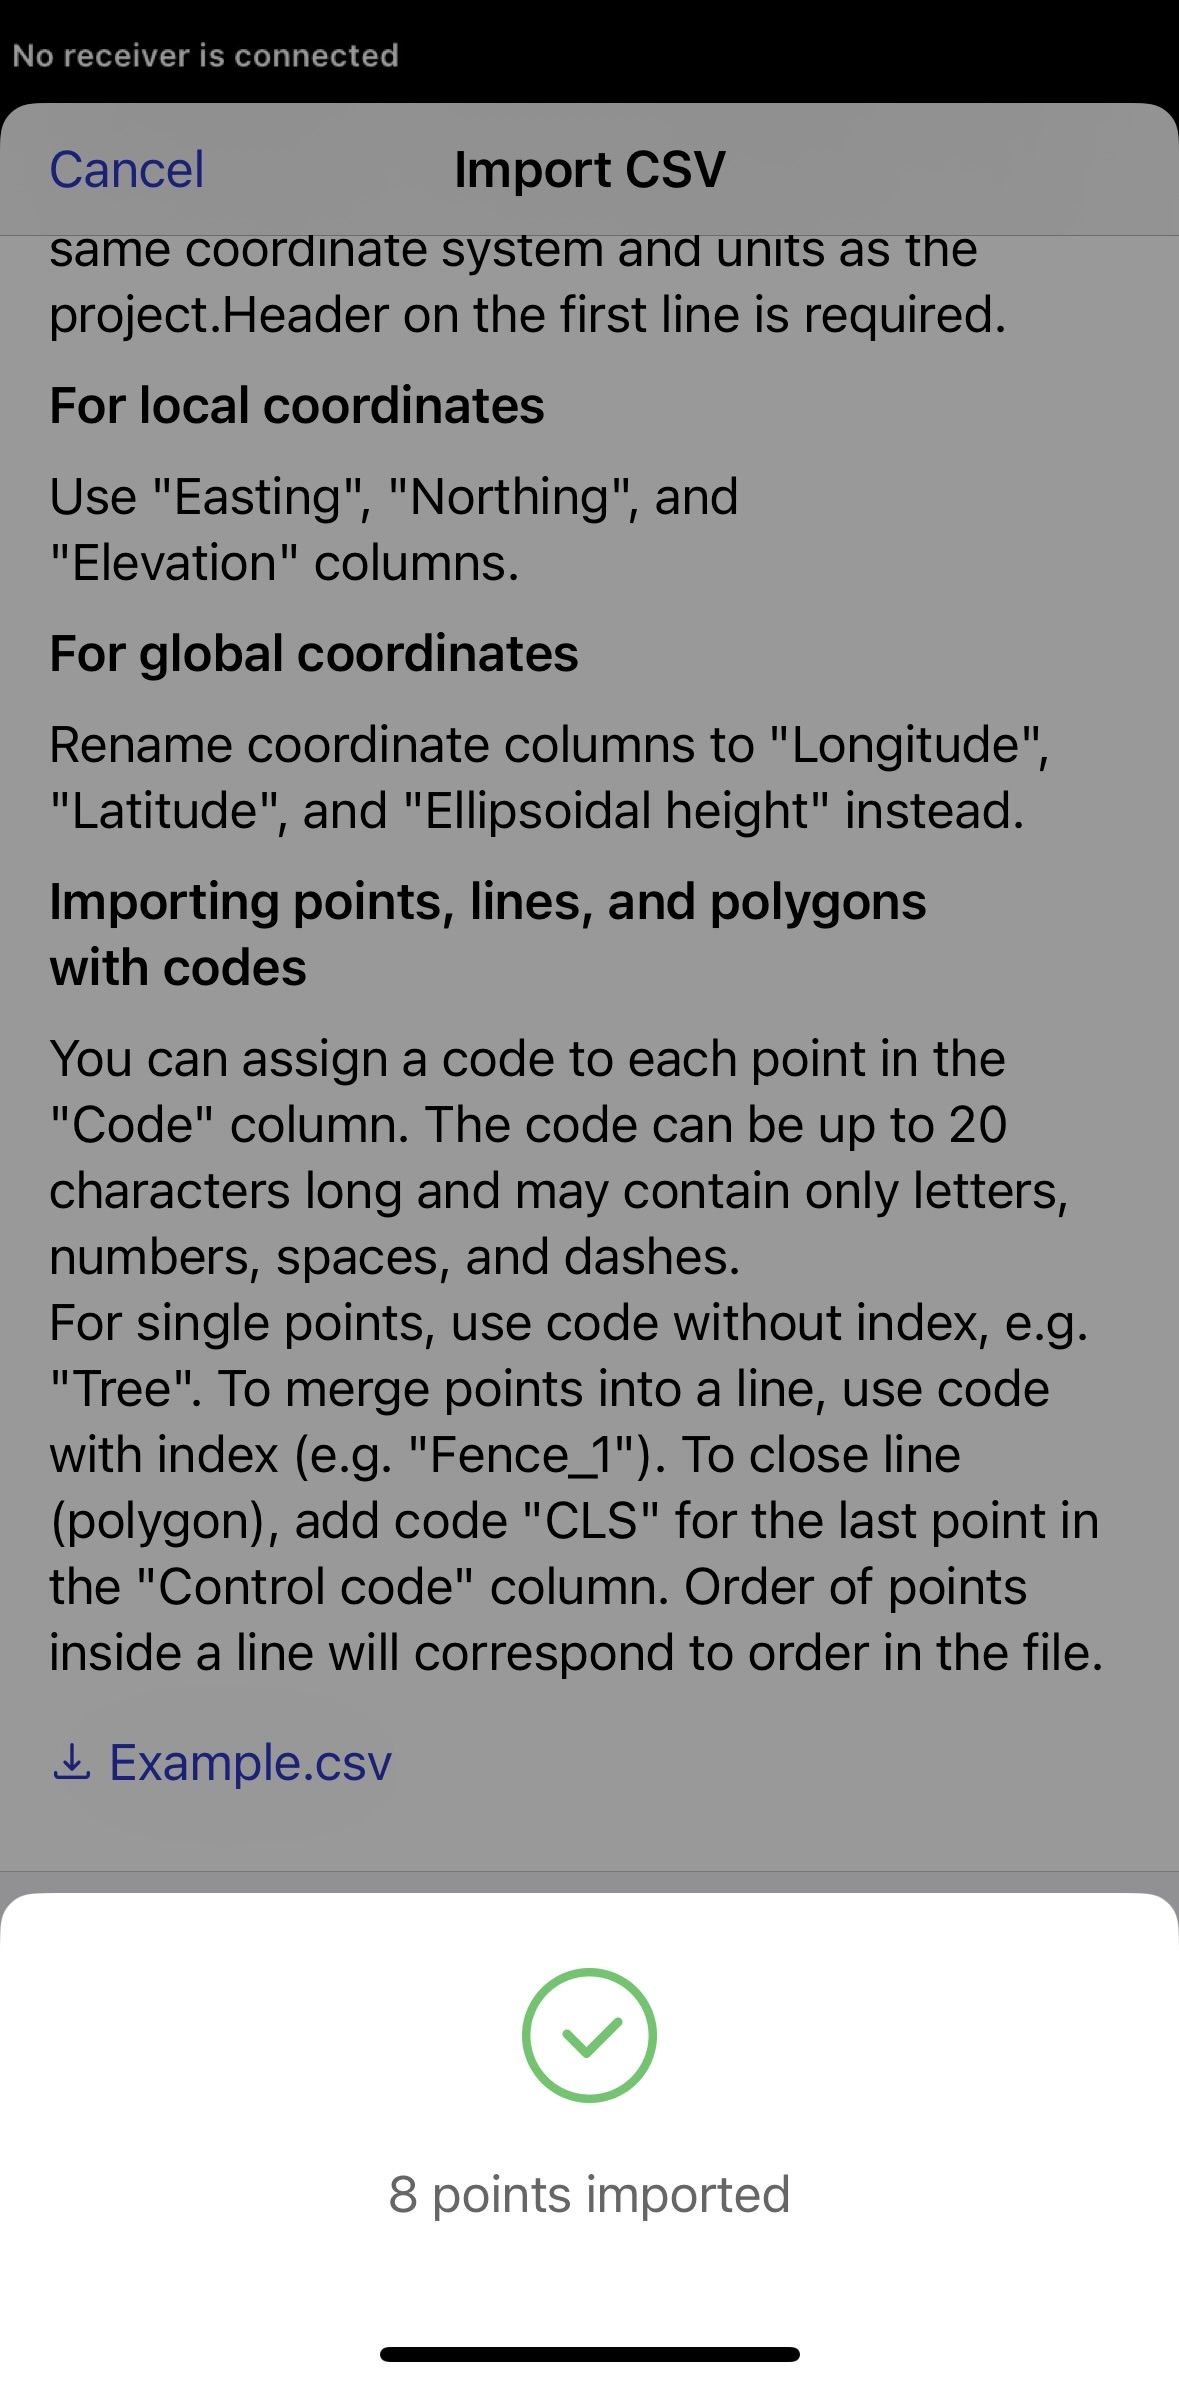
Now all the objects are imported to your project.
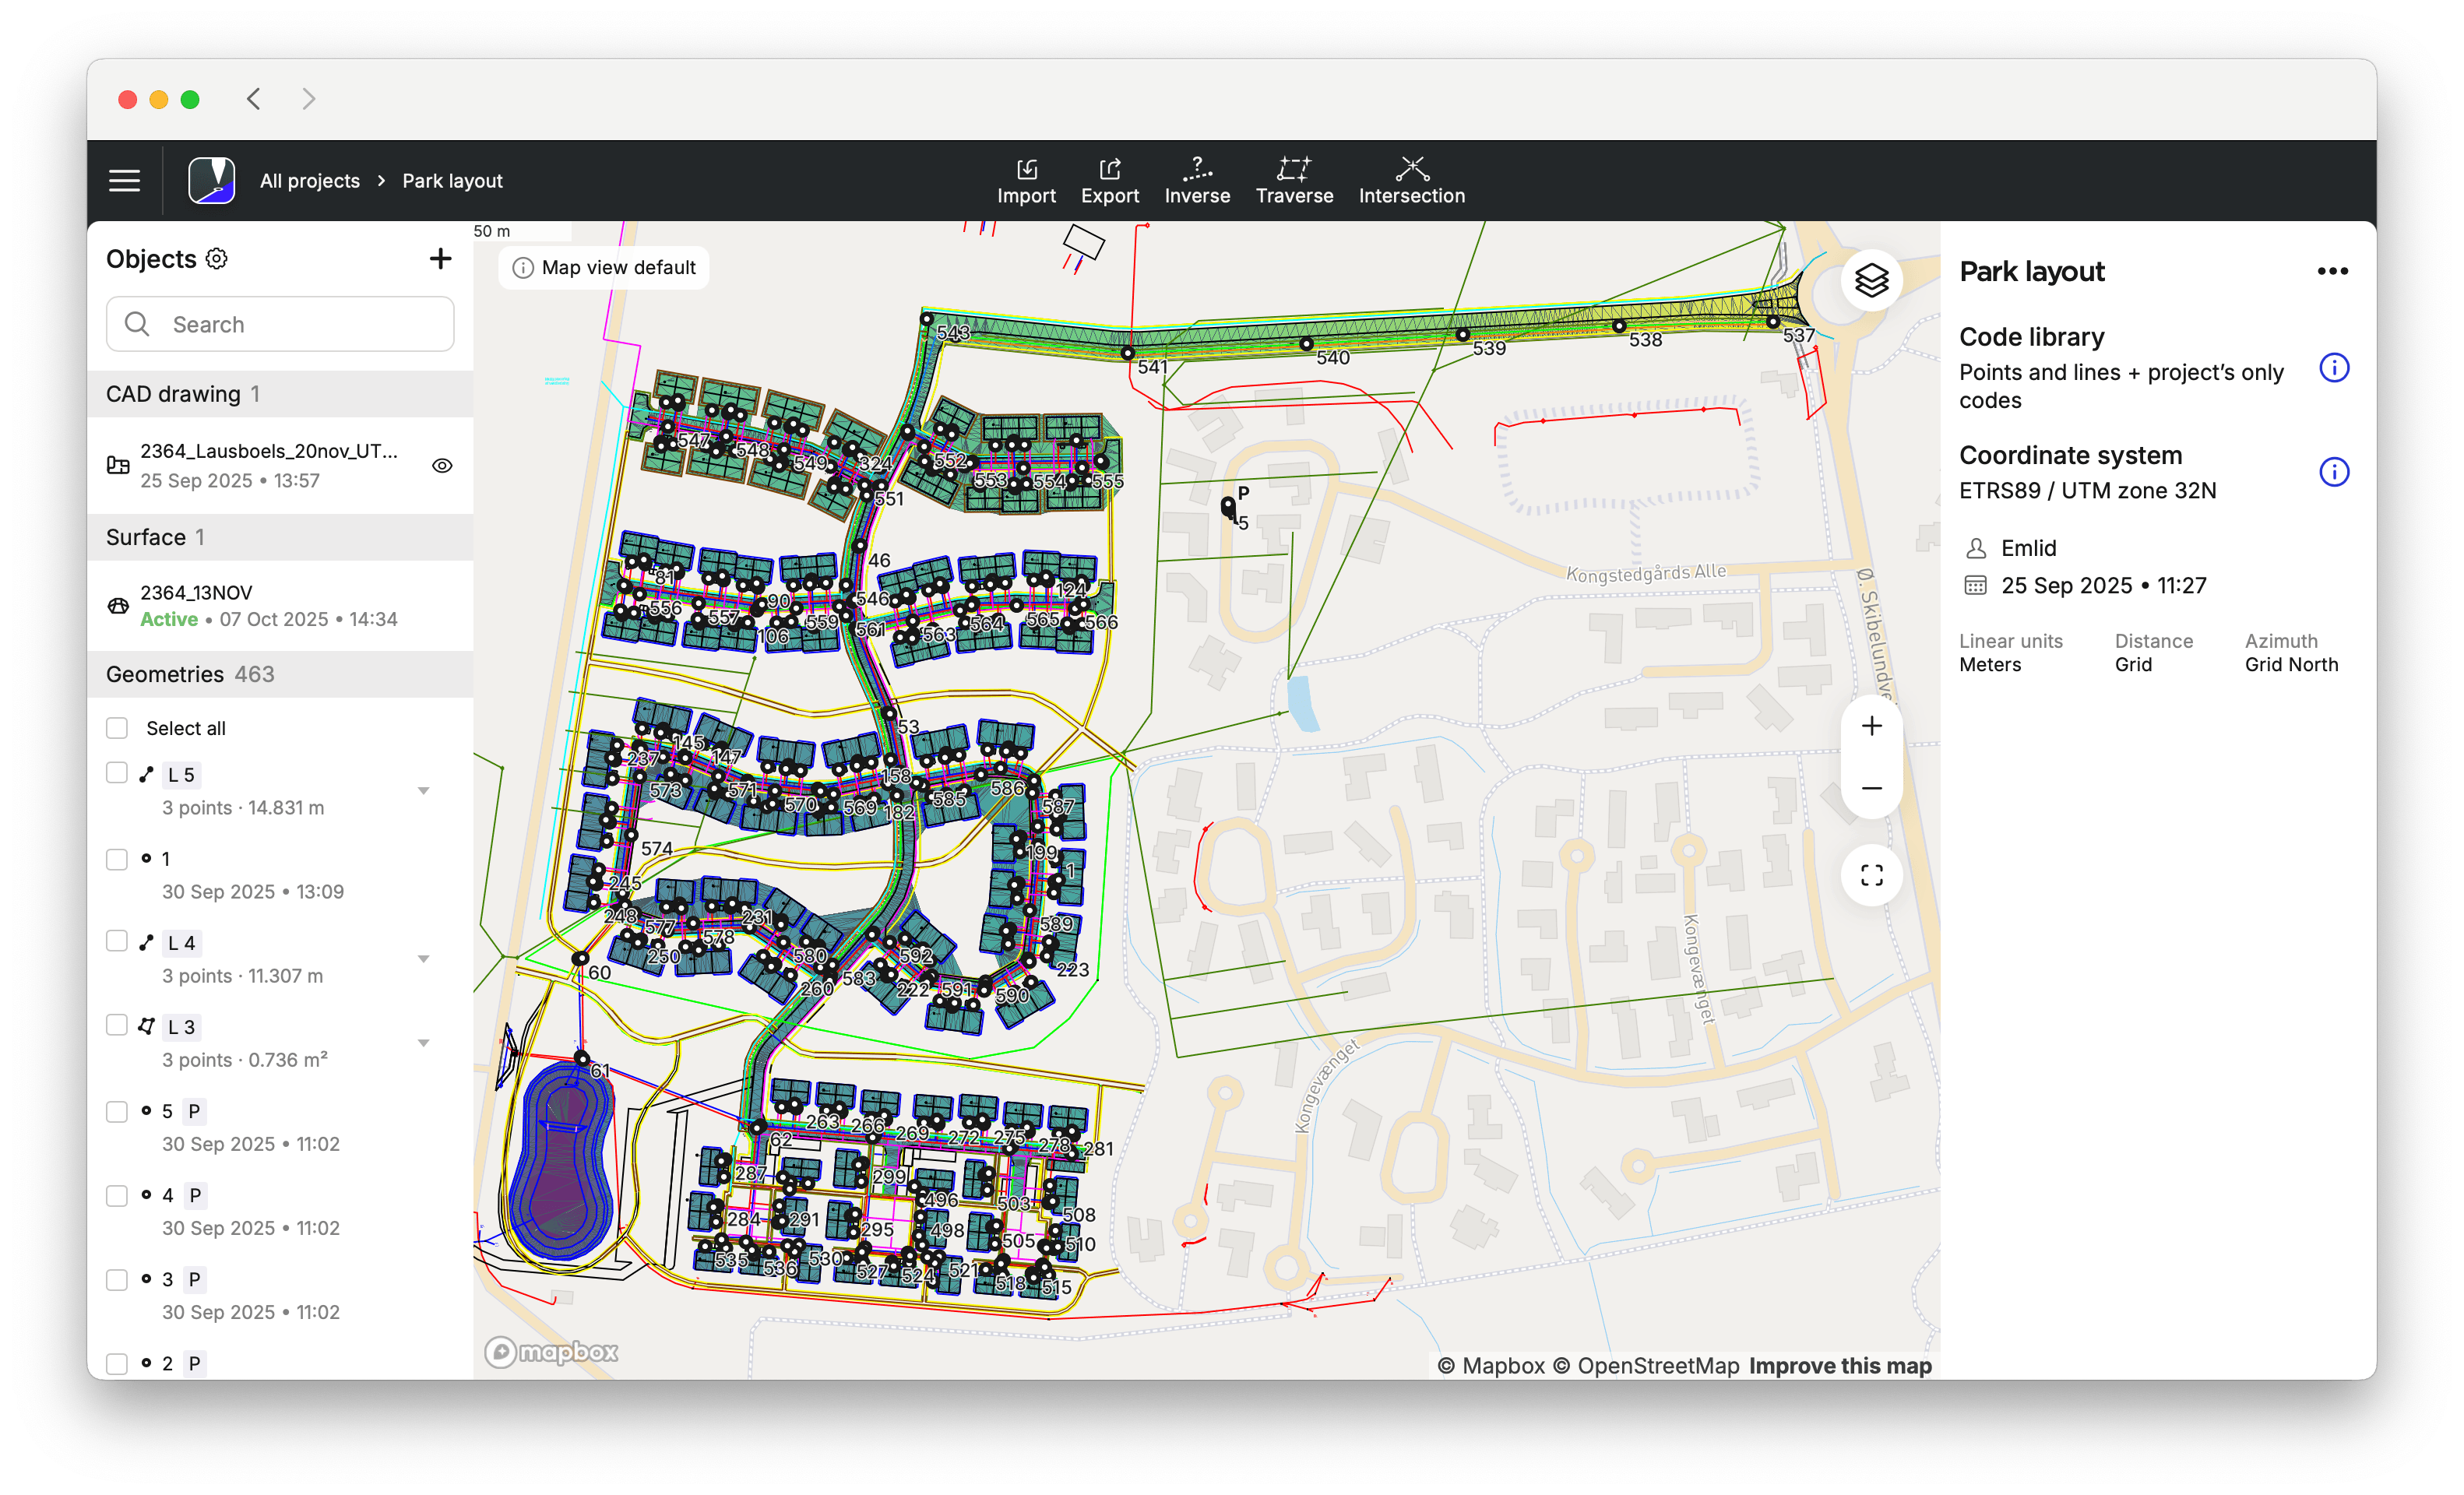
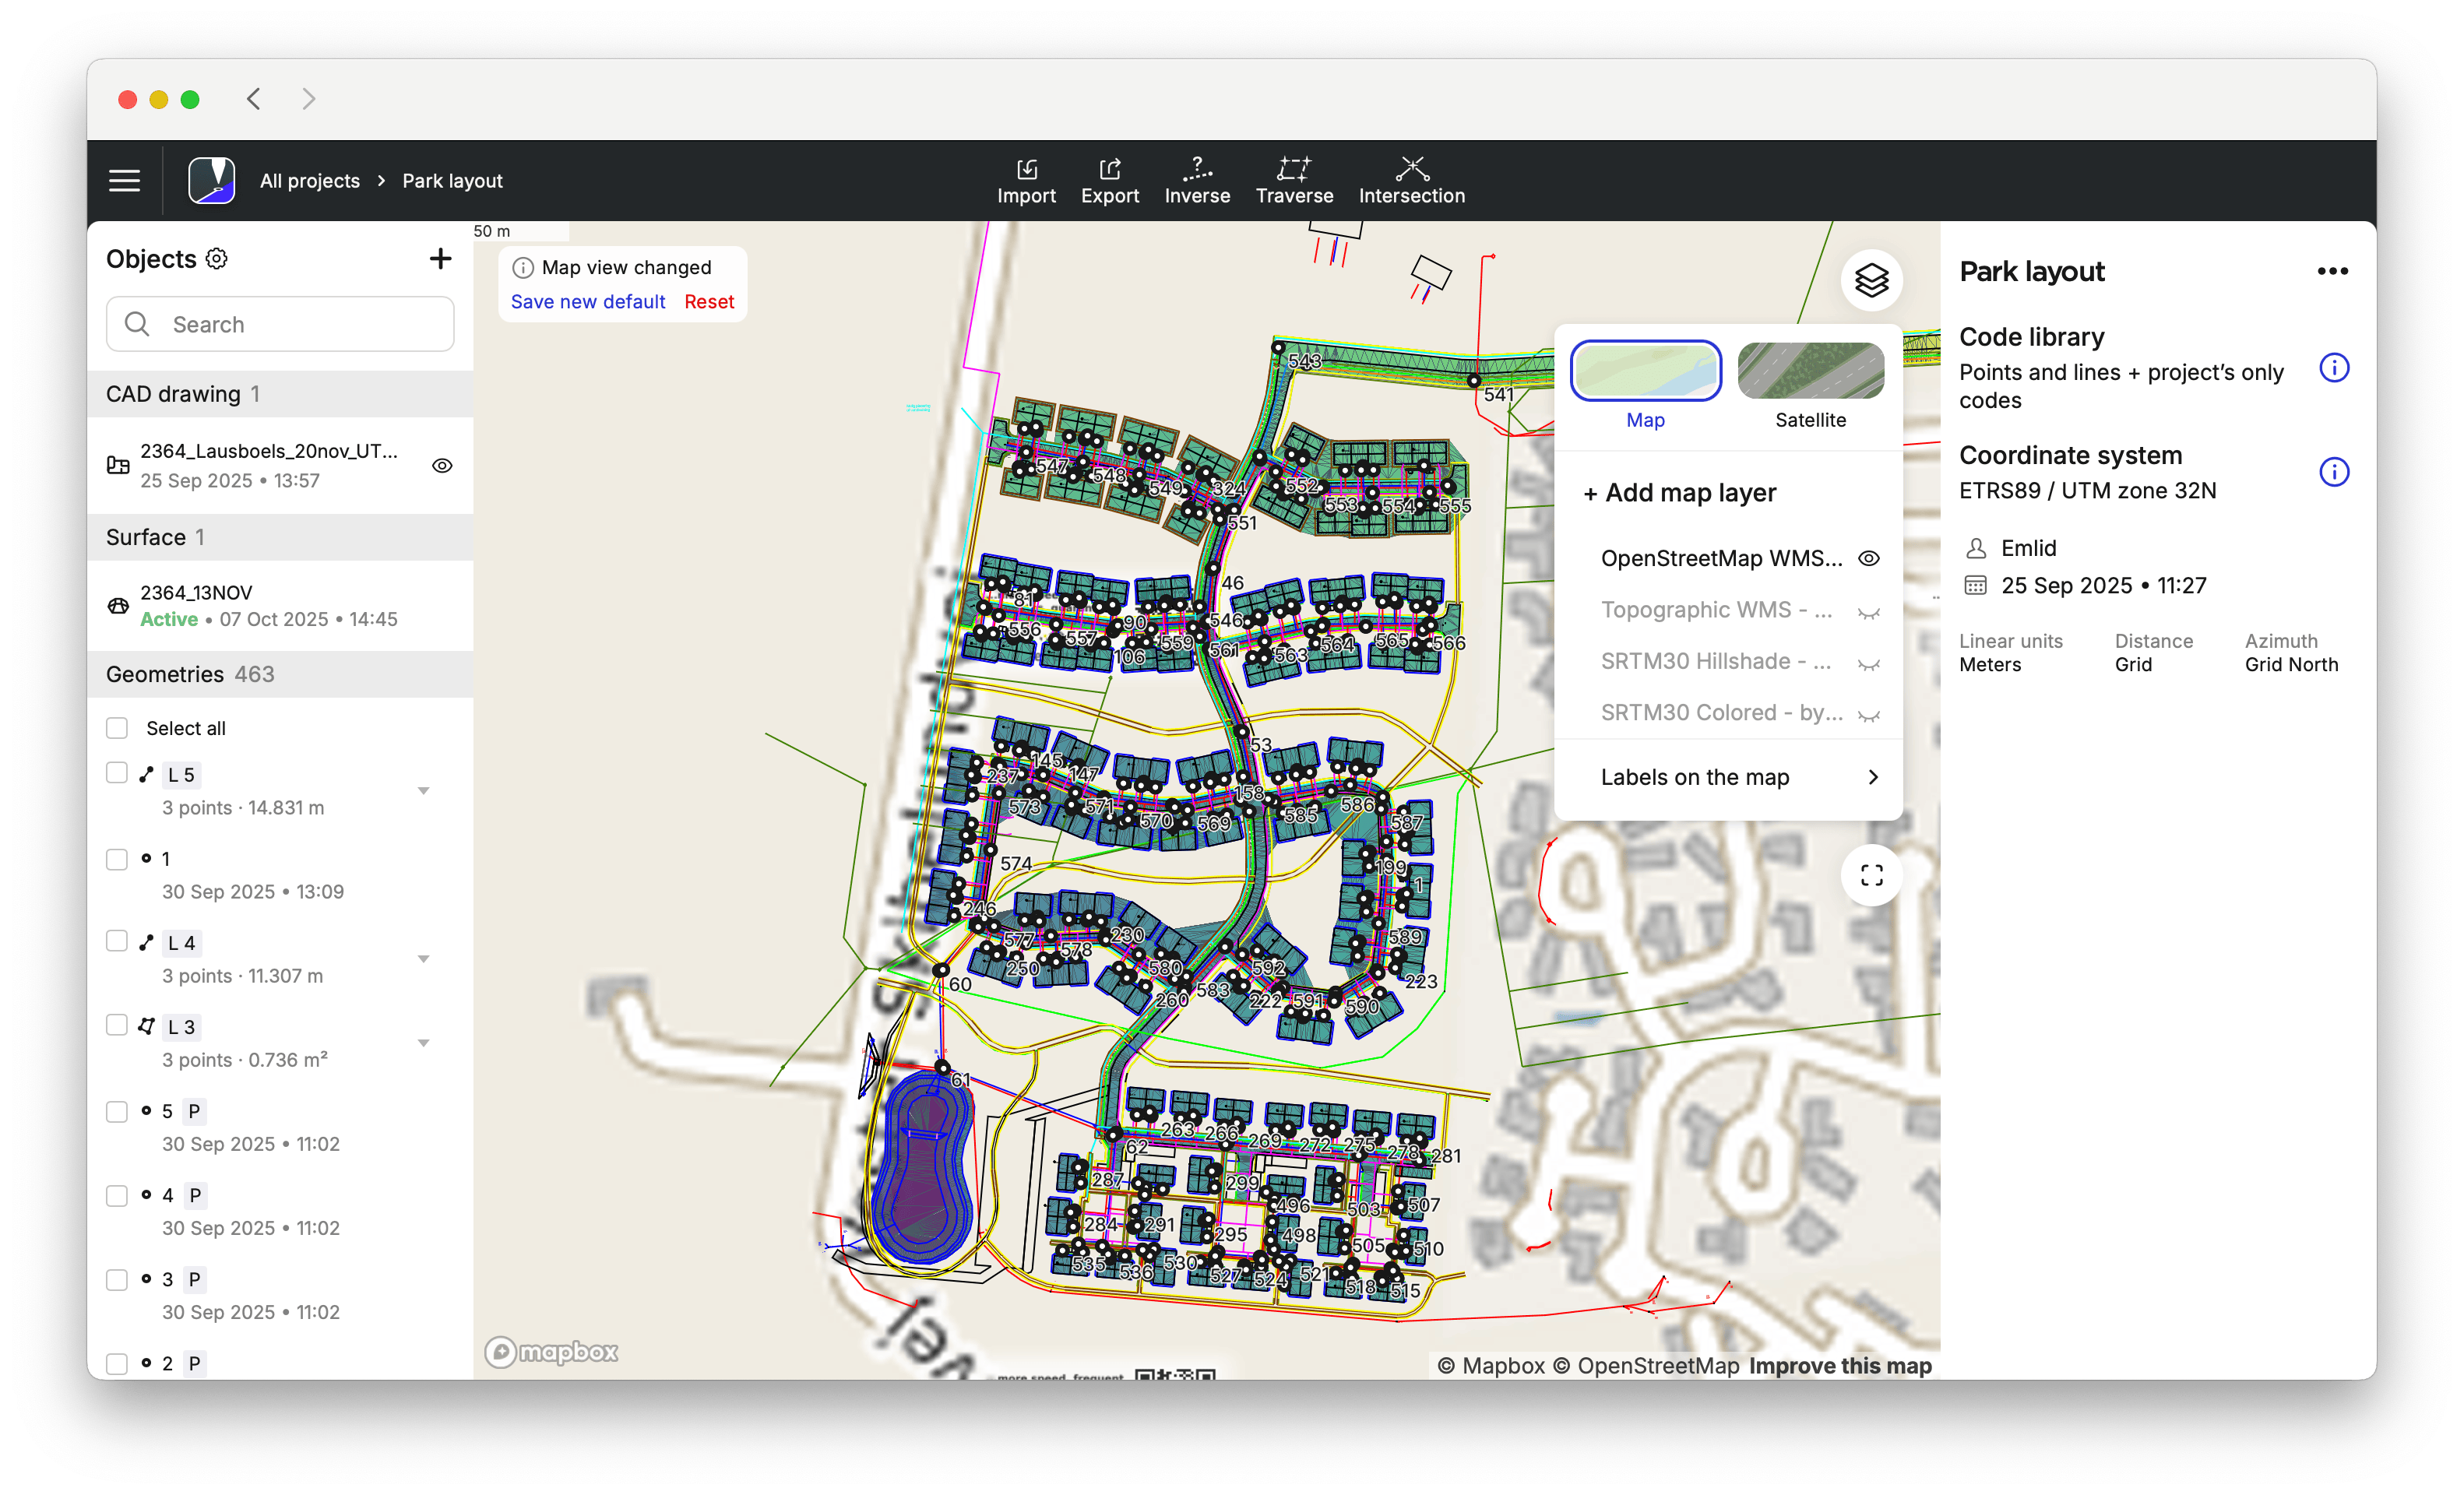
Setting map view presets
Map view presets in Emlid Flow 360 allow you to define a project’s default map configuration. When you import CAD drawings or surface files and add layers, they become the active preset by default. You can later change the visibility in the object list and under the Map layers icon to change the default map view. In Emlid Flow, you can only use the default map presets set in Emlid Flow 360. You can change the view if needed, but you can’t save it as a new default.
- Emlid Flow 360
- Emlid Flow
To change the default map view preset, do as follows:
-
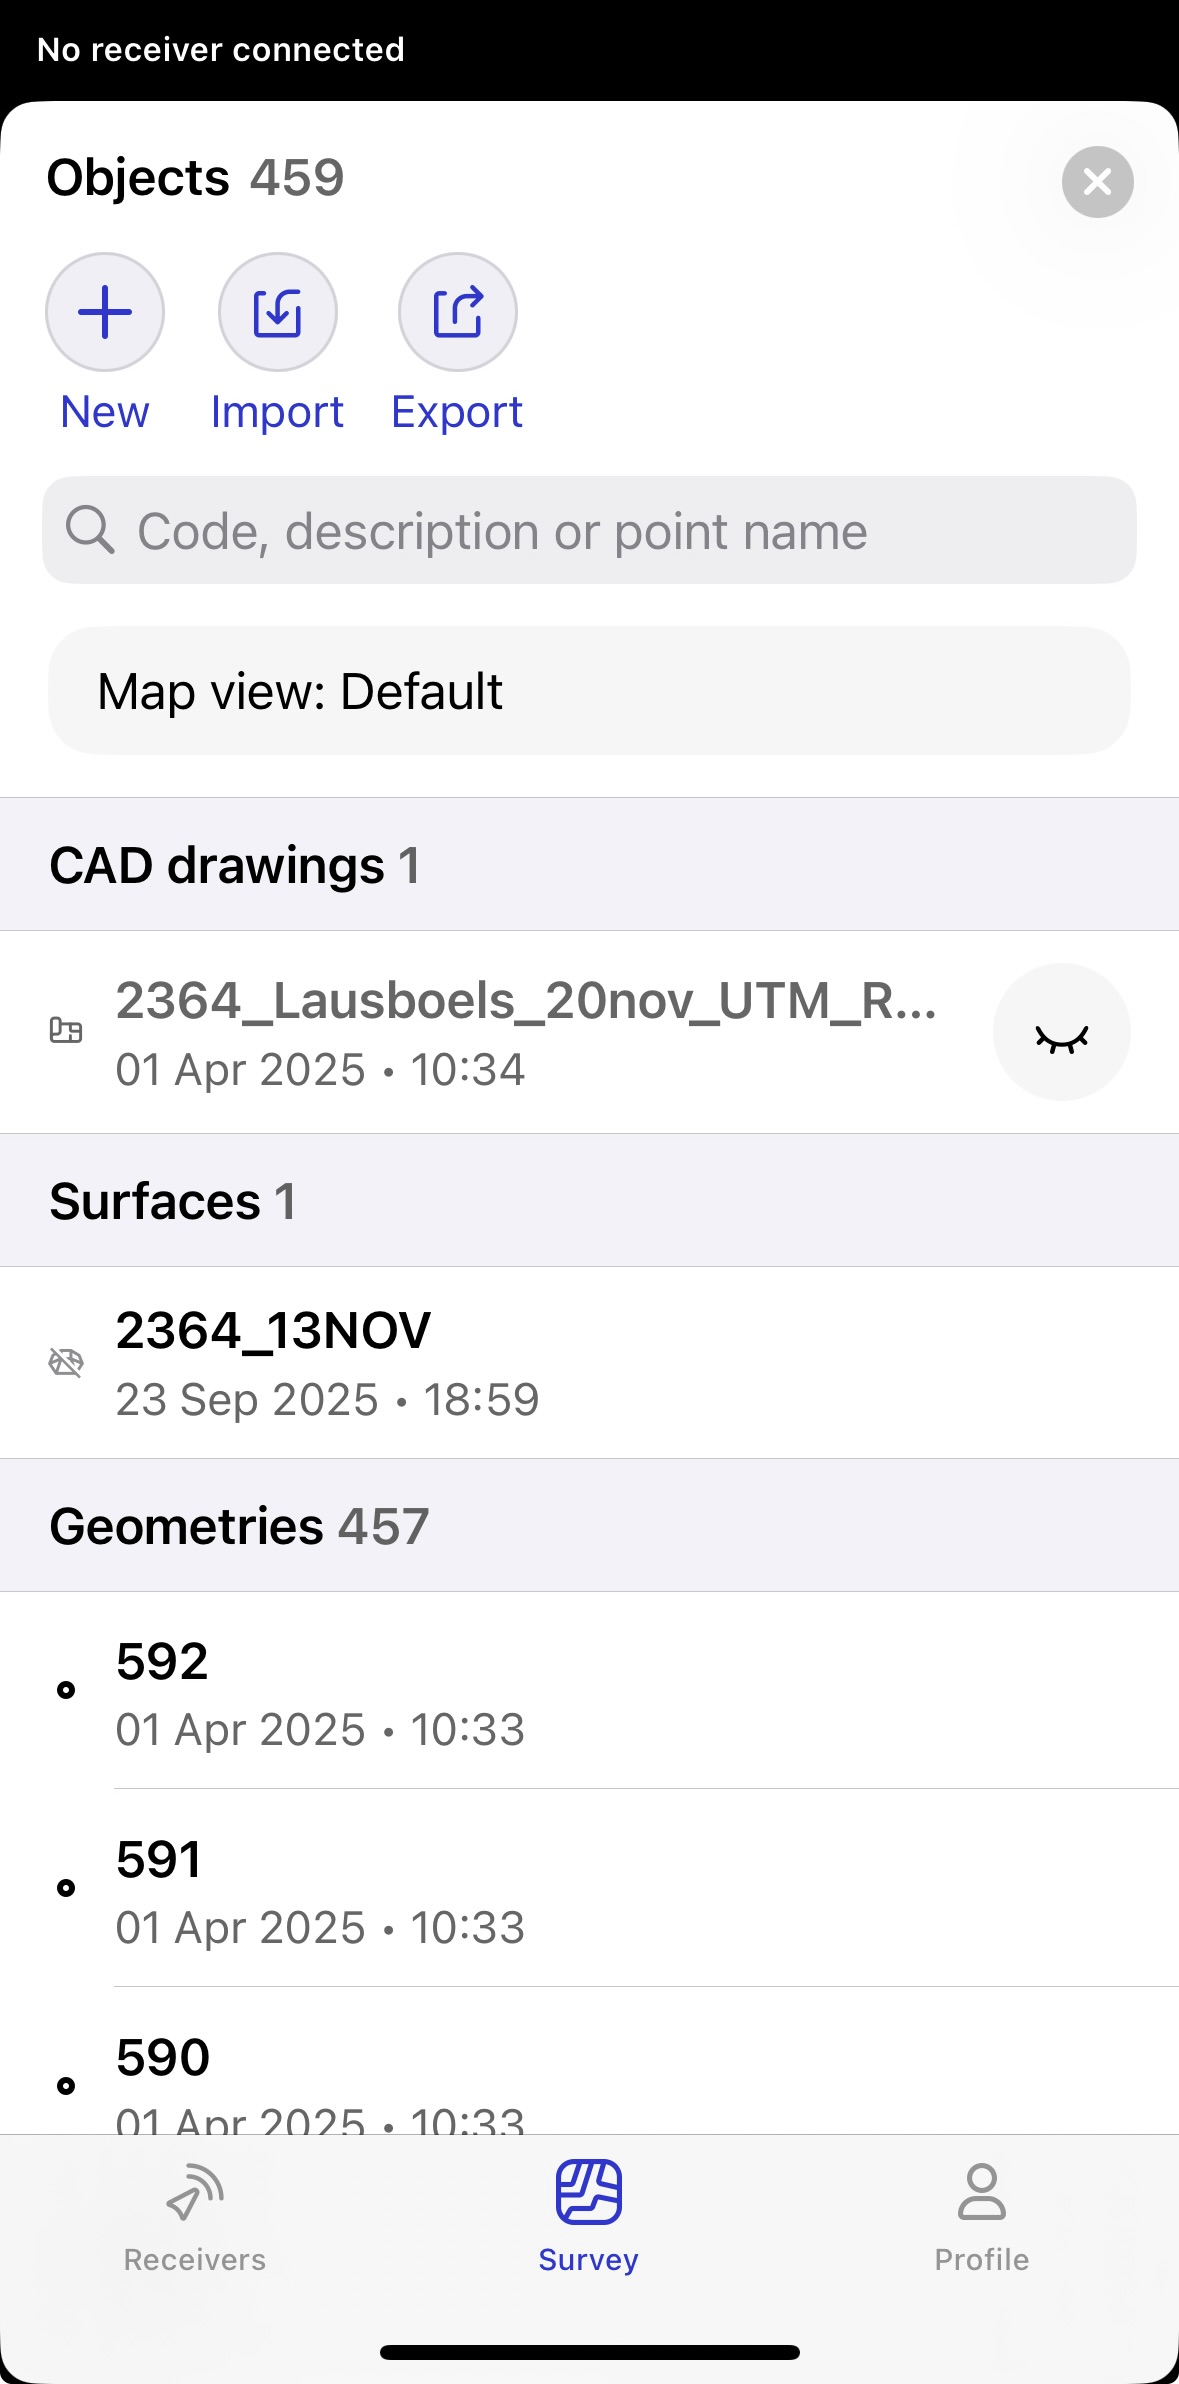
After importing a new CAD or surface file or adding a new map layer, the most recent objects are visible by default. To change the view, enable or disable these objects by clicking the eye icon for the CAD files, clicking the surface icon, or choosing the layer.
noteEmlid Flow 360 will keep the opacity you have saved as a default one.

-
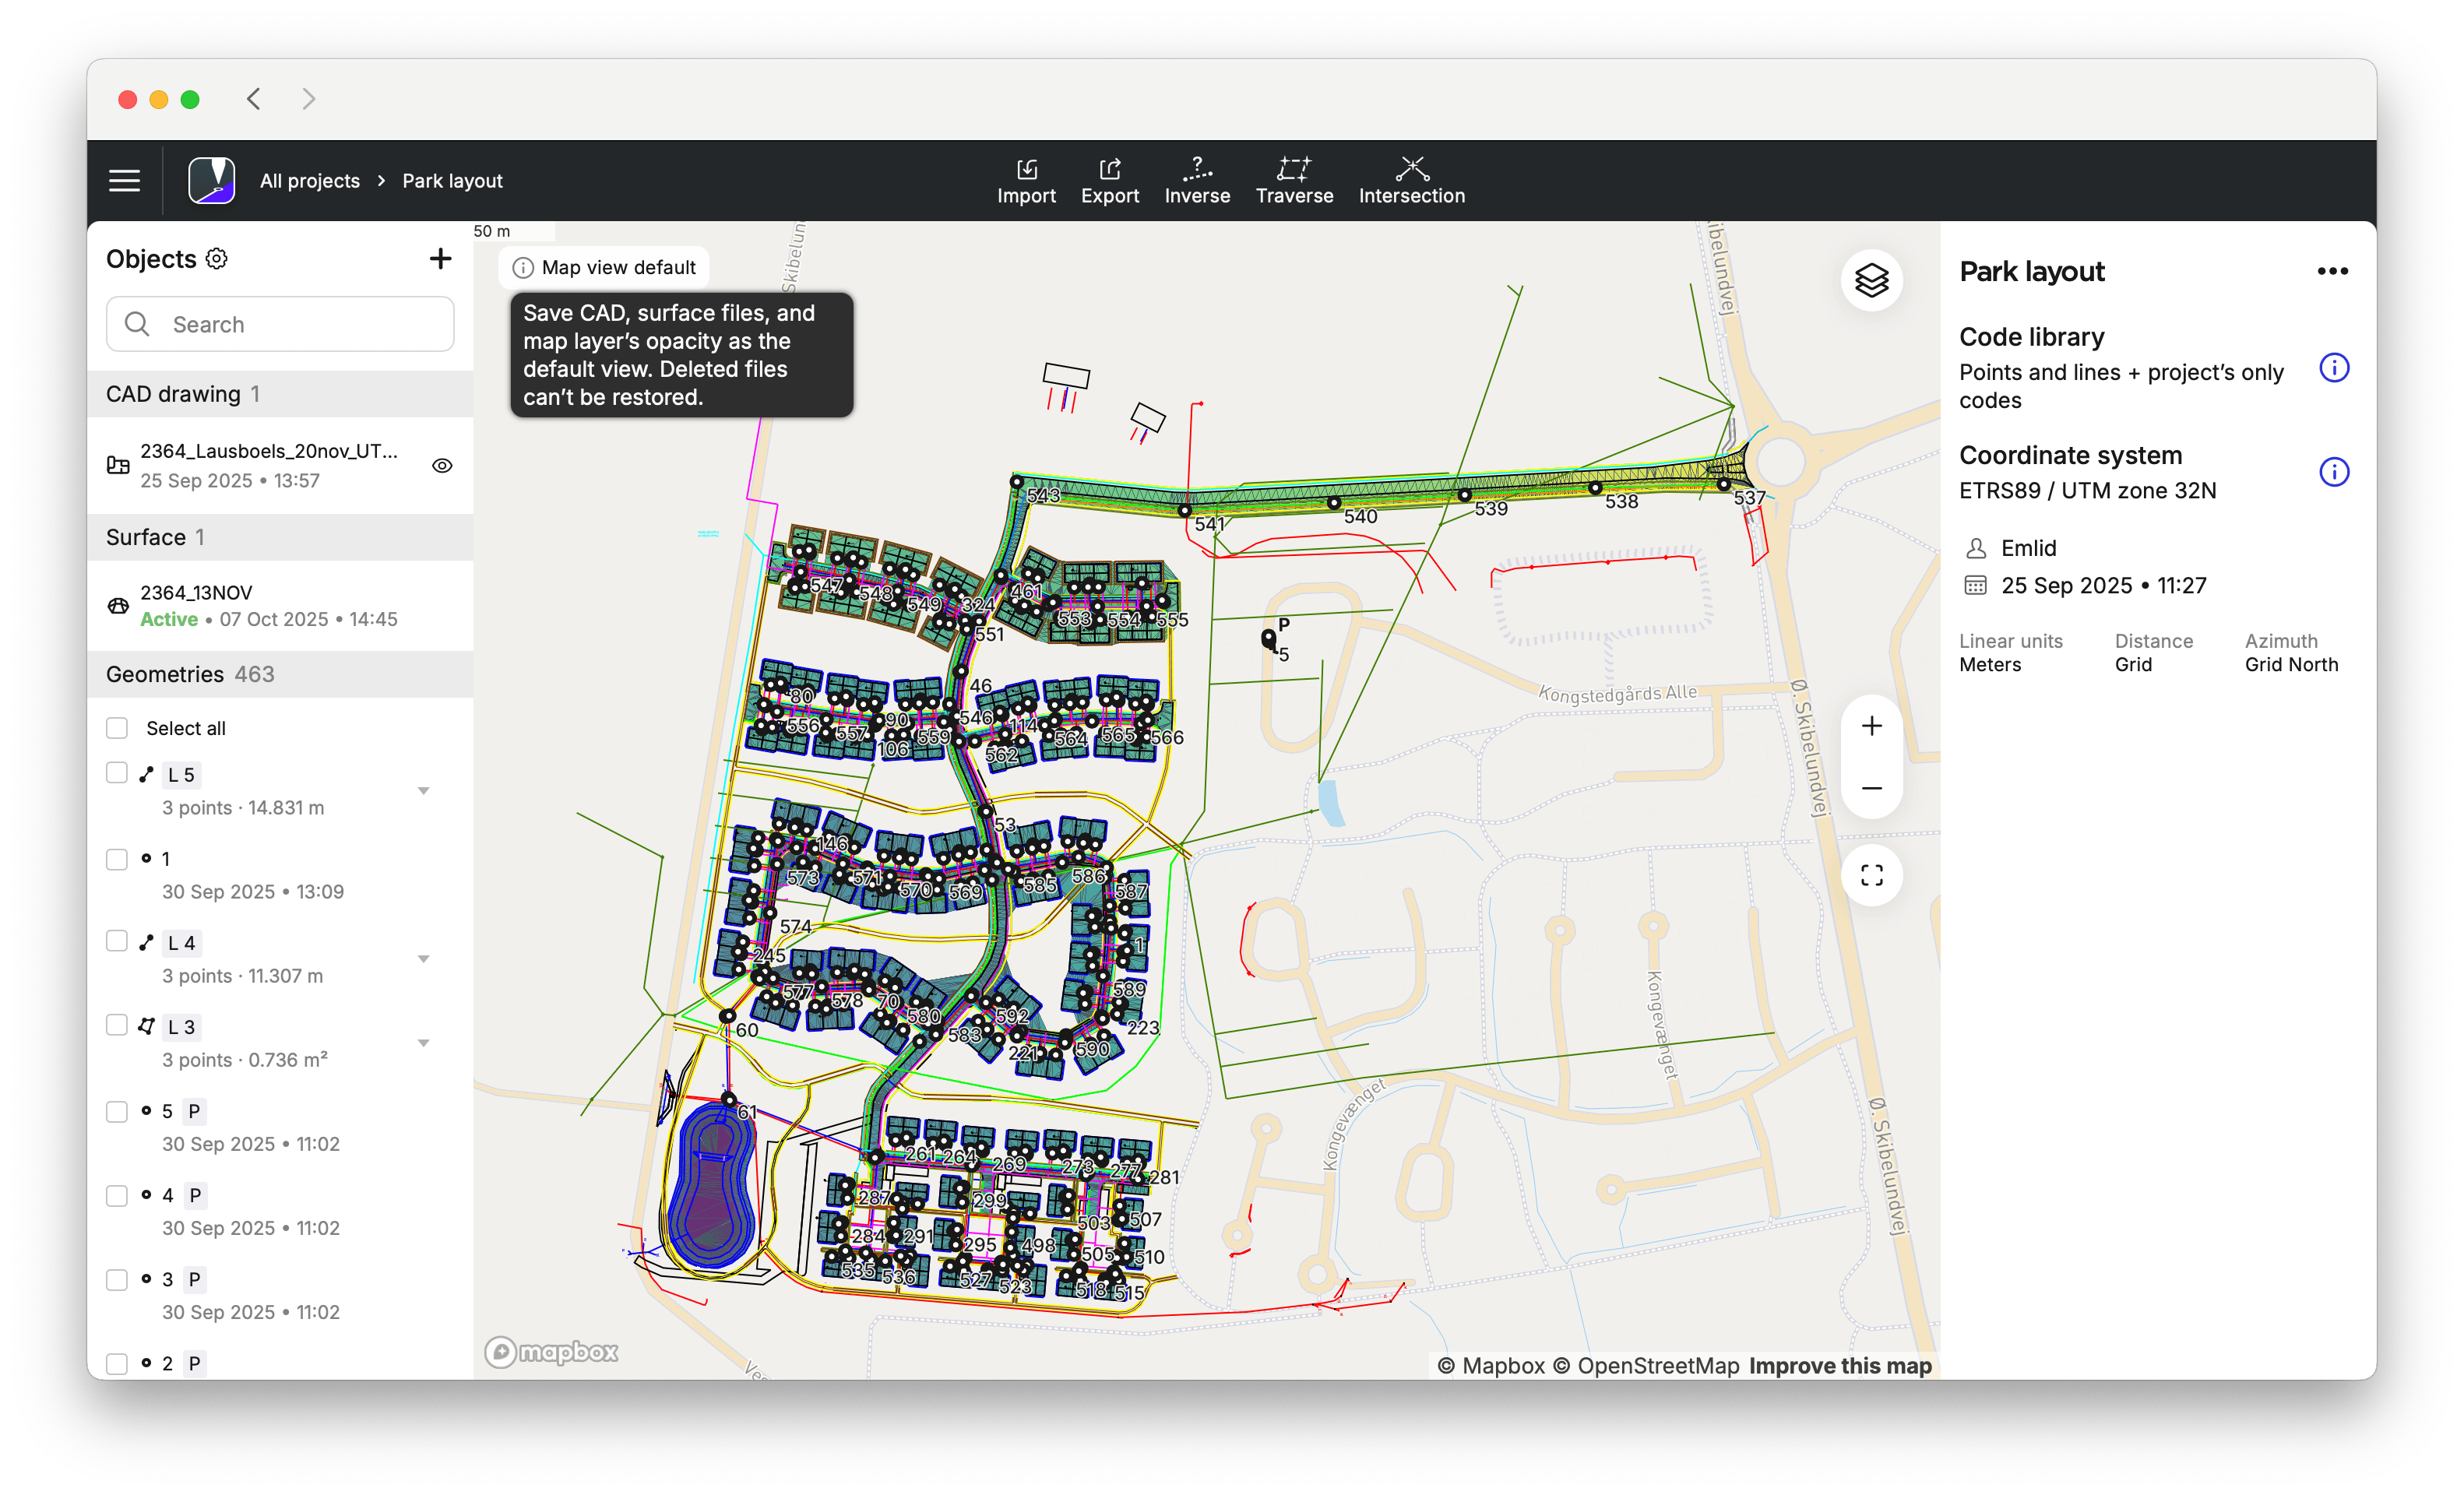
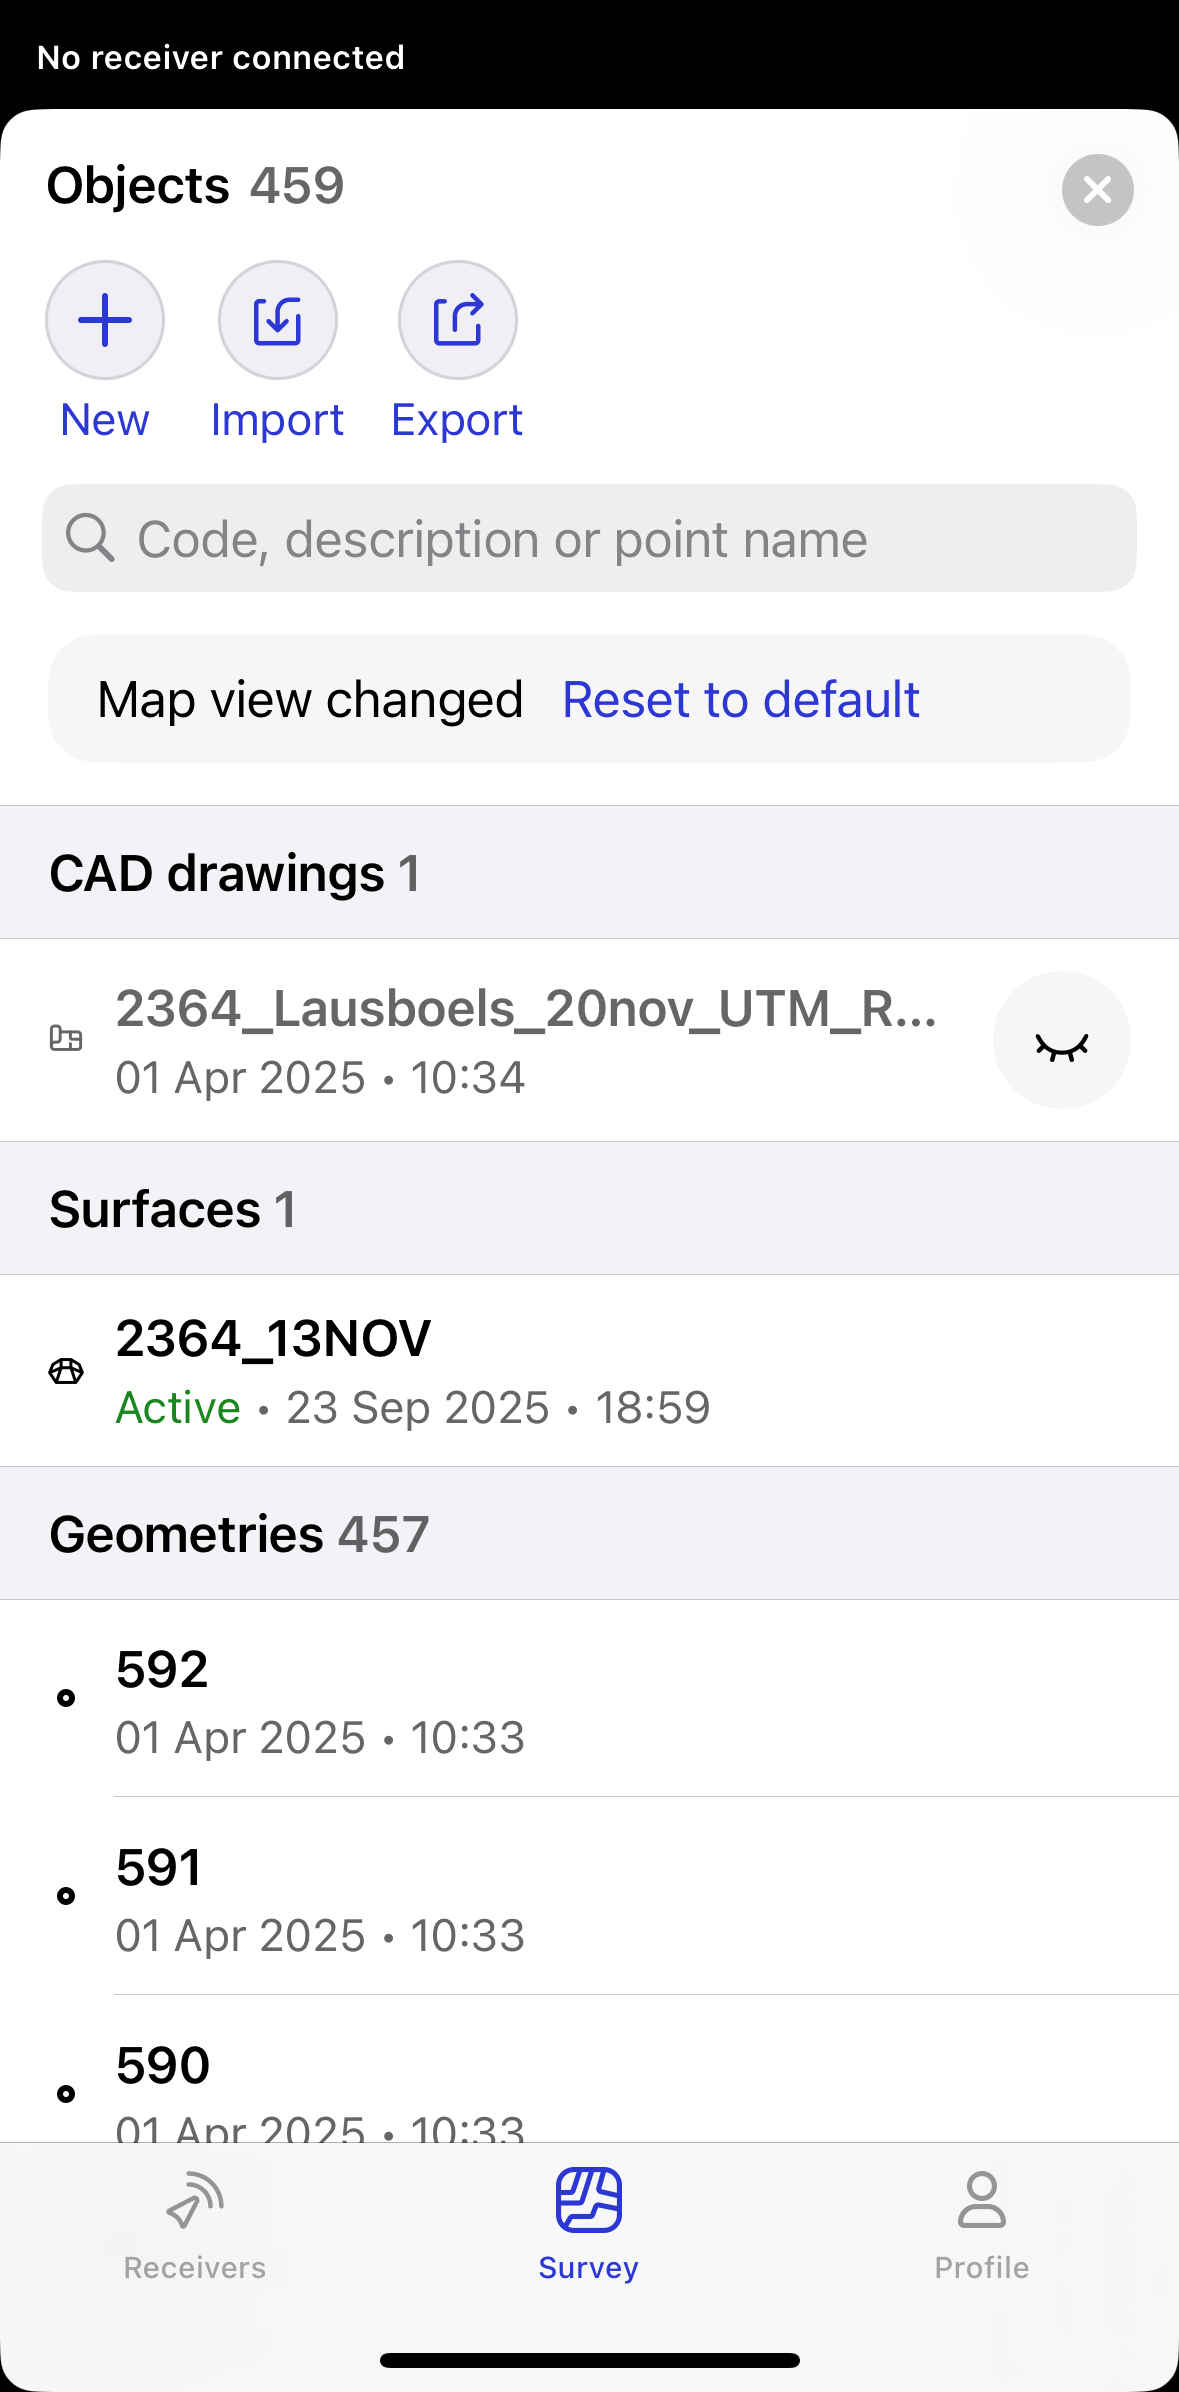
To go back to your initial default map view, click Reset in the upper left corner of the map. If you want to save the new map view as the default, click Save new default in the upper left corner of the map. As a result, the new default view will be shown whenever you open the particular project.
cautionThe reset button returns the map view to the default preset. If you delete files, you cannot restore them on the map by clicking Reset.
To update a default map view preset, access Emlid Flow 360 and modify the selected items accordingly.
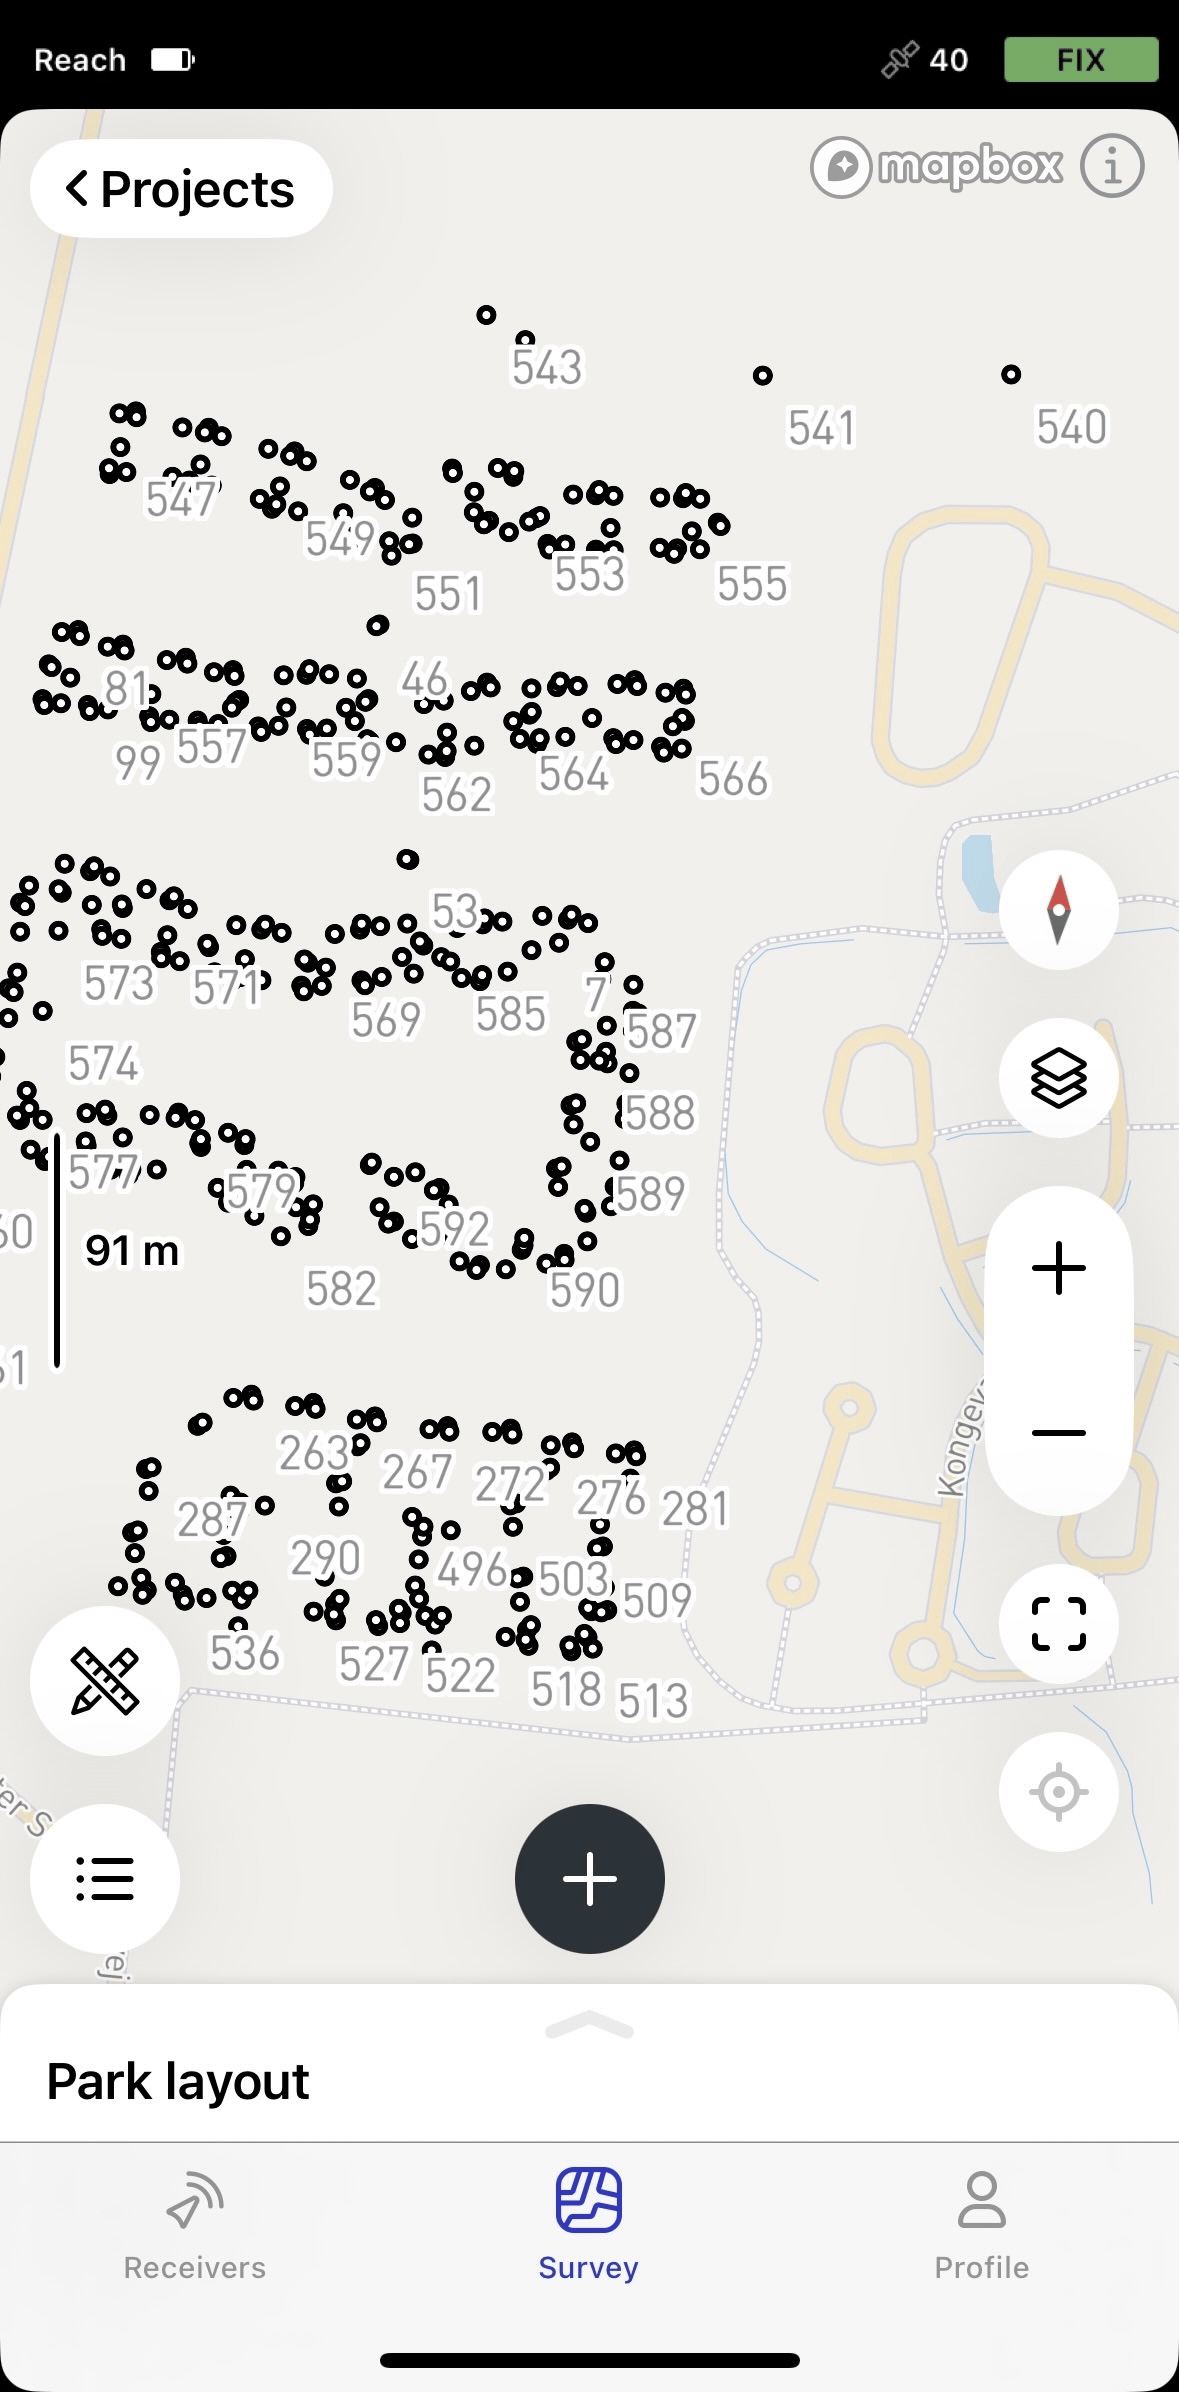
Once the default map view preset is set in Emlid Flow 360, you can start using it in Emlid Flow. To access and adjust the view if needed, do as follows:
-
Open your project in Emlid Flow.
-
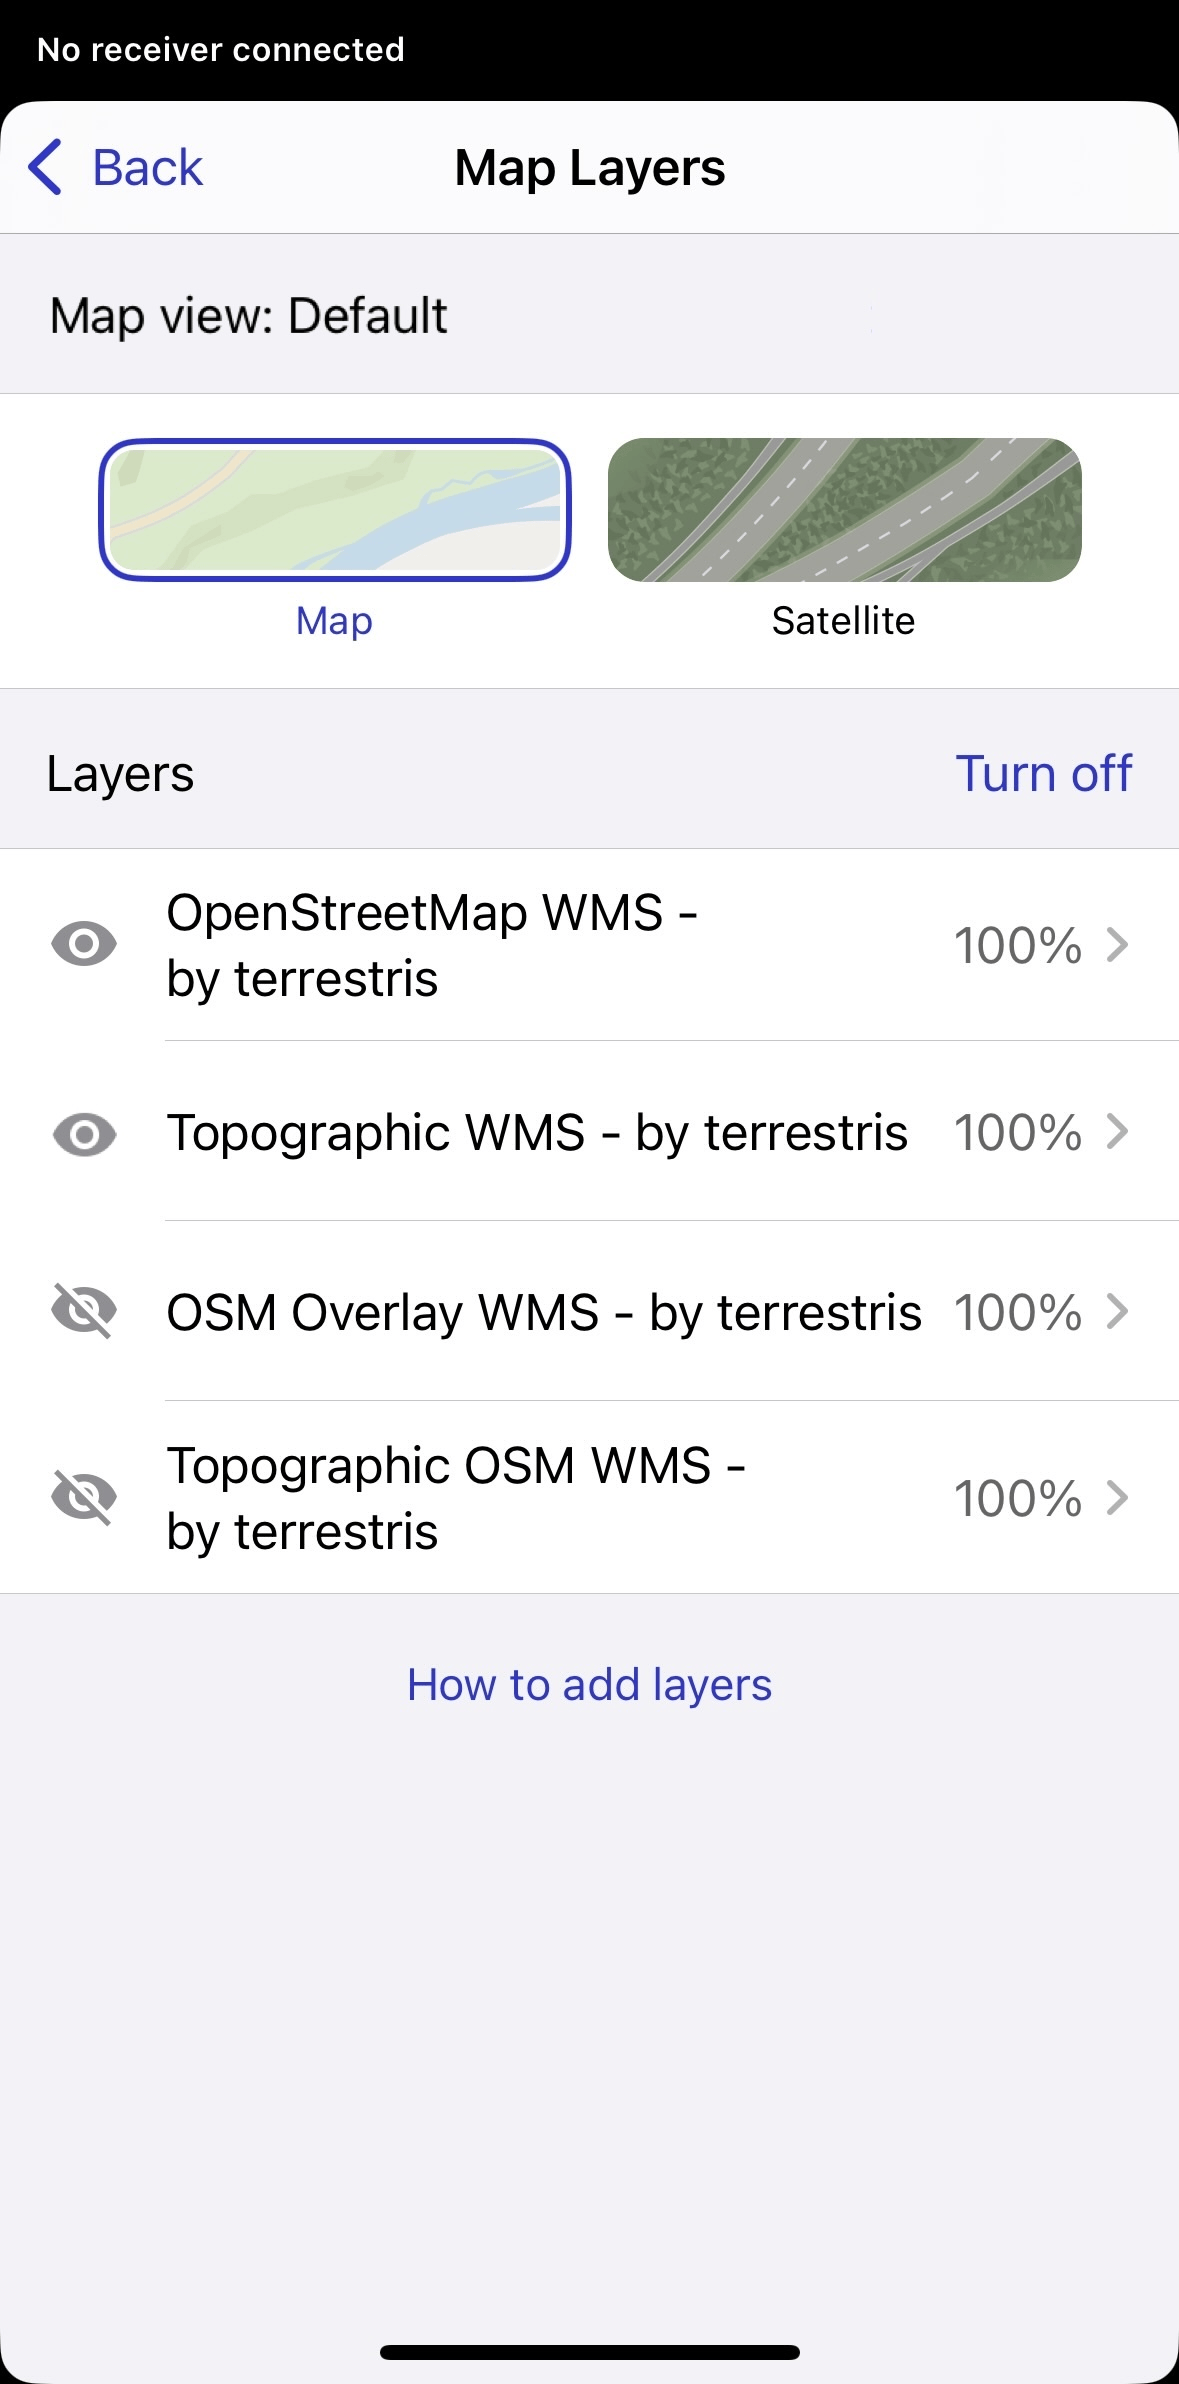
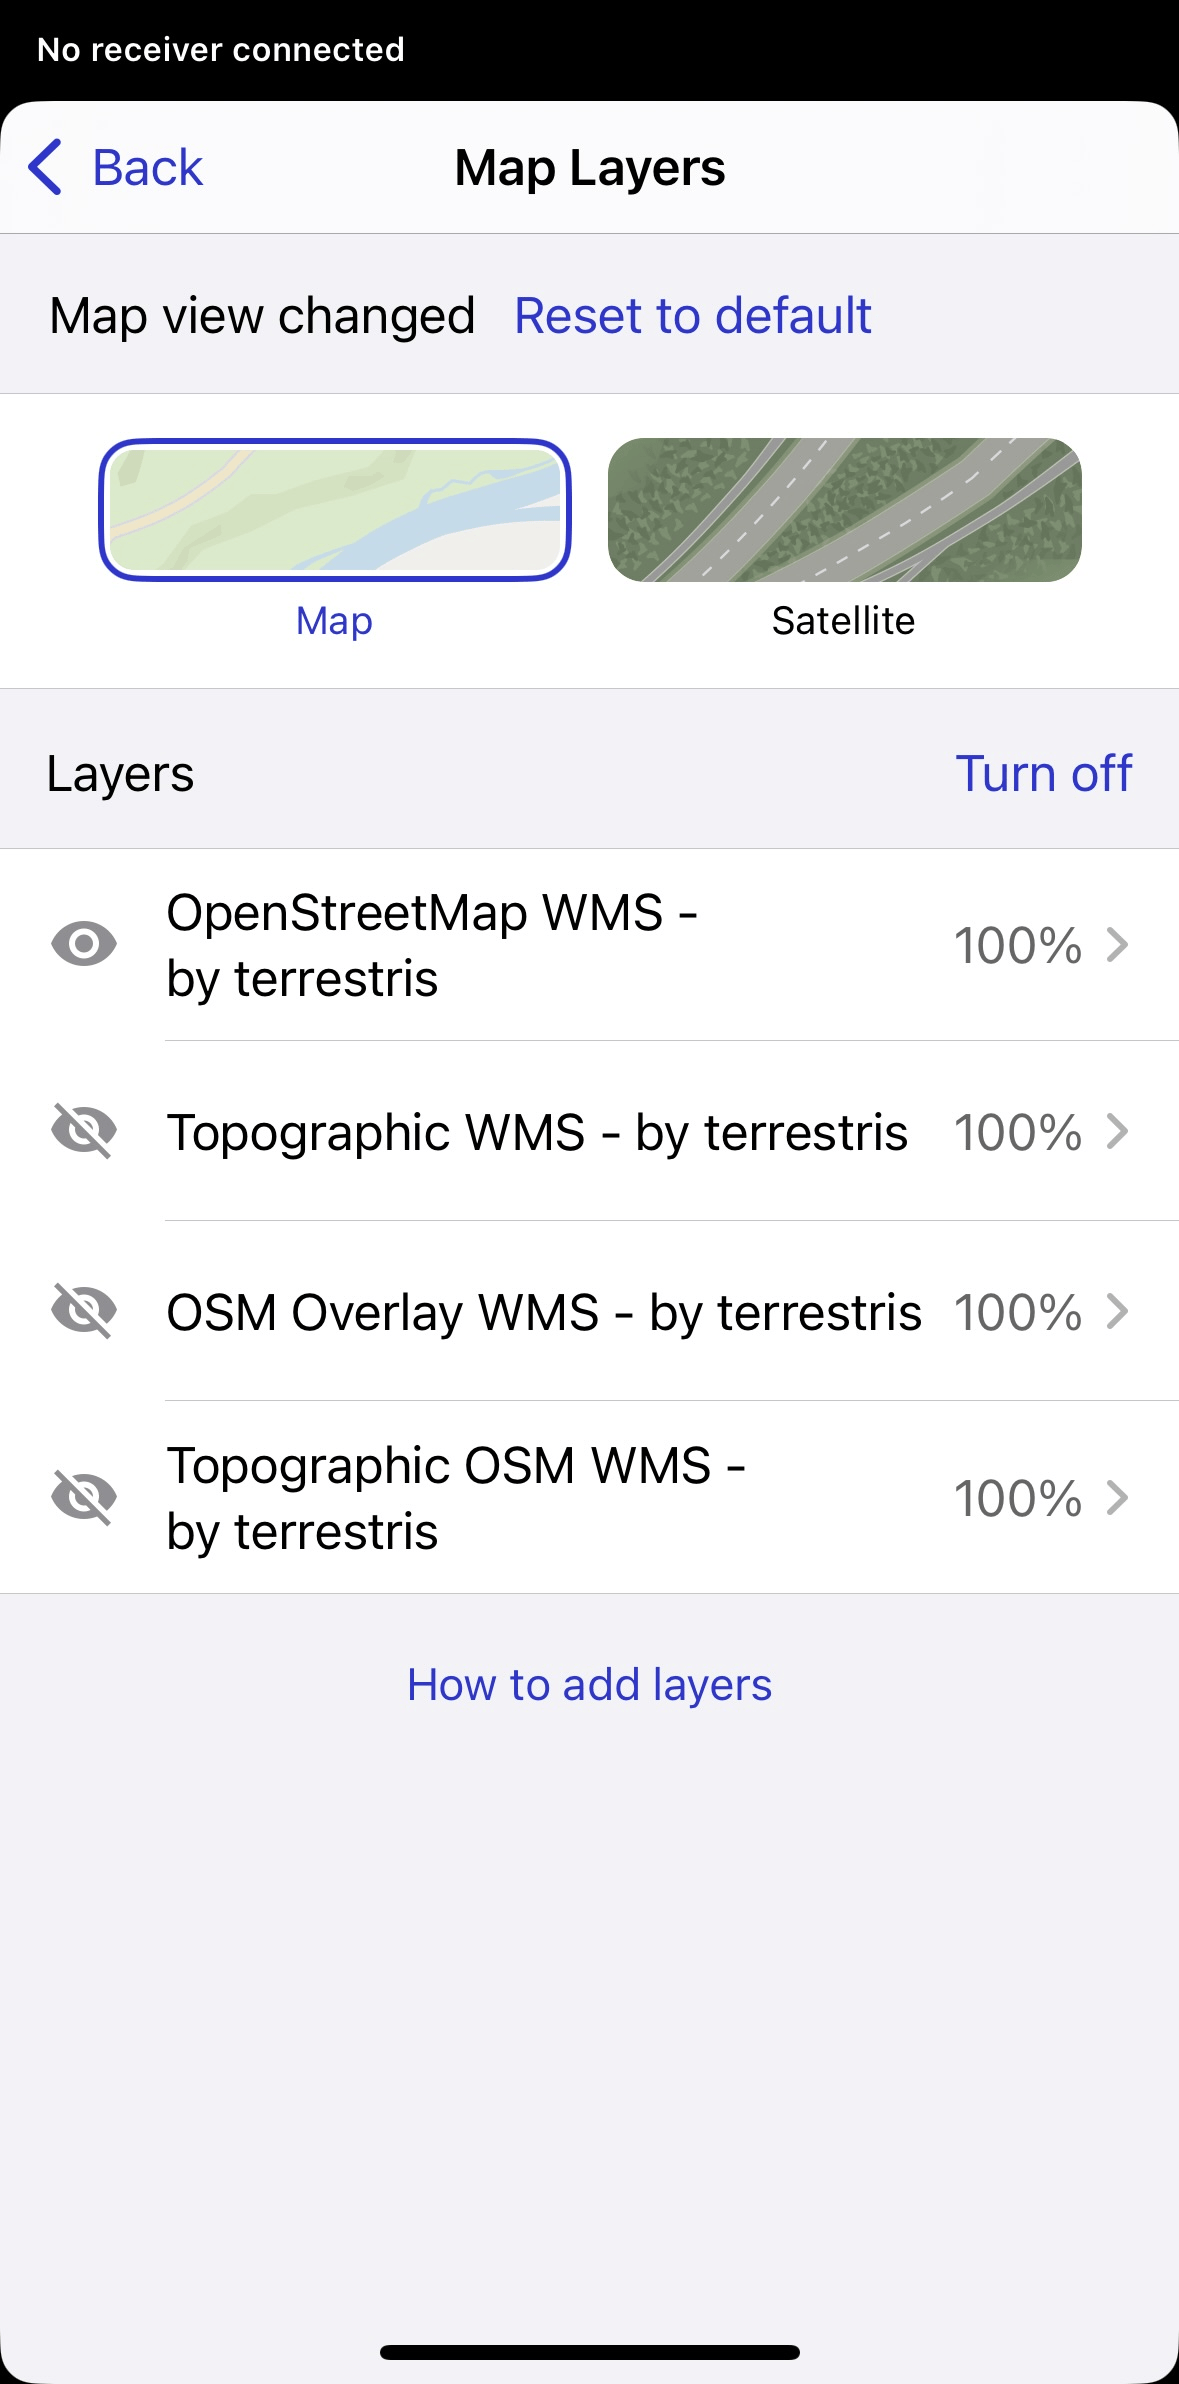
To adjust the view and opacity of the layers, go to the Map layers tab.
To access and change the current view of the objects, go to the Object list and turn them on and off by tapping the objects.
-
To apply the default map view in Emlid Flow 360, tap Reset to default in the Object list, or in the Map layers tab.
cautionThe Reset to default button restores only the default map view. It does not recover deleted files.
Adding NTRIP profile
When setting up a project, you can also add an NTRIP profile at this stage to receive NTRIP
The corrections are the data that is used to eliminate ionospheric and tropospheric delays, and satellite clock errors. The static base transmits corrections to the moving rover in the RTK scenario.
To add a new NTRIP profile, follow these steps:
- Emlid Flow 360
- Emlid Flow
-
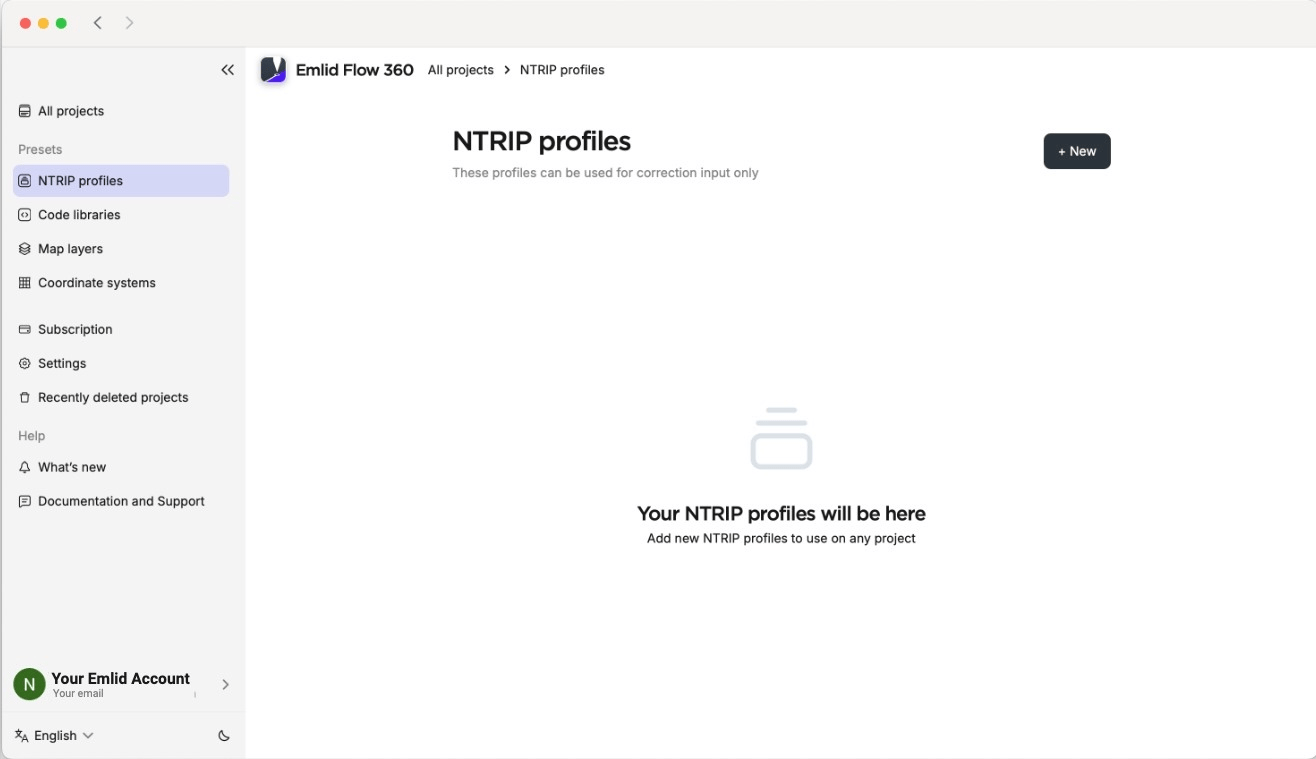
Open the Emlid Flow 360 app and go to the menu on the left.
-
Tap NTRIP profiles.
-
Tap the +New button.
-
Fill in the information from your NTRIP provider.
tipTo find out which mount point suits you better, check the website of your NTRIP provider. The closer the mount point, the more precise your solution will be.
-
Tap Save.
-
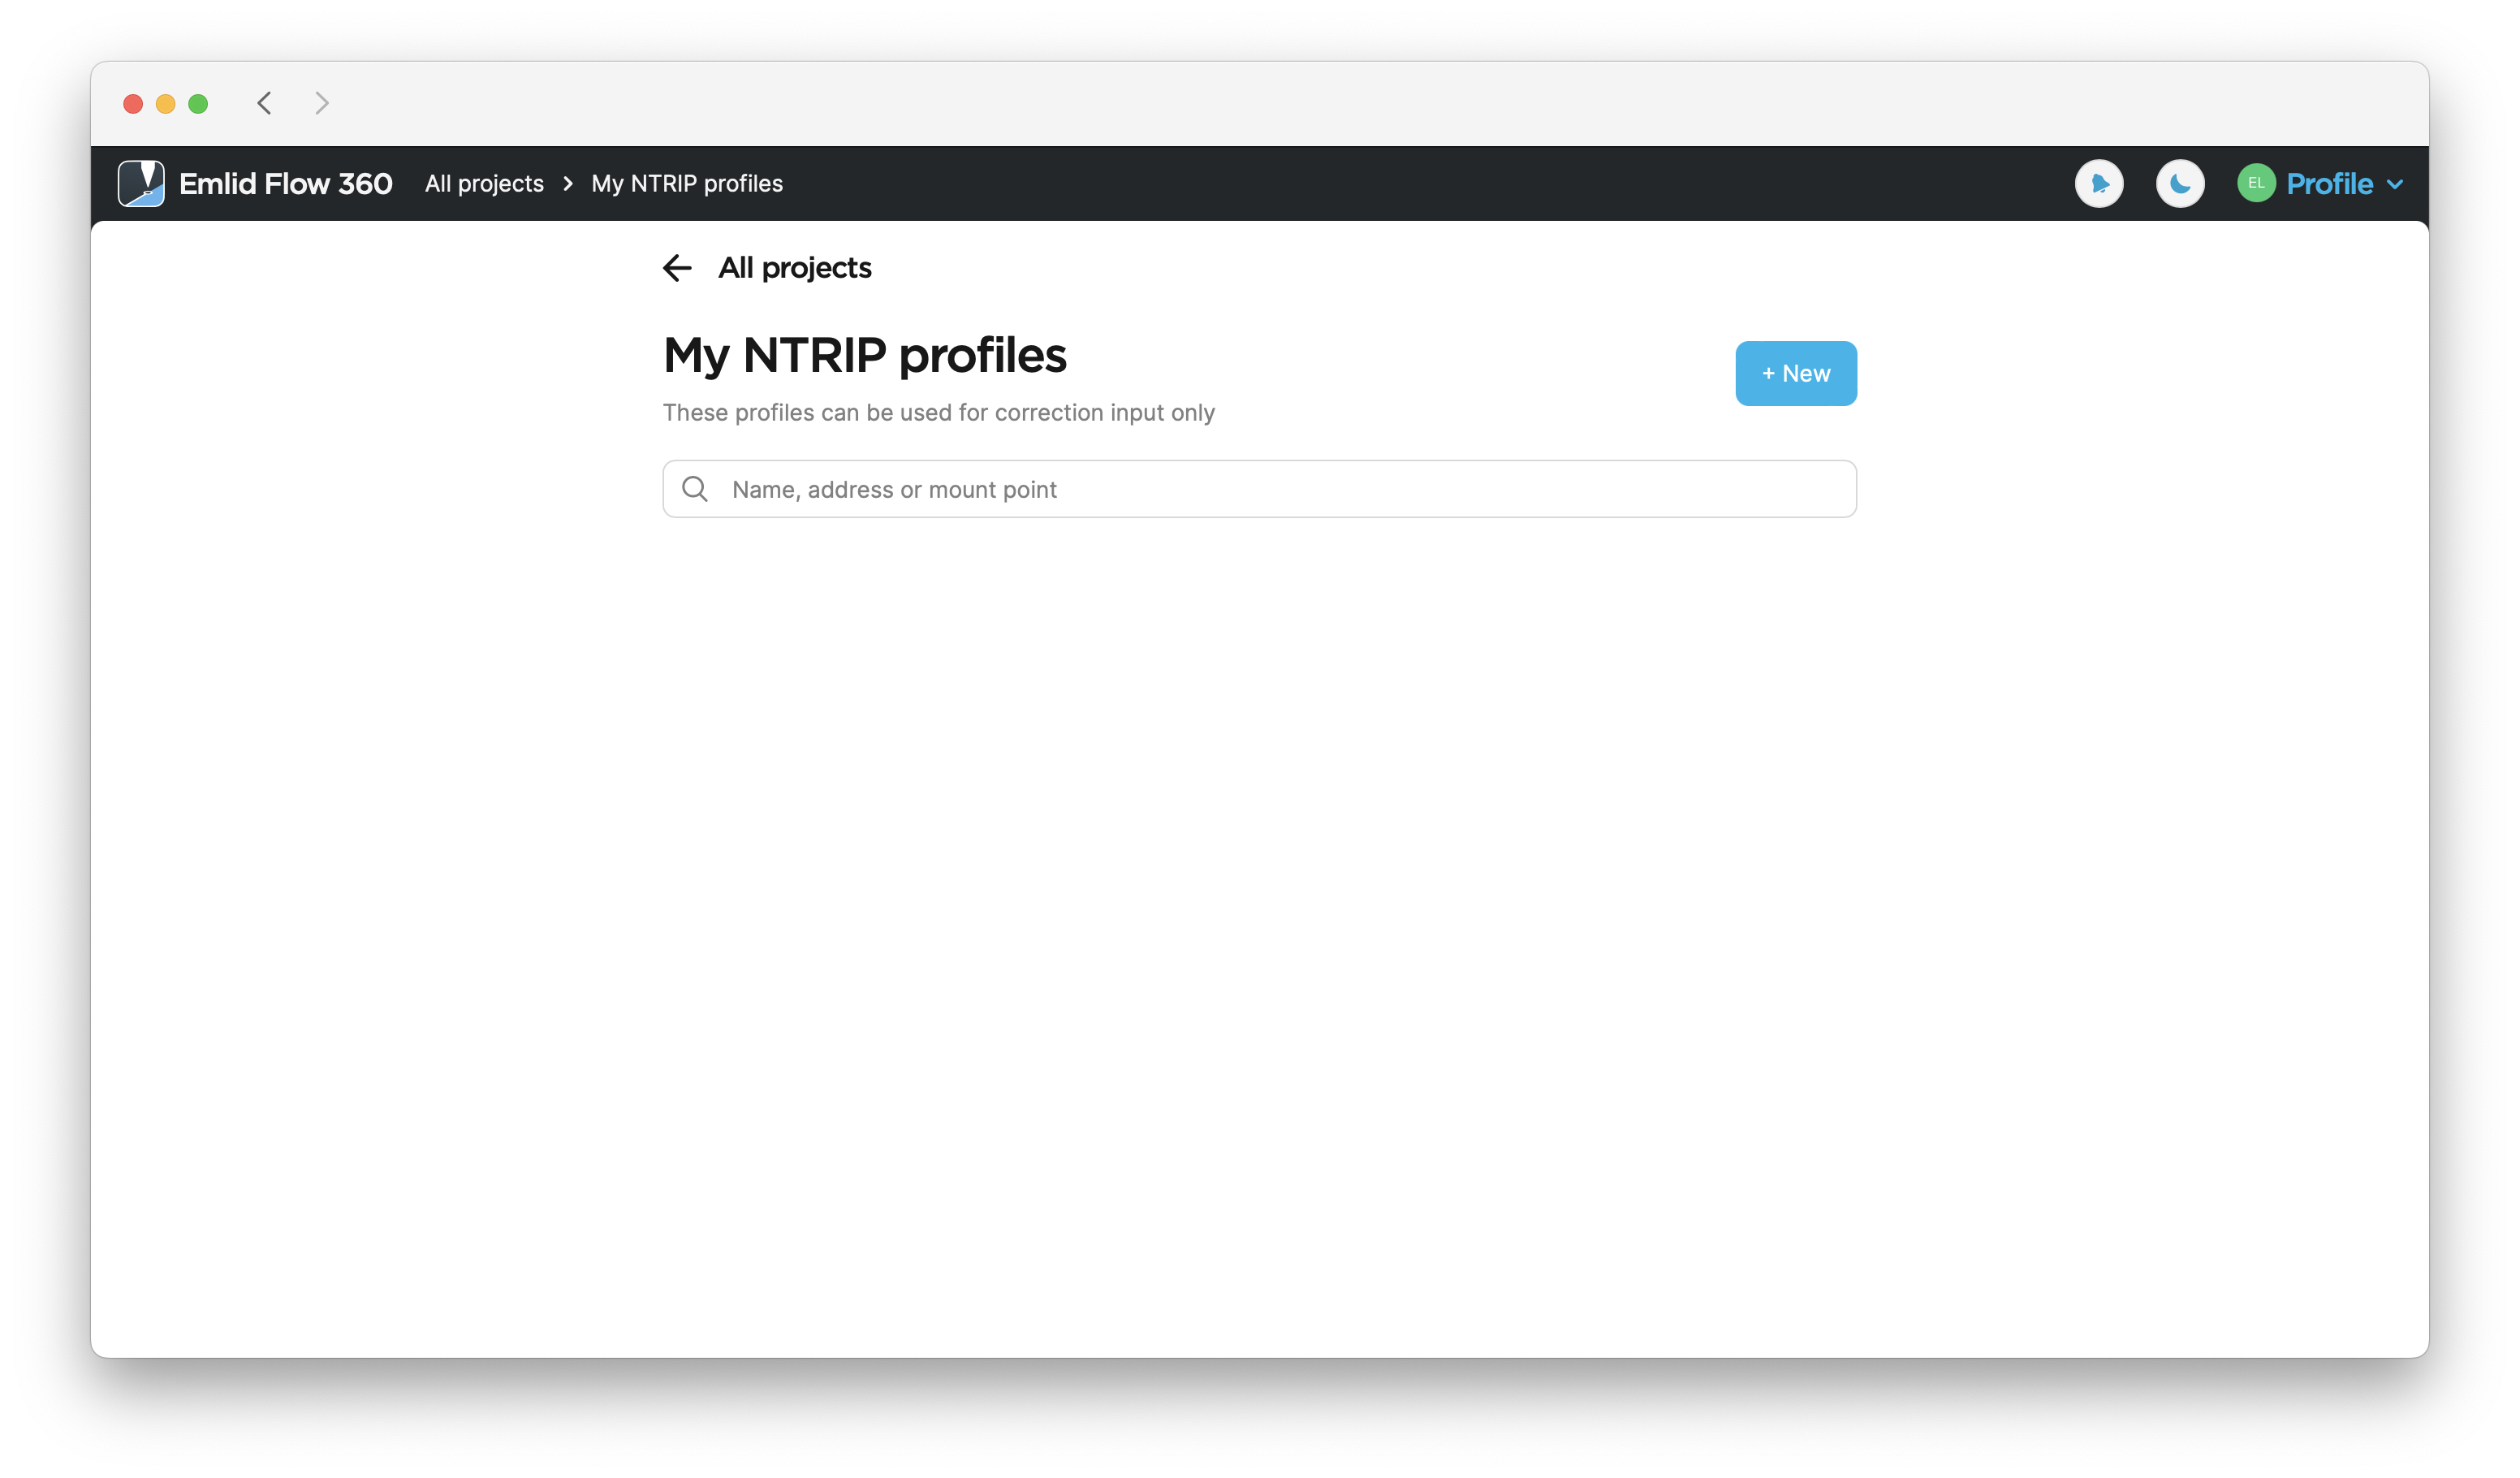
Open the Emlid Flow app, and go to Profile.
-
Tap My NTRIP profiles.
-
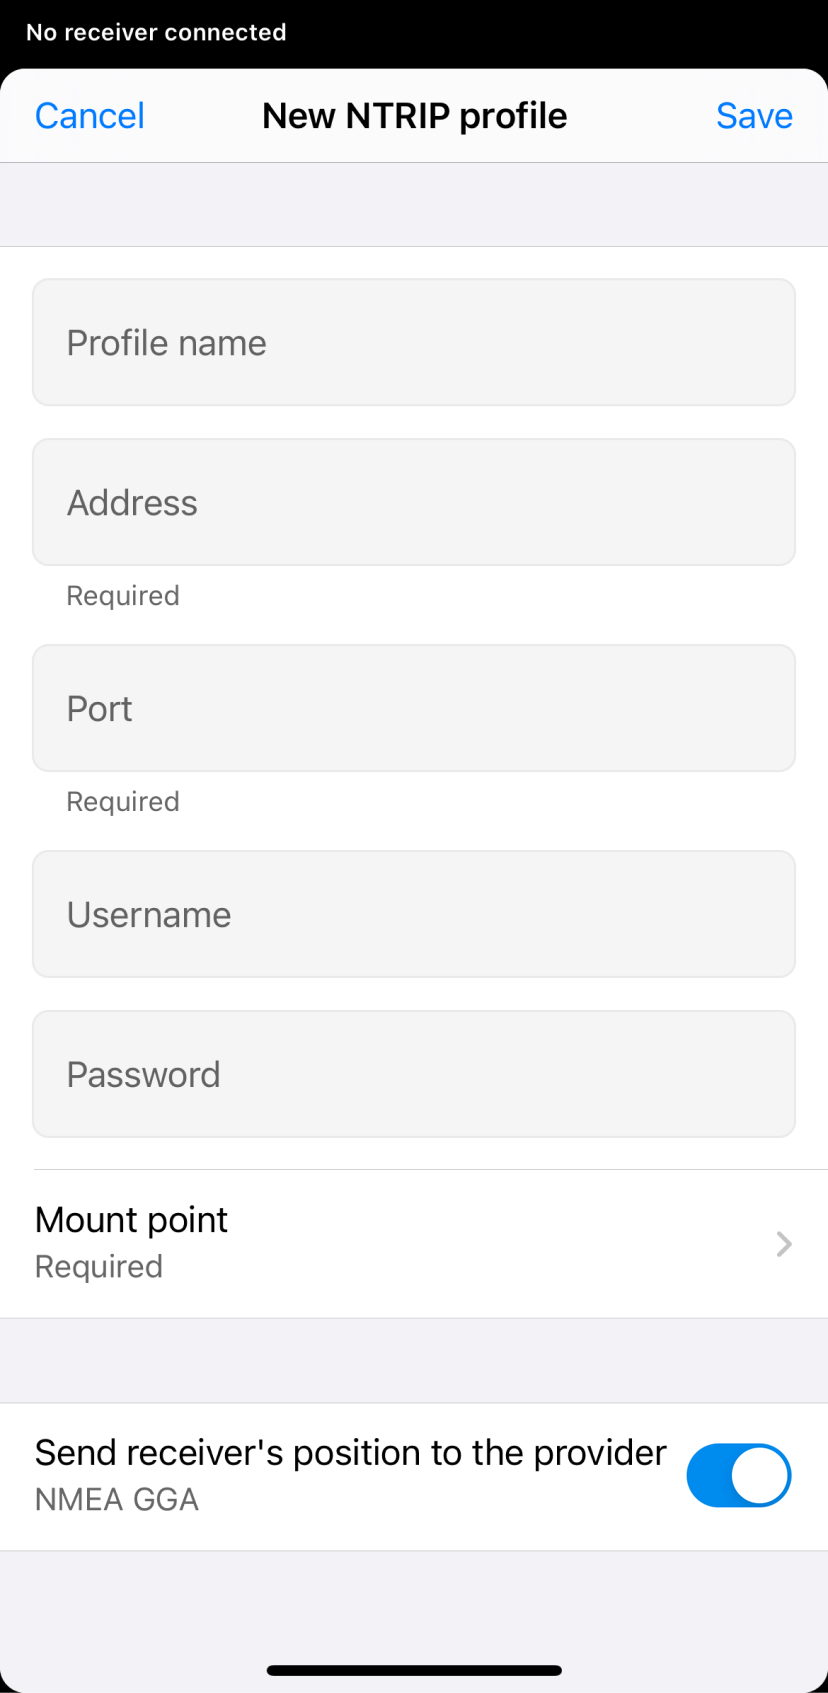
Tap the blue plus button in the upper-right corner.
-
Fill in the information from your NTRIP provider.
tipTo find out which
mount pointsuits you better, check the website of your NTRIP provider. The closer theMount point is a correction data source related to the specific physical or virtual reference station chosen or created based on your location respectively. When you get corrections from a VRS, you need to enable sending your receiver's position in the NMEA format.
mount point, the more precise your solution will be.Mount point is a correction data source related to the specific physical or virtual reference station chosen or created based on your location respectively. When you get corrections from a VRS, you need to enable sending your receiver's position in the NMEA format.
ANDROID KEYBOARD TECH TIPOn some Android devices, default keyboards do not provide a minus sign. To get access to it, we recommend downloading Gboard, a virtual keyboard app, from the Google Play Store.
-
Tap Save in the upper-right corner.
Now your new NTRIP profile is saved in your NTRIP profiles list.
Editing project
Emlid Flow and Emlid Flow 360 allow you to modify the configuration of existing projects. Follow these steps:
- Emlid Flow 360
- Emlid Flow
-
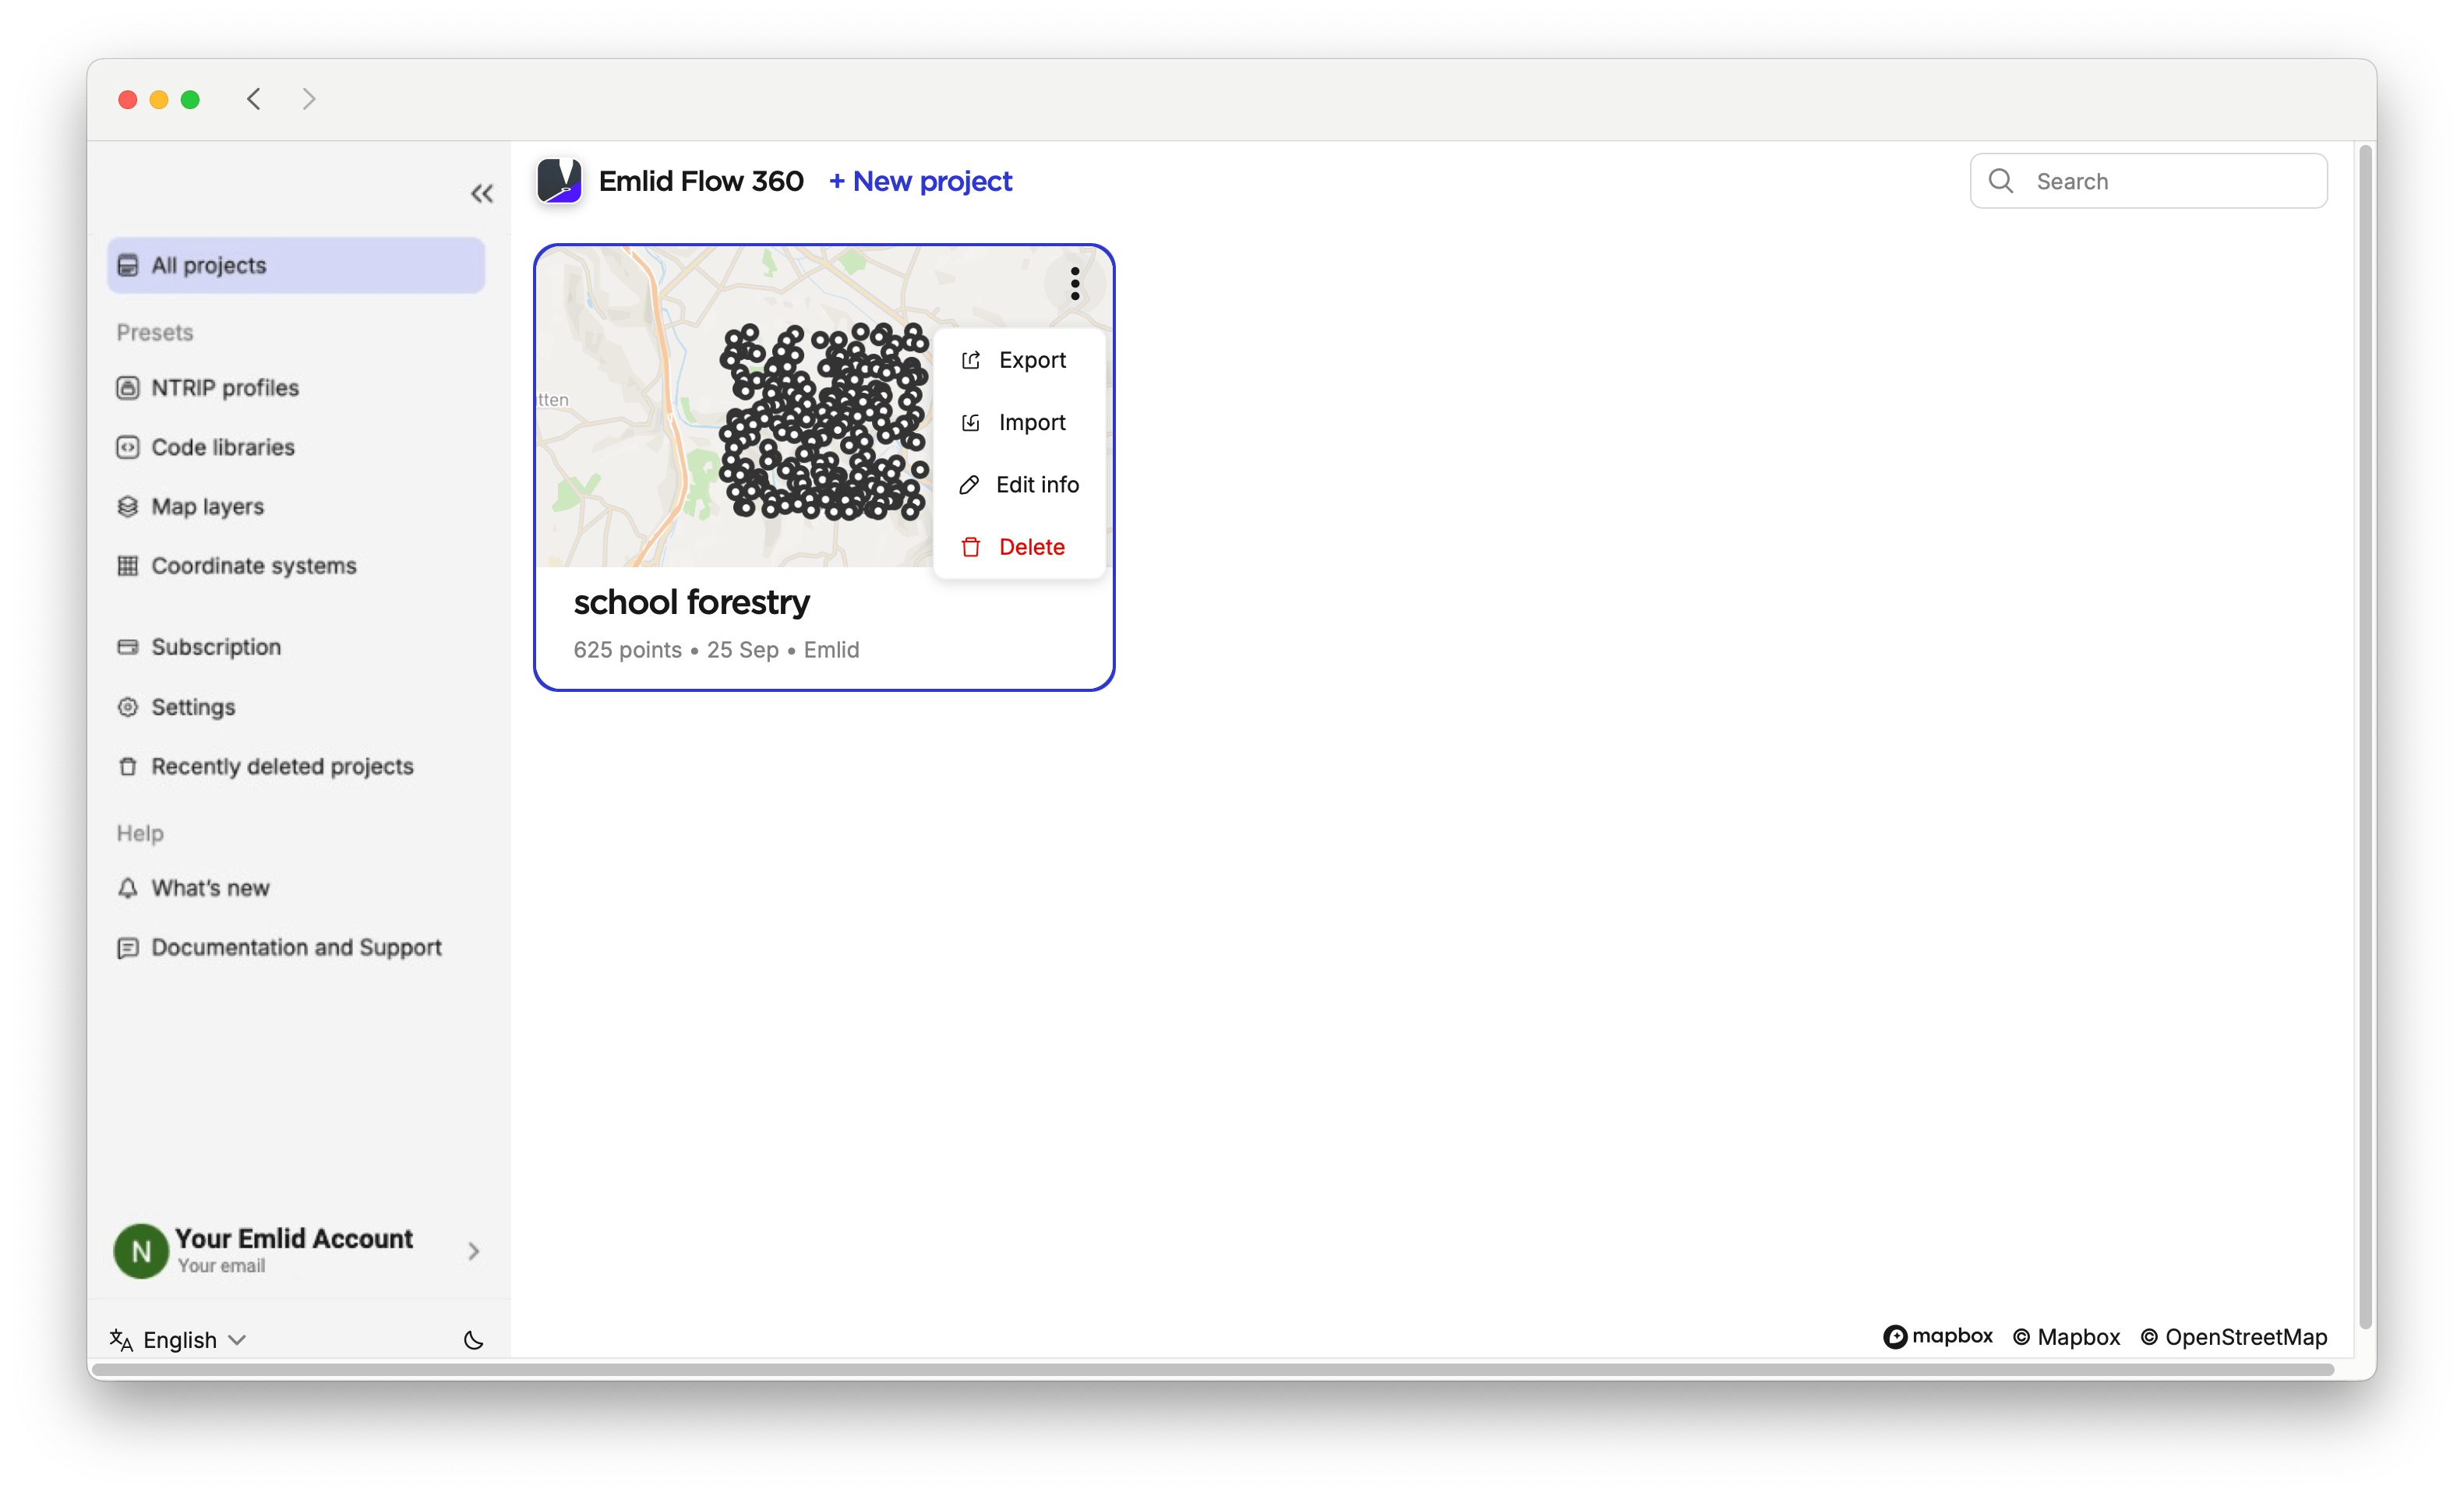
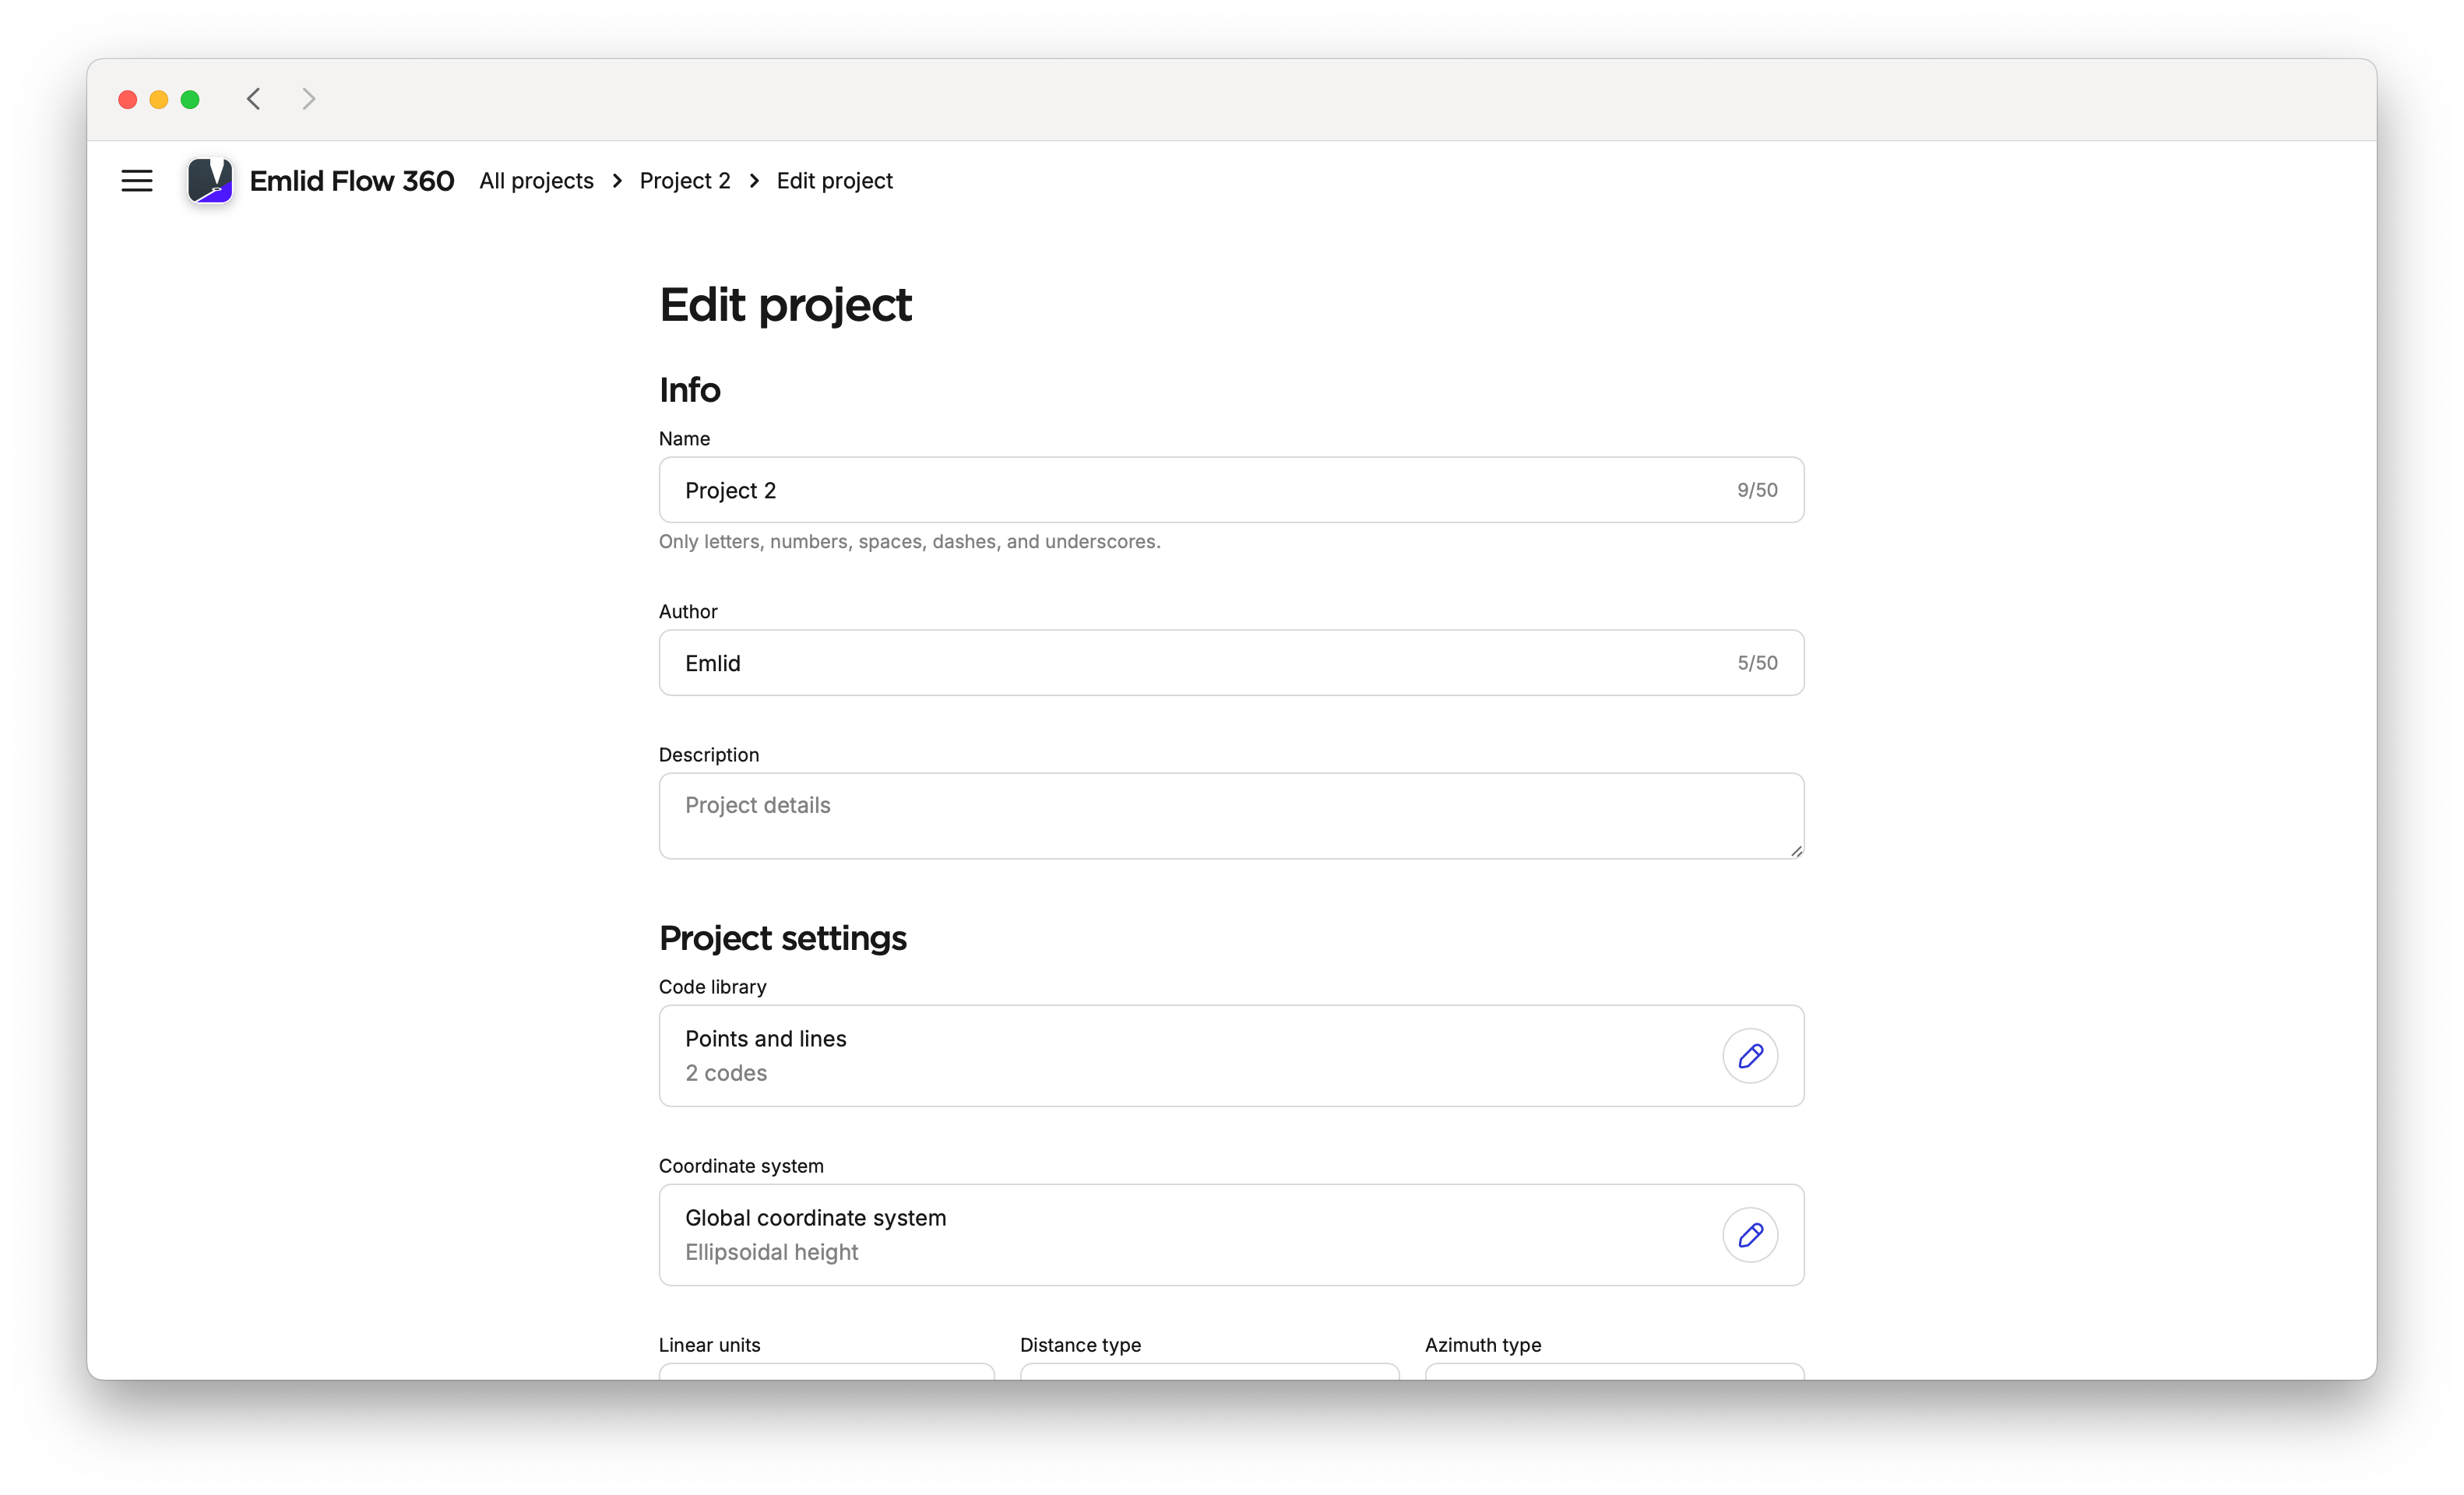
Click the three-dot menu for the required project in Emlid Flow 360 and click Edit.
-
On the opened screen, change any of the following settings:
- Name
- Author
- Description
- Code library
- Coordinate system
- Linear units
tipLearn more about editing a coordinate system in the Coordinate system setup guide.
-
Click Save.
-
Go to the Survey tab in Emlid Flow.
-
Tap the three-dot menu and select Edit.
-
Change any of the following settings:
- Name
- Author
- Description
- Code library
- Linear units
- Angles

-
Tap Save.
Working with folders
The Folder management feature gives you the opportunity to get your and your team’s projects organised.
- Emlid Flow 360
- Emlid Flow
In Emlid Flow 360 you can create, edit, delete, and restore your folders by following the steps below:
Creating folders
To create a folder, do as follows:
-
Open Emlid Flow 360.
-
Click on Folder.
-
Add a name and description to the folder. The Description field is optional.
noteIf you don’t name a folder, the app will automatically name it with the next incremental number. You can edit these credentials at any time from the folder by clicking Edit, or on the All projects screen by opening the three-dot menu and selecting Edit.
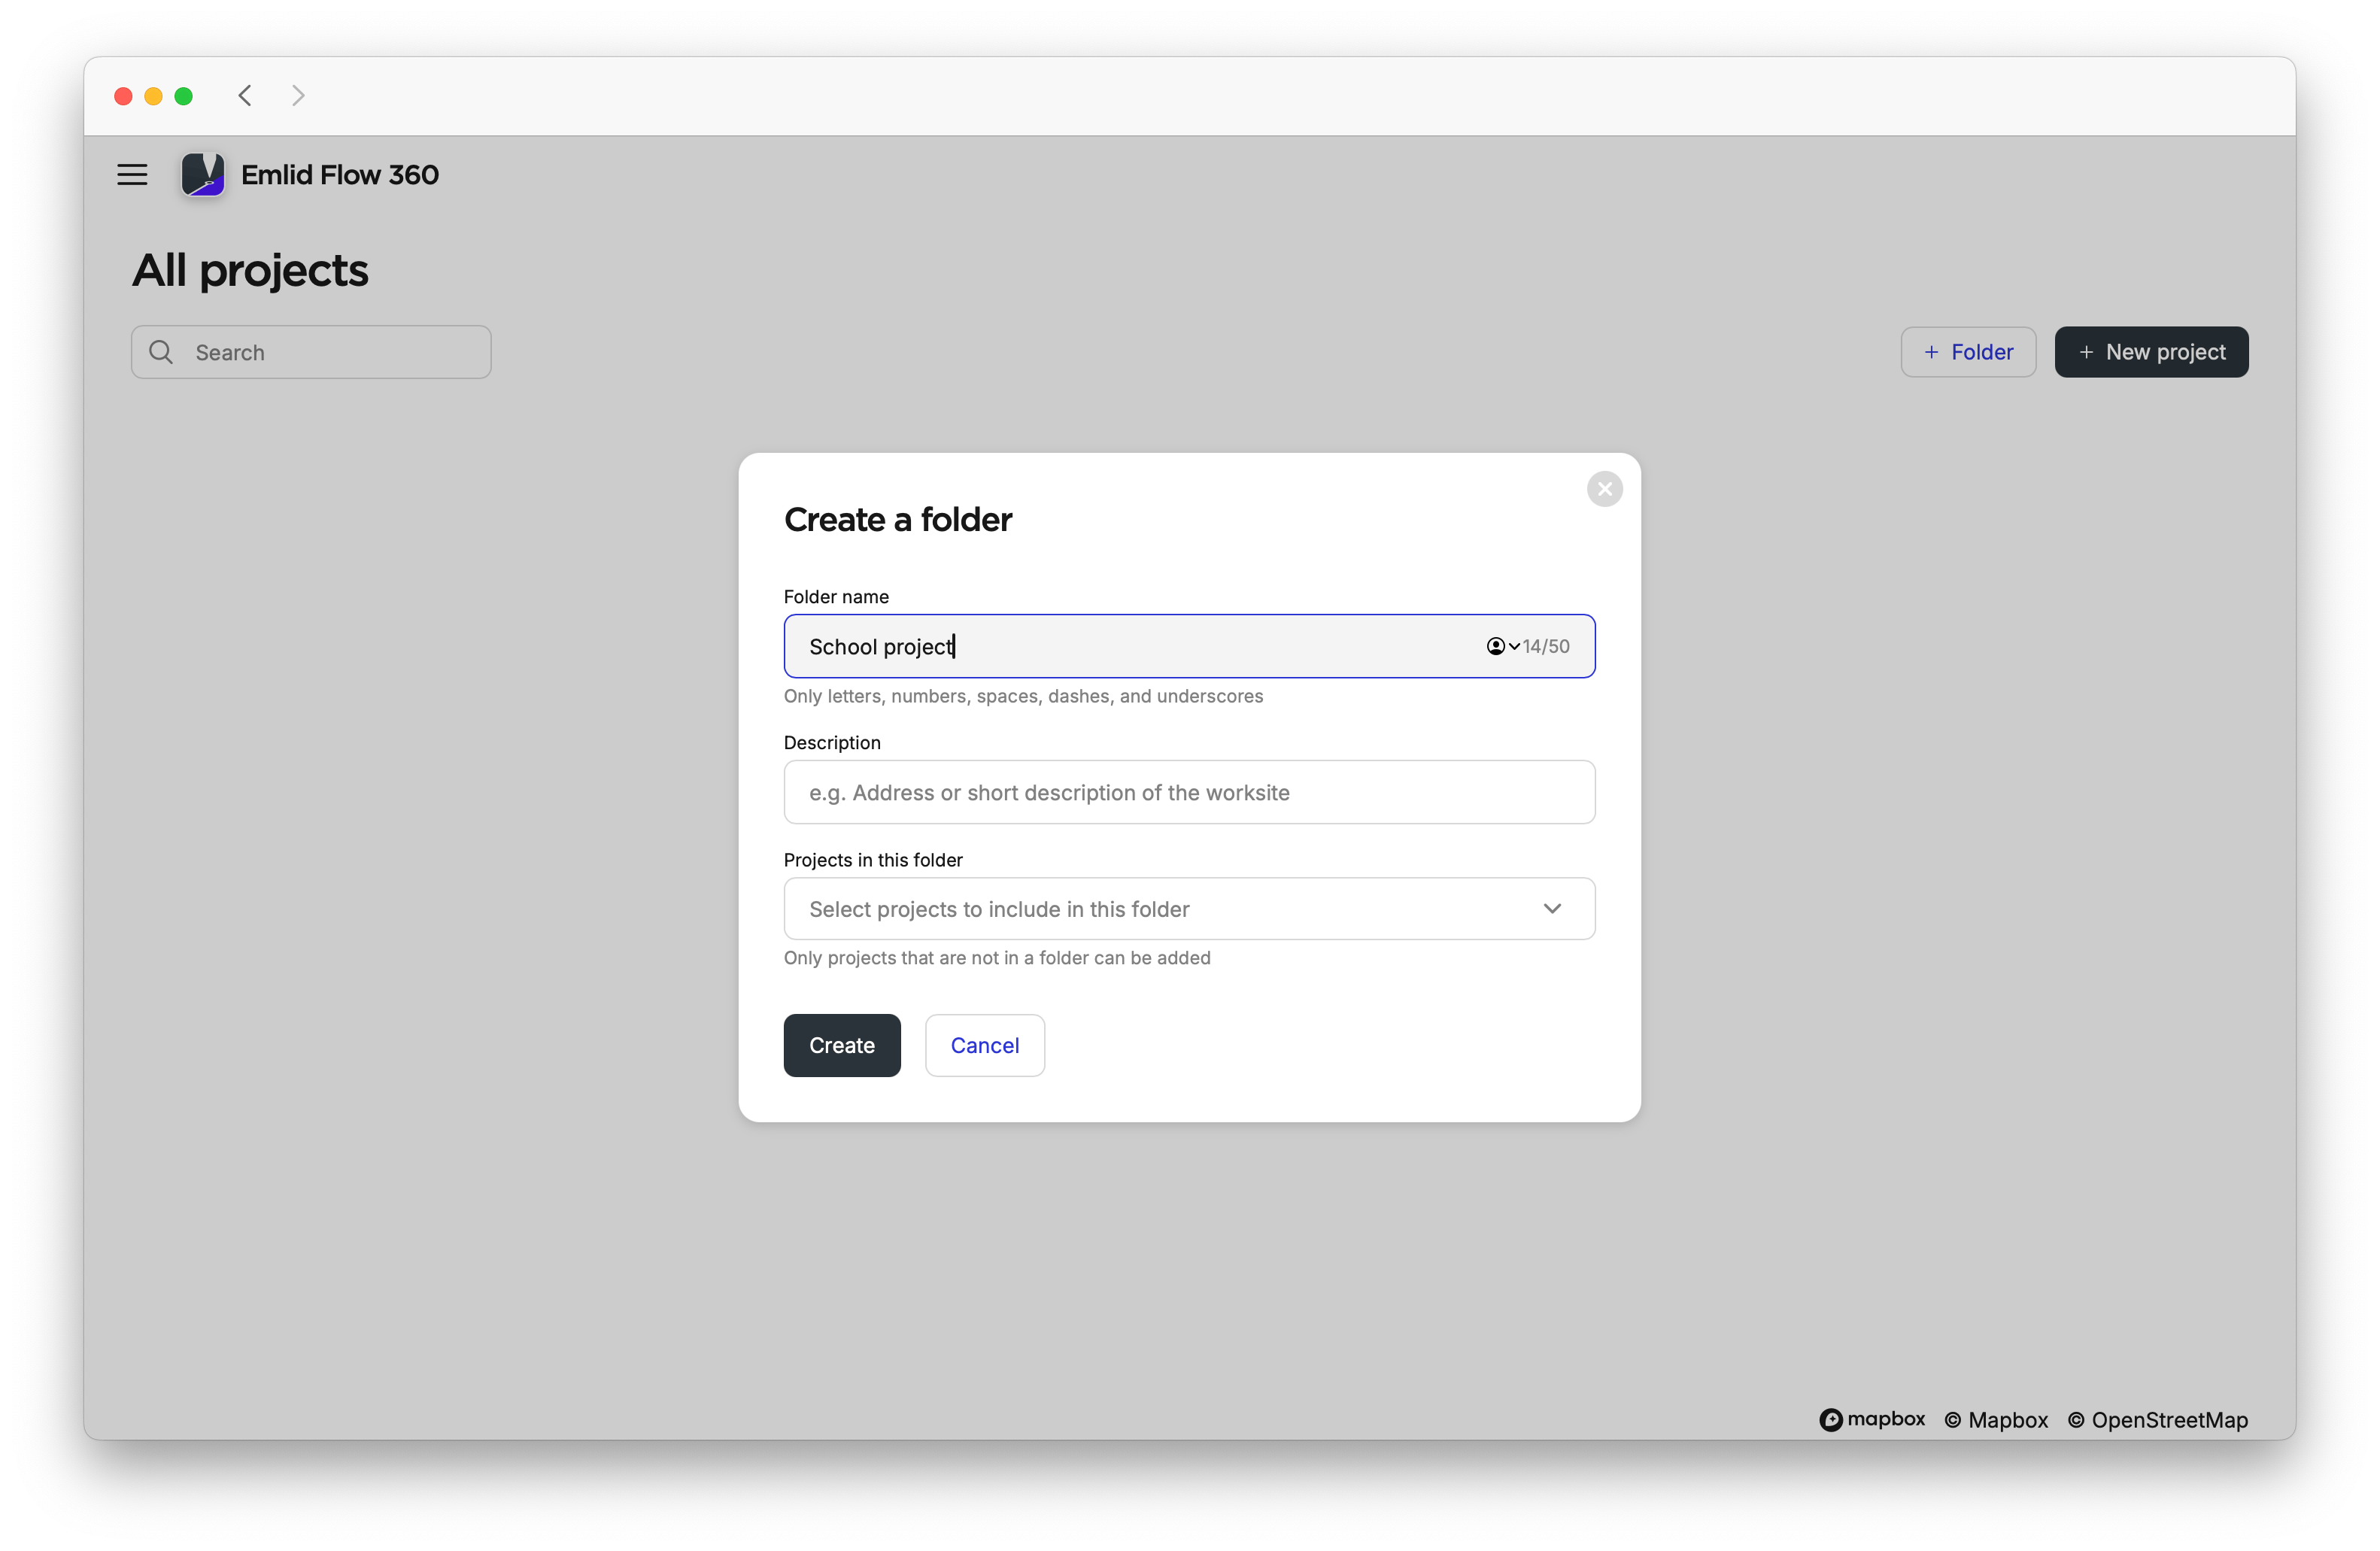
-
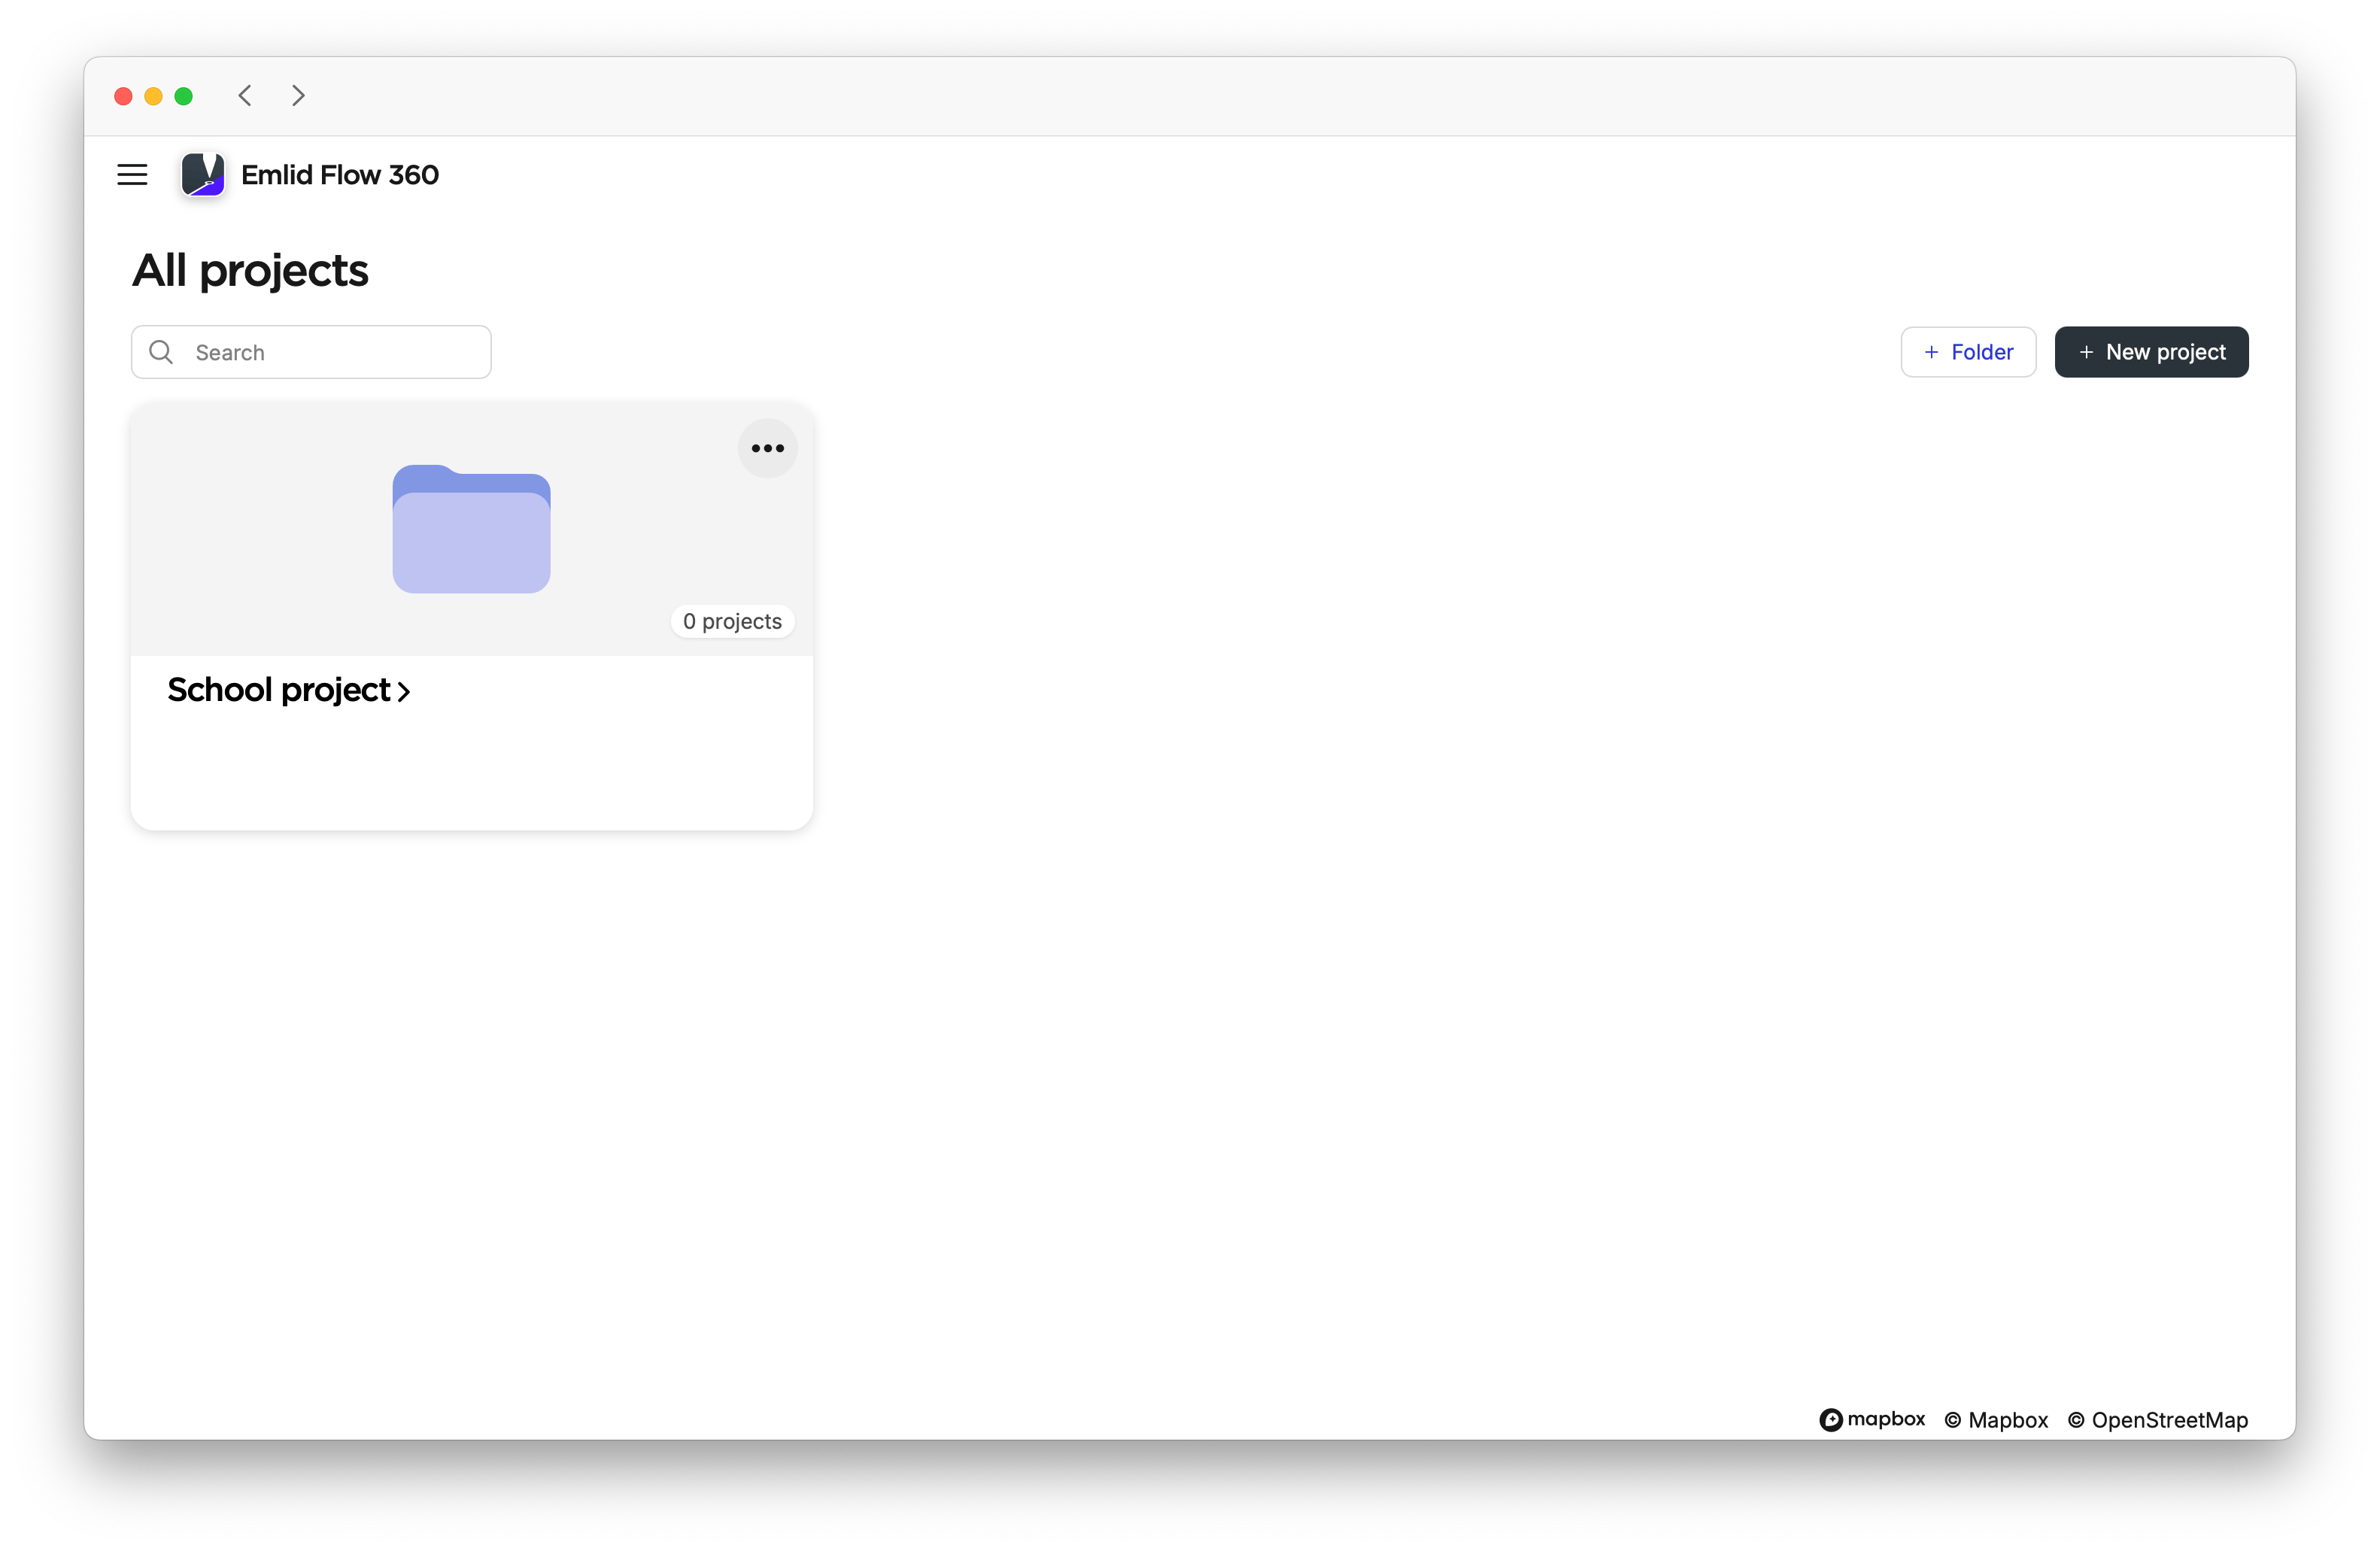
Click on Create. Your folders will be saved on the All projects screen and sorted by creation date.
 caution
You can’t create a folder inside another folder.
Adding project to folder
To add a project to a folder, follow the steps below:
-
Create or import a project. If needed, configure default project settings and map view presets.
tipLearn more about configuring projects in these guides:
-
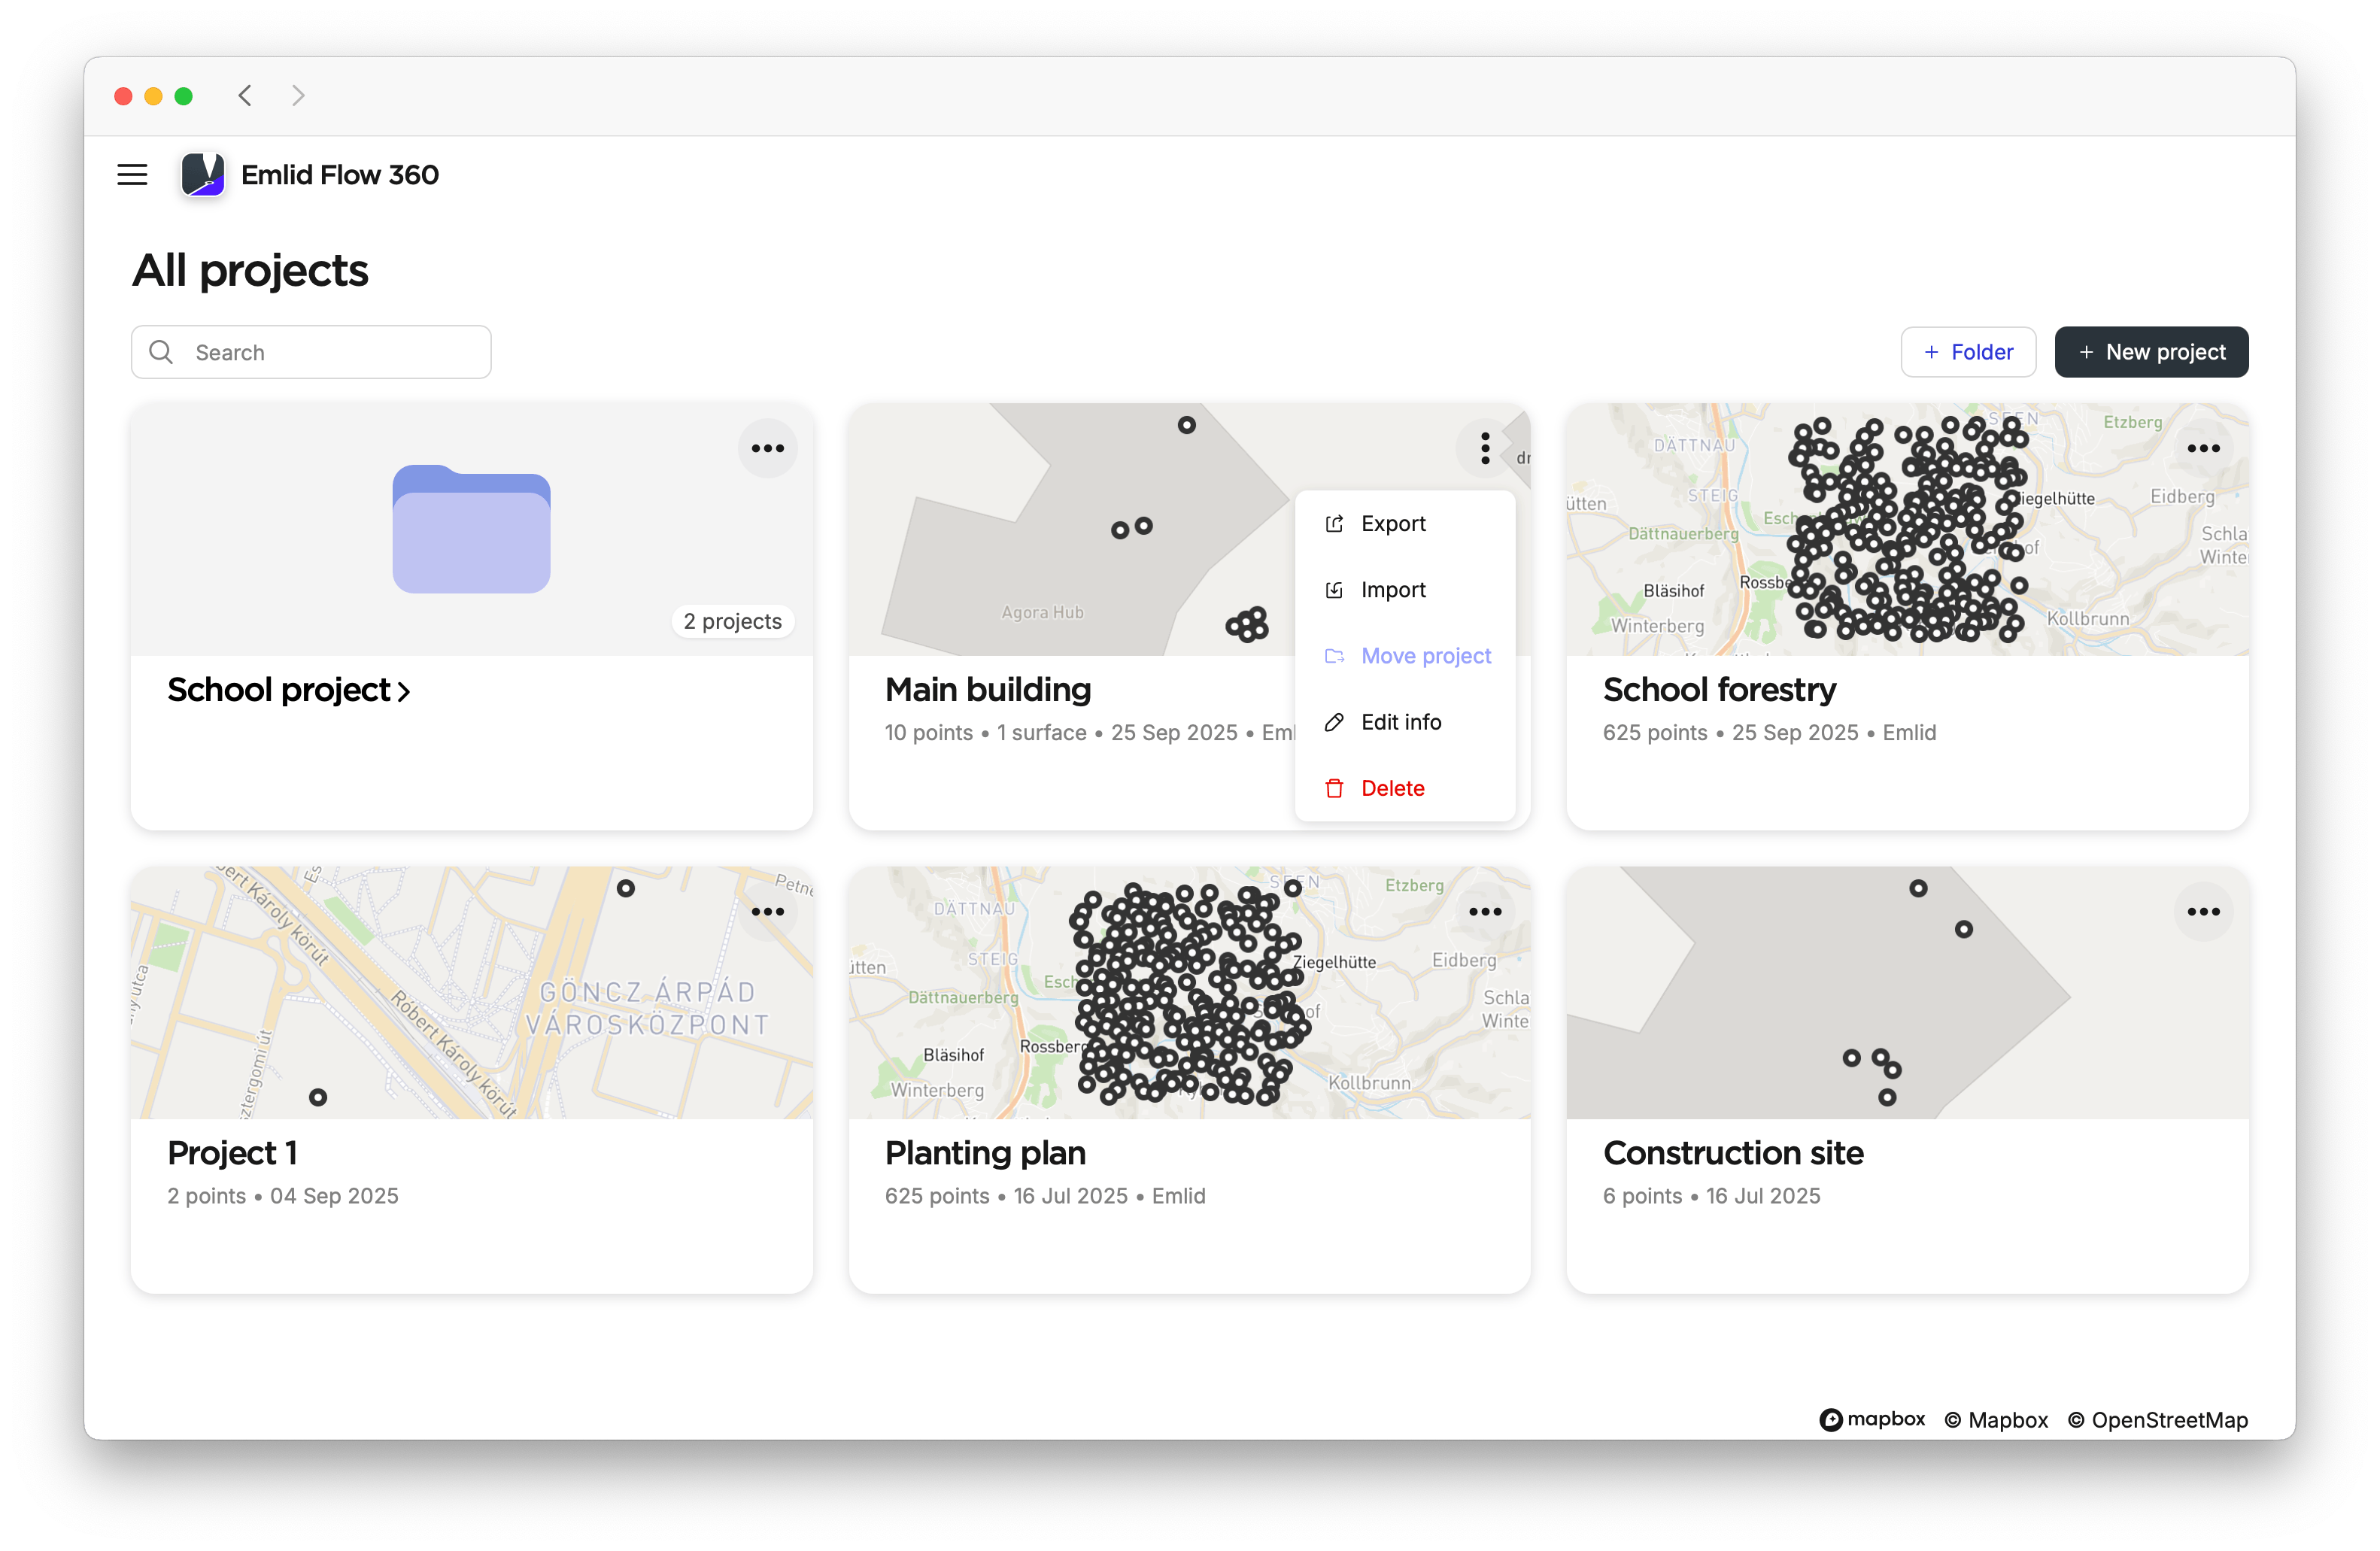
On the All projects screen, open the three-dot menu for the project and click Move project.
-
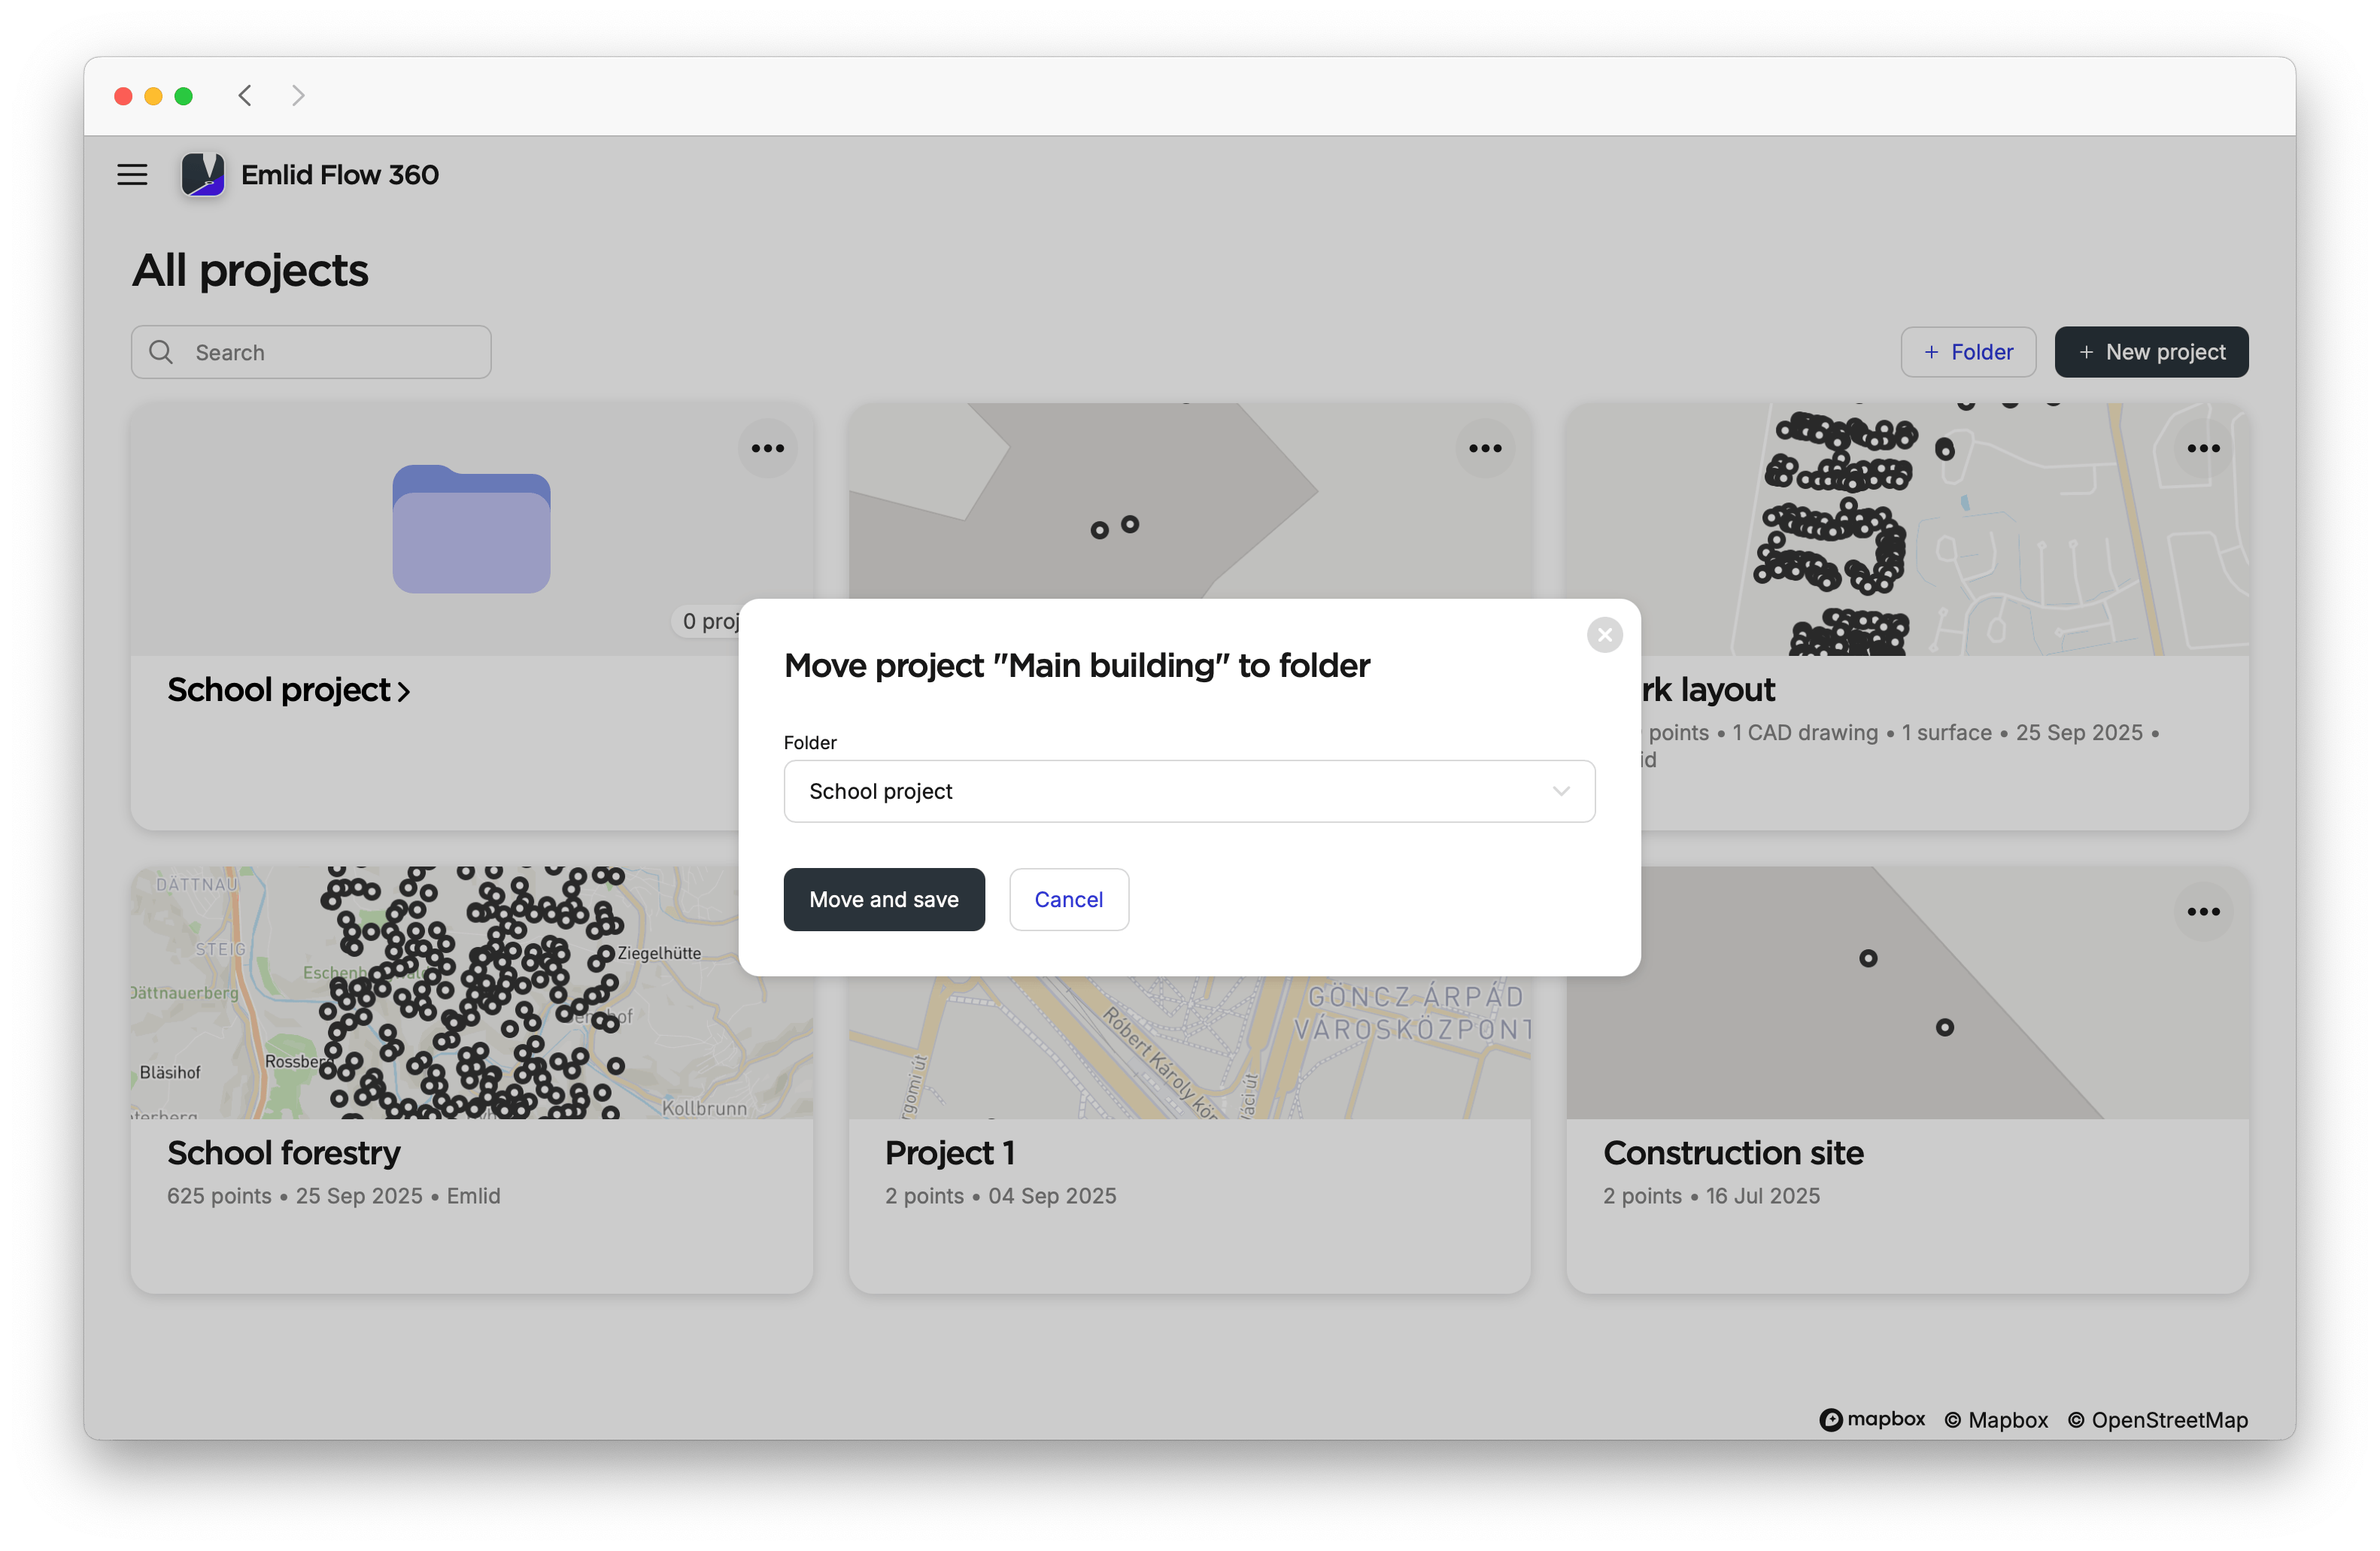
Choose the folder where you want to move your project and click Move and save.

 tip
tipIf you want to move your project from one folder to another, enter the folder, click on the three-dot menu, and move the project to the desired folder.
Now, your project will be in the desired folder.
A project can be in only one folder.
To remove a project from a folder, open the folder, then click on the project’s three-dot menu and select Remove from folder. The project will be listed again on the All projects screen.
Deleting folder
To delete the folder, follow the steps below:
-
Delete the folder using one of the following ways:
-
On the All projects screen, open the folder’s three-dot menu and select Delete.
-
When you are in the folder, click the Delete icon.
cautionIf you remove a project from a folder, it will no longer belong to that folder.
-
-
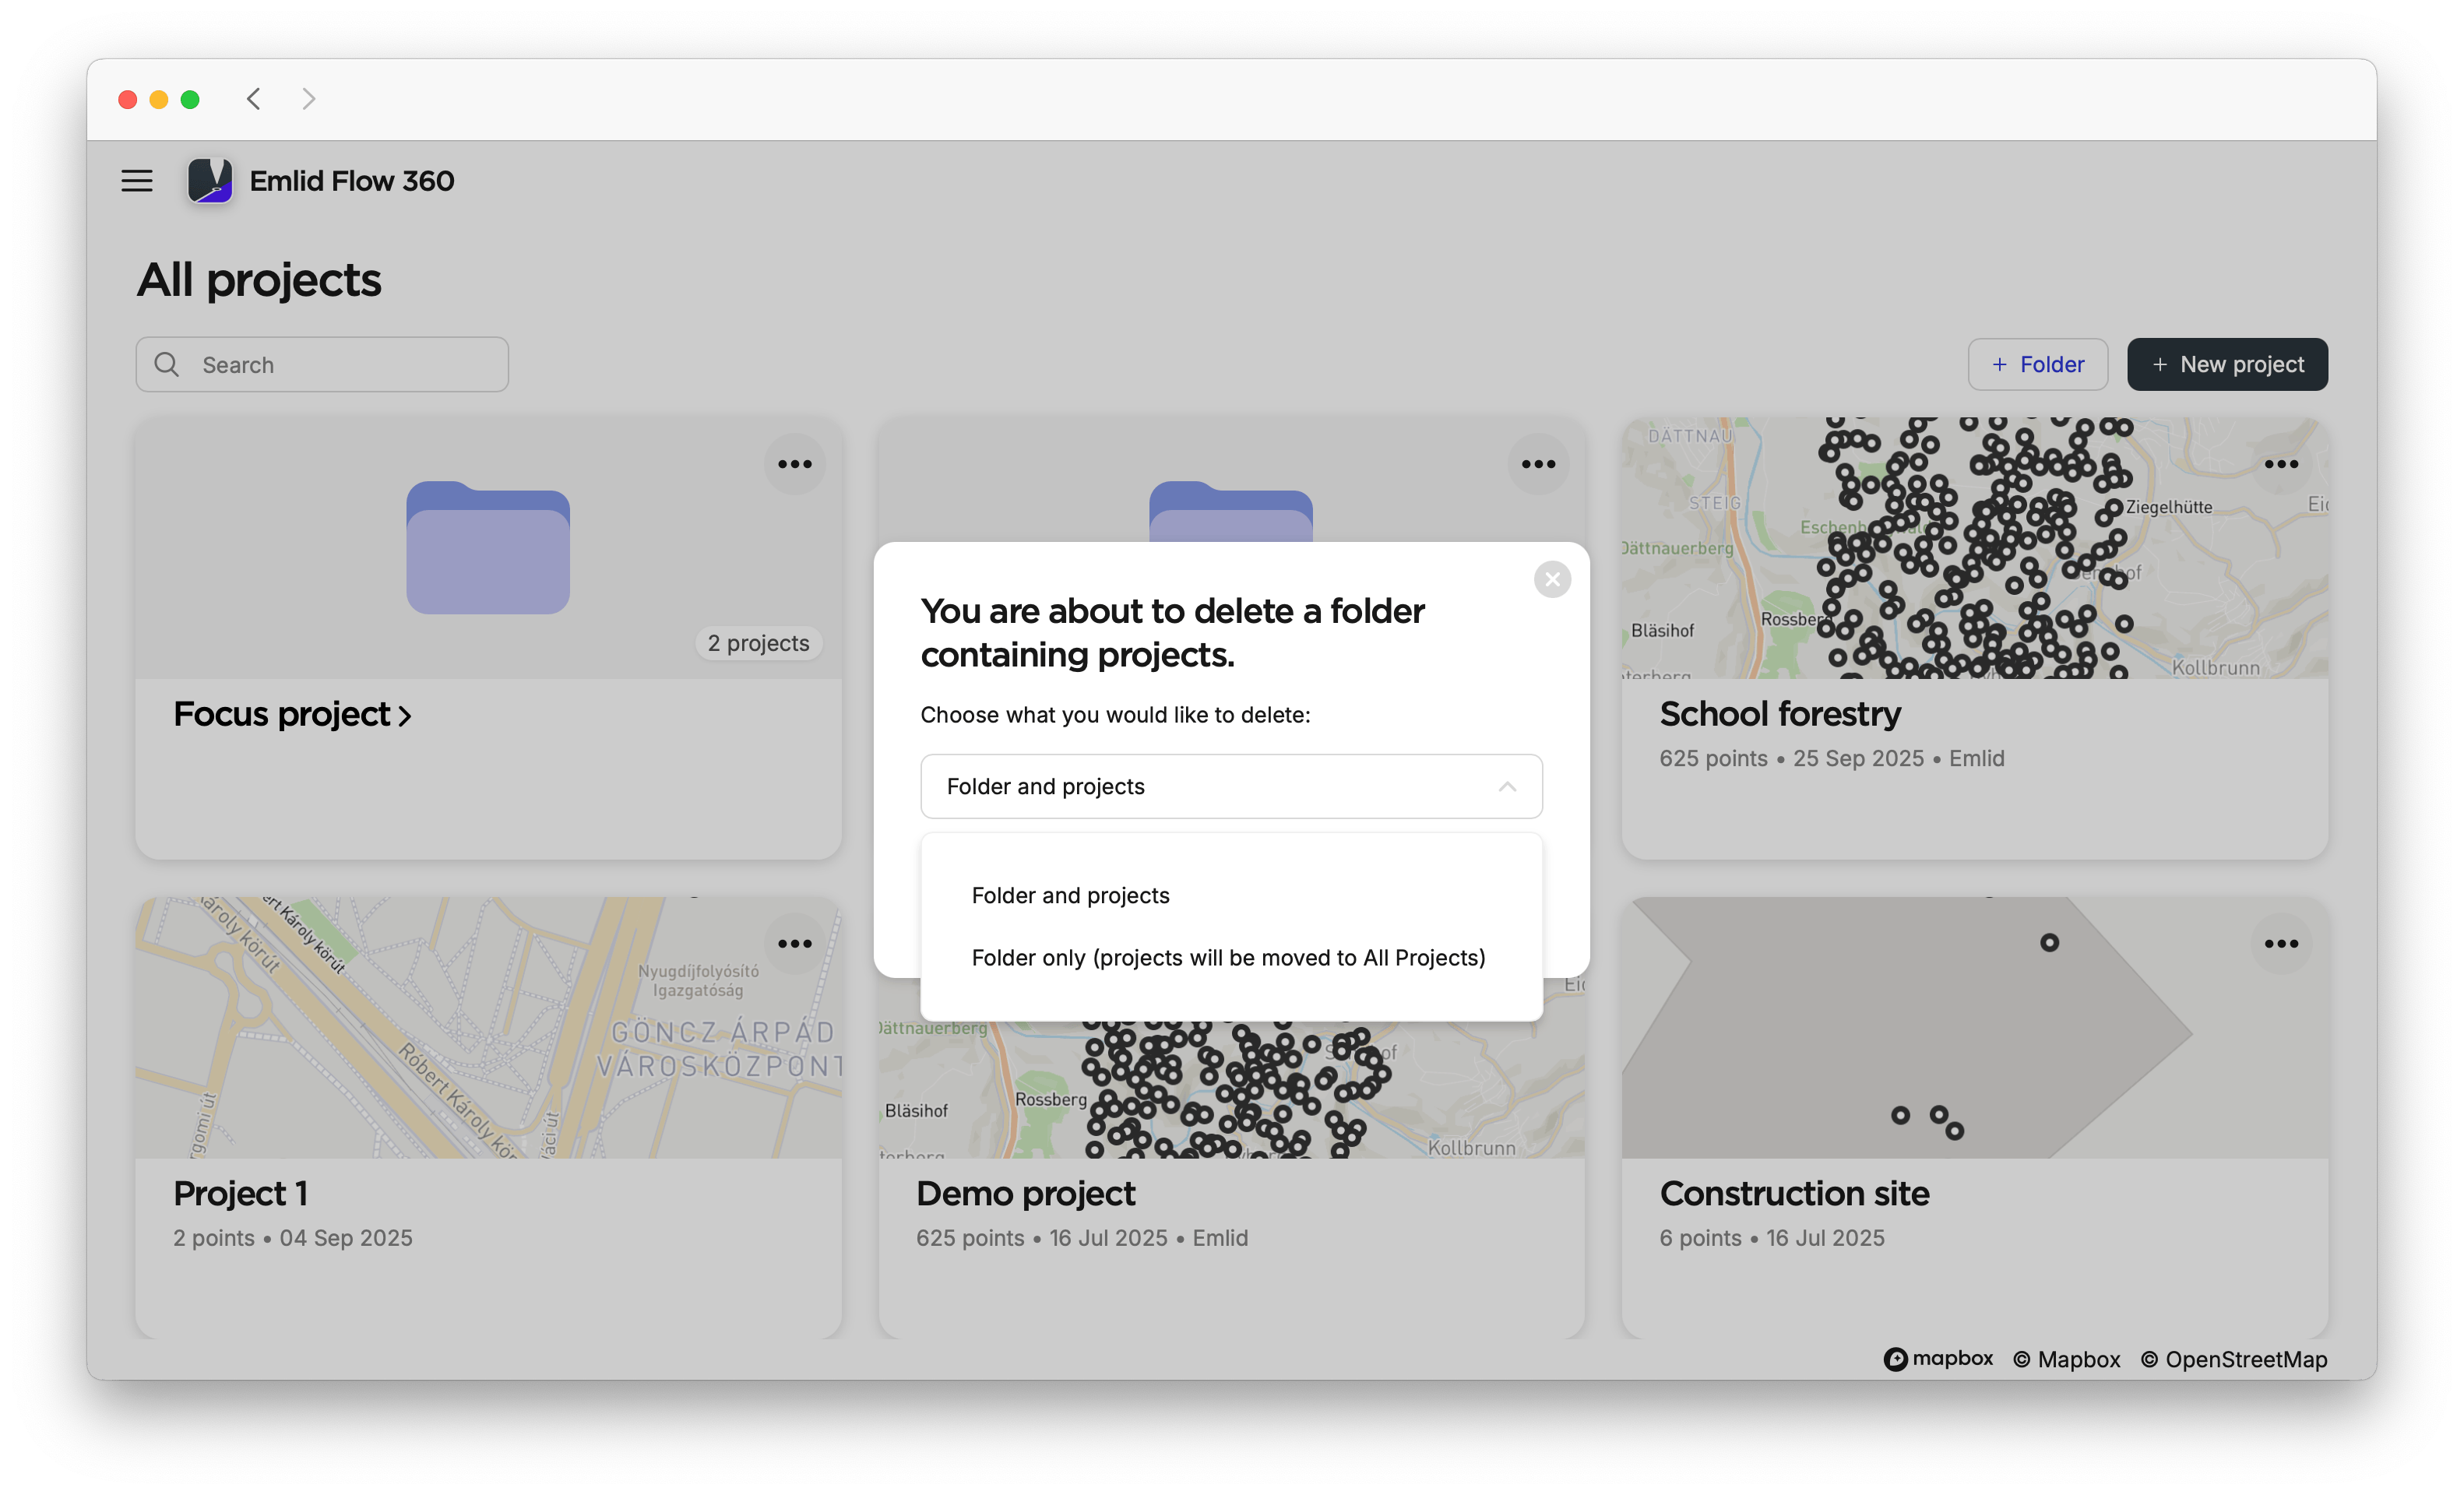
If the folder contains projects, choose whether to delete both the folder and its projects or delete only the folder. The projects will be listed on the All projects screen.
The deleted folders will remain in the Recently deleted menu for 30 days. You can either restore or permanently delete them.
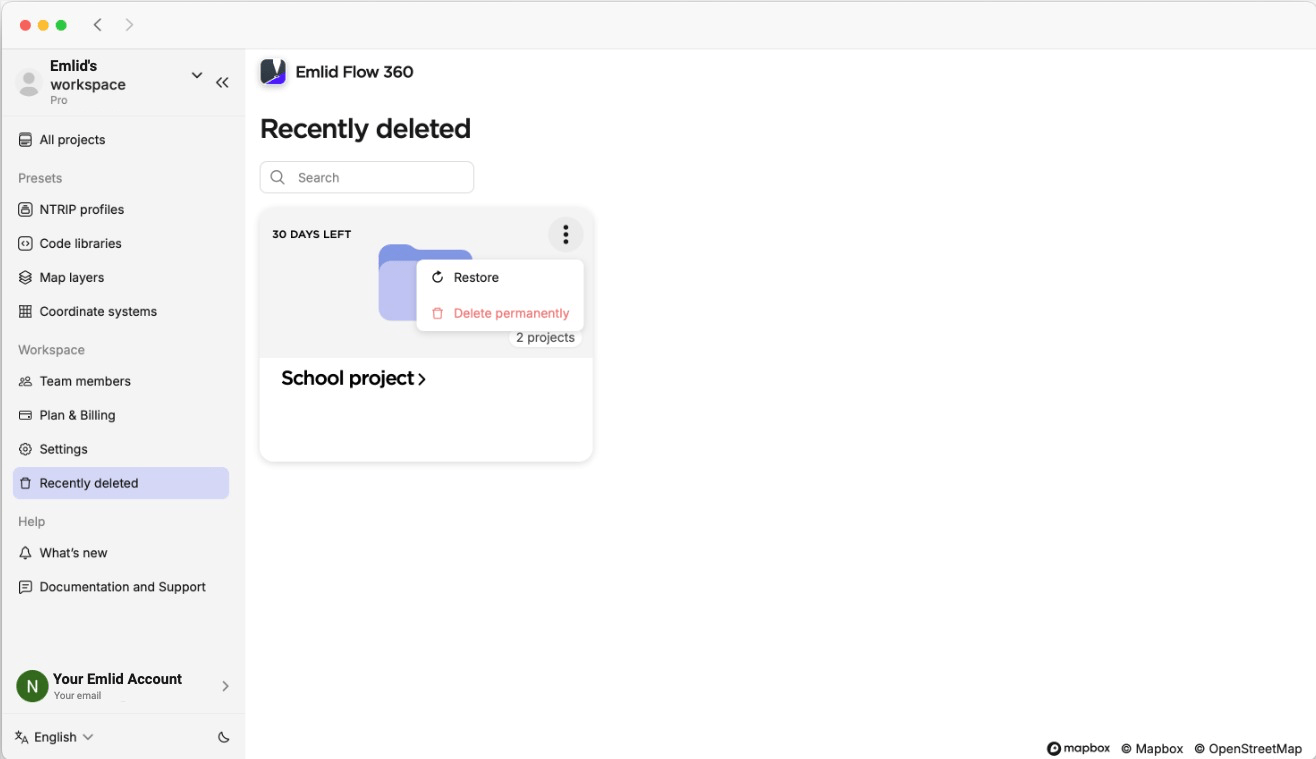
If you restore a project from inside the folder, the connection between the project and the folder won’t be restored. The project will be listed on the All projects screen.
Once you’ve created folders and added projects, you can continue working with them in Emlid Flow. You can navigate between folders, create projects within them, and assign a folder when creating a new project.
You can create, edit, delete, and restore your folders only in Emlid Flow 360.
In Emlid Flow, you can create a project inside a folder or choose a folder when creating a project.
Assigning project to folder
To assign a project to a folder when creating a new one, follow the steps below:
You can learn more about project creation in the Creating projects section.
-
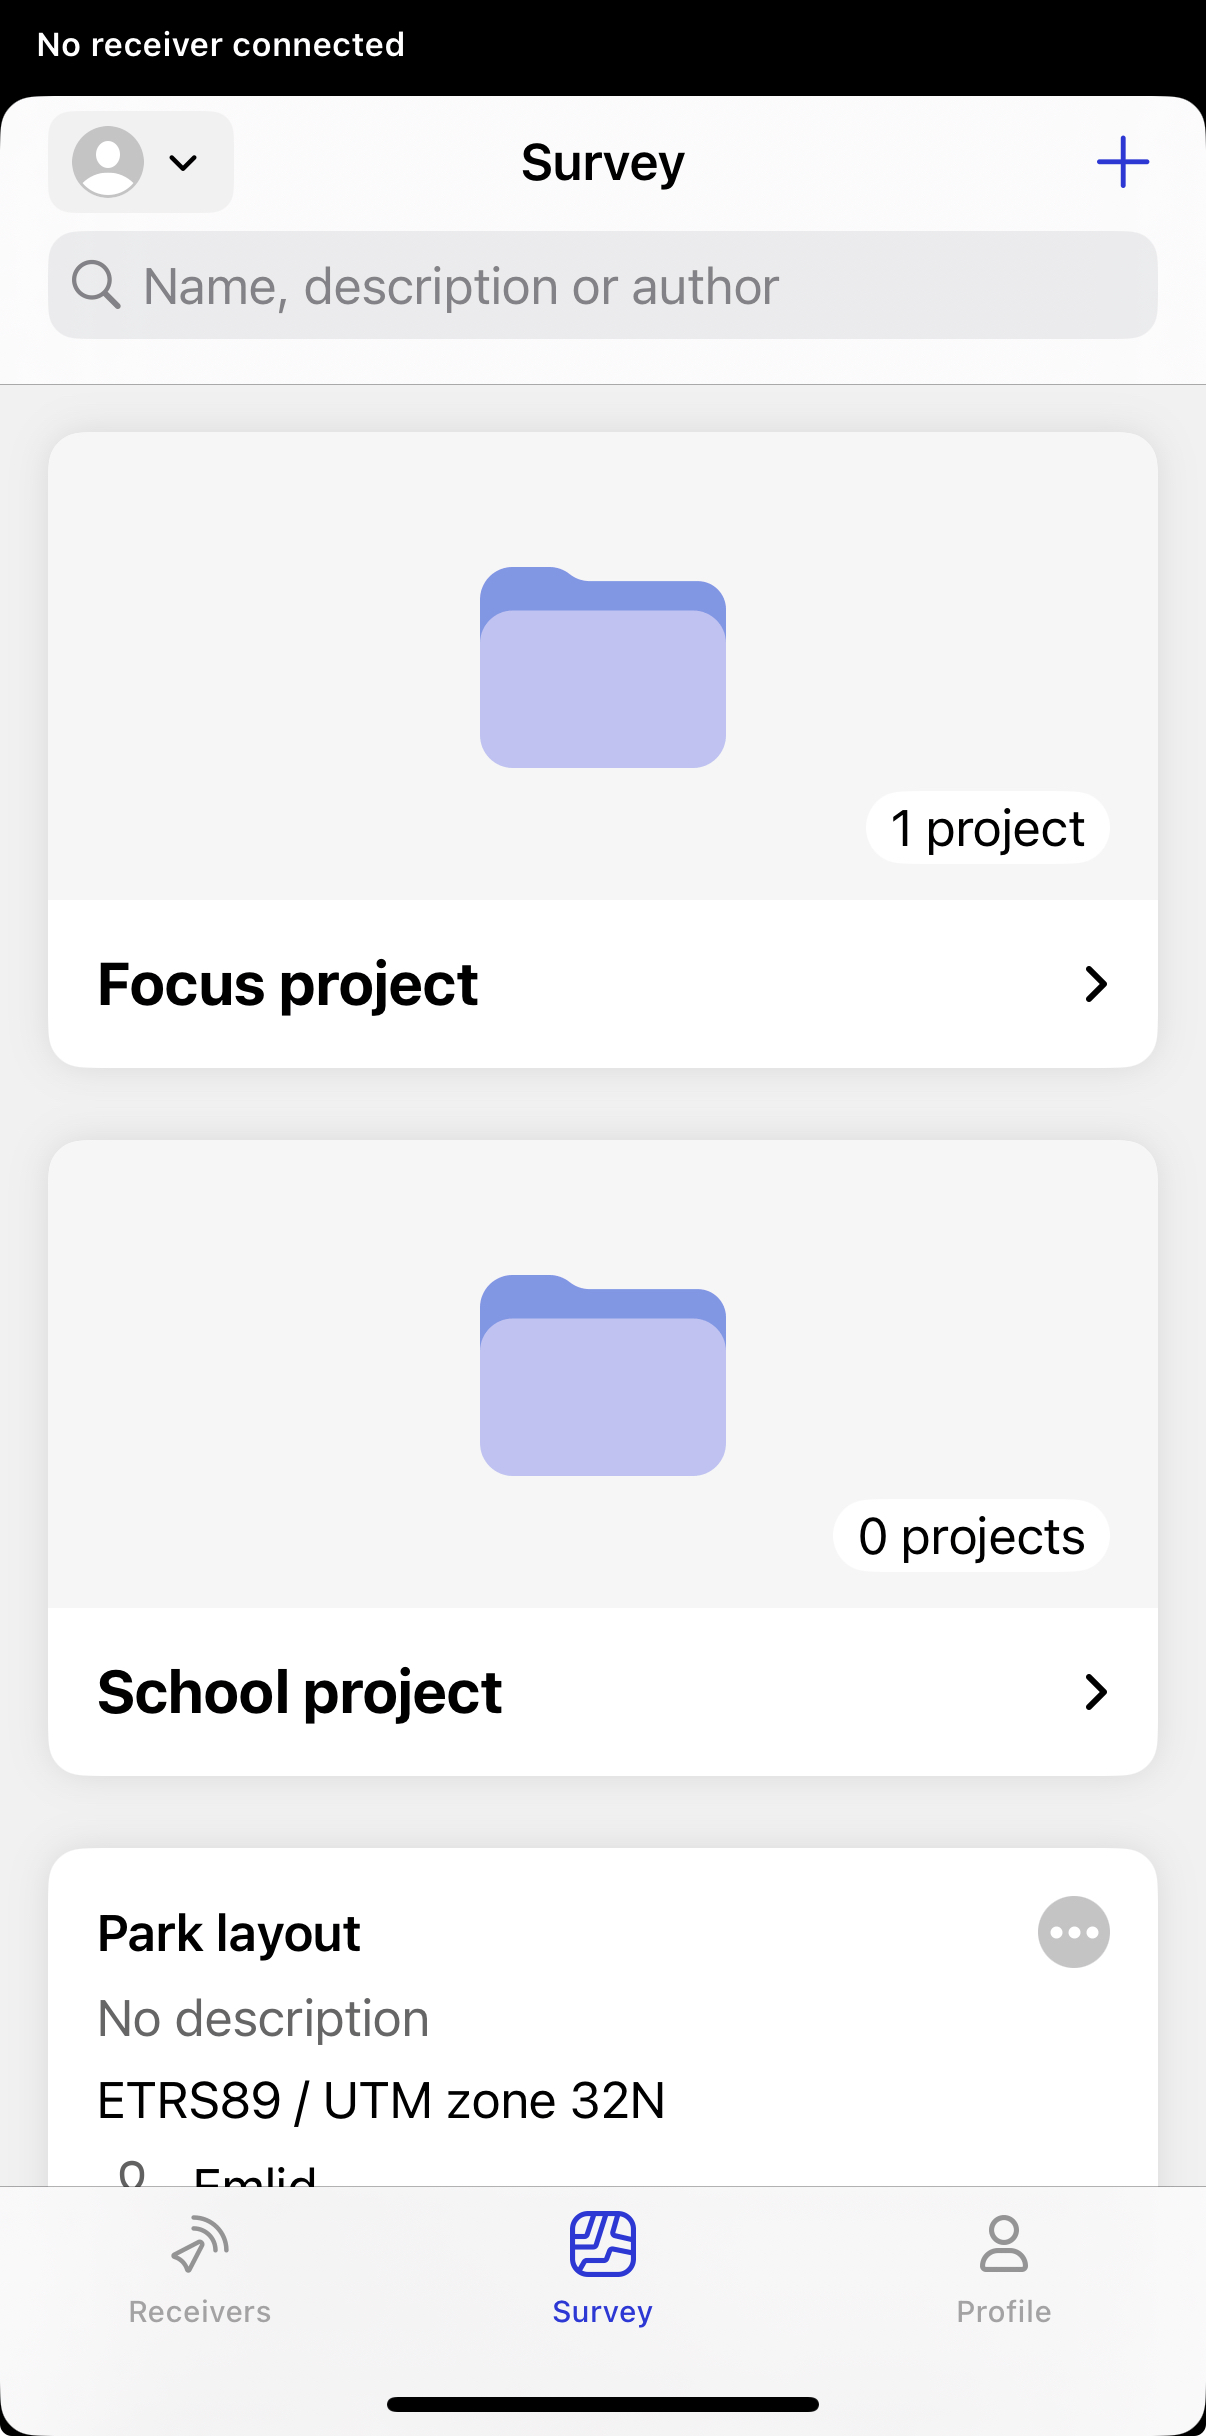
Open Emlid Flow and navigate to the Survey tab. Here, you can see your projects and folders sorted by creation date.
-
To create a project, tap on the + button.
-
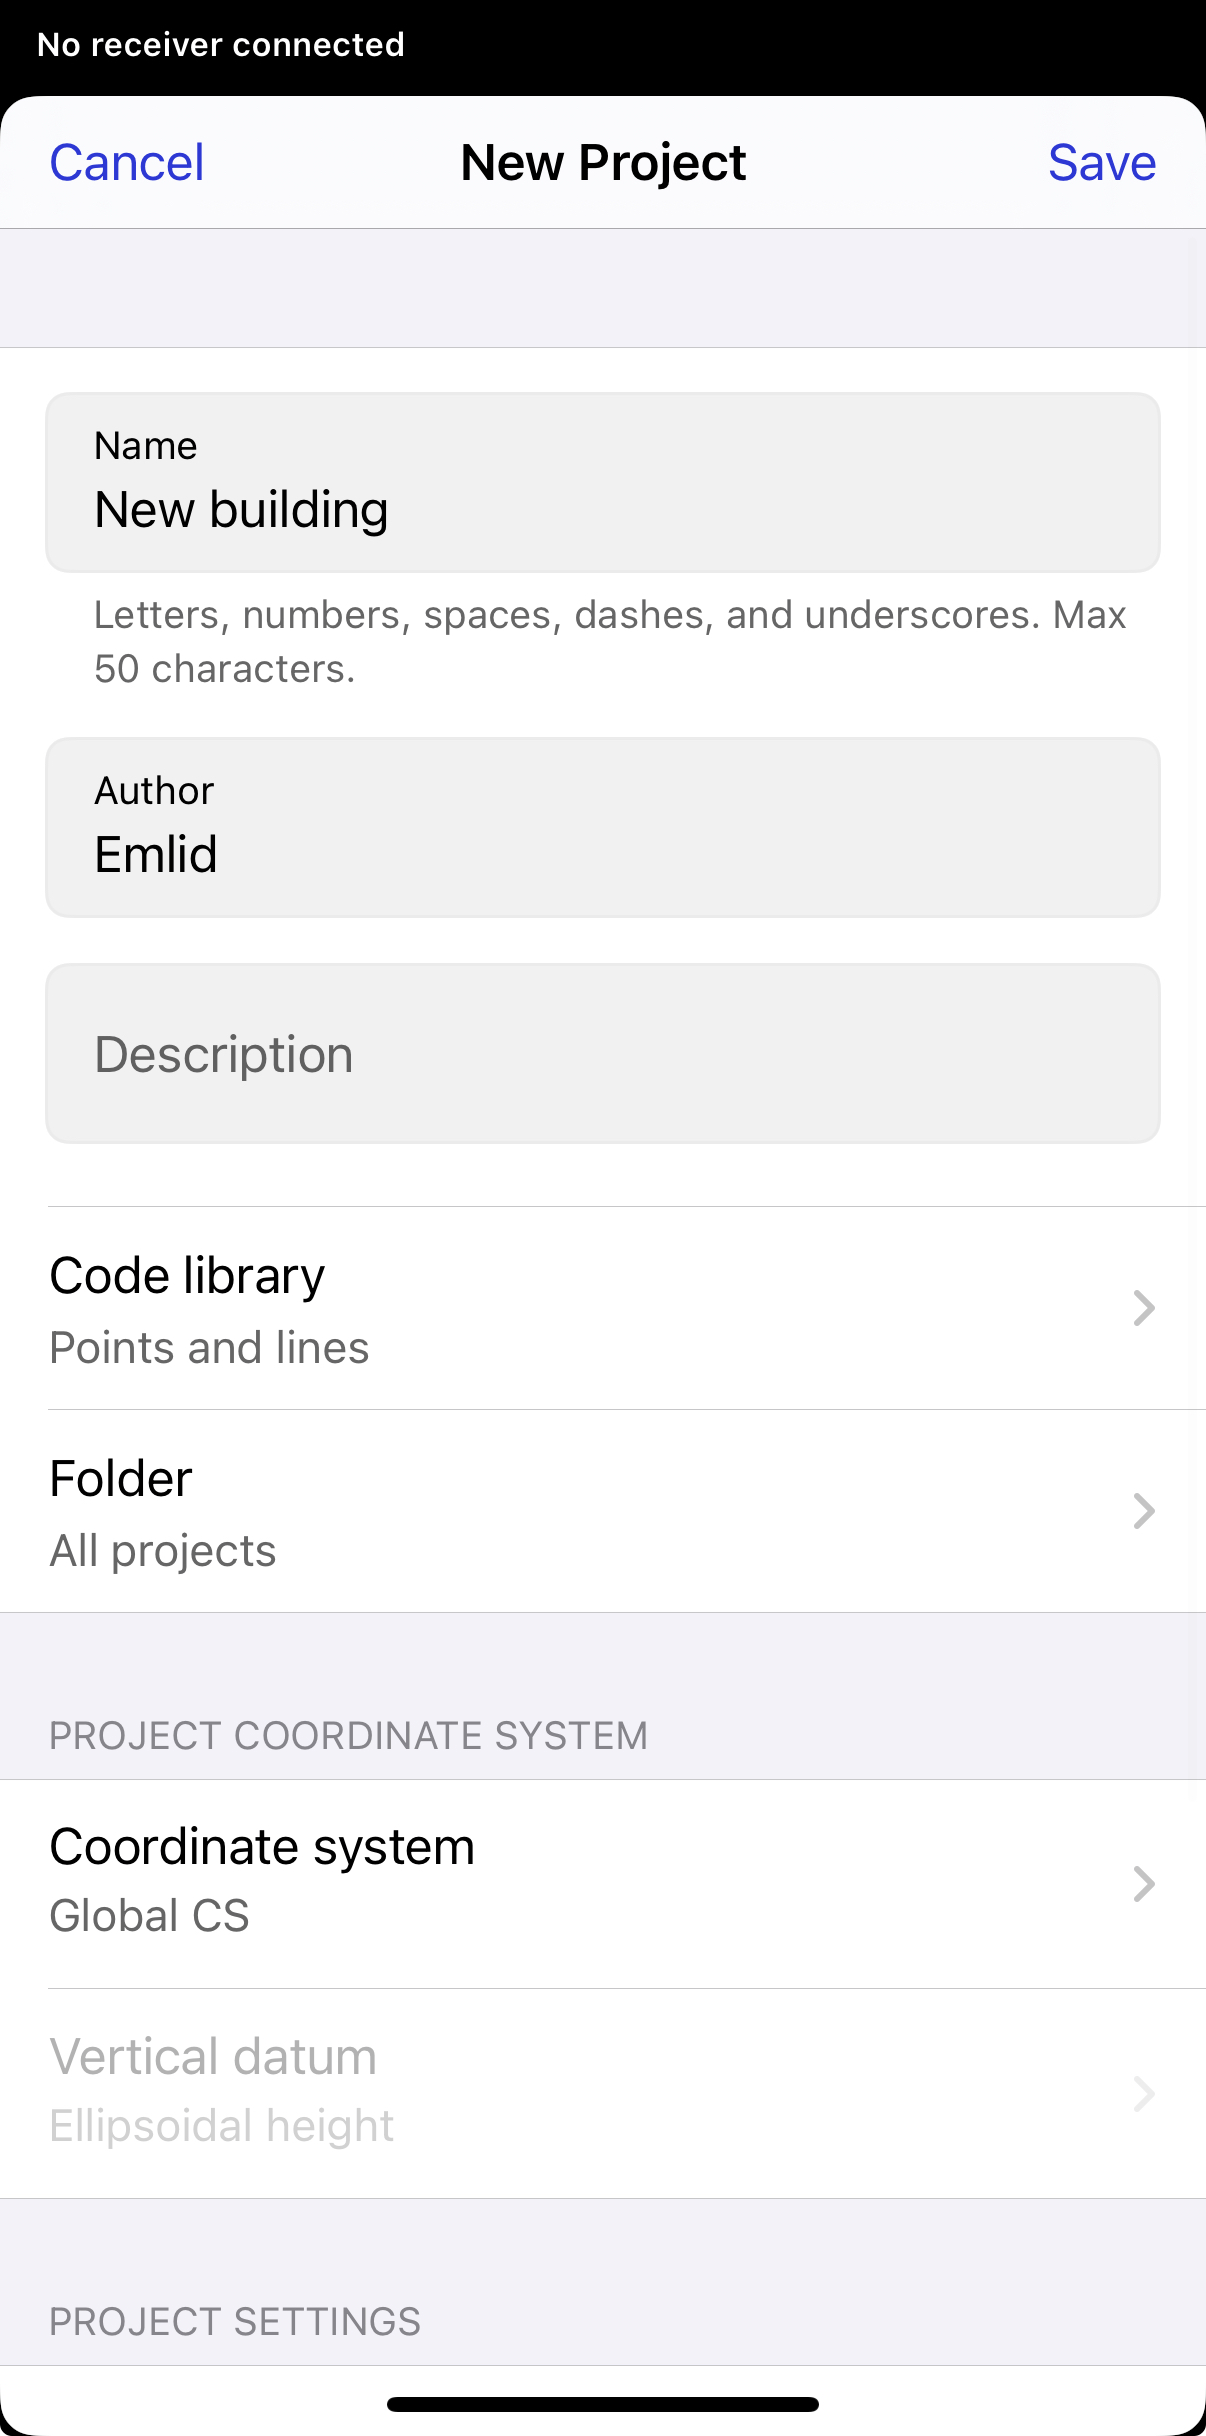
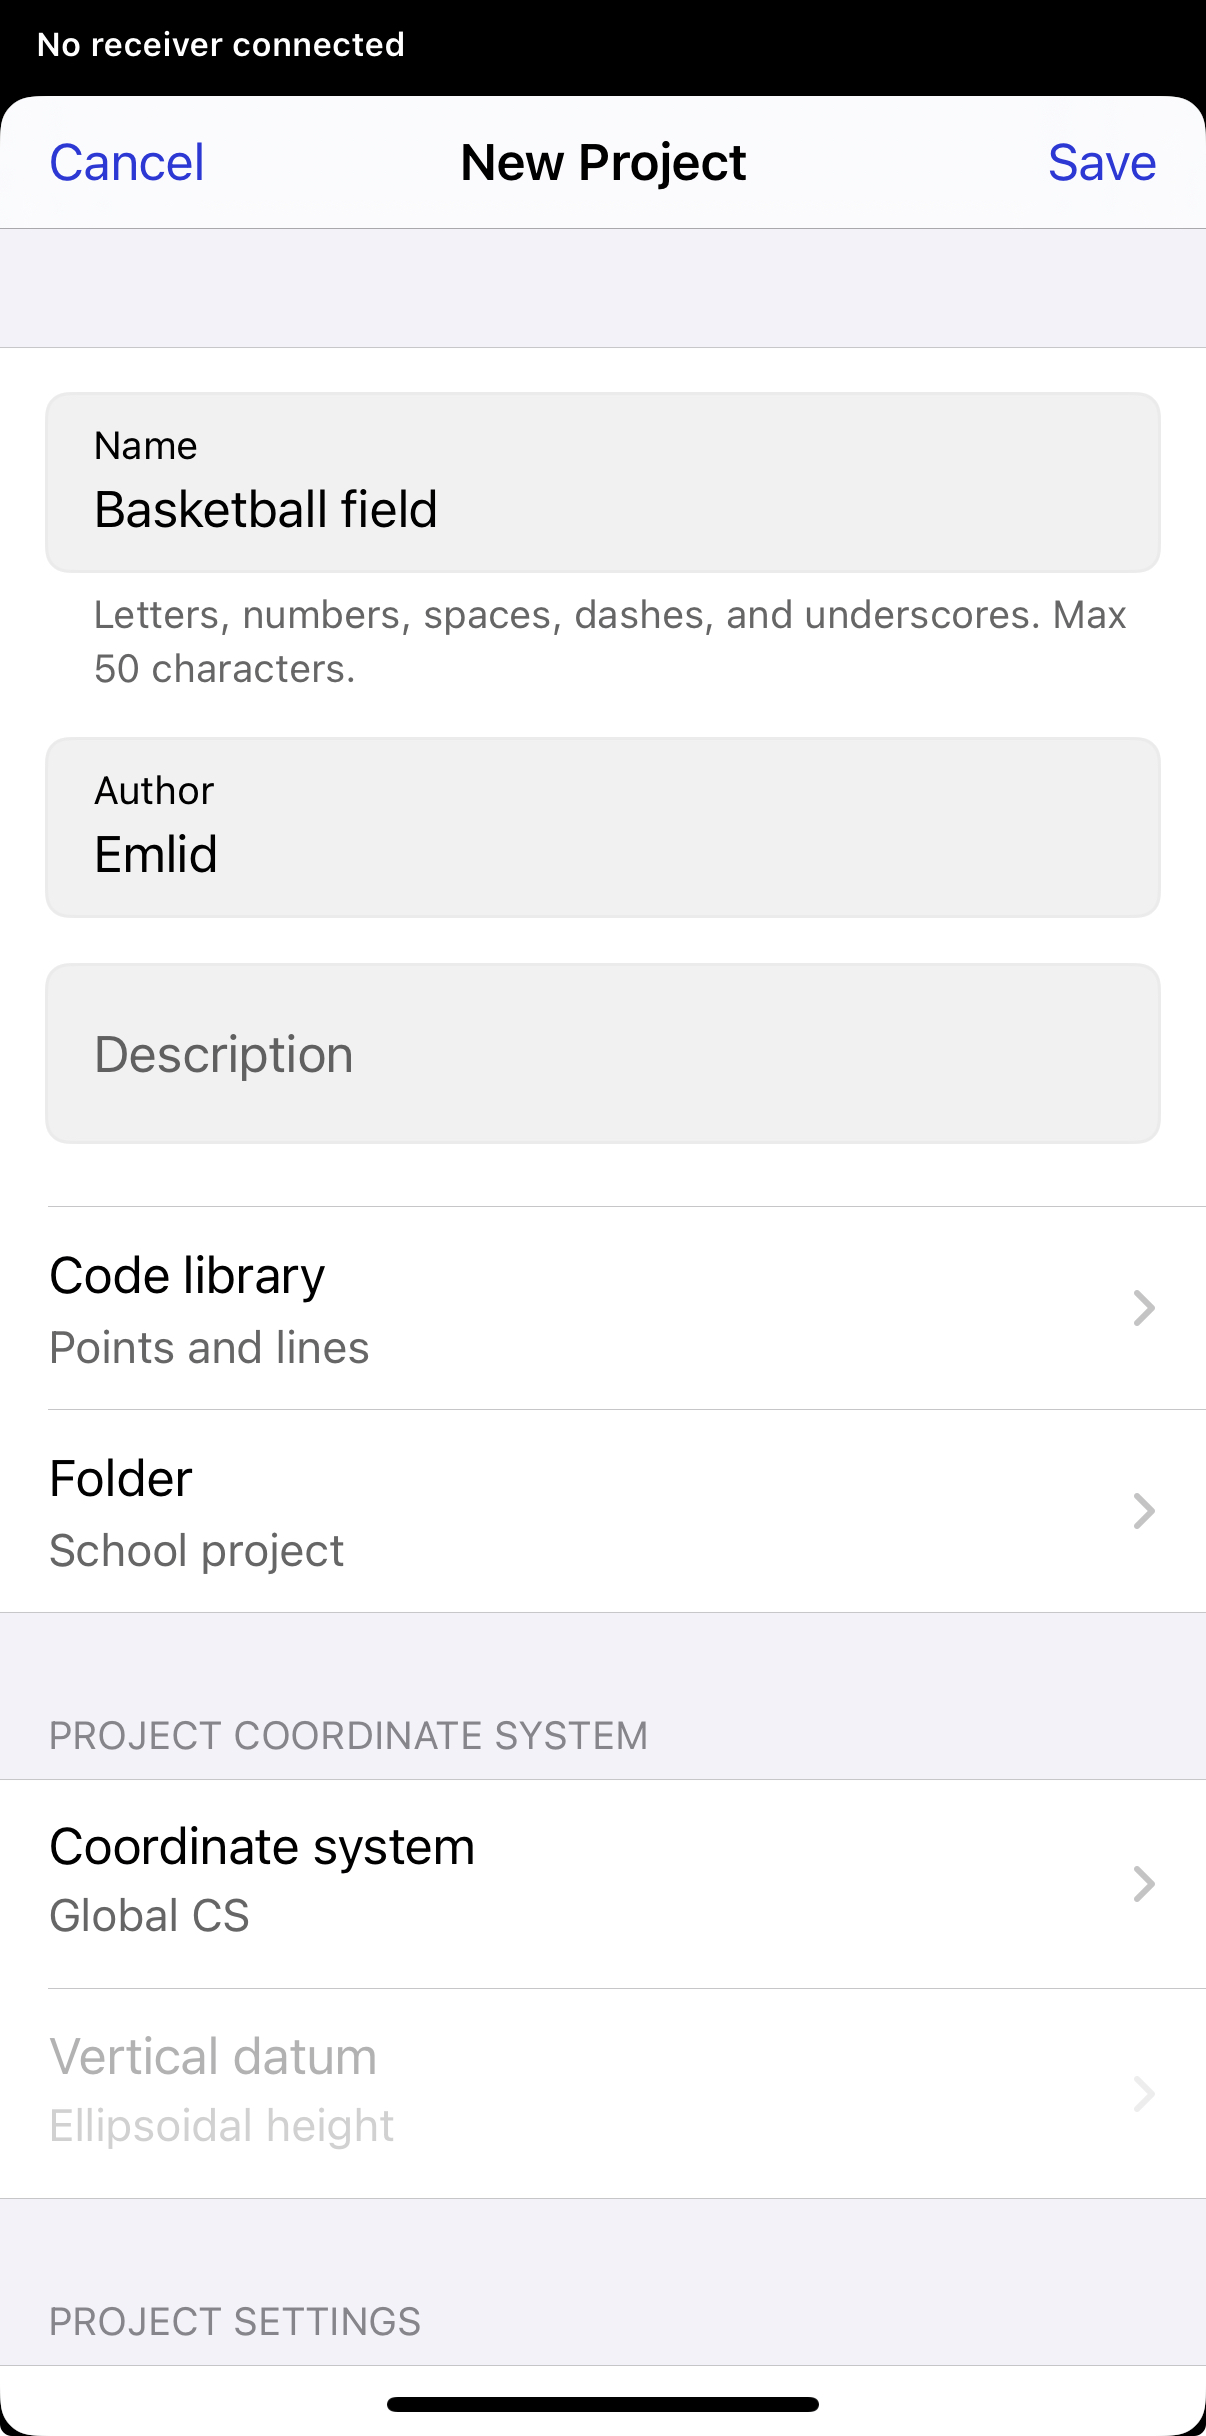
Add name, author, and description if needed.
-
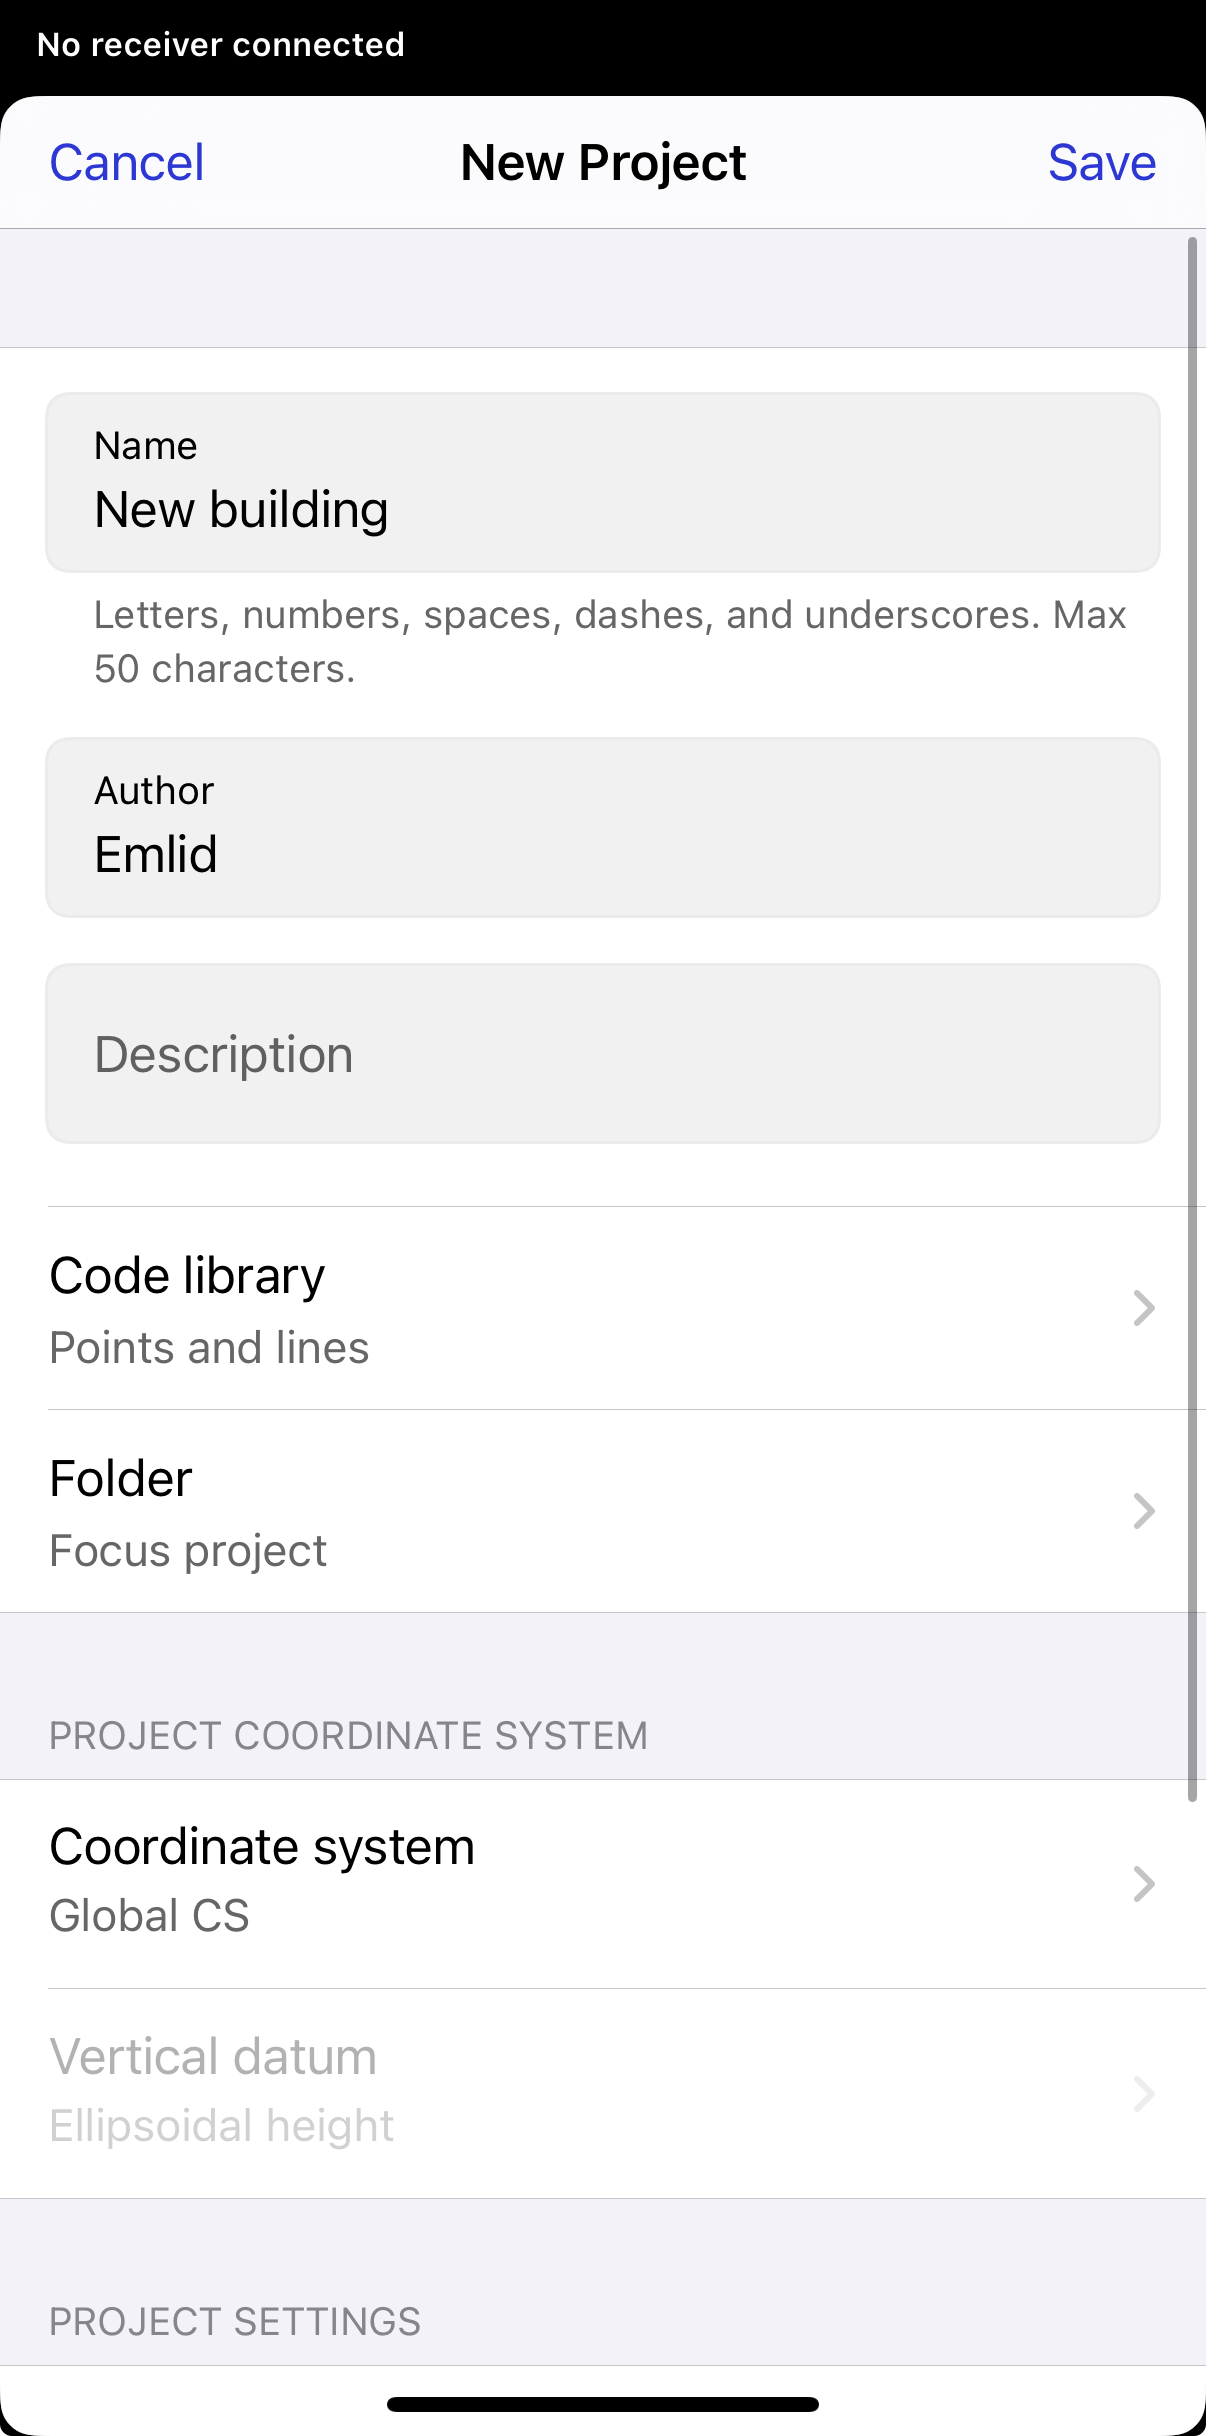
Tap the Folder field and select the folder where you want to save the project.

-
Tap Save. Emlid Flow will open the project.
Your project is now saved in the selected folder.
Creating project in folder
To create a project in the folder, do the following:
-
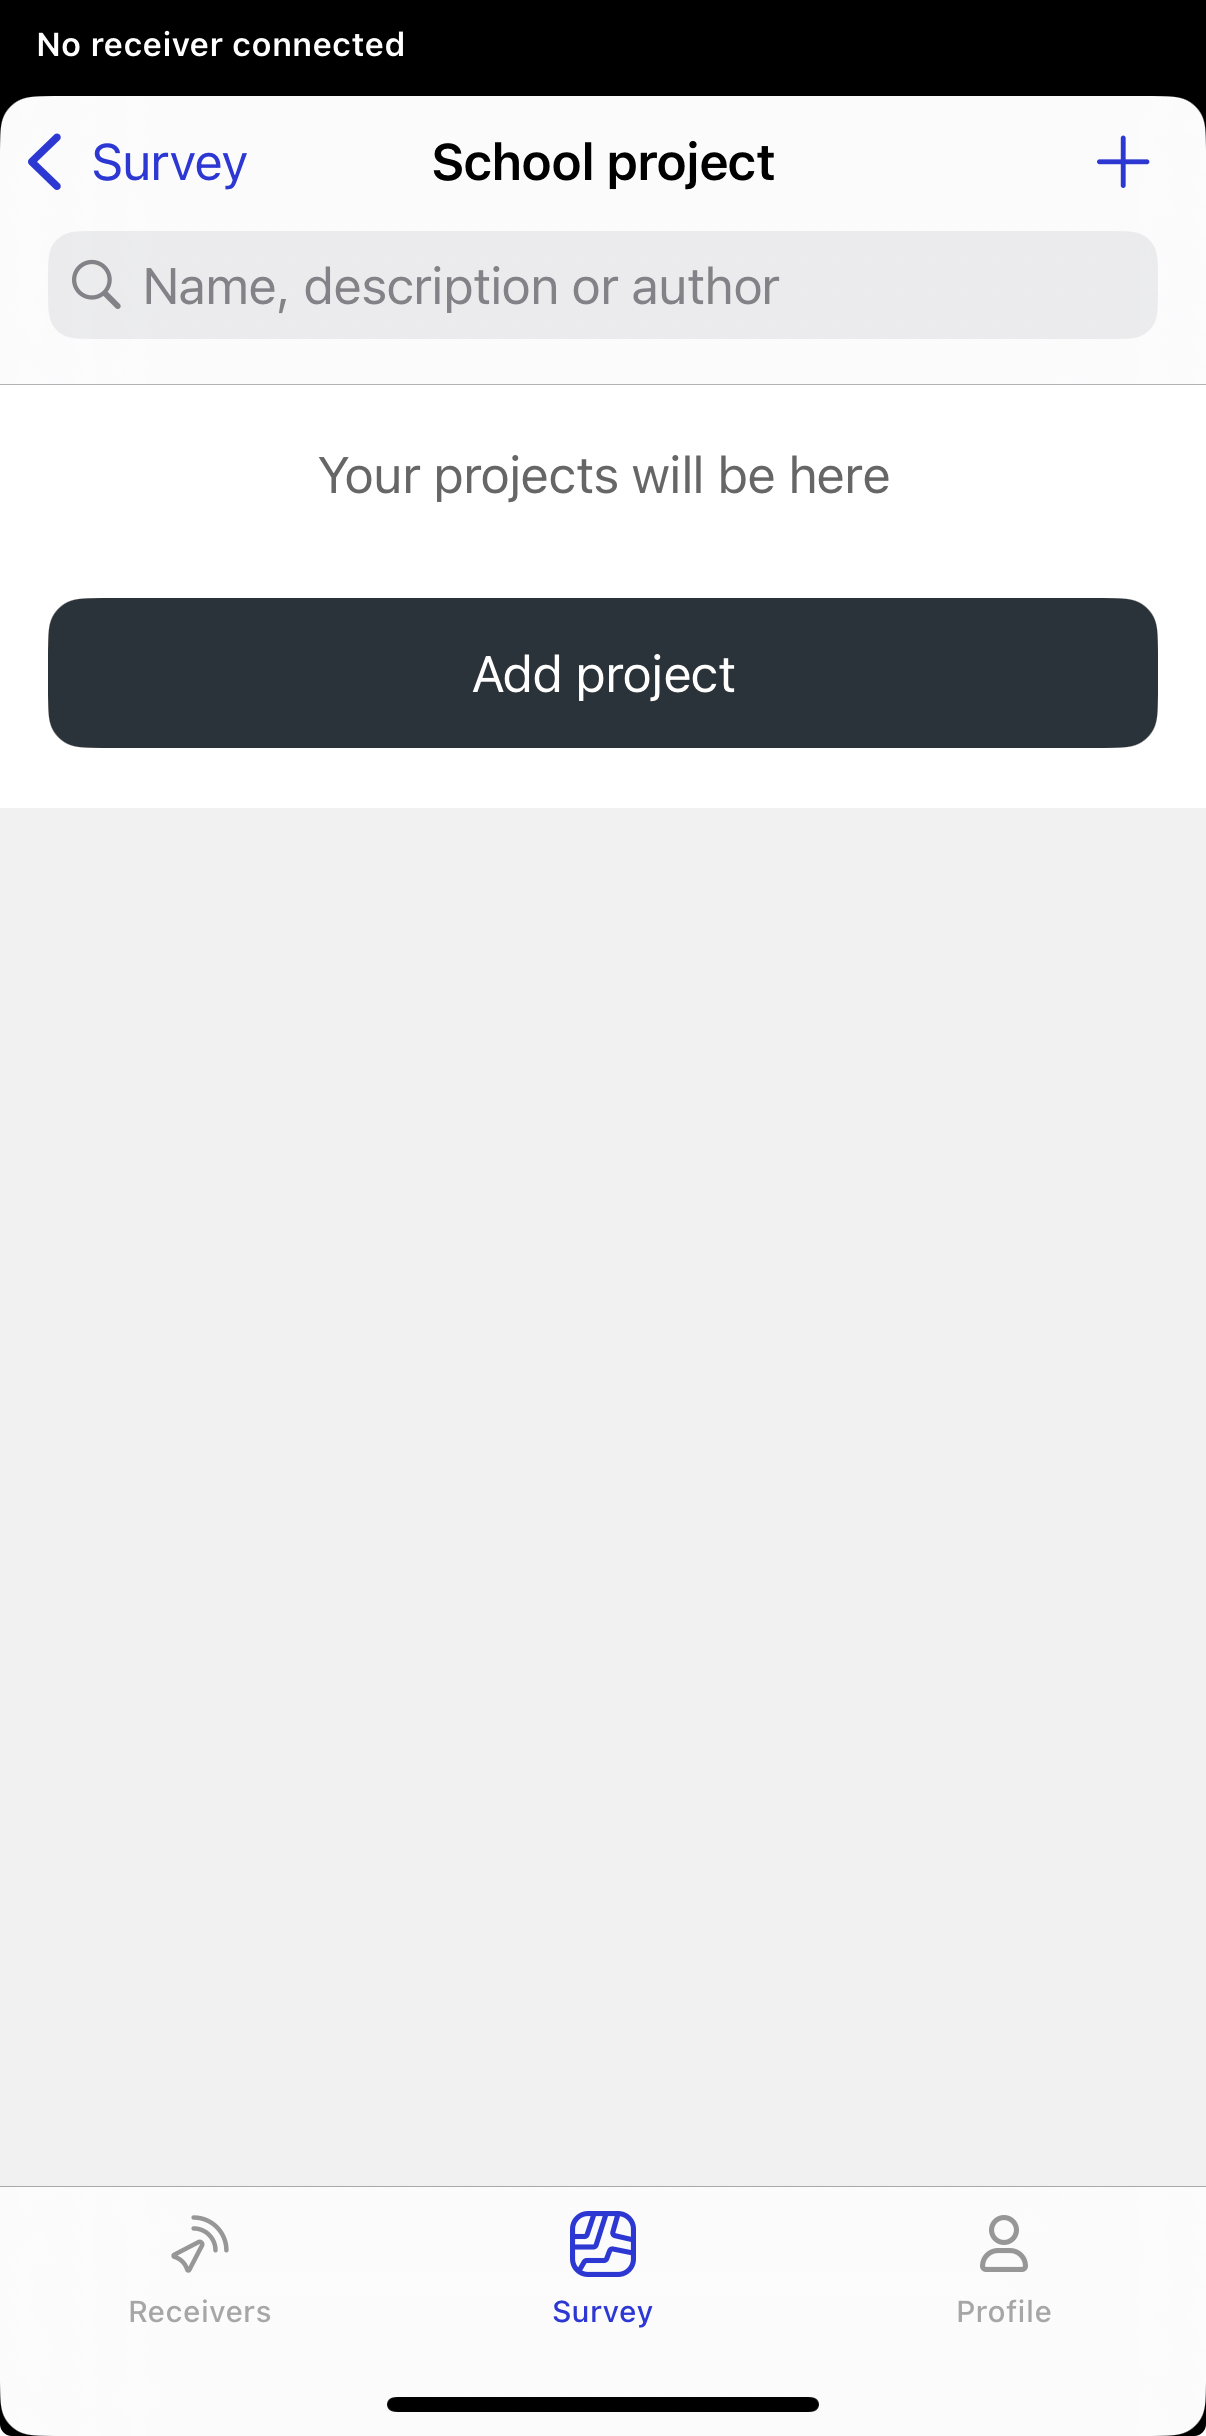
Open Emlid Flow and navigate to the Survey tab. Here, you can see your projects and folders sorted by creation date.
-
Enter your folder.
-
Tap Add project or tap the + button.
-
Add name, author, and description if needed.
-
Tap Save. Emlid Flow will open the project.
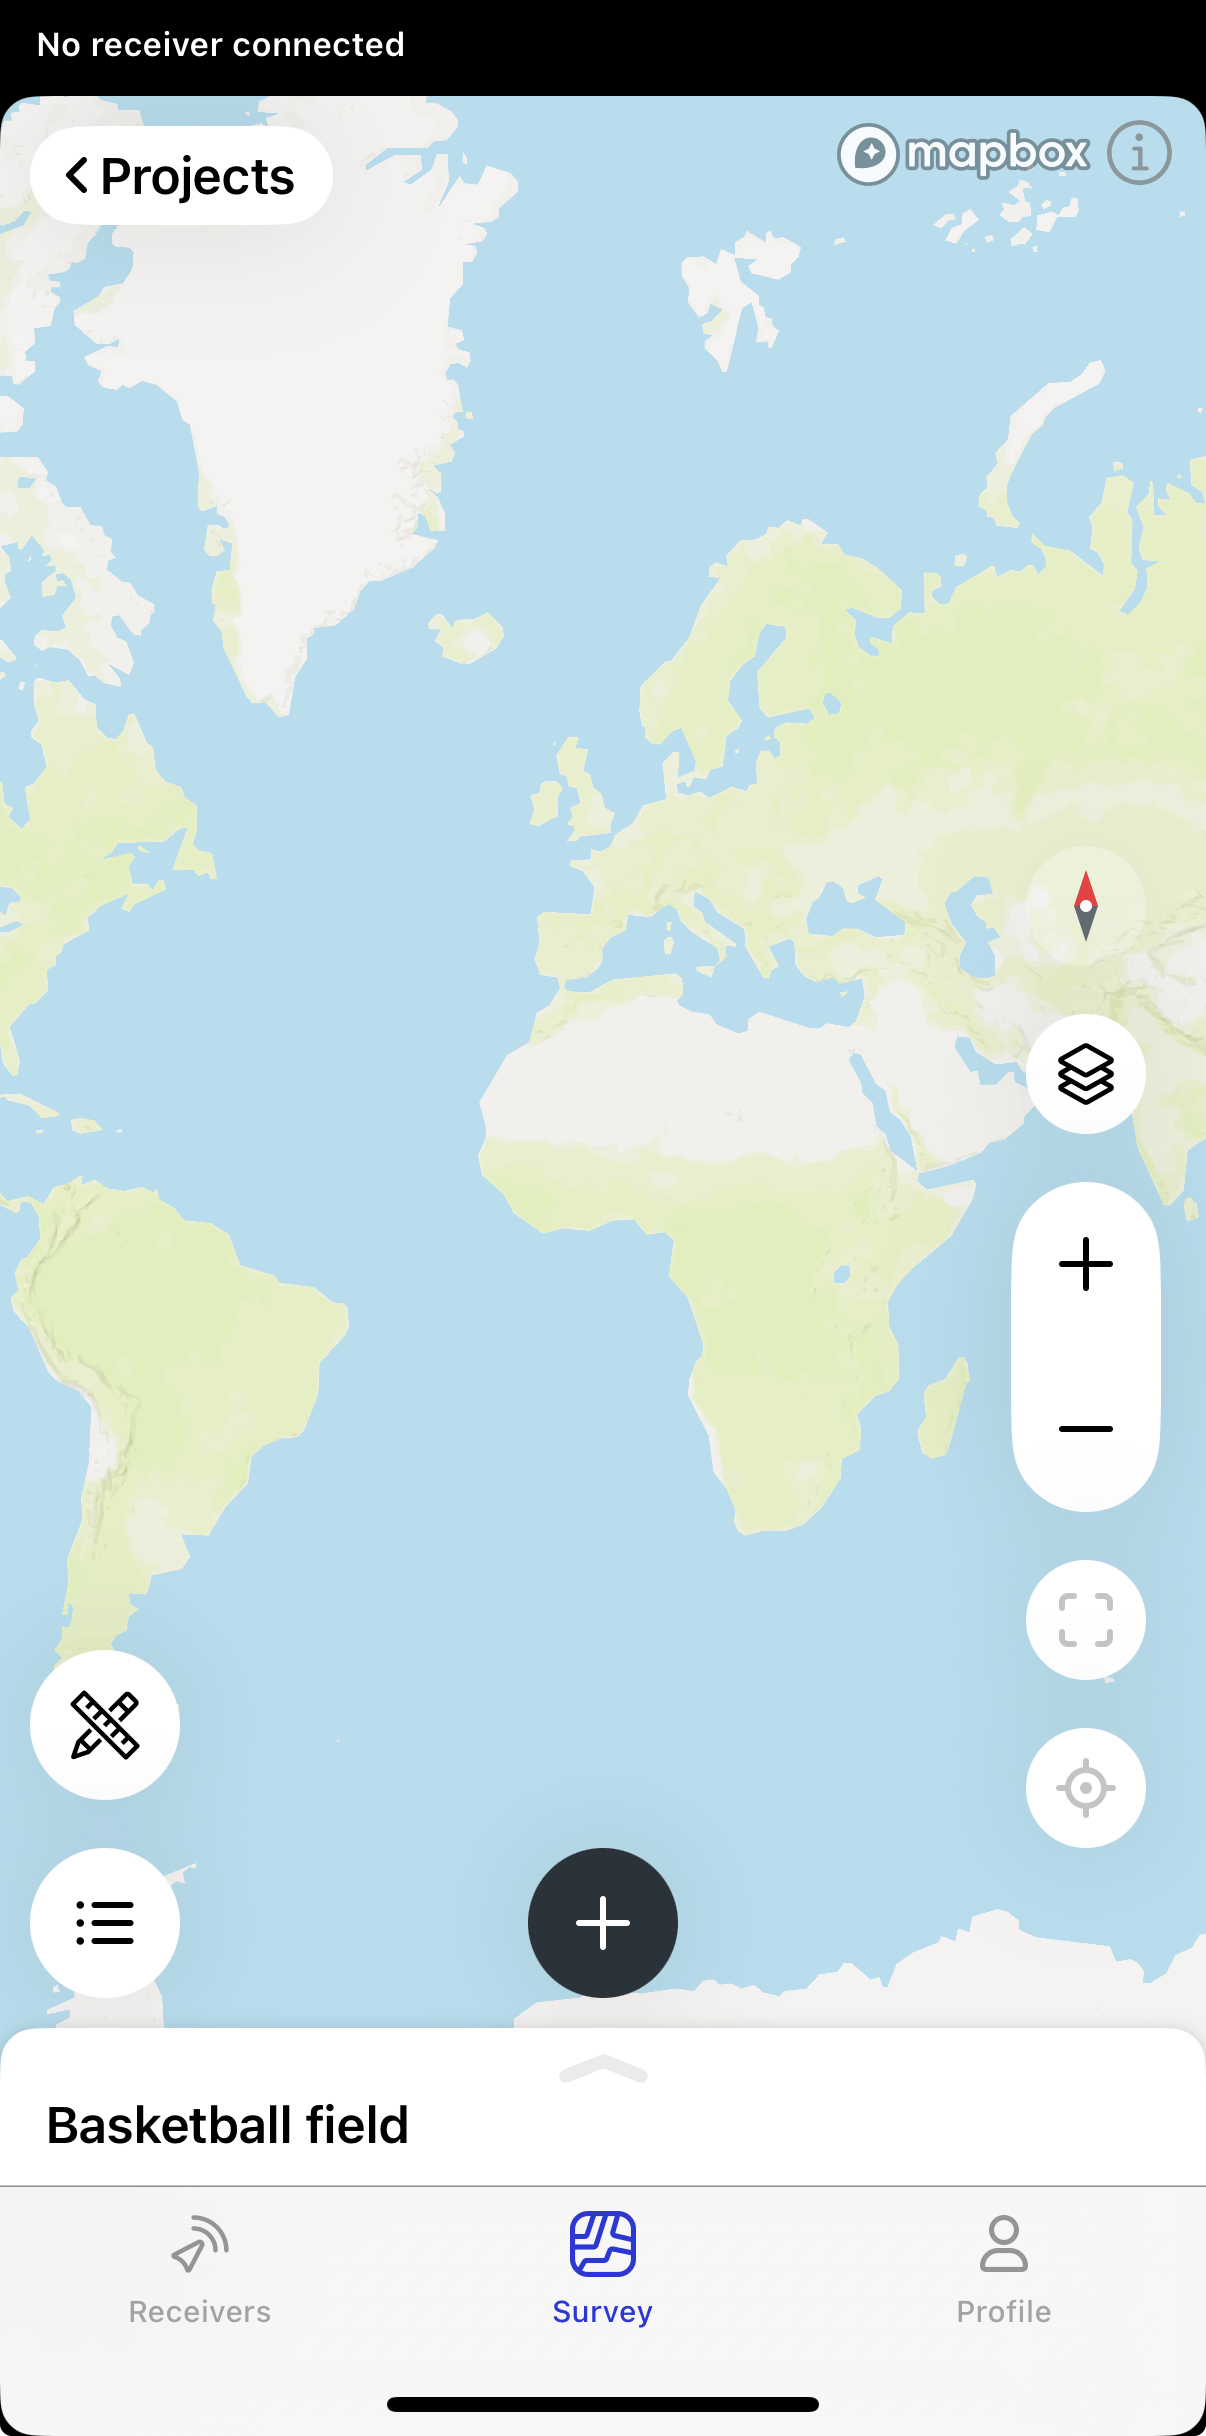
Your project is now saved in the selected folder.
You can delete a project from the folder, but this will remove connection to that folder. If you restore the project later, it will appear at the root of the Survey tab.