Prepare workspace
If you’re currently using the Pro Individual plan (ex. Survey), you need to upgrade to the Pro plan with team access in Emlid Flow 360 to start adding team members. Learn more in the Plan management and Billing guides.
This guide explains how to prepare your team for collaboration on projects in Emlid Flow and Emlid Flow 360.
Overview
Collaborating in a single workspace helps you:
-
Add and manage team members from a single workspace in Emlid Flow 360.
-
Use default project settings to define what the team sees and share additional data like NTRIP profiles, localisation settings, code libraries, and more across the team for consistent setups.
noteThe set of available sharing options varies by plan. Learn more in the Plan management guide.
-
Keep clear data authorship: every object in a project records who collected or added it.
To collaborate in your workspace, your team members need to ensure the following:
- Have an Emlid account.
- Receive a notification from you to join the workspace.
- Switch to your workspace in Emlid Flow or Emlid Flow 360.
Both Free and Pro plans support collaboration. When you add a user to your workspace, they are counted as a member and gain access to all features included in your plan.
On the Pro plan, billing is per seat and prorated, so your subscription cost automatically increases when new members are added, based on the remaining time in the billing period.
The Free plan allows up to 10 team members, while the Pro plan allows an unlimited number of team members.
Learn more details about the payment model for the Pro plan in the Billing guide.
In case you or your team members have multiple paid subscriptions, and you’d like to unify them under one subscription system, reach out to us at [email protected].
Learn more in the sections below.
Setting up your workspace
Once you log in to Emlid Flow 360 with your Emlid account, a workspace will be created for you automatically.
There, you can do the following:
- Create and manage folders to organize your projects.
- Configure presets, including NTRIP profiles, code libraries, coordinate systems, and map layers, to streamline your setup.
- Set default project parameters that will be automatically applied to all new projects.
- Enable rover position streaming to view the live positions of rovers used by workspace members in Emlid Flow directly on the project map.
To learn more, check the section below:
Managing folders
You can create, edit, delete, and restore your folders only in Emlid Flow 360.
Creating folders
To create a folder, do as follows:
-
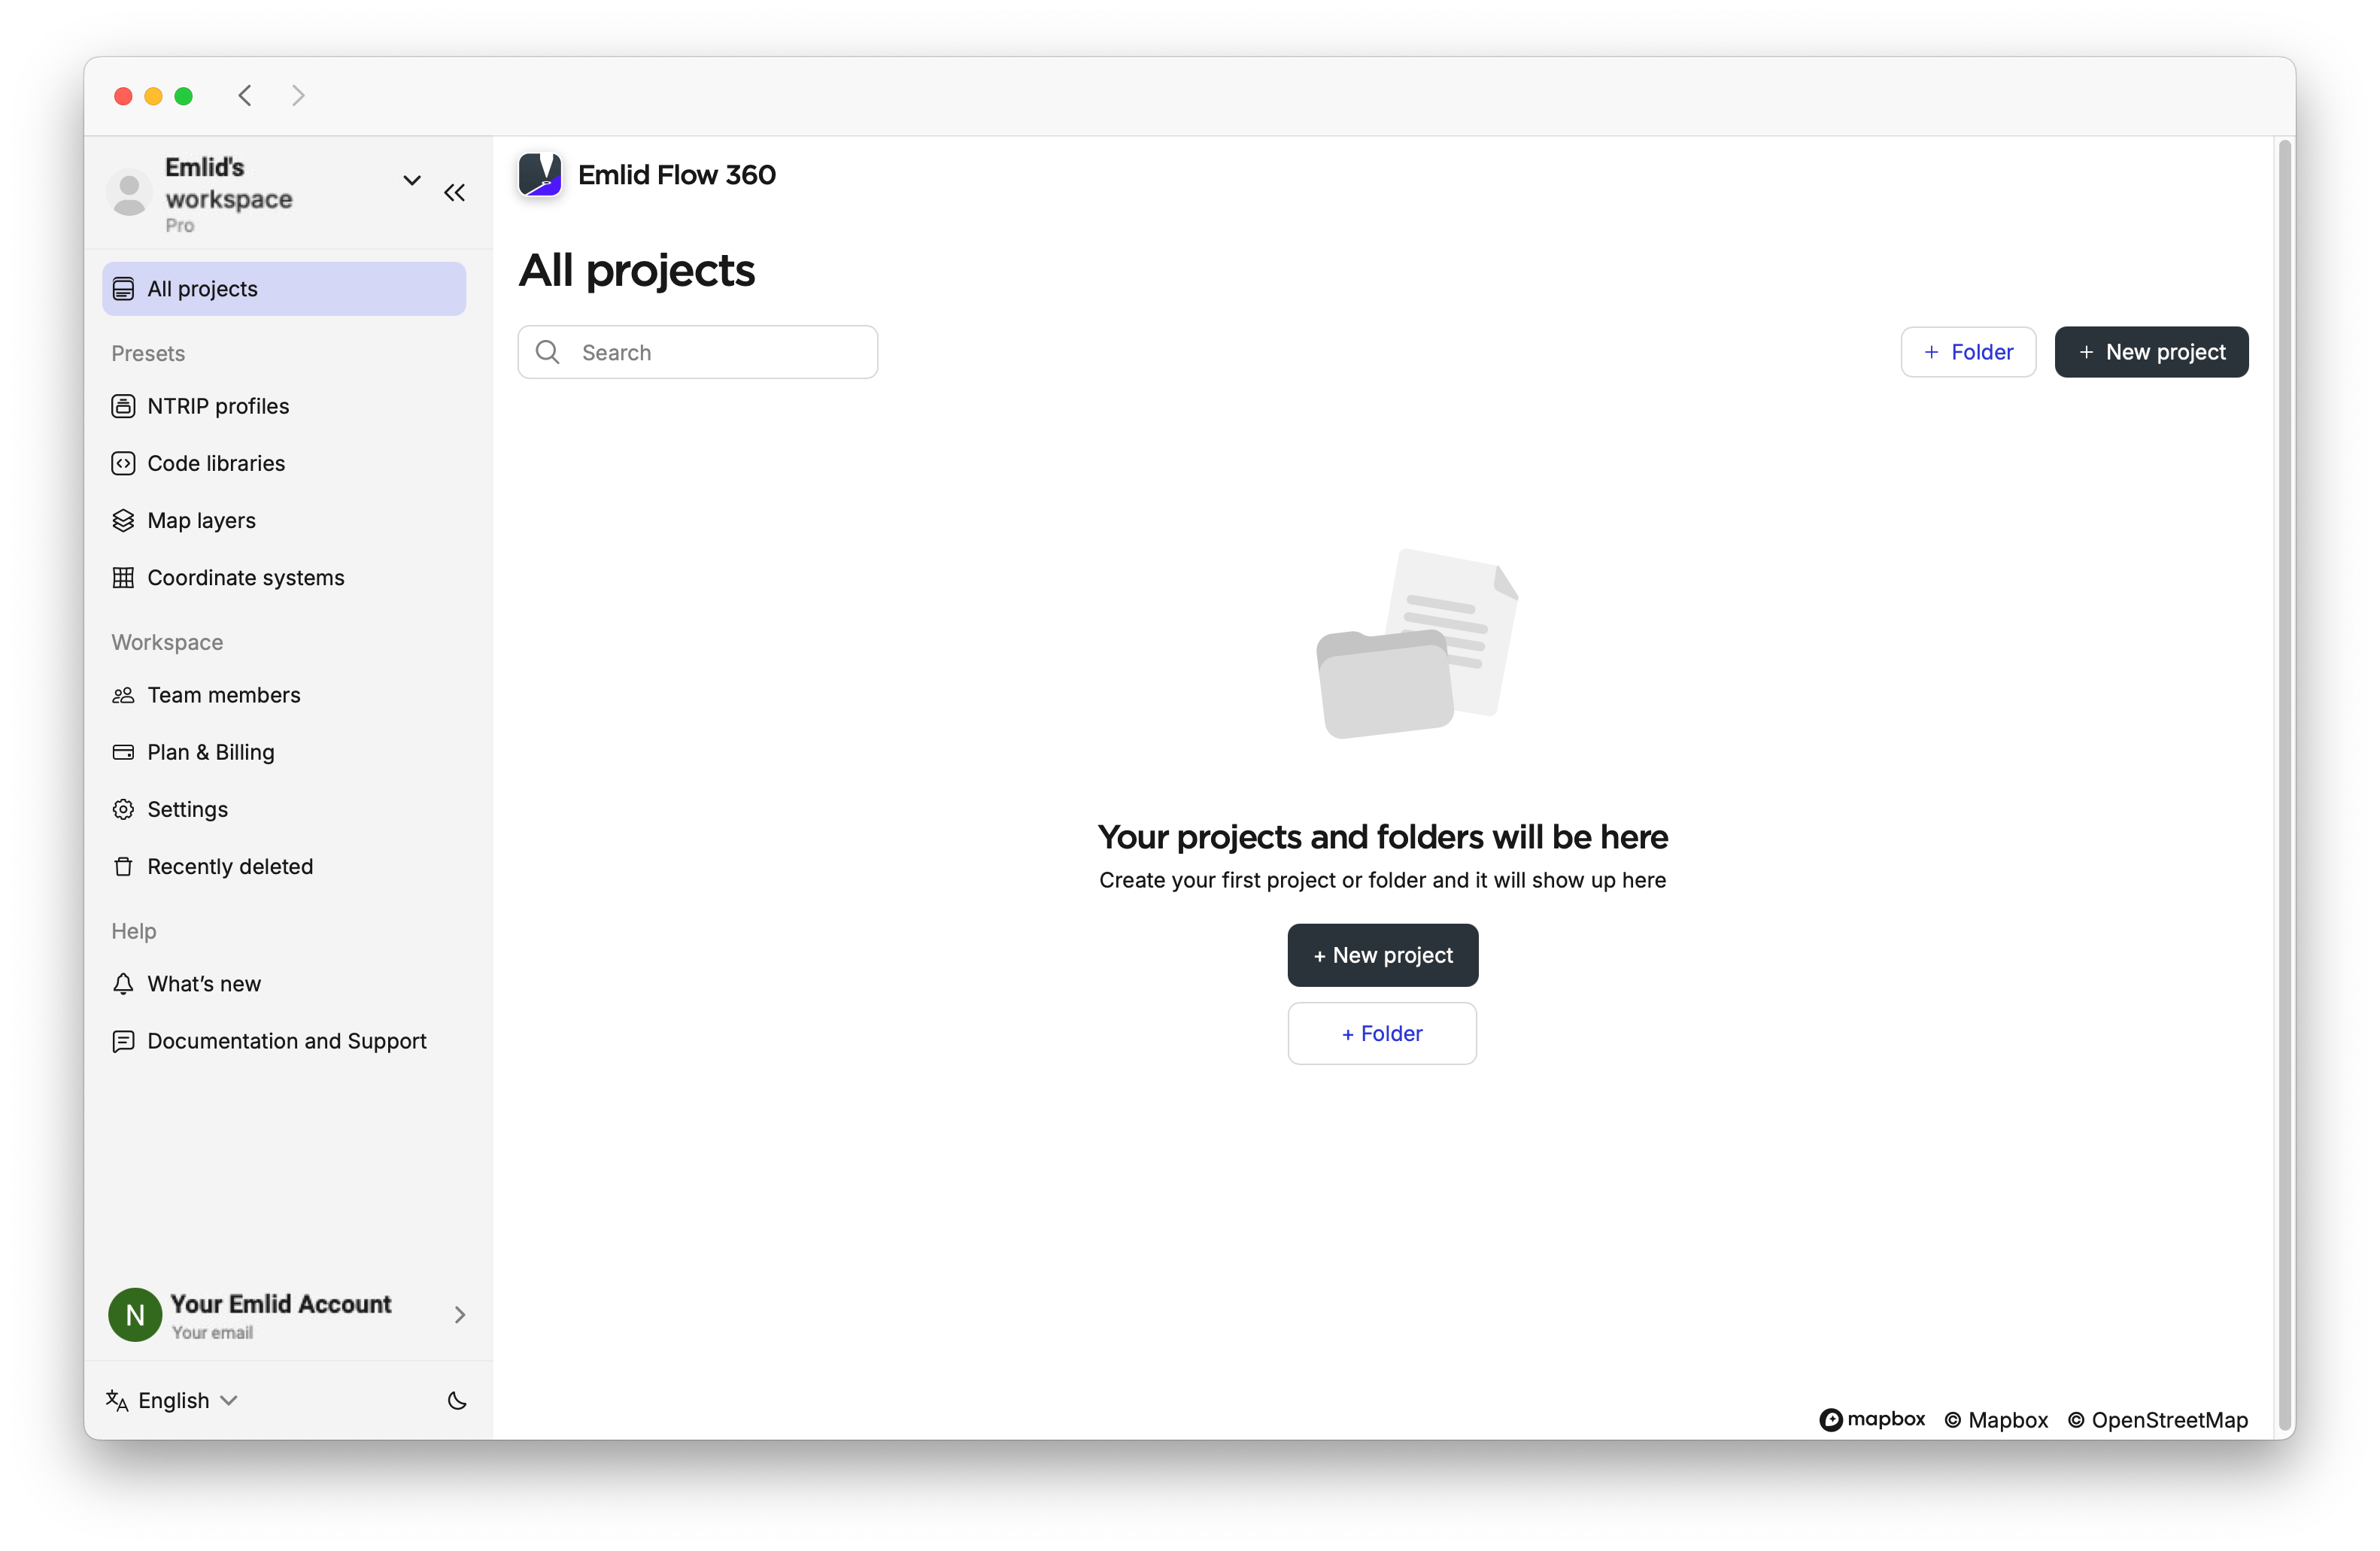
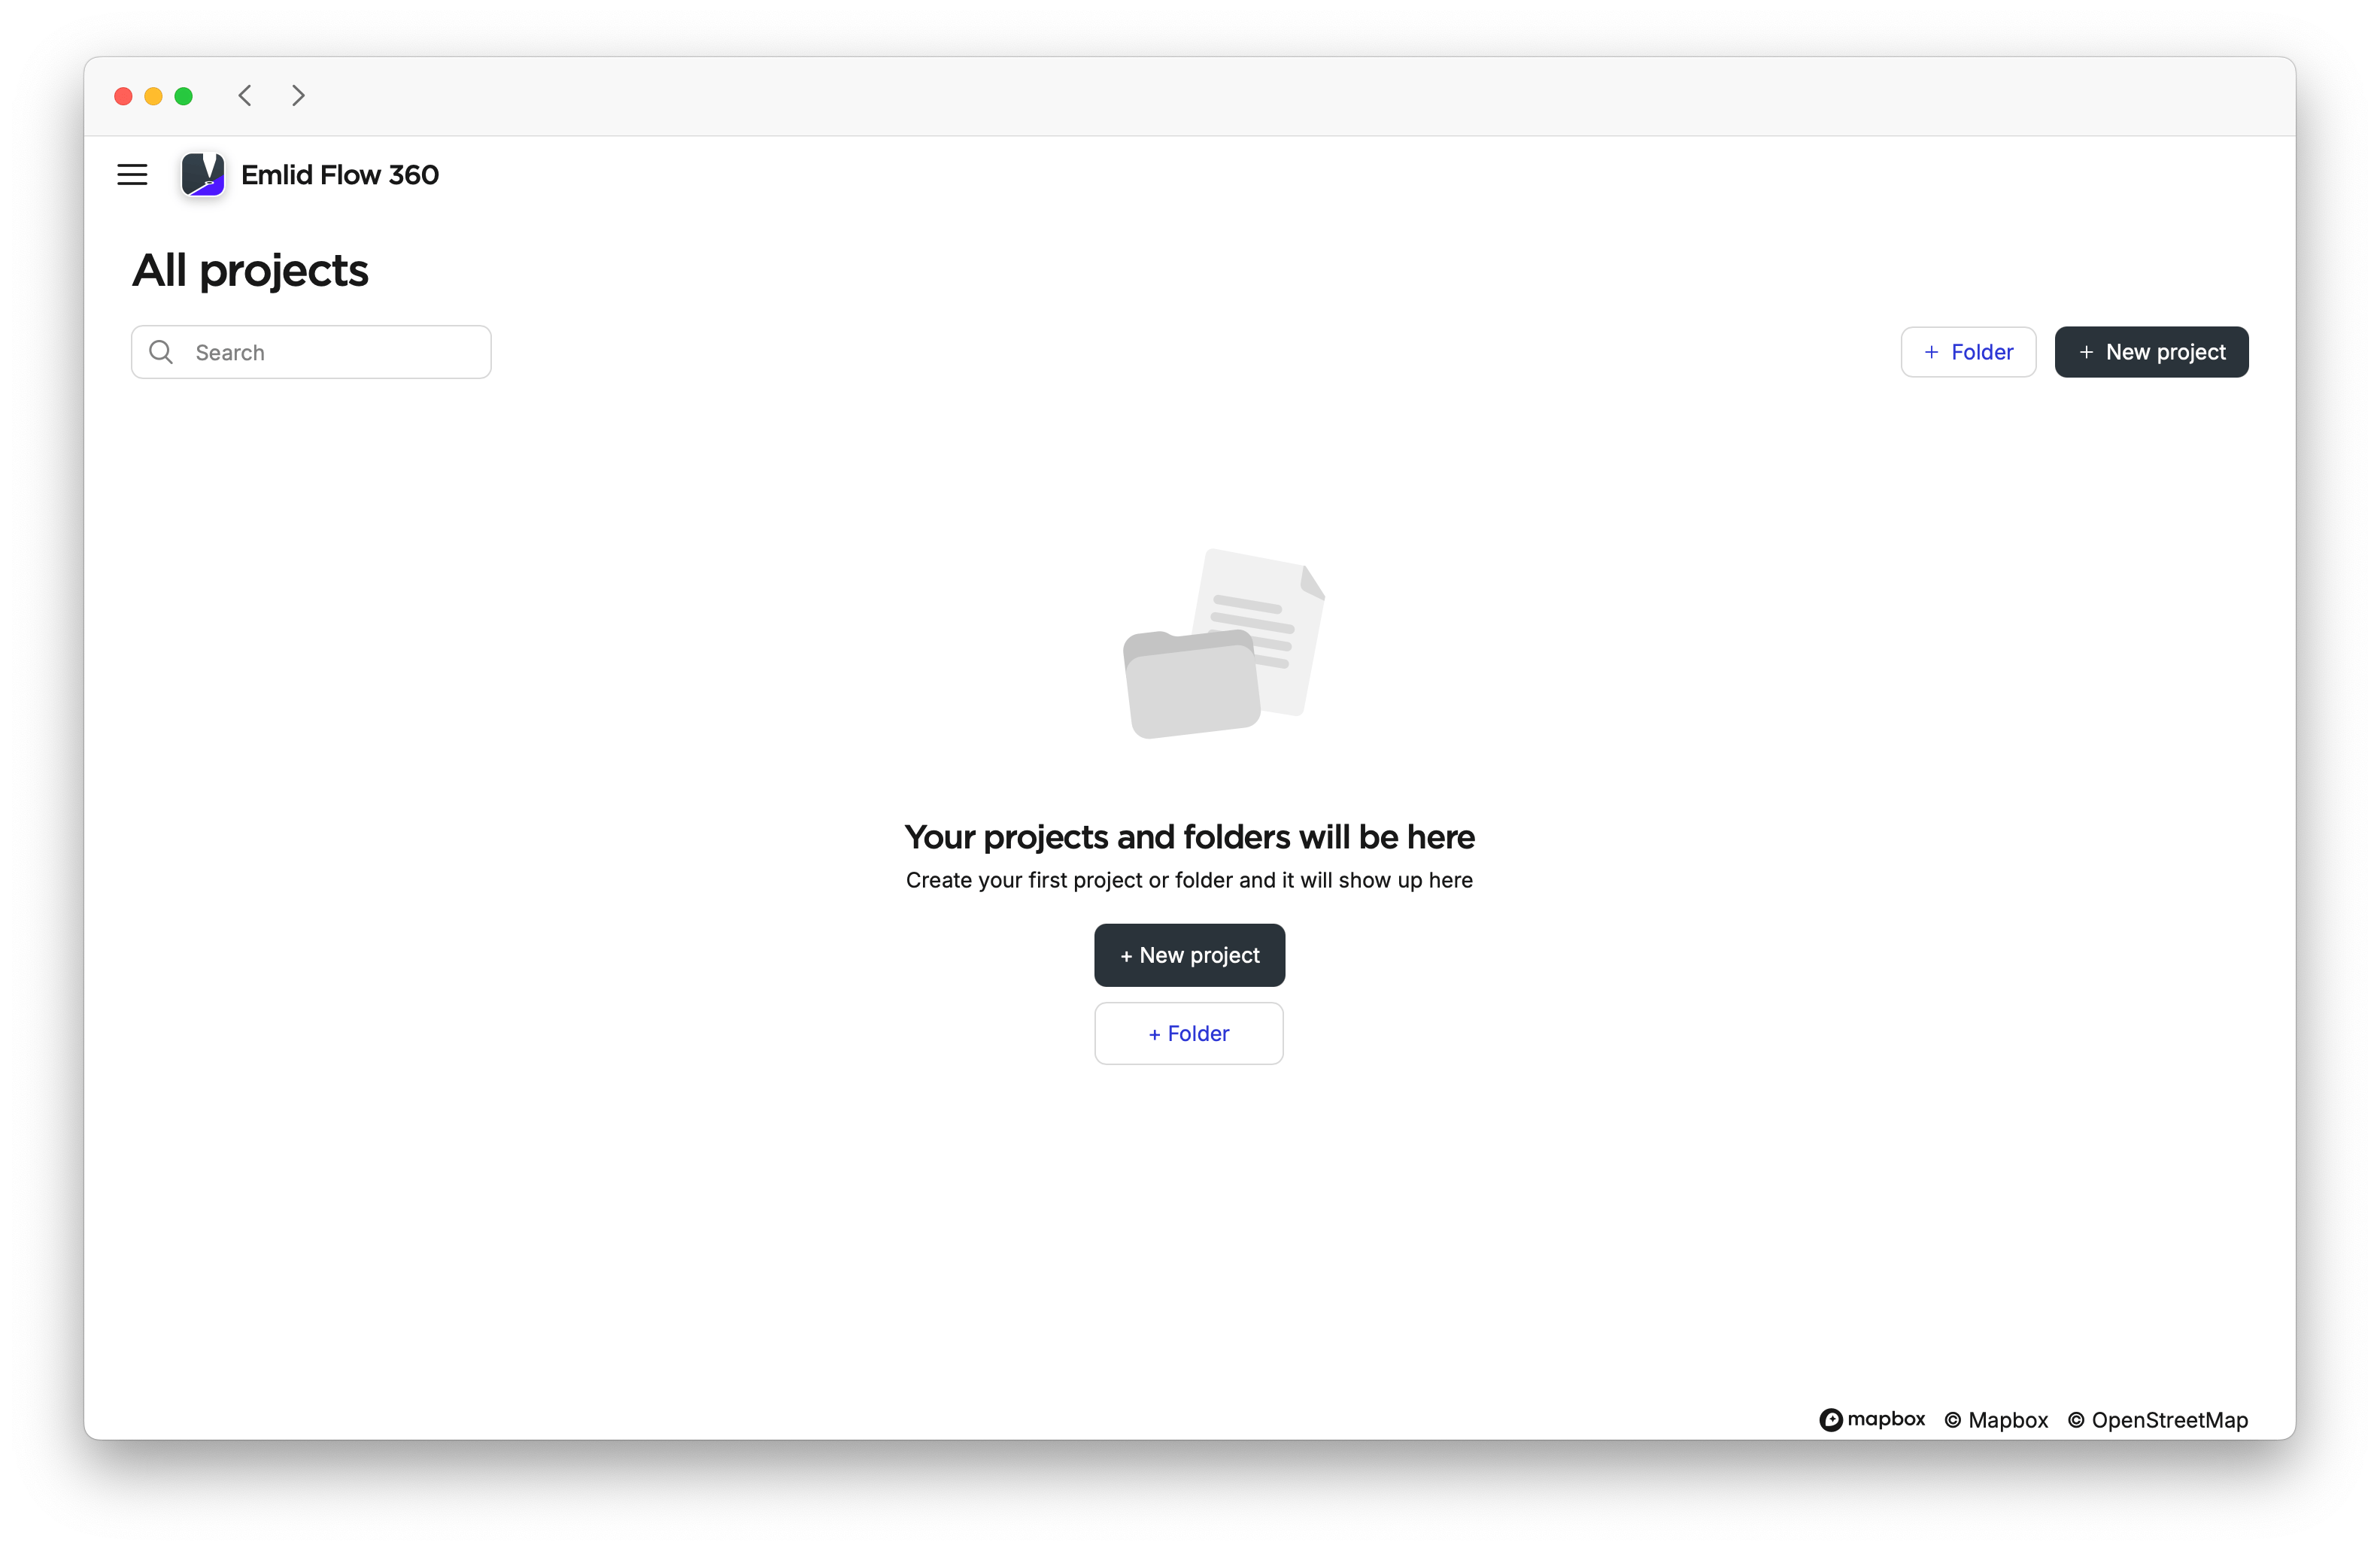
Open Emlid Flow 360.
-
Click on Folder.
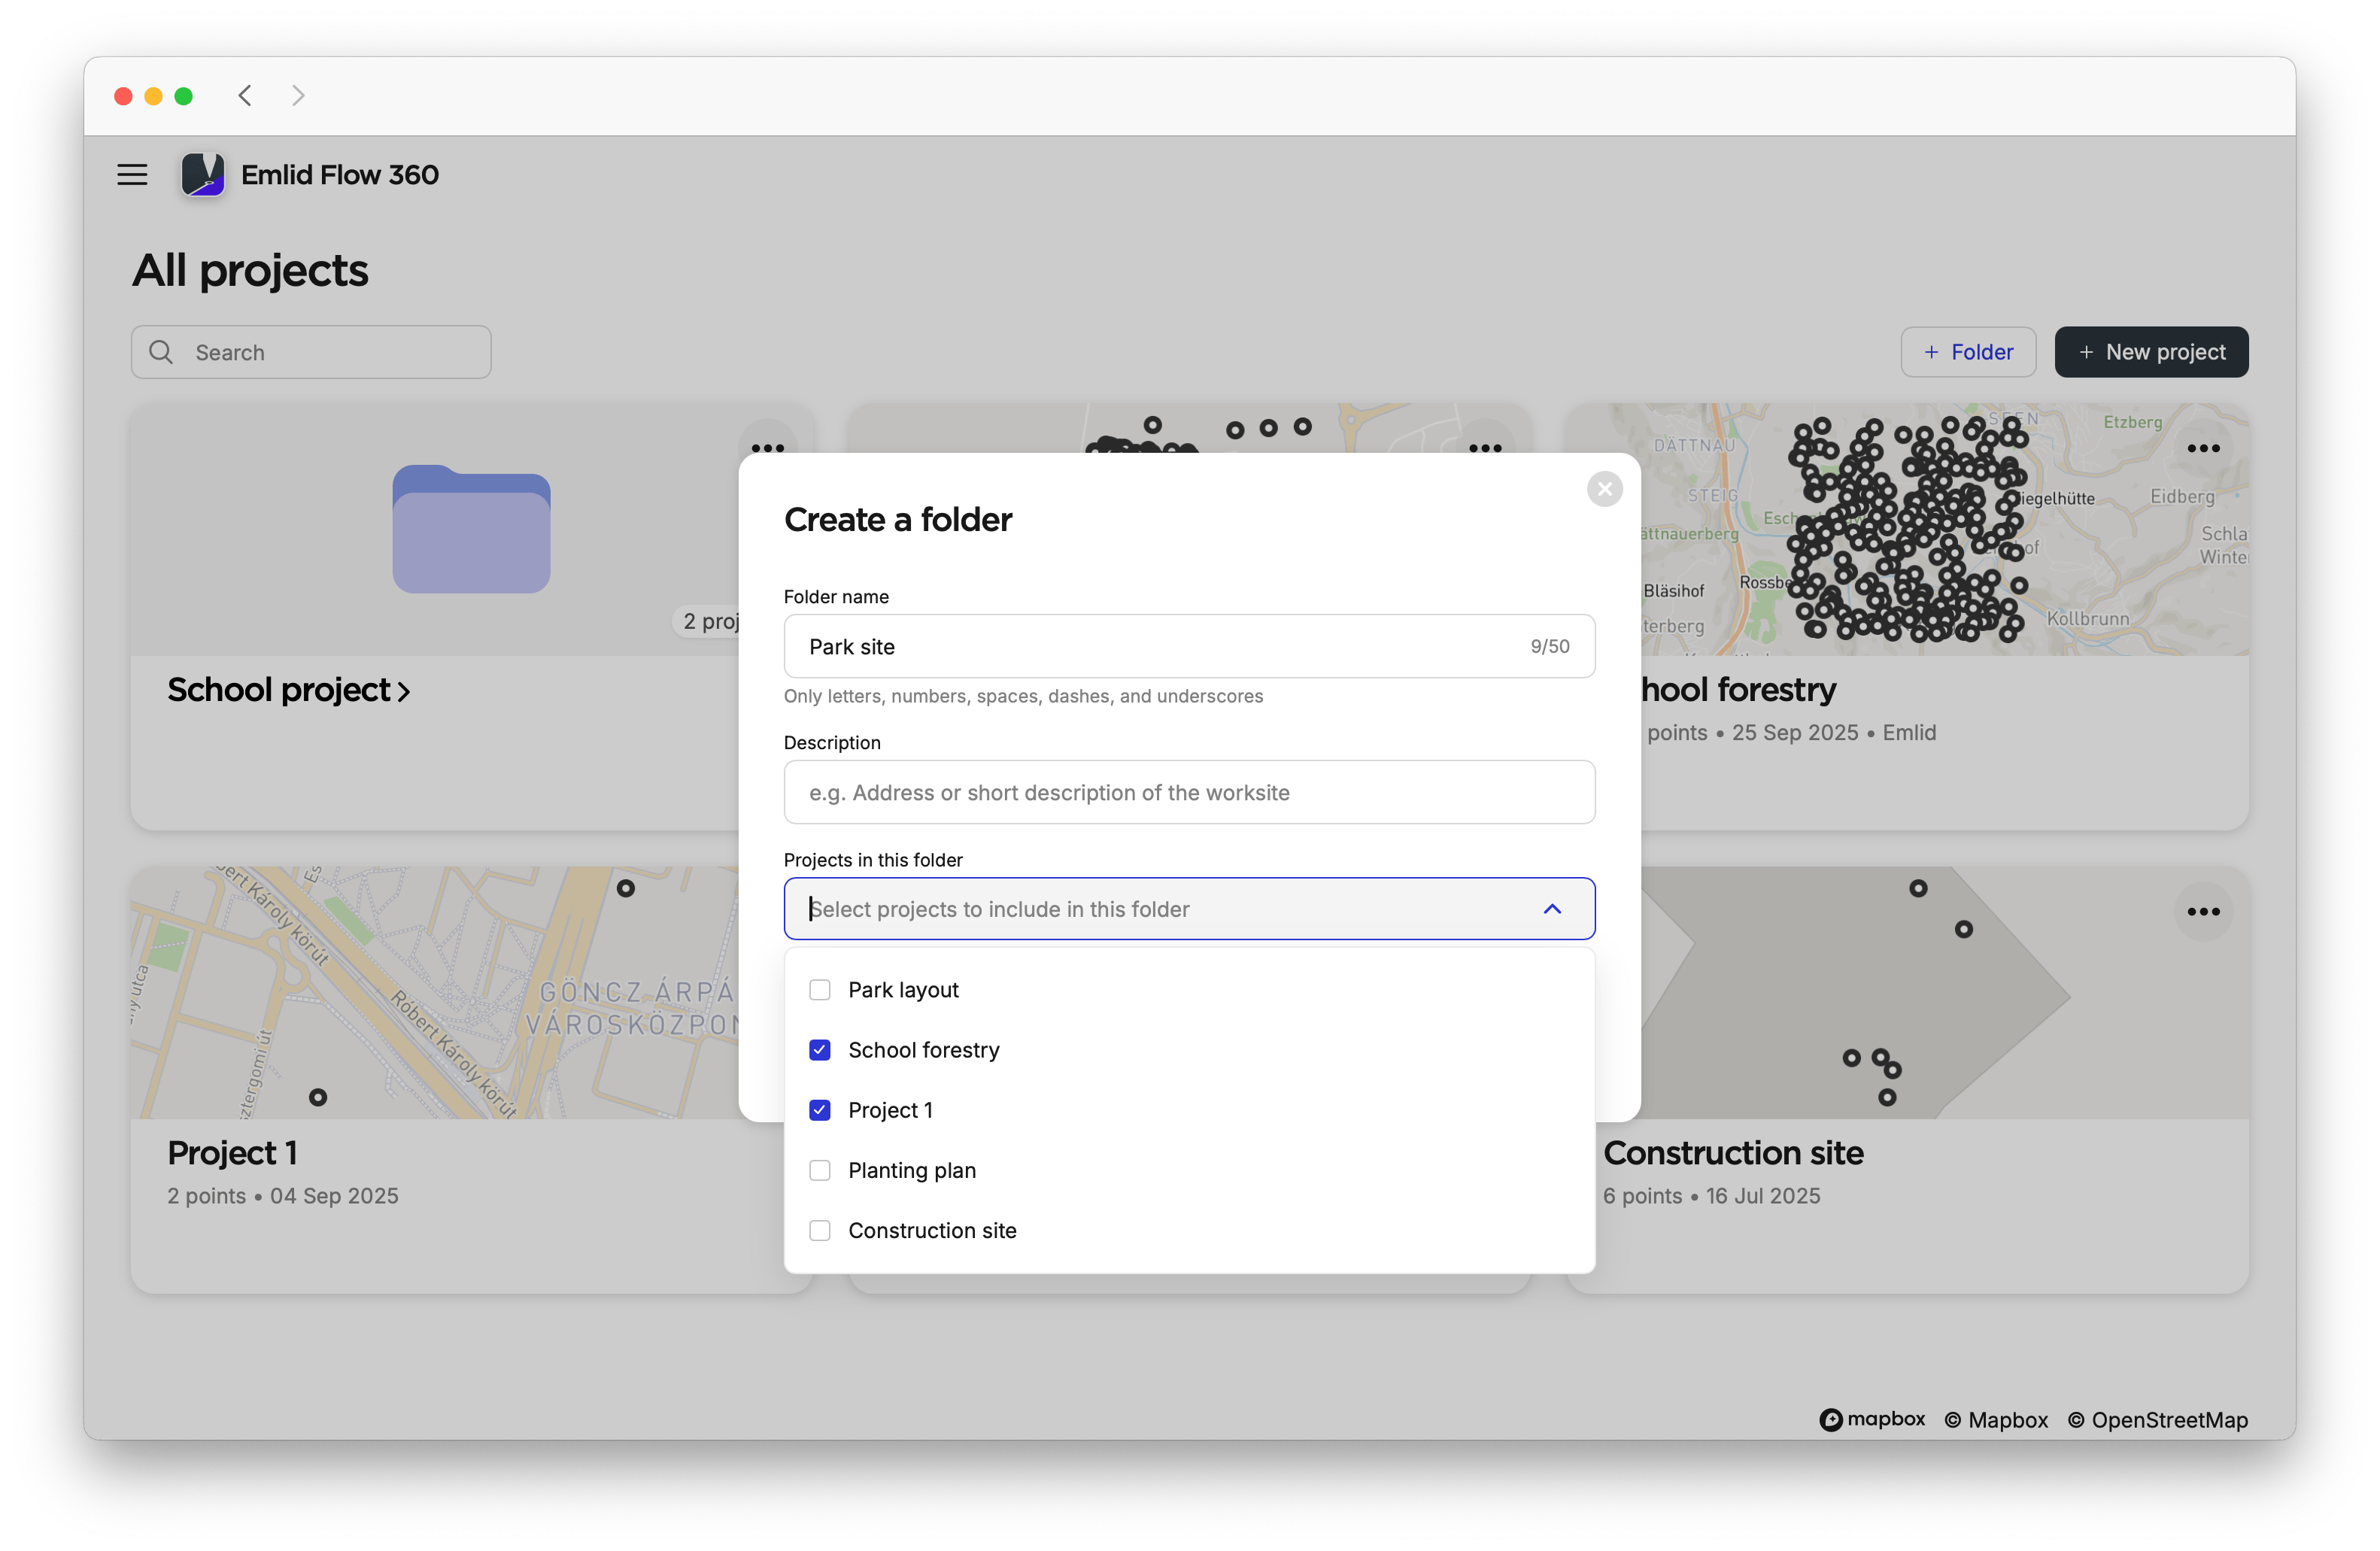
-
Add a name and description to the folder. The Description field is optional.
noteIf you don’t name a folder, the app will automatically name it a sequential number. You can edit the folder’s name and description and add projects to it at any time. Click Edit in the folder, or open the three-dot menu on the All projects screen and select Edit.
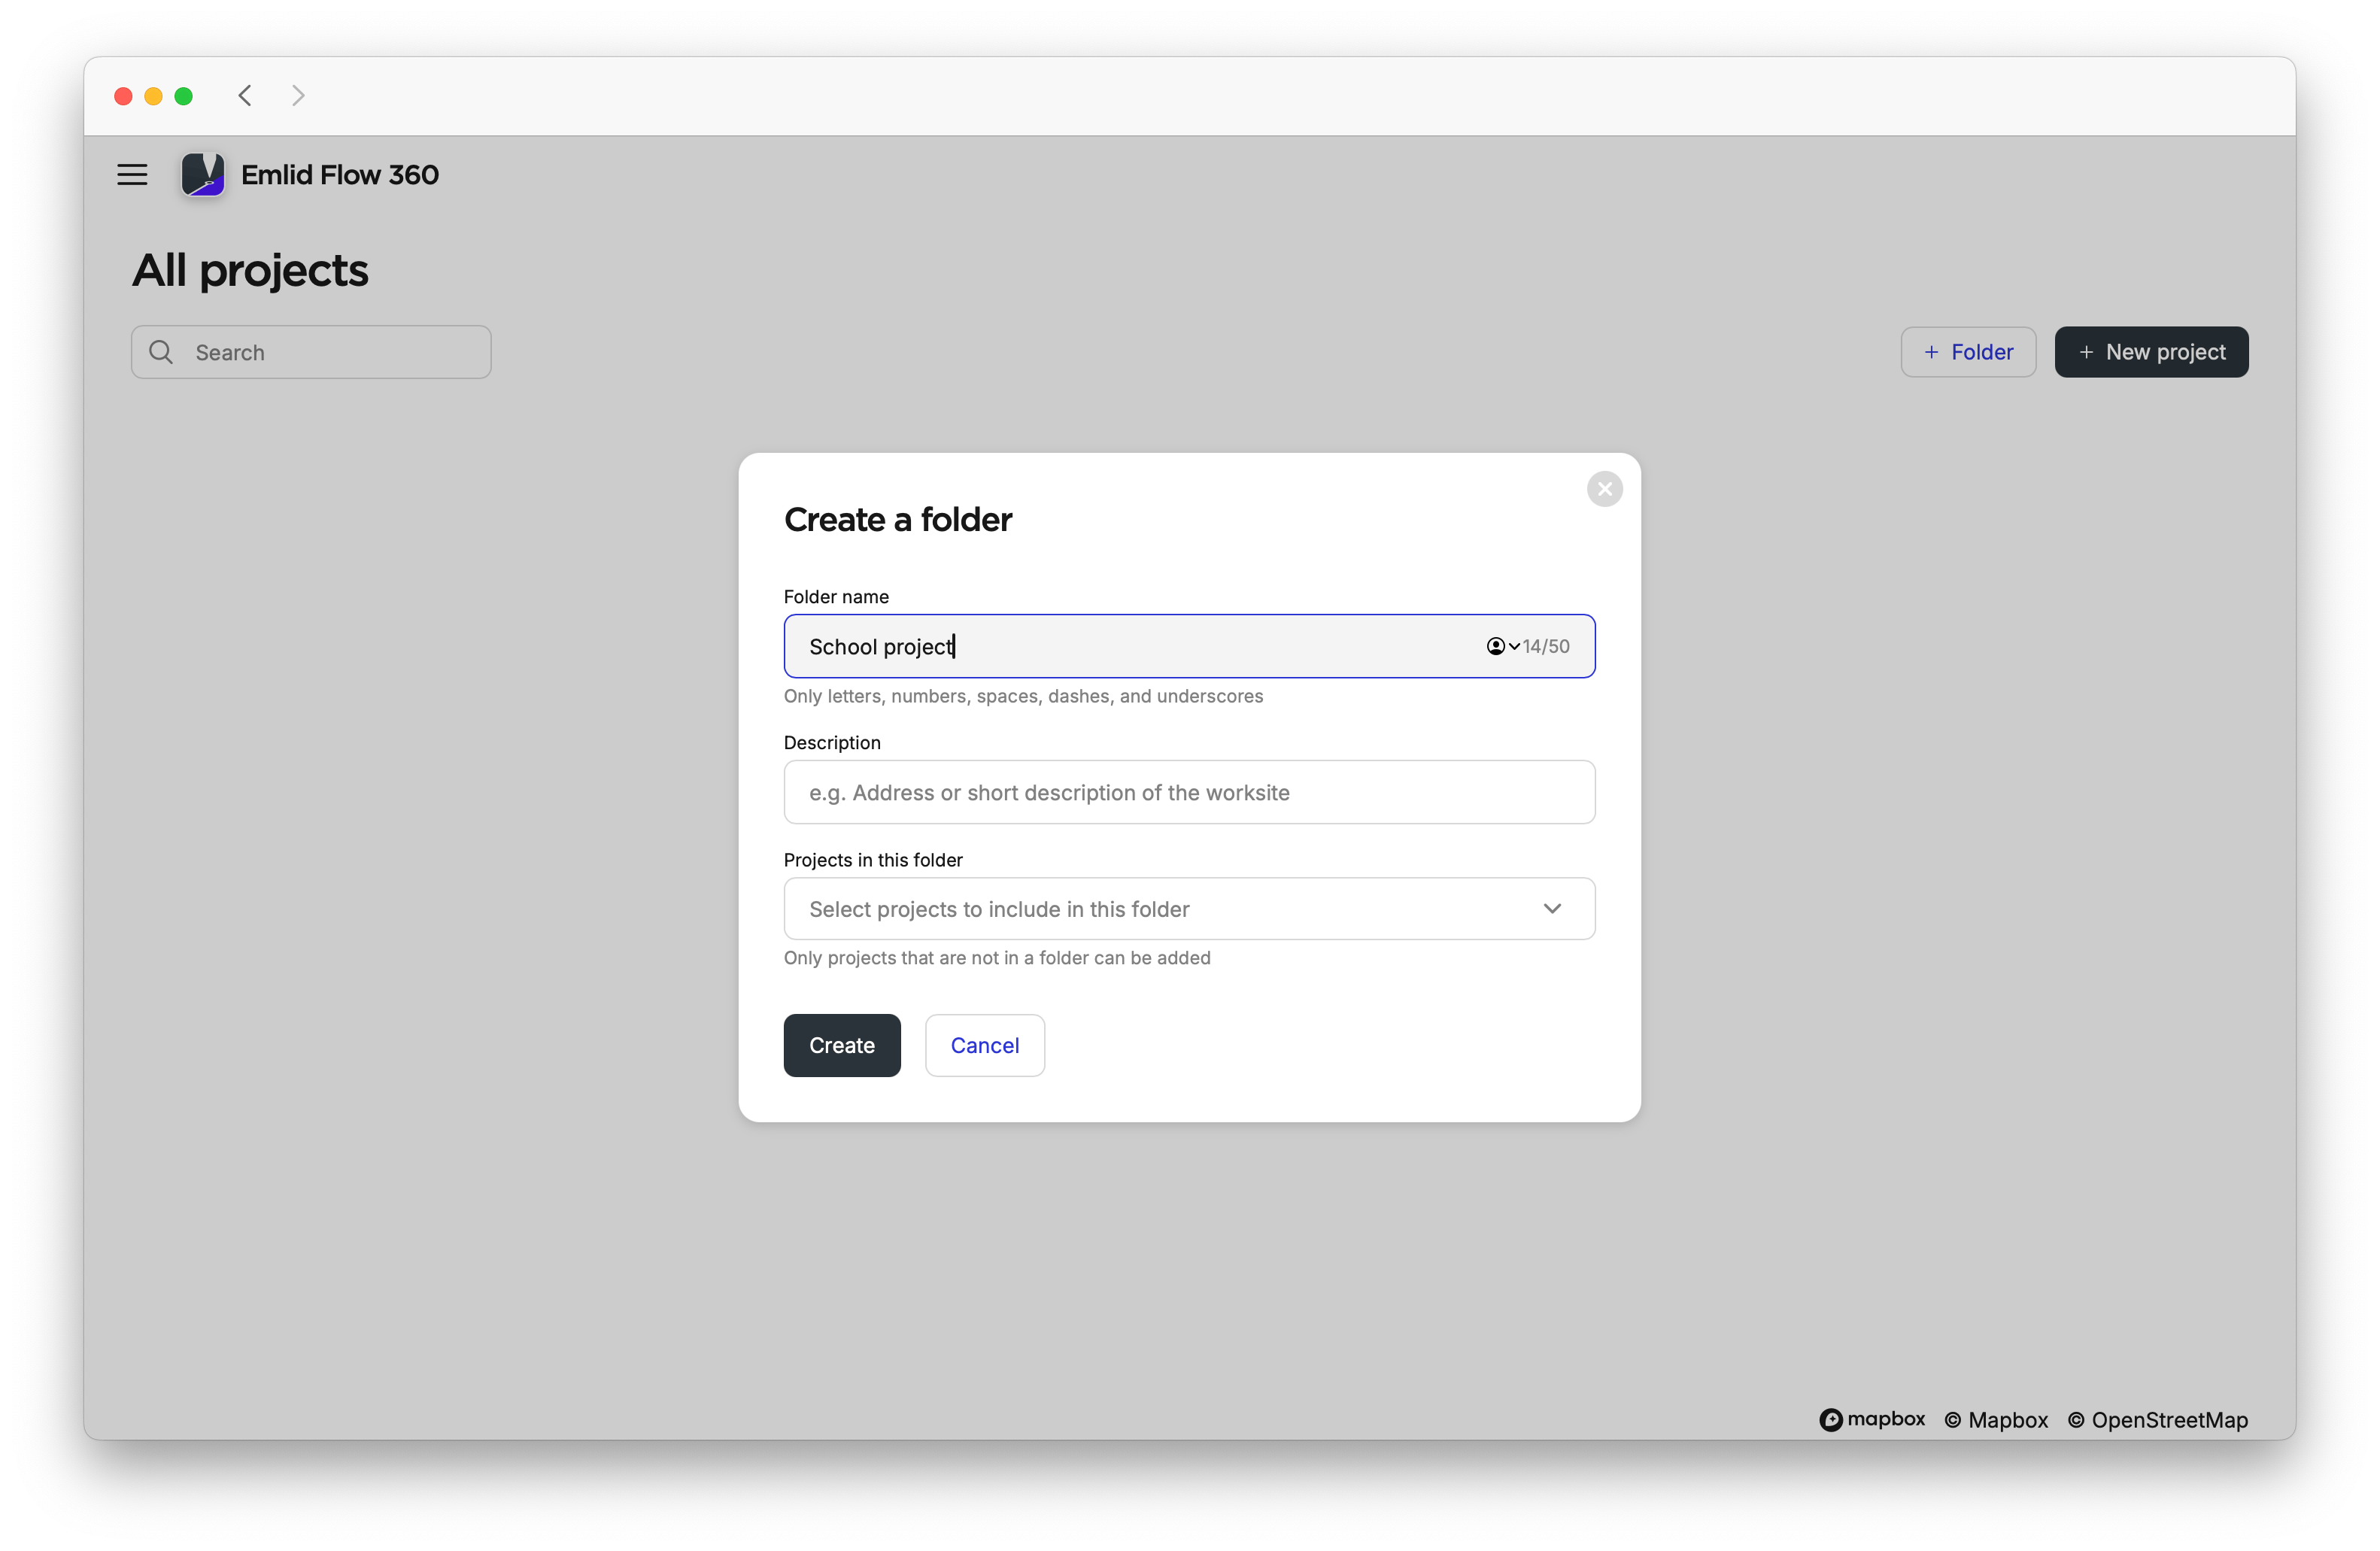
If you already have projects, you can select which ones to assign to the folder when creating it.
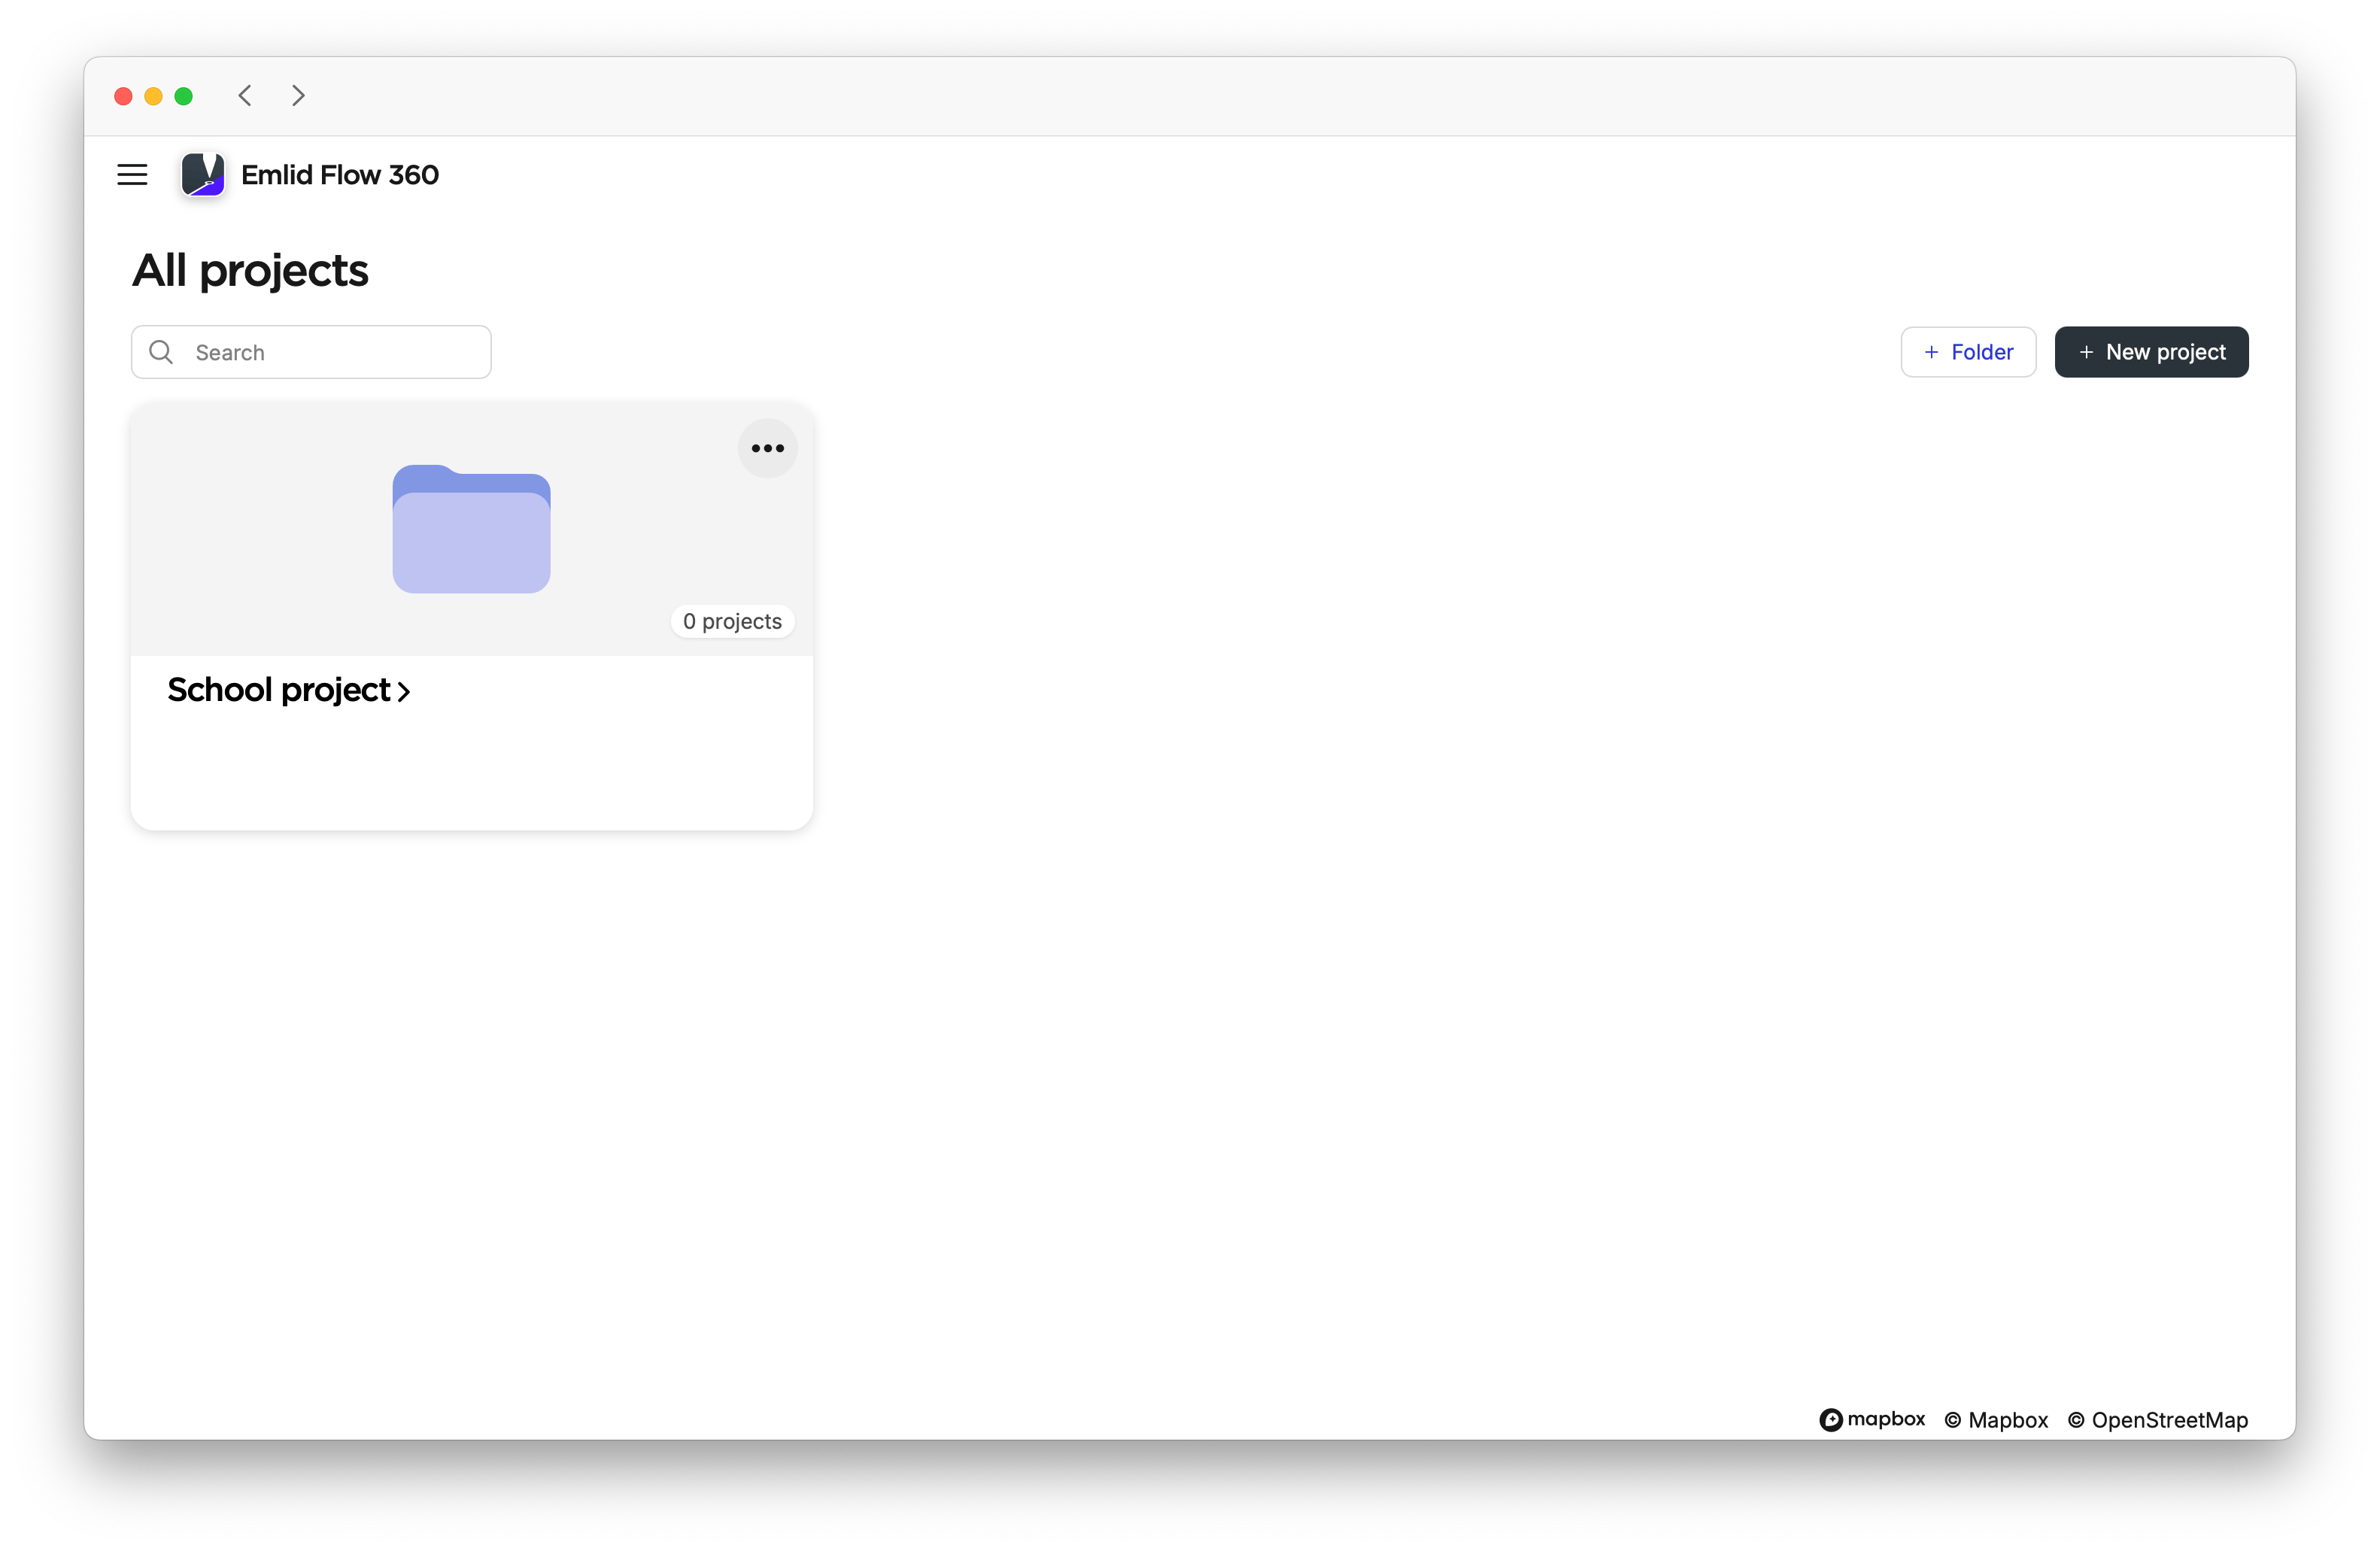
-
Click on Create. Your folders will be saved on the All projects screen and sorted by creation date.
 caution
You can’t create a folder inside another folder.
Adding project to folder
You can add projects to your folder in two ways:
- Move them individually to a folder
- Select several projects at once
To move a project to the folder, follow the steps below:
-
Create or import a project. If needed, configure default project settings and map view presets.
tipLearn more about configuring projects in these guides:
-
On the All projects screen, open the three-dot menu for the project and click Move project.
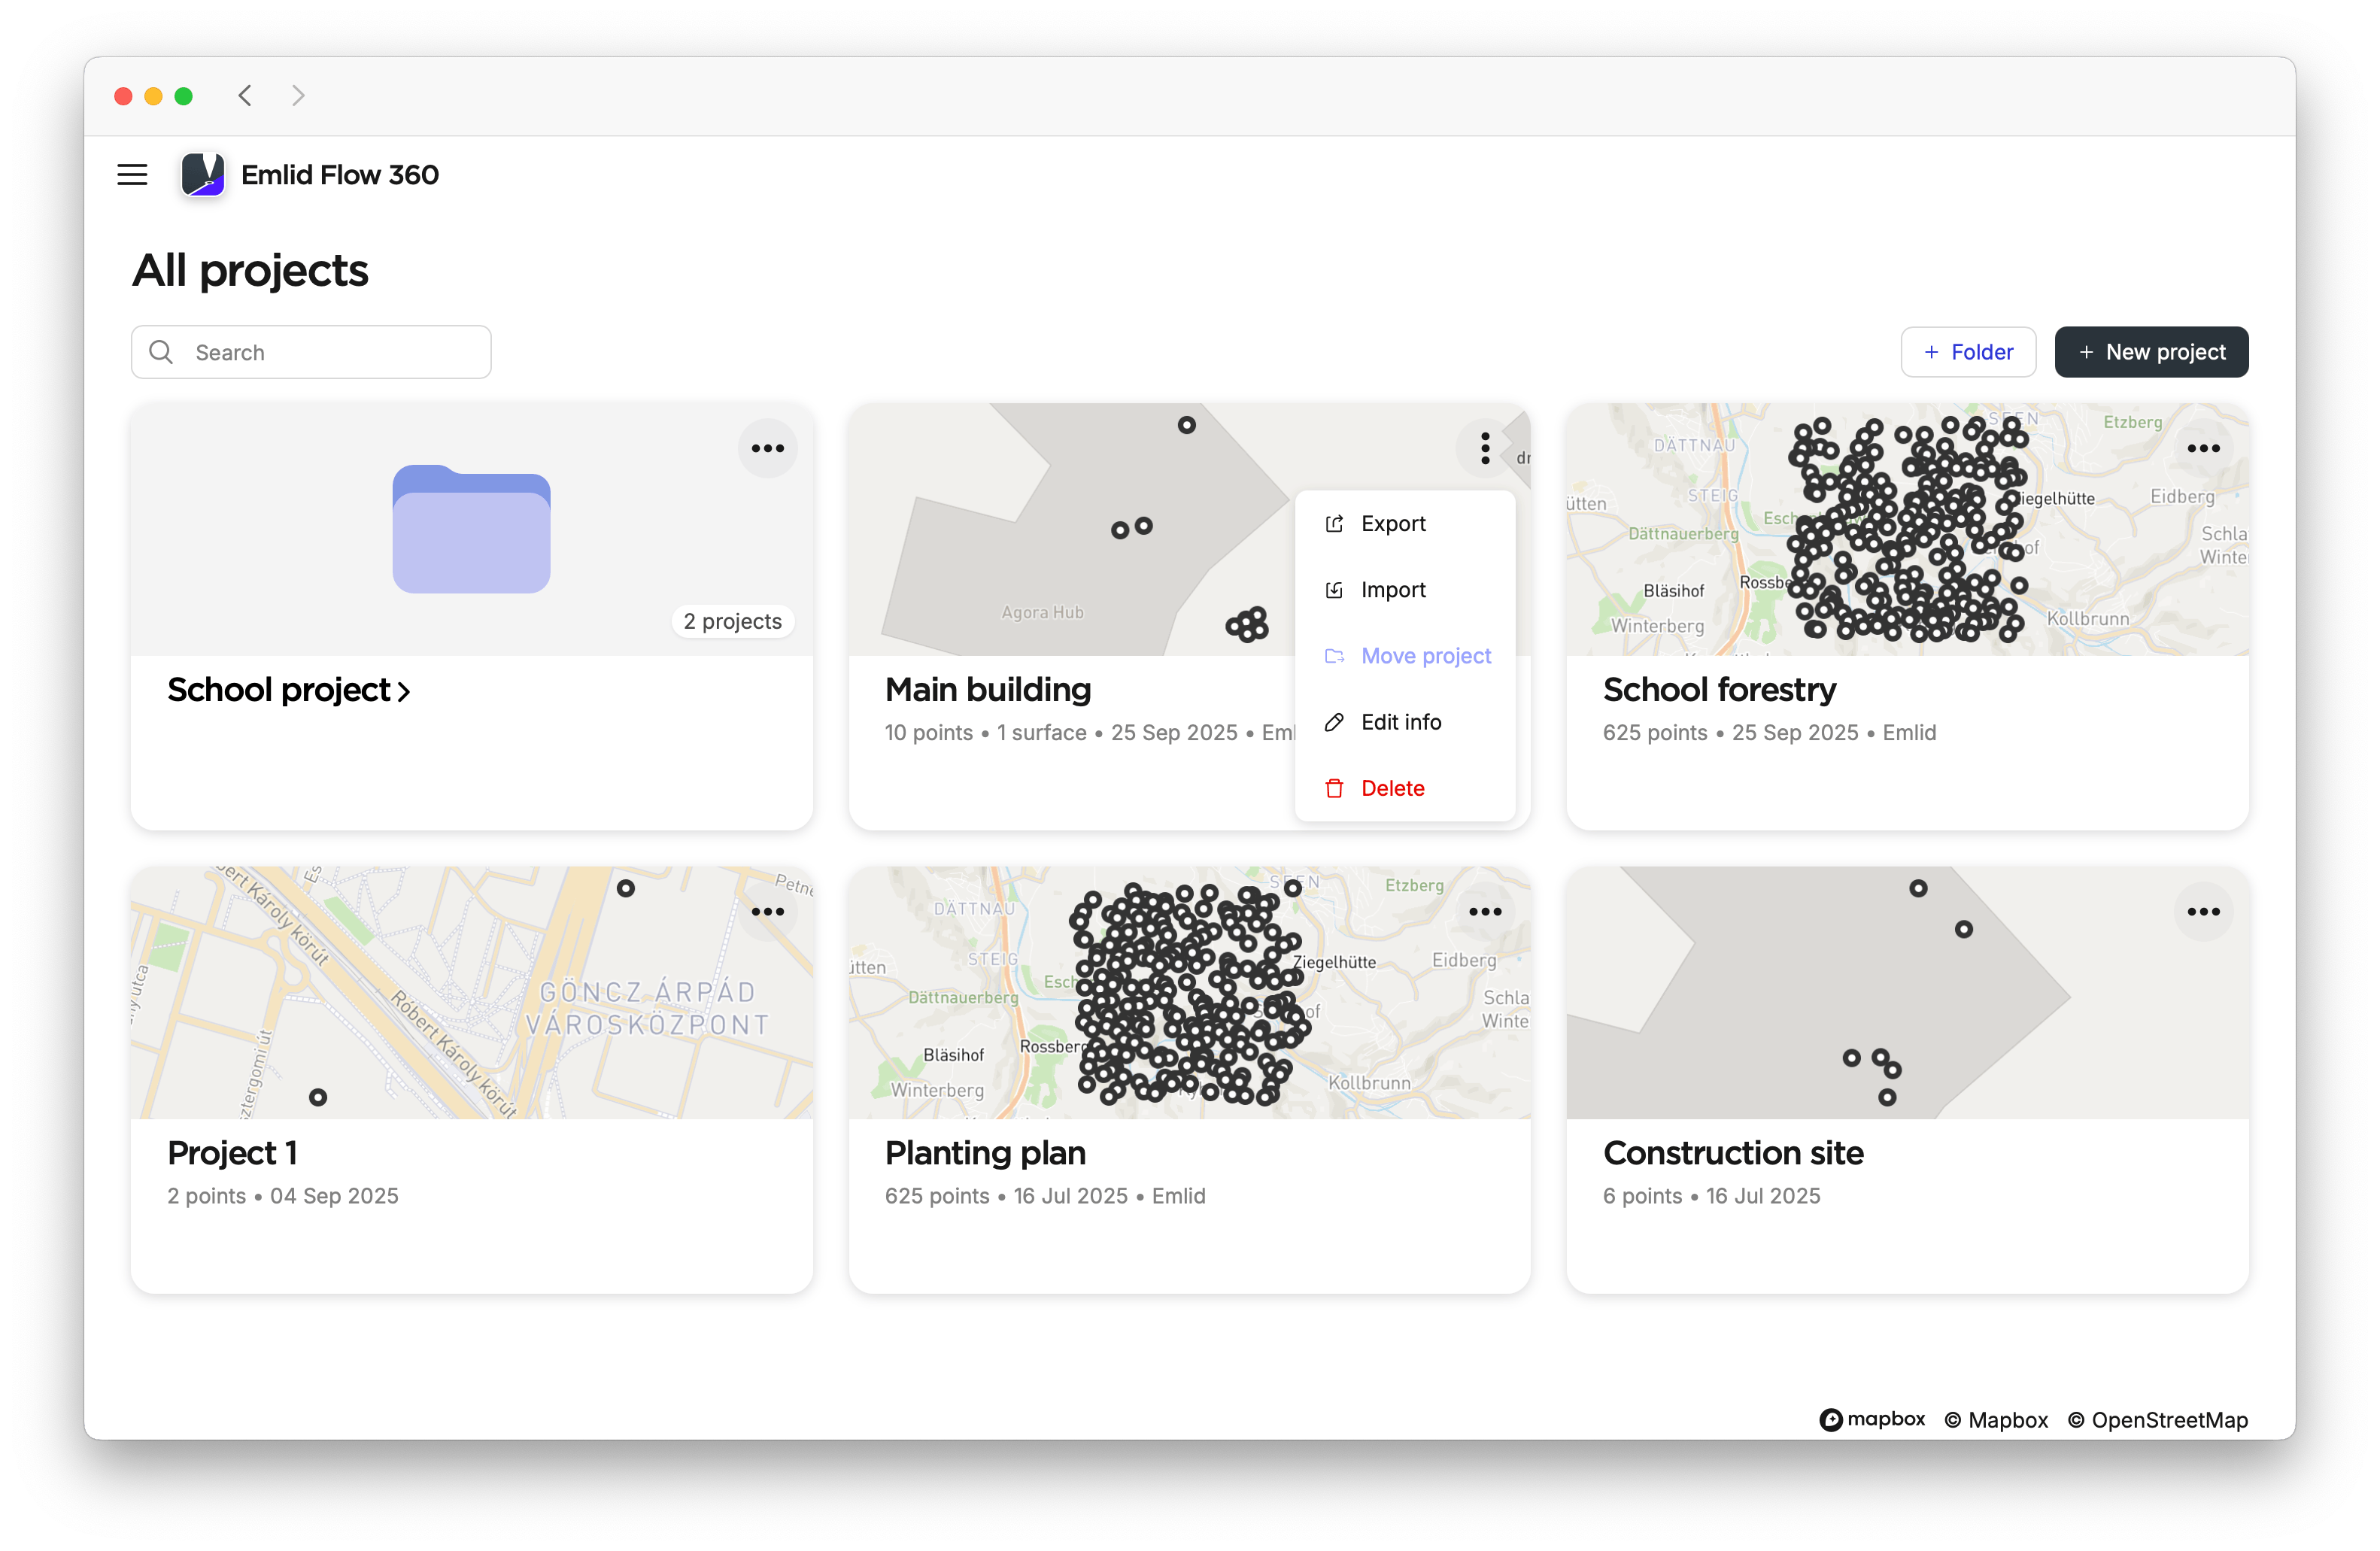
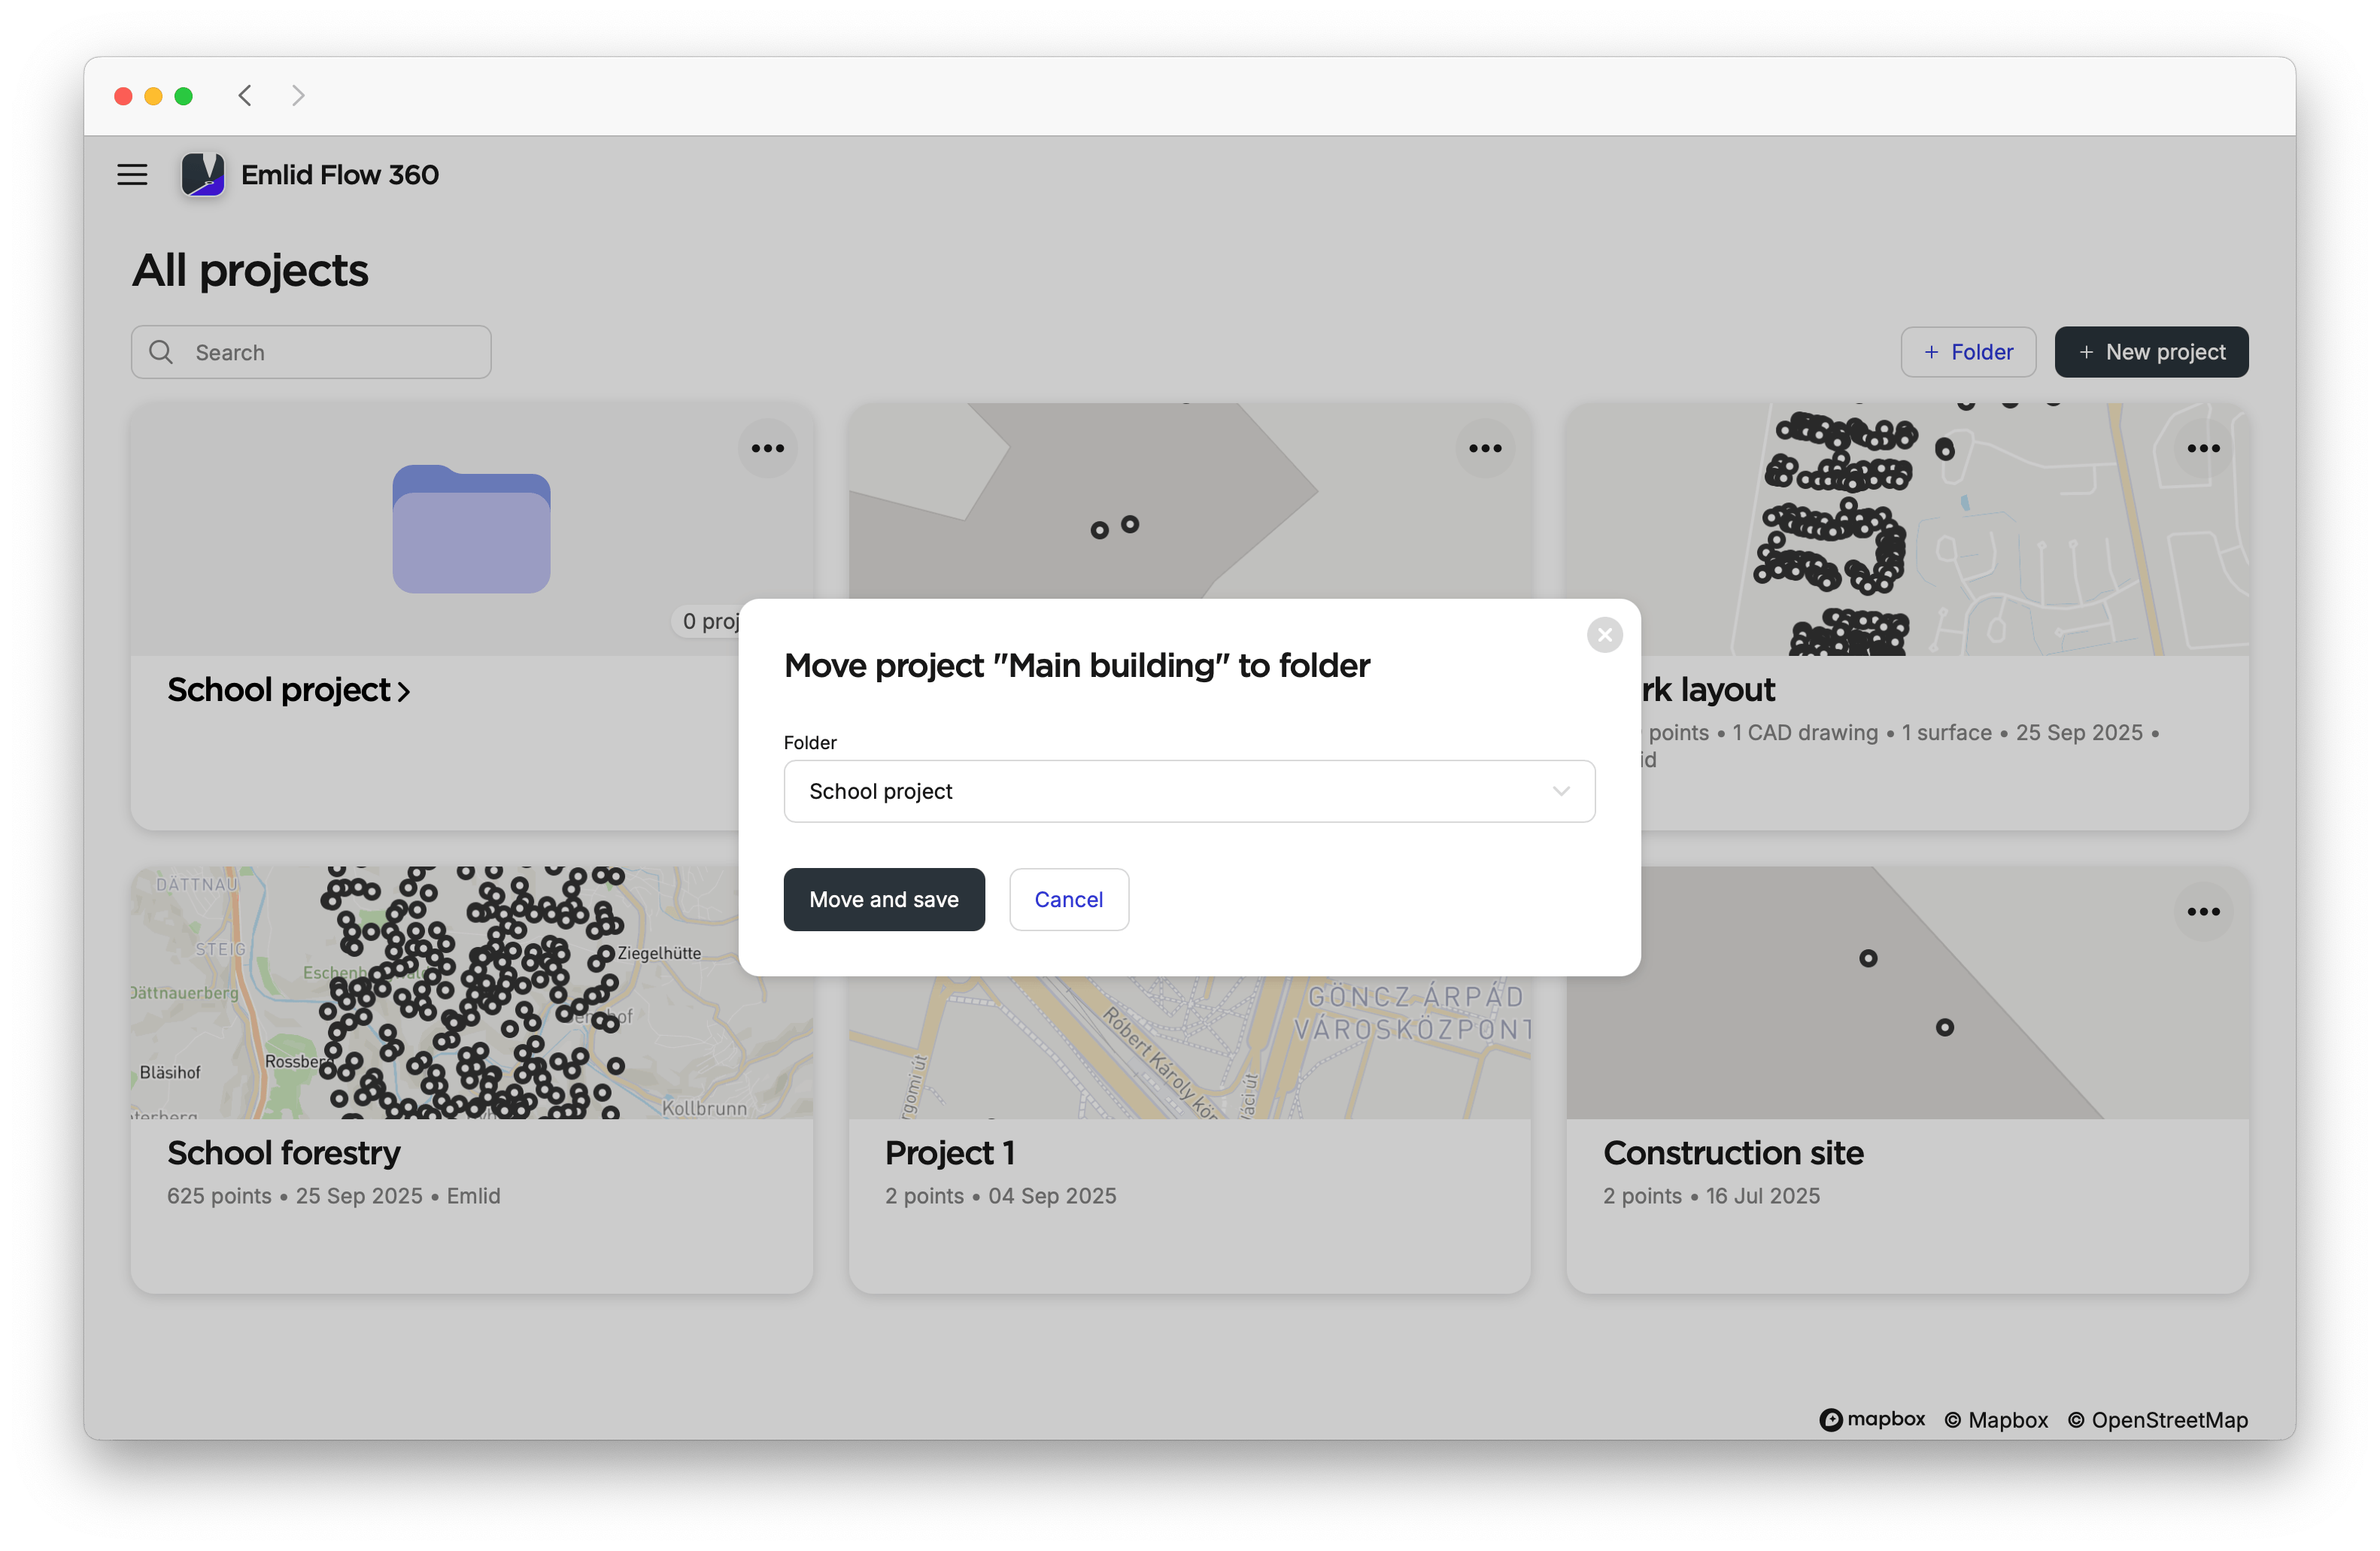
-
Choose the folder where you want to move your project and click Move and save.

 tip
tipIf you want to move your project from one folder to another, enter the folder, click on the three-dot menu, and move the project to the desired folder.
To add several projects to your folder, do as follows:
-
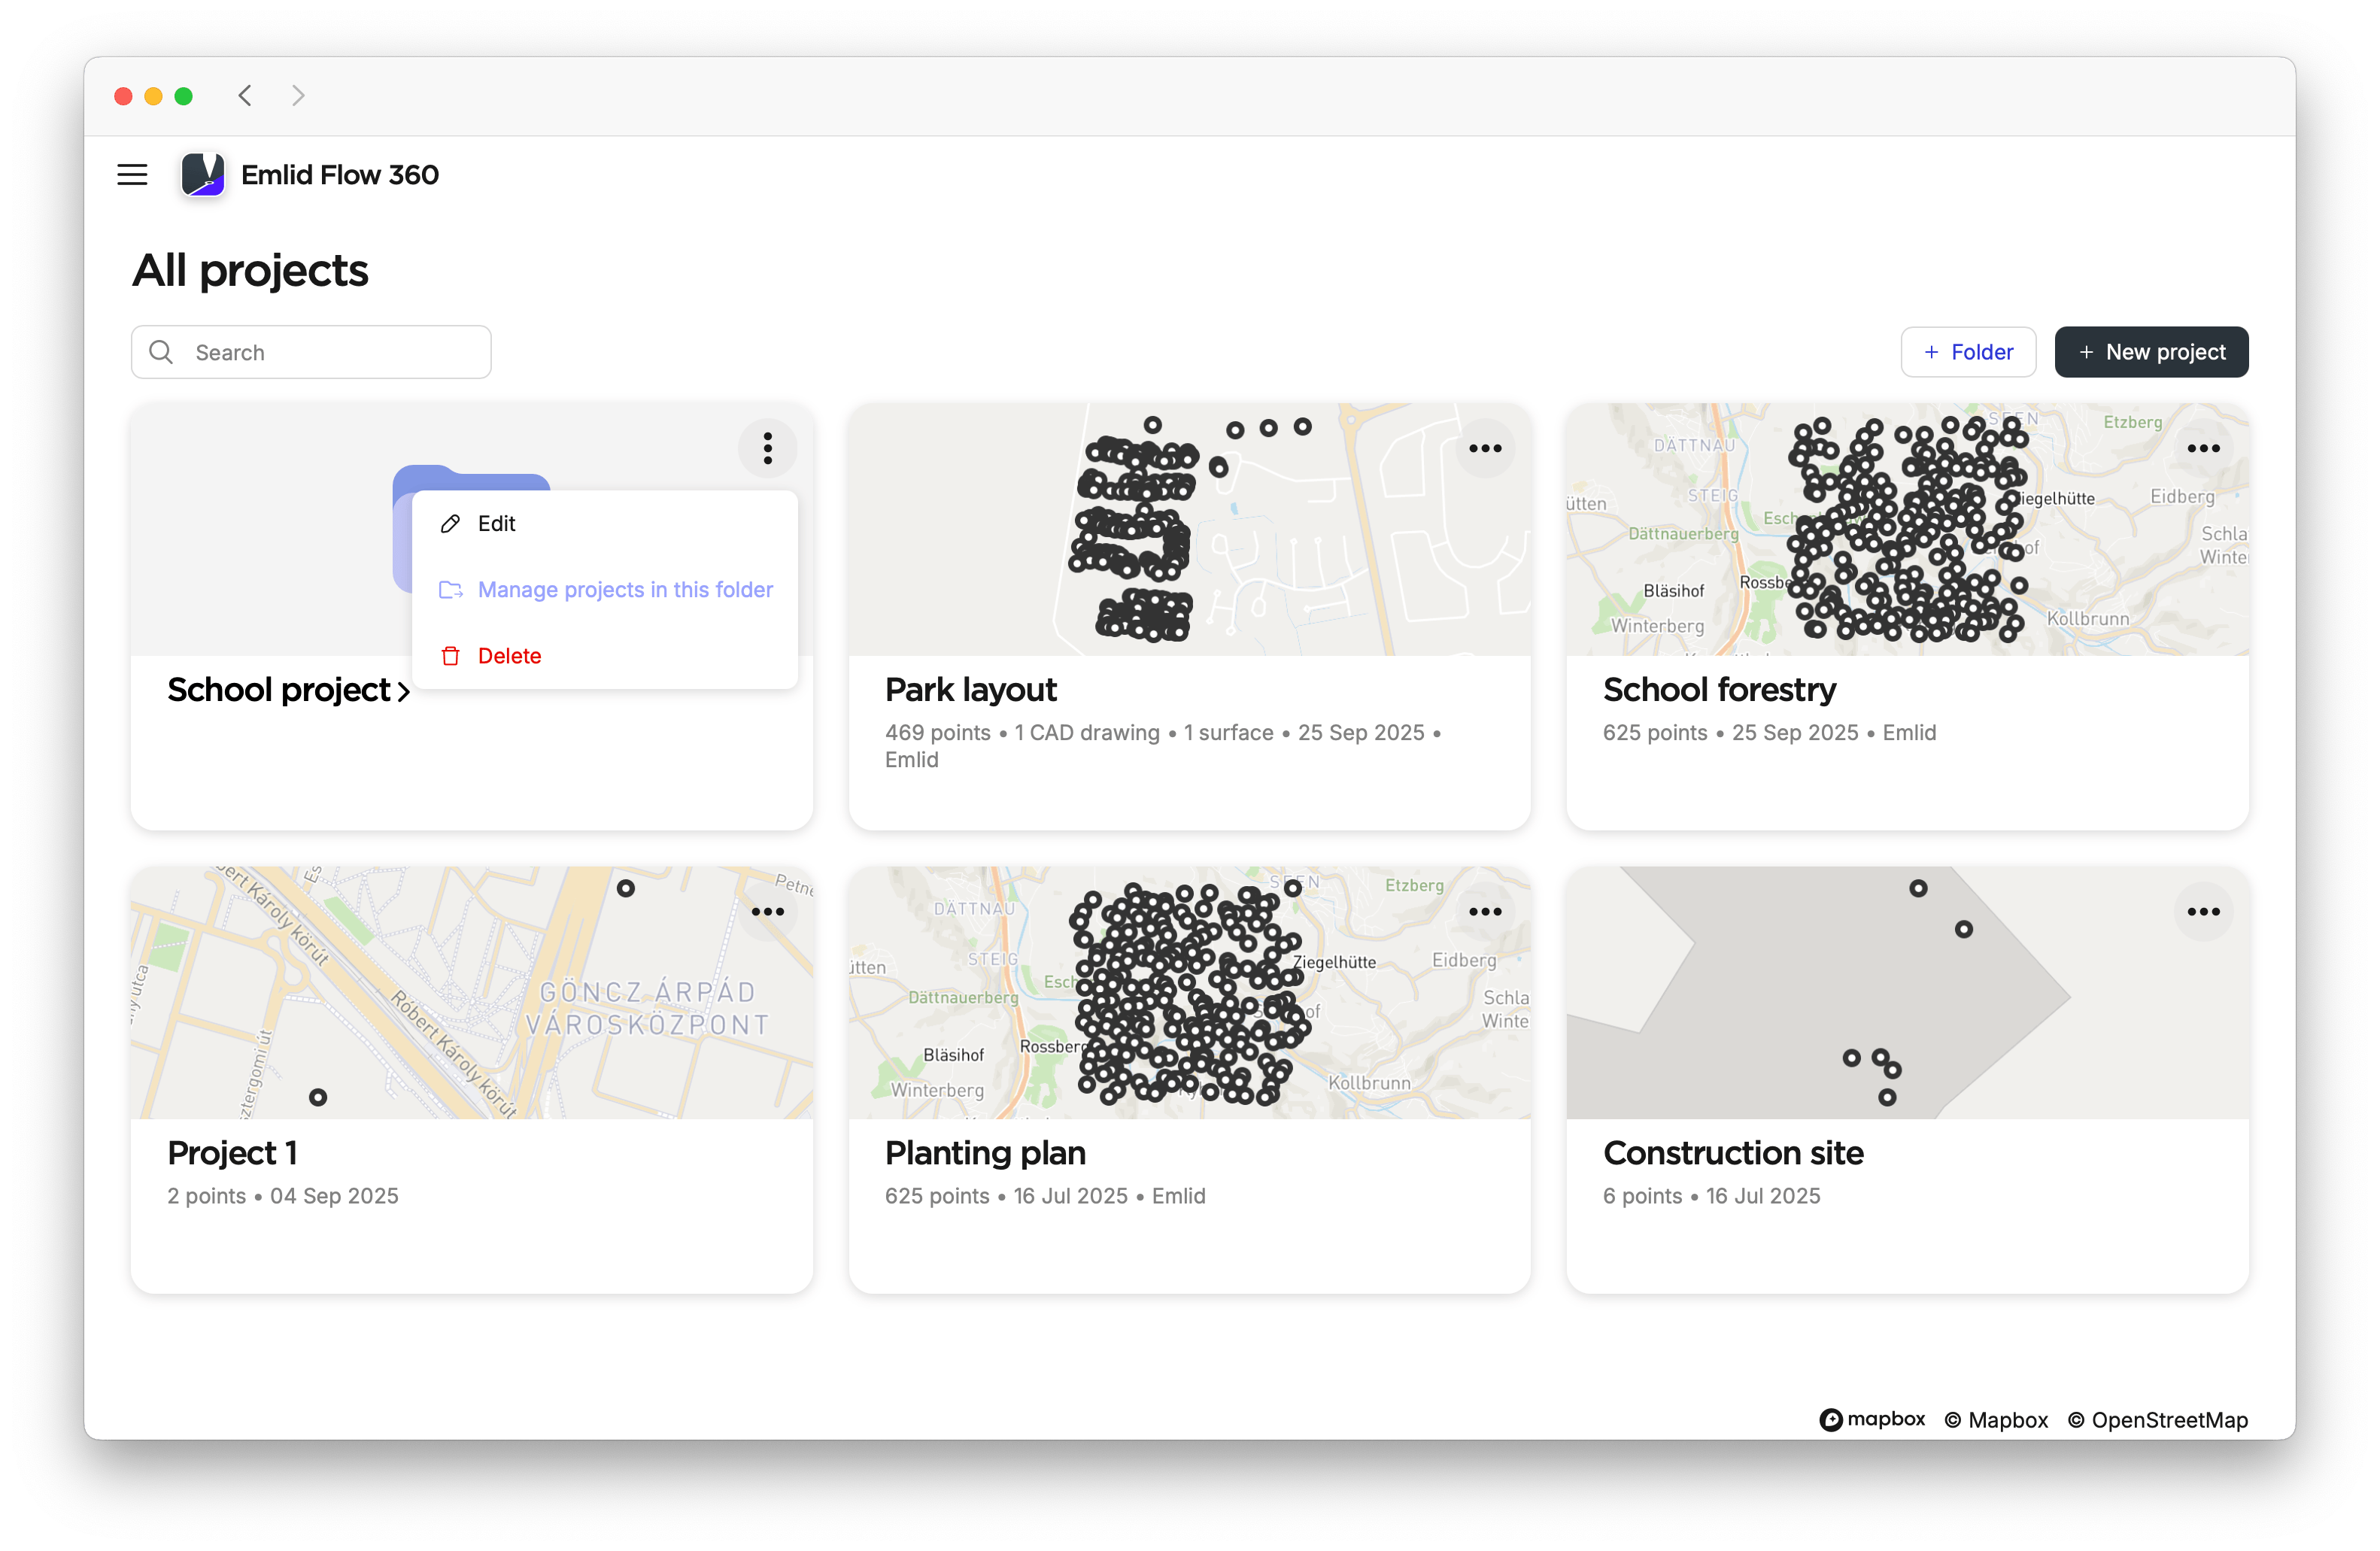
Enter your folder or open its three-dot menu, and select the Manage projects in the folder icon.
-
Open the list and select which projects you want to include in your folder.
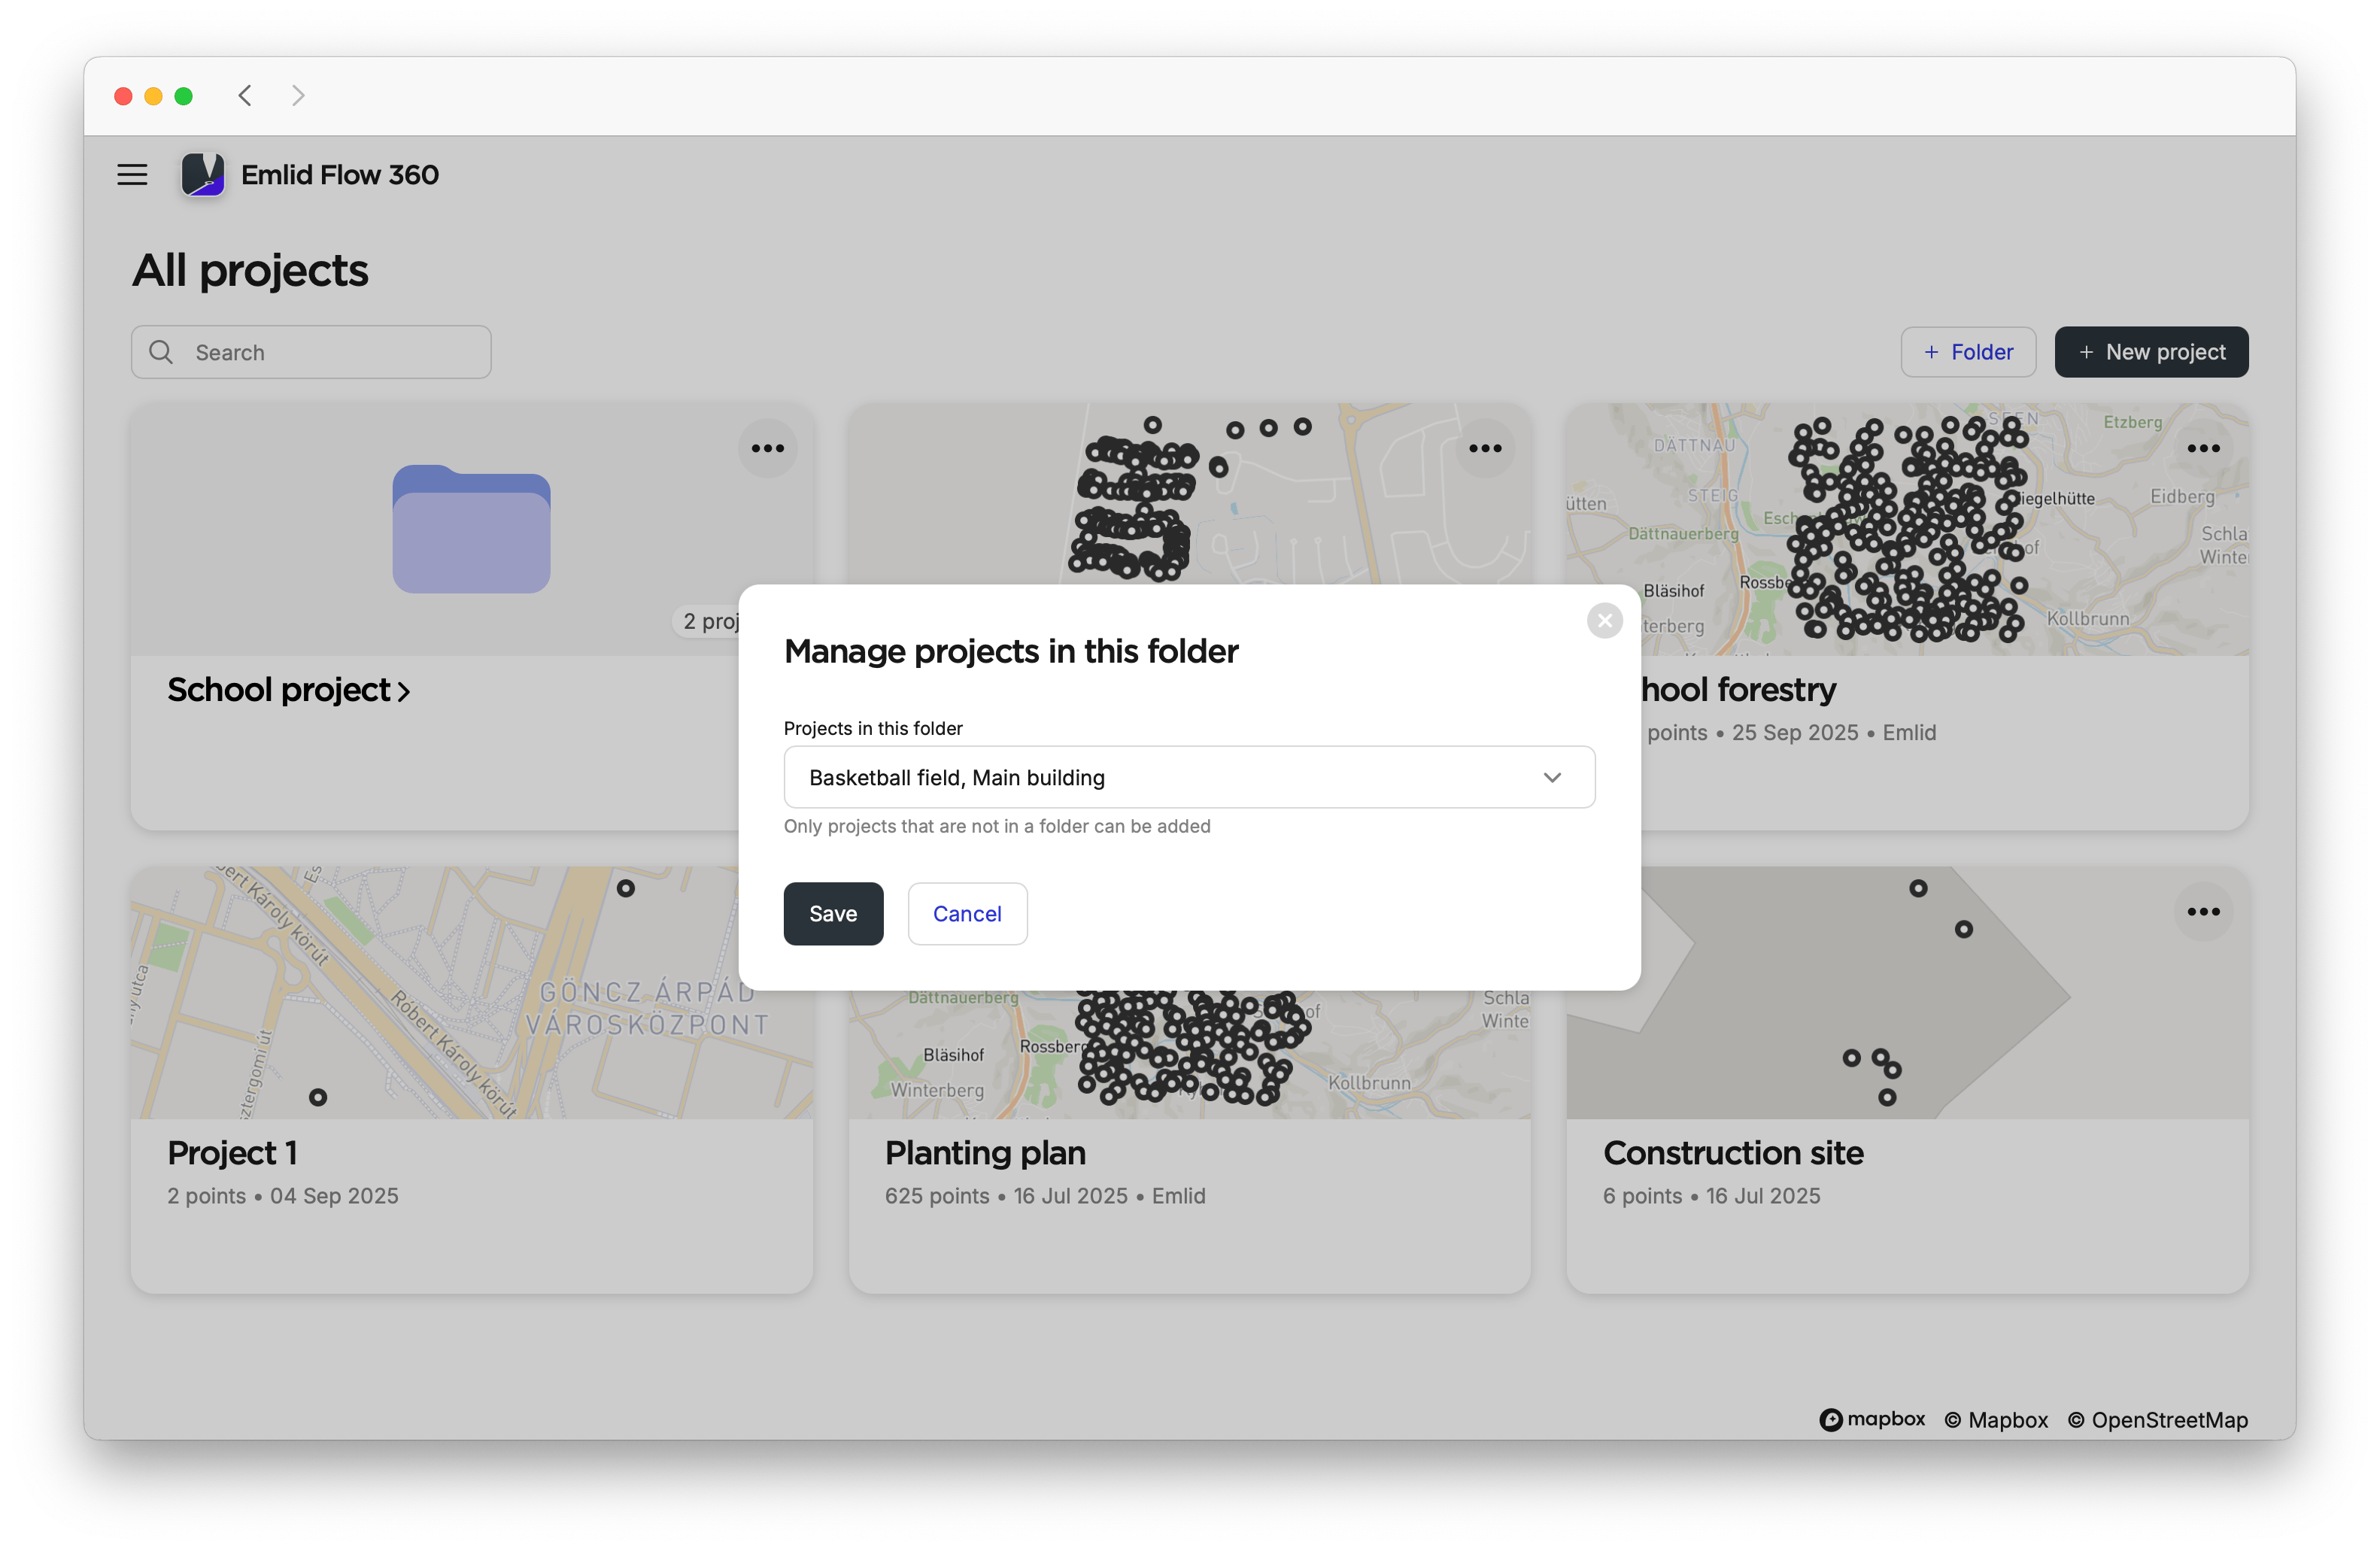
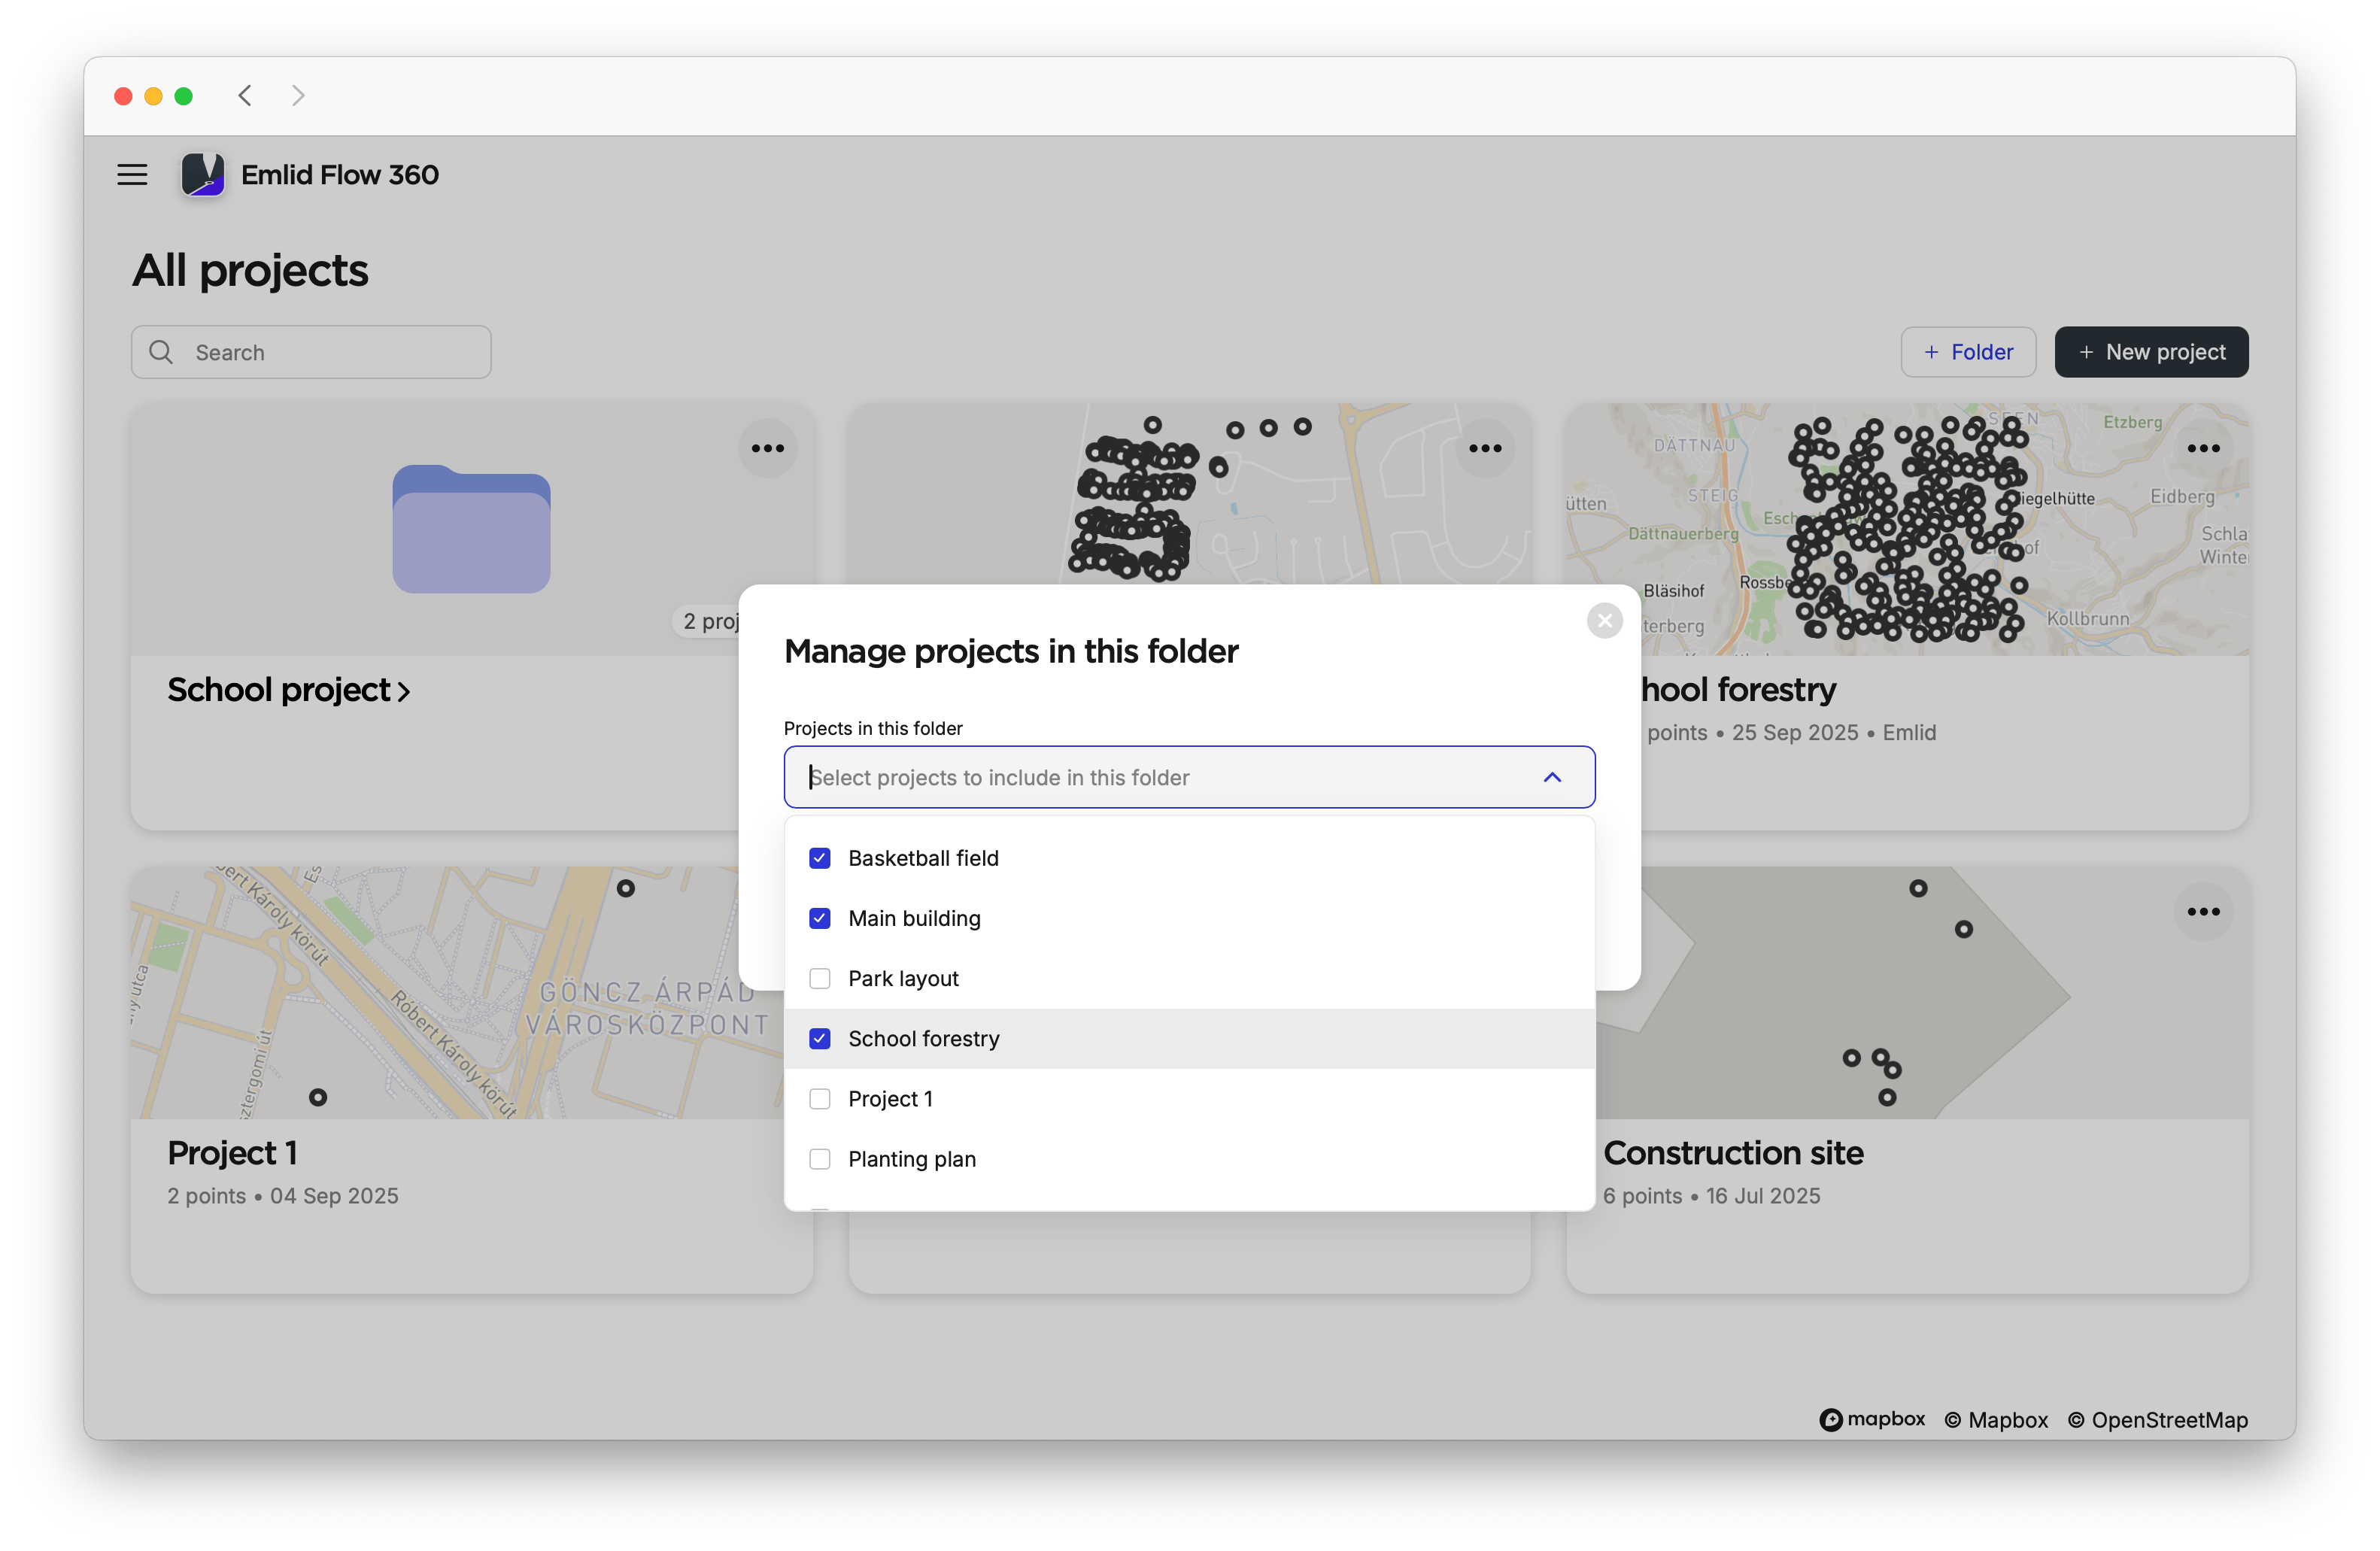
-
Close the list and click Save.
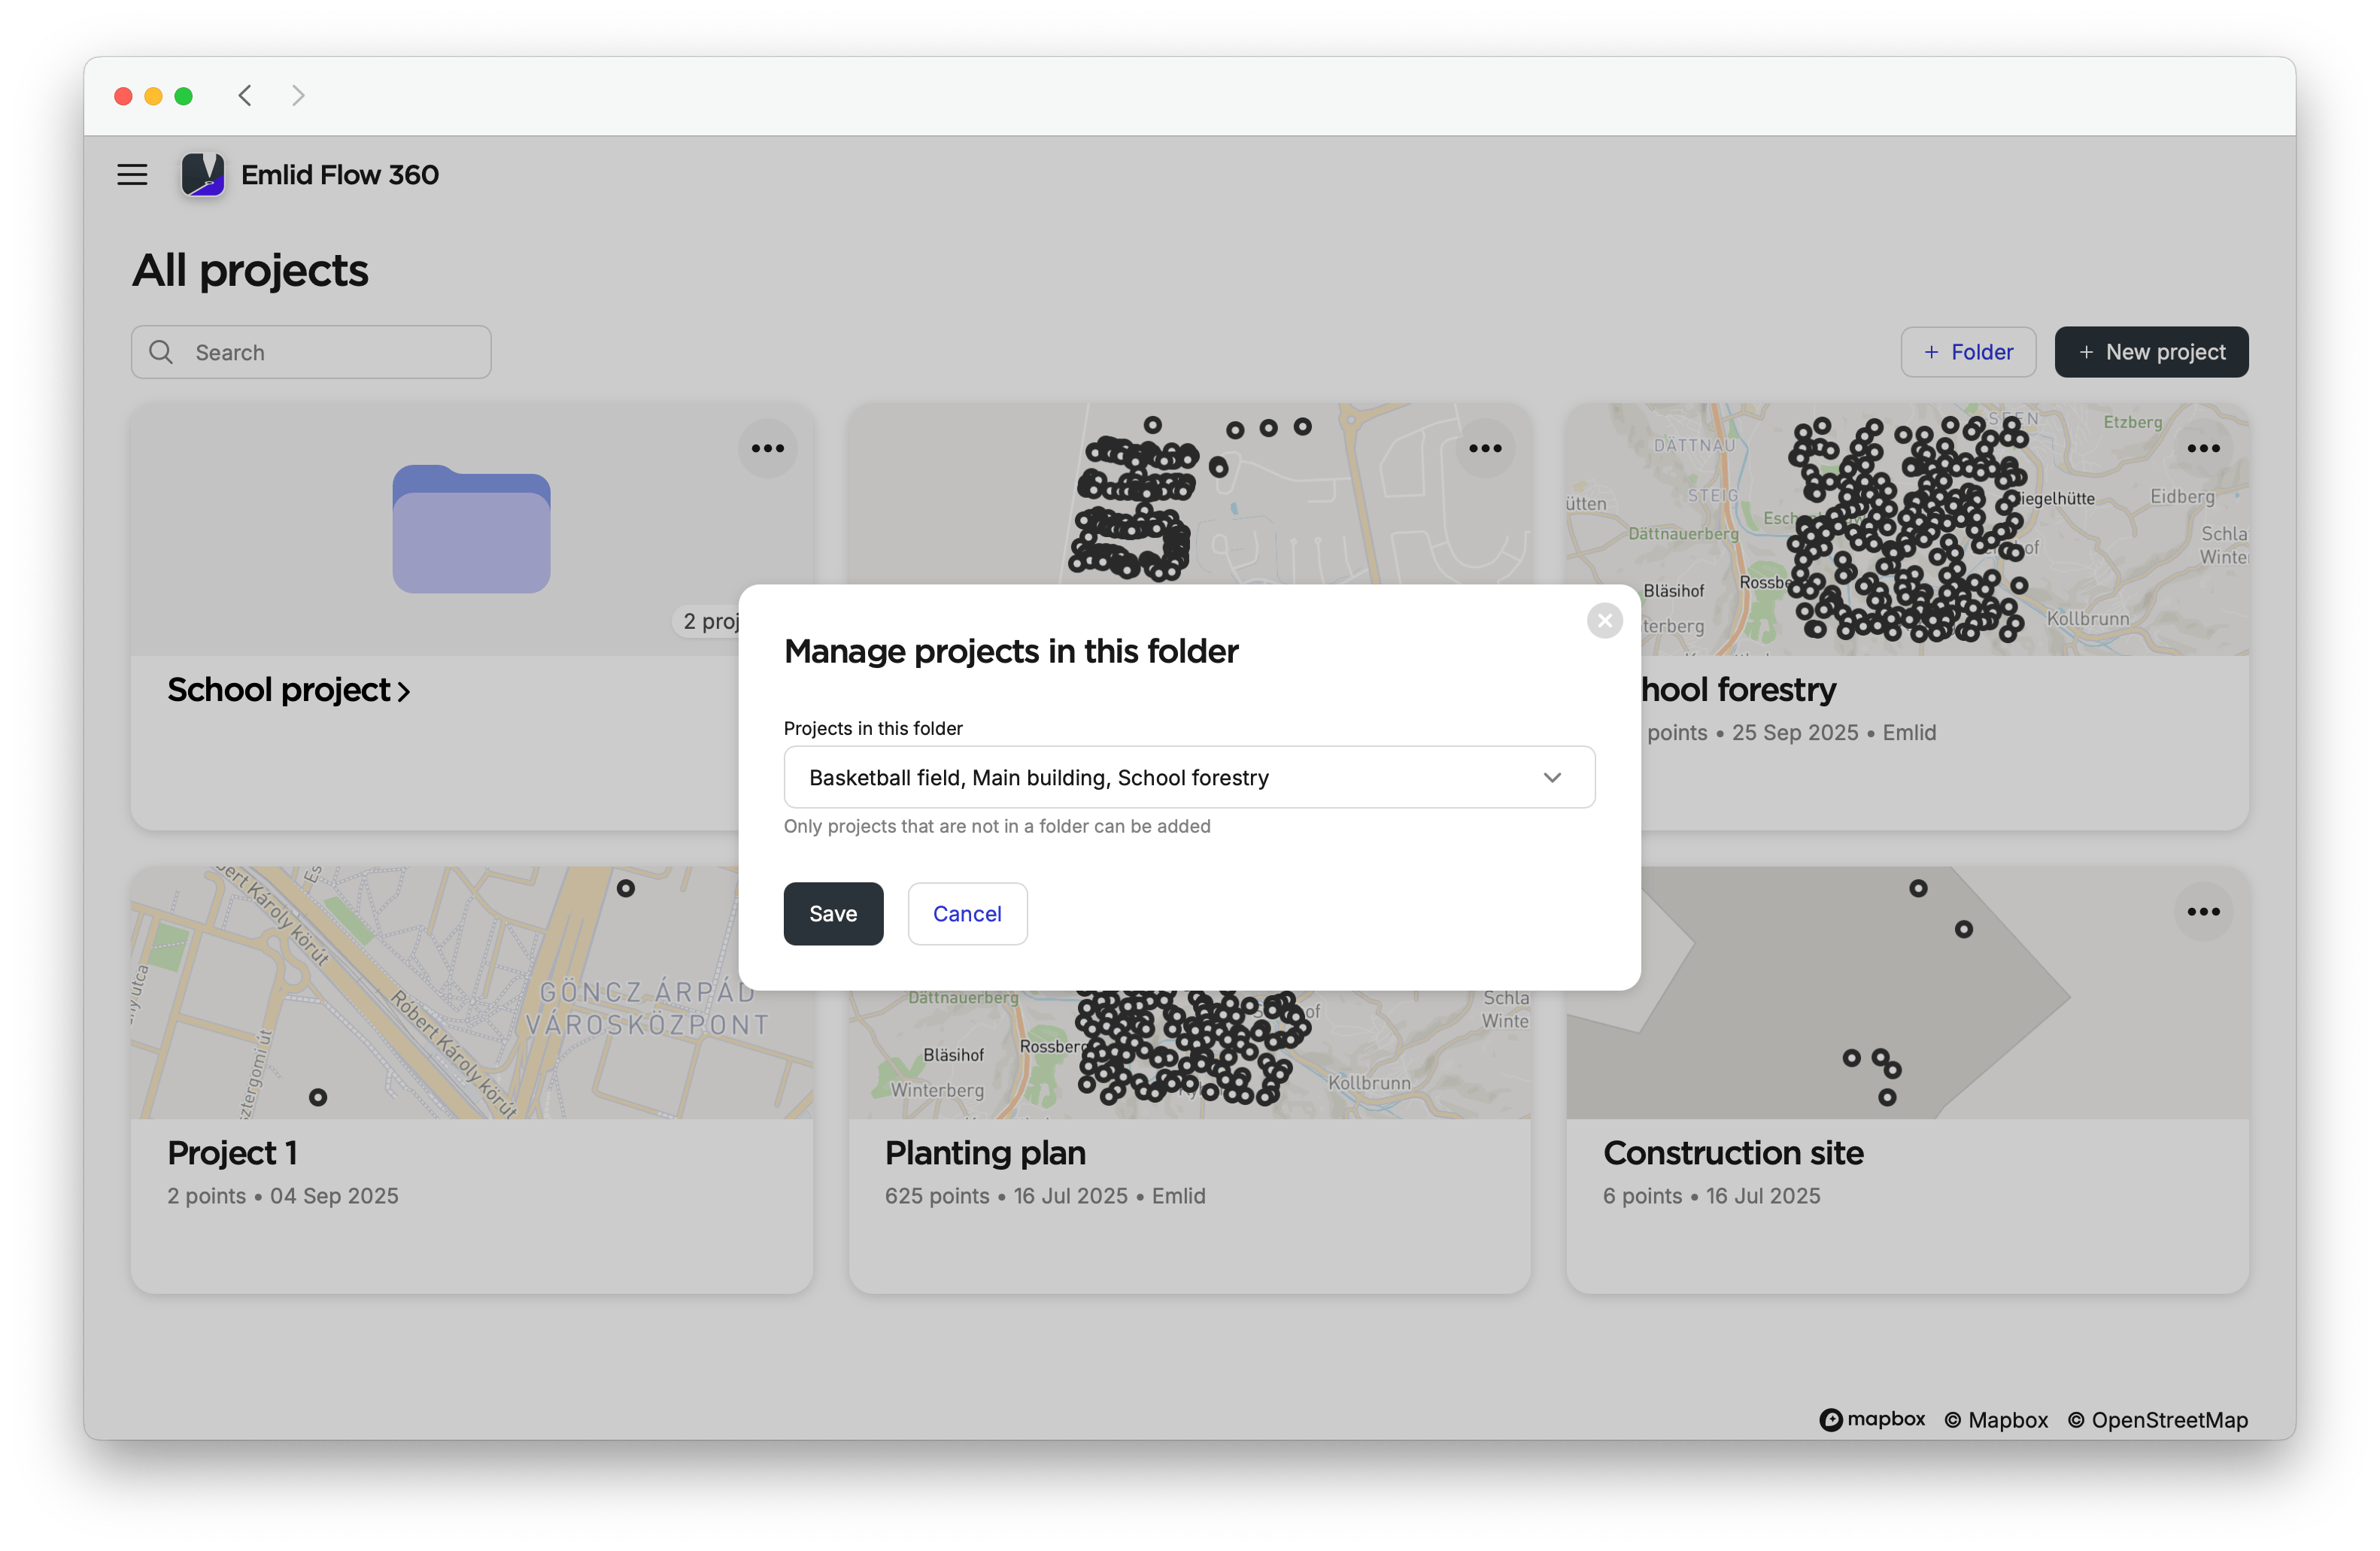
Your projects are now in the selected folder.
A project can be in only one folder.
To remove a project from a folder, open the folder, then click on the project’s three-dot menu and select Remove from folder. The project will be listed again on the All projects screen.
Deleting folder
To delete the folder, follow the steps below:
-
Delete the folder using one of the following ways:
-
On the All projects screen, open the folder’s three-dot menu and select Delete.
-
When you are in the folder, click the Delete icon.
cautionIf you remove a project from a folder, it will no longer belong to that folder.
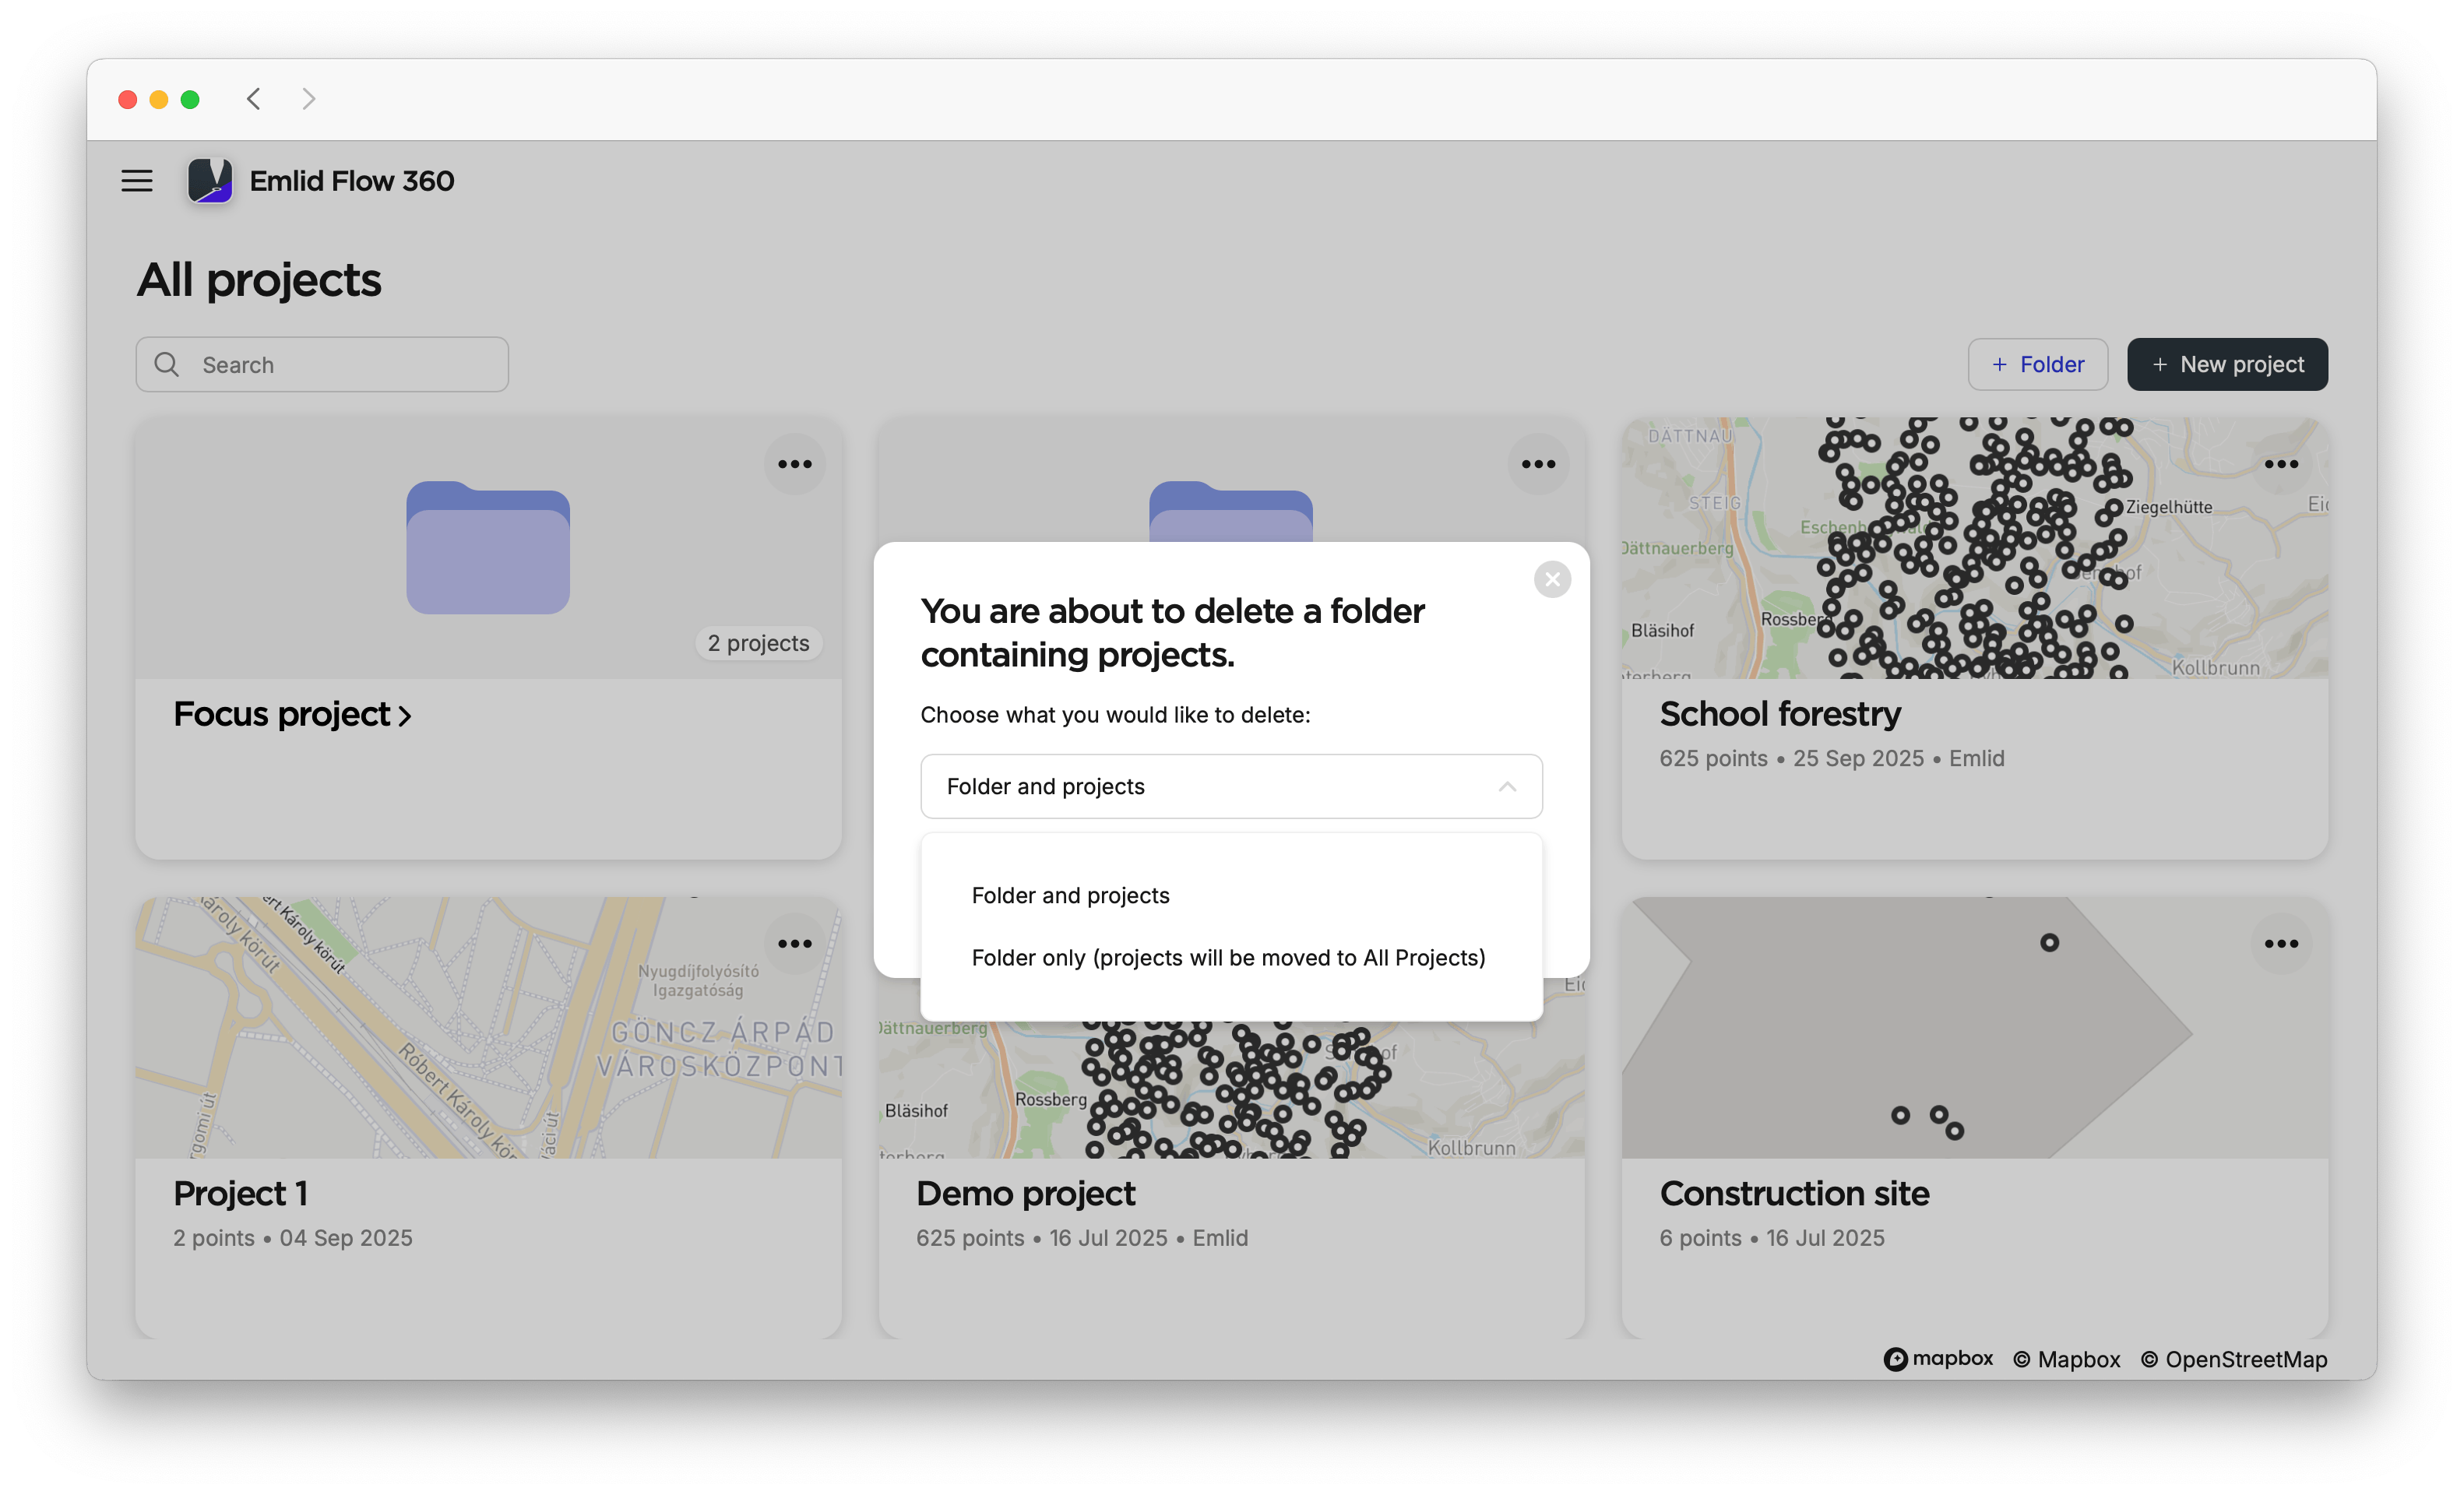
-
-
If the folder contains projects, choose whether to delete both the folder and its projects or delete only the folder. The projects will be listed on the All projects screen.
The deleted folders will remain in the Recently deleted menu for 30 days. You can either restore or permanently delete them.
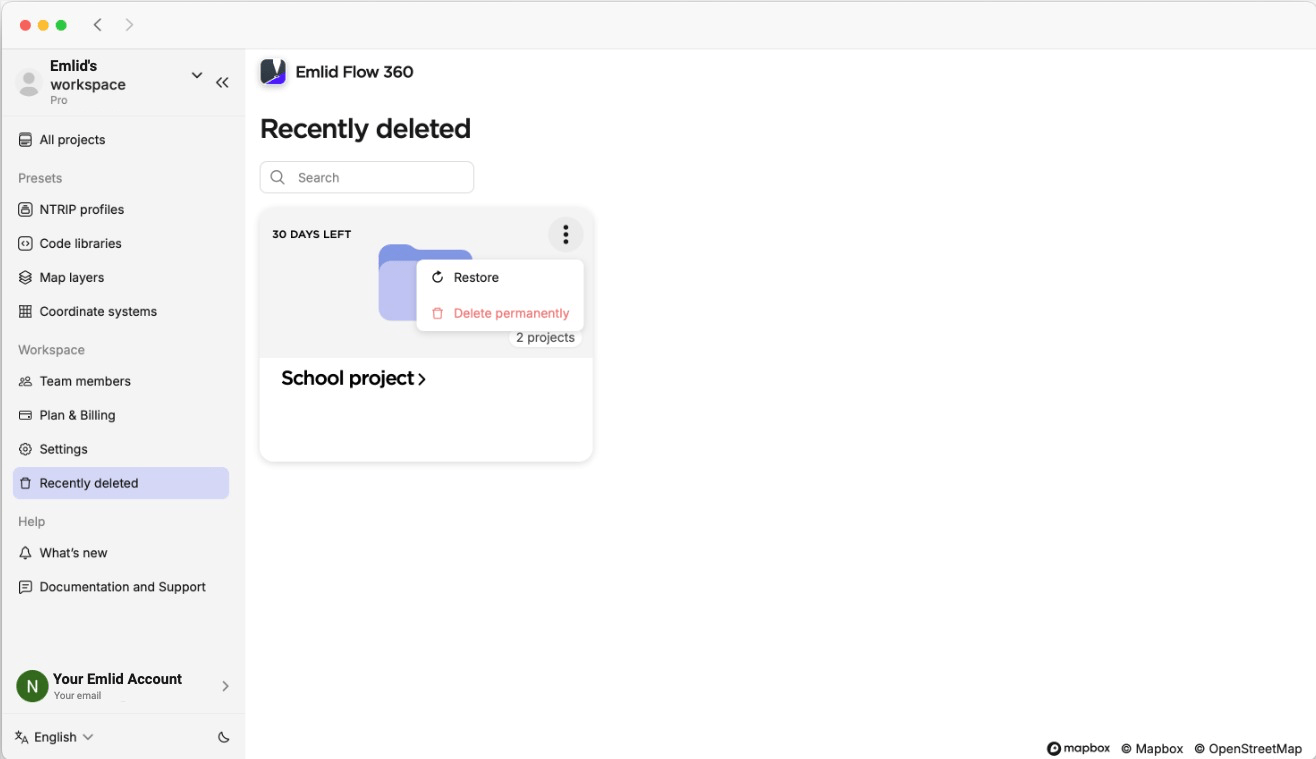
If you restore a project from inside the folder, the connection between the project and the folder won’t be restored. The project will be listed on the All projects screen.
Once you’ve created folders and added projects, you can continue working with them in Emlid Flow. You can navigate between folders, create projects within them, and assign a folder when creating a new project. To learn more, check out the Working with folders guide section.
Managing presets
When setting up your workspace, presets help you prepare essential project resources before going to the field. This way, you ensure your projects use correct coordinate systems, survey codes, map layers, and correction services credentials.
You can use the following presets when setting up your workspace:
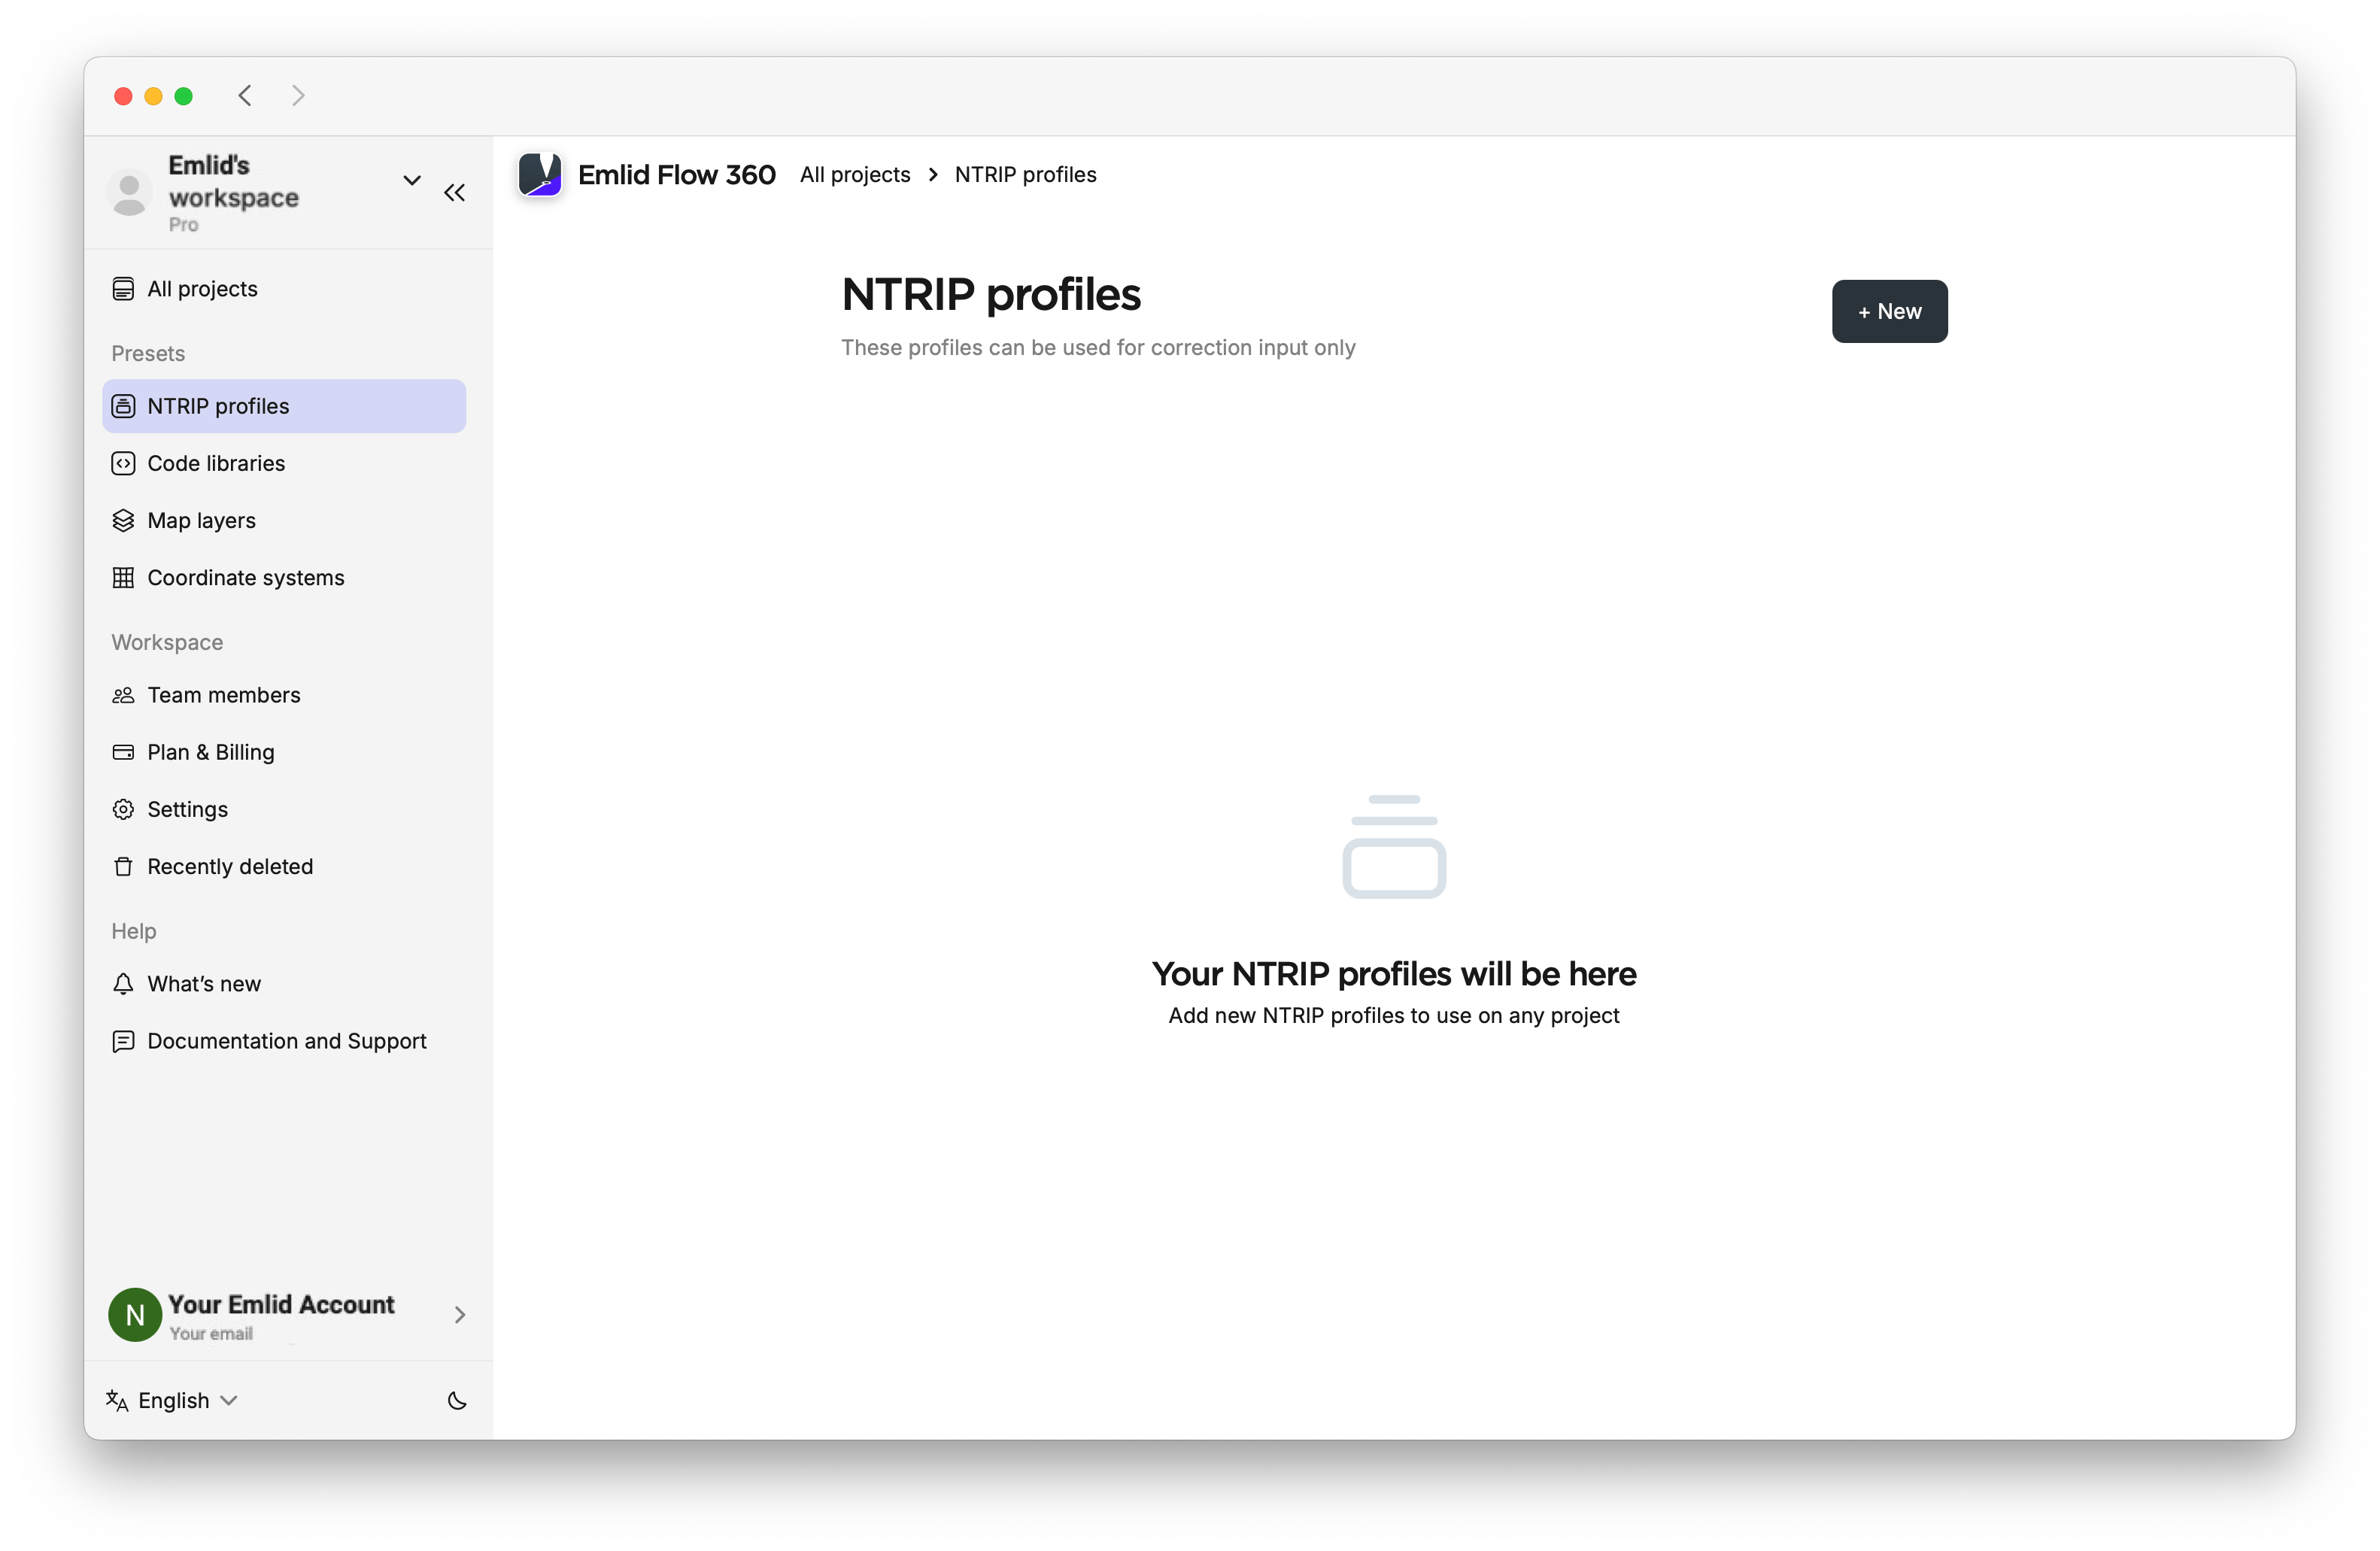
NTRIP profiles
In Emlid Flow 360, you can create NTRIP profiles by adding credentials for network correction services. These profiles then sync to Emlid Flow, where they are used to configure correction input for the rover. To learn more about working with network corrections services, check out the How to set up RTK over NTRIP guide.
To add an NTRIP profile, follow these steps:
-
Open the Emlid Flow 360 app and go to the menu on the left.
-
Enter the NTRIP profiles.
-
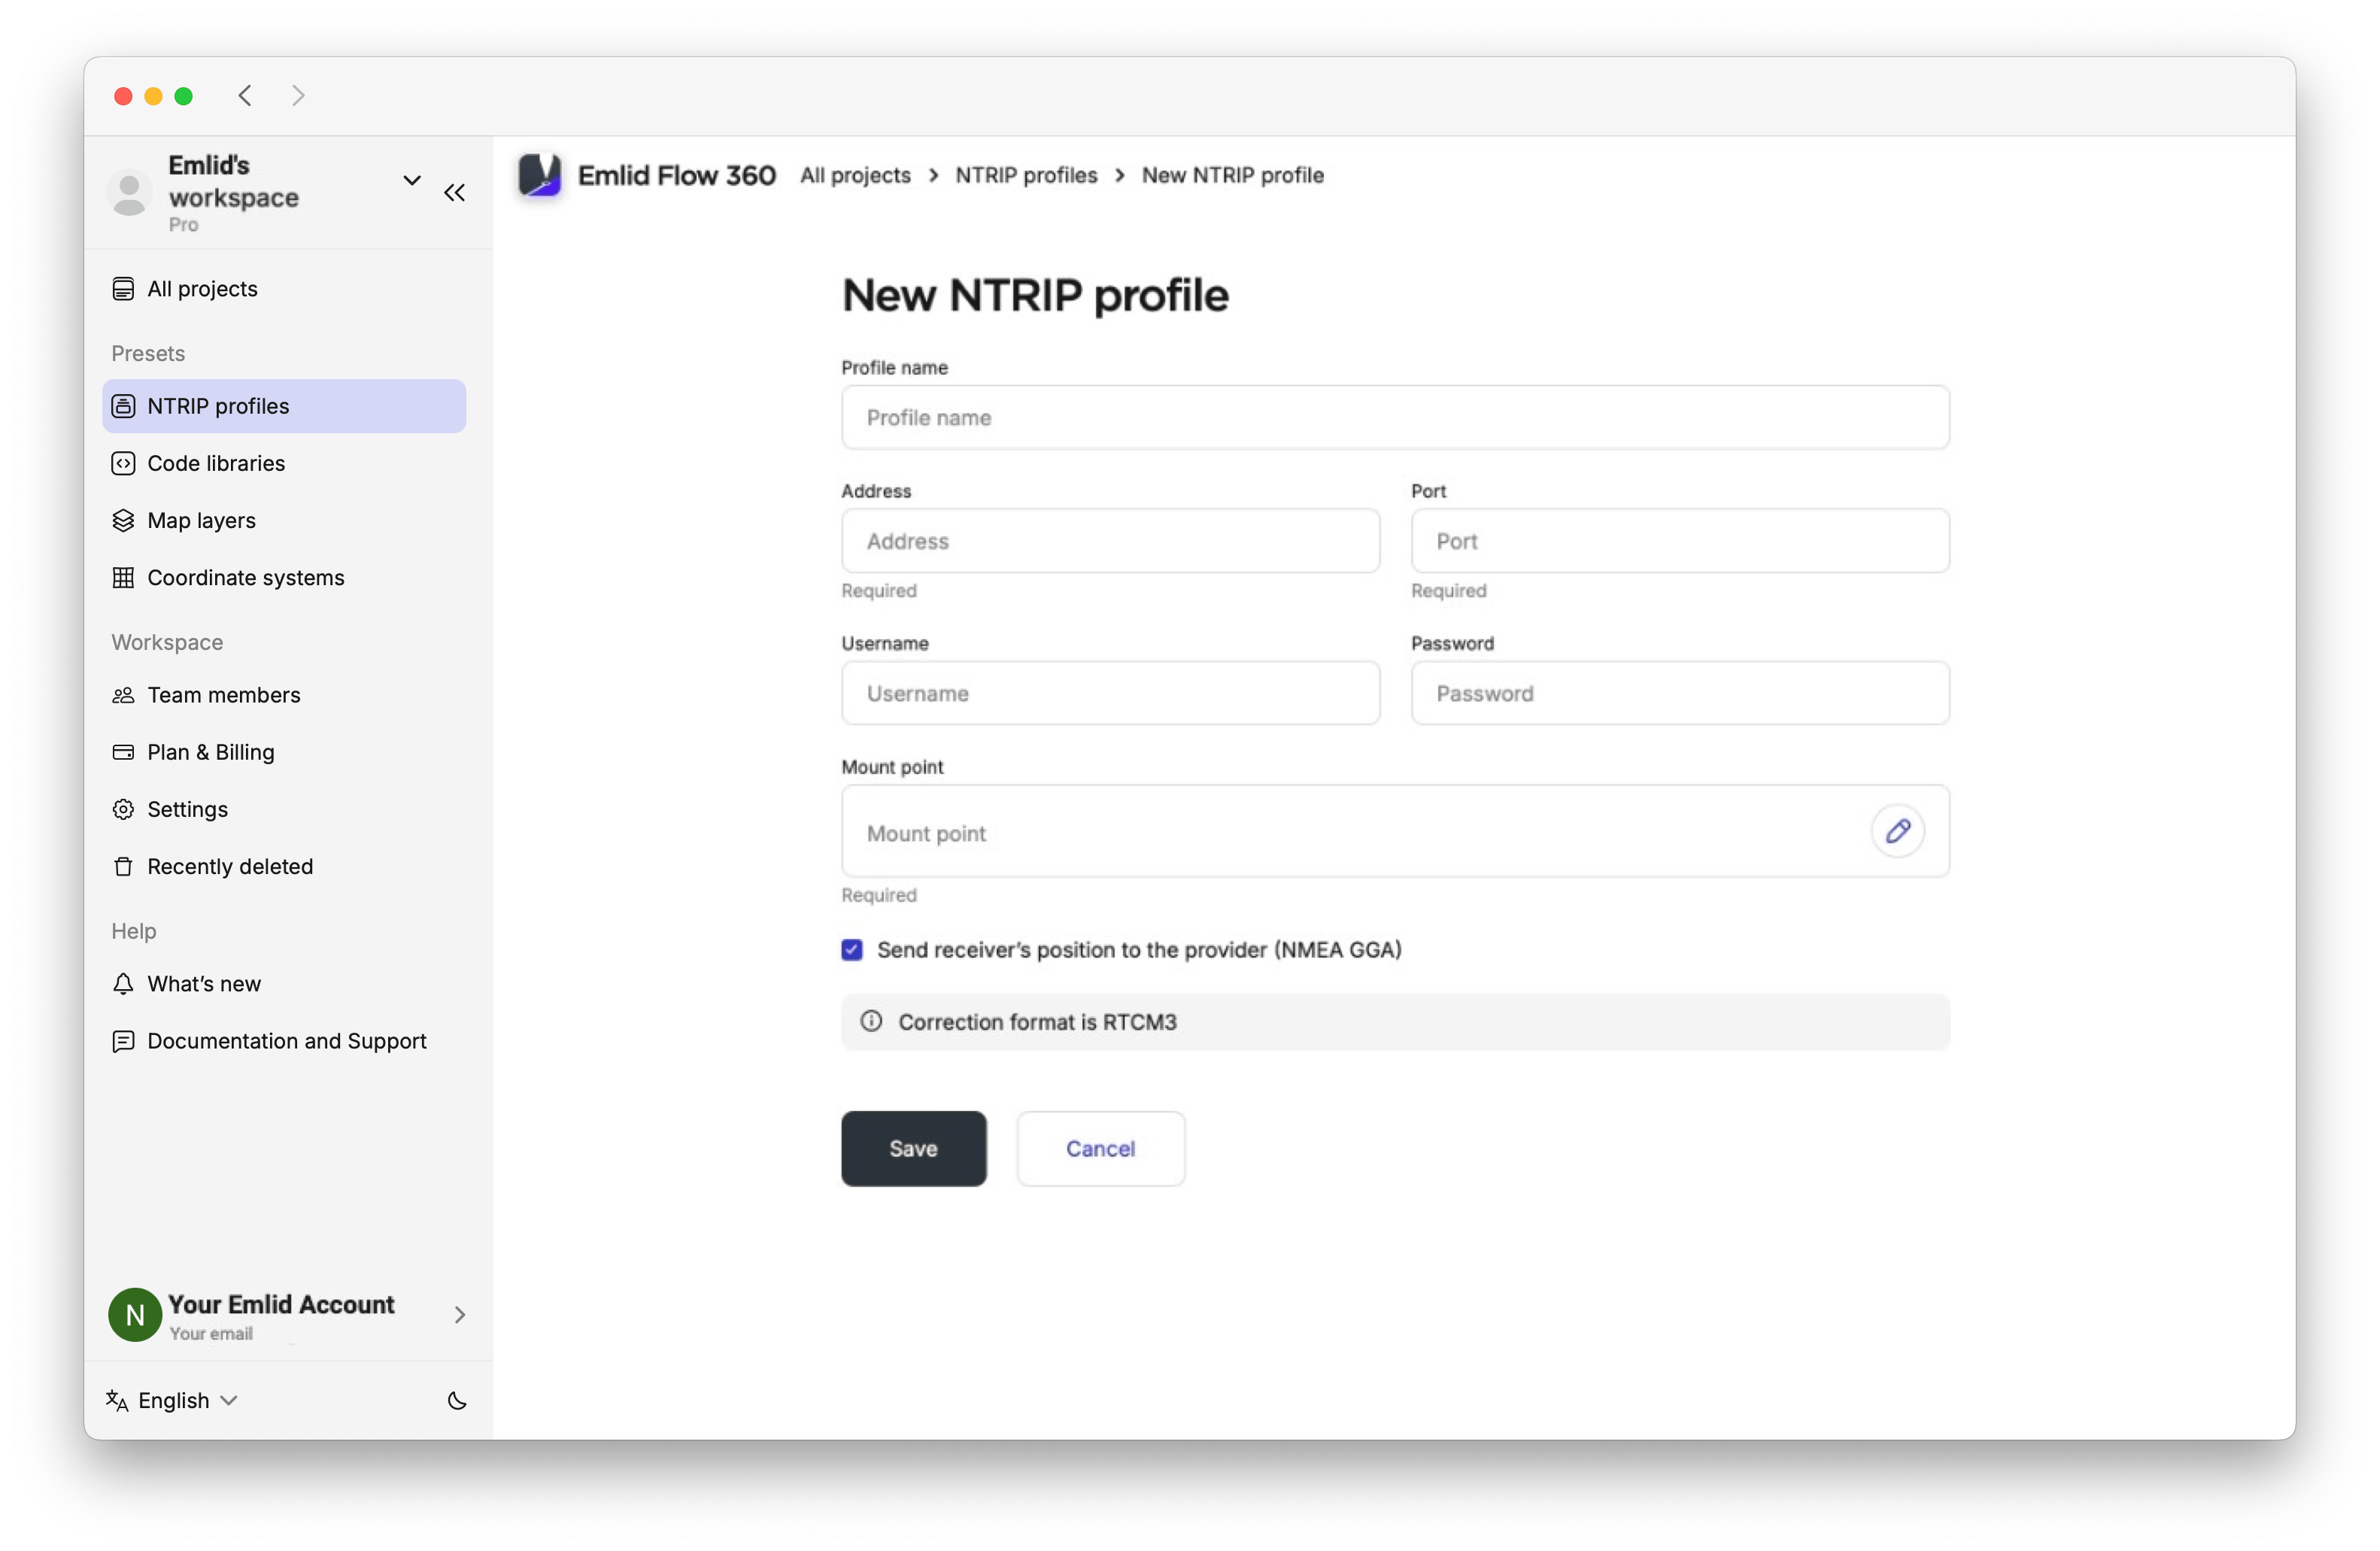
Click on the +New button.
-
Enter the information from your NTRIP provider.
tipTo find out which mount point suits you better, check the website of your NTRIP provider. The closer the mount point, the more precise your solution will be.
-
Click Save.
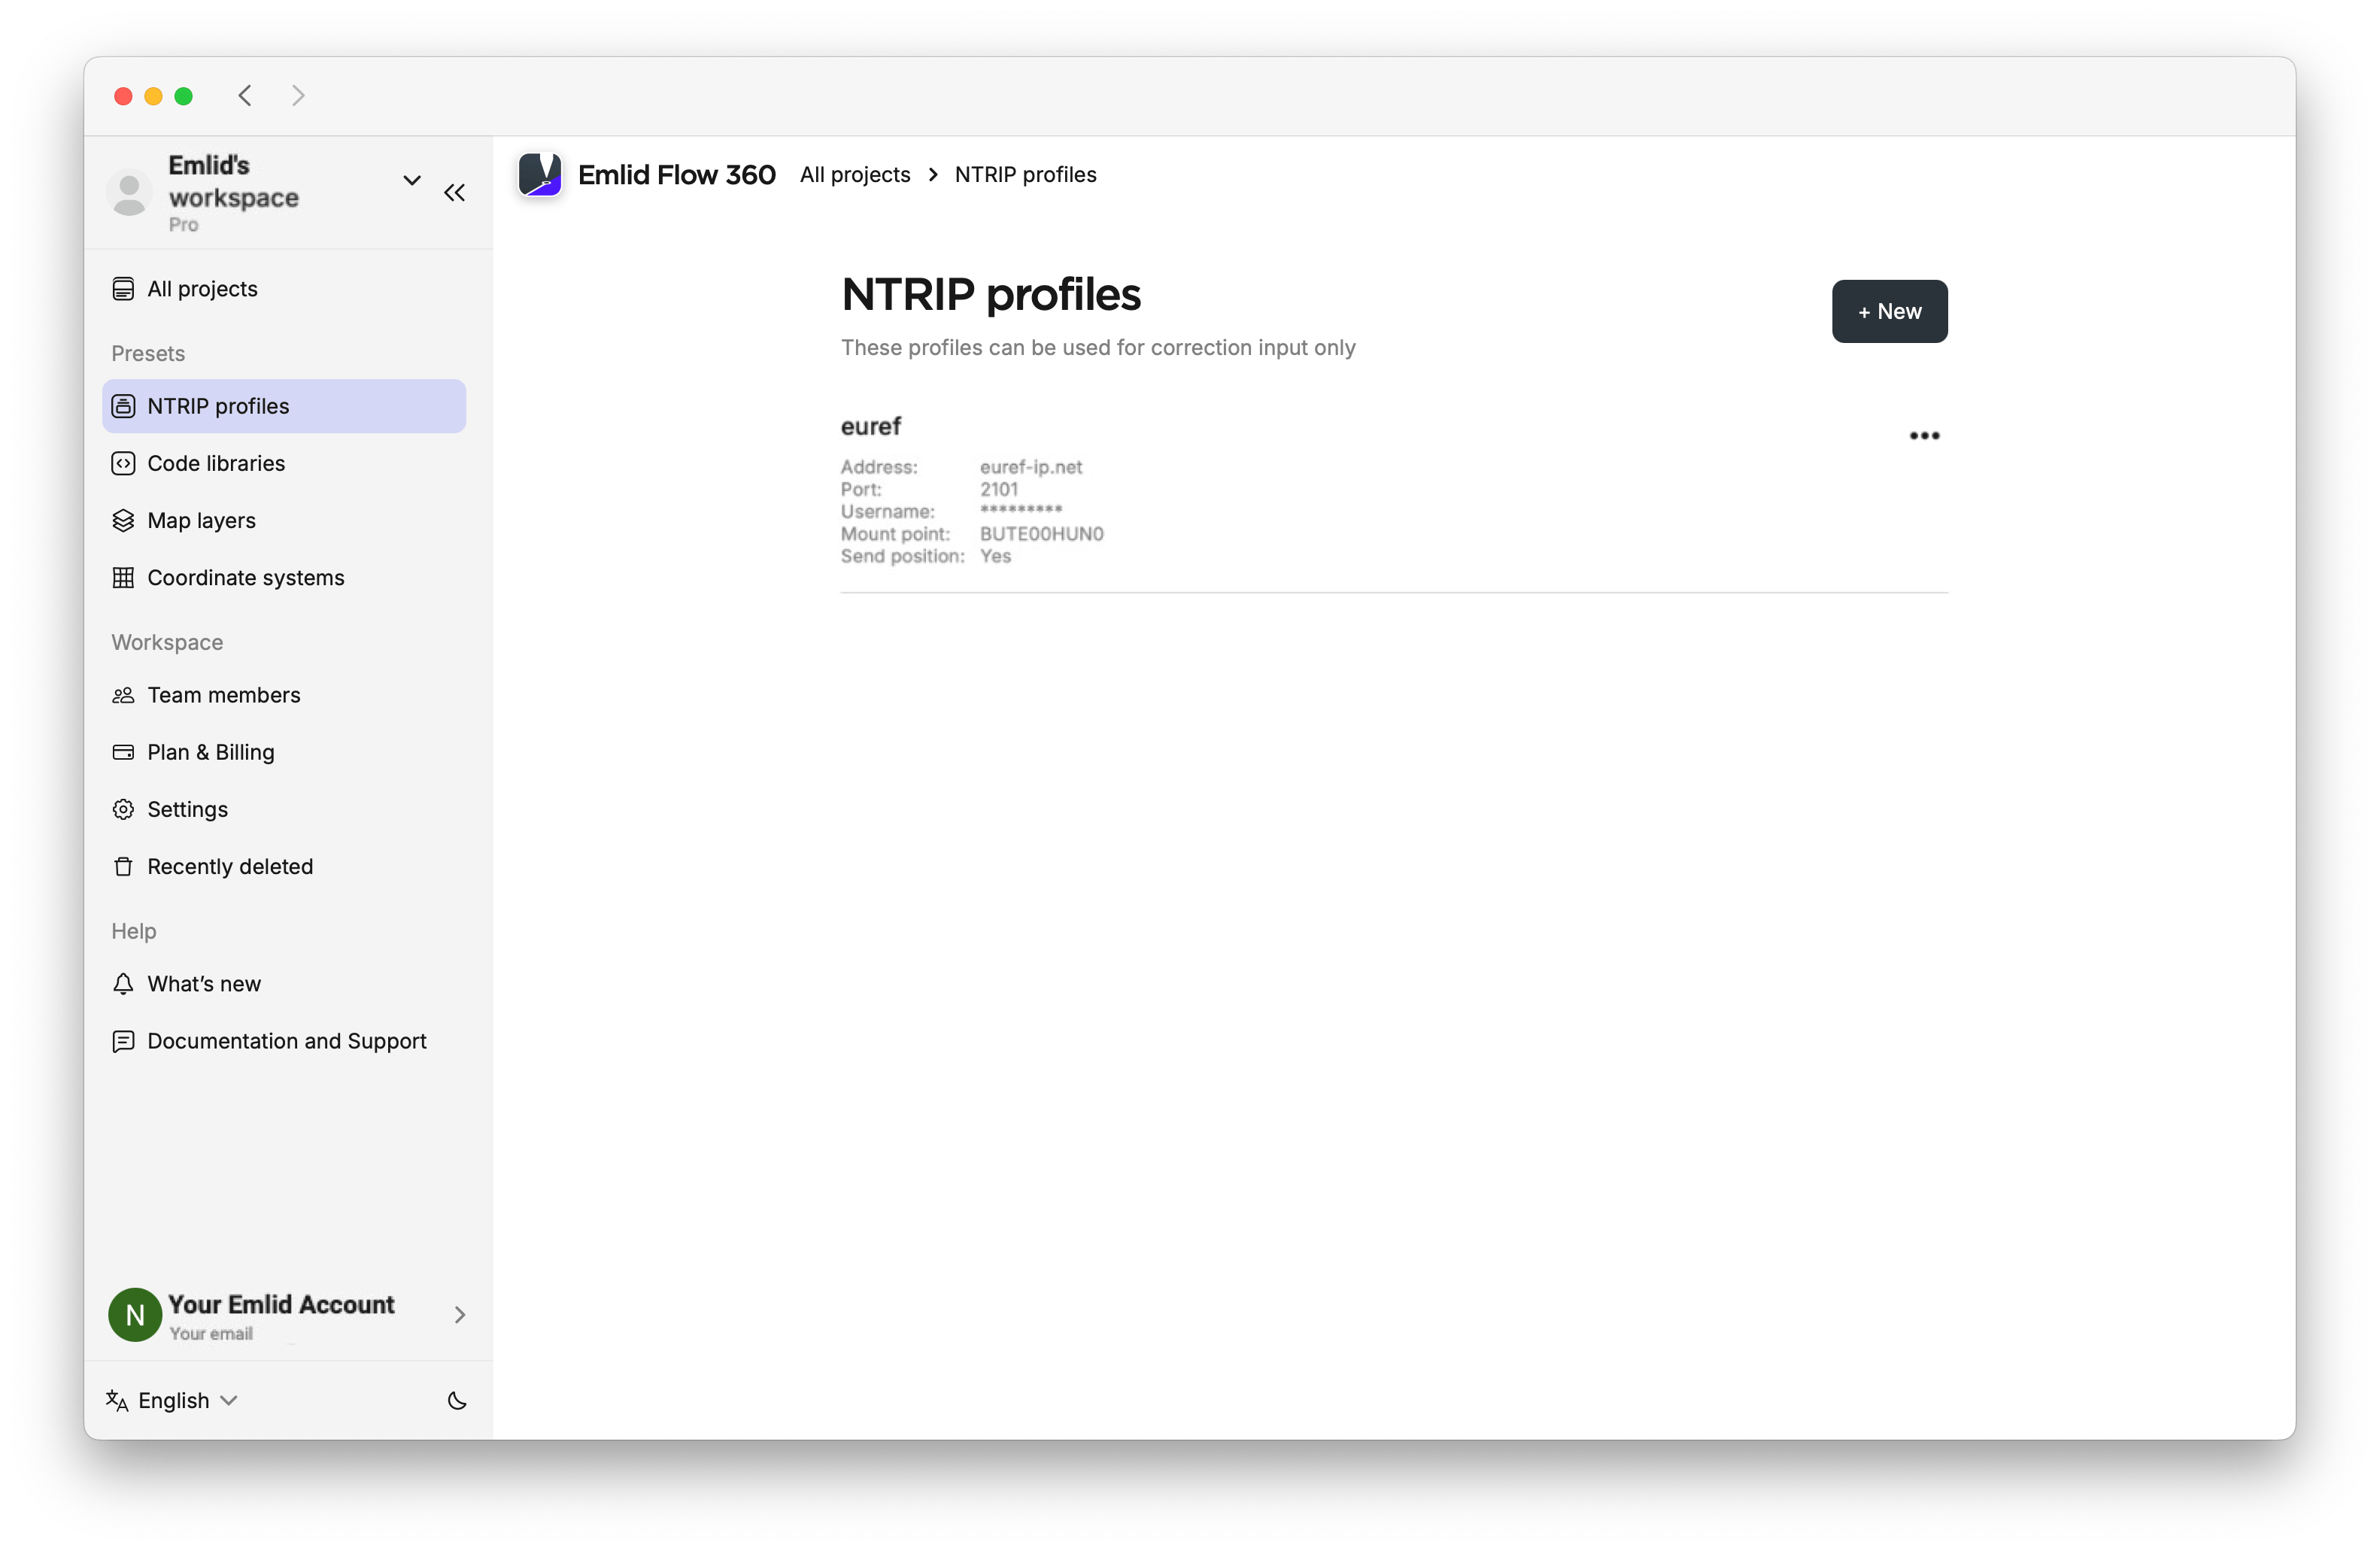
Now your NTRIP profile is saved in your NTRIP profiles list that you can use across any projects to receive corrections.
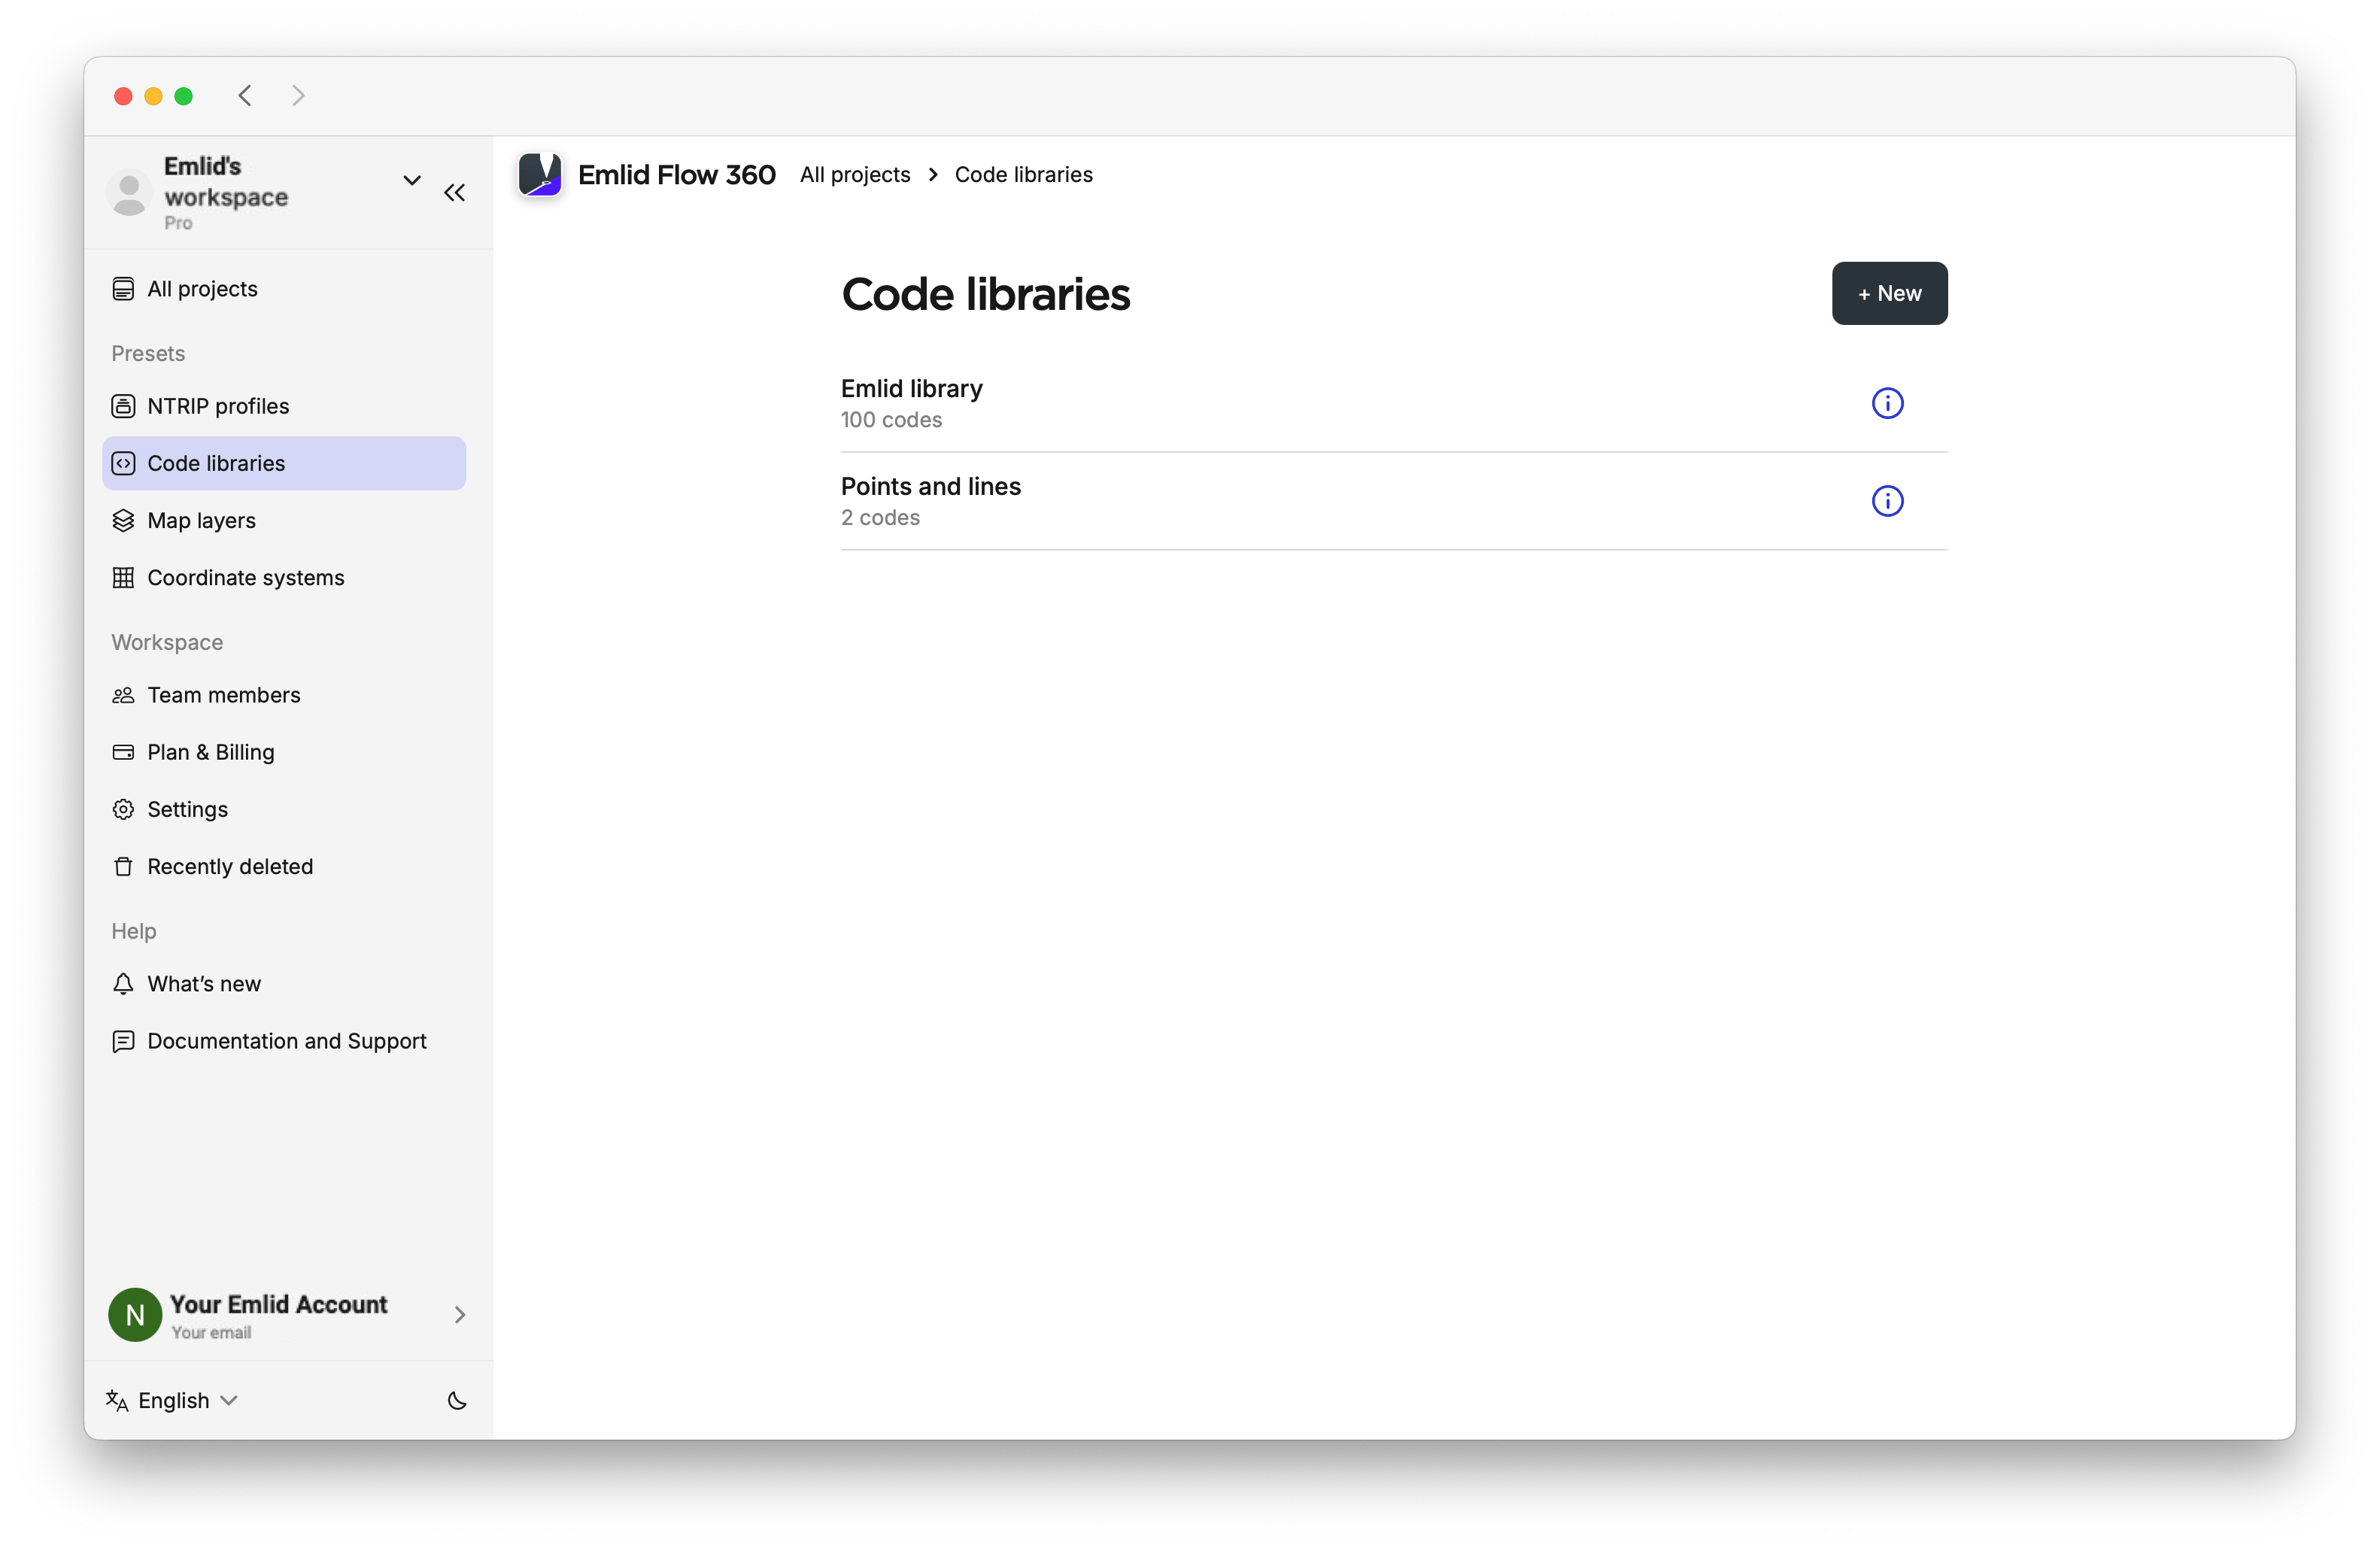
Code libraries
With the Pro plan, you can add code libraries with a variety of survey codes to identify collected geometries across projects. Code libraries are created and updated in Emlid Flow 360 and automatically synced to Emlid Flow.
We provide you with our code library; however, if you want to use your own, follow the steps below:
-
Go to the menu on the left and enter the Code libraries tab.
-
Create a new library and import the code you want to use.
-
Save the library for reuse in projects.
To learn more, read the step-by-step Manage code libraries guide.
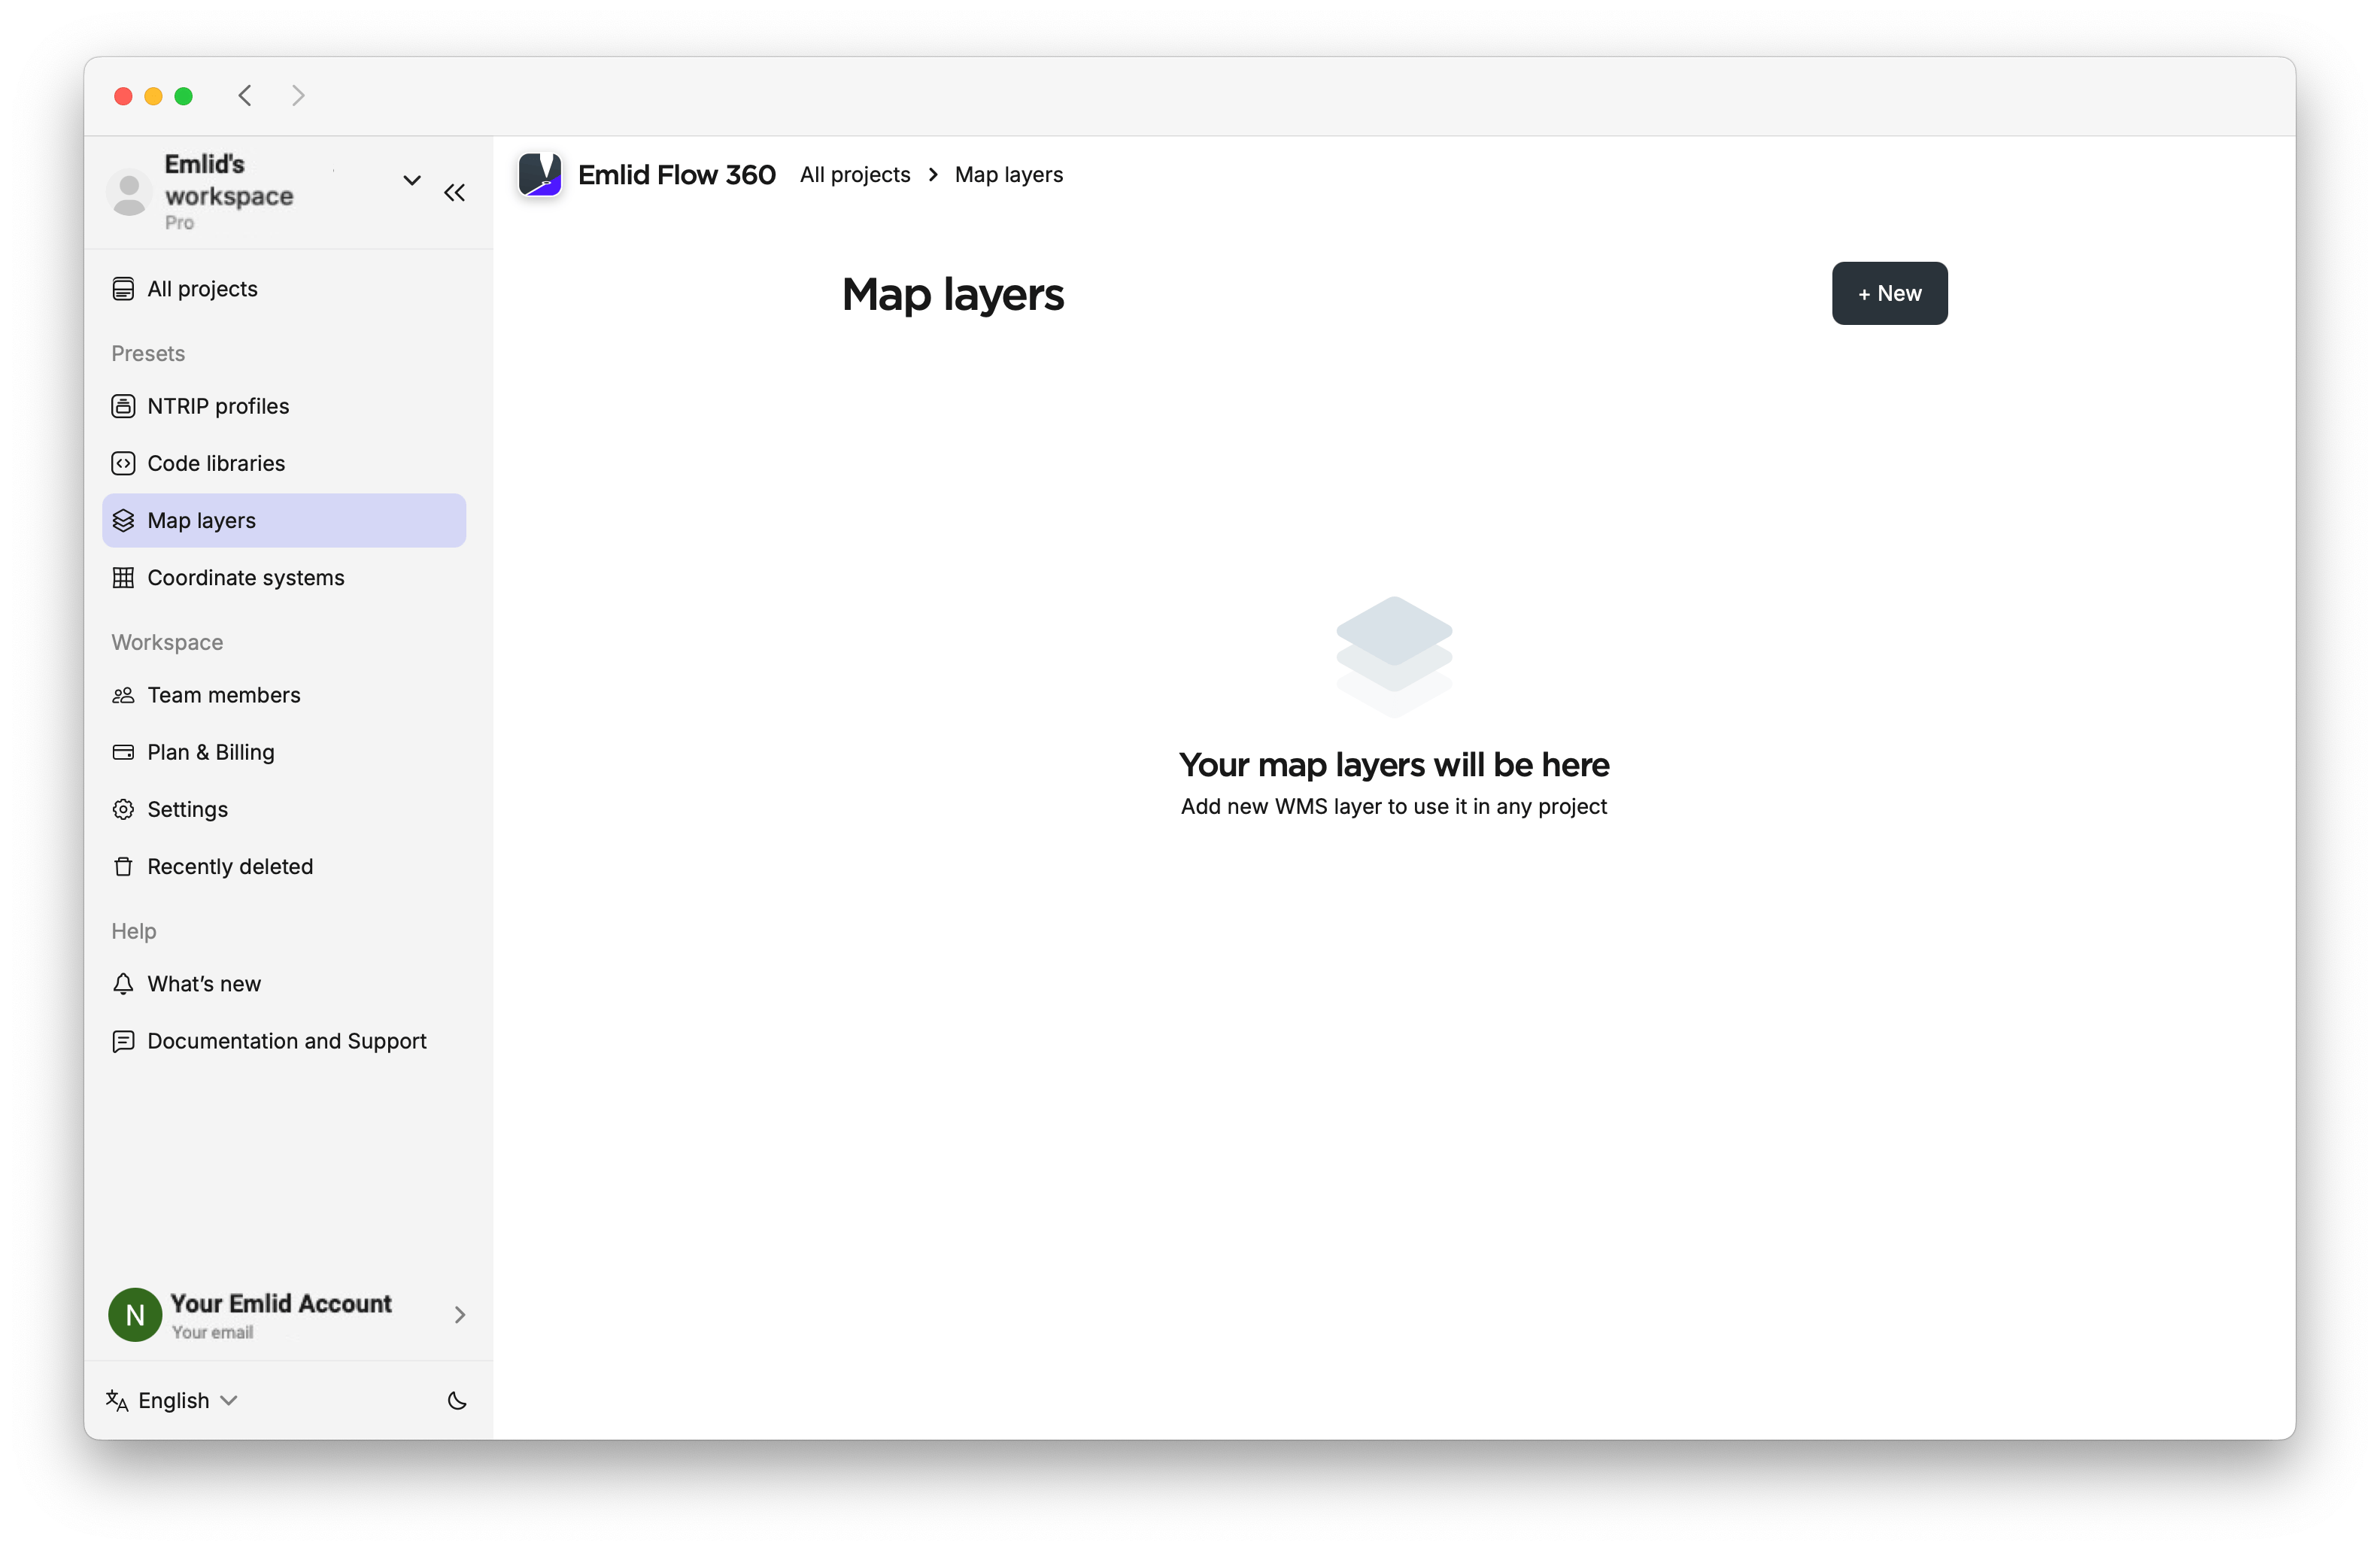
Map layers
In Emlid Flow 360, you can add WMS layers from web map services, organize them in a library linked to your account, and reuse them across projects. These layers provide visual context for the survey area.
Create a map layer by following these steps:
-
Enter Map layers in the menu and click on +New.
-
Type in or paste the address of the WMS service you use. Emlid Flow 360 will load the list of available layers.
-
Select the layers you want to add and click Add layers.
Once WMS layers are loaded to the library, you will be able to add them to any project in Emlid Flow 360. Check the Create WMS layers guide for more information.
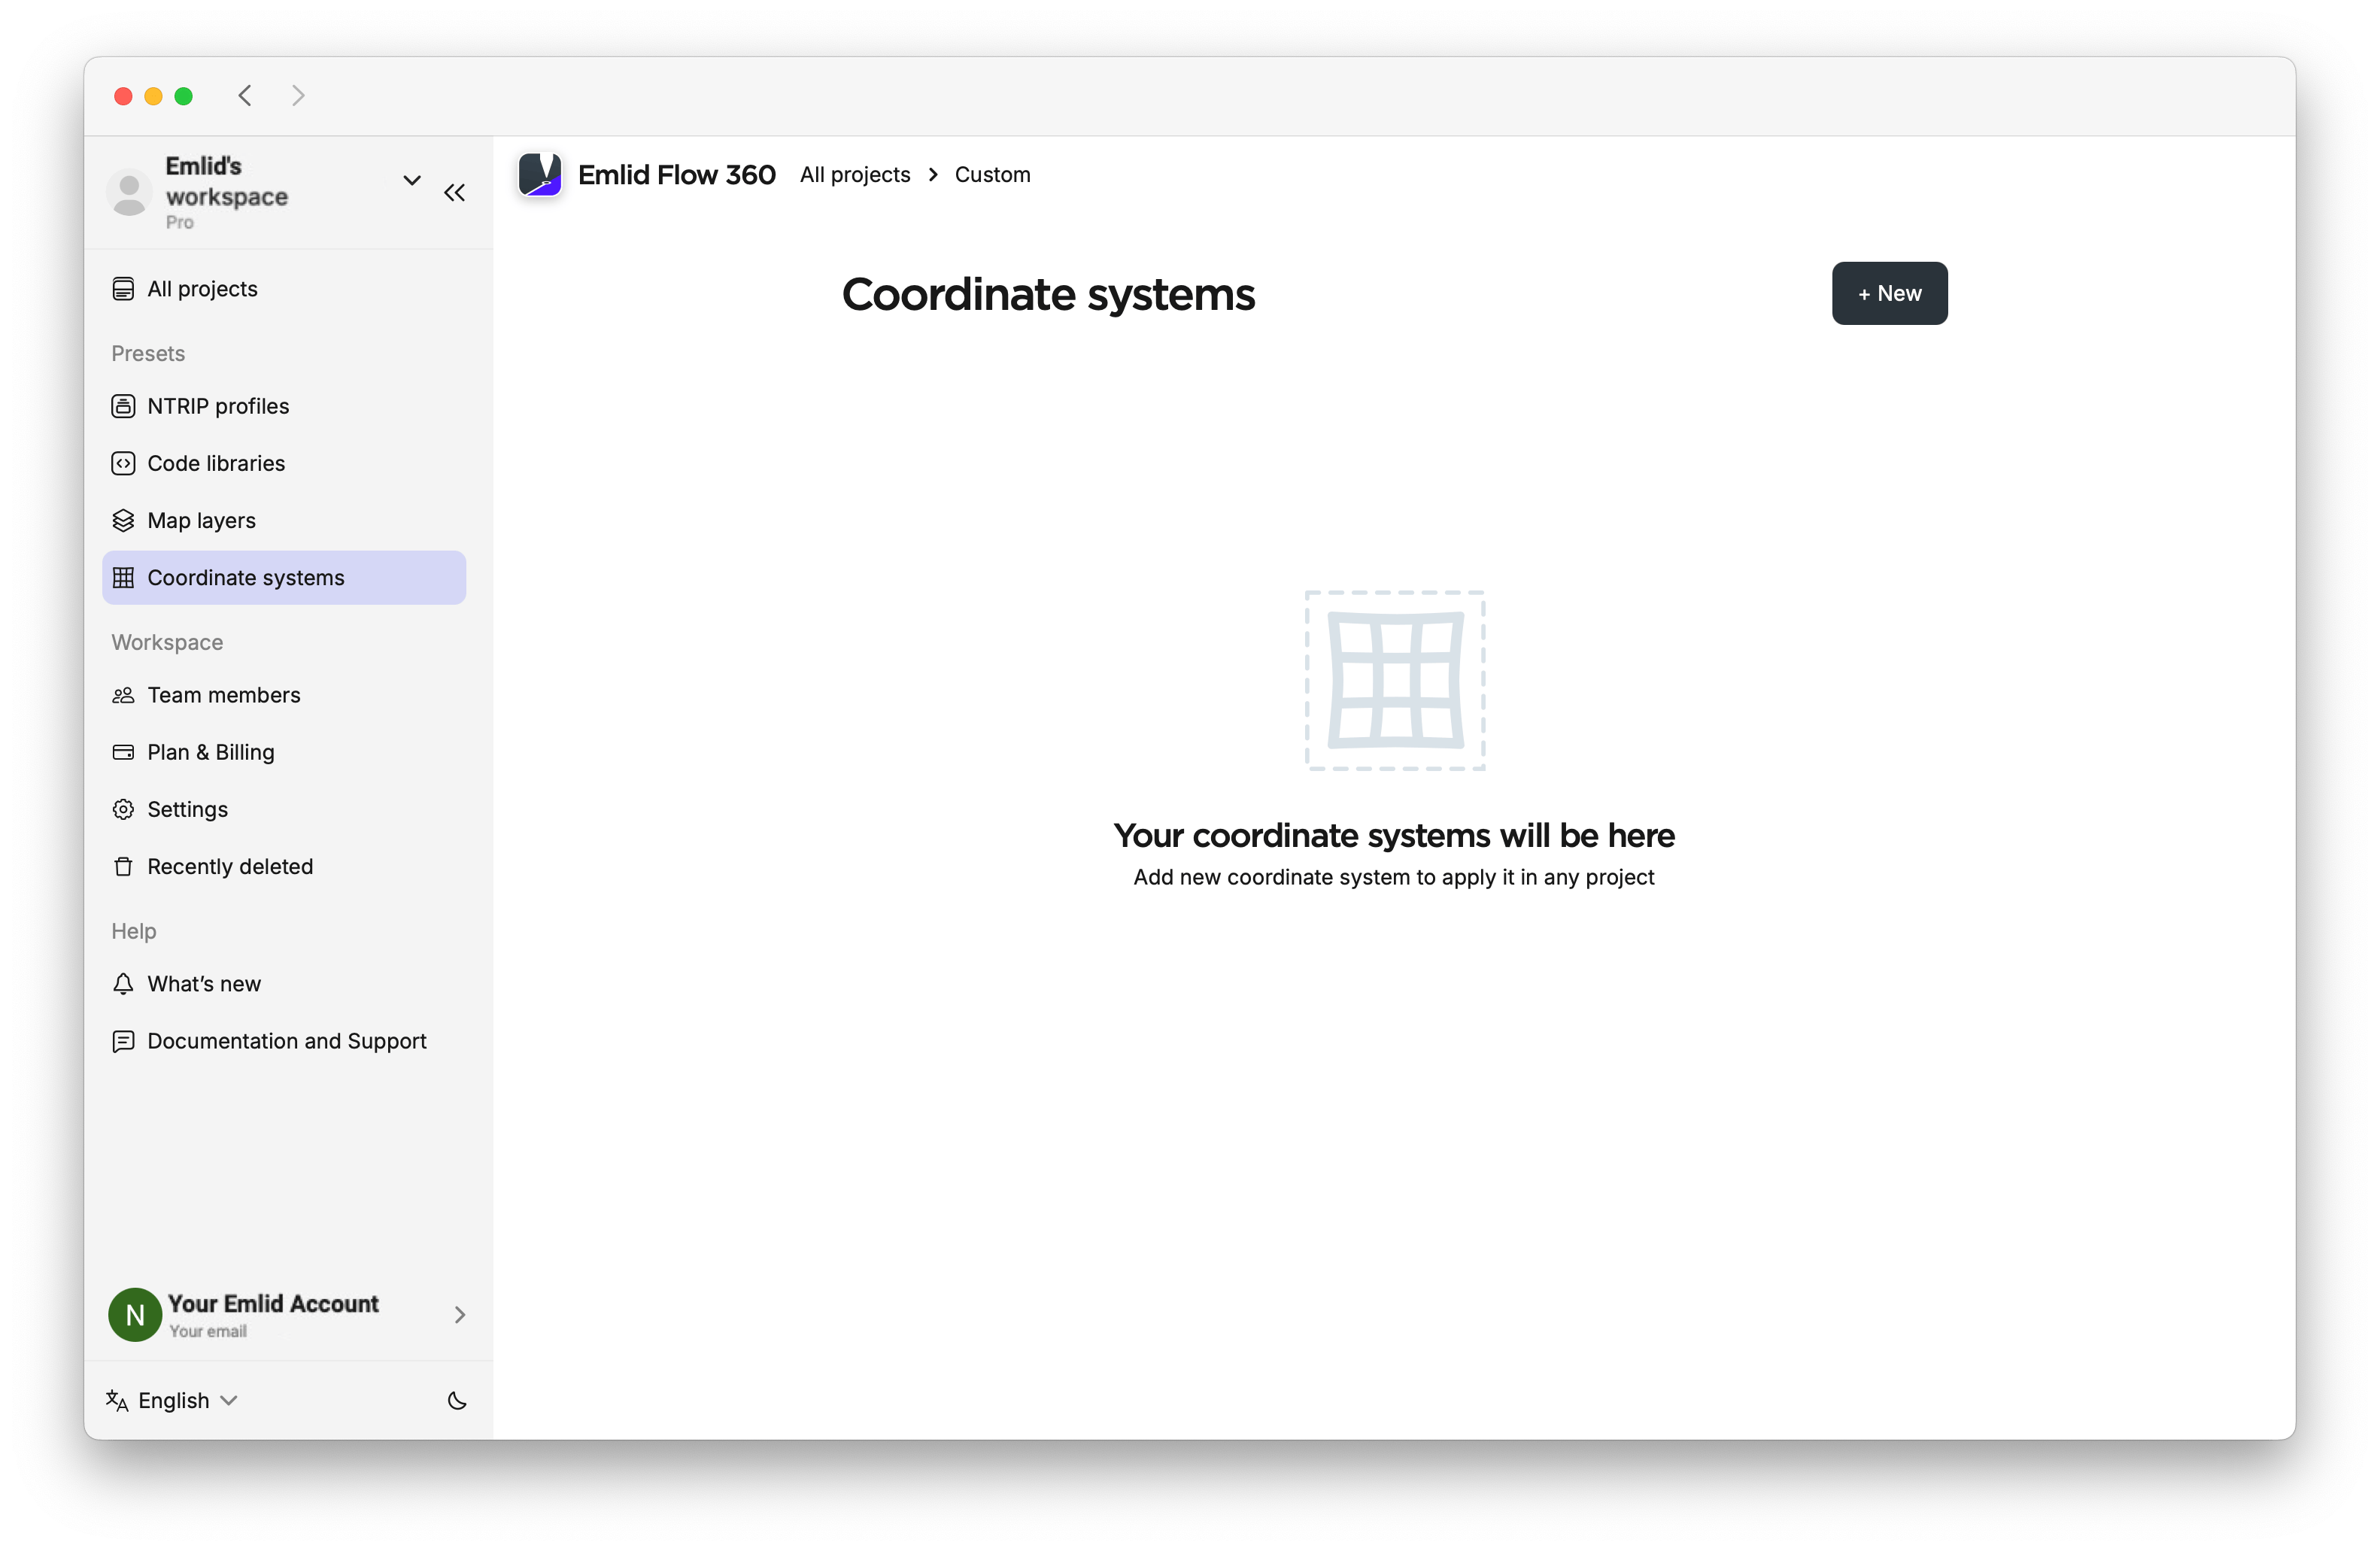
Coordinate systems
Emlid Flow 360 allows you to add custom coordinate systems for use in your projects. It also automatically stores localized coordinate systems created in Emlid Flow, if you save them after applying localization, as well as those resulting from imported localization parameters.
To set up a custom coordinate system, do as follows:
-
Choose Coordinate systems in the menu on the left, and click on +New to create a custom coordinate system.
-
Apply the parameters.
-
Save the resulting coordinate system.
Refer to the Set up custom coordinate system guide for more information.
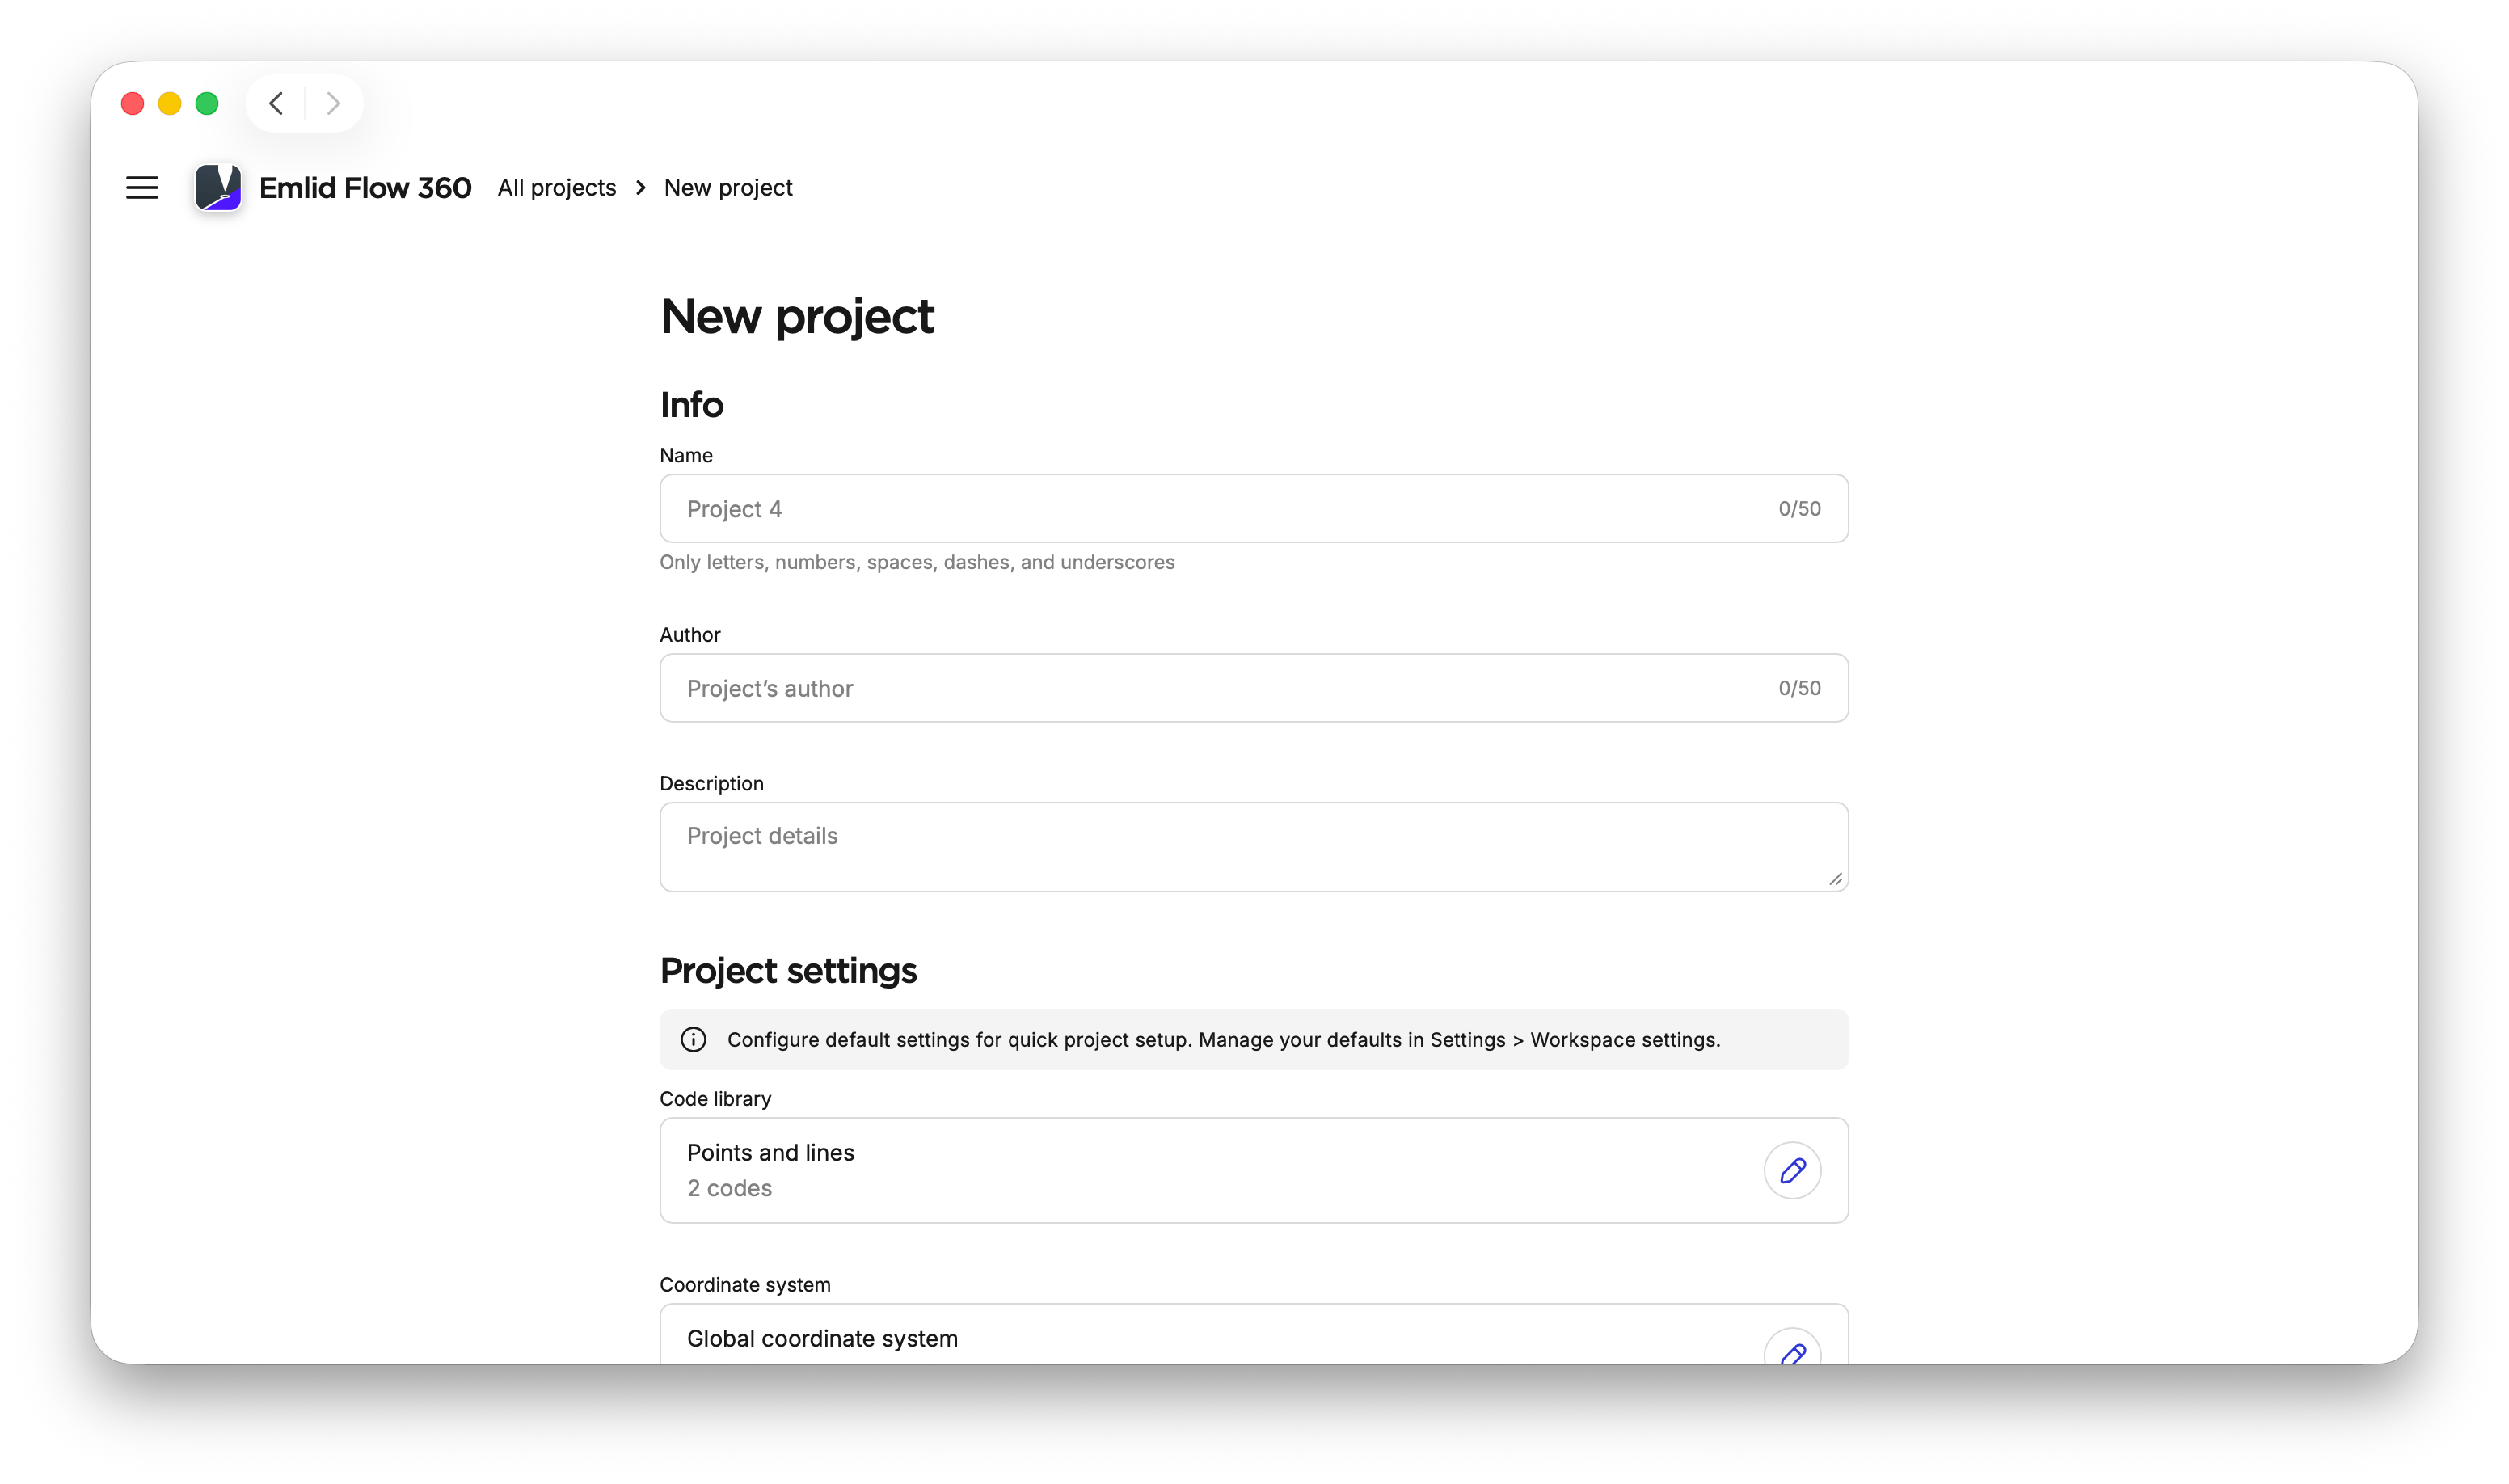
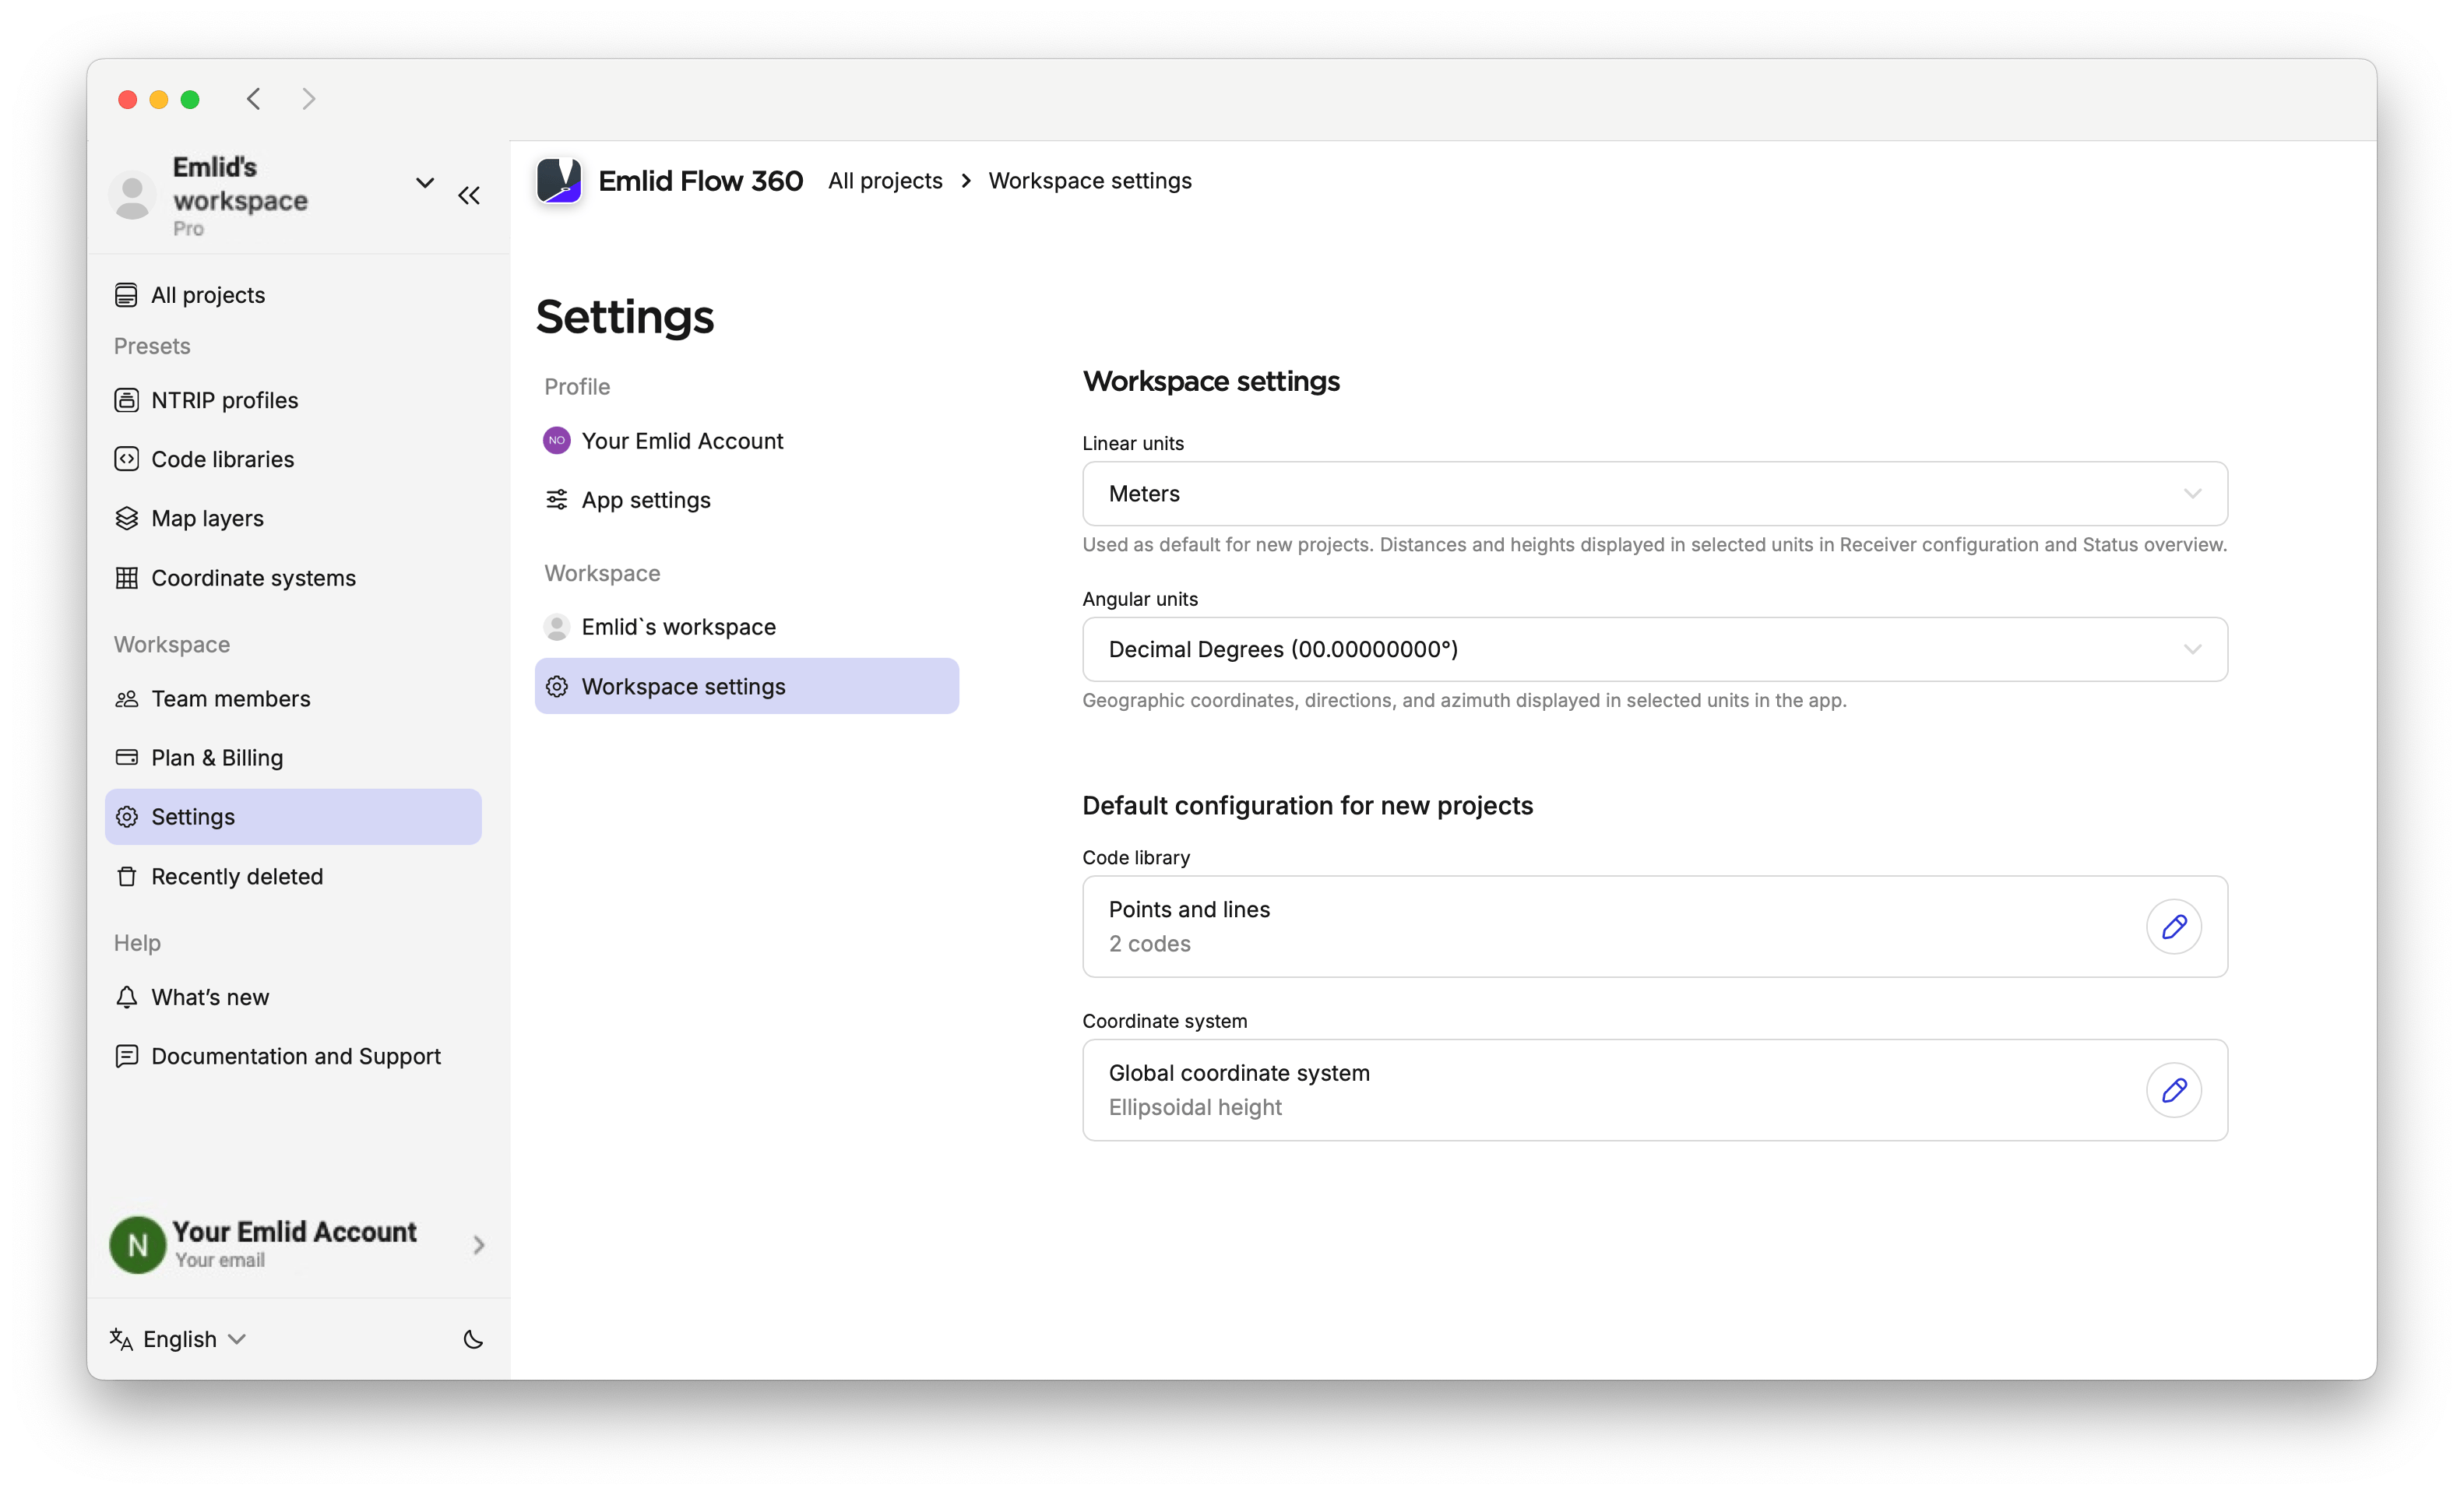
Managing default settings
In Workspace settings, you can configure linear and angular units used in your project, enable rover position streaming for your workspace members, and define a default code library and coordinate system for your future projects. These settings apply to all new projects in your workspace, helping you maintain consistency and reduce setup time.
To set up a default configuration for your project, follow the steps below:
-
Open Emlid Flow 360 and go to the menu on the left.
-
Enter Settings, then choose the Workspace settings tab.
-
Configure default linear and angular units, enable sharing workspace members' rover locations, and add code libraries and a coordinate system, that will be used for every new project by default.
If needed, you can change the default configuration later. You can also edit default settings within a created project.
If you have not saved a default yet, Emlid Flow 360 will ask if you want to save the new configurations as defaults.
Learn more about code libraries and coordinate system setup in the Manage Code Libraries, Set Up Coordinate System from Library, and Set Up Custom Coordinate System guides.
Adding team members
The number of team members you can add depends on your plan. The Pro plan lets you add unlimited team members, while the Free plan is limited to 10. Learn more in the Plan management guide.
To add your team members and collaborate with them on projects in your workspace, follow these steps:
-
In Emlid Flow 360, open the menu on the right and click Team members.
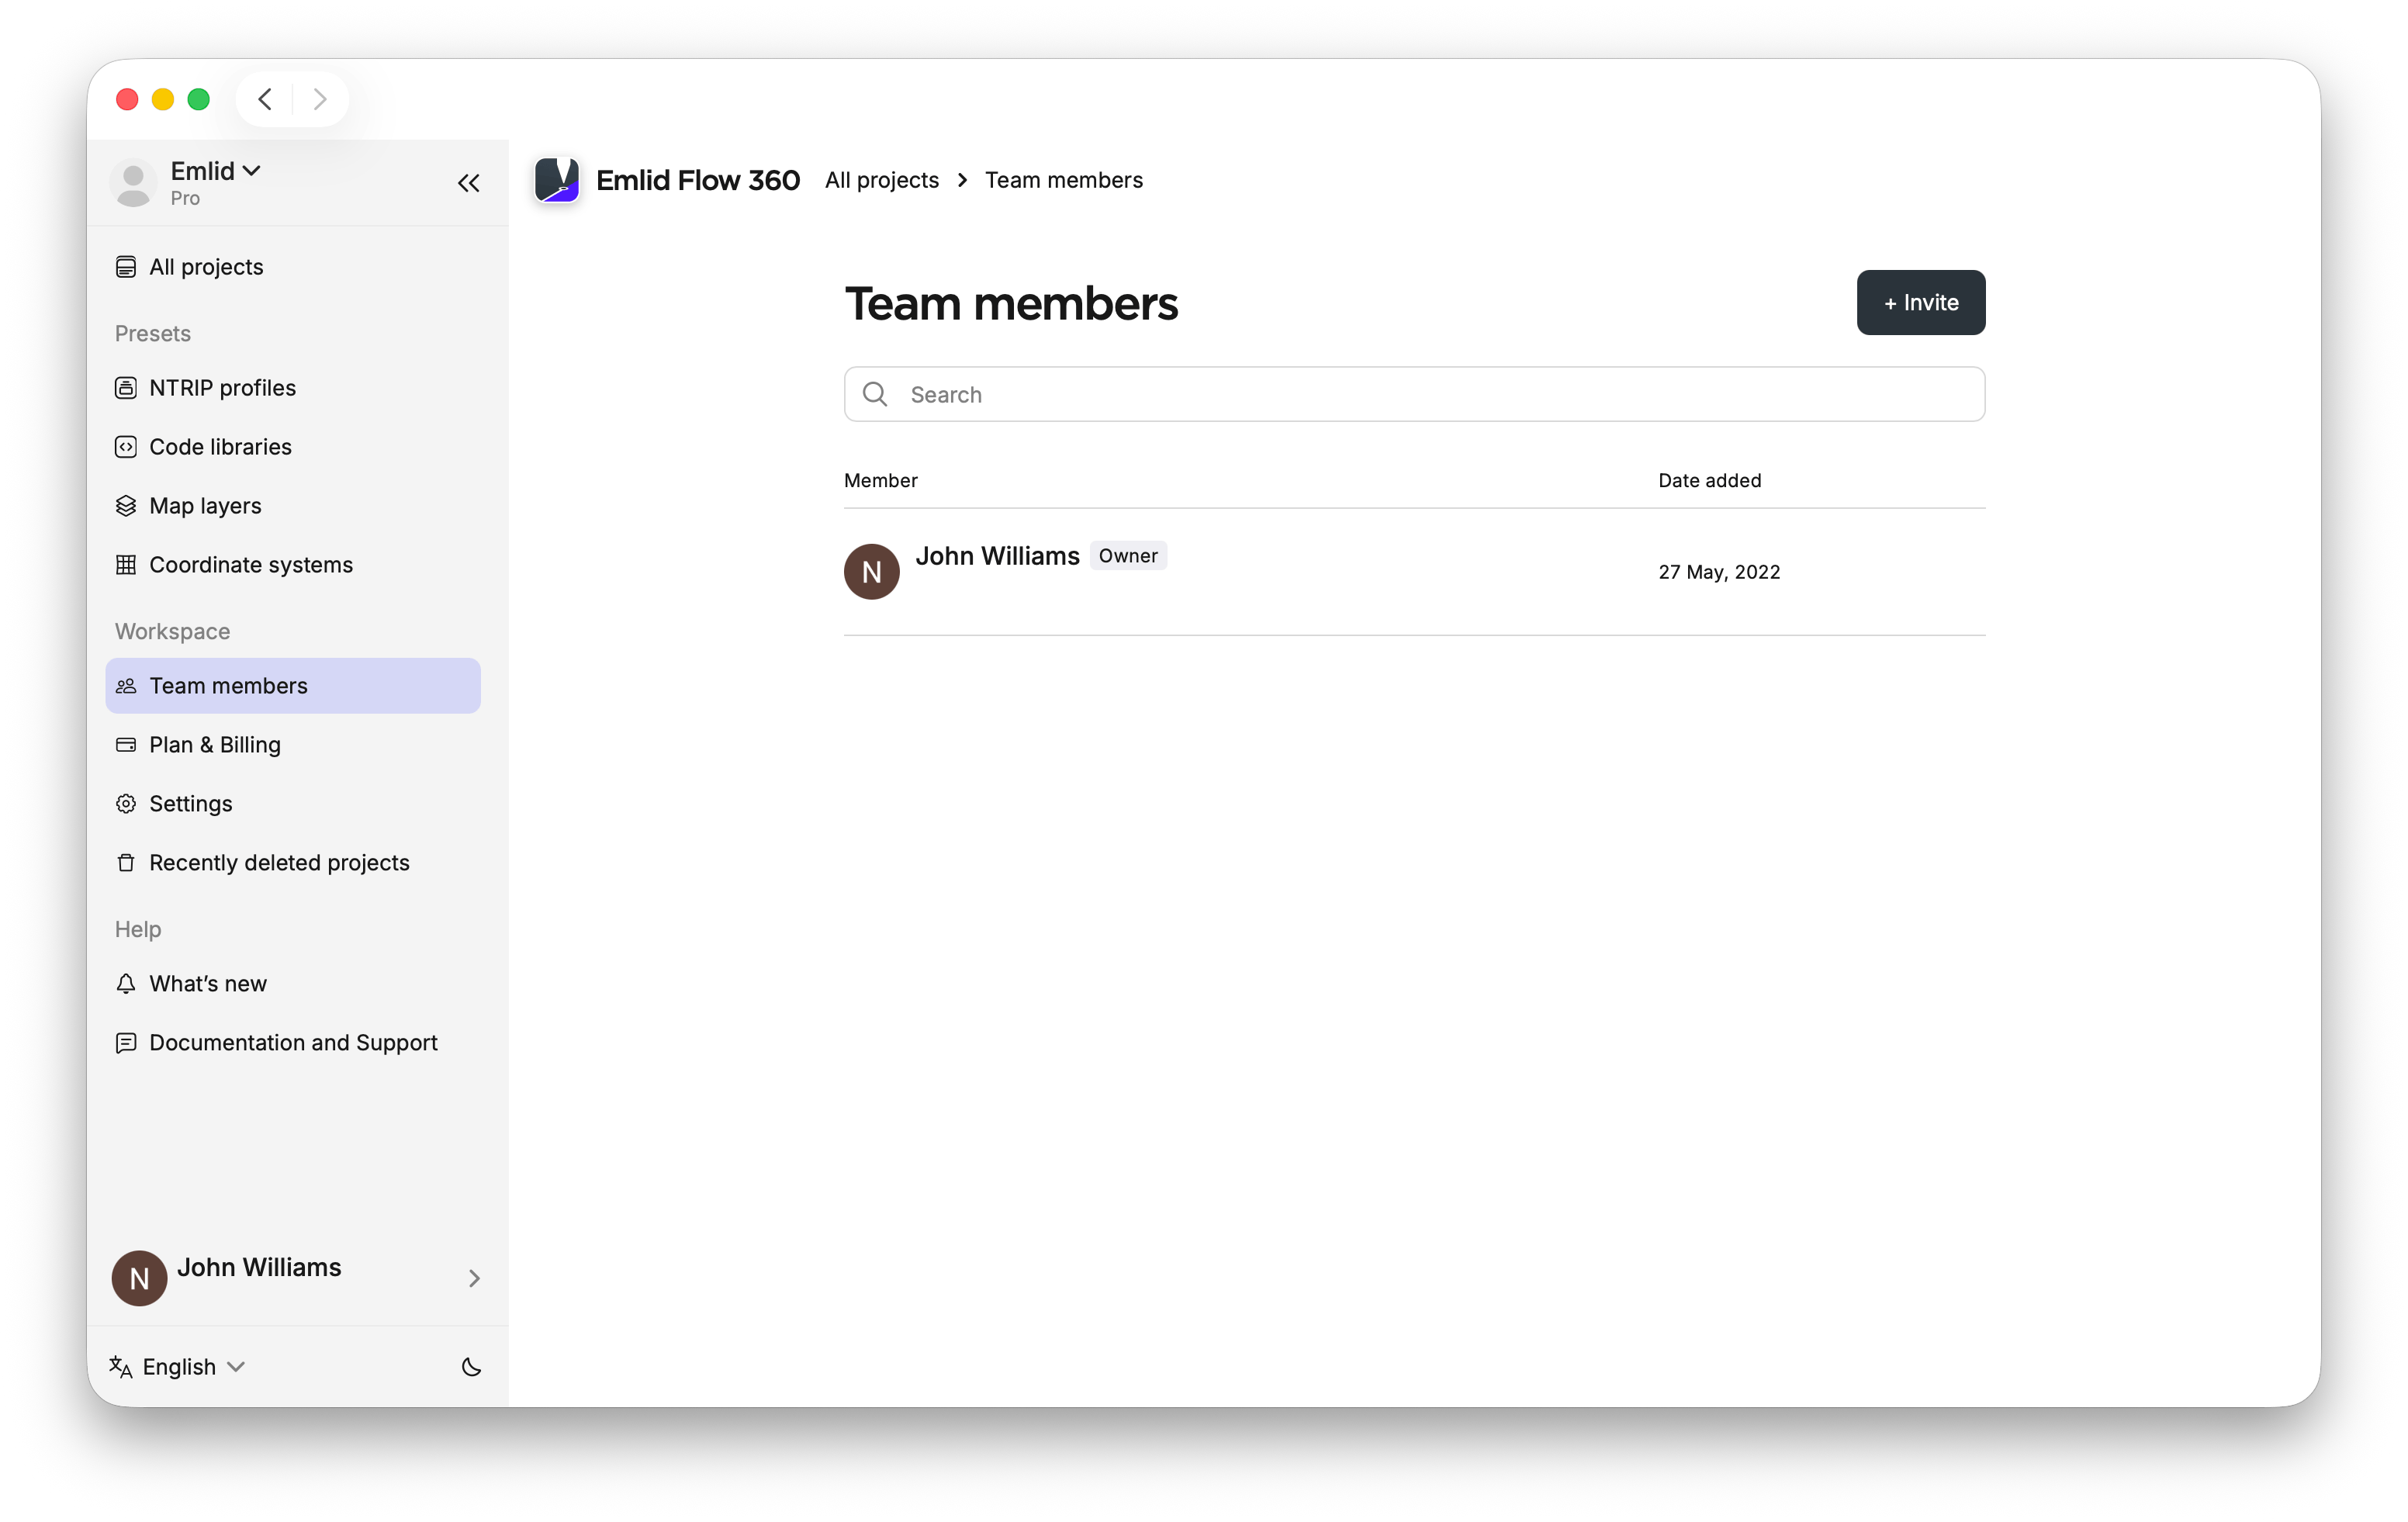
-
On the Team members page, click Invite member.
noteMake sure the person you add has an Emlid account. You can create an account for them and share the credentials, or ask them to register on their own.
noteIf you use the Pro plan with the advanced survey modes and tools, your billing updates automatically whenever you add a new member. Learn more in the Billing guide.
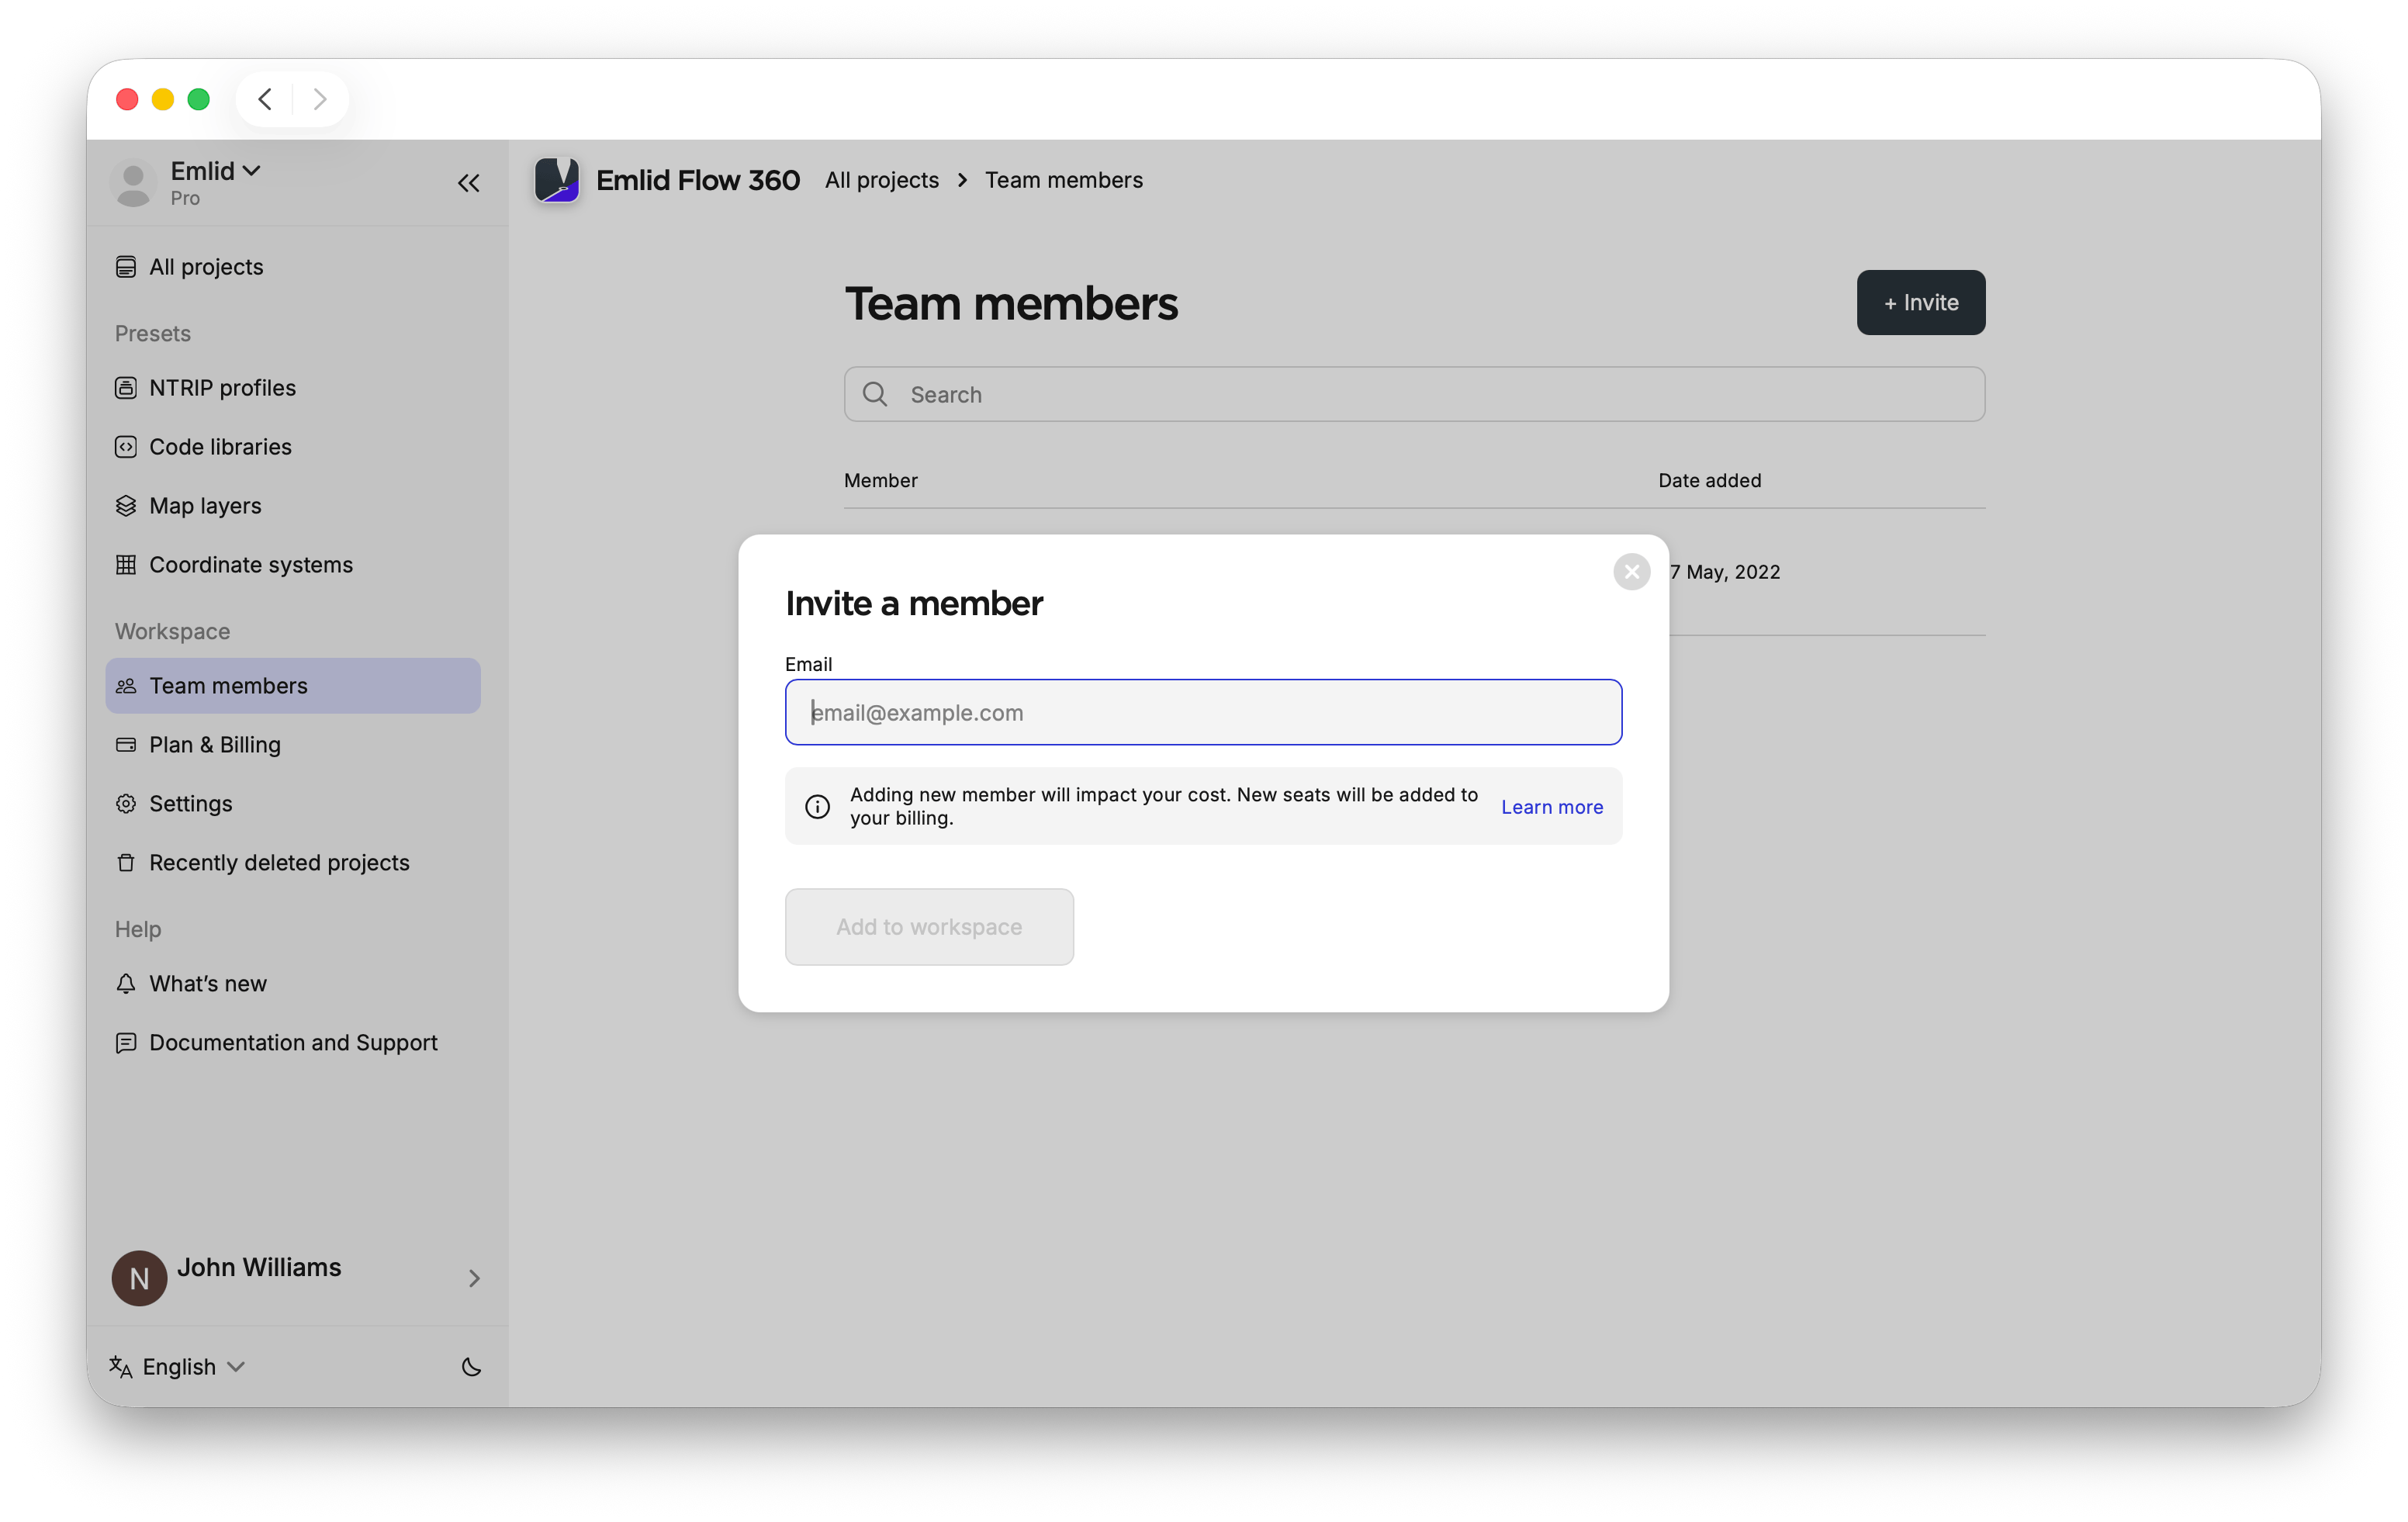
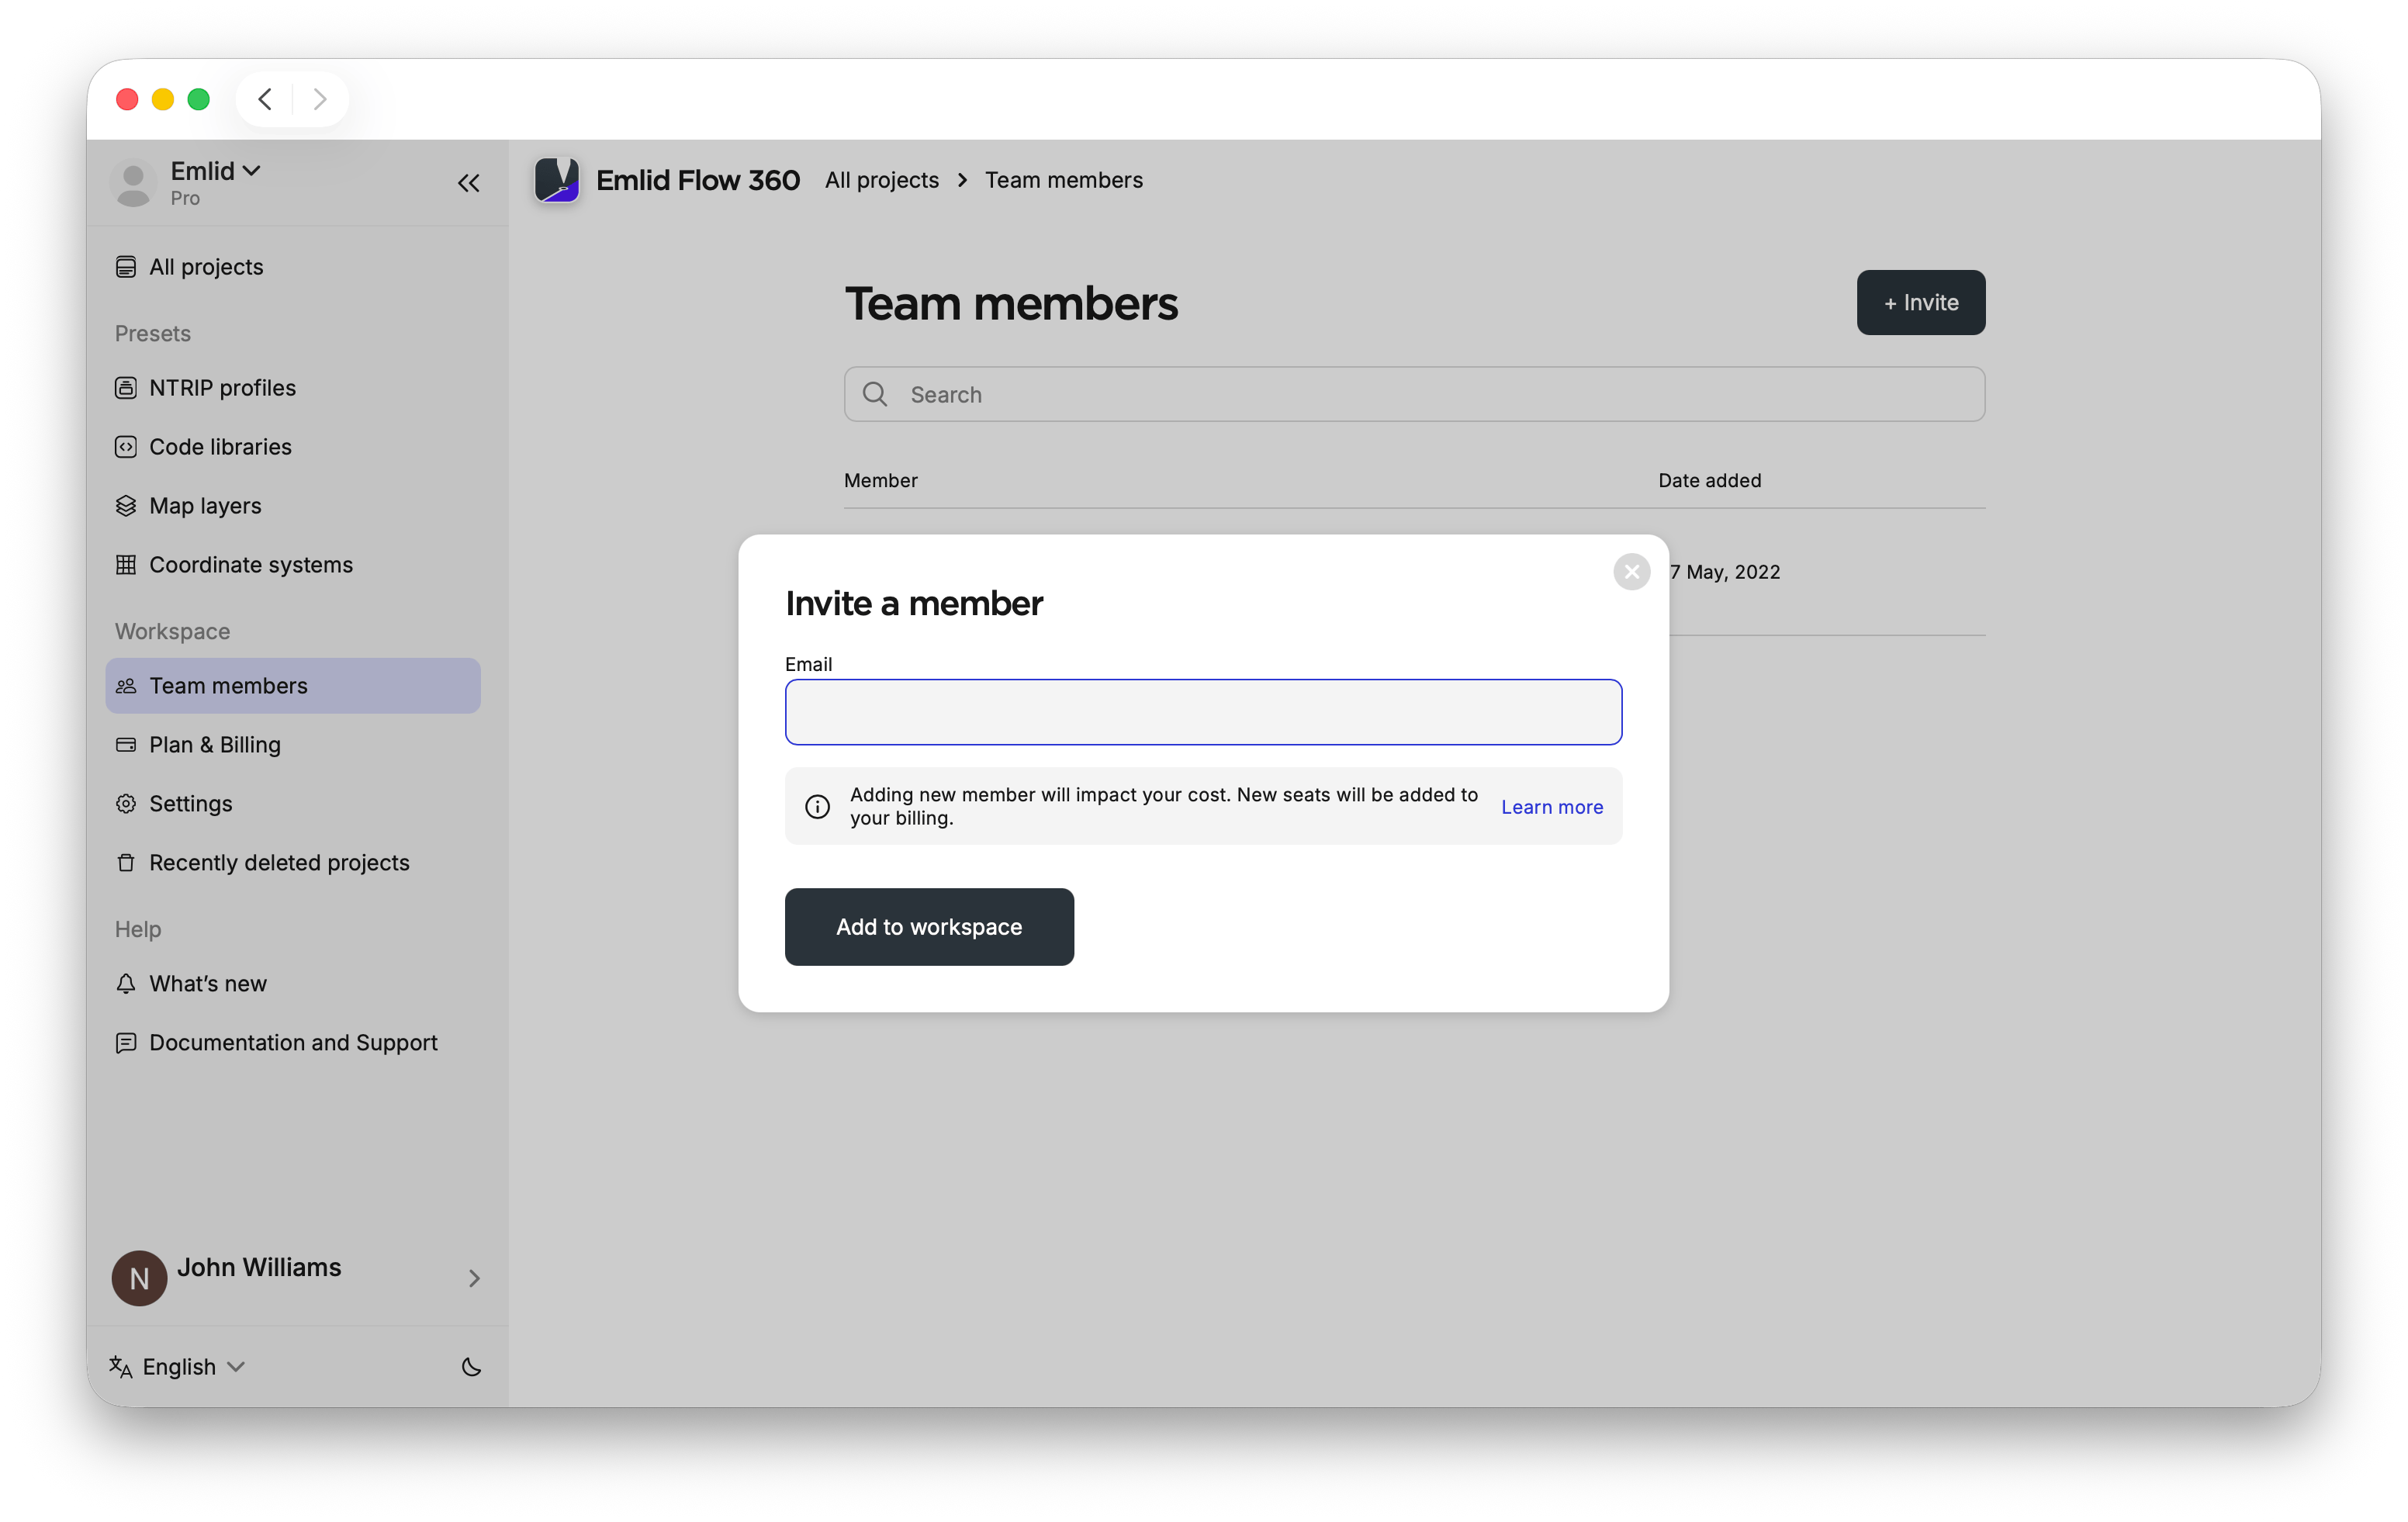
-
In the pop-up window, enter the email address of the person you want to add to your workspace and then click Add to the workspace. Click Add another member to include more people. When you’re done, close the window. Each added member will receive an email notification.
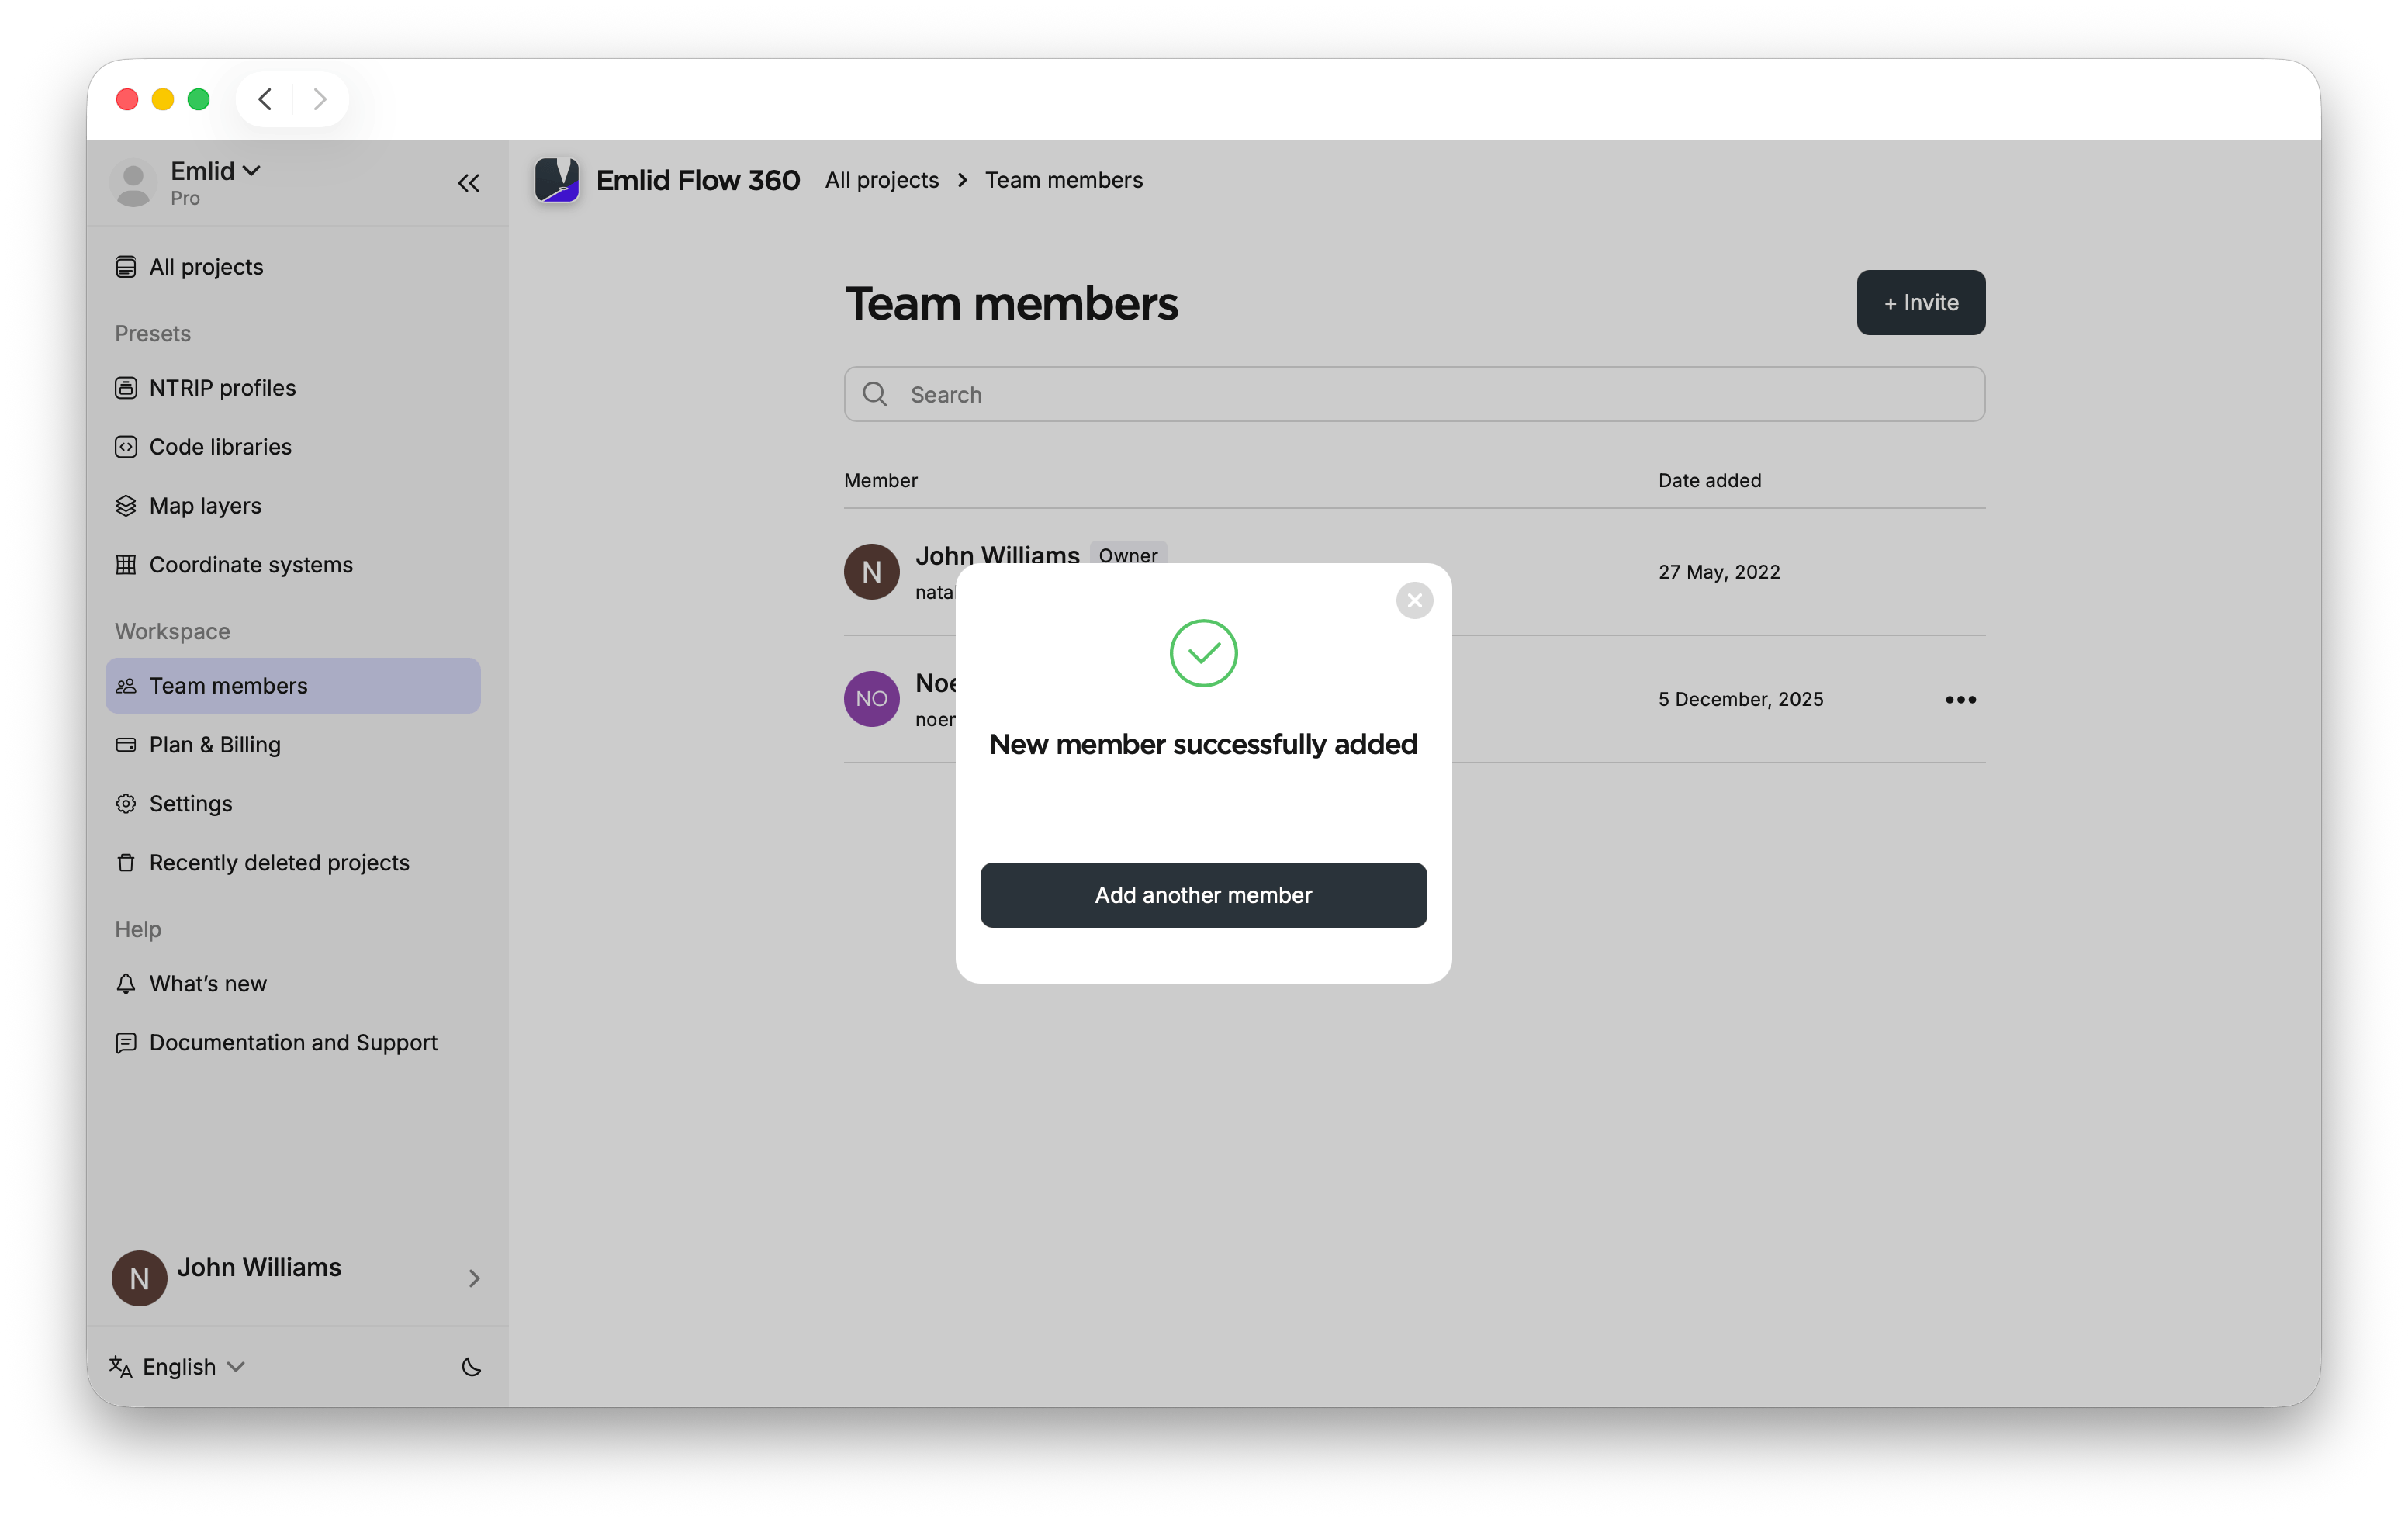
Once your team member receives the email invitation, they can start working on the projects in your workspace. To do this, they need to switch to your workspace.
Switching between workspaces
To access the workspace with shared projects, settings, and data, each added team member needs to switch to the workspace you added them to. Ask them to do the following:
- Emlid Flow 360
- Emlid Flow
-
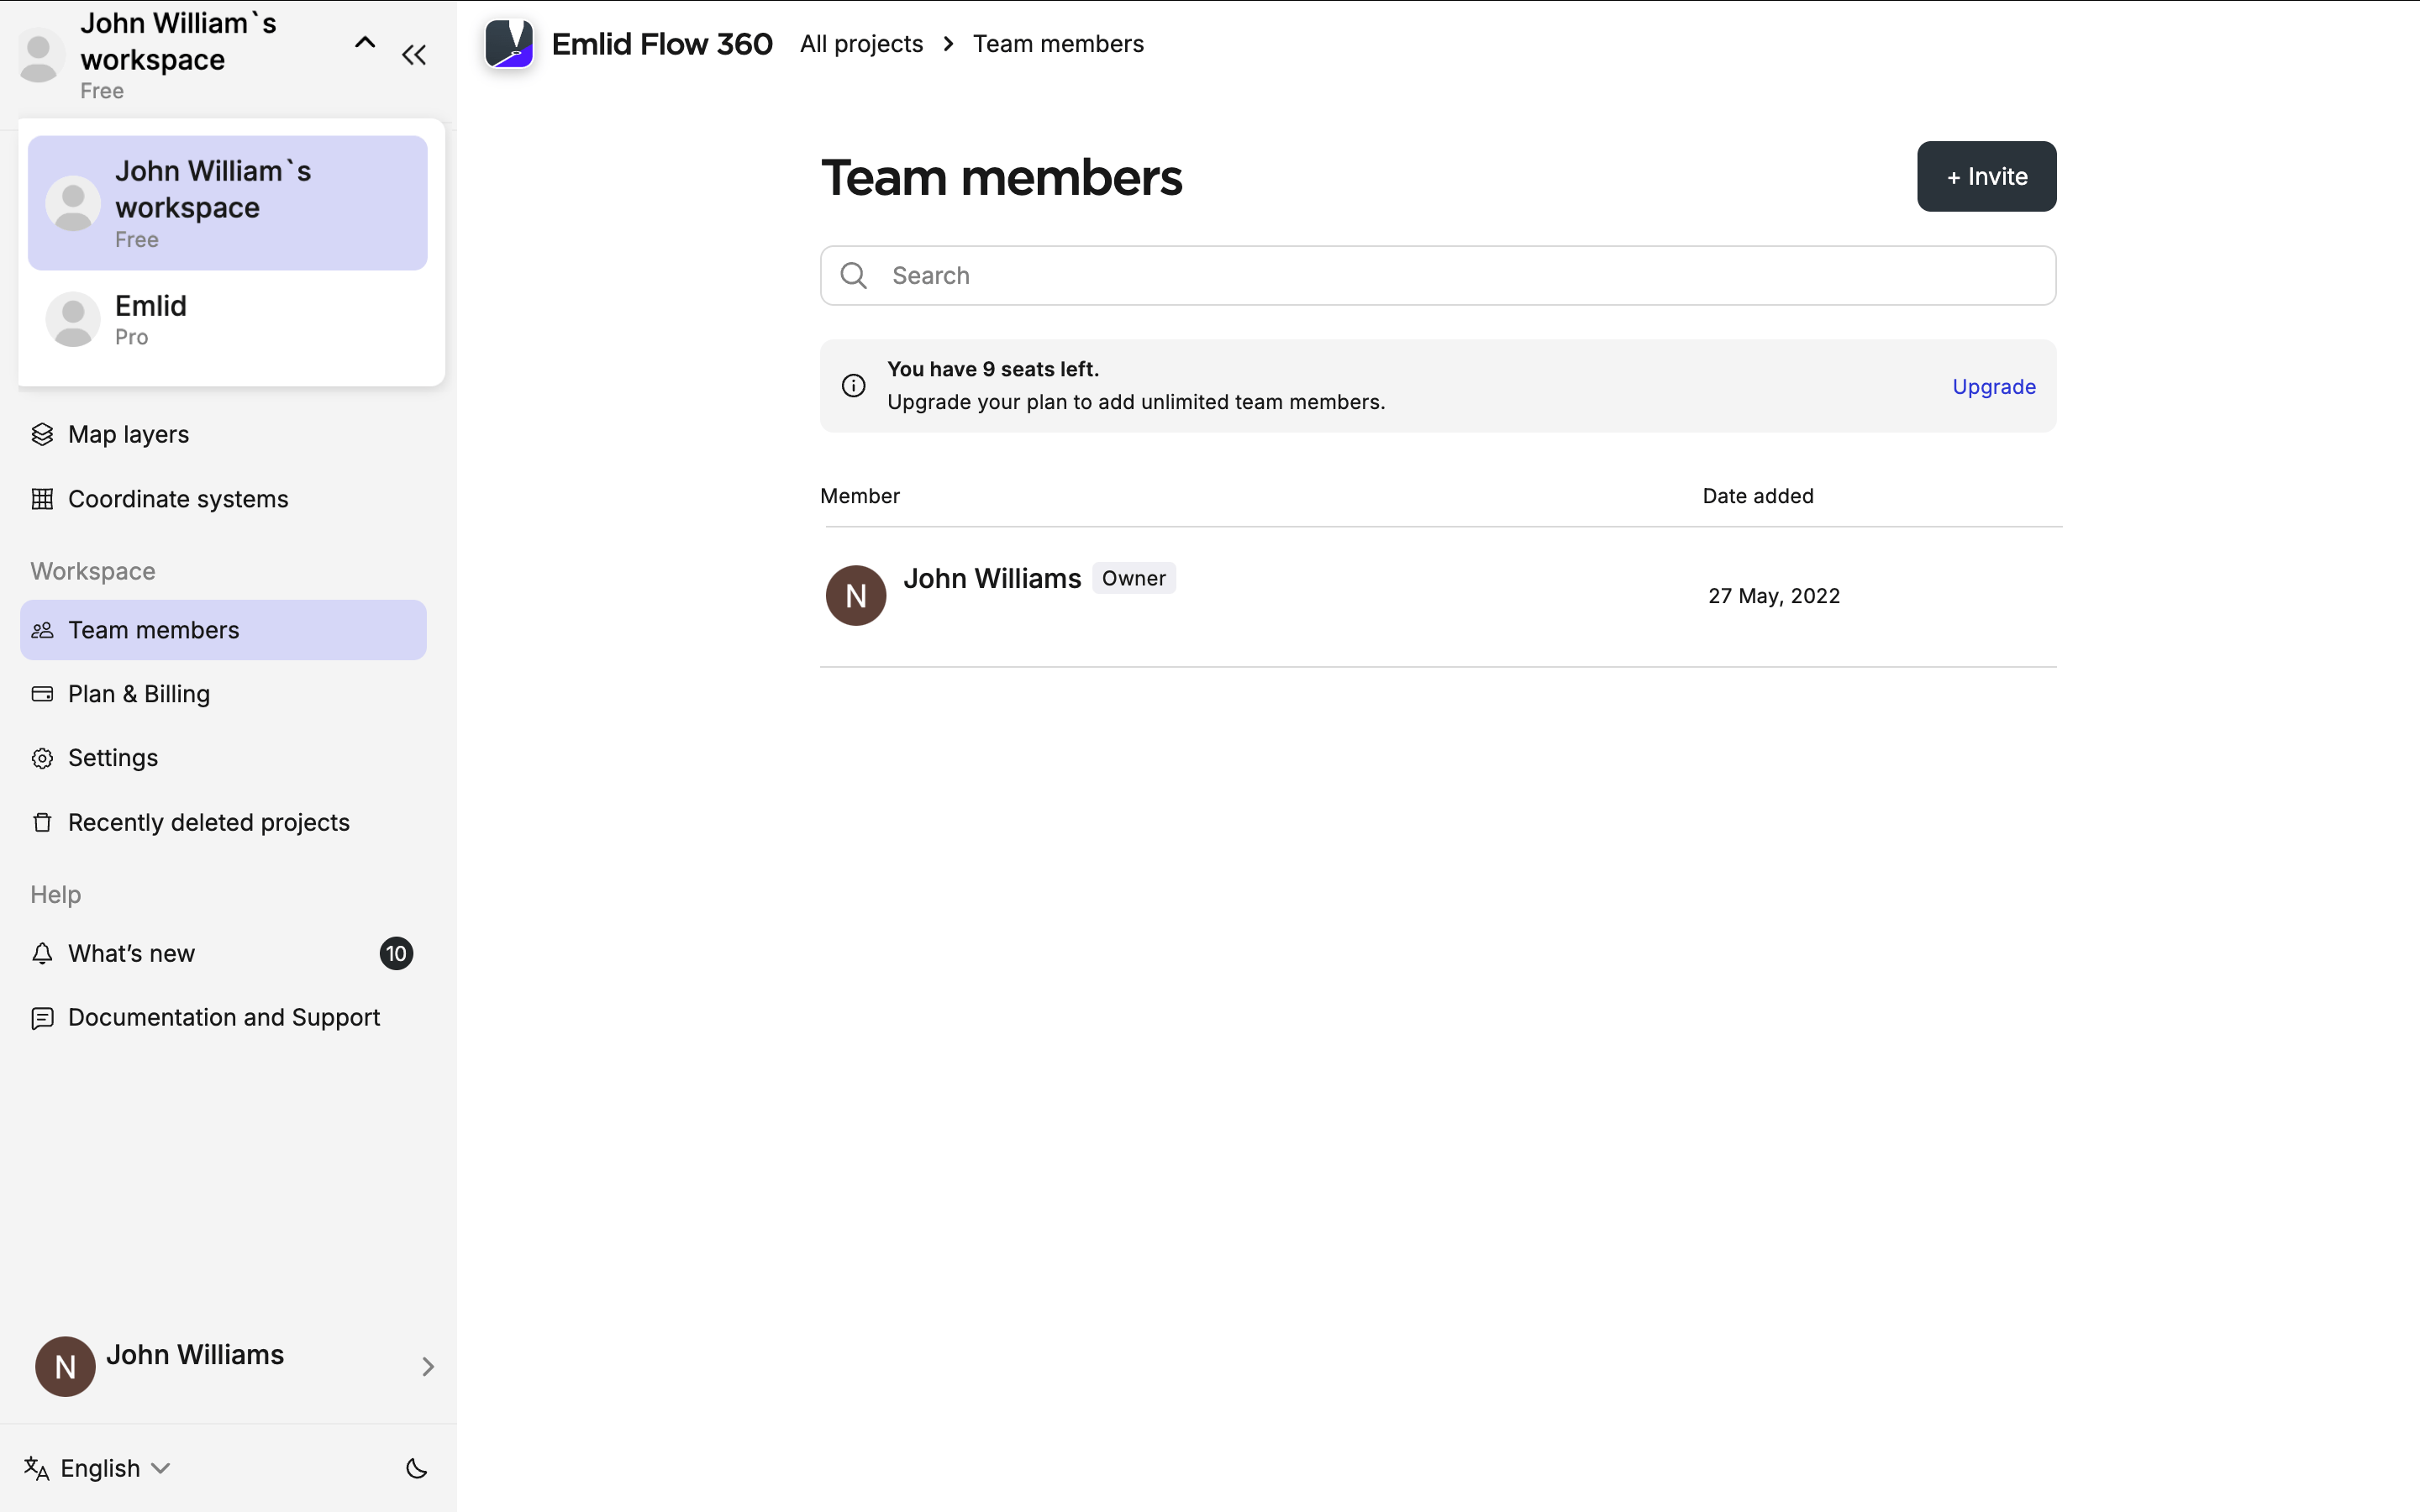
In Emlid Flow 360, click the workspace name in the top-left corner.
-
Choose the workspace from the dropdown.
-
In Emlid Flow, go to the Profile tab and click the workspace name in the top-left corner. You will see the dropdown with all the available workspaces.

-
Choose the workspace from the dropdown.
Once switched, team members will see the shared projects, NTRIP profiles, localisation settings, code libraries, and anything else you’ve made available.
The available settings and options depend on the chosen plan. Learn more about the plans in the Plan management guide.
Learn how to remove and re-invite team members in the Team management guide.