Firmware flashing
You do not need to flash the firmware unless you want to bring your Reach to its initial state. This will delete all the data on your unit.
This tutorial shows how to flash Reach RS4 / RS4 Pro firmware using Reach Firmware Flash Tool to bring your Reach to its initial state.
Reach Firmware Flash Tool installation
Download and install Reach Firmware Flash Tool.
| Windows | Ubuntu | macOS |
|---|---|---|
| Download [EXE, 148 MB] | Download [DEB, 115 MB] | Download [DMG, 100 MB] |
Windows installation
We recommend that you disable any antivirus or security software on your computer before installing Reach Firmware Flash Tool. Such programs may delete important files that the tool needs to work correctly.
-
Double-click on the downloaded file.
-
Follow the instructions to install Reach Firmware Flash Tool on your PC.
-
Reboot your PC.
Ubuntu installation
We recommend using the terminal to install the Flash Tool on your PC.
If your Flash tool version is 1.7.1 or older, to update to the latest version you will need to add the new GPG key. Run sudo apt-key adv --keyserver keyserver.ubuntu.com --recv-keys 90F3927E0416B765 command in the terminal.
-
Press
Ctrl+Alt+Tto open the terminal. -
Navigate to the directory with the downloaded file with
cd ~/Downloadscommand. -
Run
sudo apt install ./reach-firmware-flash-tool_1.15.1_amd64.debto start installation.cautionPlease confirm adding the current user to
plugdevanddialoutgroups during the installation process. In case of a negative answer, the application might not work as expected. -
Reboot your PC.
macOS installation
-
Double-click on the downloaded file.
-
Follow the instructions to install Reach Firmware Flash Tool on your Mac.
-
Drag the application icon to the Applications folder.
Flash your Reach RS4 / RS4 Pro
Flash your Reach following the steps below:
-
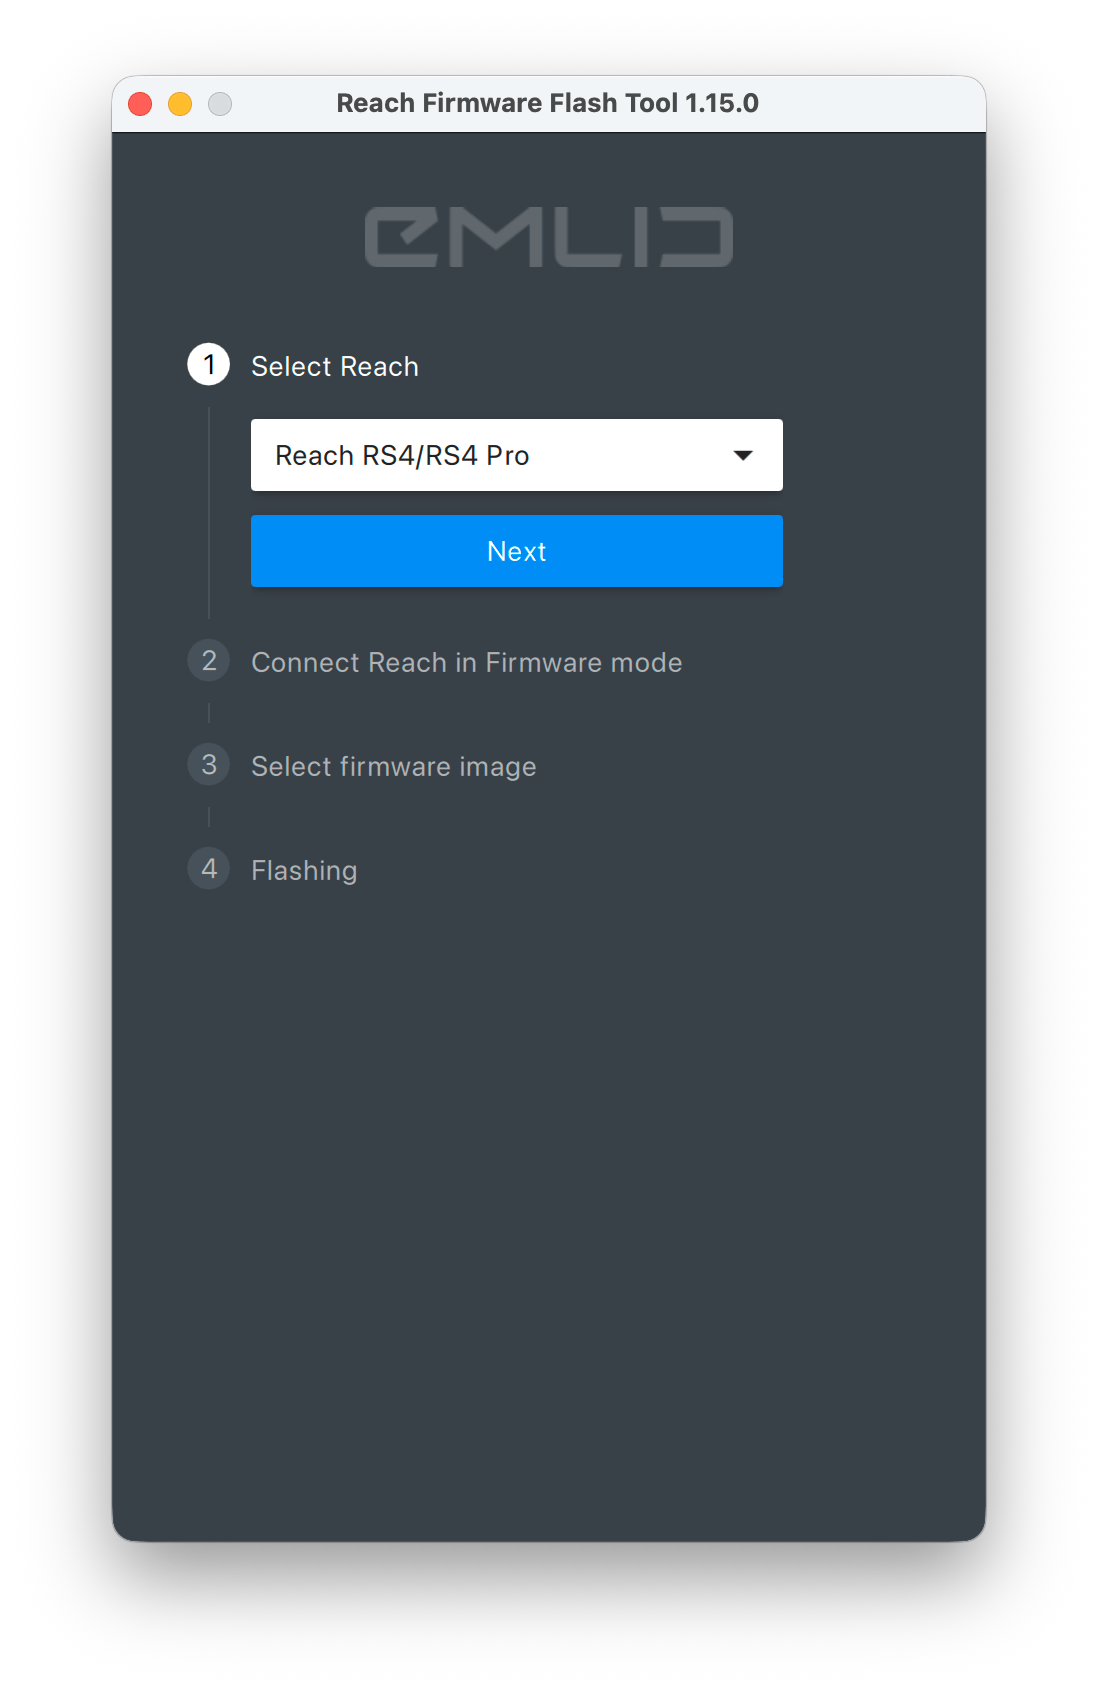
Open Reach Firmware Flash Tool and choose Reach RS4 / RS4 Pro.
tipYou can also press the Return/Enter button on your PC to proceed to the next step.
-
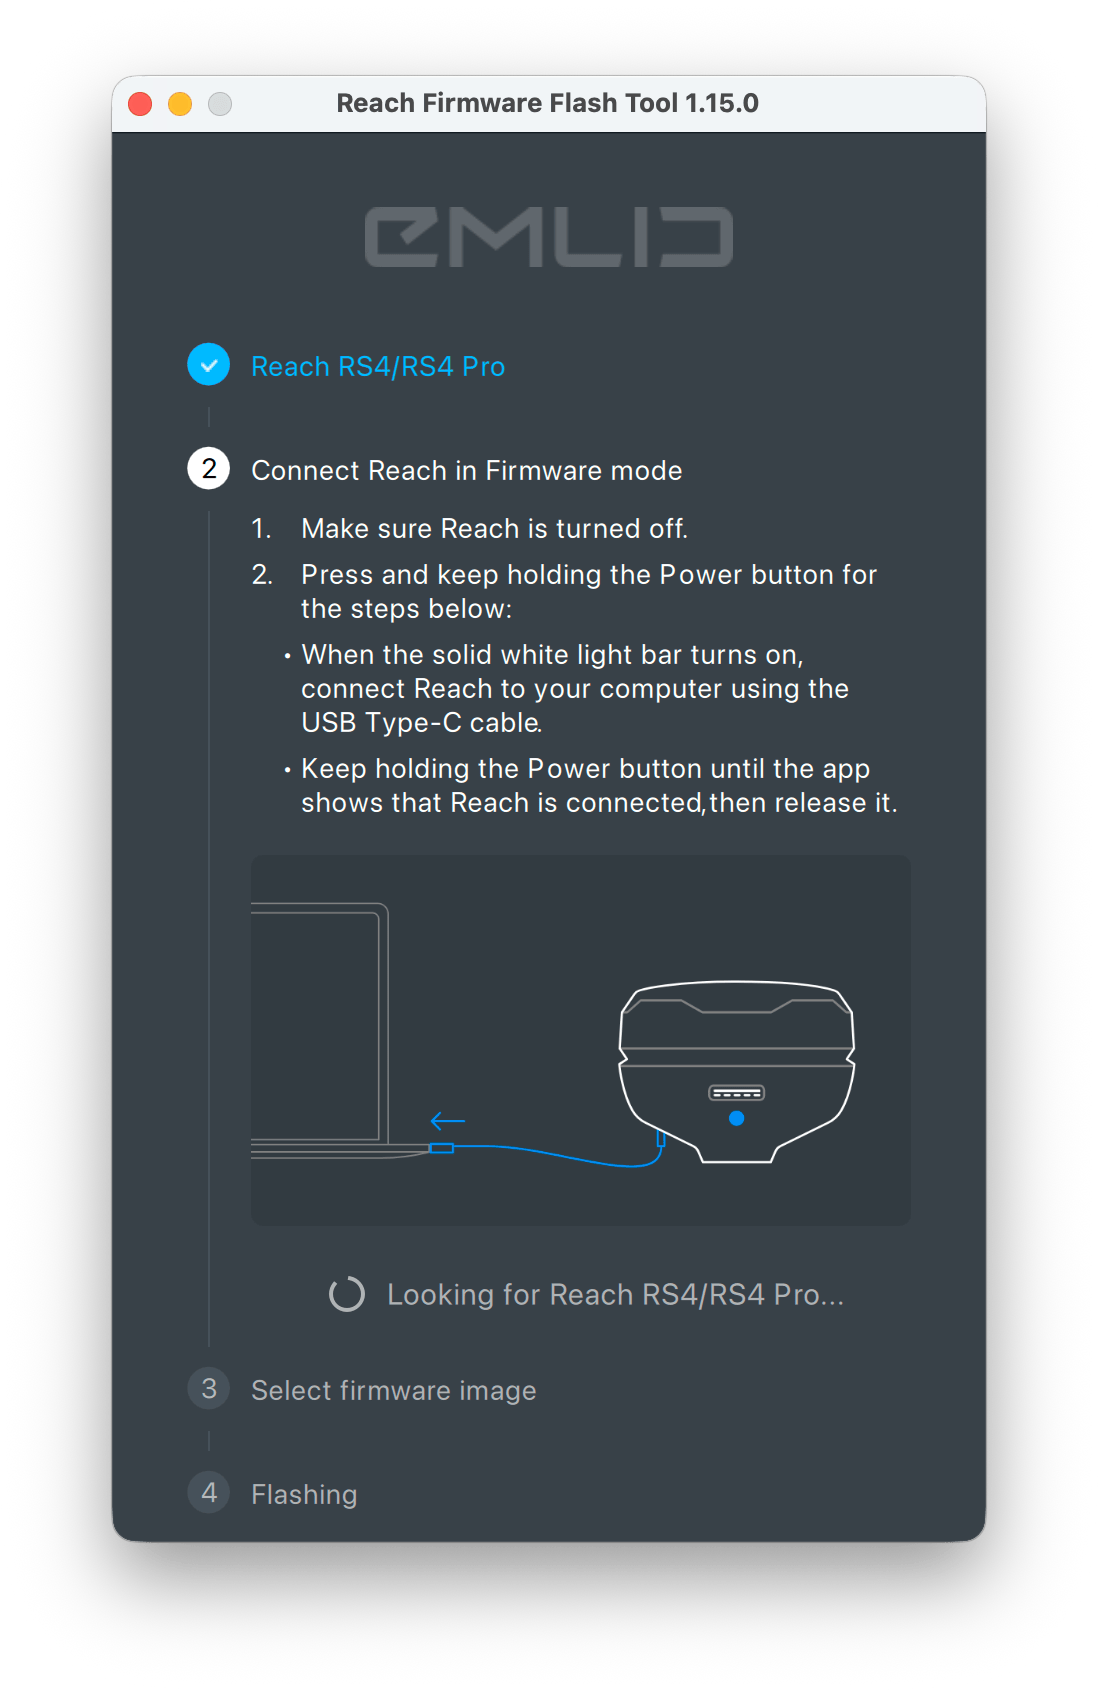
Connect your Reach in Firmware mode:
1. Turn off your Reach.
2. Press and hold the Power button.
3. When the Status LED turns solid white, connect Reach to your computer using a USB Type-C cable.
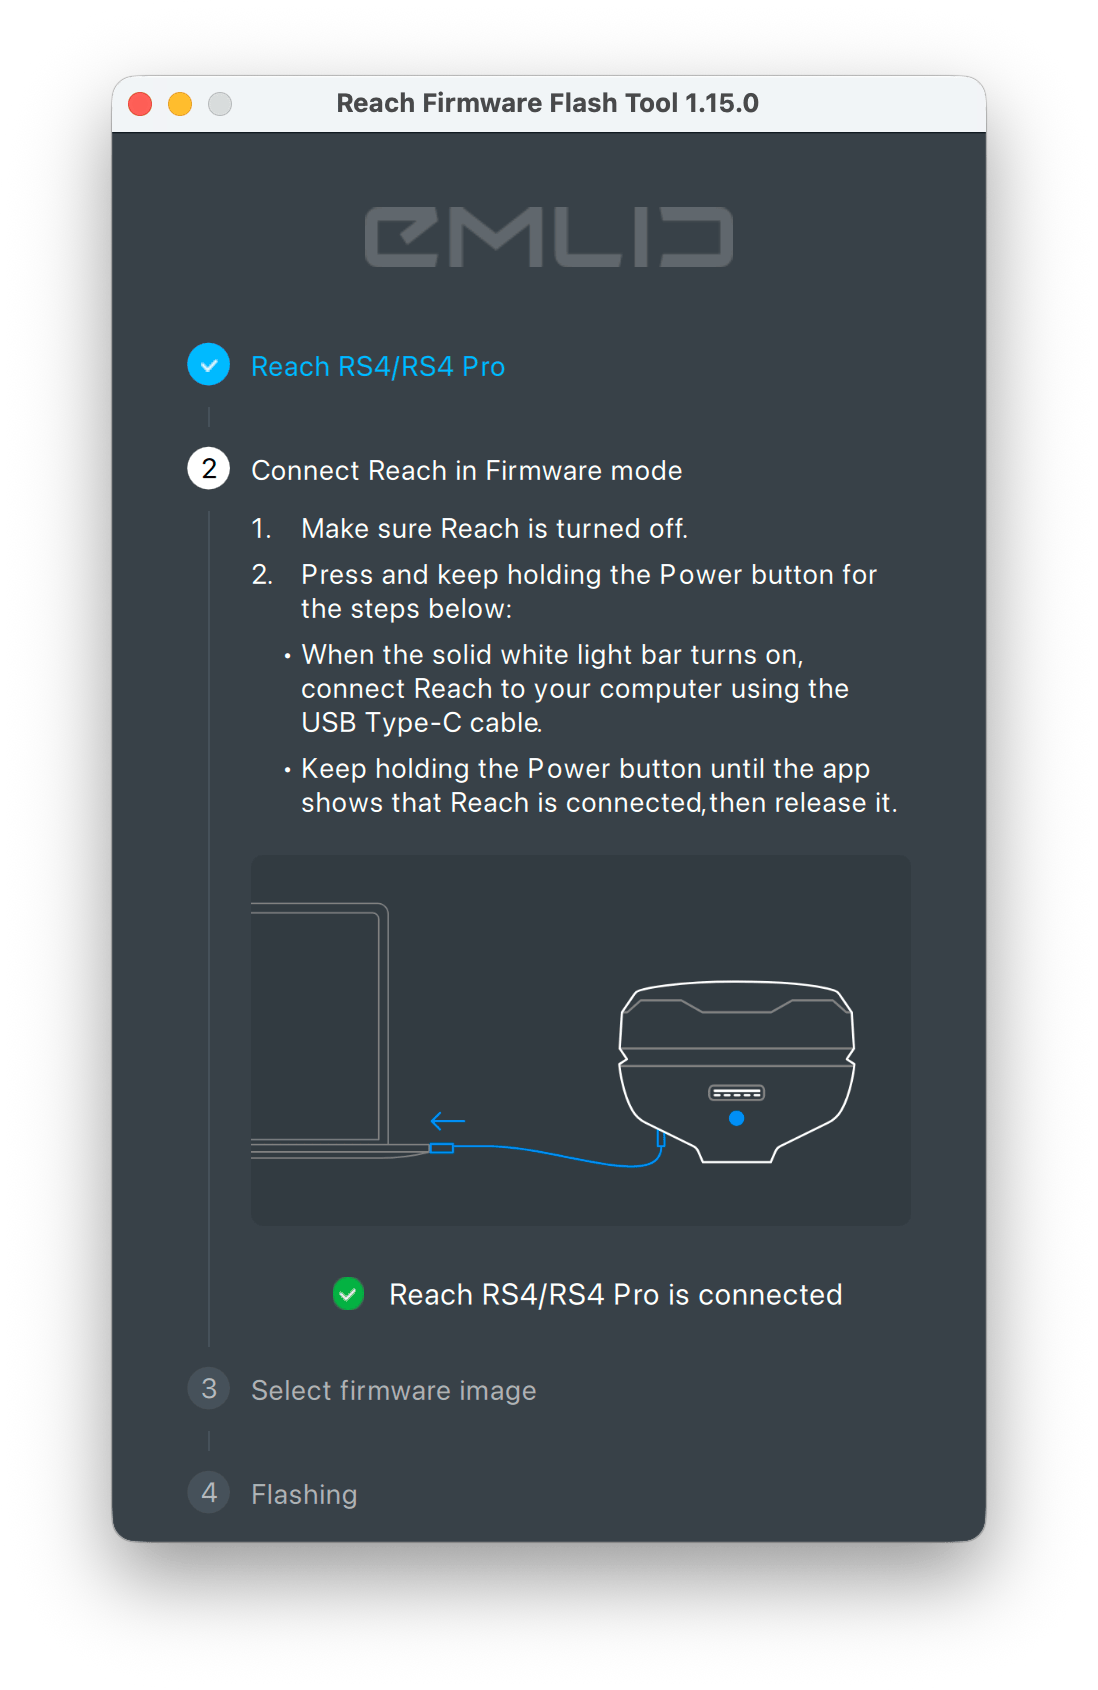
4. Release the Power button once the Firmware Flashing tool confirms that it is connected to your Reach.
cautionIn some cases, the receiver may switch to Factory mode, which is used by the Support team for troubleshooting. In this mode, the receiver only responds to a long press of the Power button.
To exit Factory mode, do as follows:
1. Press and hold the Power button.
2. Wait until the outer Battery LEDs on the left and right sides turn solid blue.
3. Release the button and allow the receiver to boot normally.
After that, repeat the flashing process from the beginning.
-
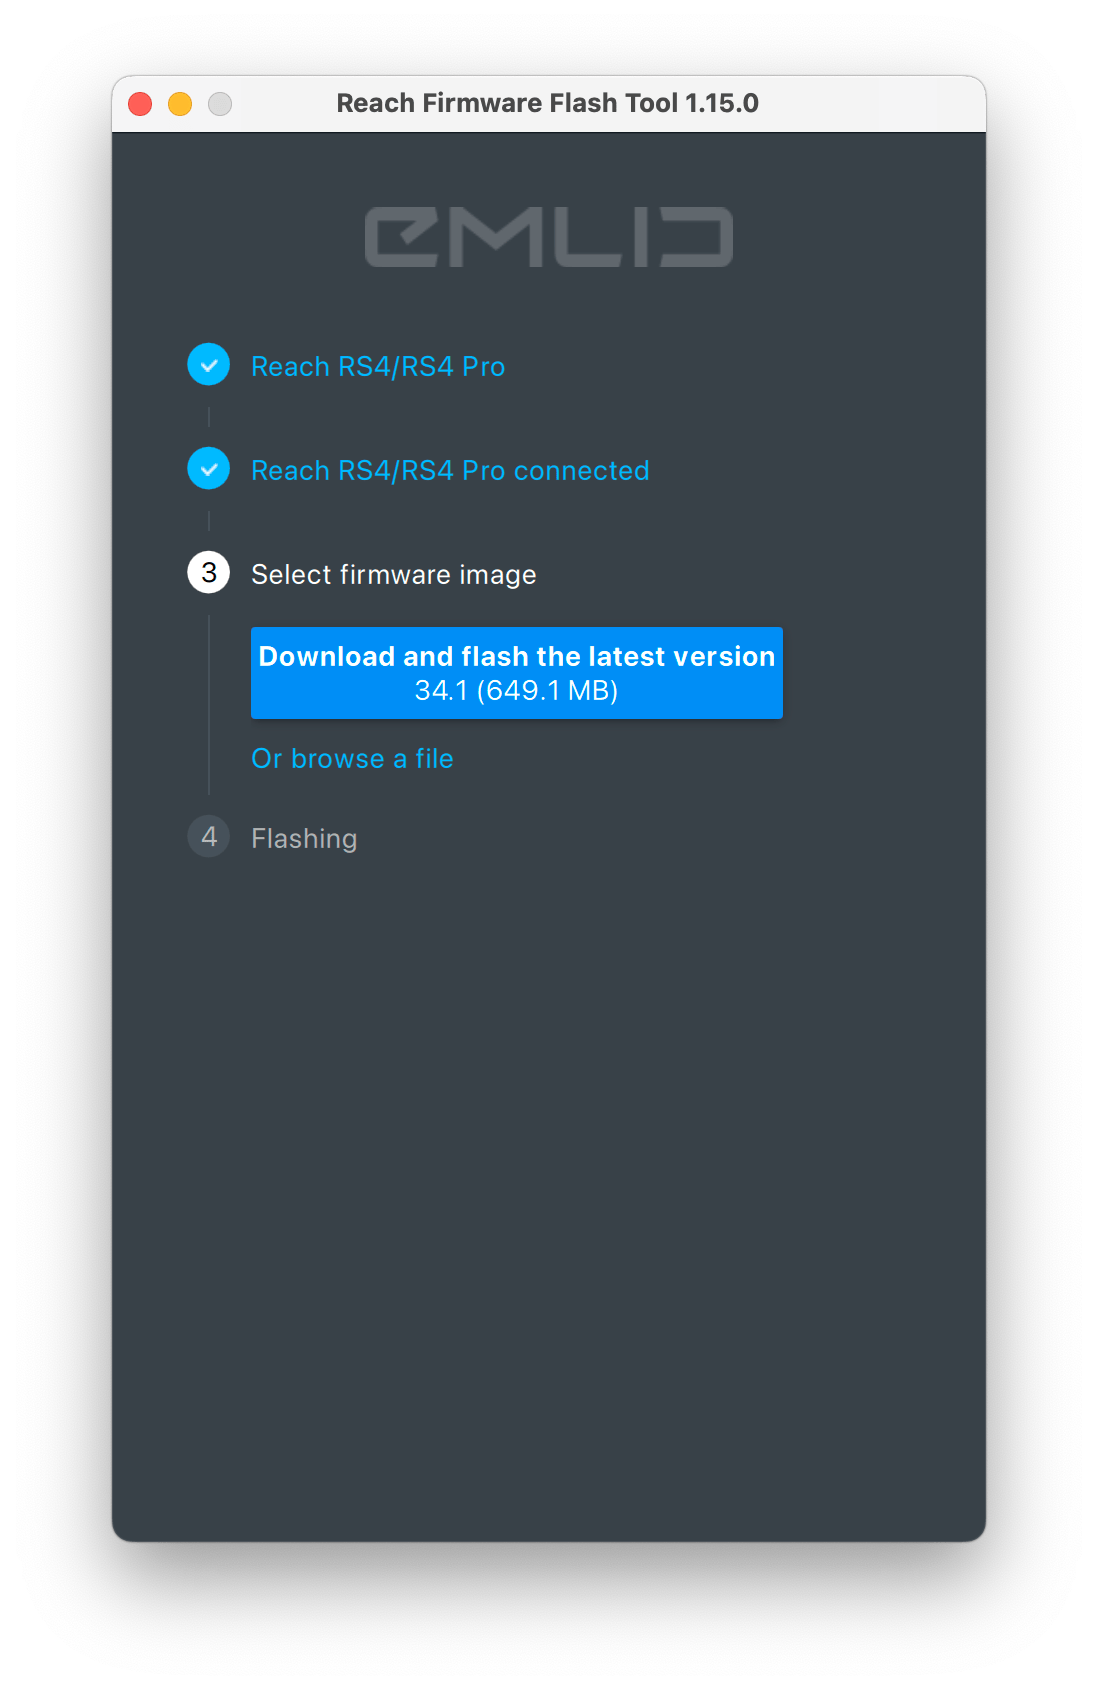
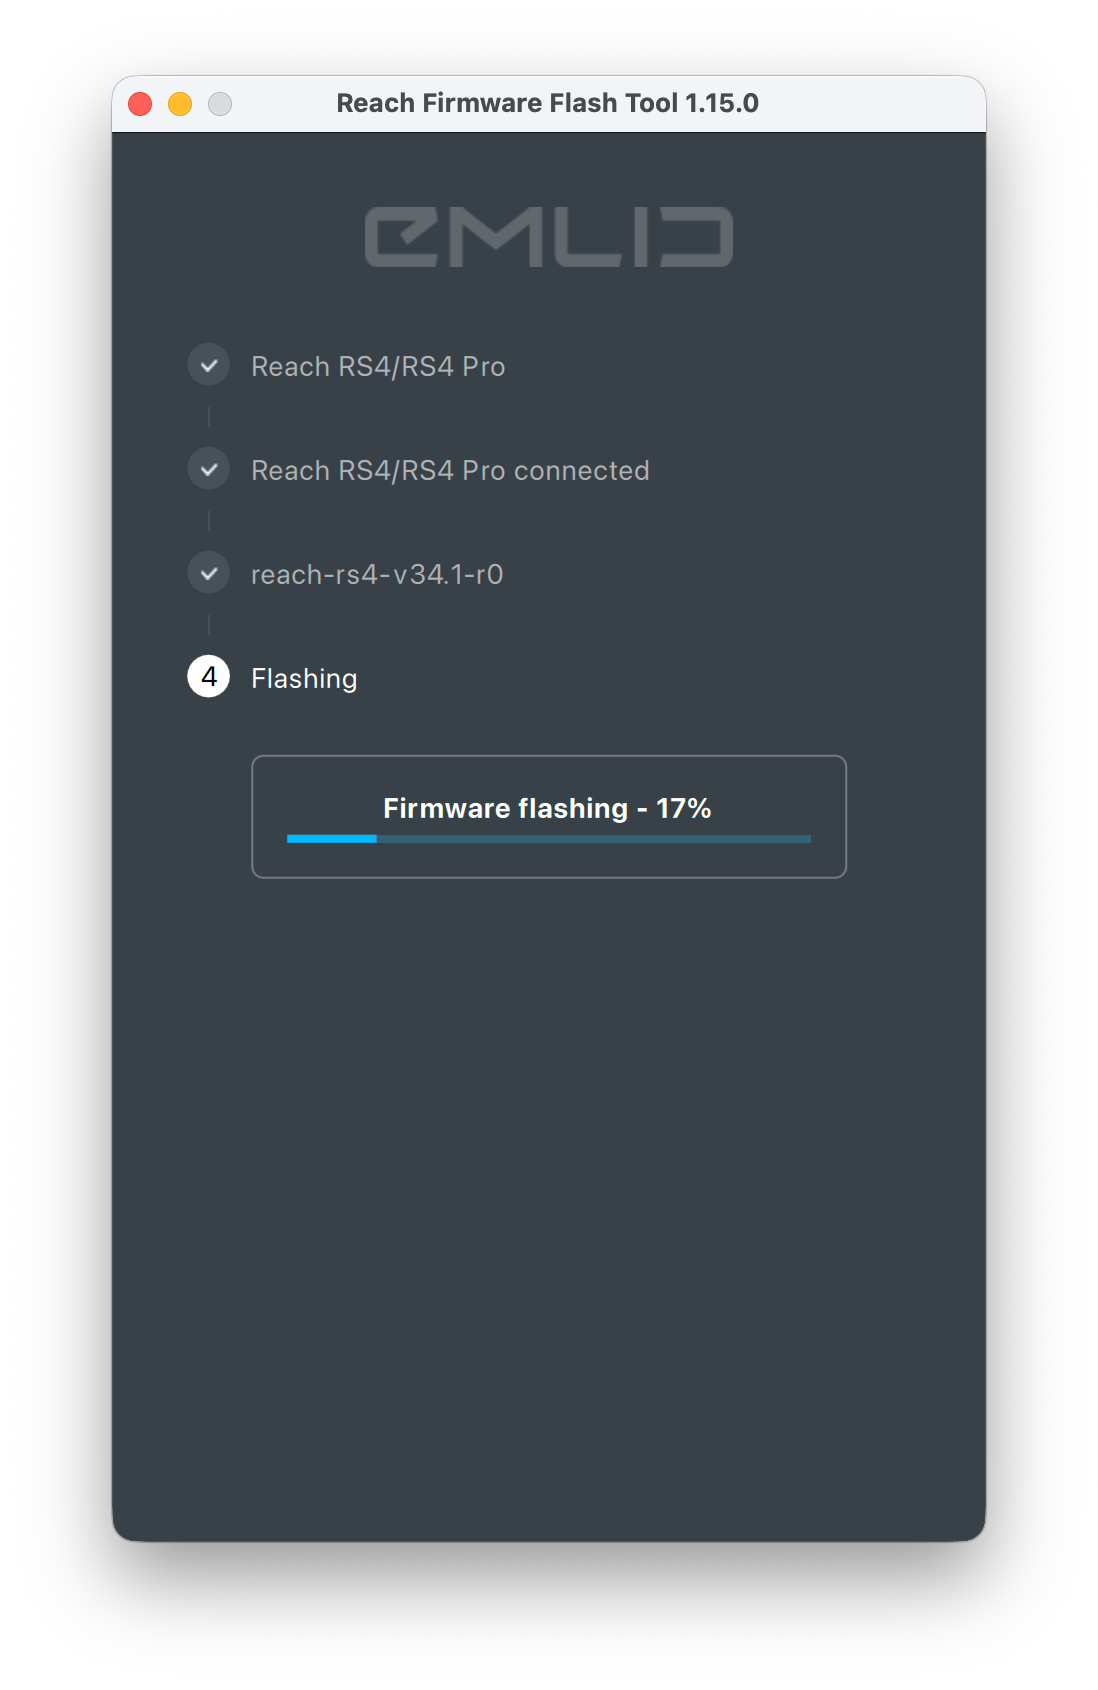
Click Download and flash the latest version. The tool will download the latest firmware image and begin the flashing process.
noteMake sure you have enough disk space. Reach Firmware Flash Tool creates 2 folders: one to download the image and another one to unpack it. Once you close the Flasher tool, the folder with the unpacked image will be deleted.
-
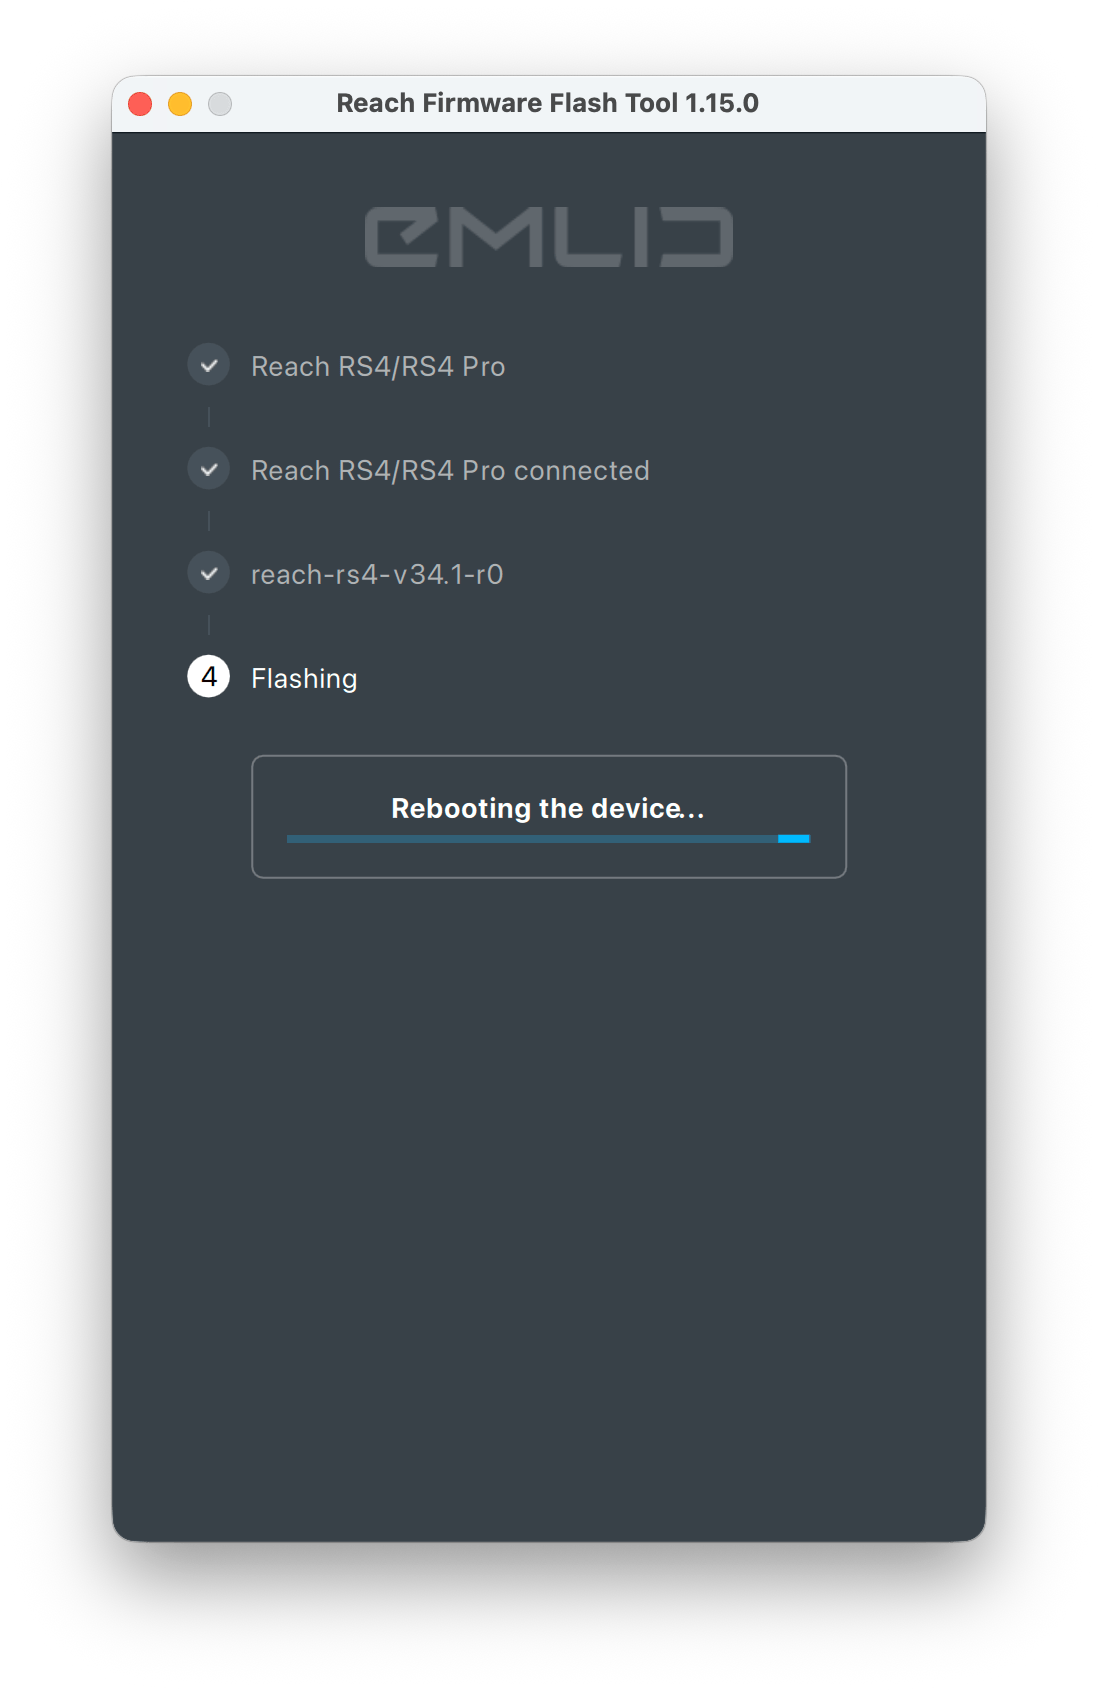
Wait for the flashing process to complete. Reach will then reboot automatically.
cautionDo not unplug your unit at this step.
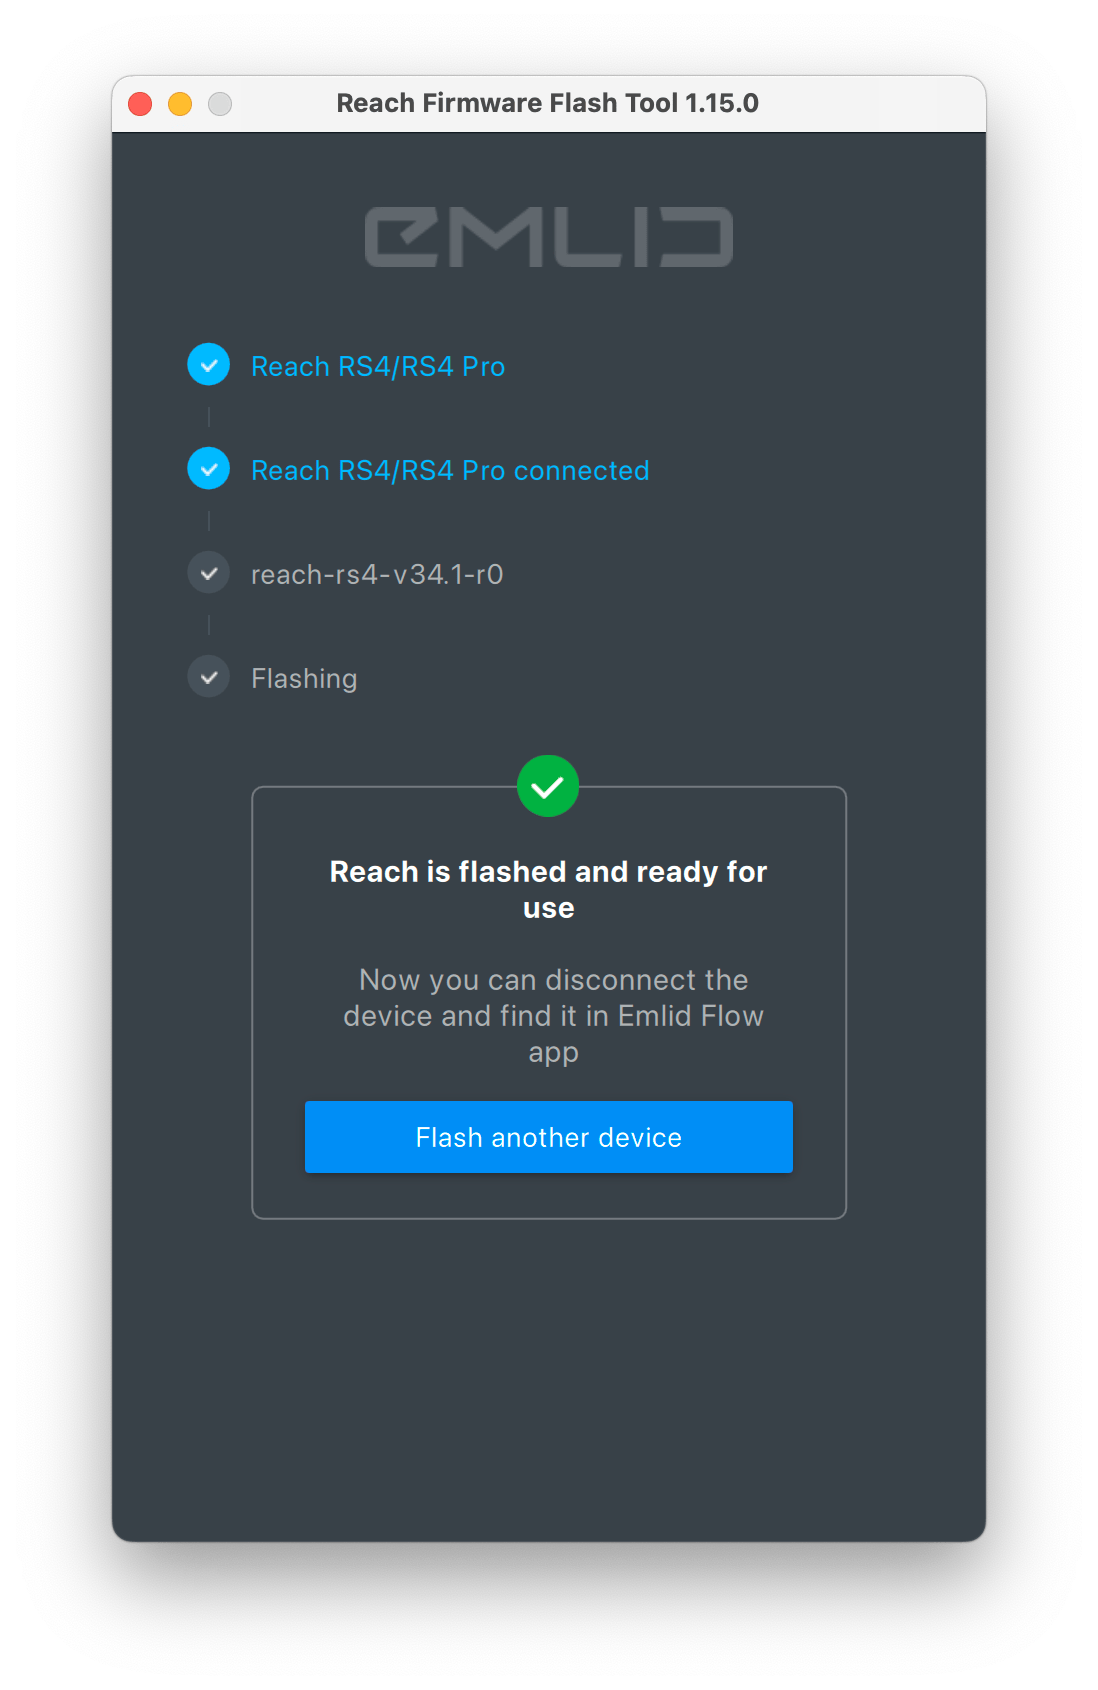
When the reboot is complete, you will see the message "Reach is flashed and ready for use."
-
Set up your Reach for your surveying needs.