Manage code libraries
Unlock the full set of features for topo, set-out, and as-built surveys
You can manage your code libraries only in Emlid Flow 360.
This guide explains how to add new code libraries or update existing ones using Emlid Flow 360.
Overview
A survey code is a set of letters and numbers used to classify collected objects in the field, such as trees, fences, manholes, or utility poles. Codes can also include additional information about the object, such as geometry type, color, description, and custom attributes.
Attributes are additional data fields attached to a survey code. They allow you to record metadata beyond position, such as material type, diameter, condition, asset ID, or inspection notes. This helps standardize data collection and ensures consistent information across projects and field crews.
Workflow
- Emlid Flow 360
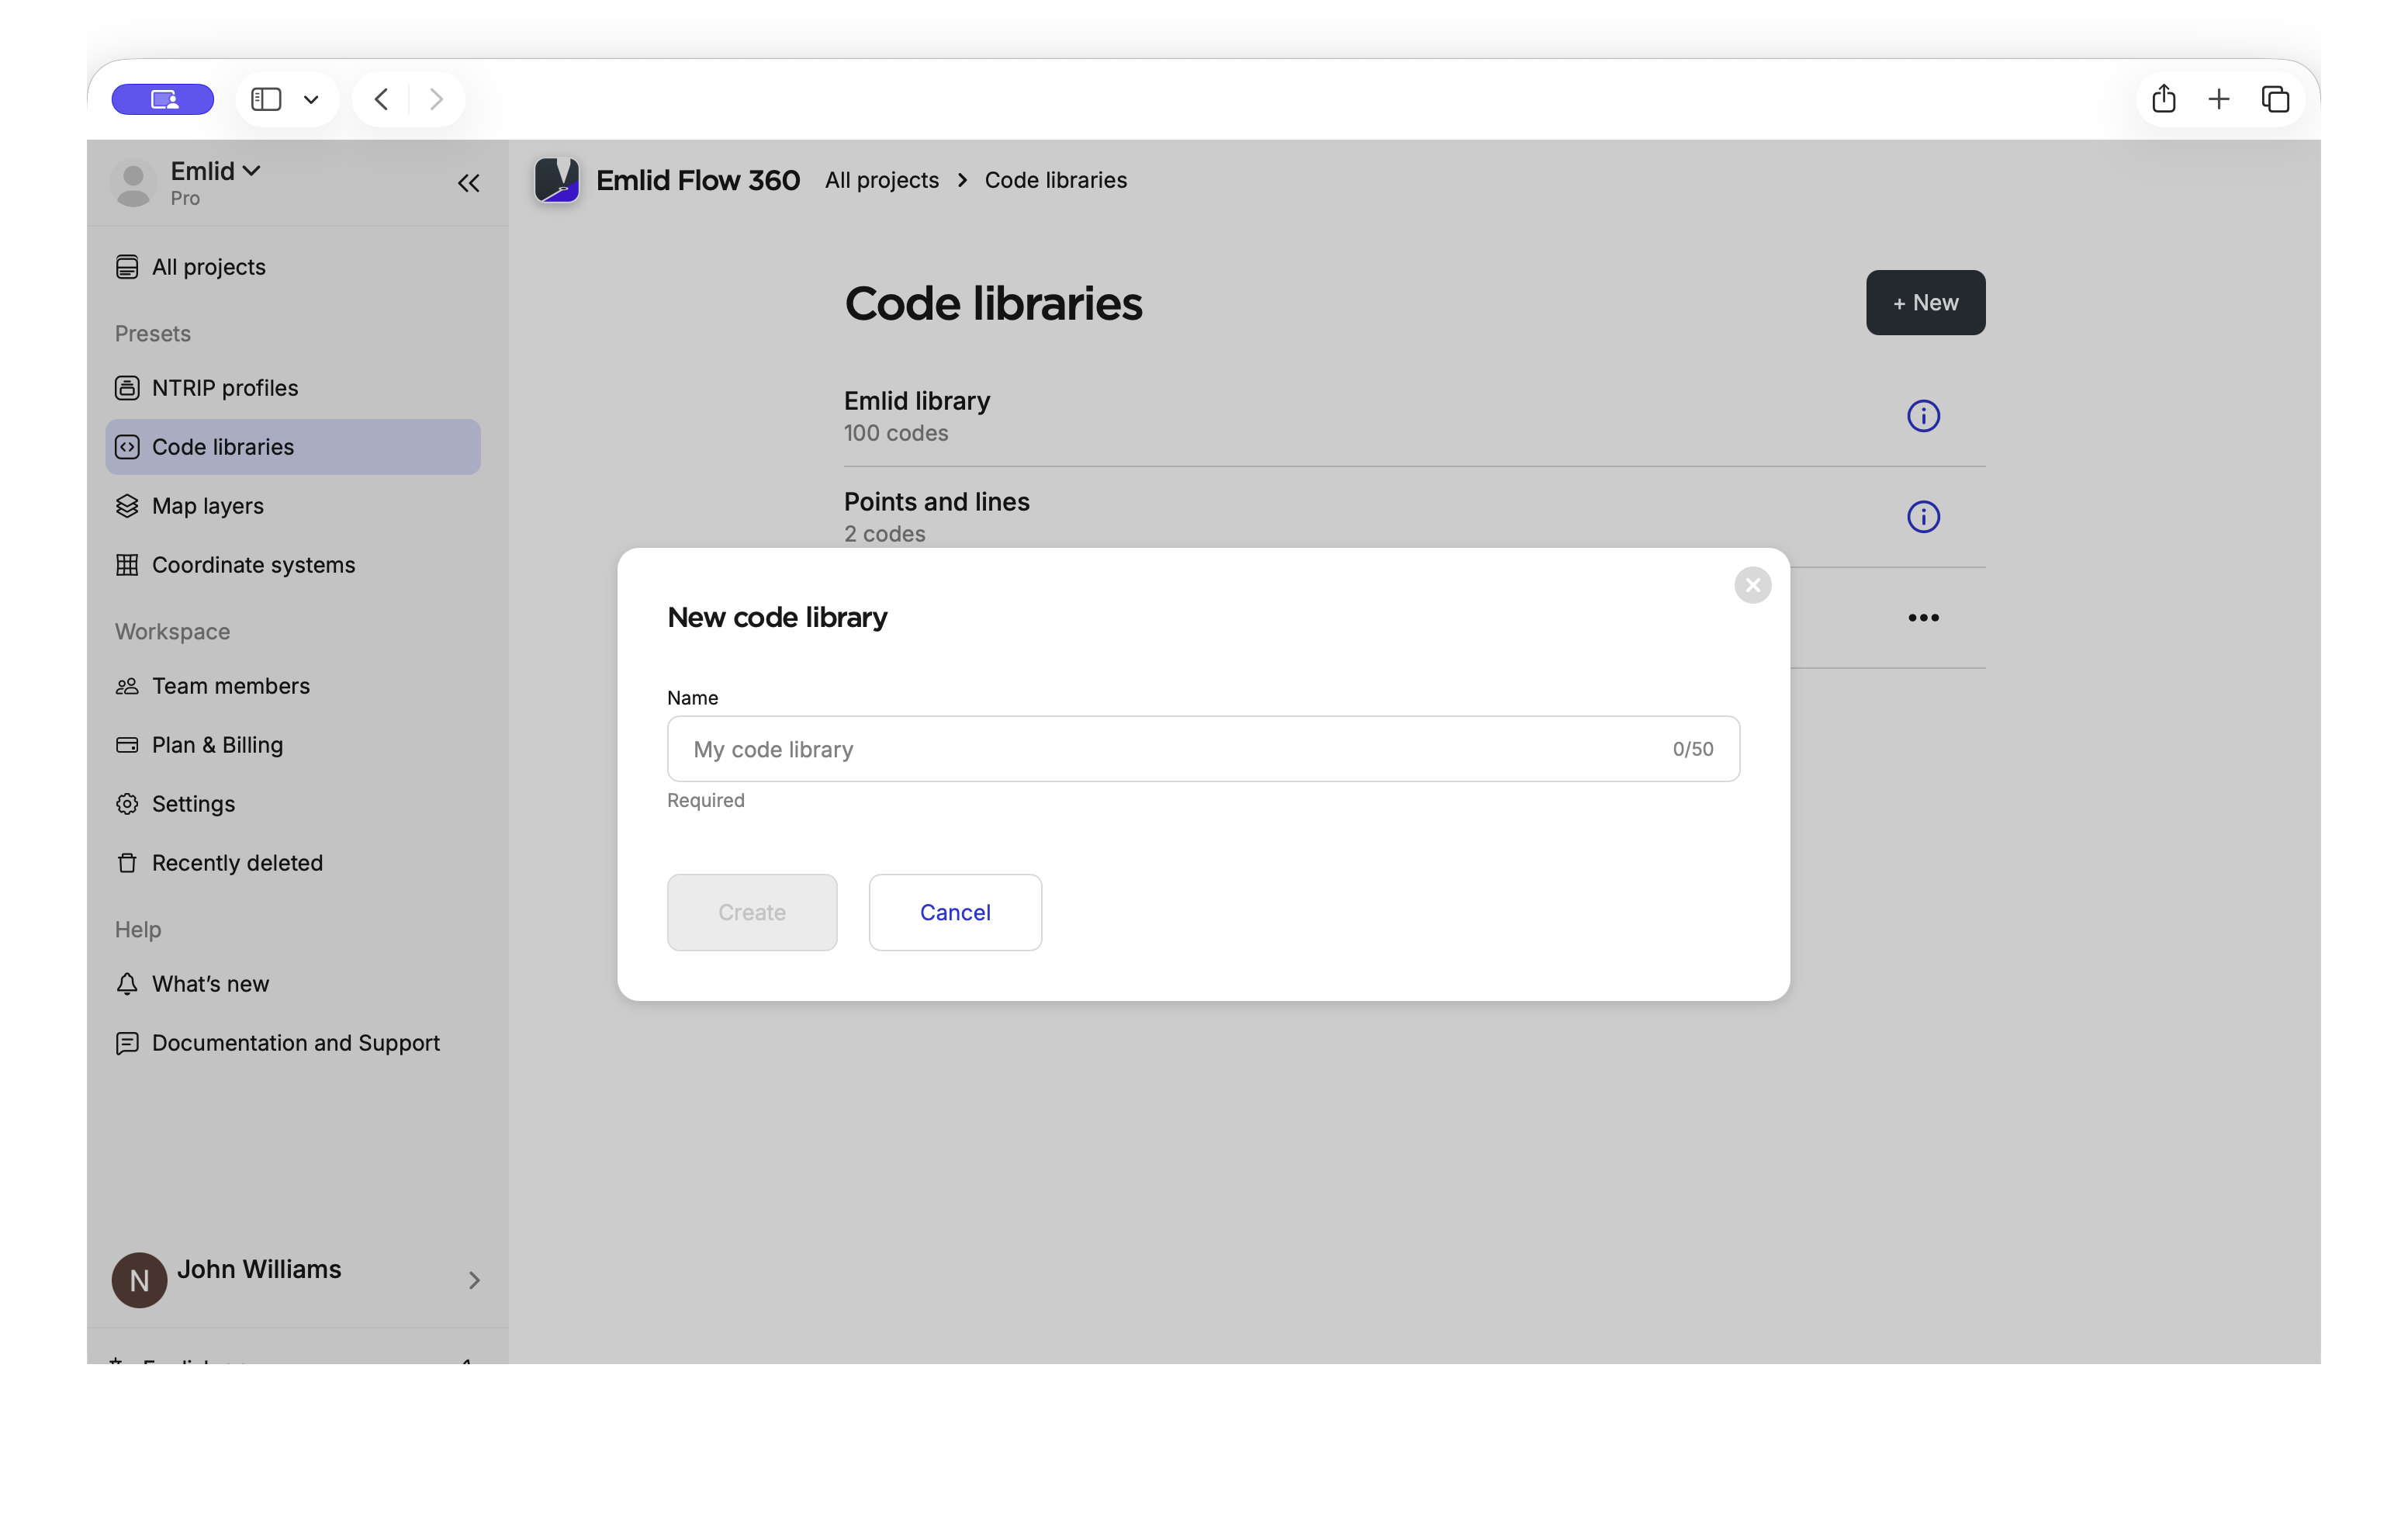
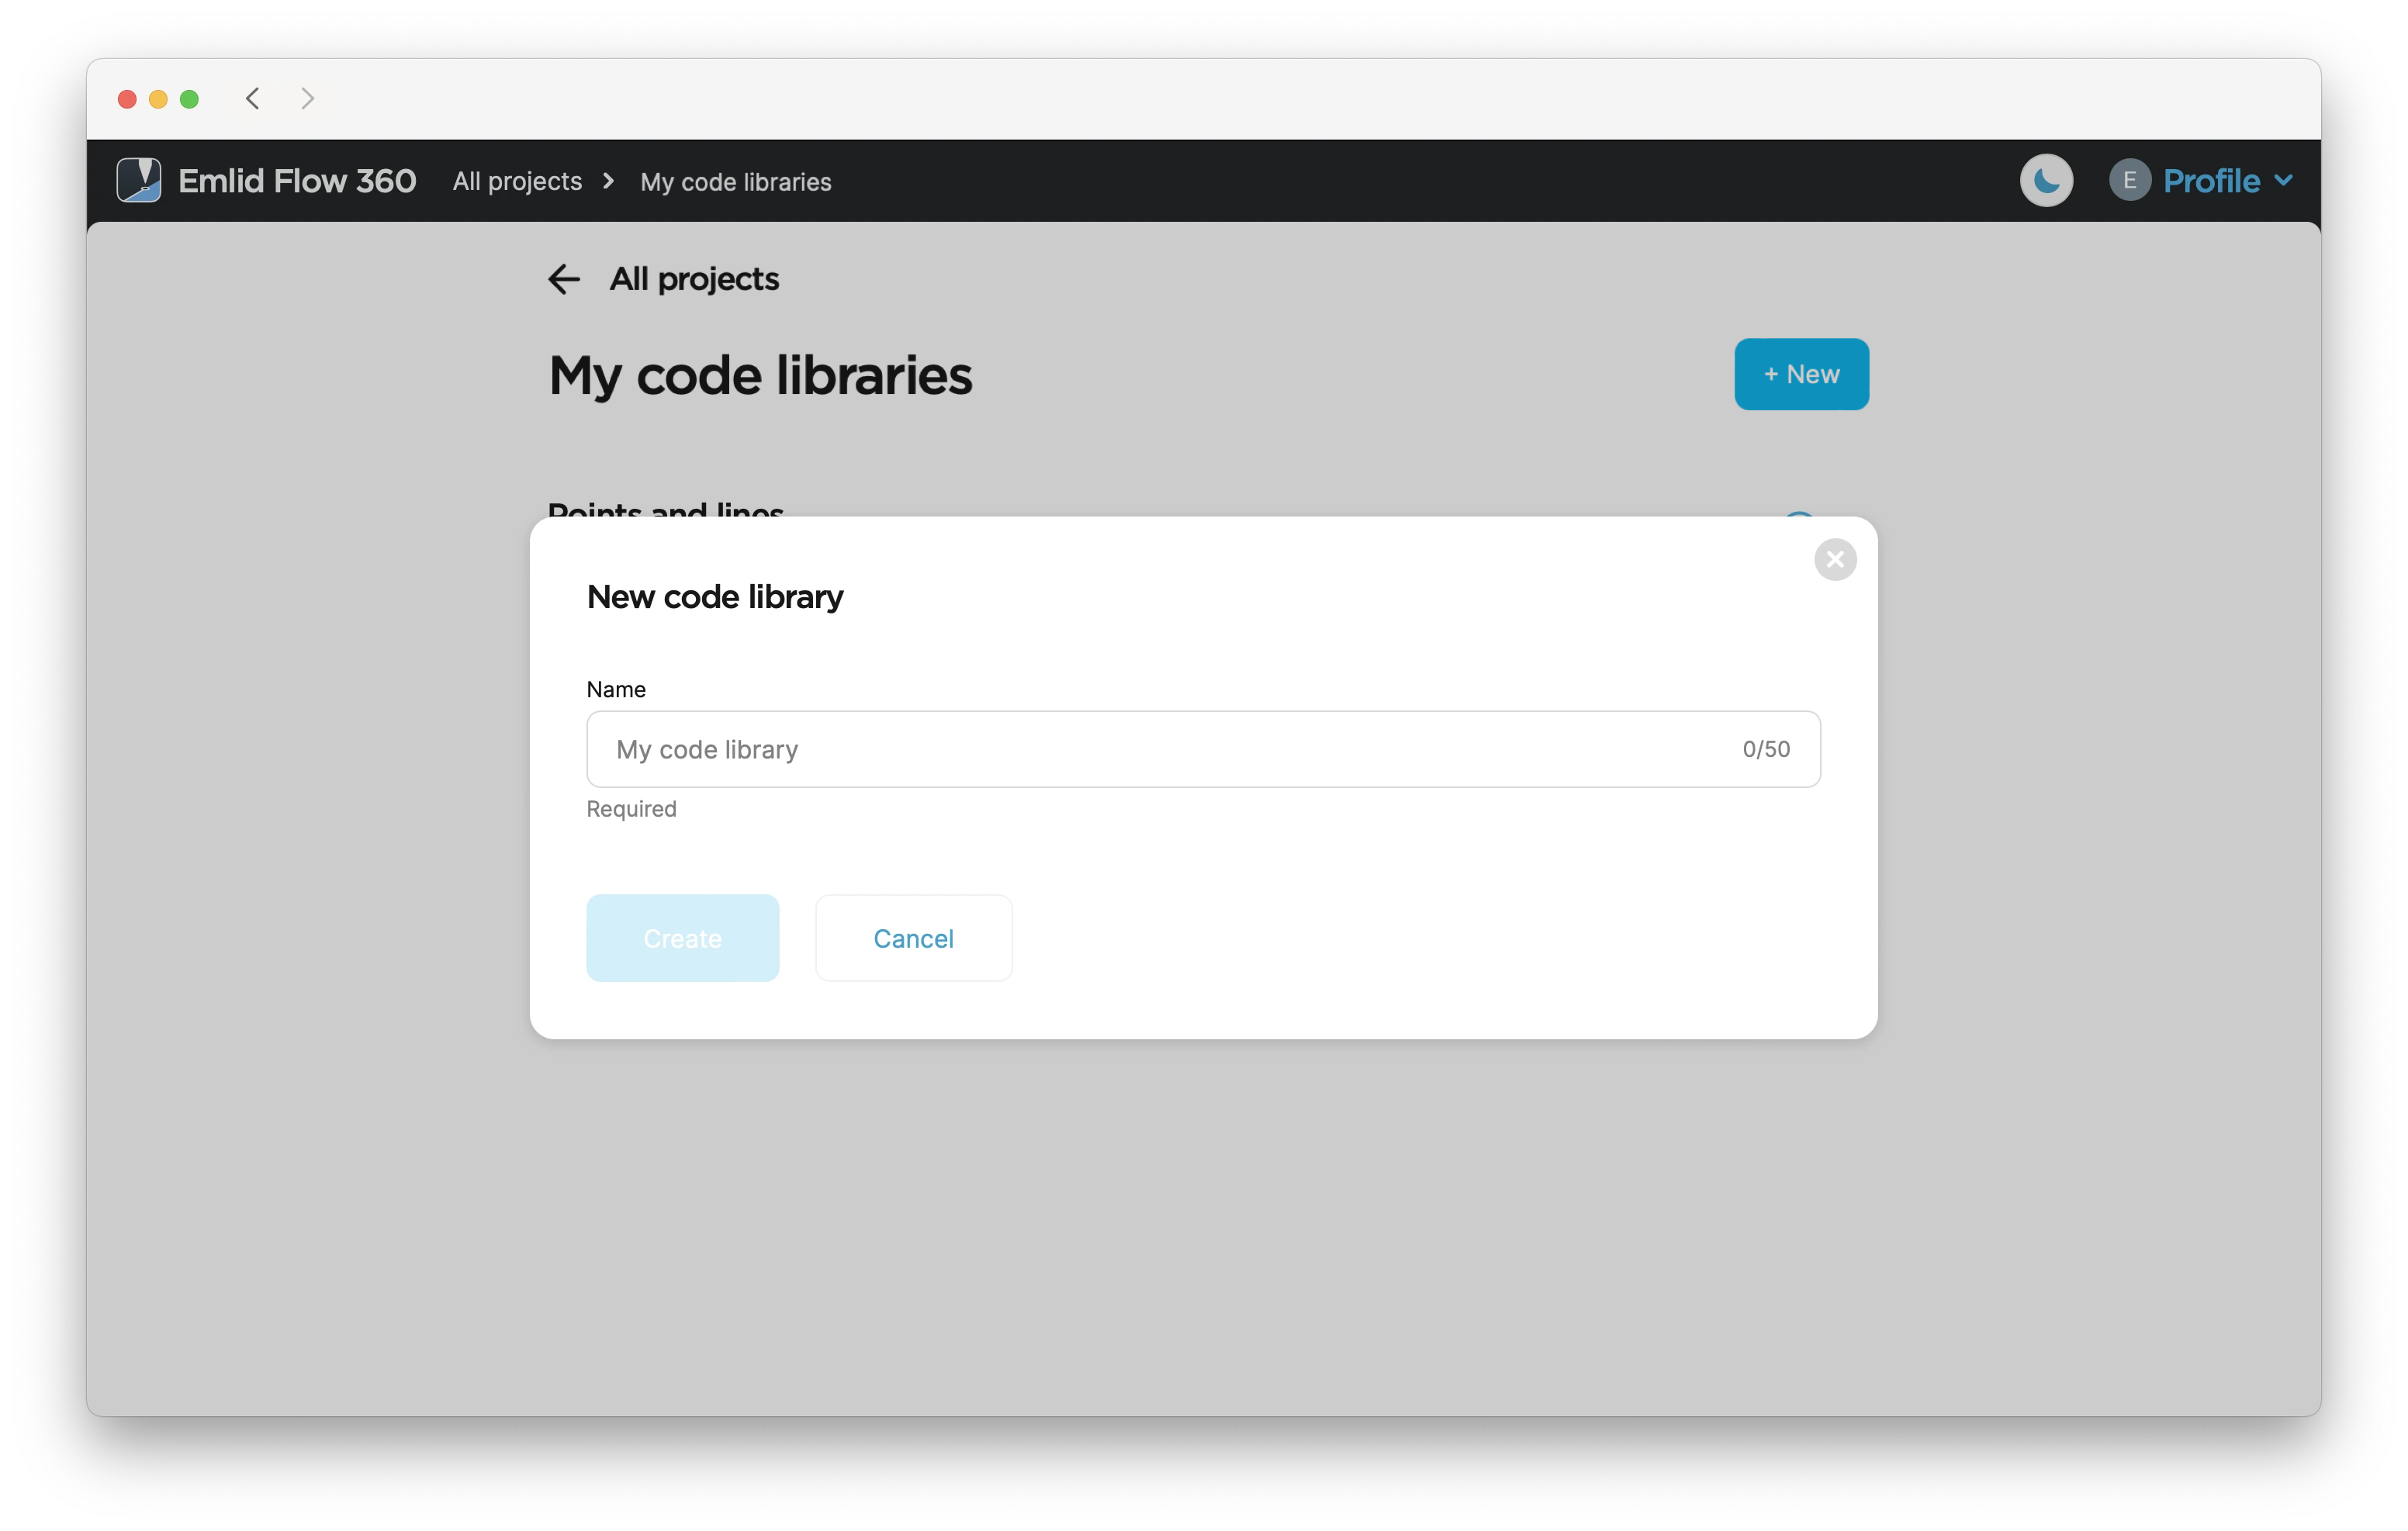
Your Emlid account has 2 default libraries: ‘Points and lines’ containing 2 simplest codes, and ‘Emlid library’ containing the most commonly used survey codes. Using Emlid Flow 360, you can add your own code libraries.
You can set a code library as the default for all of your future projects. Learn more in Create or Import Project guide.
Adding code library
To add a code library, follow the steps below:
-
In the menu on the left, click Code libraries.

-
Click + New.
-
Name your library and click Create.
-
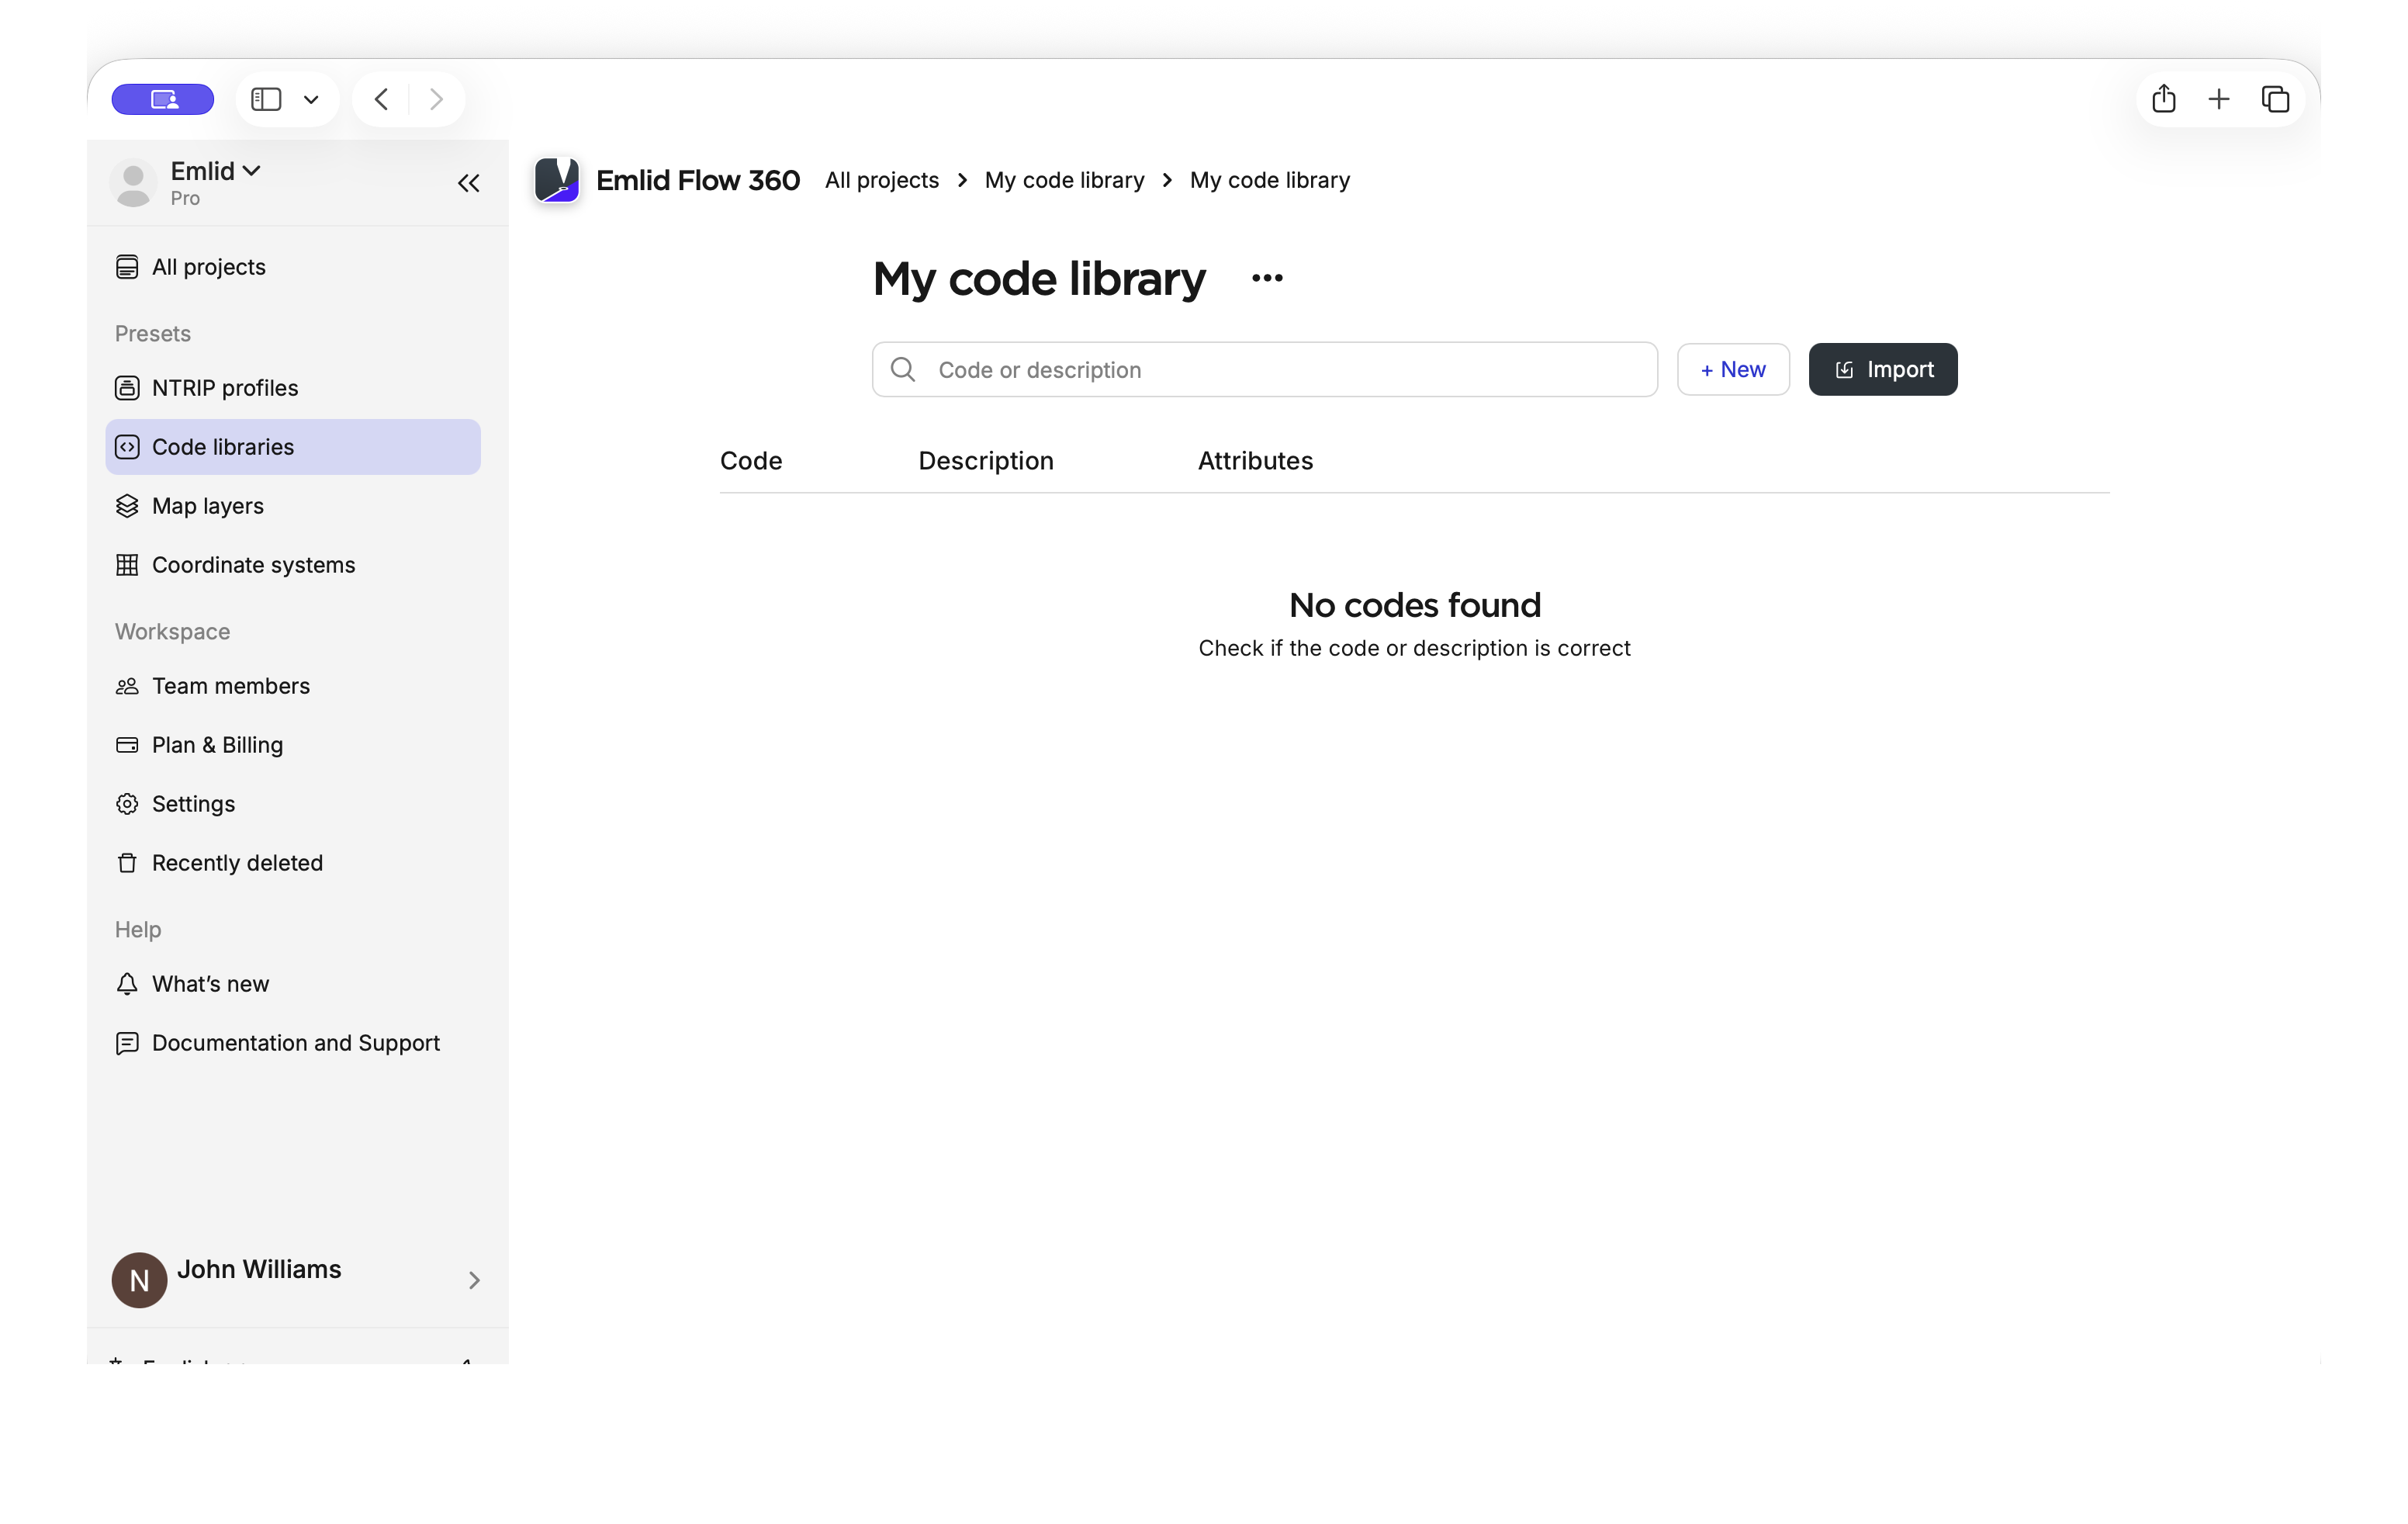
To add survey codes to your library, either create codes manually or import a predefined code library.
Learn more in the Creating codes and Importing codes sections below.
Once you added a new code library, it will be synced across all your devices. You can link this library to any of your projects.
Creating codes
To add codes manually, follow the steps below:
-
In the newly created library, tap New.

-
Choose the code type first—a point or a line.
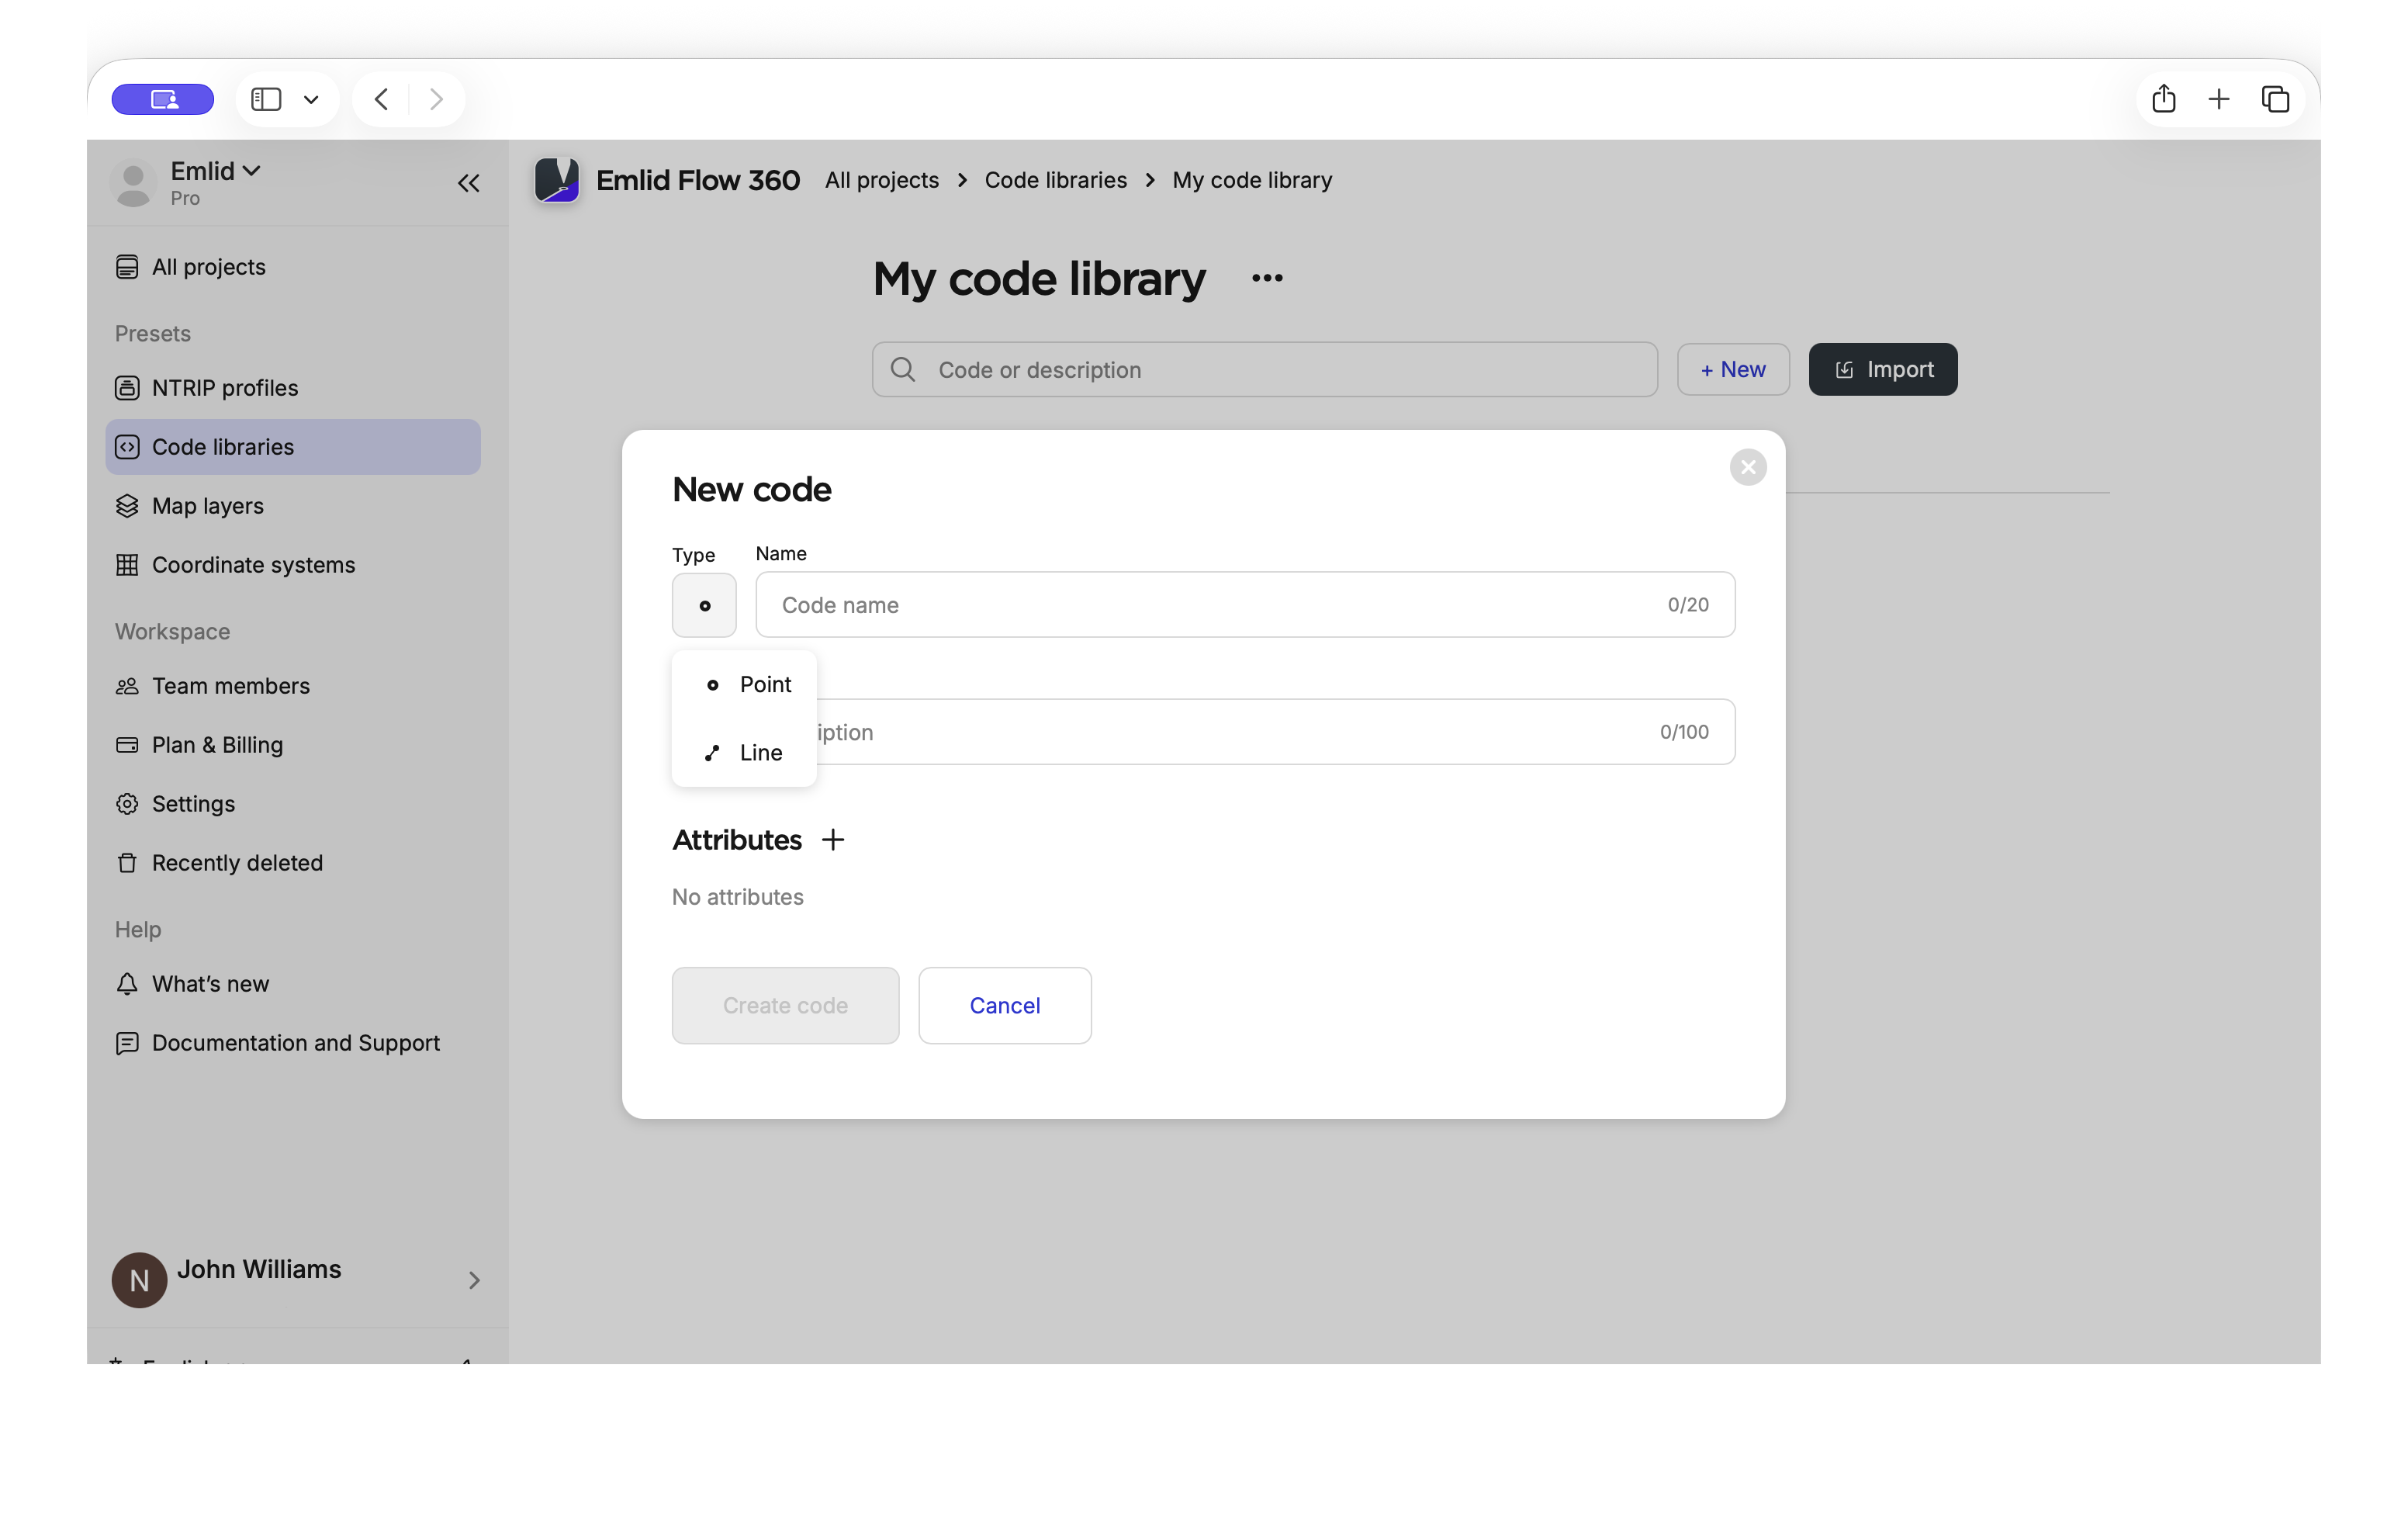
-
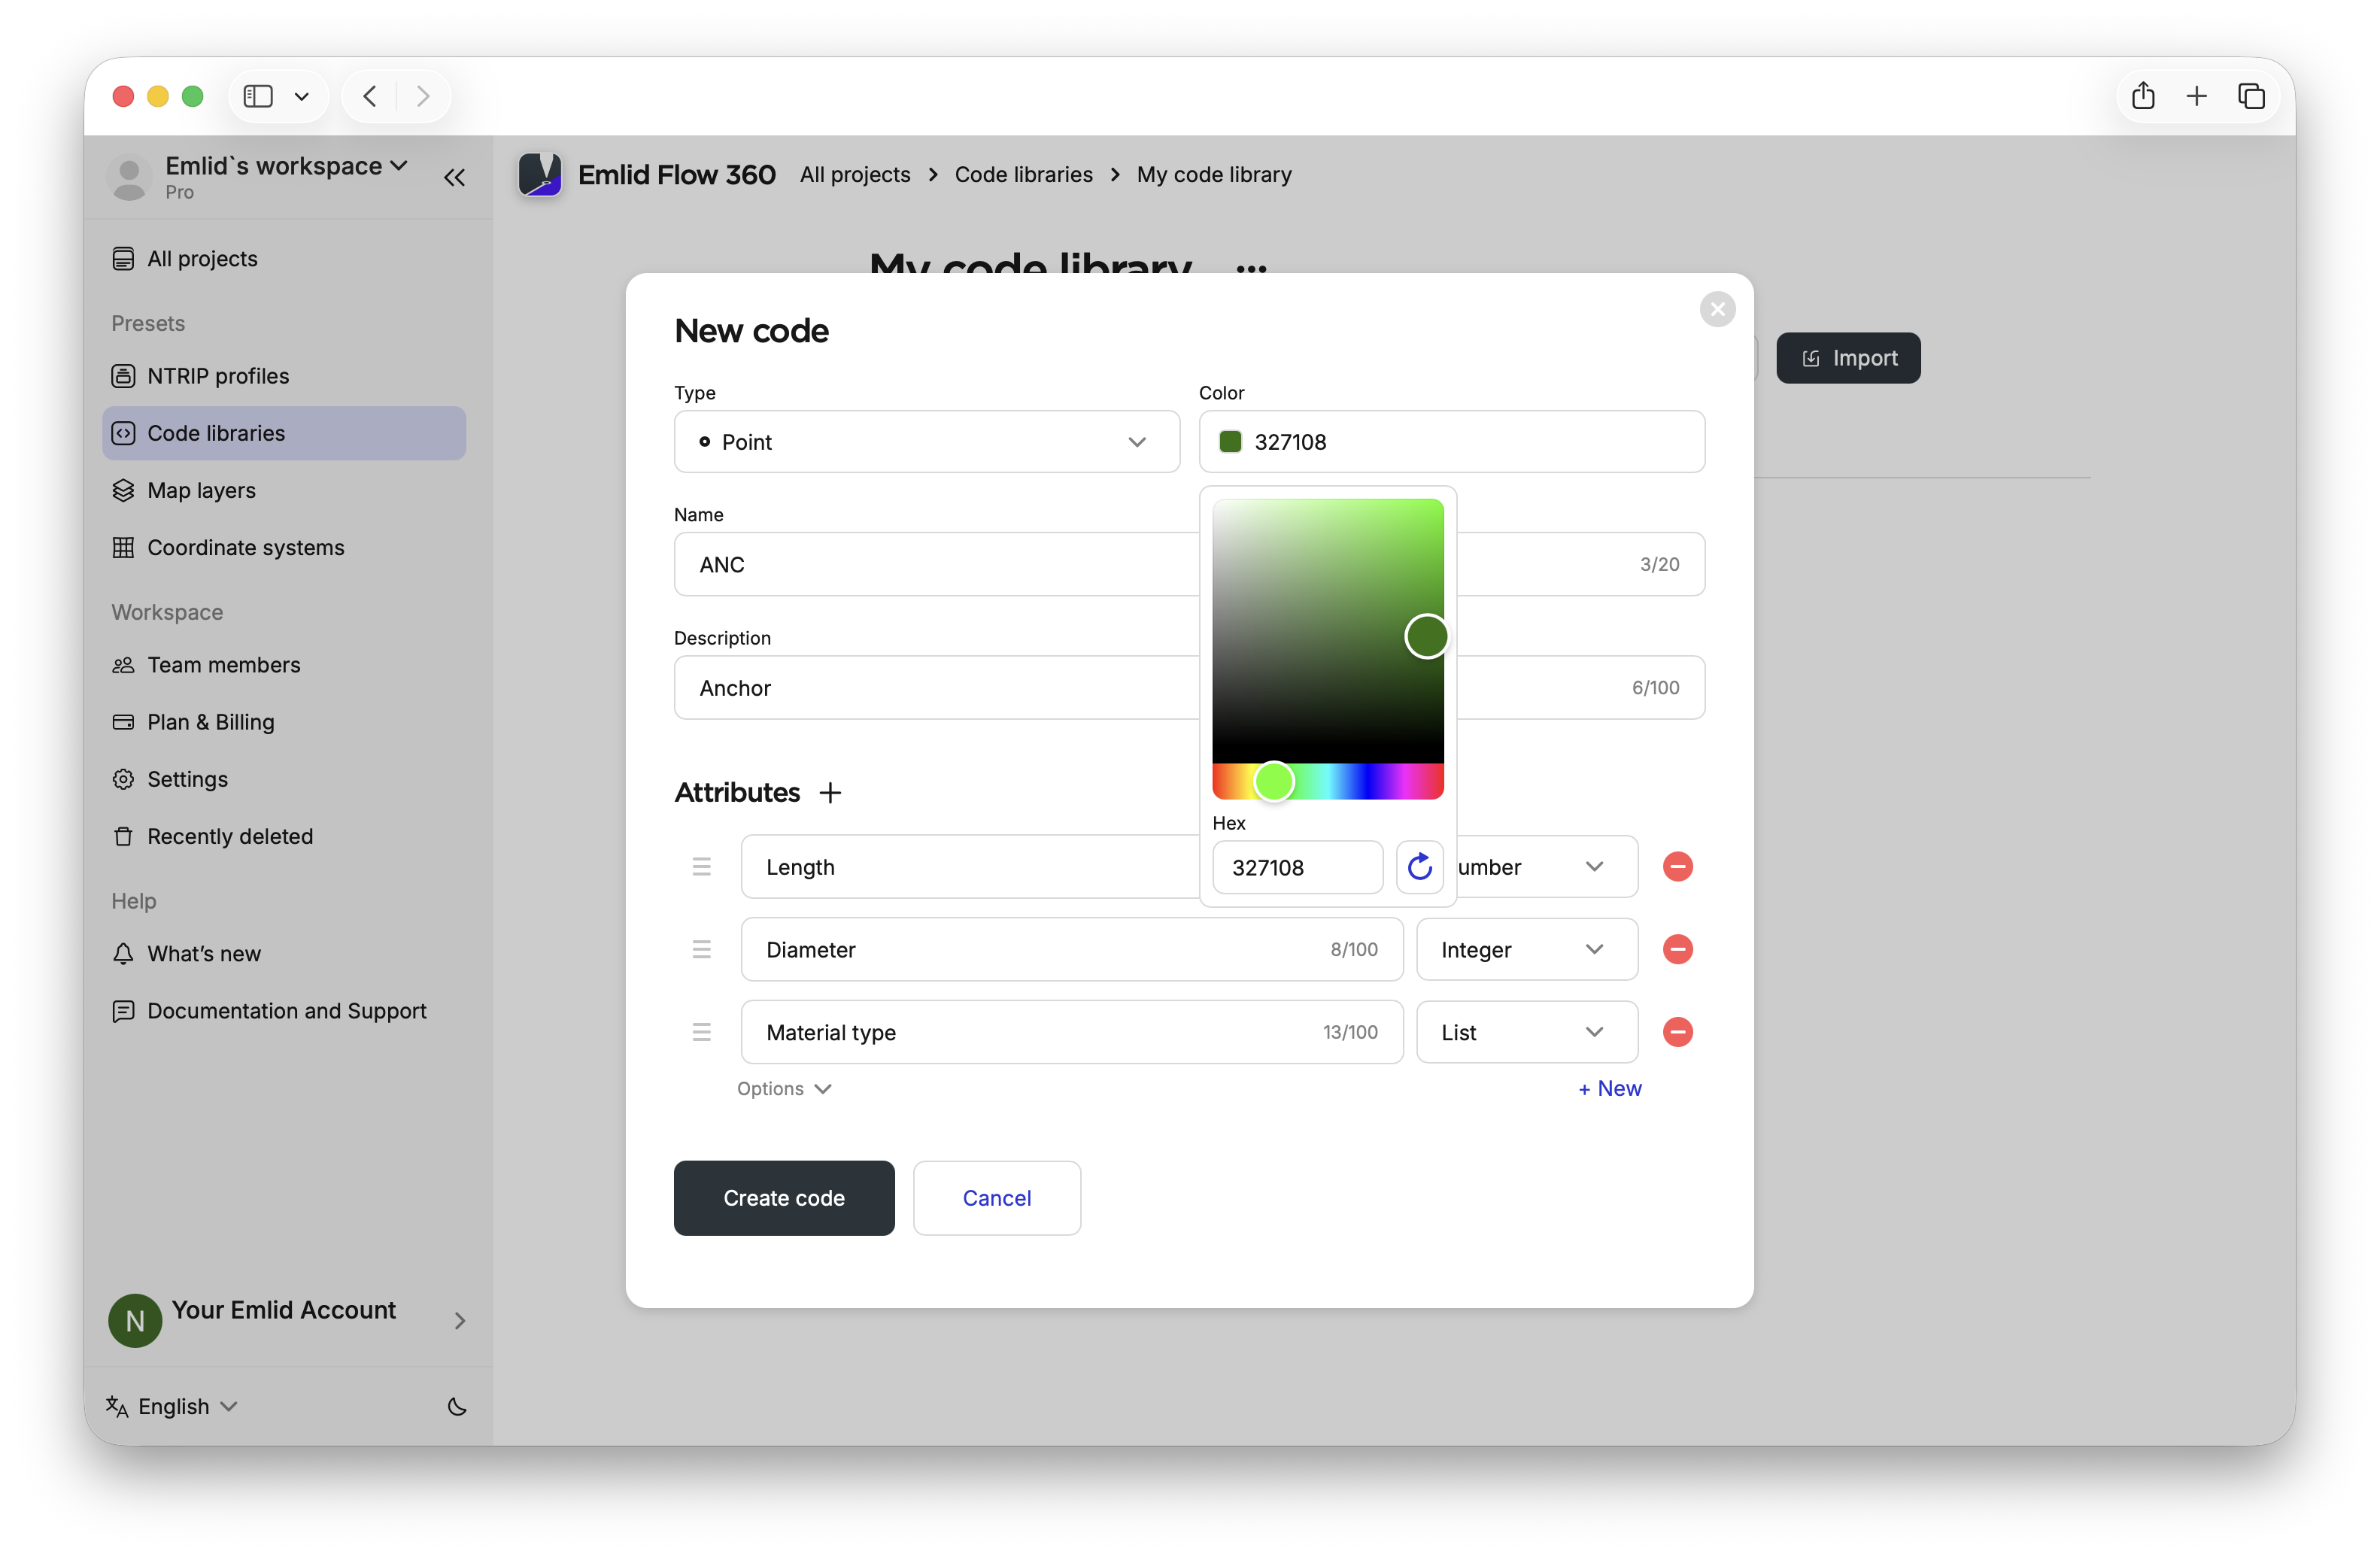
Choose a color using the color picker or by entering its hex code.
-
Enter the code name. Survey codes are typically abbreviated to keep them short and easy to use in the field.
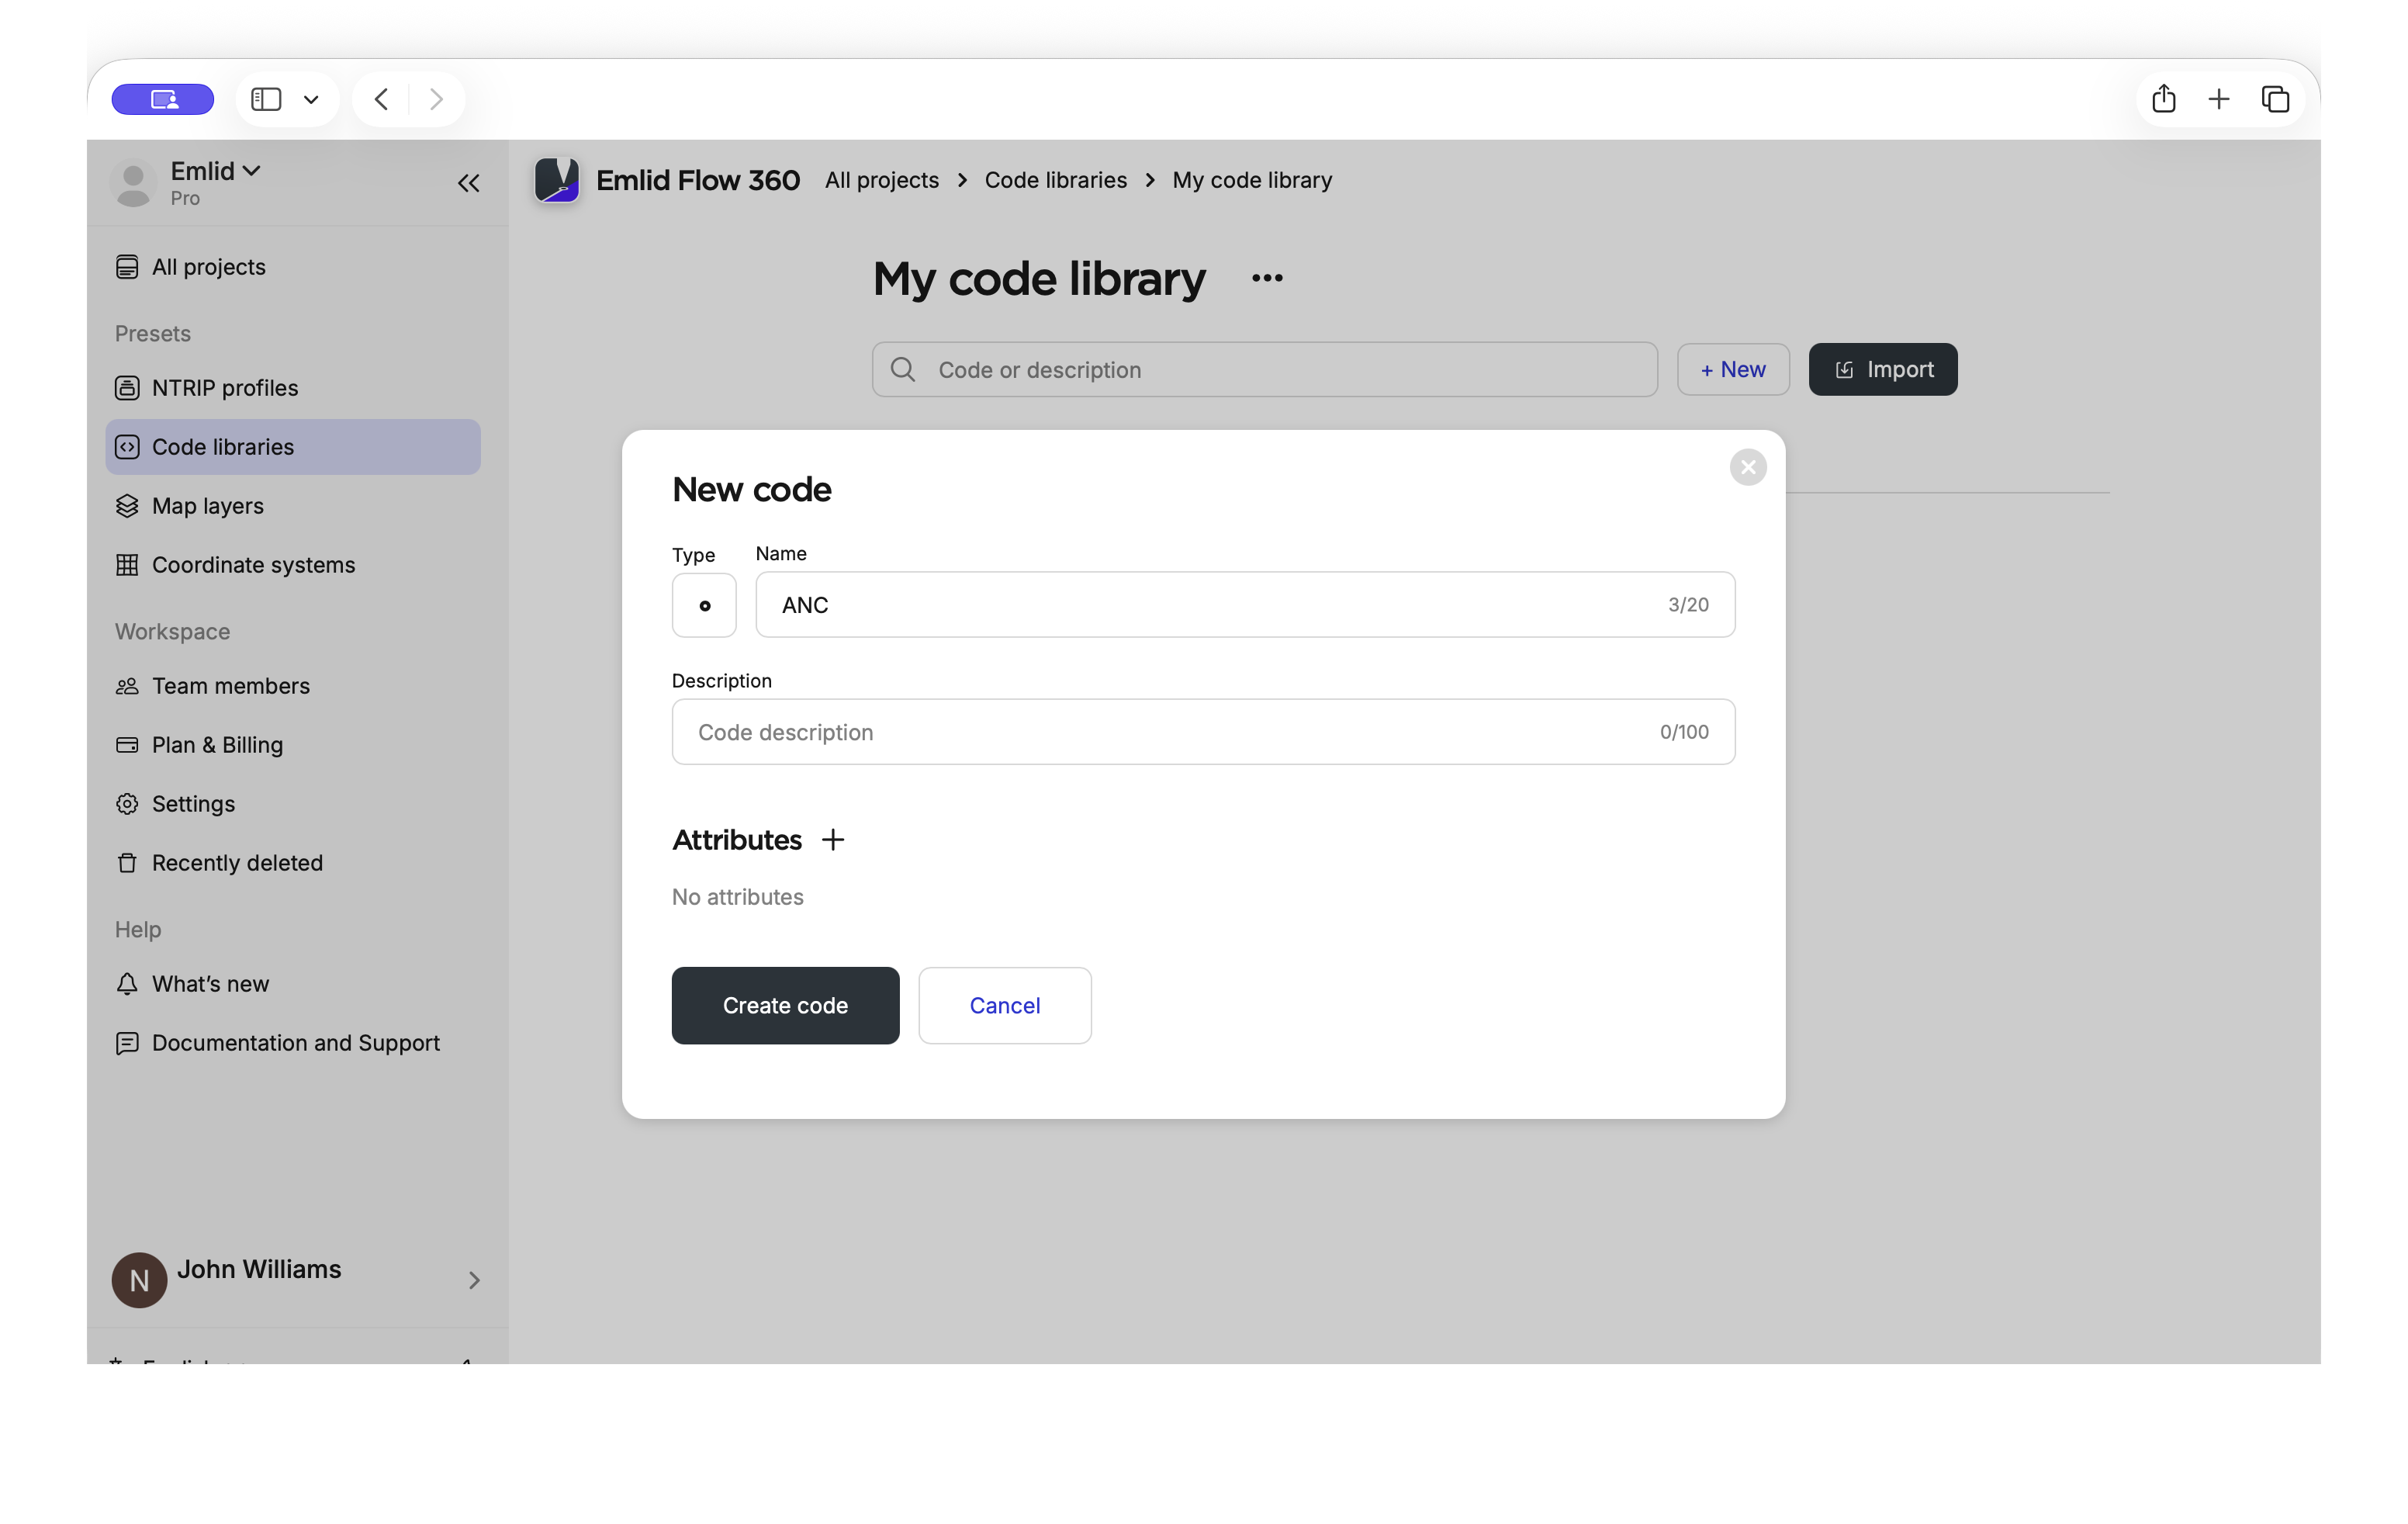
-
Add a description if needed. The description is a human-readable label associated with the survey code. For example, the surveyor may see the code
MHin the field, while exported data and reports display the full description, such as “Manhole.”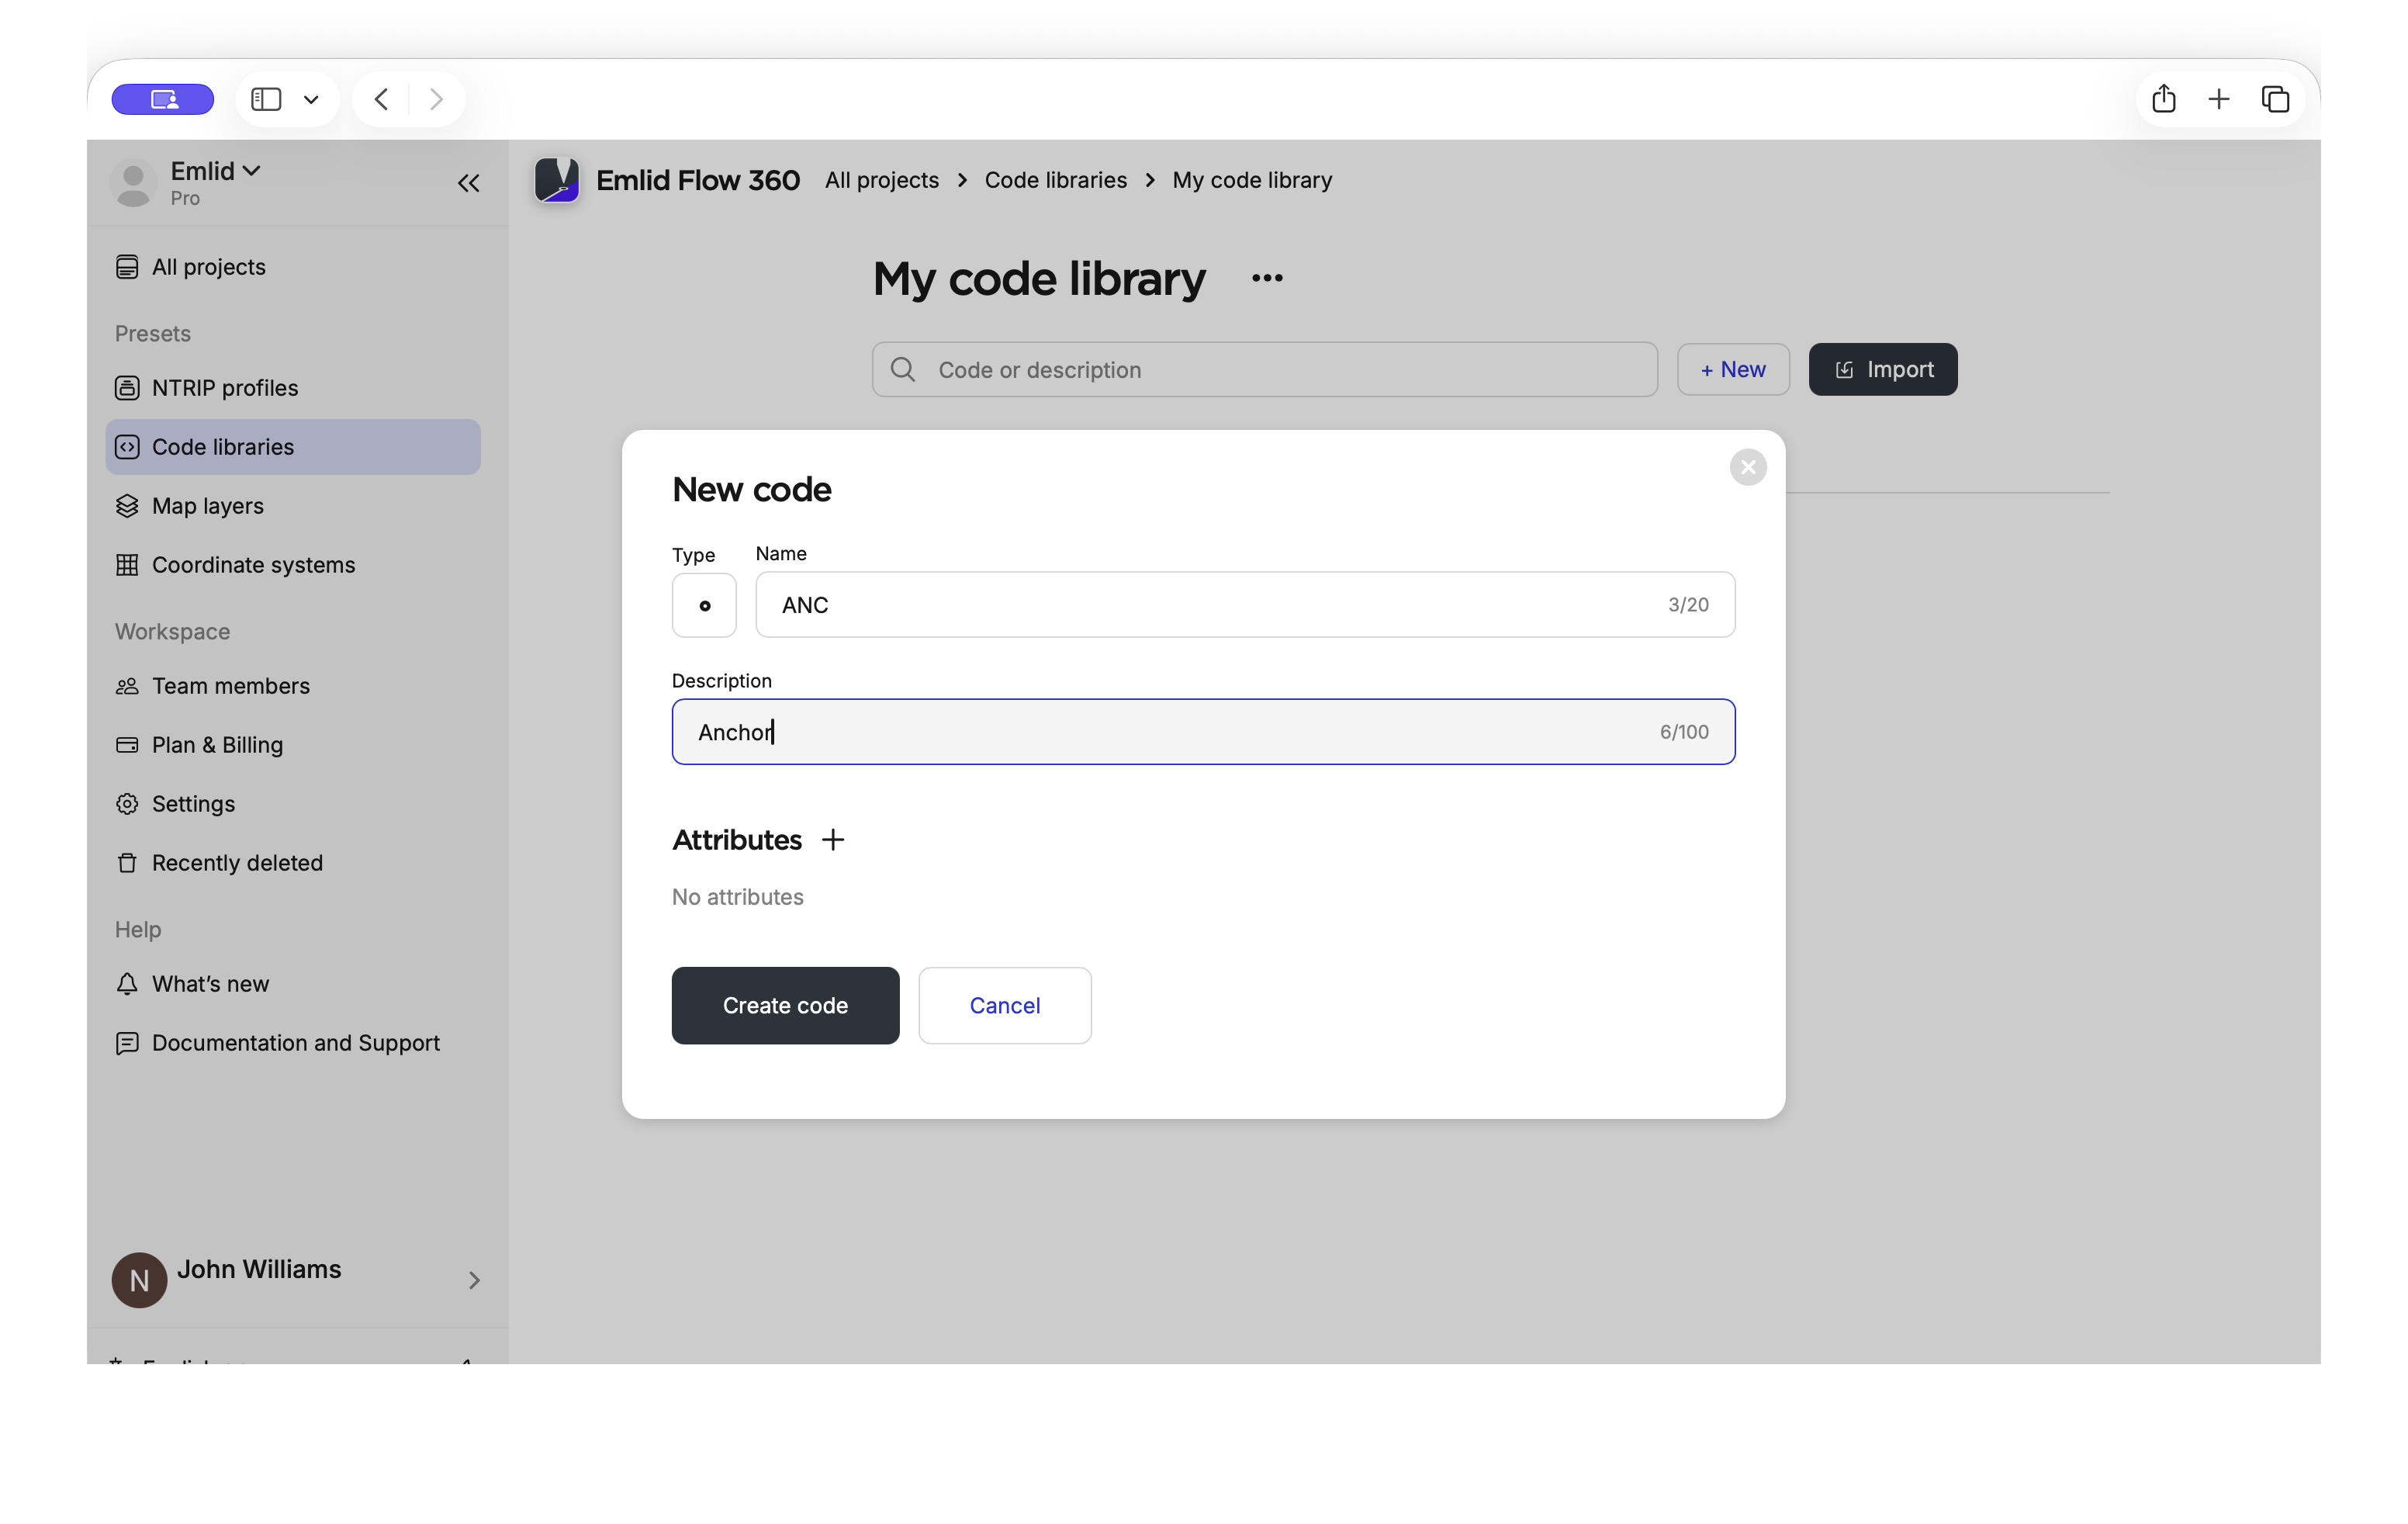
-
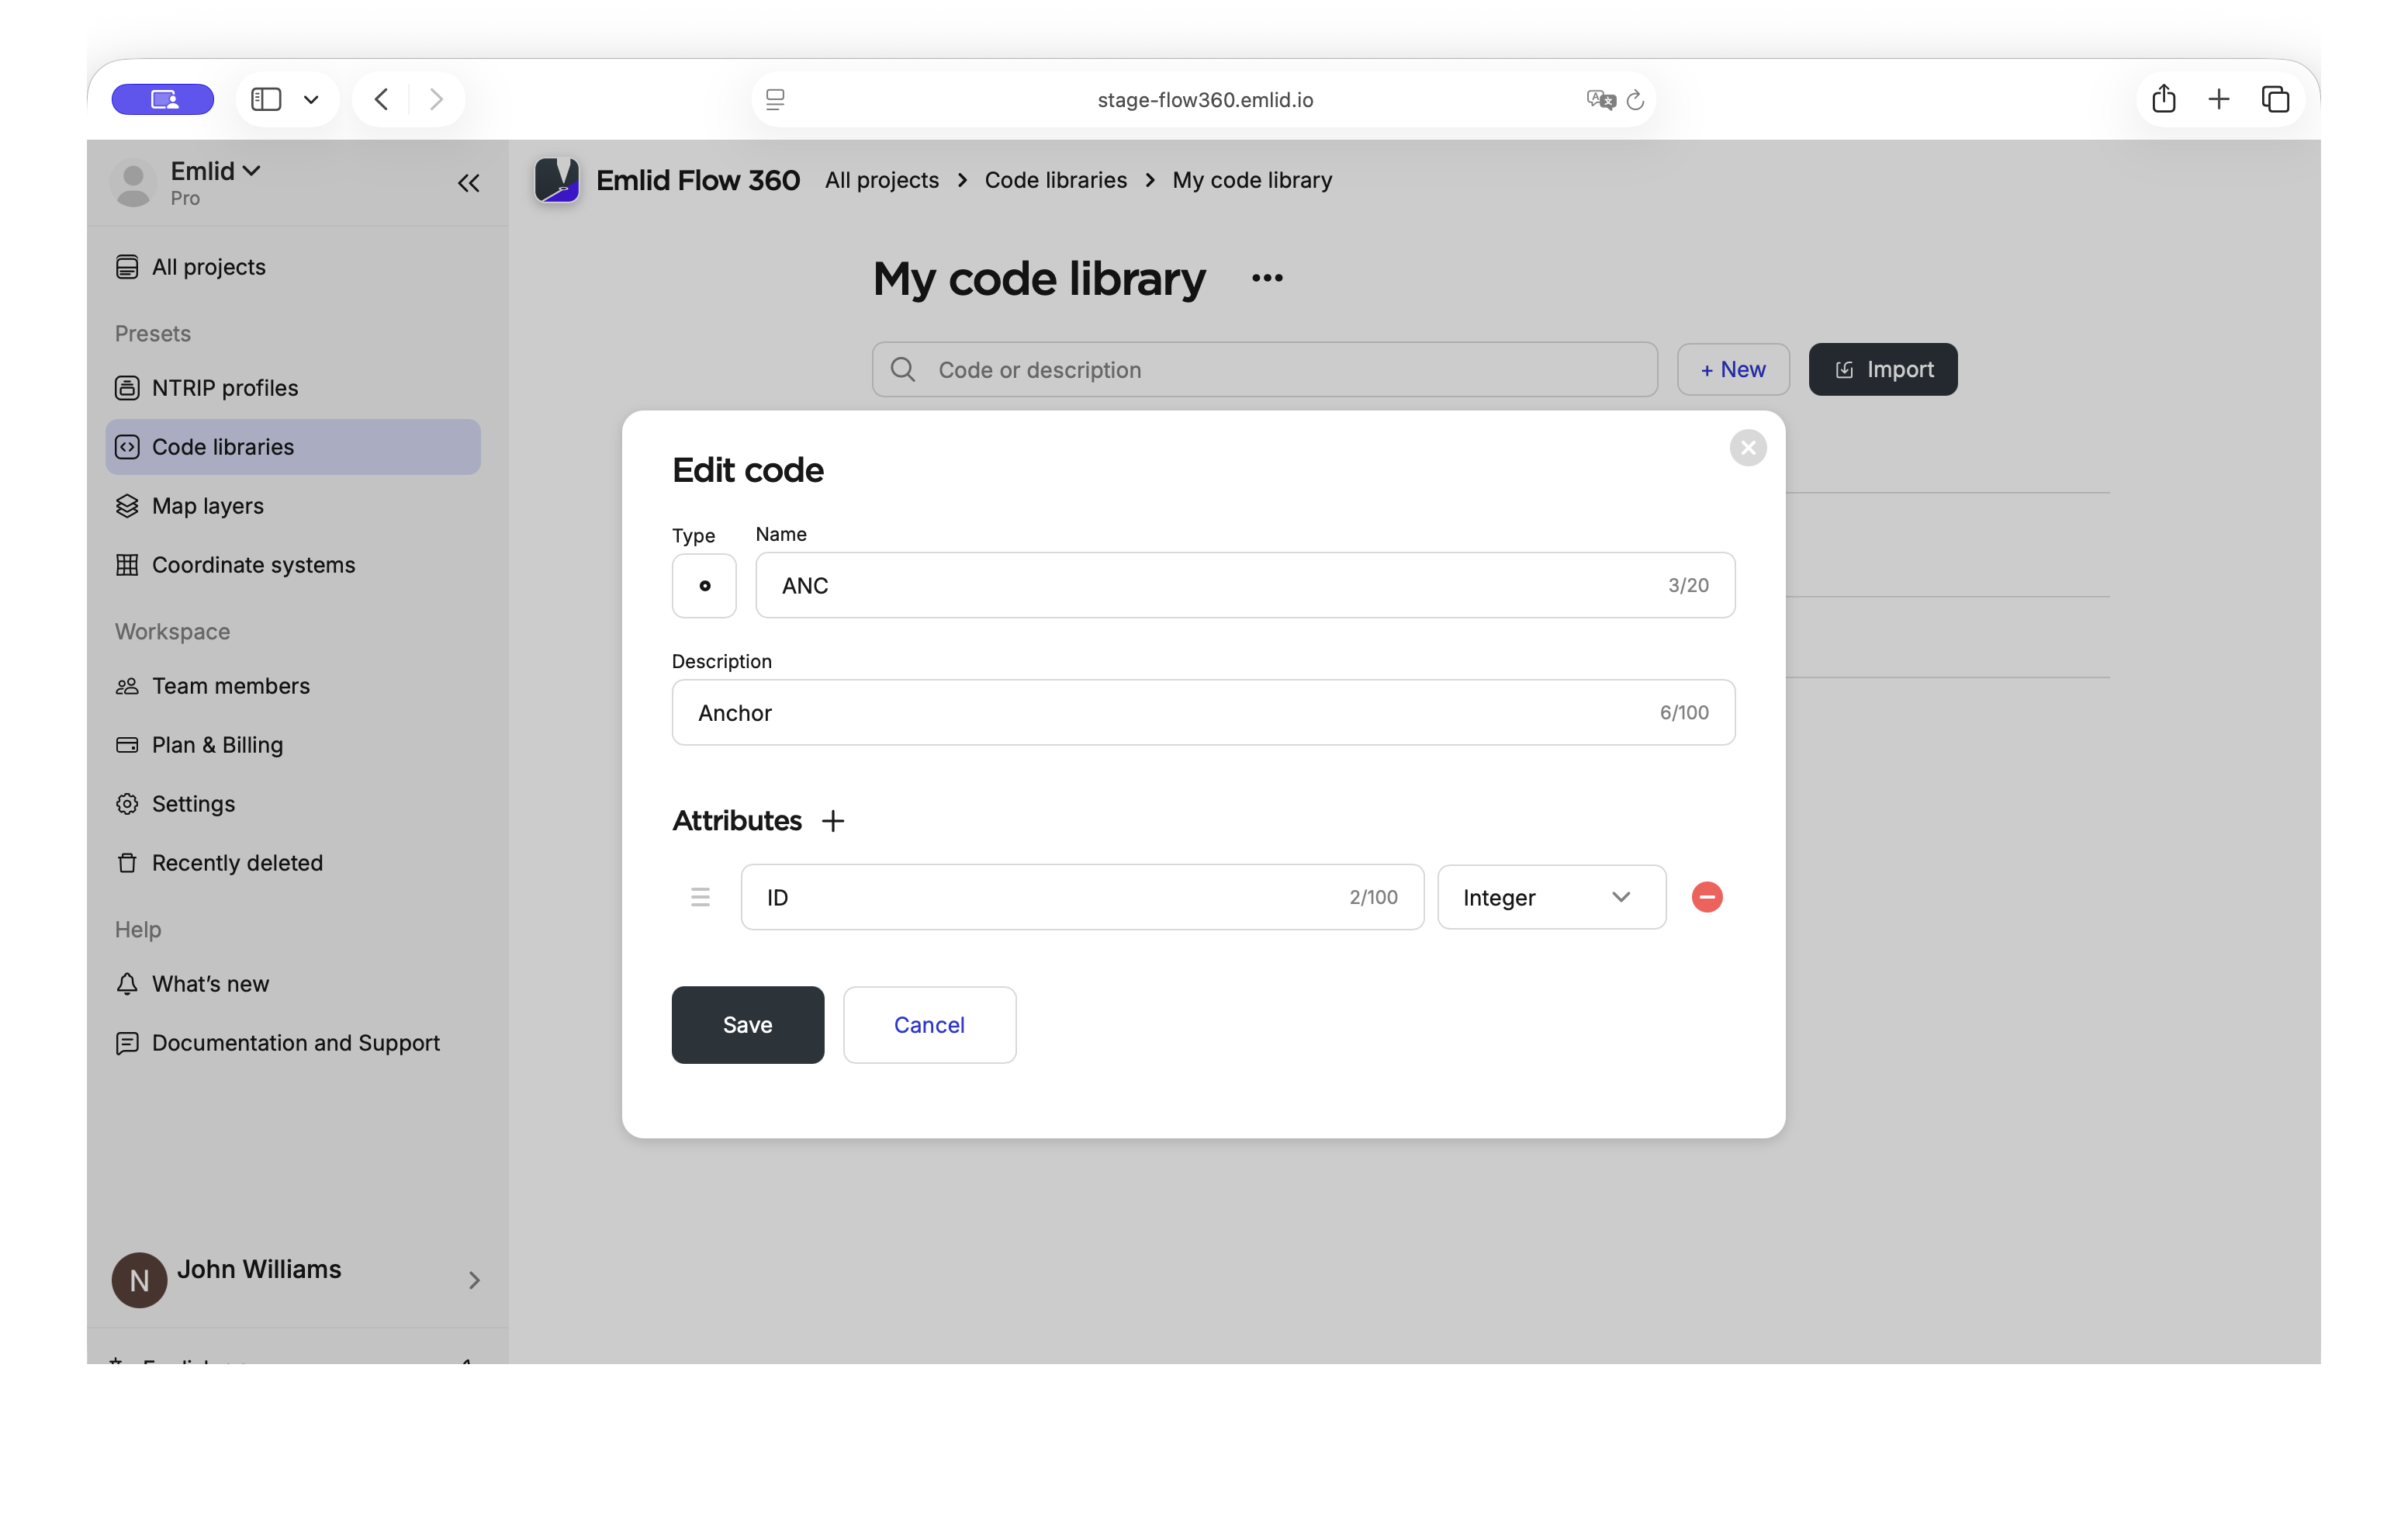
Add attributes if needed. Enter the attribute name and define its type:
- Text: Free-form text input. Use this field for notes, asset IDs, or other custom information.
- Integer: Whole numbers only. Suitable for values such as pipe diameter in millimeters, number of lanes, or floor count.
- Number: Numeric values with decimal support. Use for measurements such as invert elevation, offset distance, or depth.
- List: A predefined set of selectable values. Use it for standardized fields such as material type, condition, or status. Values are stored as text, while the predefined options help ensure consistent data entry across projects and crews.
The maximum number of attributes you can add to a code is 100.
When creating a list, click + to save the current entry and add a new one.
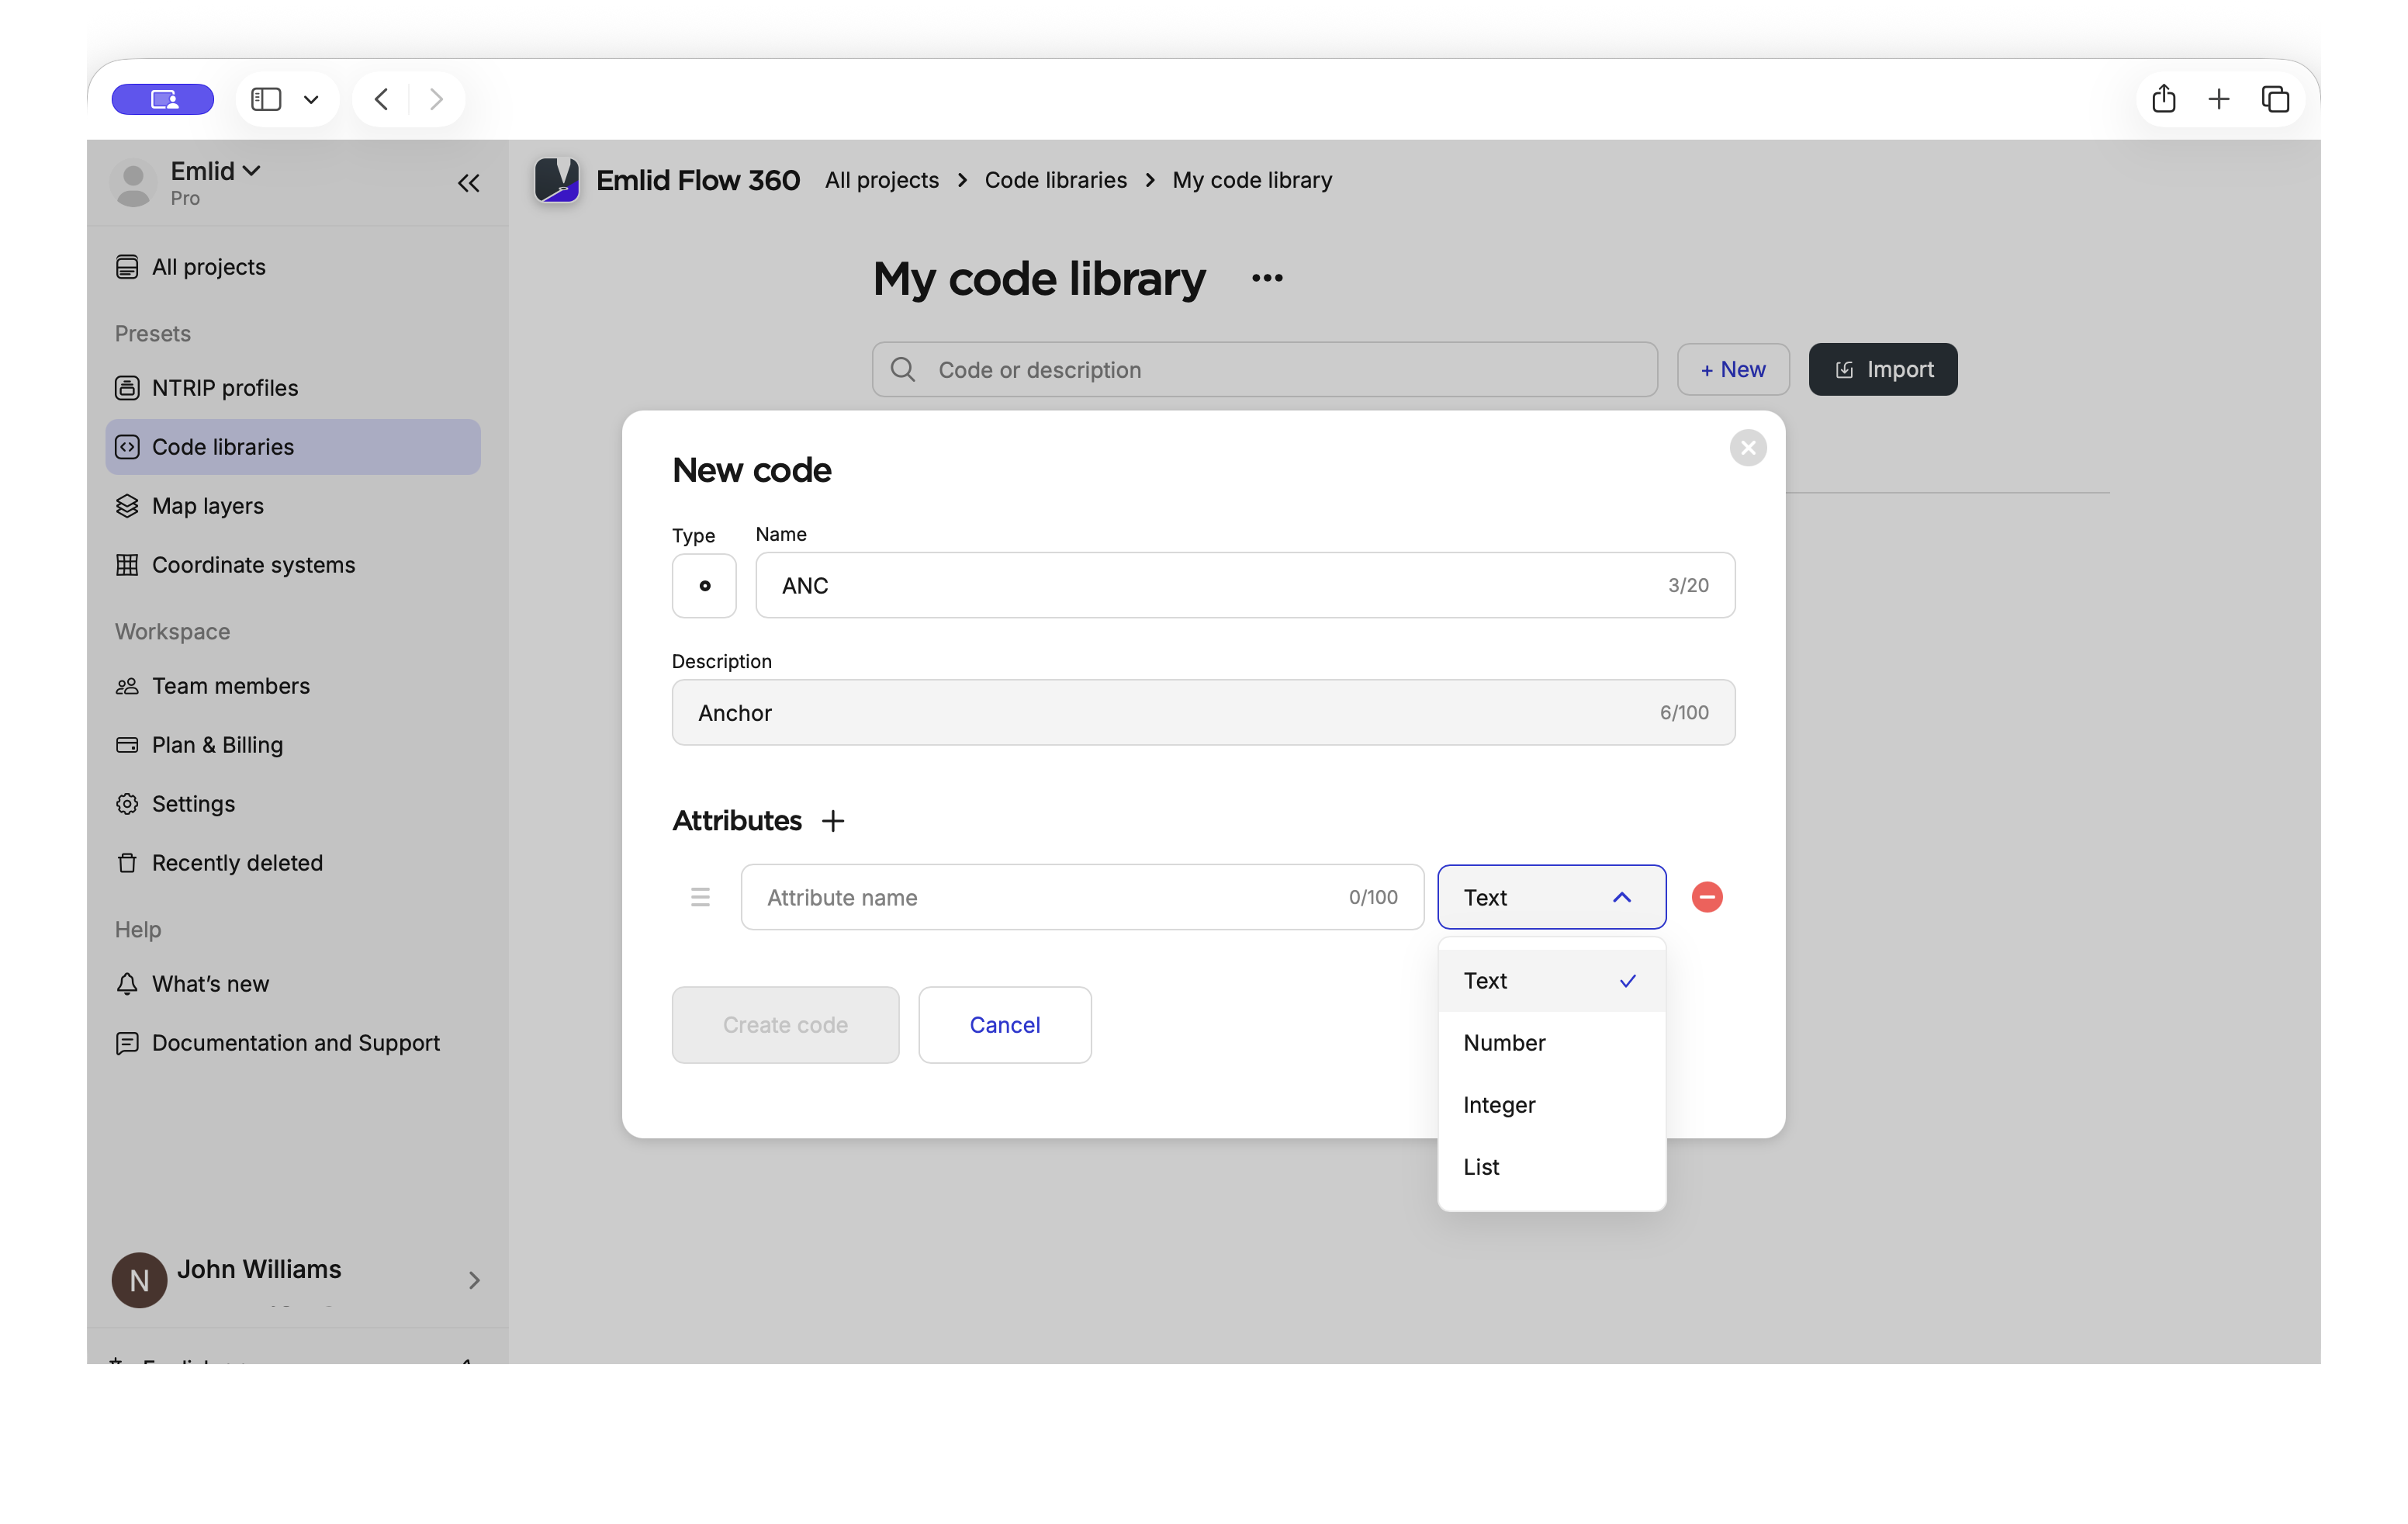
- Once you have filled in all the required fields, click Create code. It will be saved to the library.
Once you add new codes to your code library, the updated library will automatically sync with the Emlid Flow app on your mobile device.
Importing codes
To import a new code library or add codes to an existing one, you need to prepare a CSV file using the specific structure described below and import it into Emlid Flow 360.
Preparing CSV file
To upload a custom code library or add new codes to the existing custom code library in Emlid Flow 360, you need to create a CSV file that follows the structure described further.
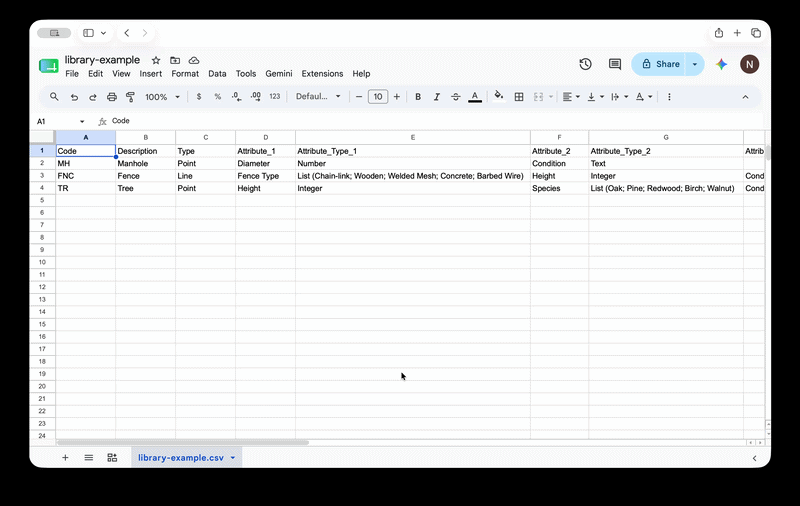
Each row in the spreadsheet defines one code. The required columns are the following:
- Code: A short identifier for an object, such as MH for a manhole or TR for a tree.
- Description: A full name of the object.
- Type: A geometry type, Point or Line.
You can also add additional columns:
- Color: The hex code of the color that defines the code's color.
- Attribute_No: An attribute name, such as Diameter, Condition. Where No is the attribute number, starting from 1. A code can have up to 100 attributes.
- Attribute_Type_No: An attribute type, such as Number, Integer, Text, or List, and the corresponding attribute number. The attribute type should be specified as one of the following:
- Number, which accepts numeric input.
- Integer, which accepts whole number input
- Text, which accepts free text input
- List (Option1; Option2; Option3), which presents the crew with predefined options. The options should be entered in parentheses and separated by semicolons.
Once the CSV file is complete, you can upload it to Emlid Flow 360 to make the codes and attributes available to the field crew.
Importing CSV file
To upload the created CSV file to Emlid Flow 360 and make the codes and attributes available to the field crew, do as follows:
-
Create a new library or open an existing one.
noteYou can import codes only into custom libraries that you create. Importing codes into the default libraries in Emlid Flow 360 is not supported.
-
Click Import, then select the file containing your code library. Once the import is complete, a confirmation message will appear.
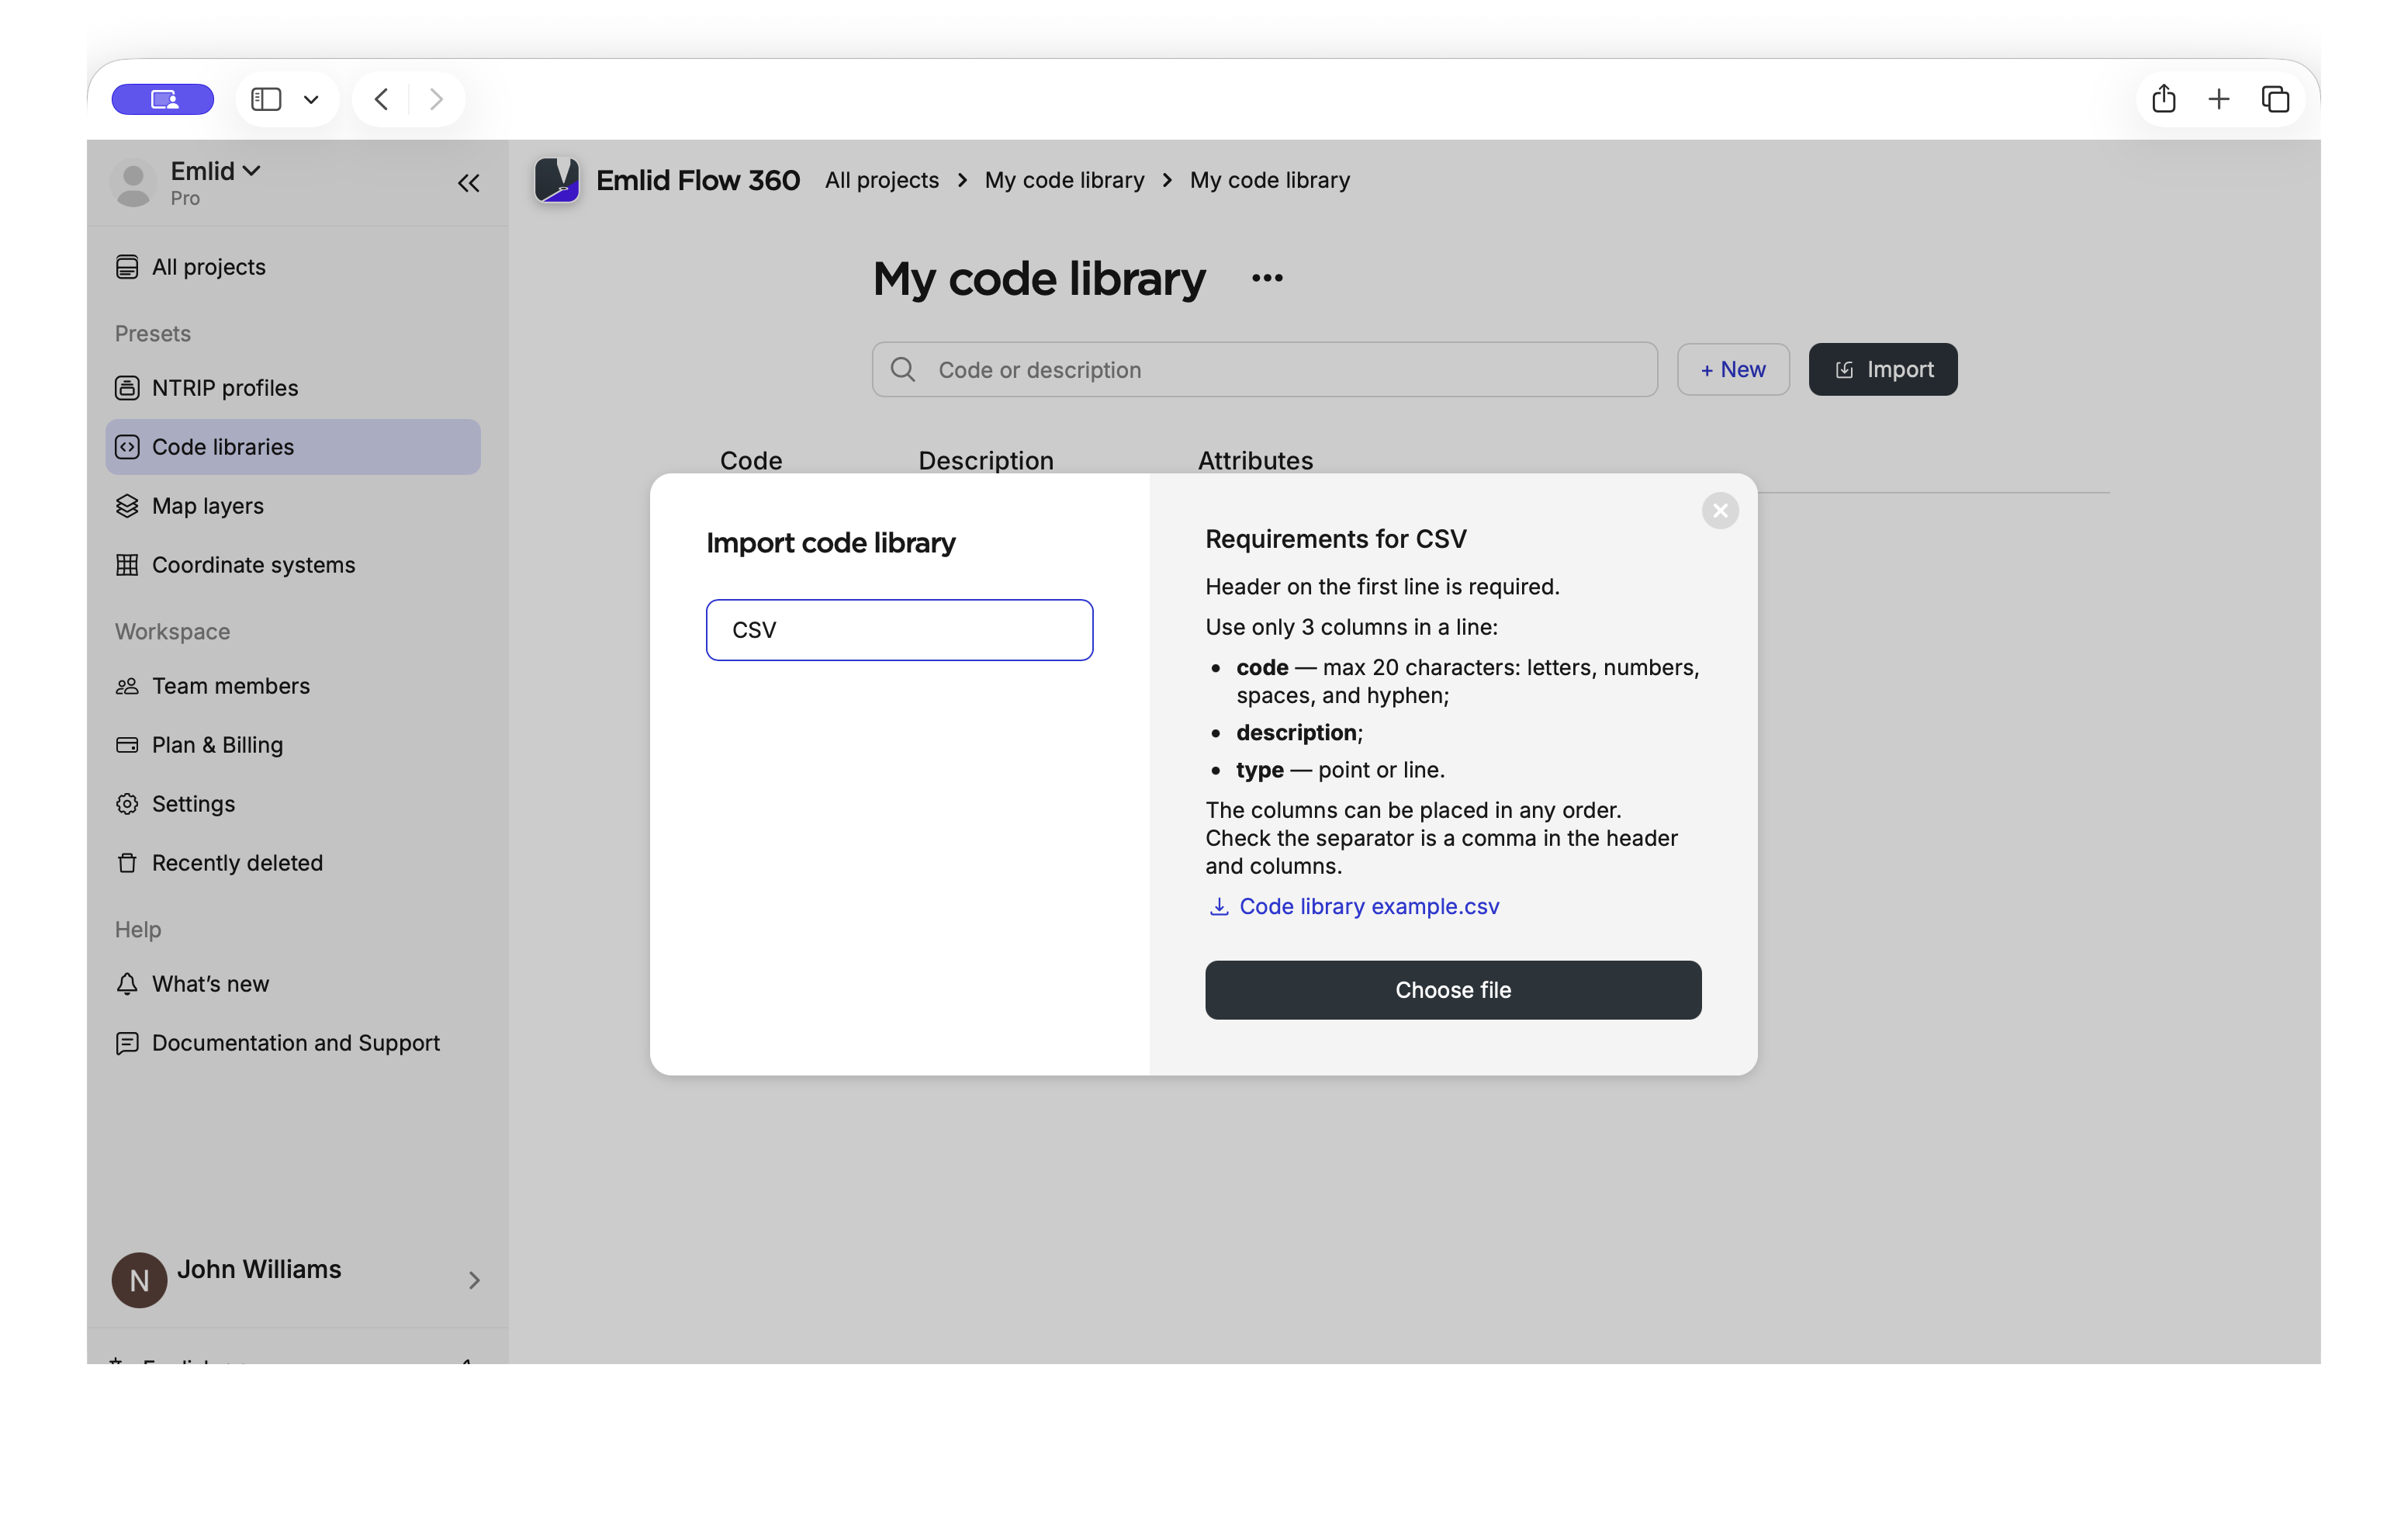
A single code library can’t contain two survey codes with the same code name. Before adding new codes to your library, make sure the file you’re uploading doesn't duplicate the already existing codes.
Once you import new codes to your code library, the updated library will automatically sync with the Emlid Flow app on your mobile device. Learn more about using codes during surveying in the Working with codes guide.
Editing codes
In Emlid Flow 360, you can edit codes in the libraries created by you. Do as follows:
-
Open the required library in Emlid Flow 360.
-
Right-click the code row. A menu with available options will open.
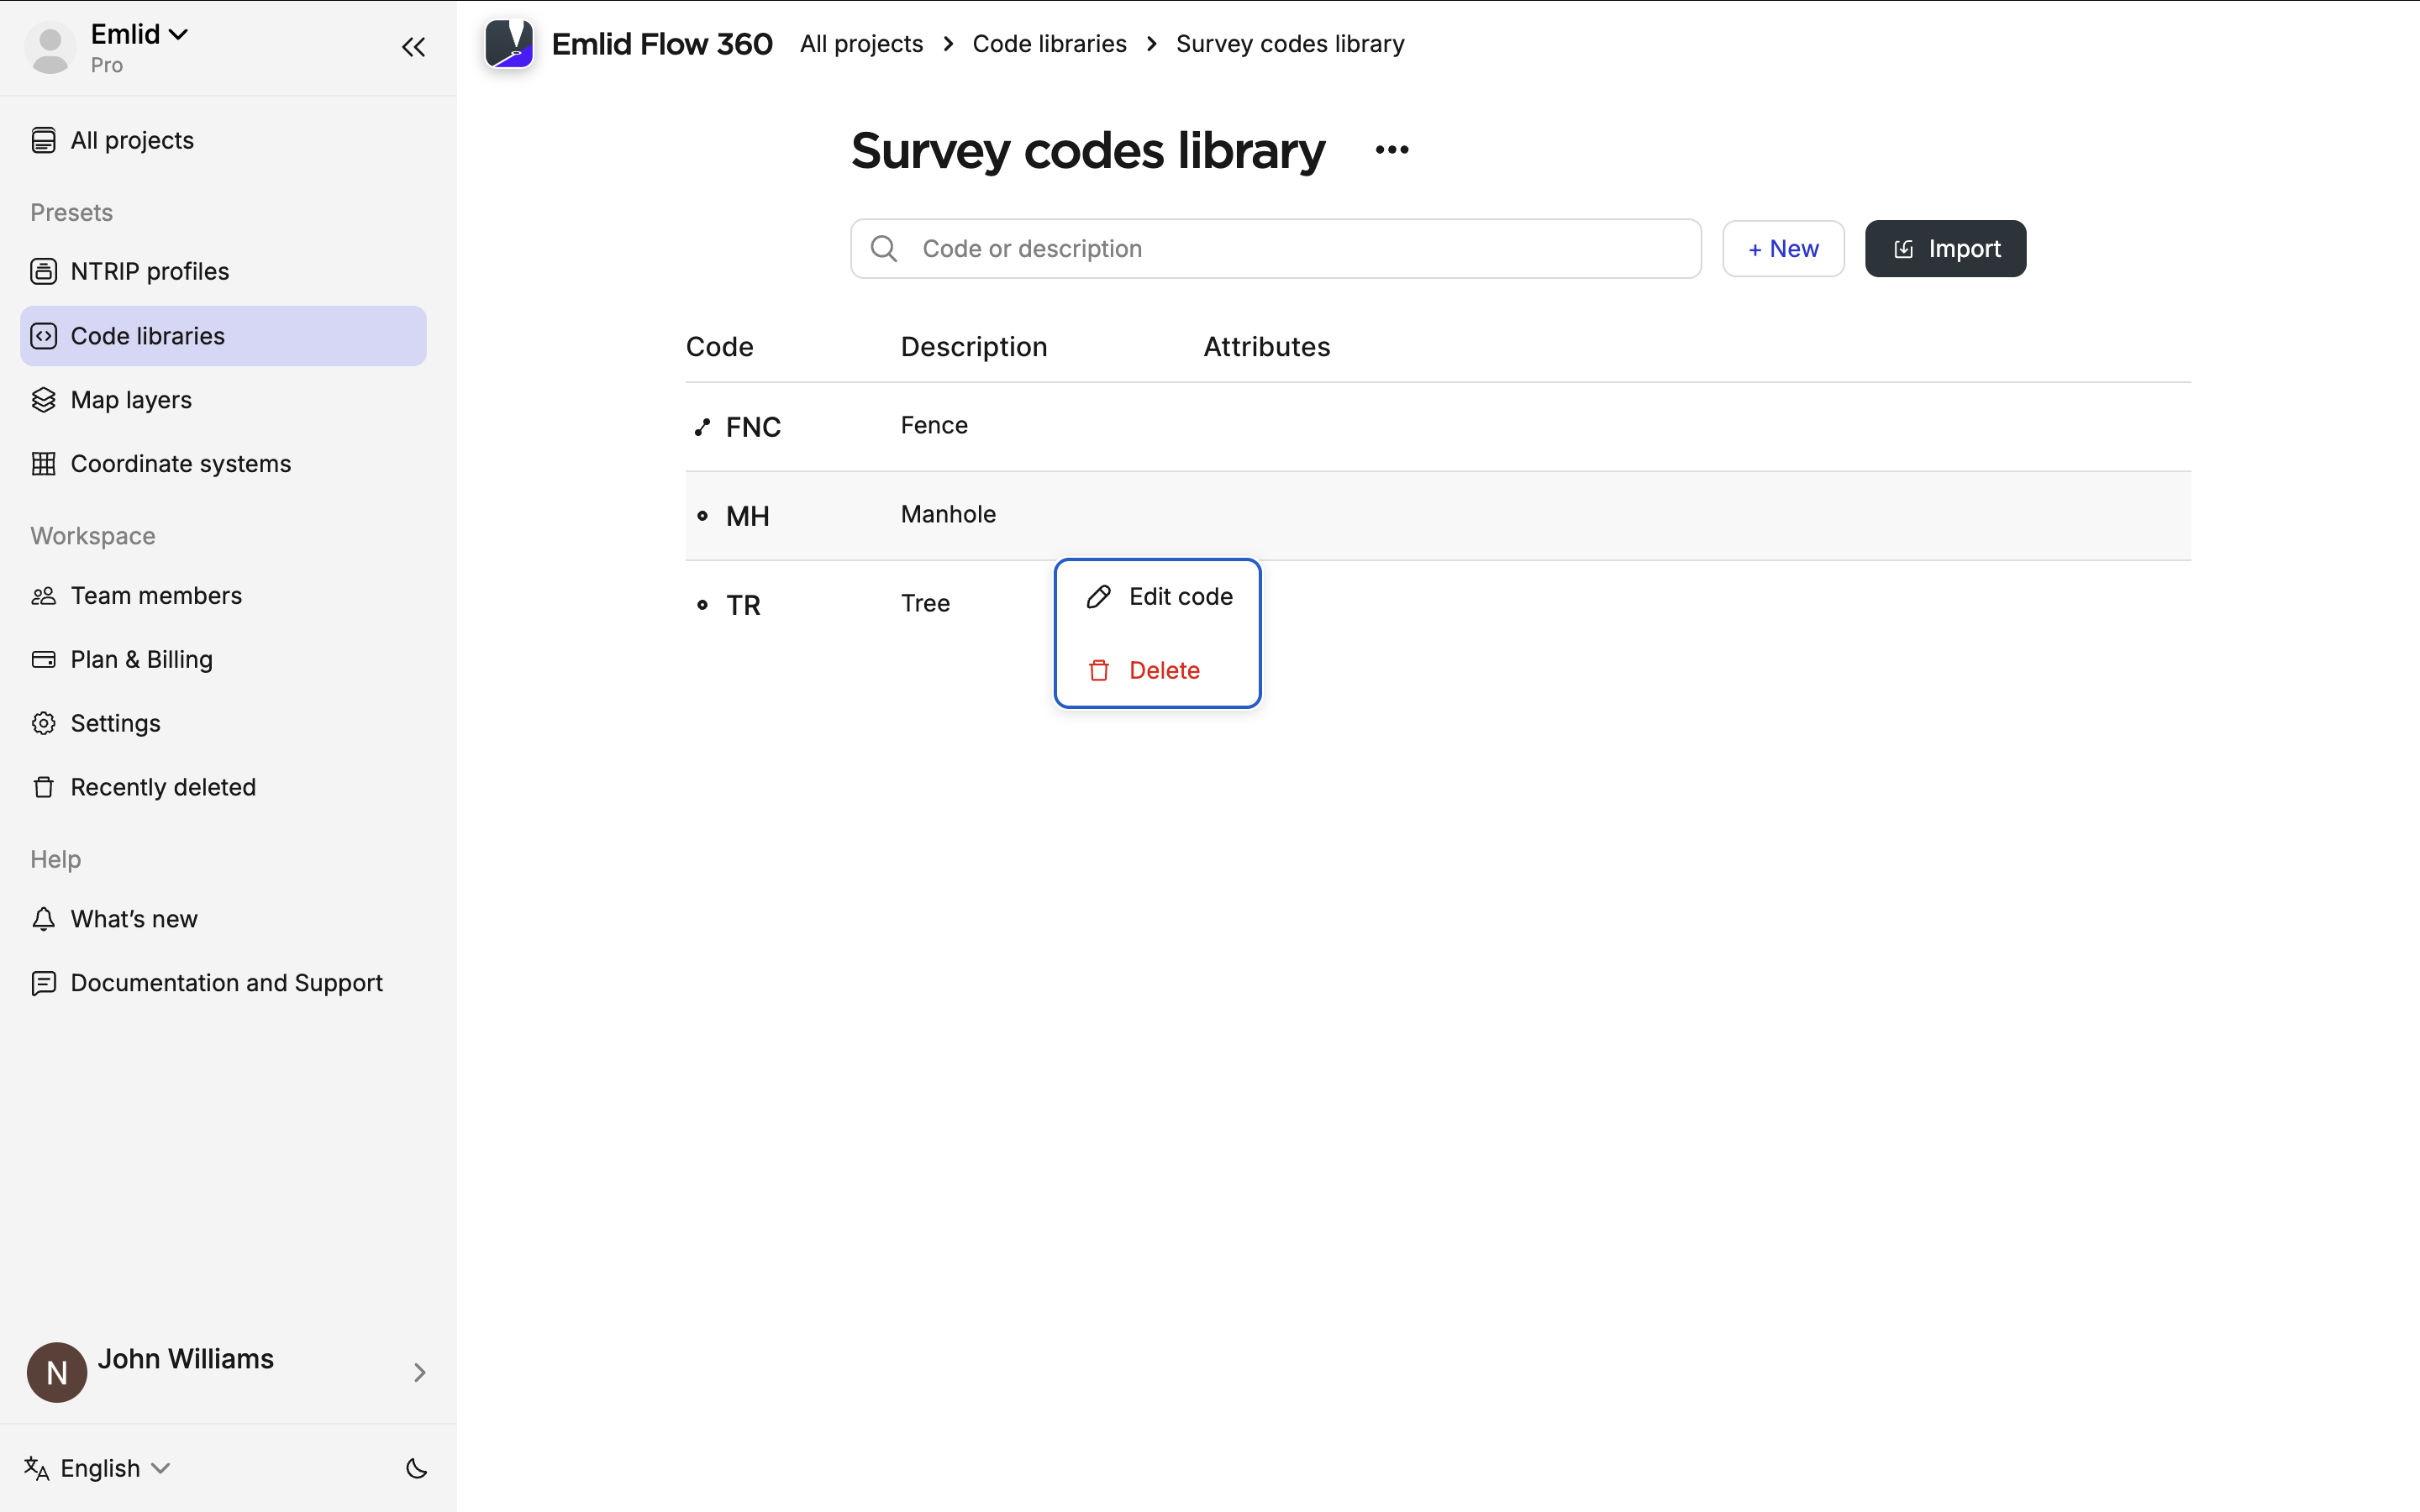
-
Choose Edit code, then add the necessary changes, including adding the attributes and choosing the color.