Work with default settings
This guide explains how to configure workspace defaults in Emlid Flow and Emlid Flow 360, and how to manage map view presets to ensure a consistent project setup.
Overview
With workspace defaults in Emlid Flow 360, you can define how new projects are configured in Emlid Flow and Emlid Flow 360, including units, coordinate systems, code libraries, and map view presets. You can create and manage these defaults in Emlid Flow 360 and automatically apply them in Emlid Flow when creating a new project. If needed, you can override these settings during project creation in either Emlid Flow or Emlid Flow 360.
The following sections show how to manage workspace defaults and map view presets.
Working with defaults
Default configurations set the standard parameters applied to new projects, including angular and linear units, coordinate systems, and code libraries. They ensure consistency across your team and projects, reduce setup time, and make it easier to switch between projects without reconfiguring settings.
- Emlid Flow 360
- Emlid Flow
-
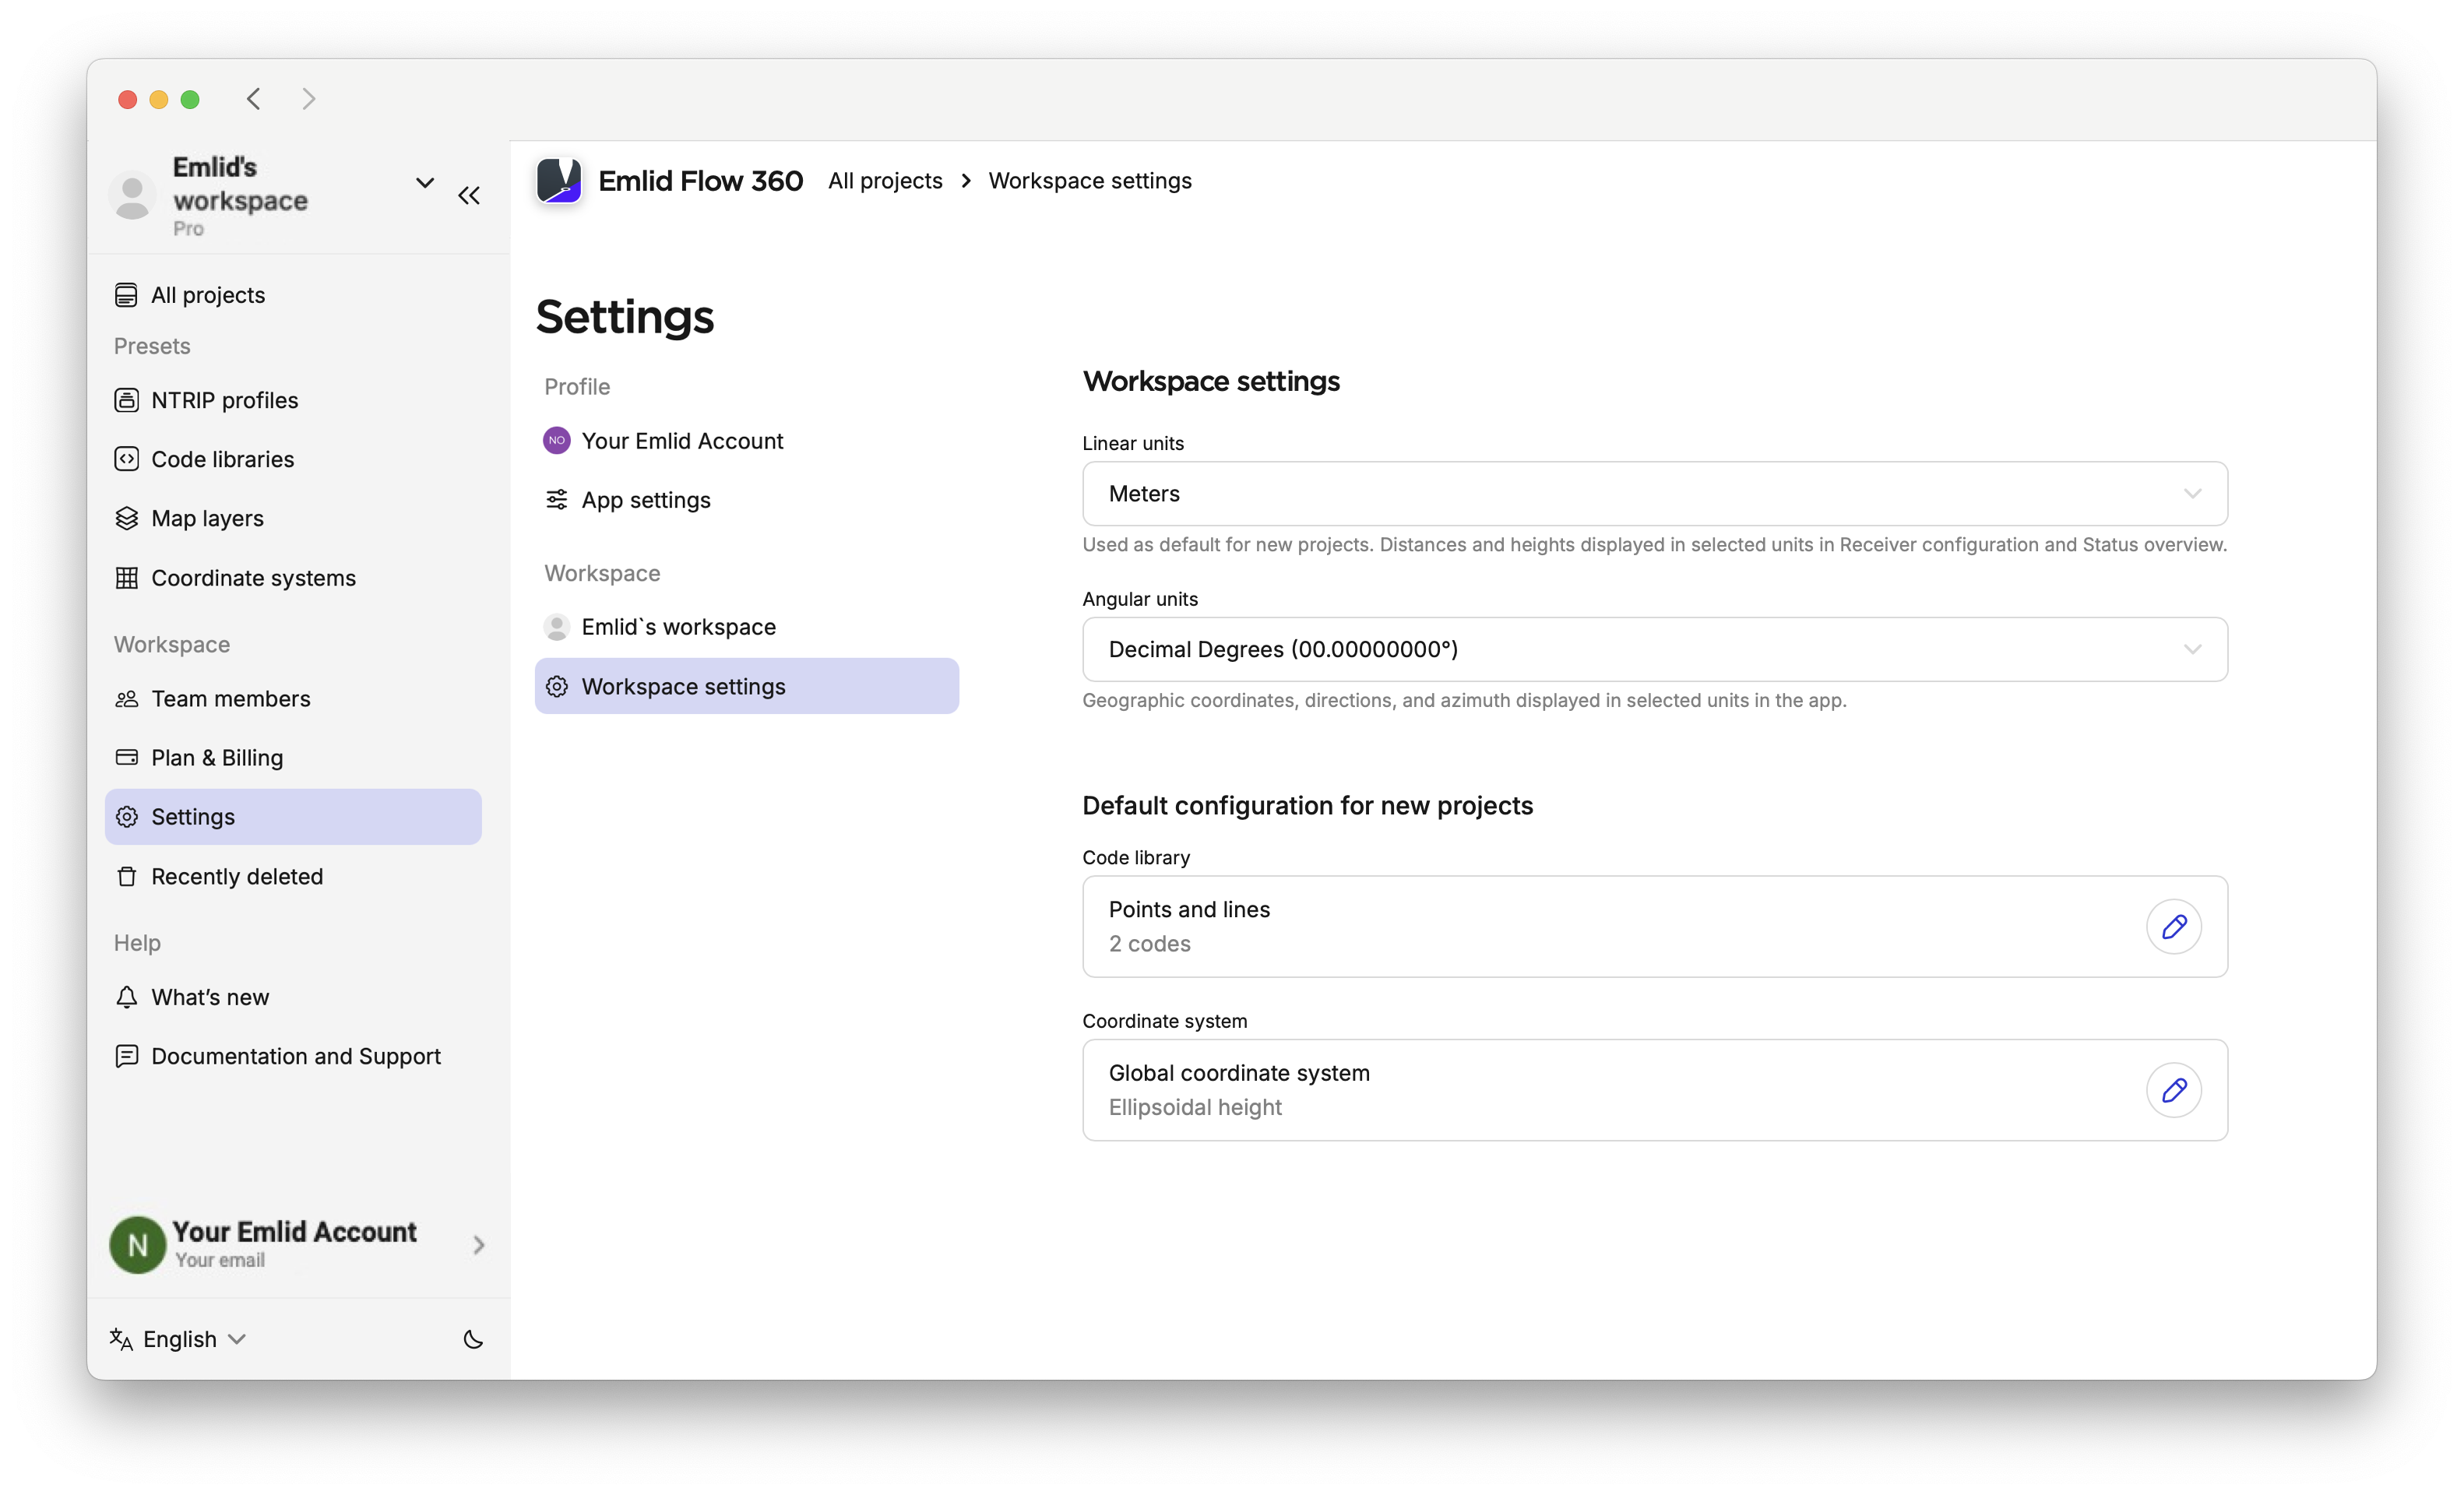
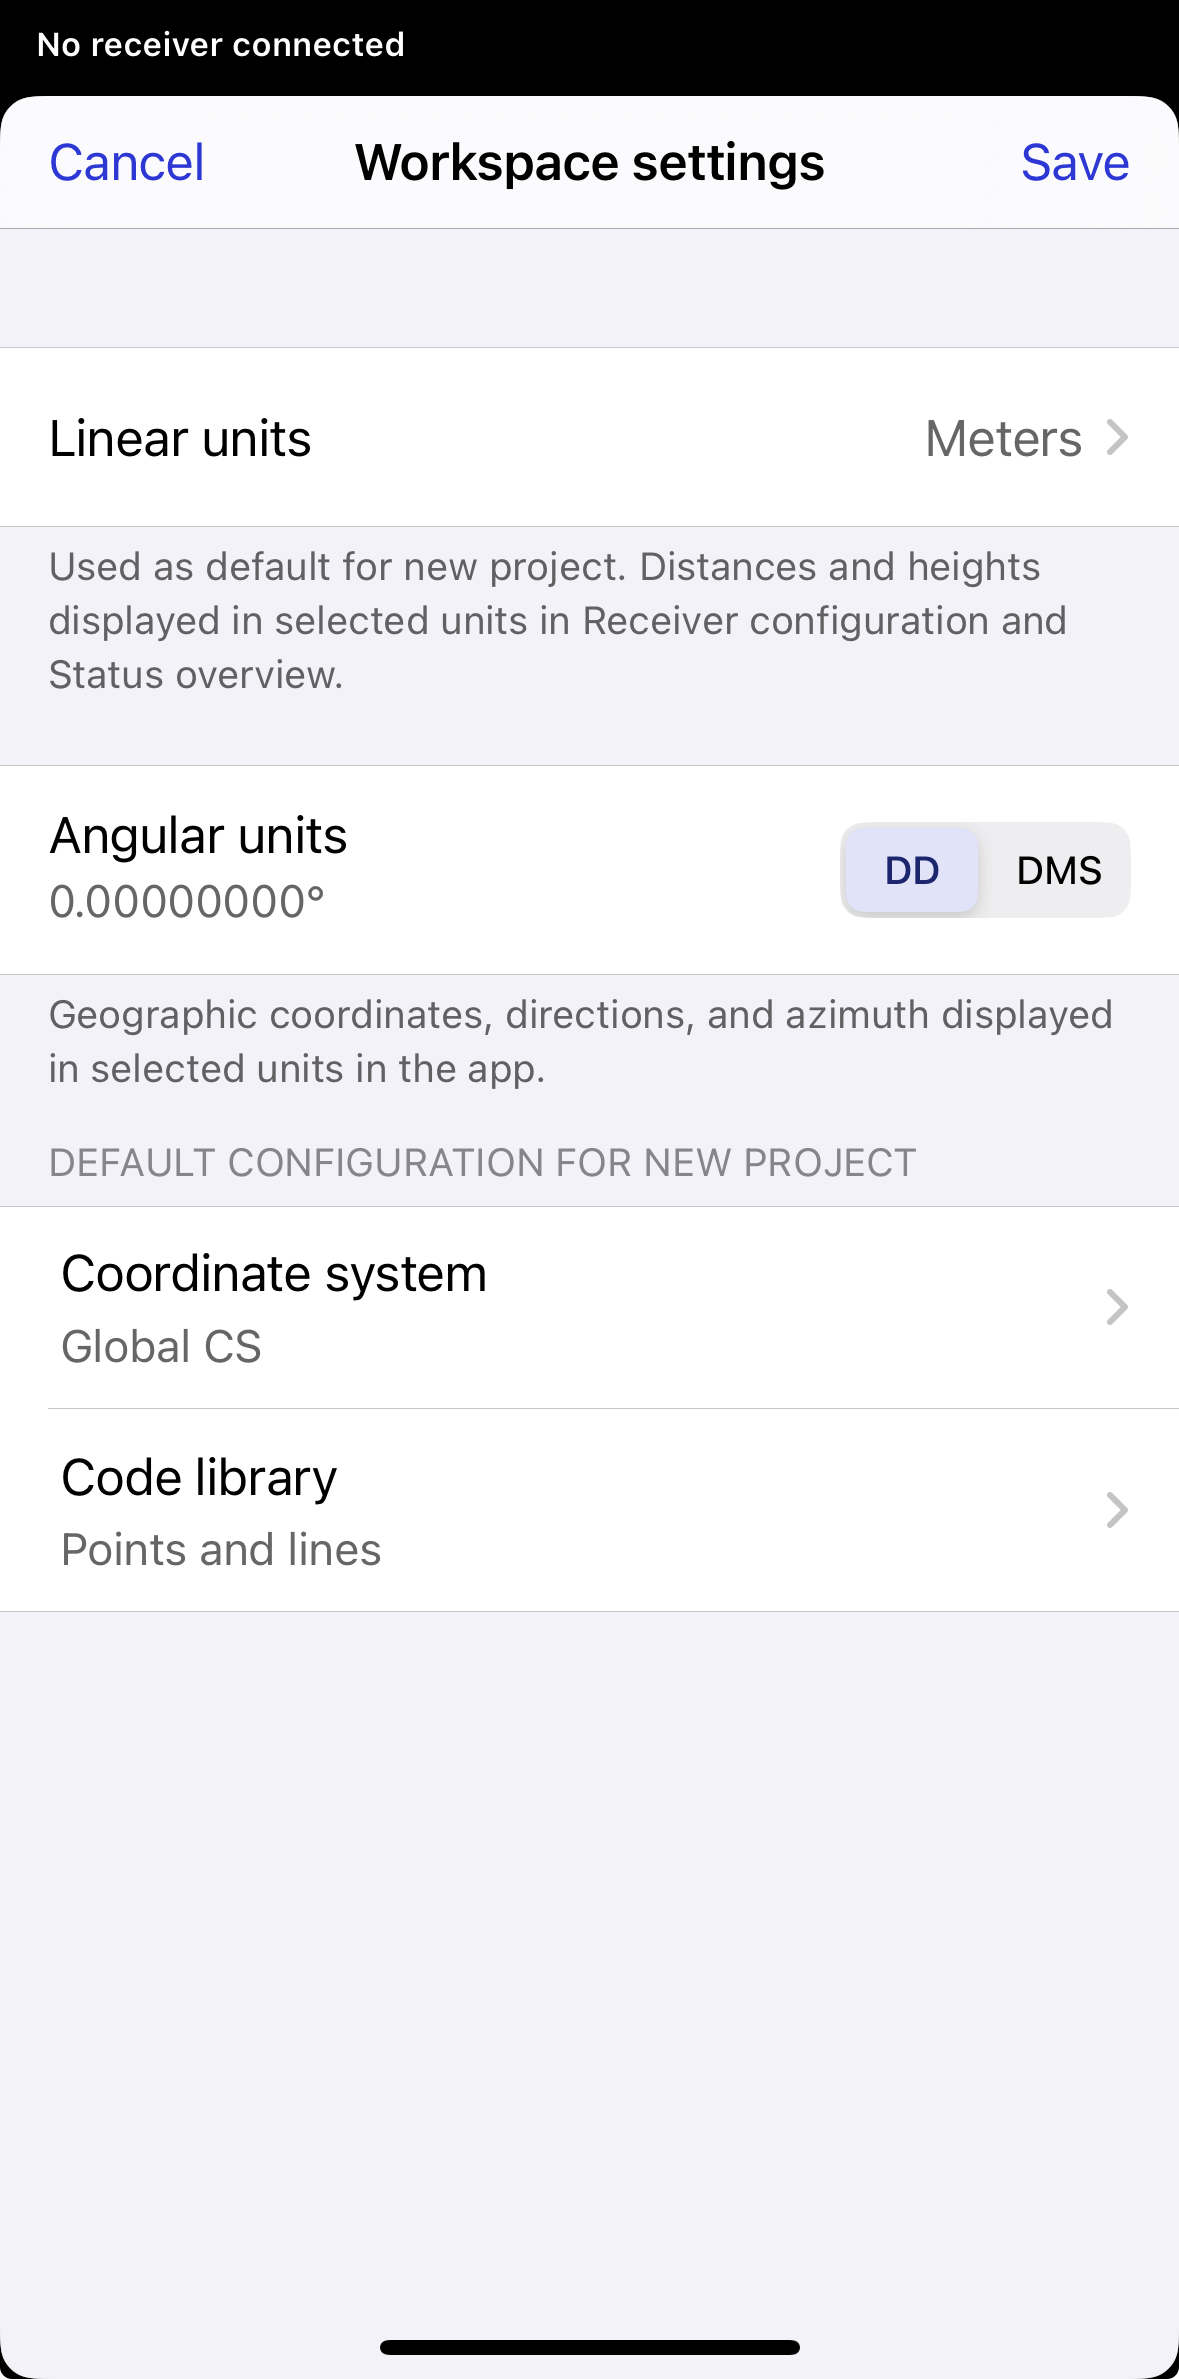
Go to Settings on the left, then select Workspace settings.
-
Set your preferred defaults for angular and linear units, coordinate system, and code libraries.
noteCode library management is only available with the Pro plan. If you use the Free plan, you can work with the two code libraries that we provide you.
-
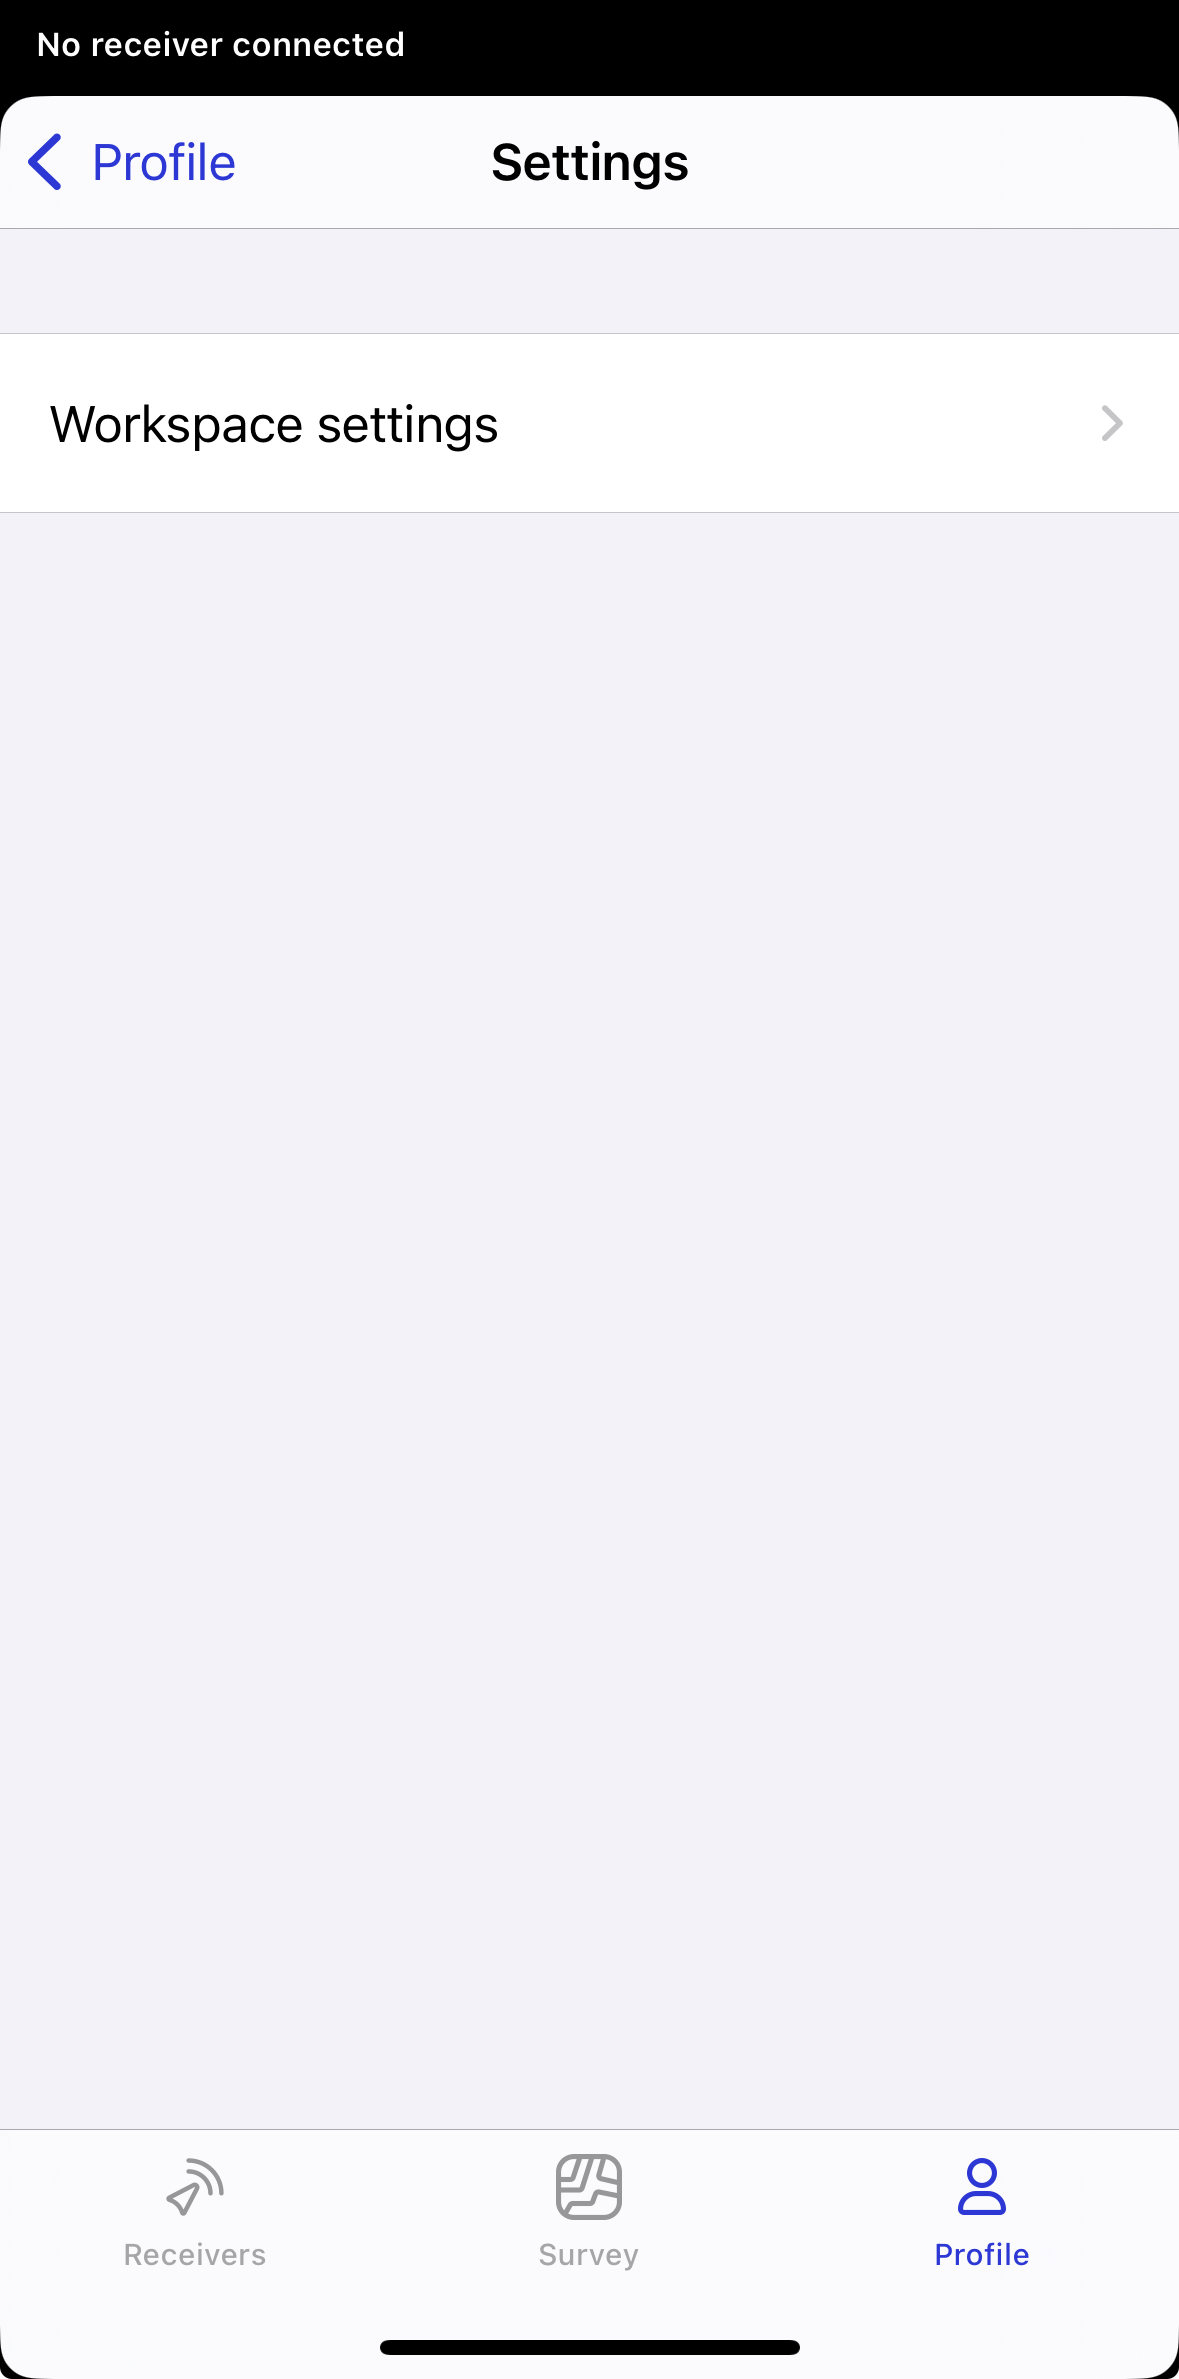
Go to Settings in your profile, then select Workspace settings.
-
Set default linear and angular units, add code libraries and a coordinate system, and make them the defaults for future projects.
After that, these settings will be applied to your project by default when creating a new project. If needed, you can change the default configuration later.
If needed, you can modify default settings during project creation by editing the required fields. If no defaults have been saved yet, the app will prompt you to save your current setup as the default for future projects.
Now, you know how to apply default settings for future projects.
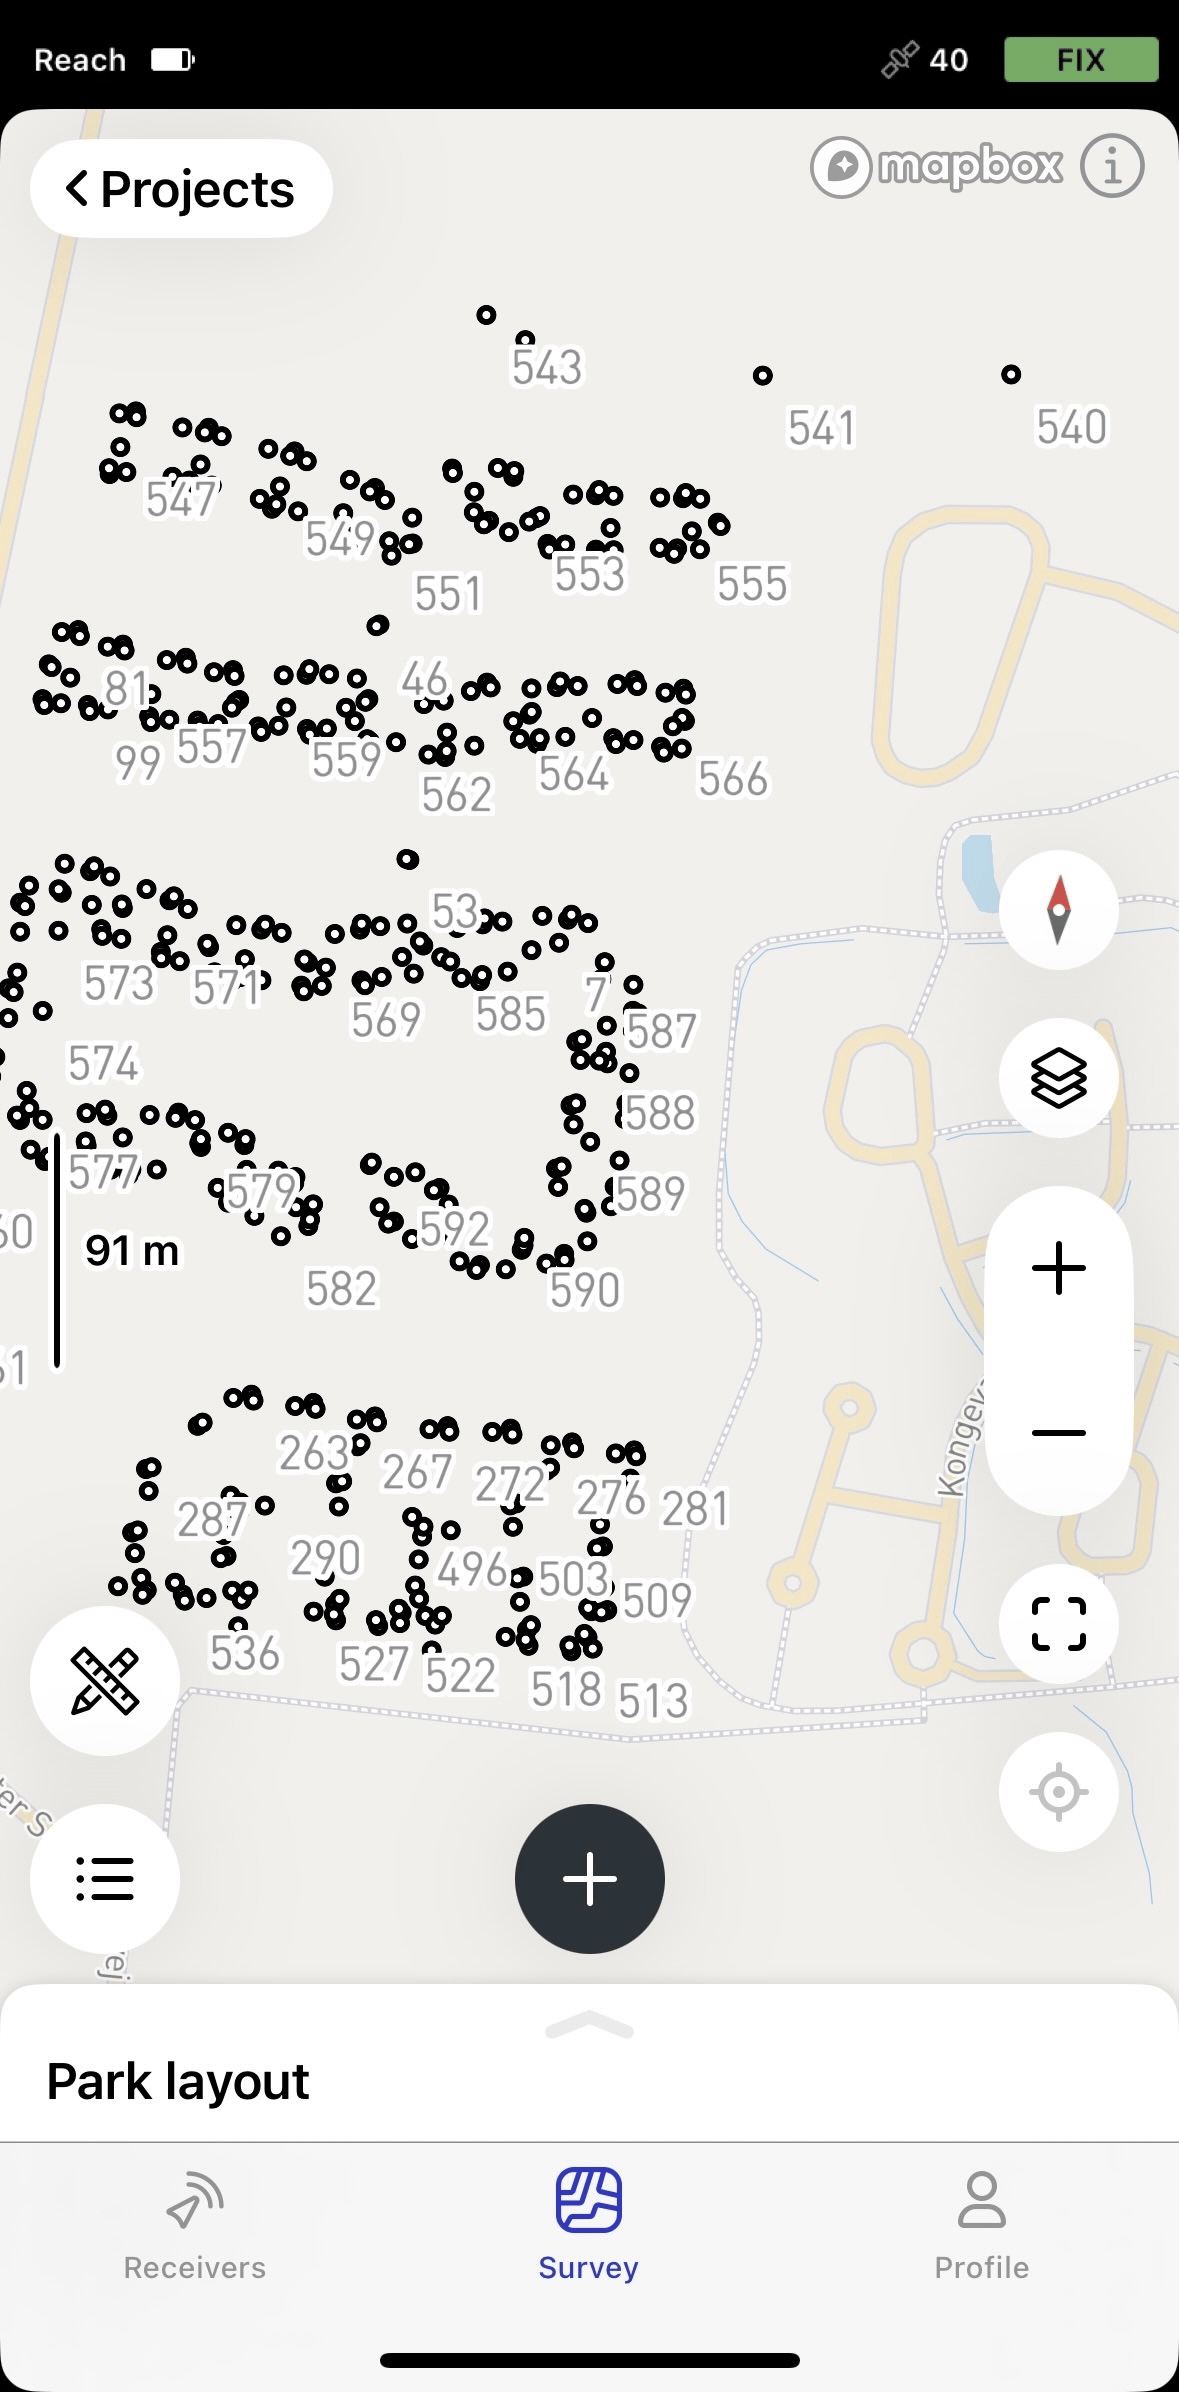
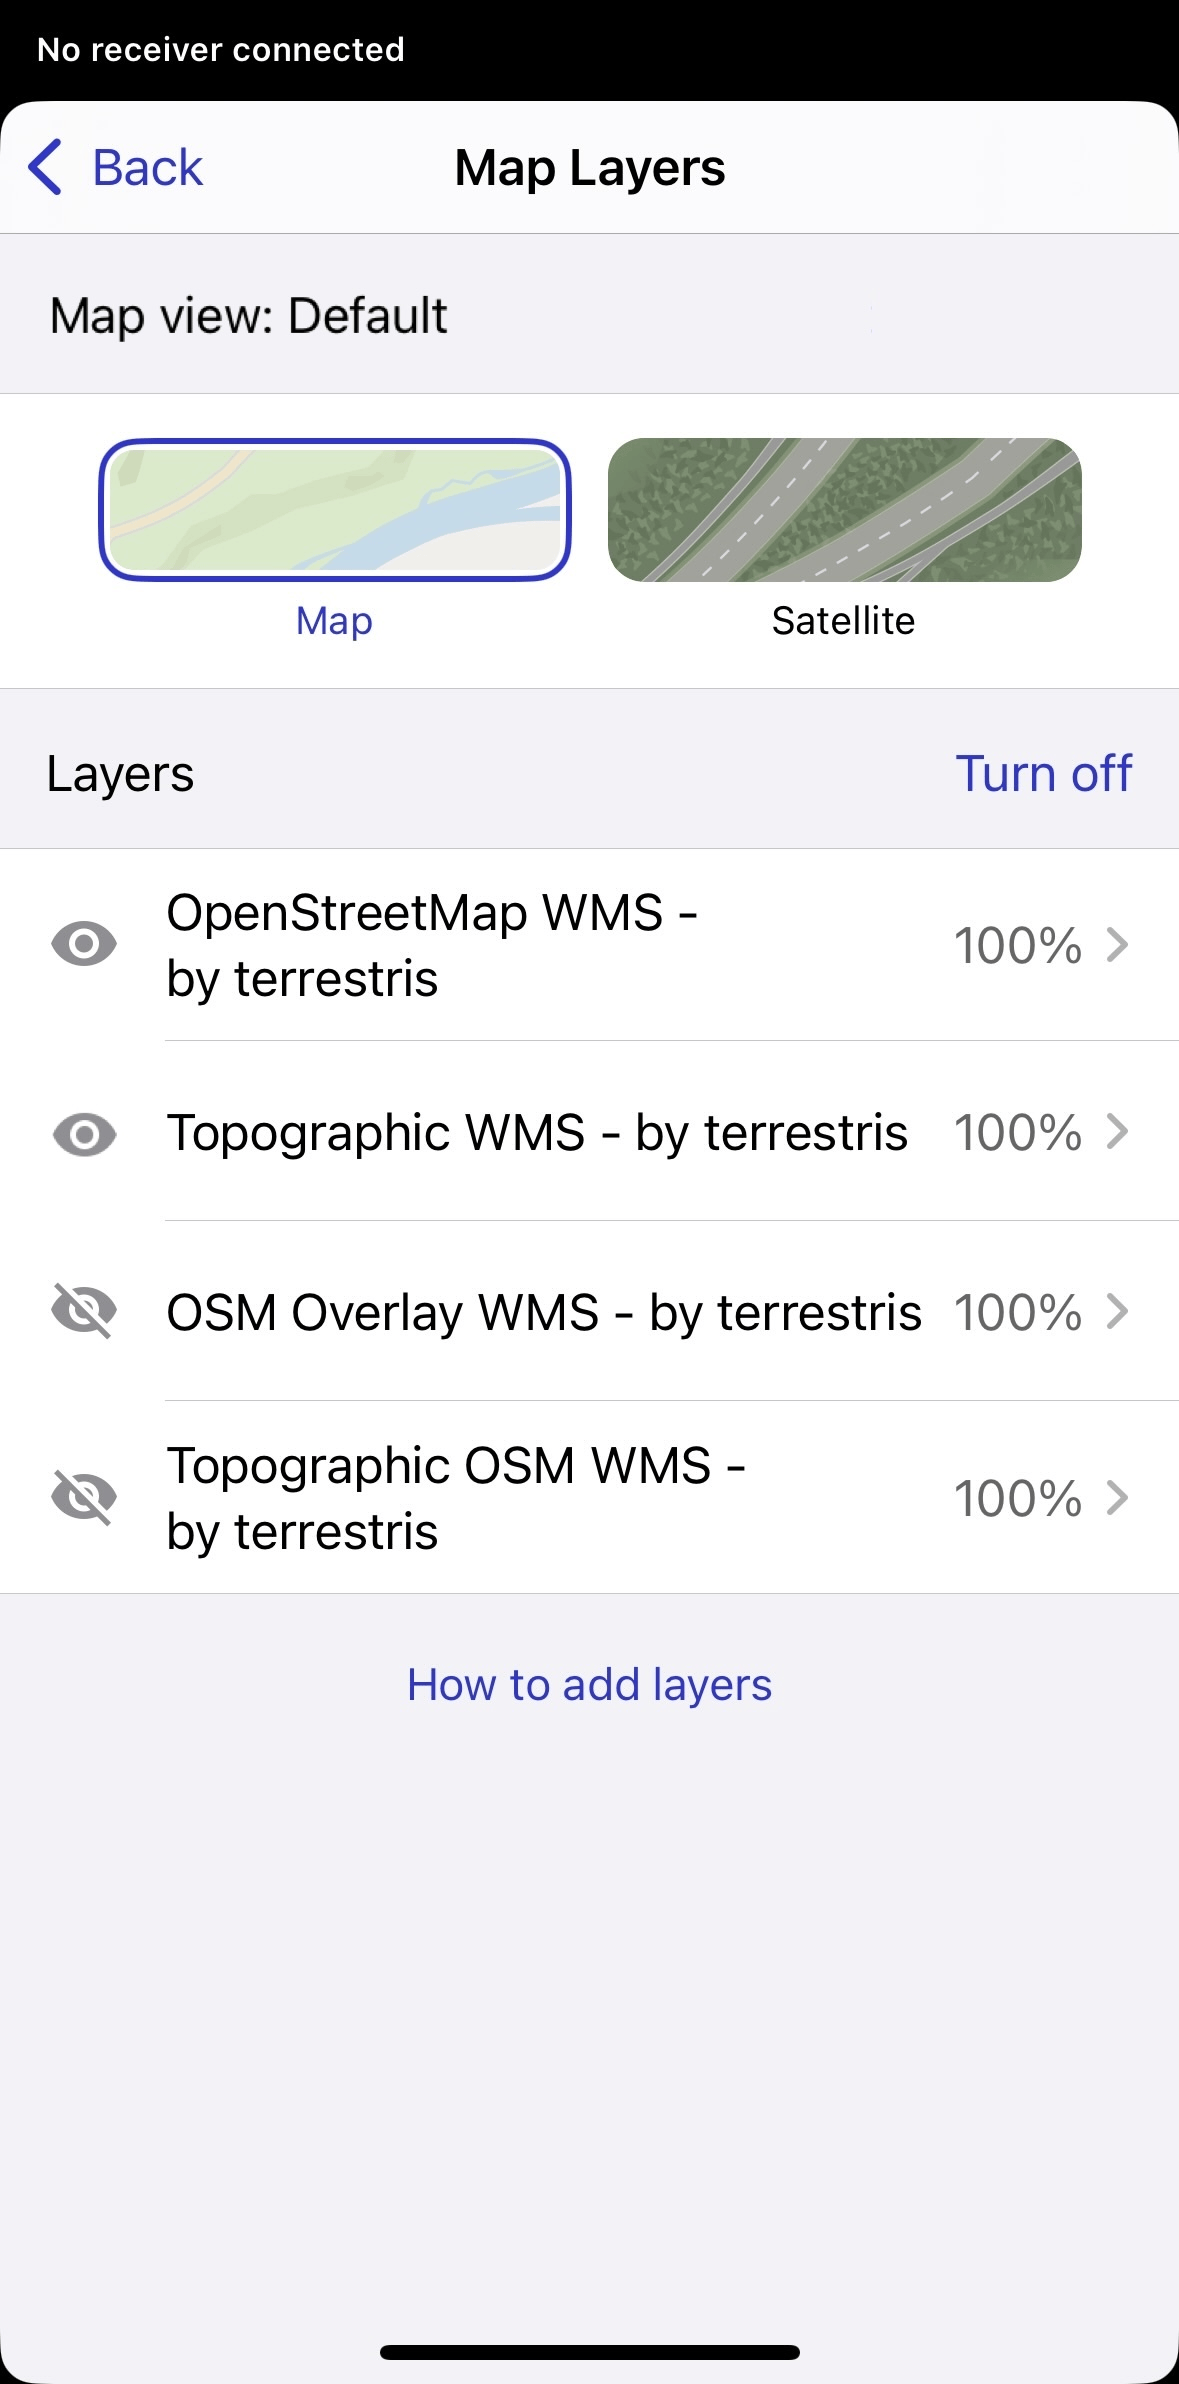
Setting map view presets
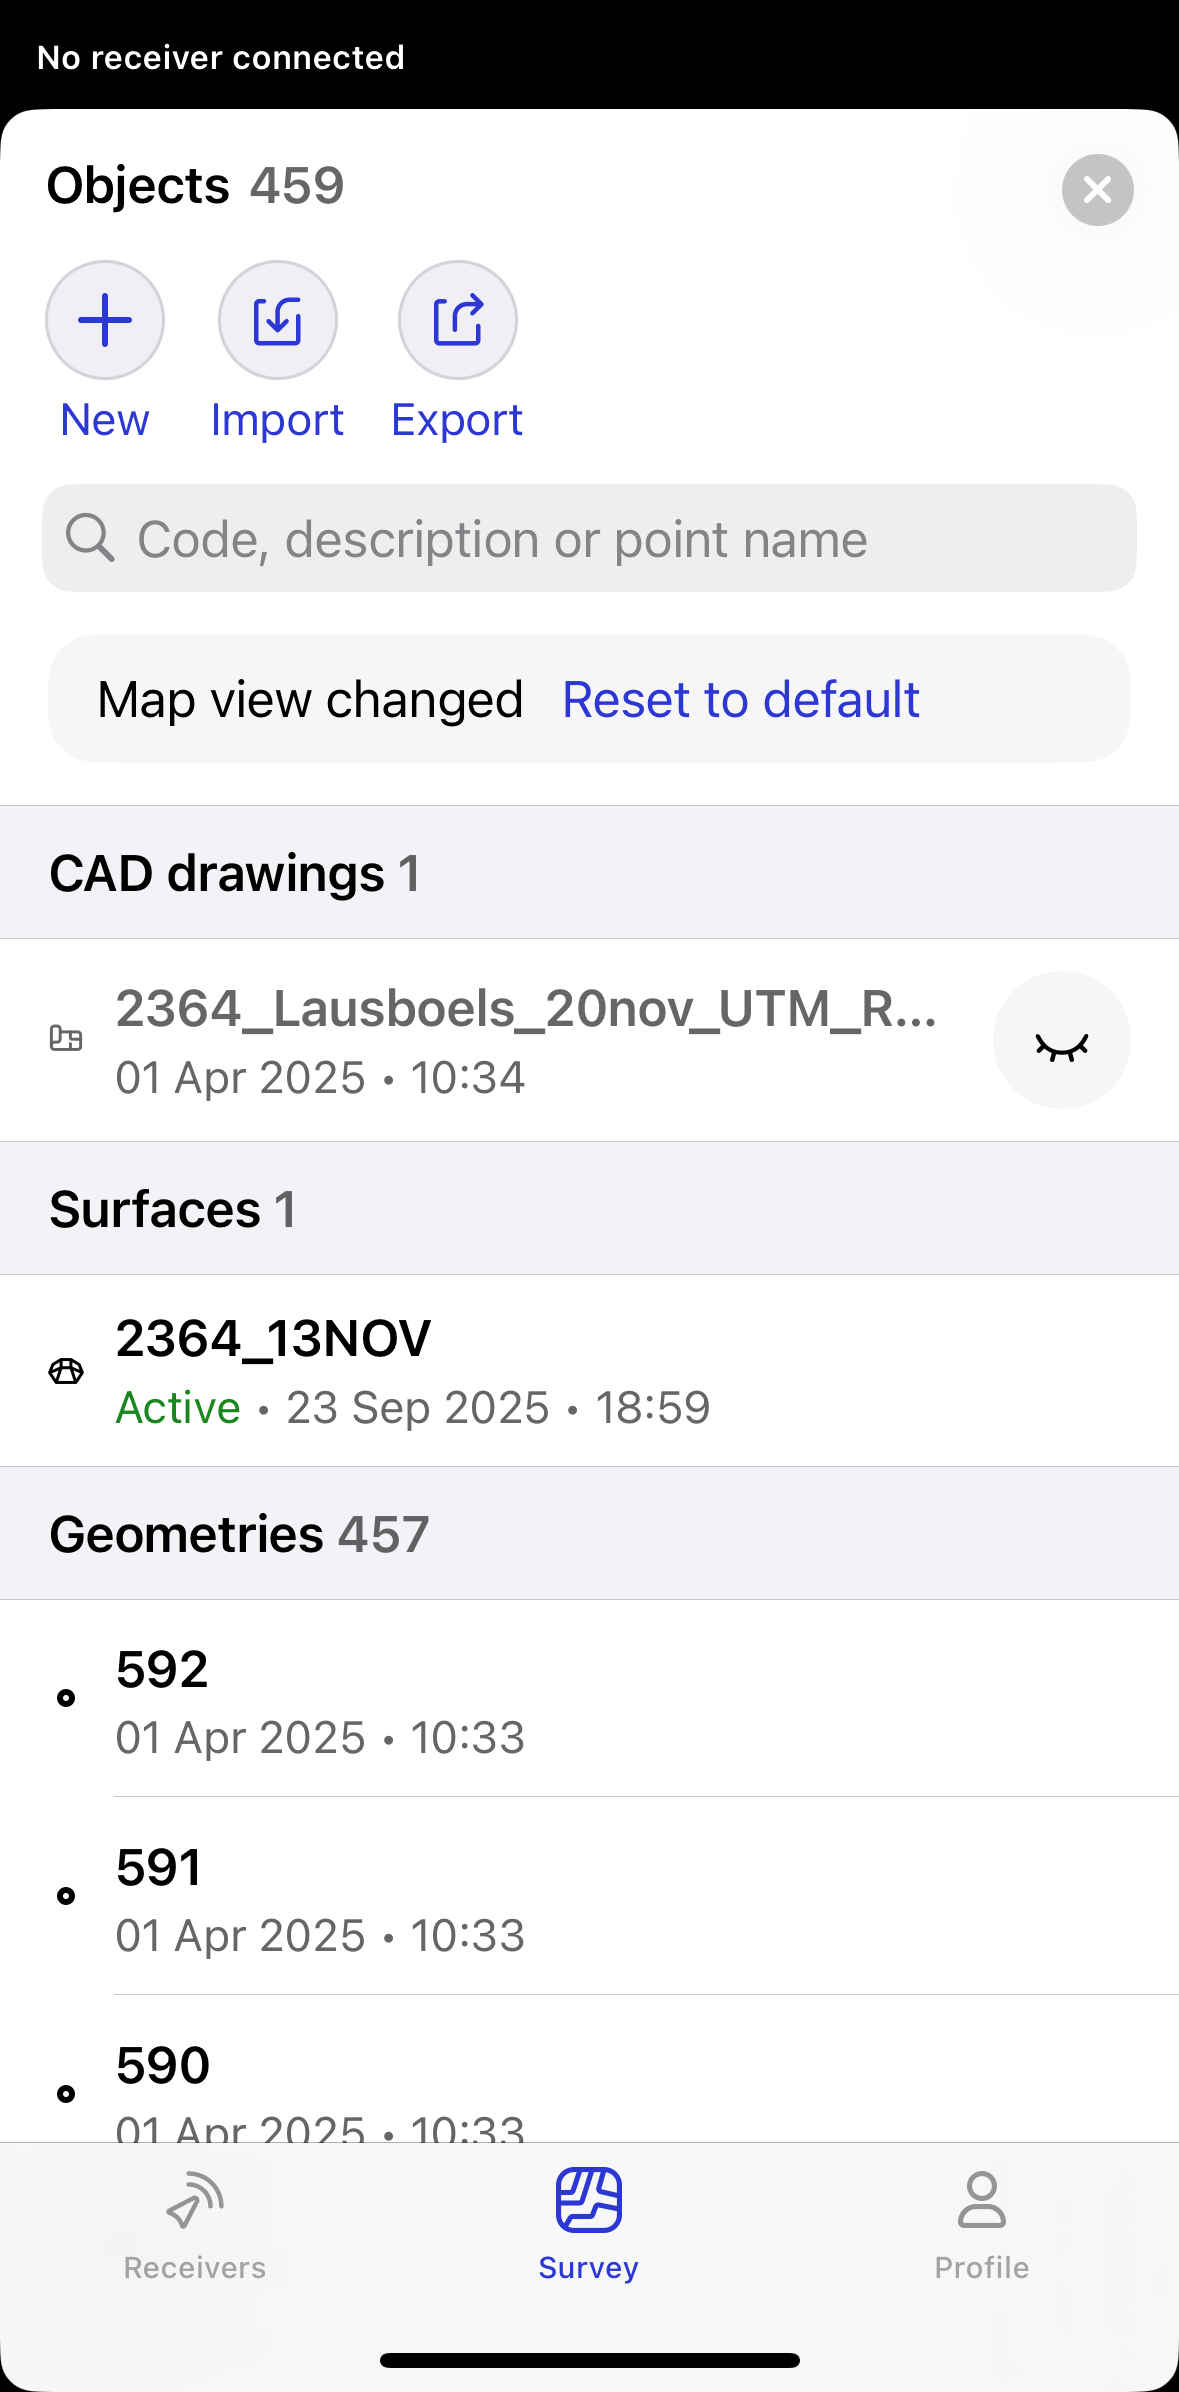
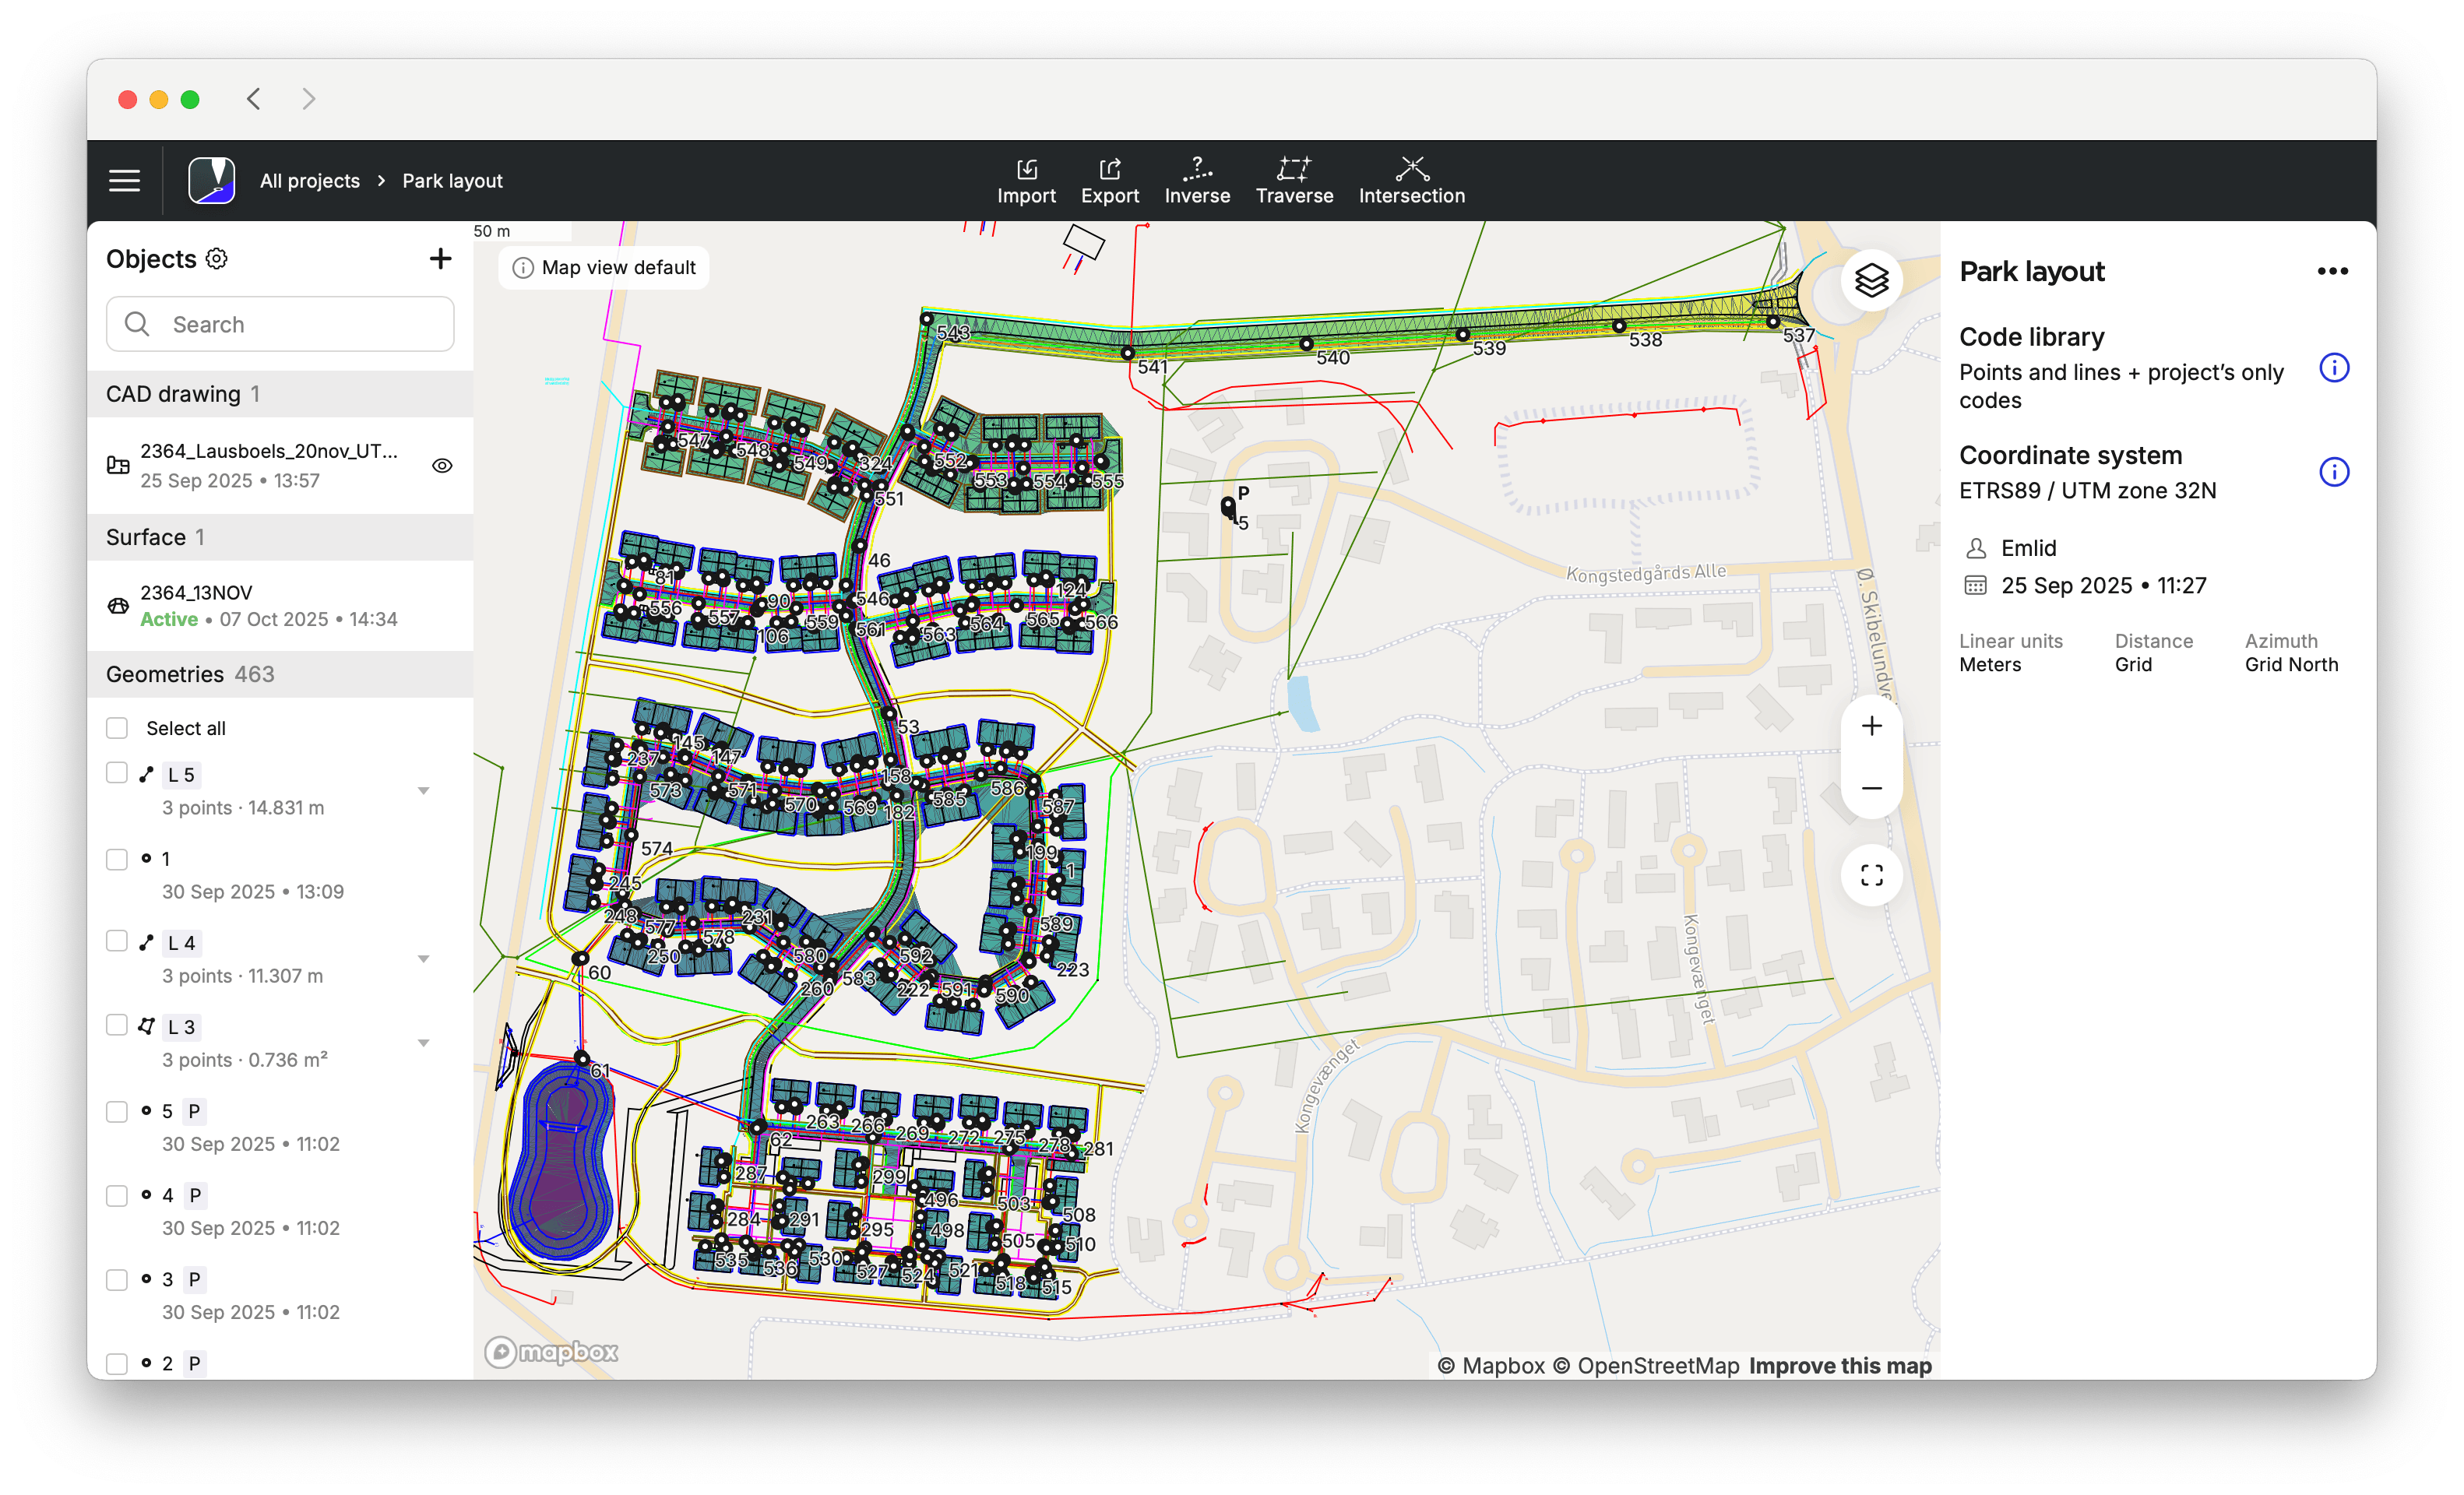
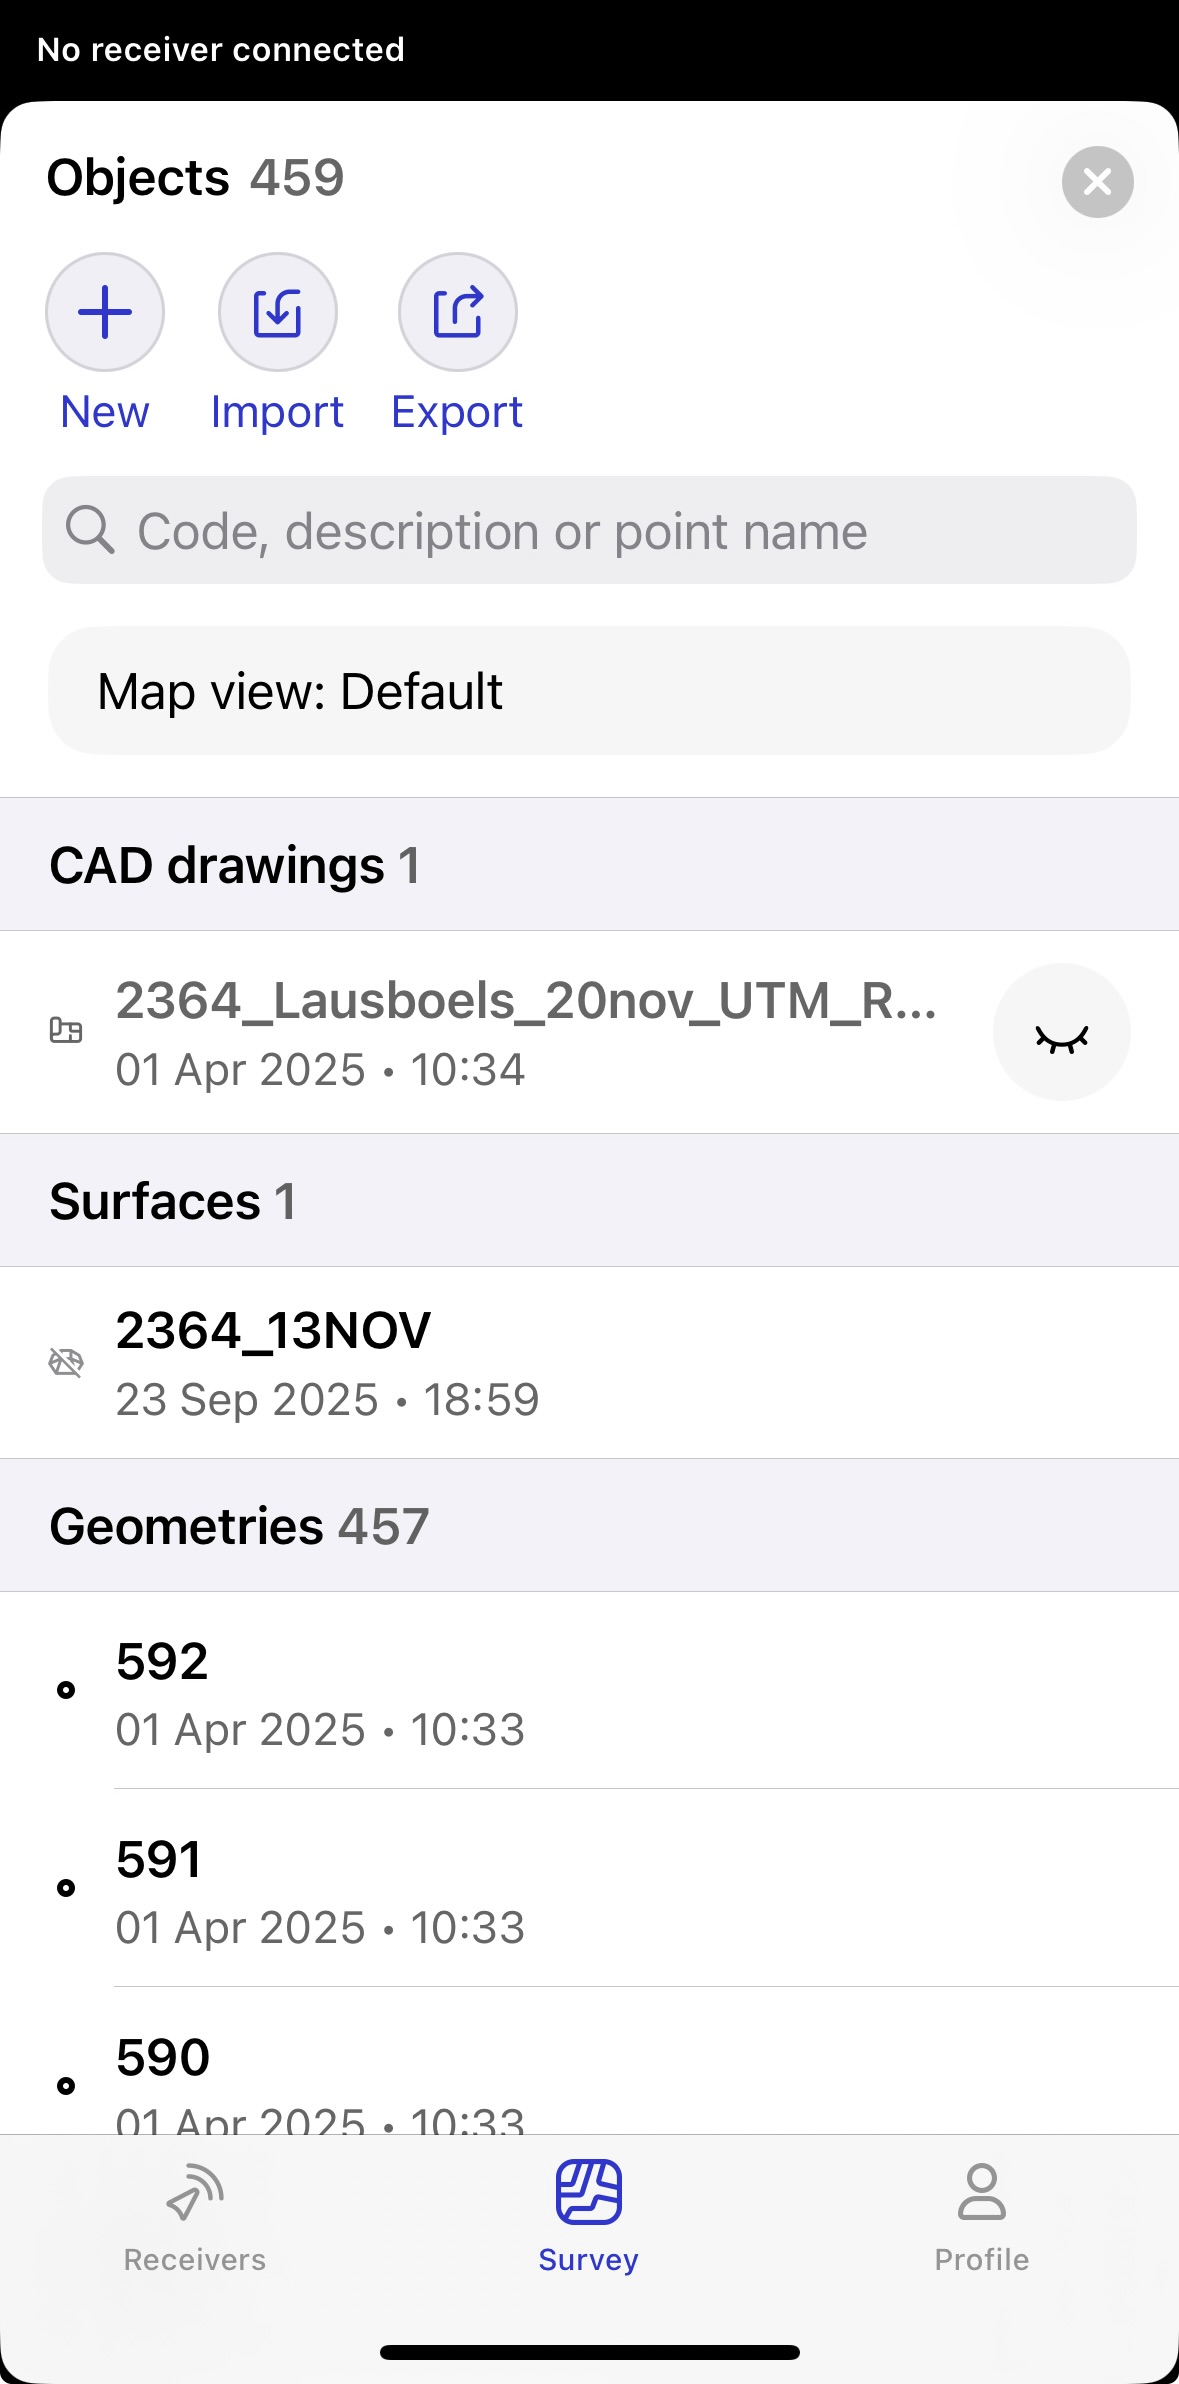
Map view presets in Emlid Flow 360 allow you to define a project’s default map configuration. When you import CAD drawings or surface files and add layers, they become the active preset by default. You can later change the visibility in the object list and under the Map layers icon to change the default map view. In Emlid Flow, you can only use the default map presets set in Emlid Flow 360. You can change the view if needed, but you can’t save it as a new default.
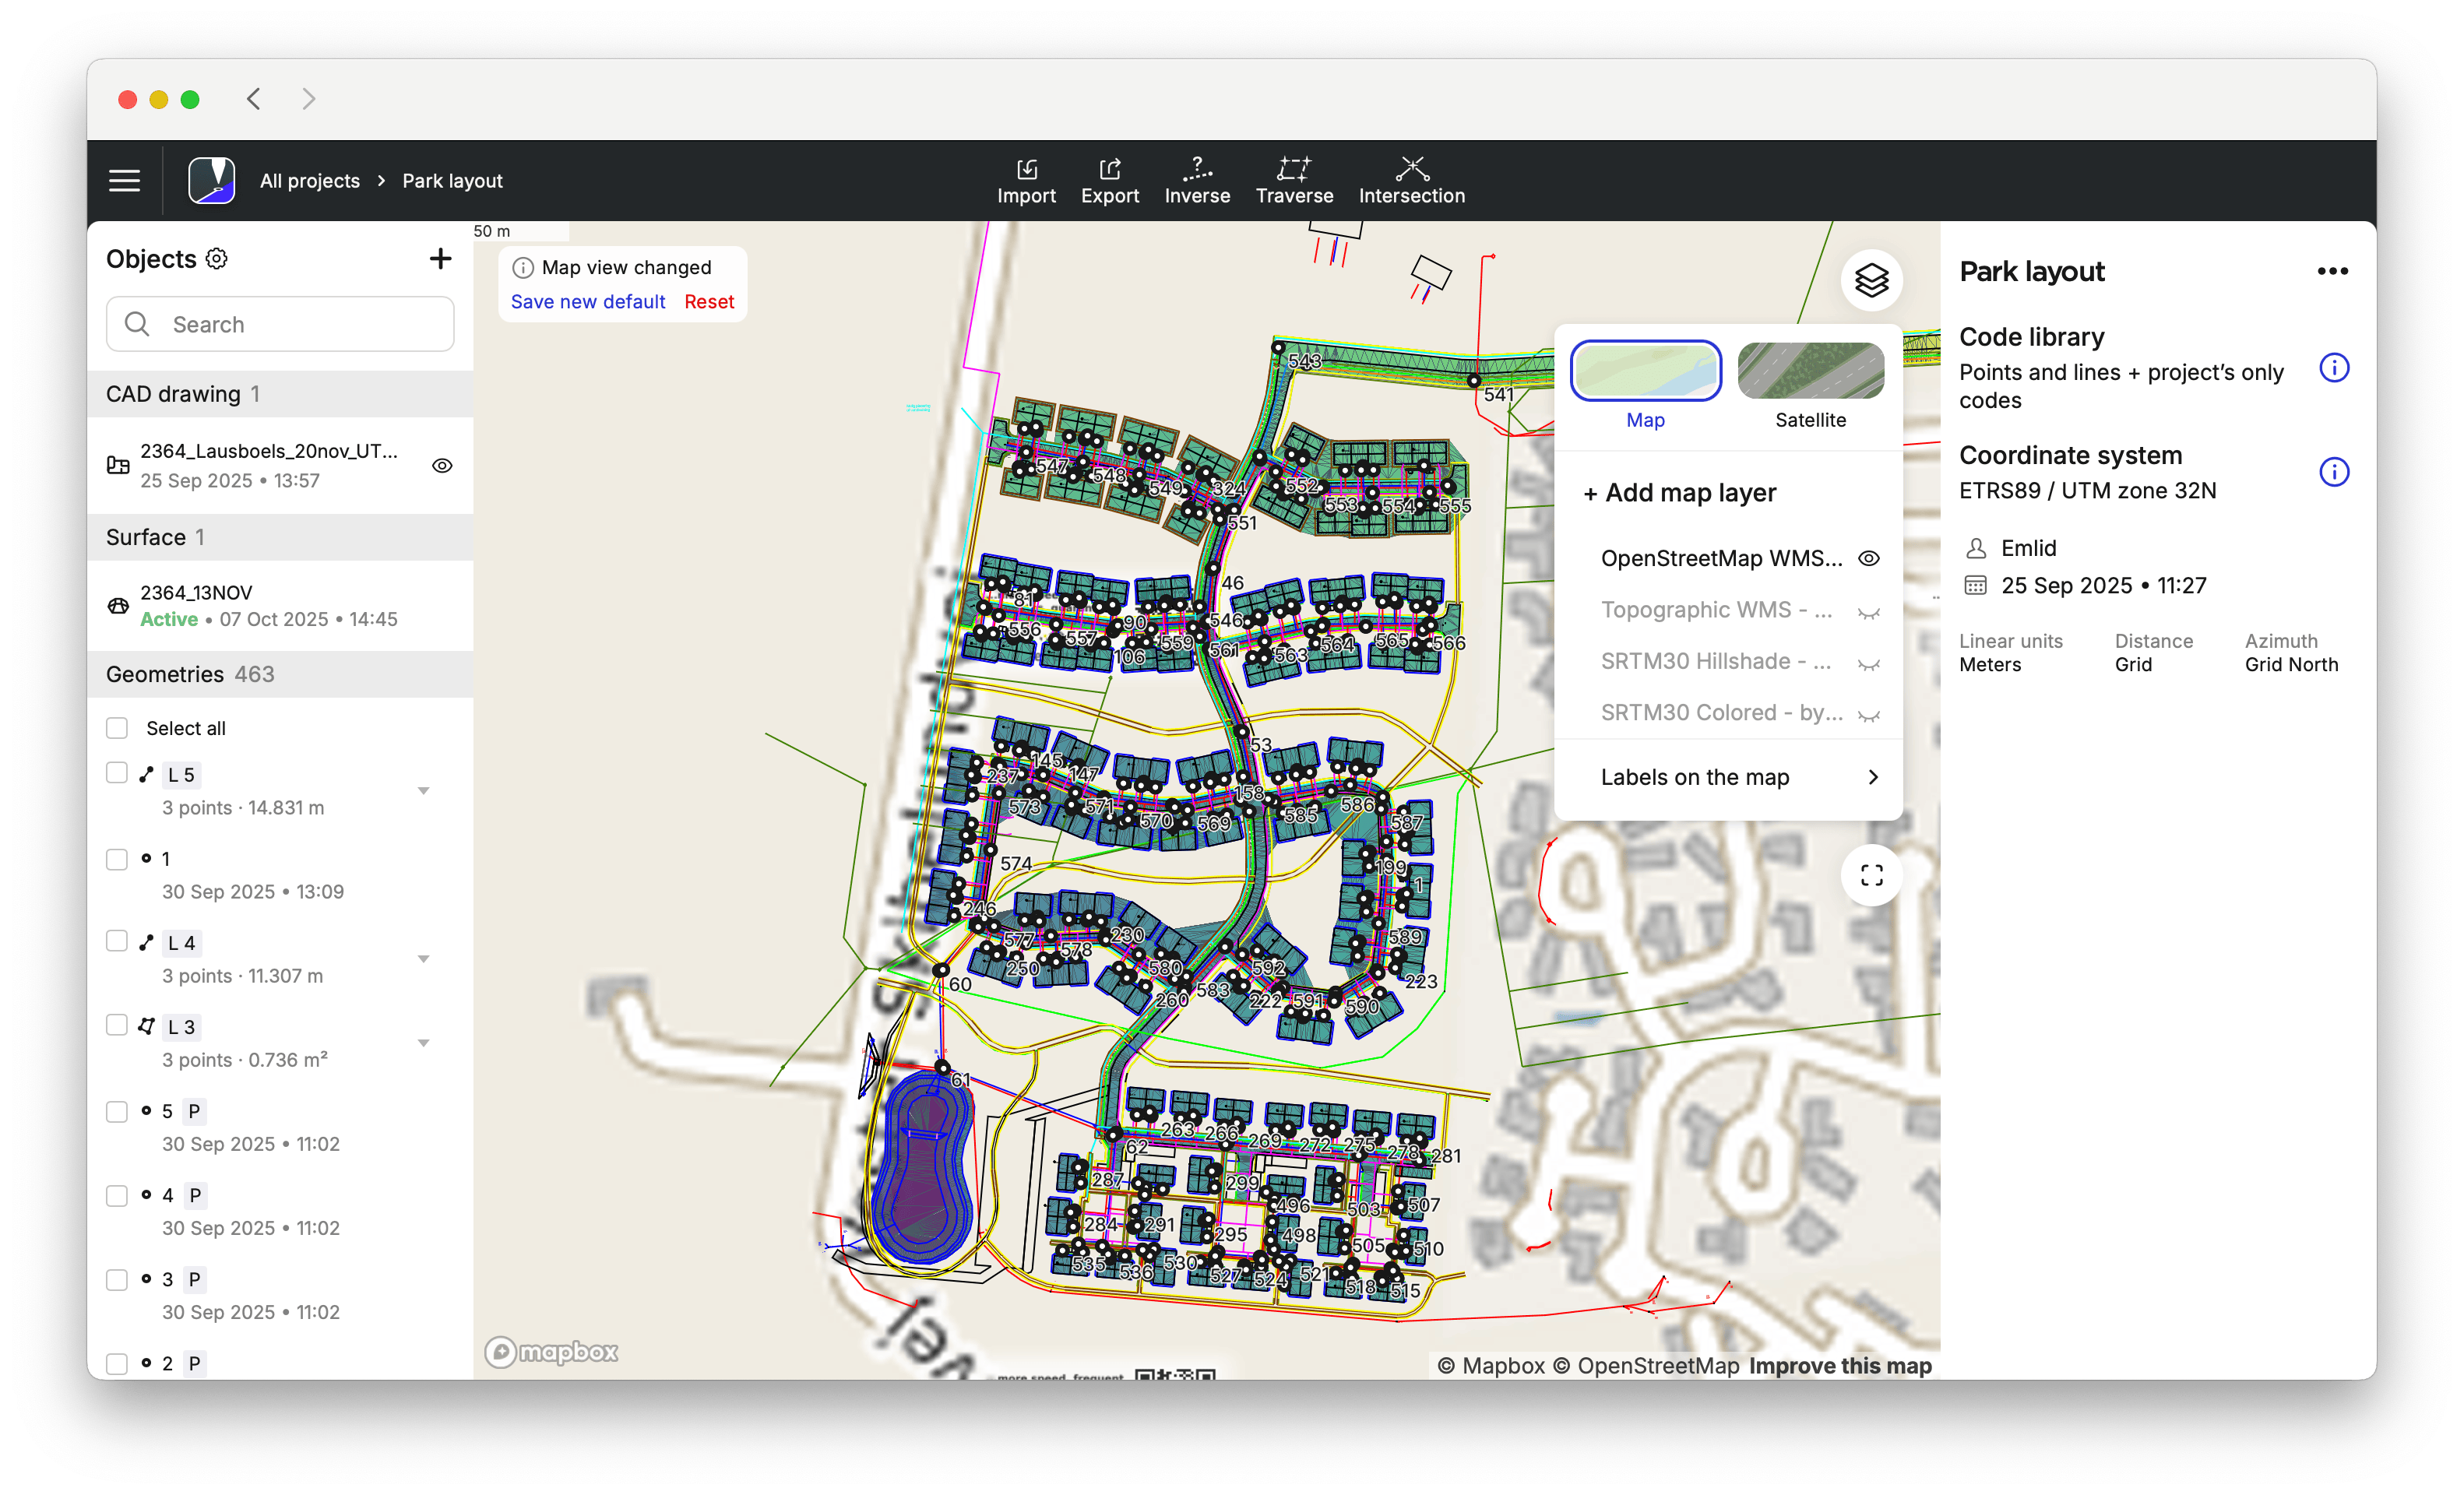
- Emlid Flow 360
- Emlid Flow
To change the default map view preset, do as follows:
-
After importing a new CAD or surface file or adding a new map layer, the most recent objects are visible by default. To change the view, enable or disable these objects by clicking the eye icon for the CAD files, clicking the surface icon, or choosing the layer.
noteEmlid Flow 360 will keep the opacity you have saved as a default one.

-
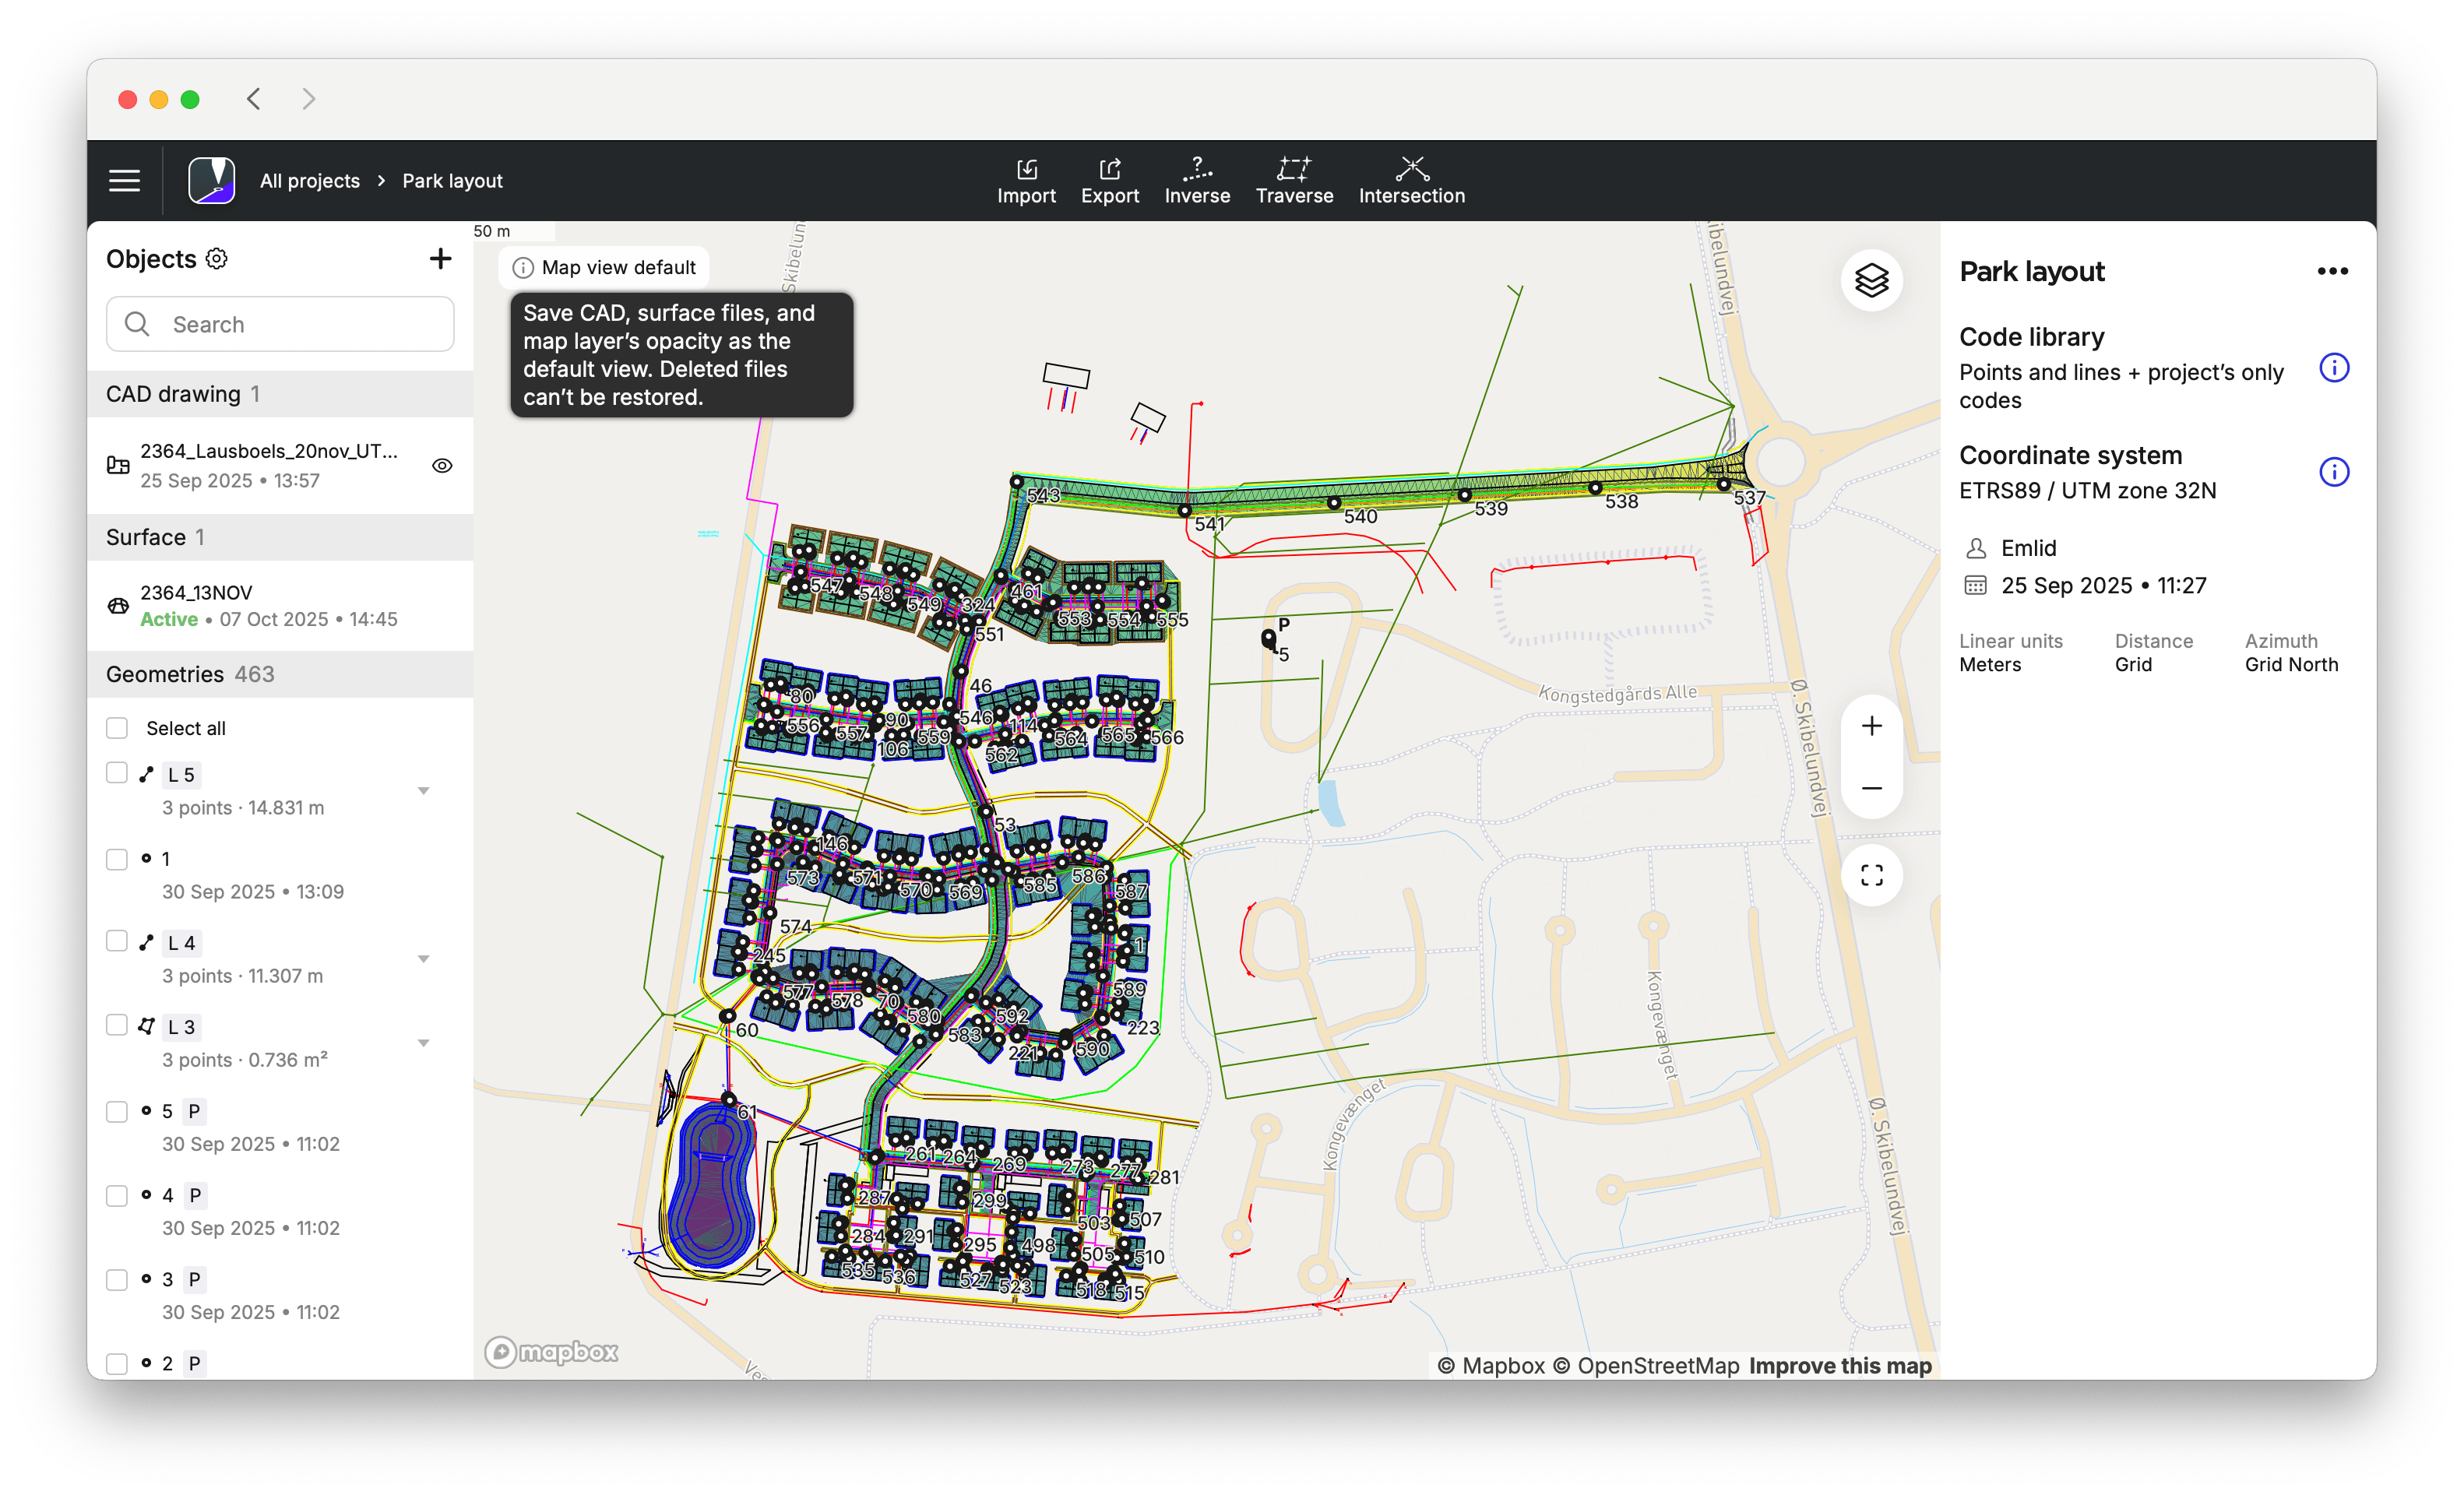
To go back to your initial default map view, click Reset in the upper left corner of the map. If you want to save the new map view as the default, click Save new default in the upper left corner of the map. As a result, the new default view will be shown whenever you open the particular project.
cautionThe reset button returns the map view to the default preset. If you delete files, you cannot restore them on the map by clicking Reset.
To update a default map view preset, access Emlid Flow 360 and modify the selected items accordingly.
Once the default map view preset is set in Emlid Flow 360, you can start using it in Emlid Flow. To access and adjust the view if needed, do as follows:
-
Open your project in Emlid Flow.
-
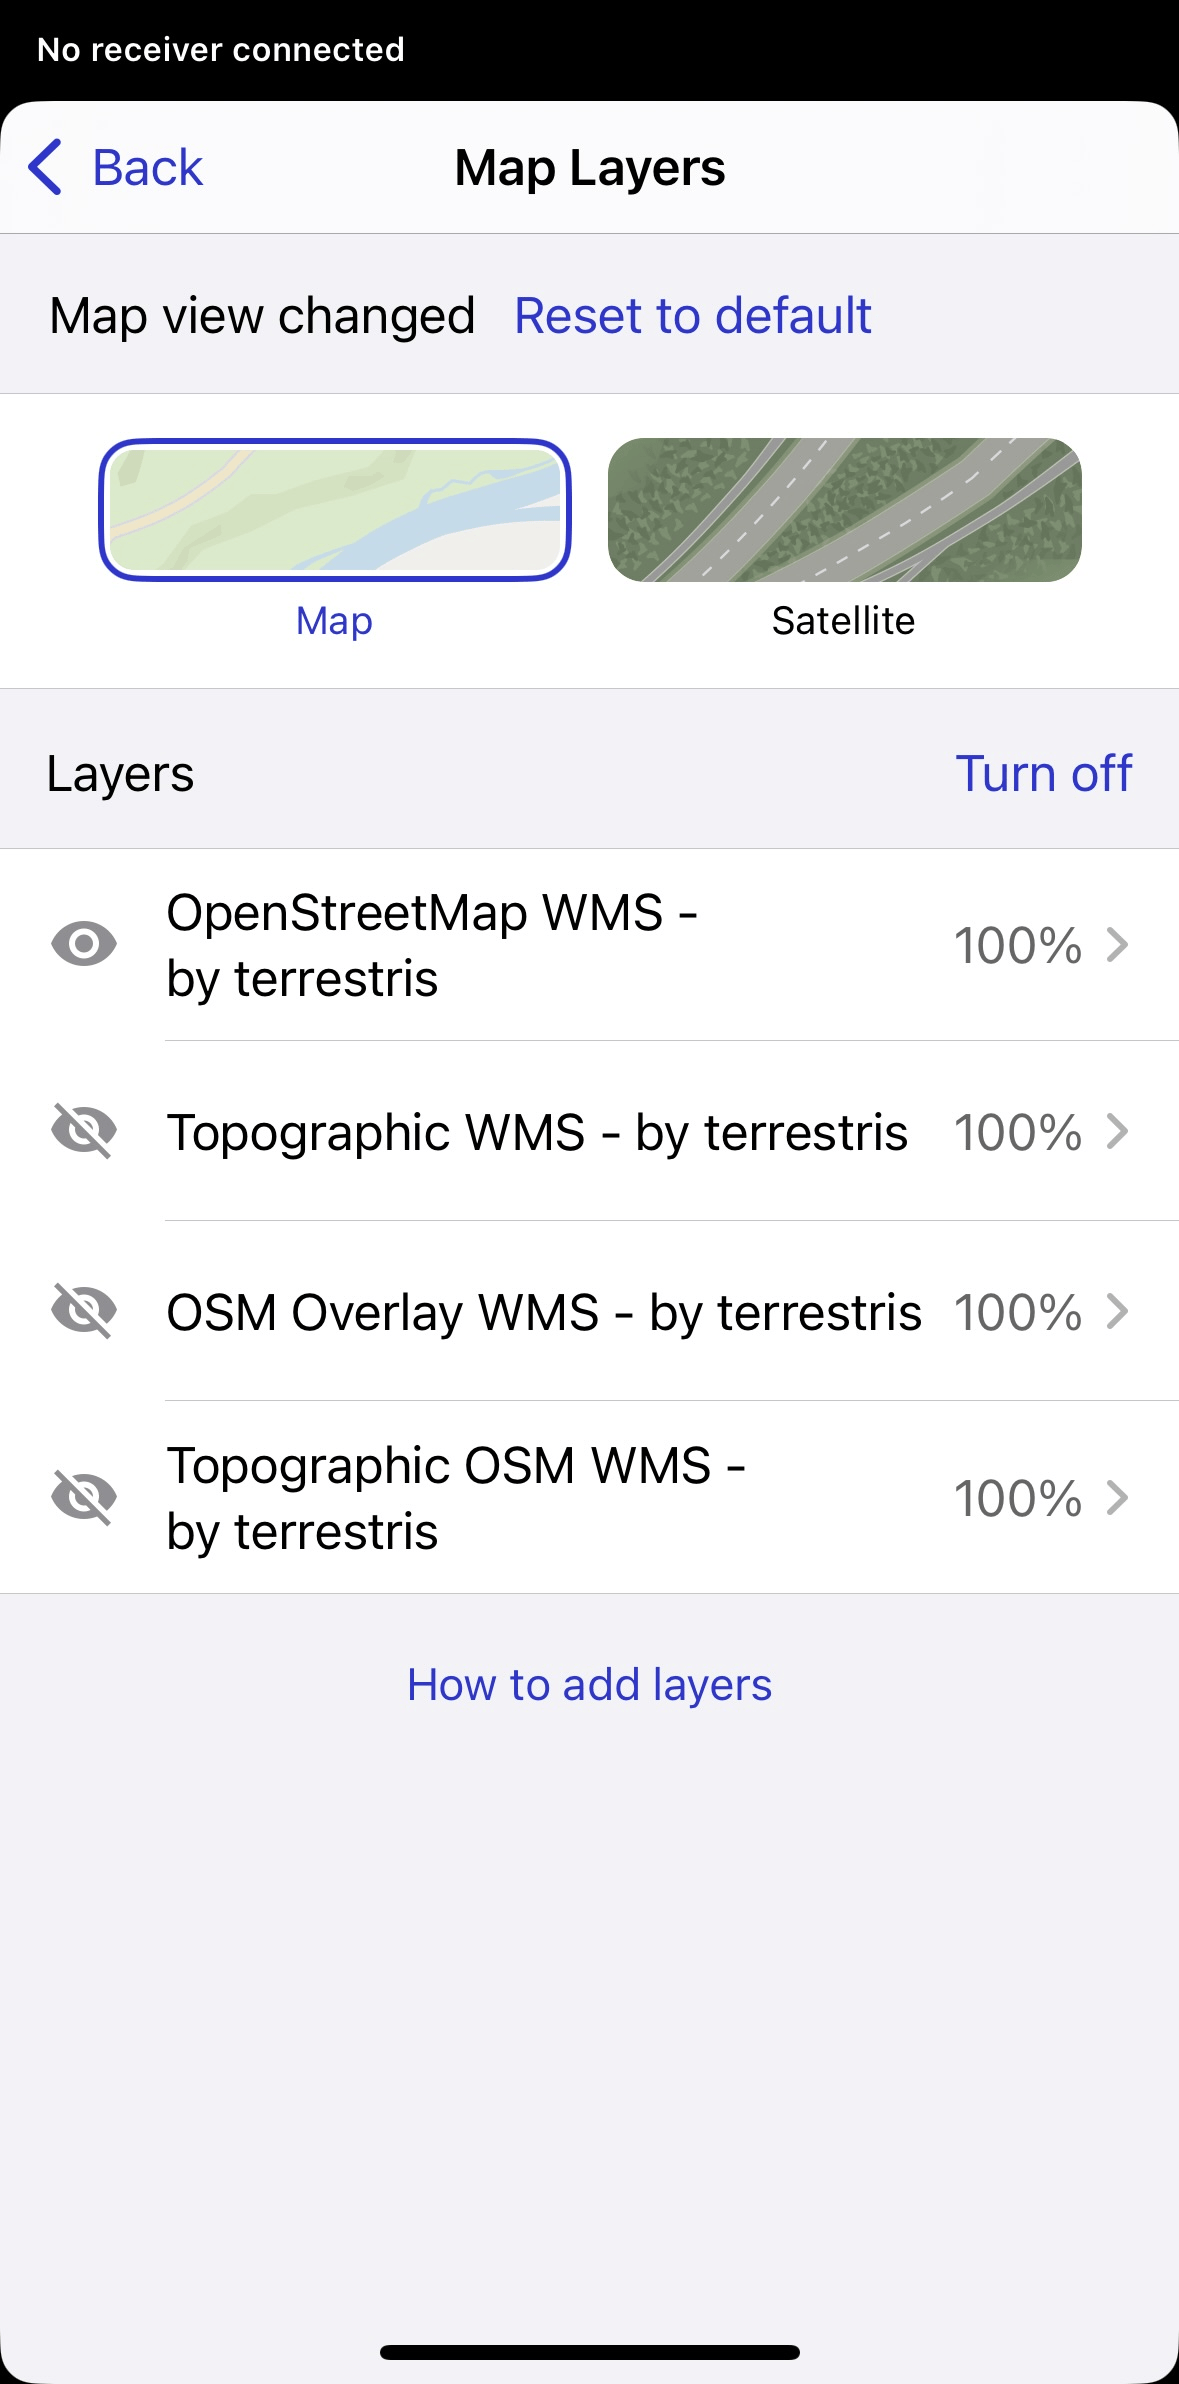
To adjust the view and opacity of the layers, go to the Map layers tab.
To access and change the current view of the objects, go to the Object list and turn them on and off by tapping the objects.
-
To apply the default map view in Emlid Flow 360, tap Reset to default in the Object list, or in the Map layers tab.
cautionThe Reset to default button restores only the default map view. It does not recover deleted files.