Export projects
This guide shows how to export project data from Emlid Flow or Emlid Flow 360 for further use in third-party GIS software.
Overview
With Emlid Flow and Emlid Flow 360, you can export your projects as CSV, Custom CSV, DXF, KML, or Shapefile to work with them in third-party GIS software.
Exporting project
To export the project, follow the steps below:
- Emlid Flow
- Emlid Flow 360
-
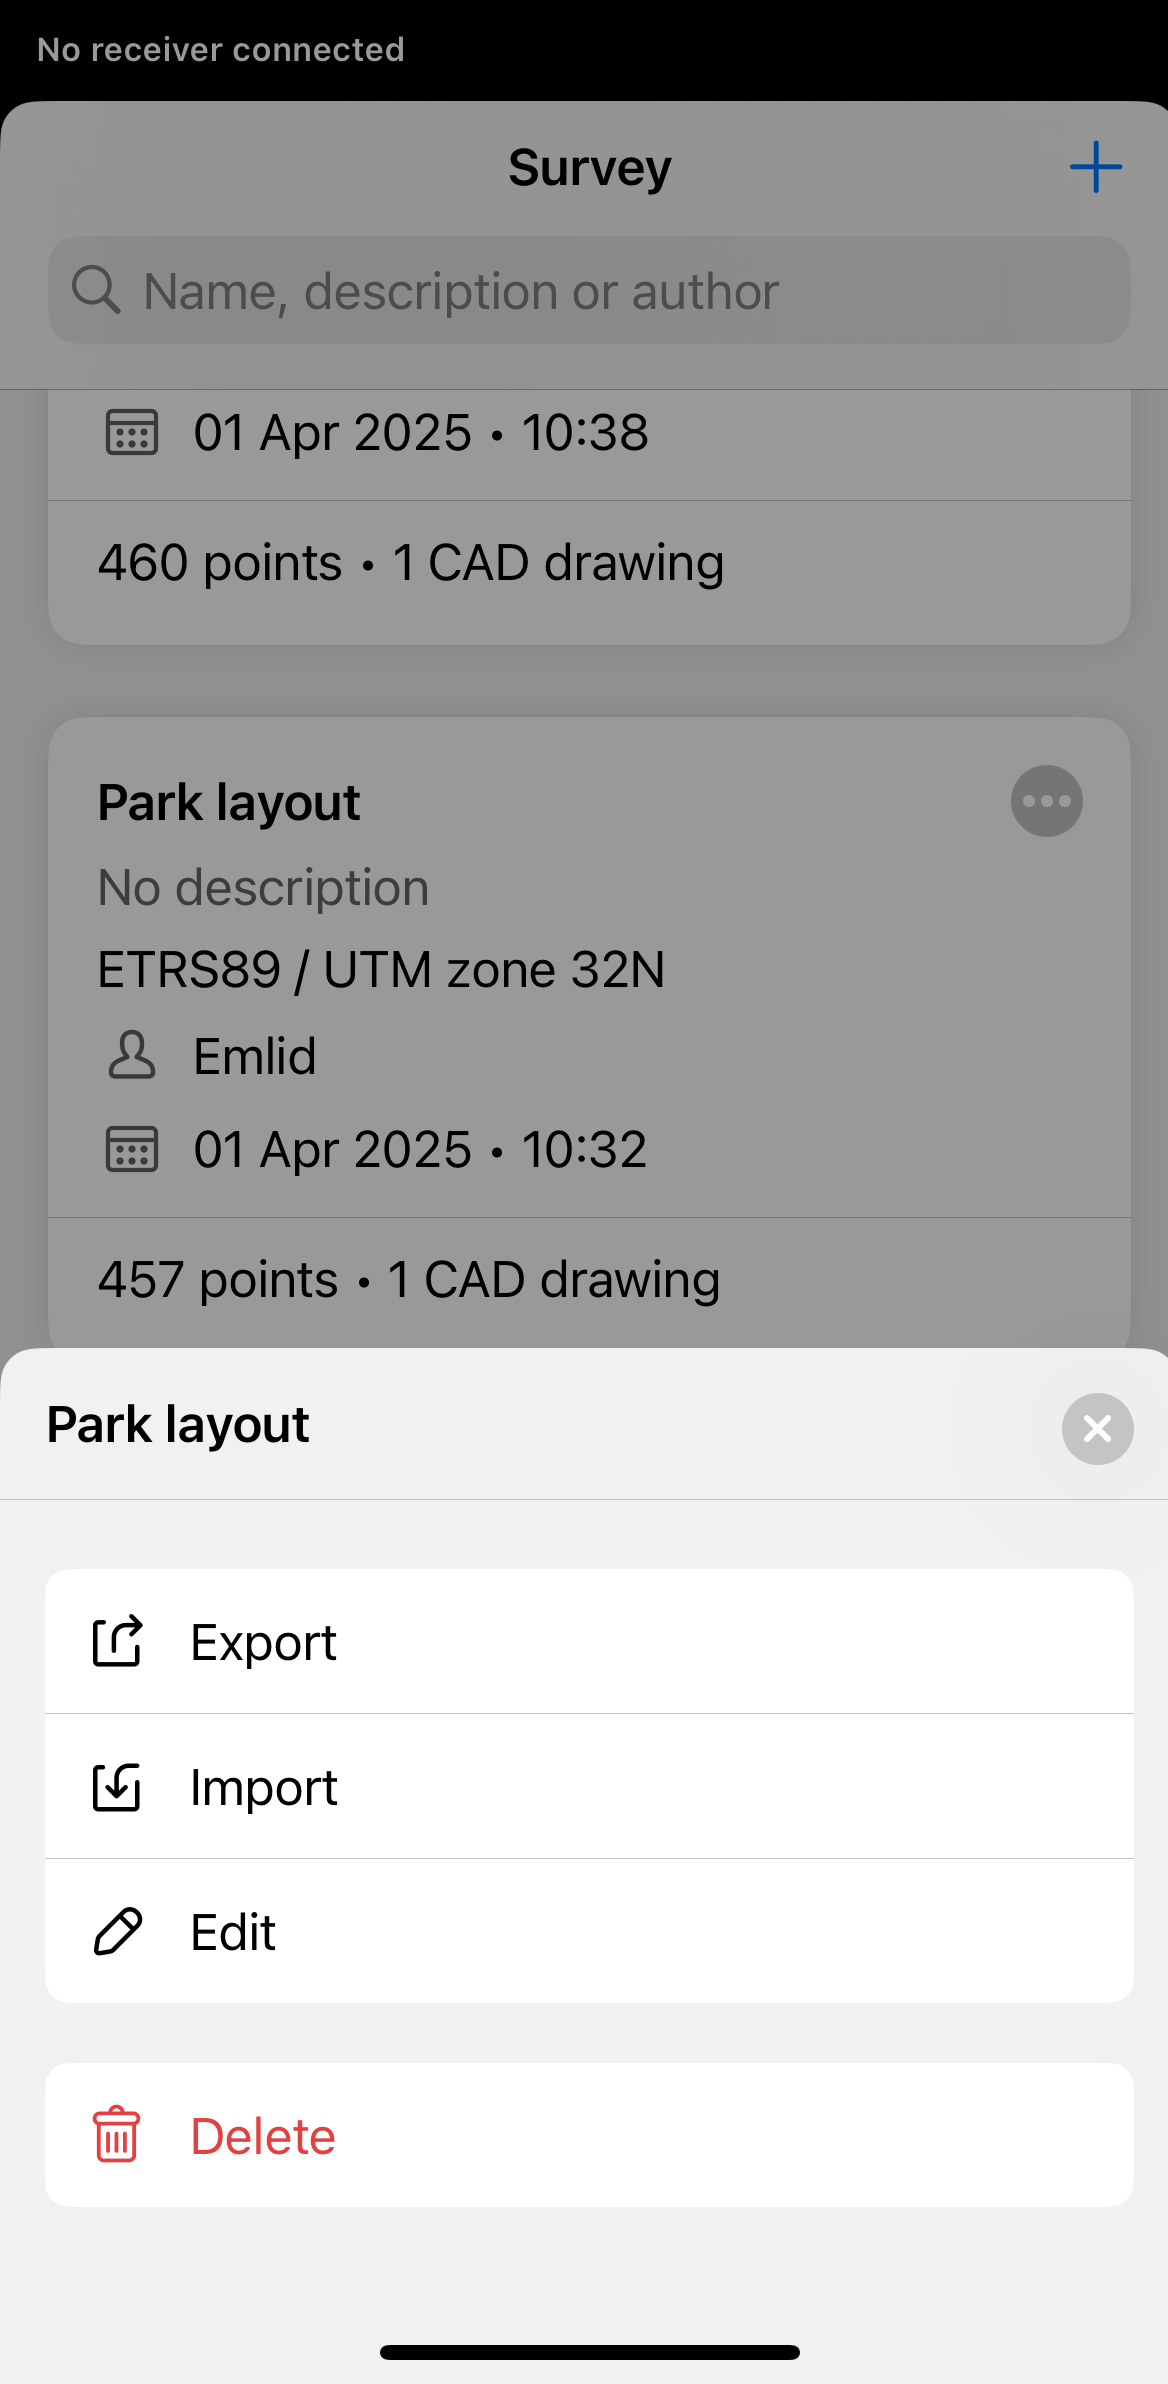
Open Emlid Flow and go to the Survey tab.

-
Find the project you want to export and tap the 3 dots button in the top right corner.
-
Tap Export.
-
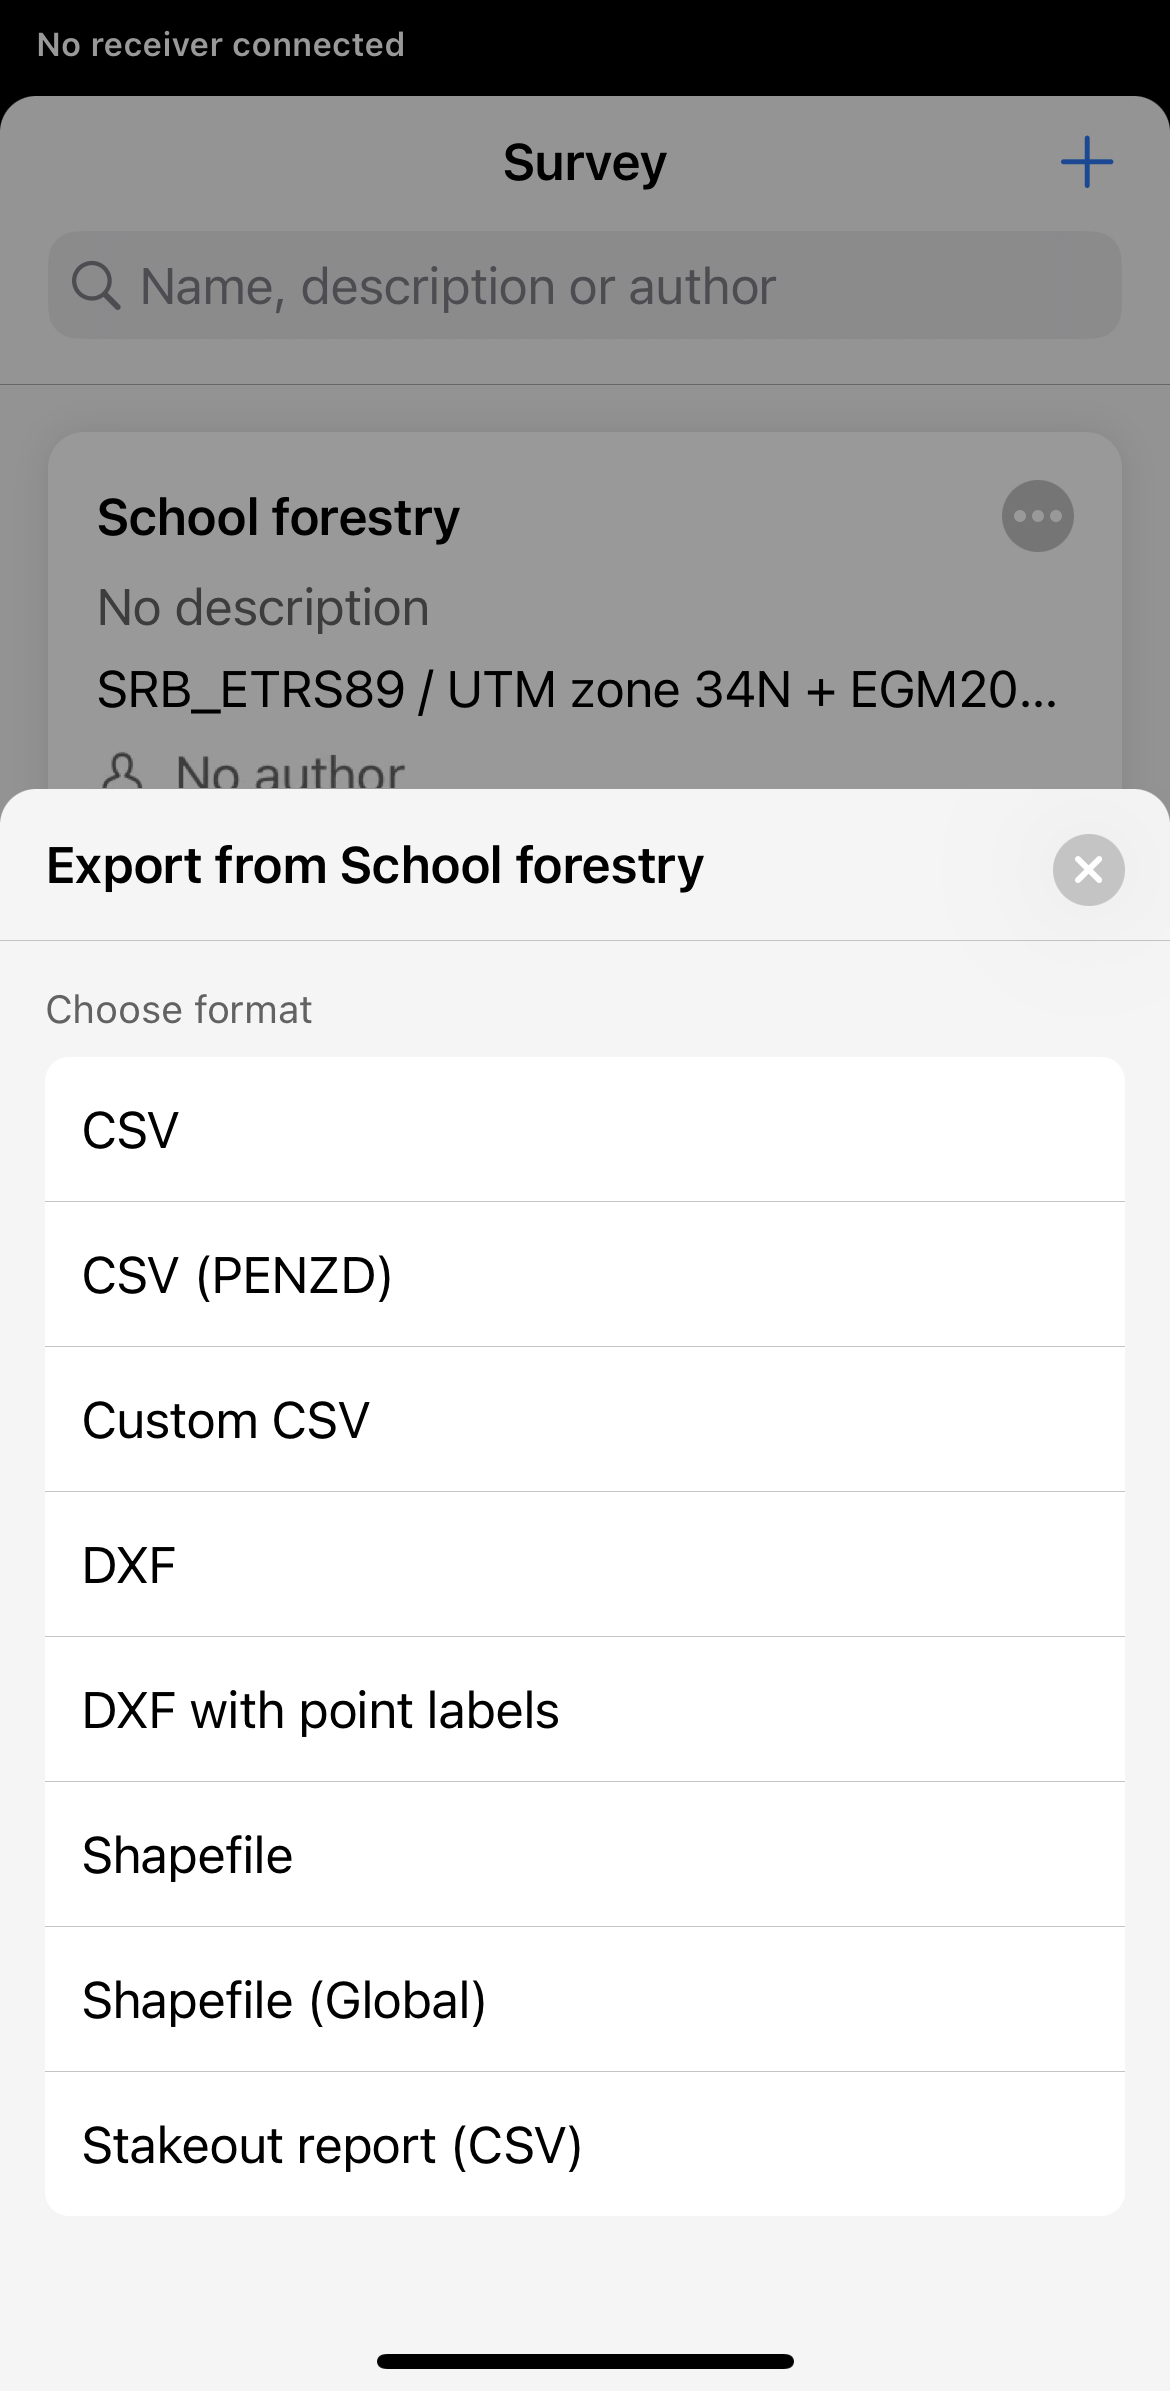
Choose the format in which you want to export your project and, if necessary, adjust its configuration.

-
Wait until Emlid Flow finishes to export your project. Save the file depending on the device you use.
-
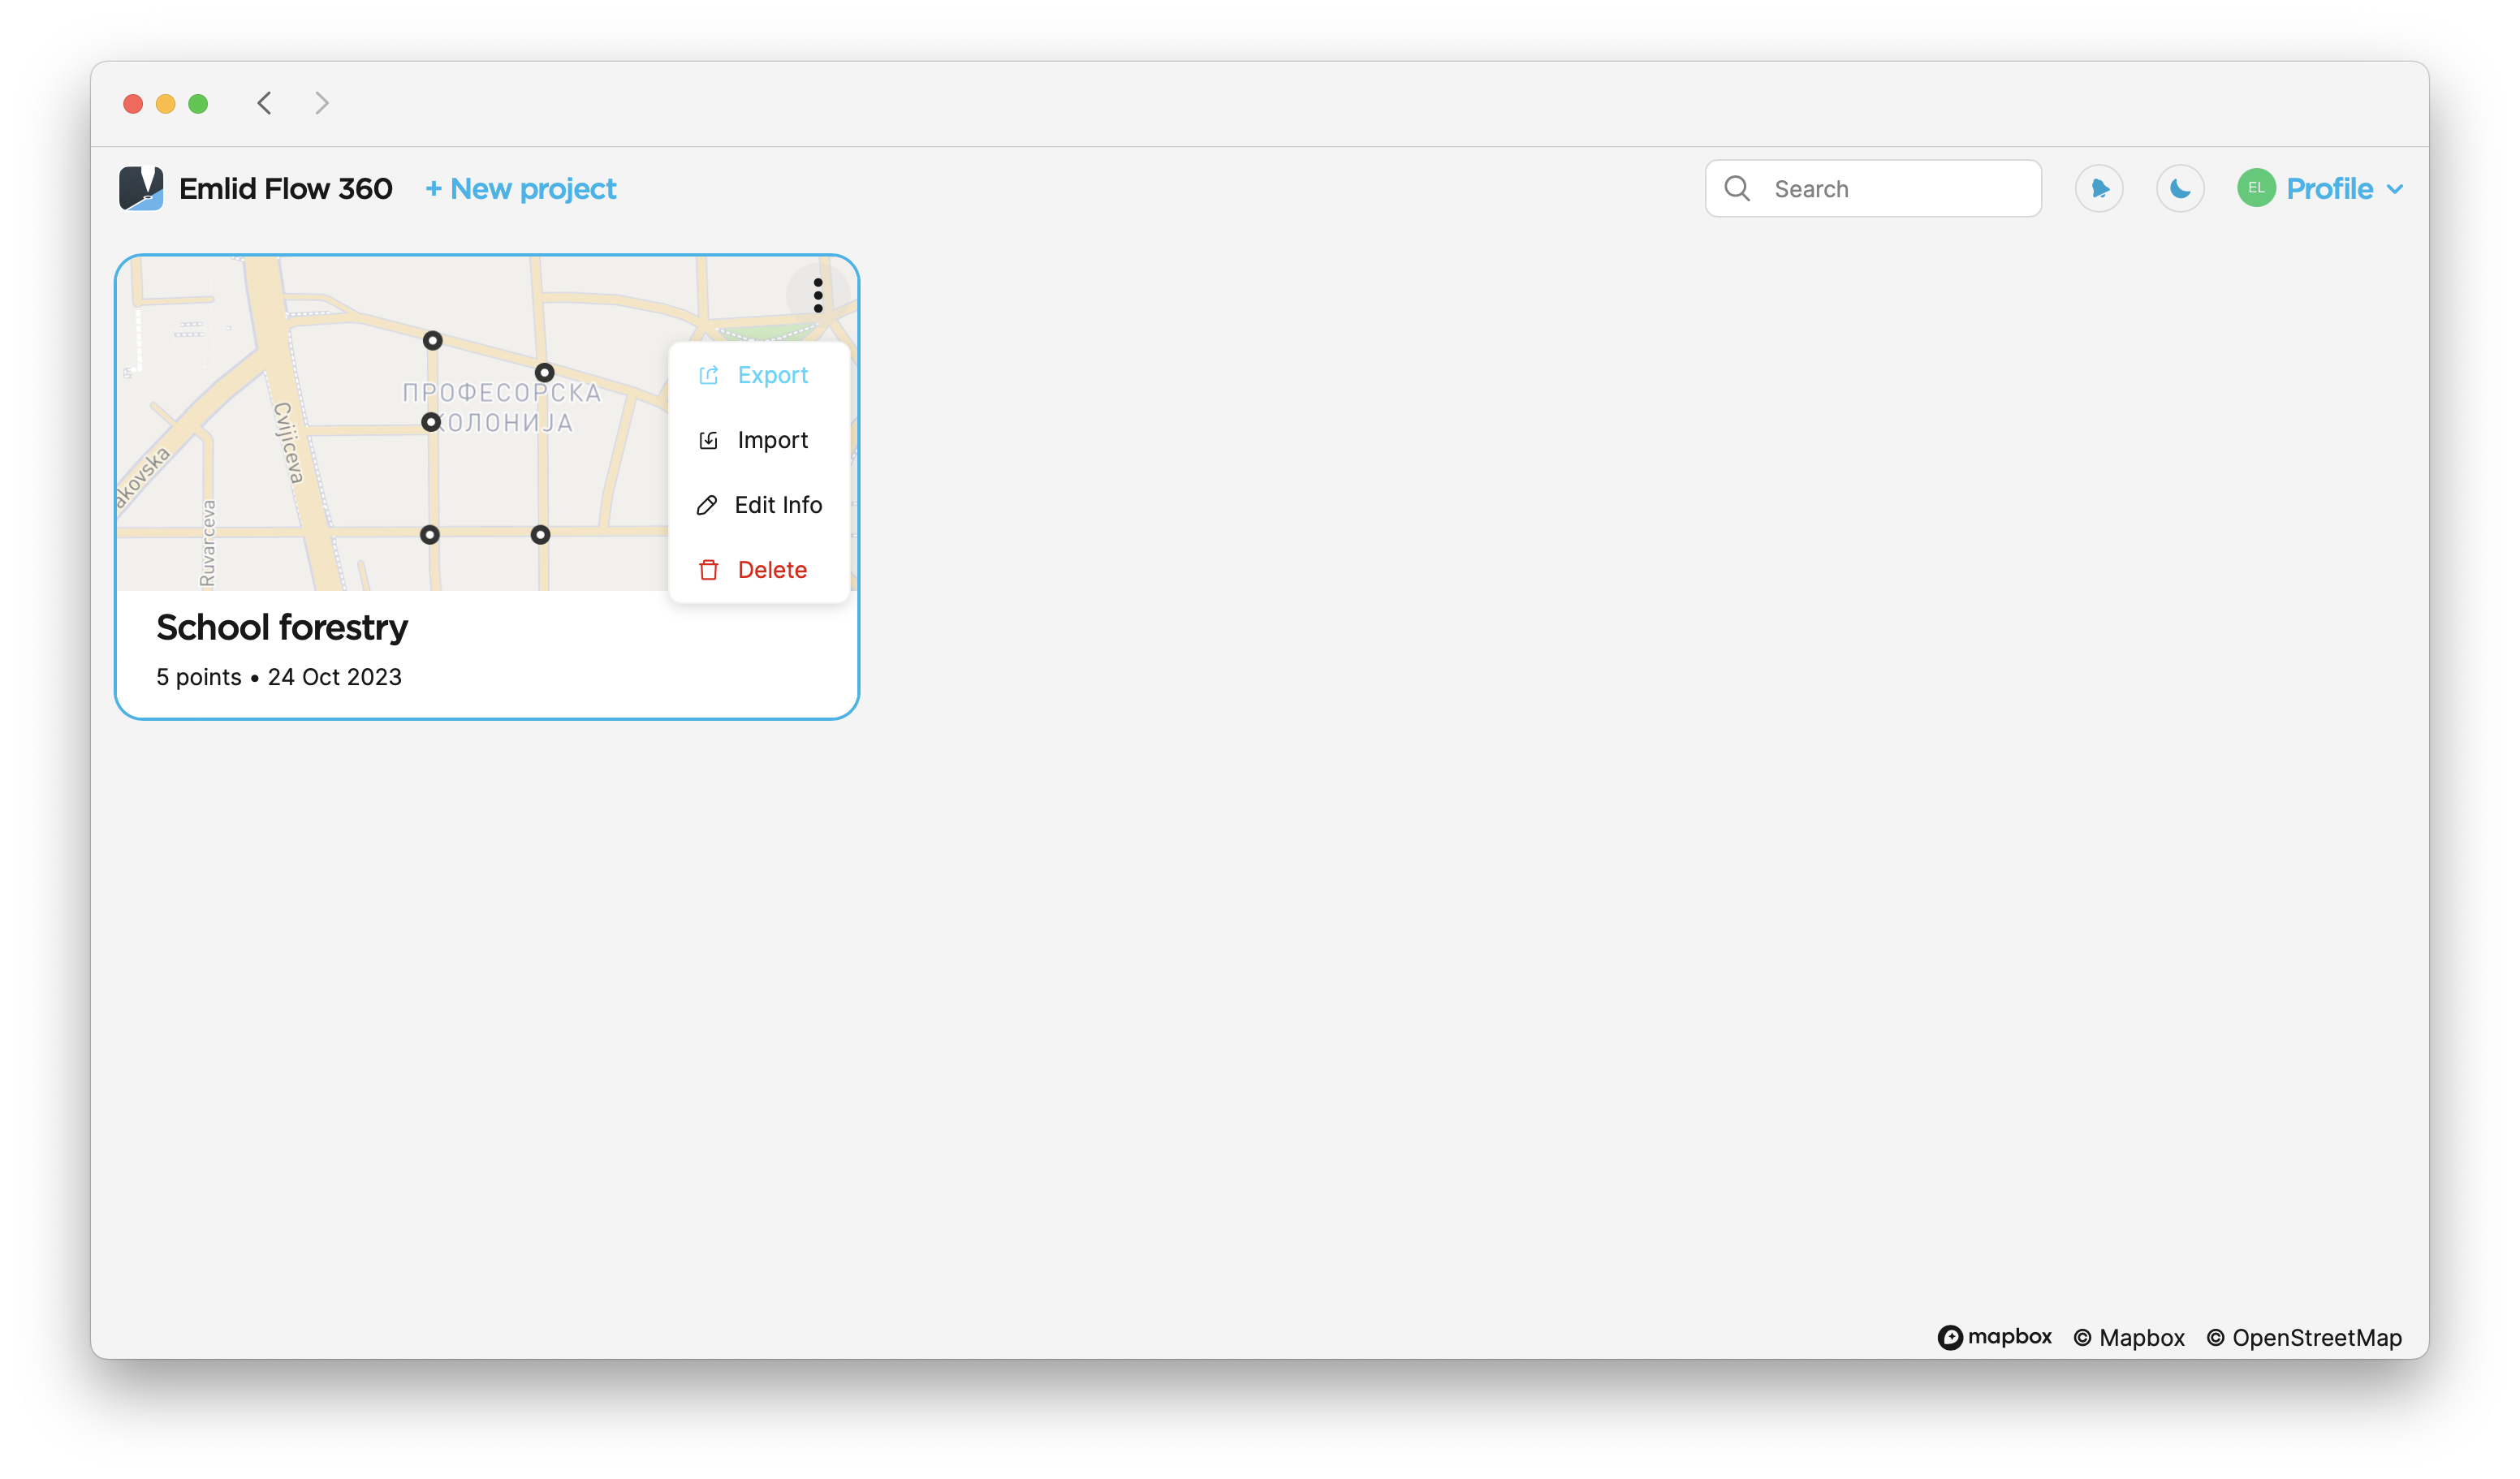
Open Emlid Flow 360 and find the project you want to export.
-
Tap the 3 dots button in the top right corner of the project’s plate. Click Export.
-
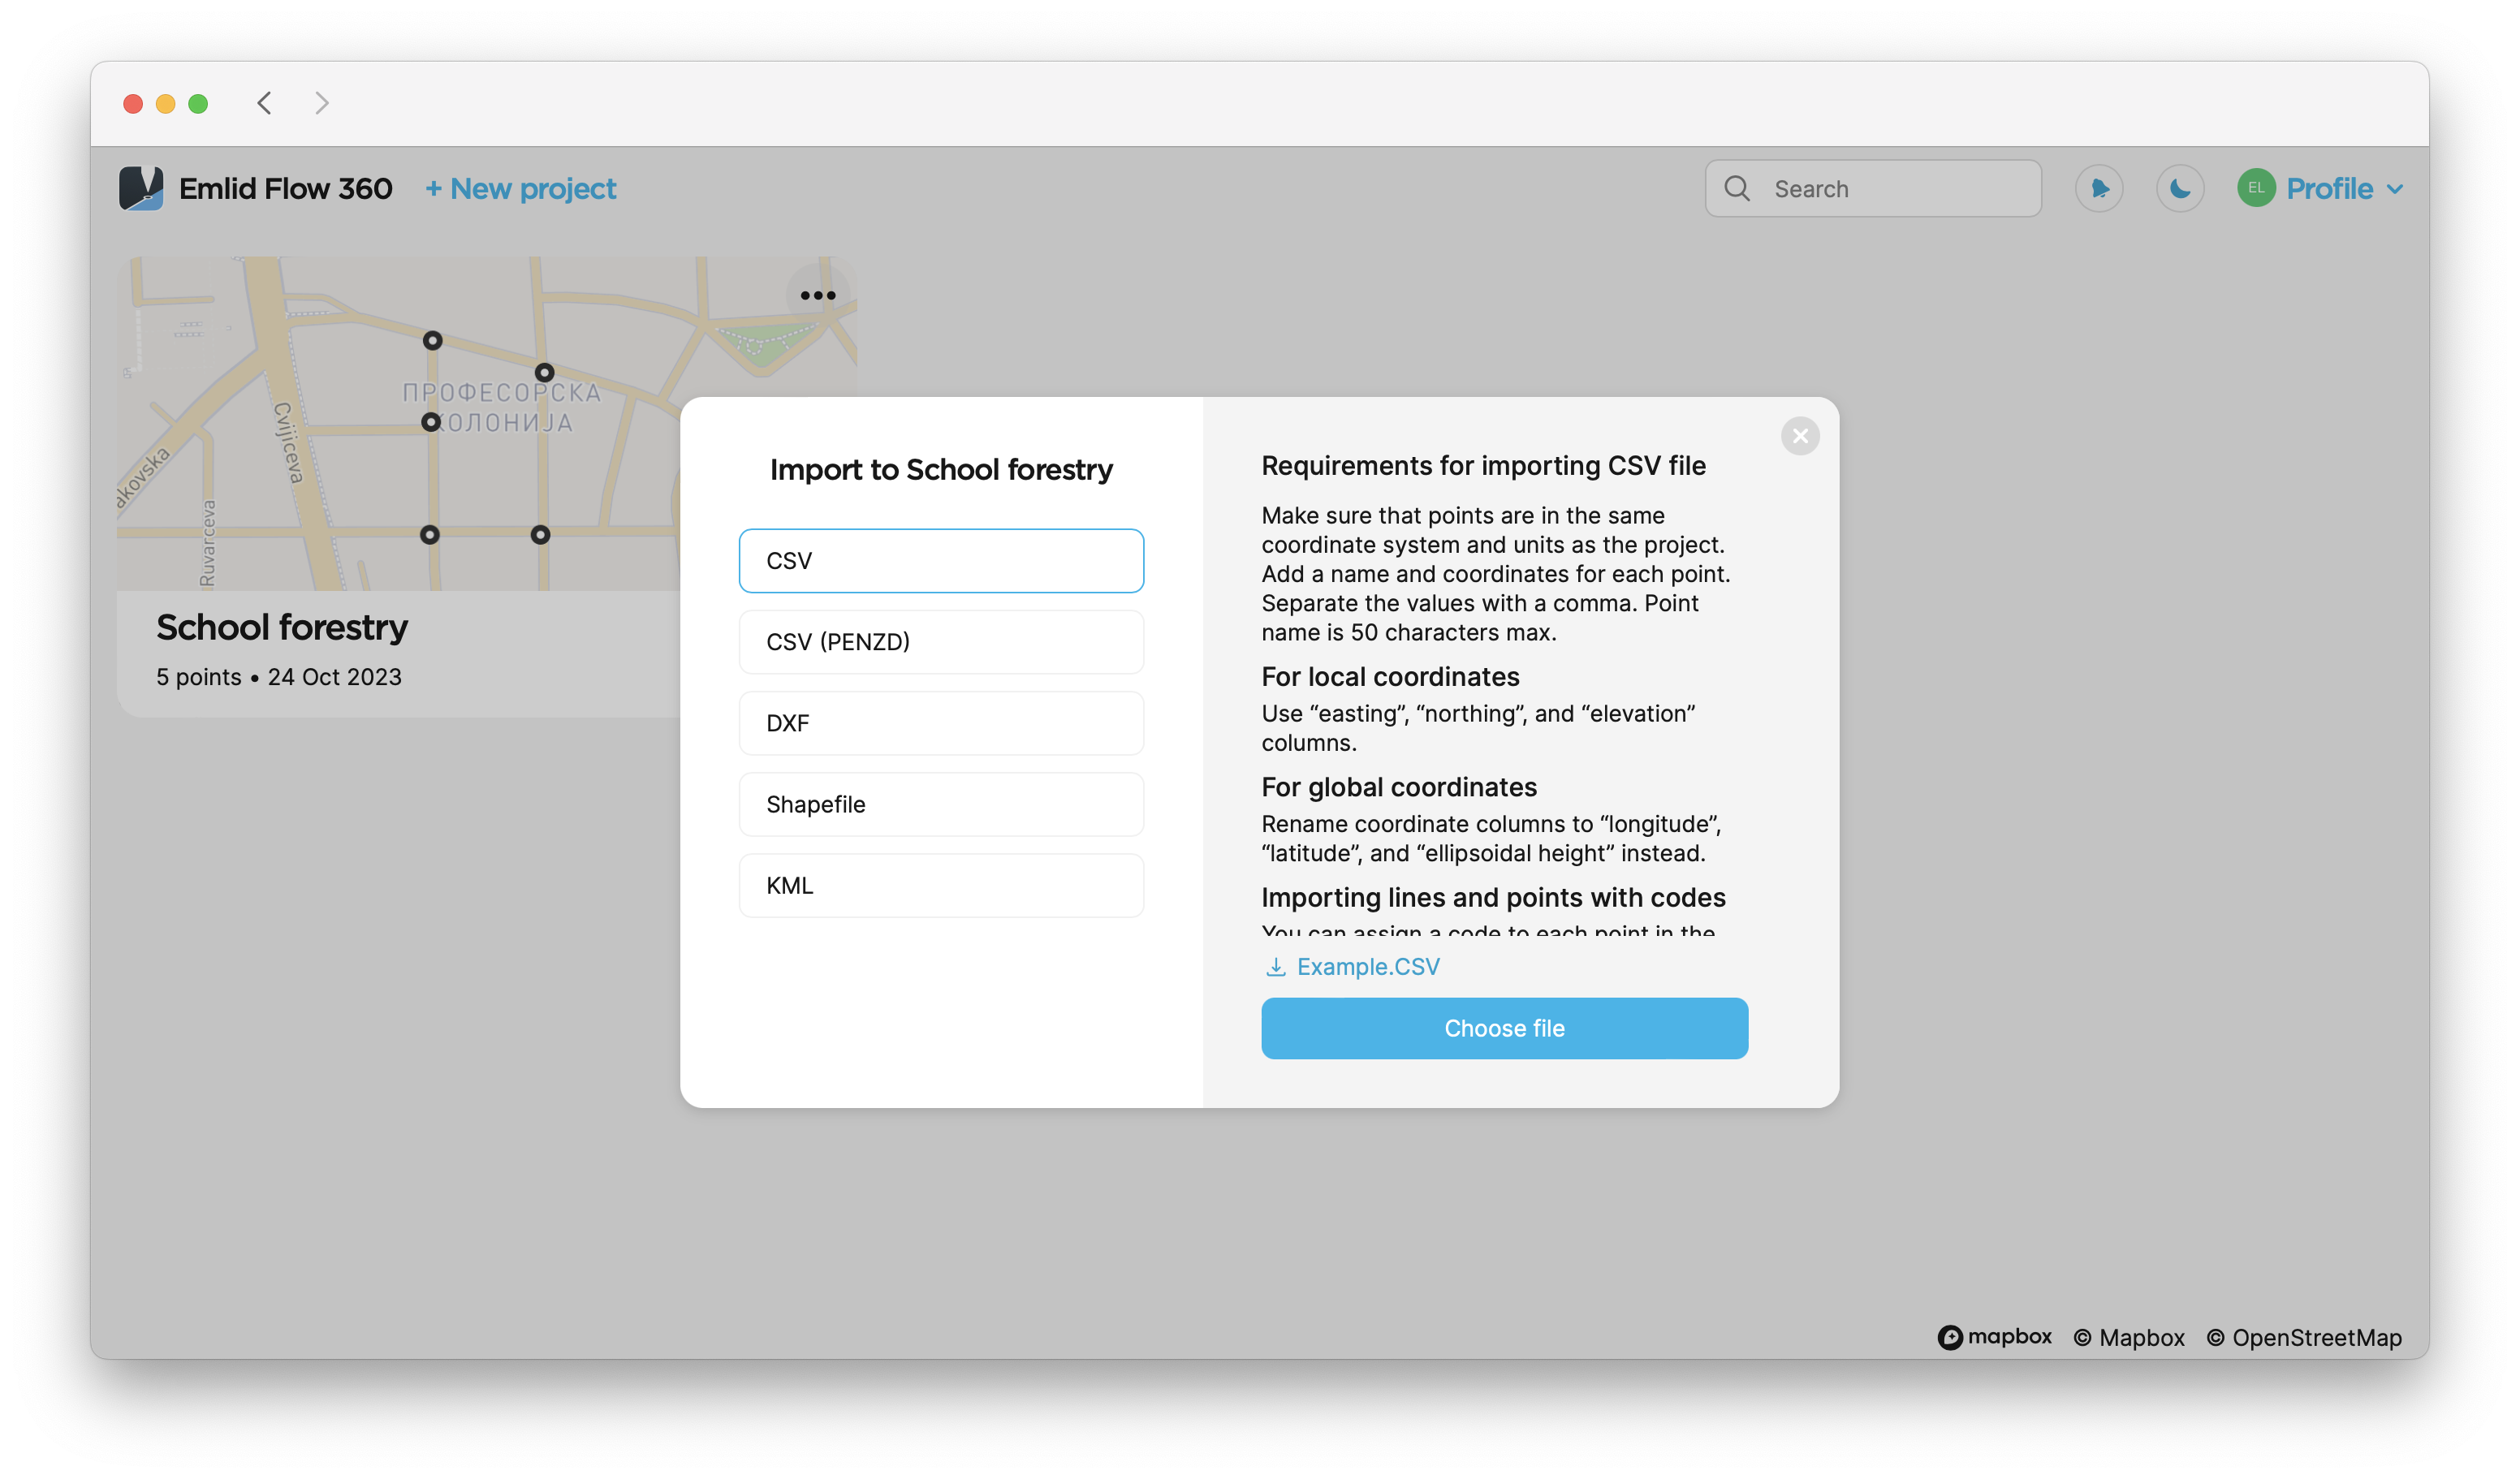
Choose the format in which you want to export your project and, if necessary, adjust its configuration.
-
Wait until Emlid Flow 360 finishes to export your project. Save the file depending on the device you use.
Exporting partial project data
- Emlid Flow 360
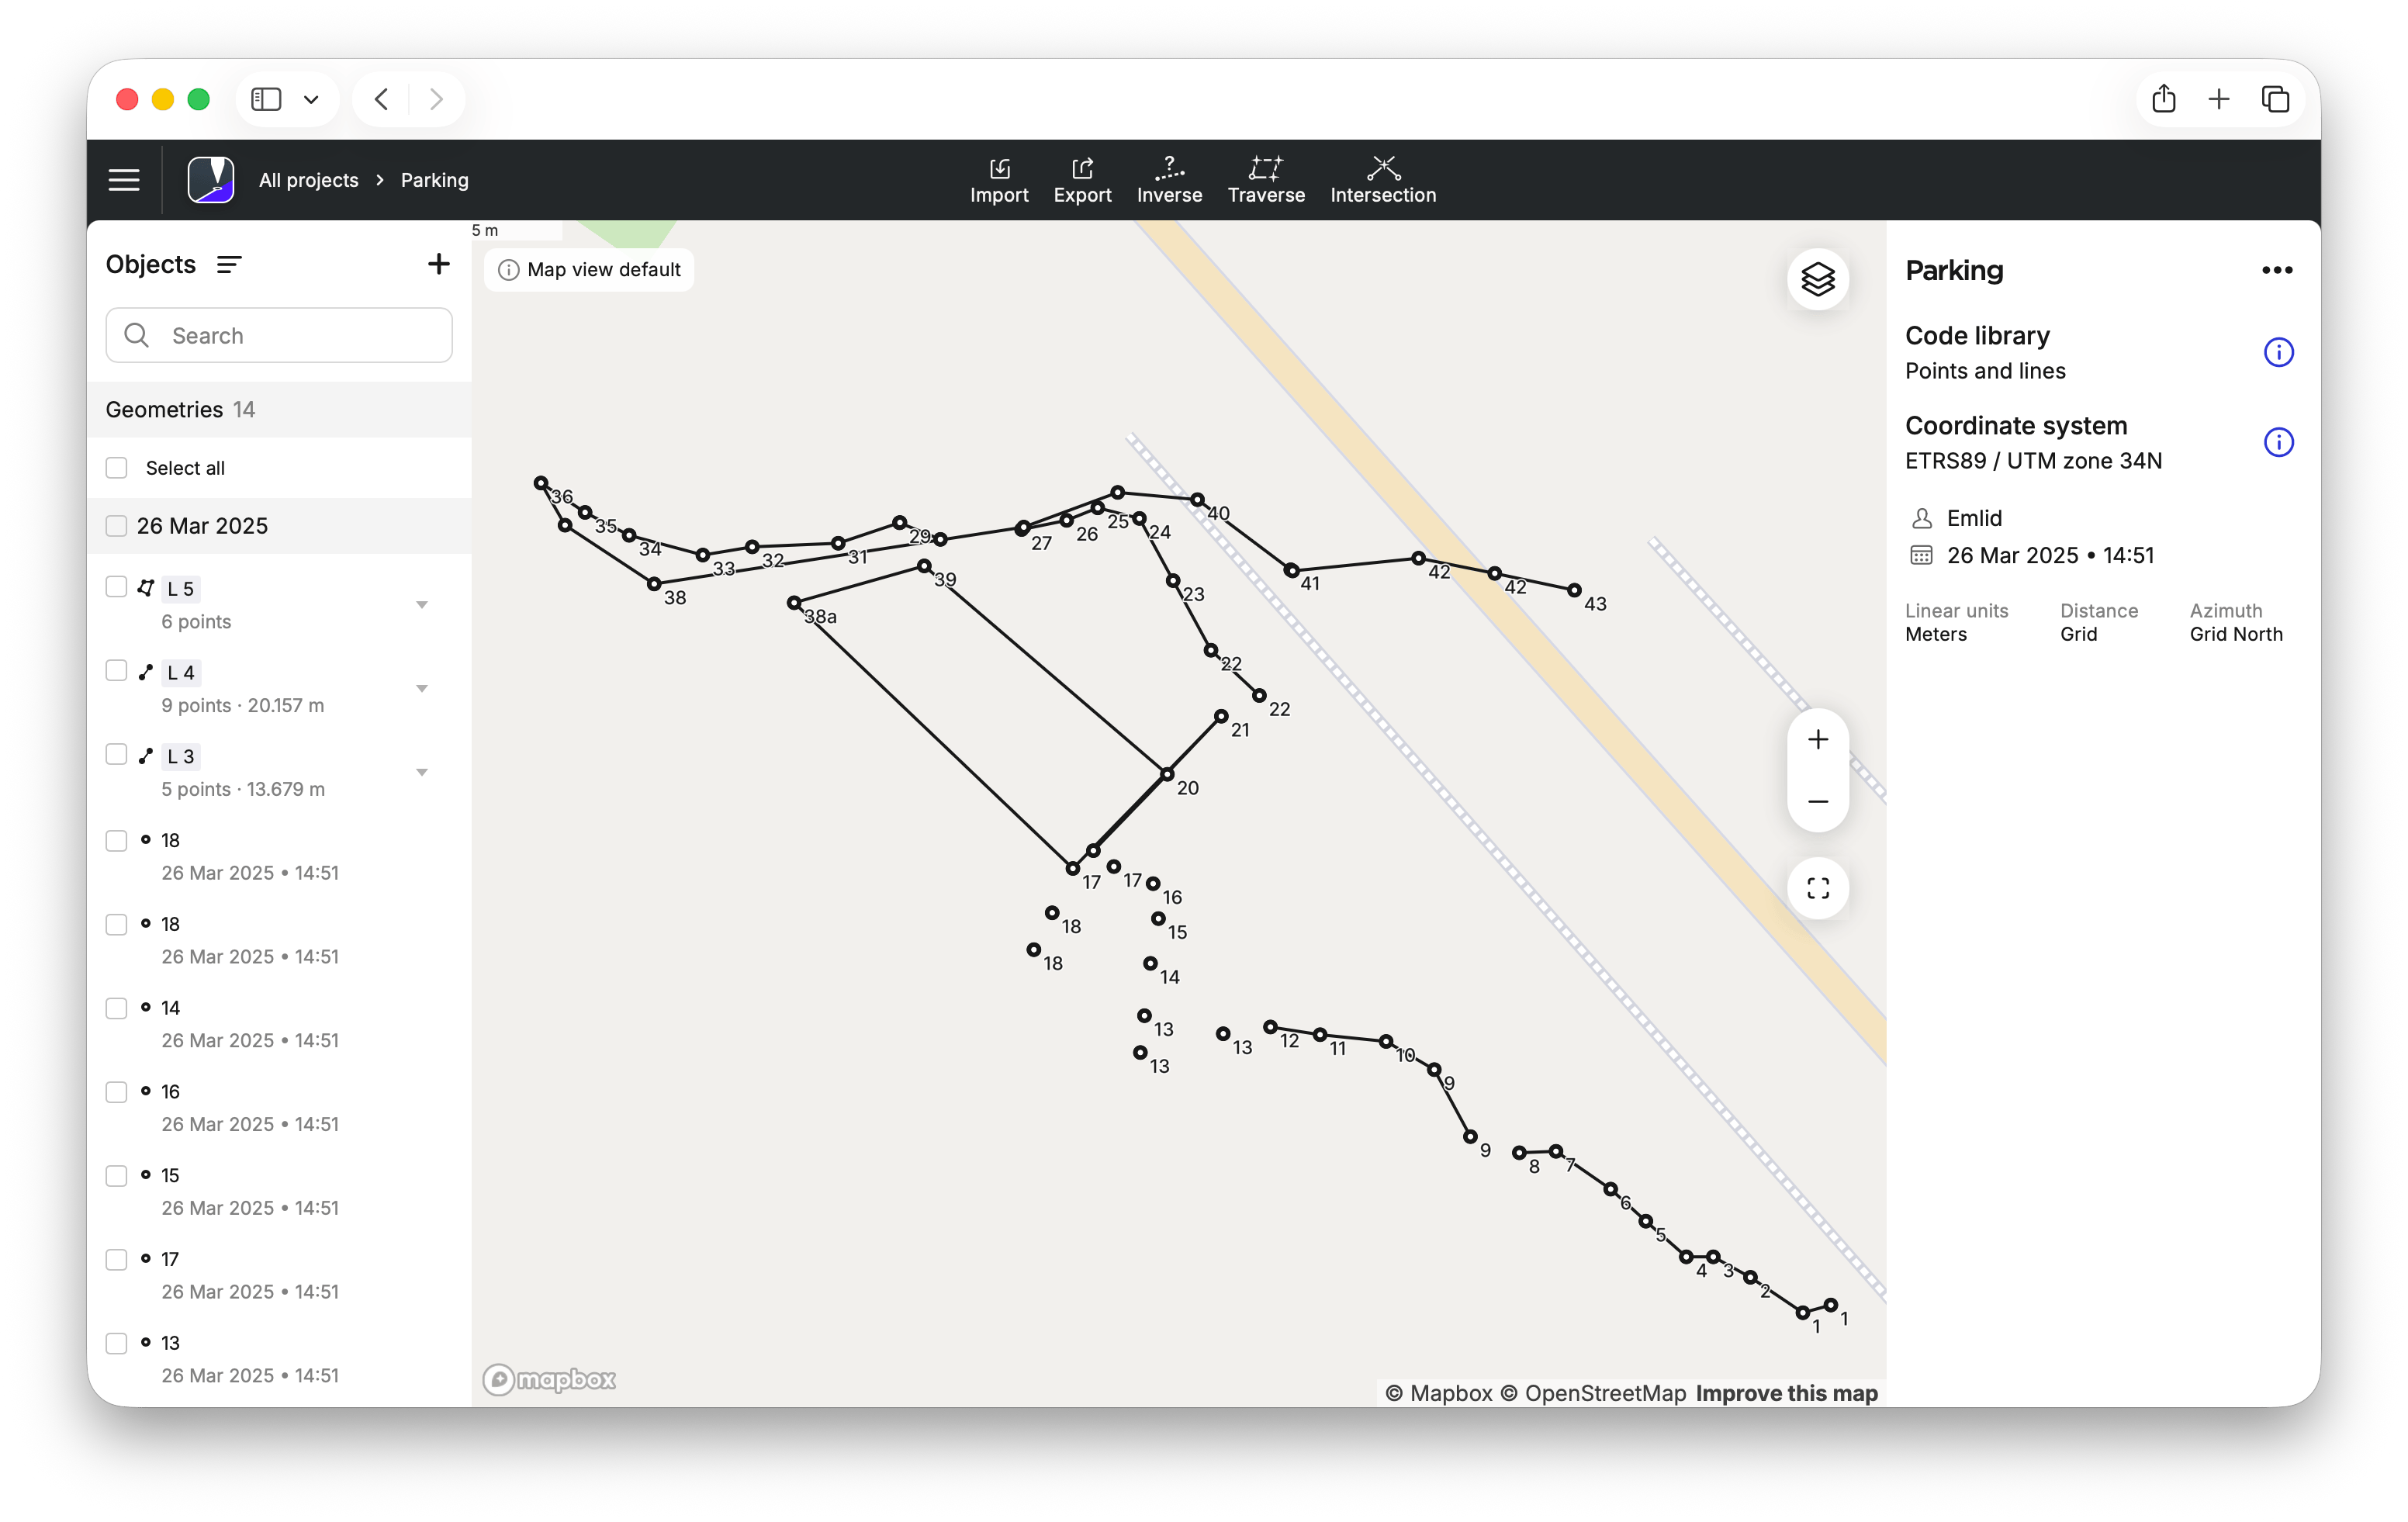
In Emlid Flow 360, you can export selected geometries from a project by grouping them by date, filtering them by author, code, or solution, or using both options together. Follow the steps below:
-
Open the project in Emlid Flow 360.
-
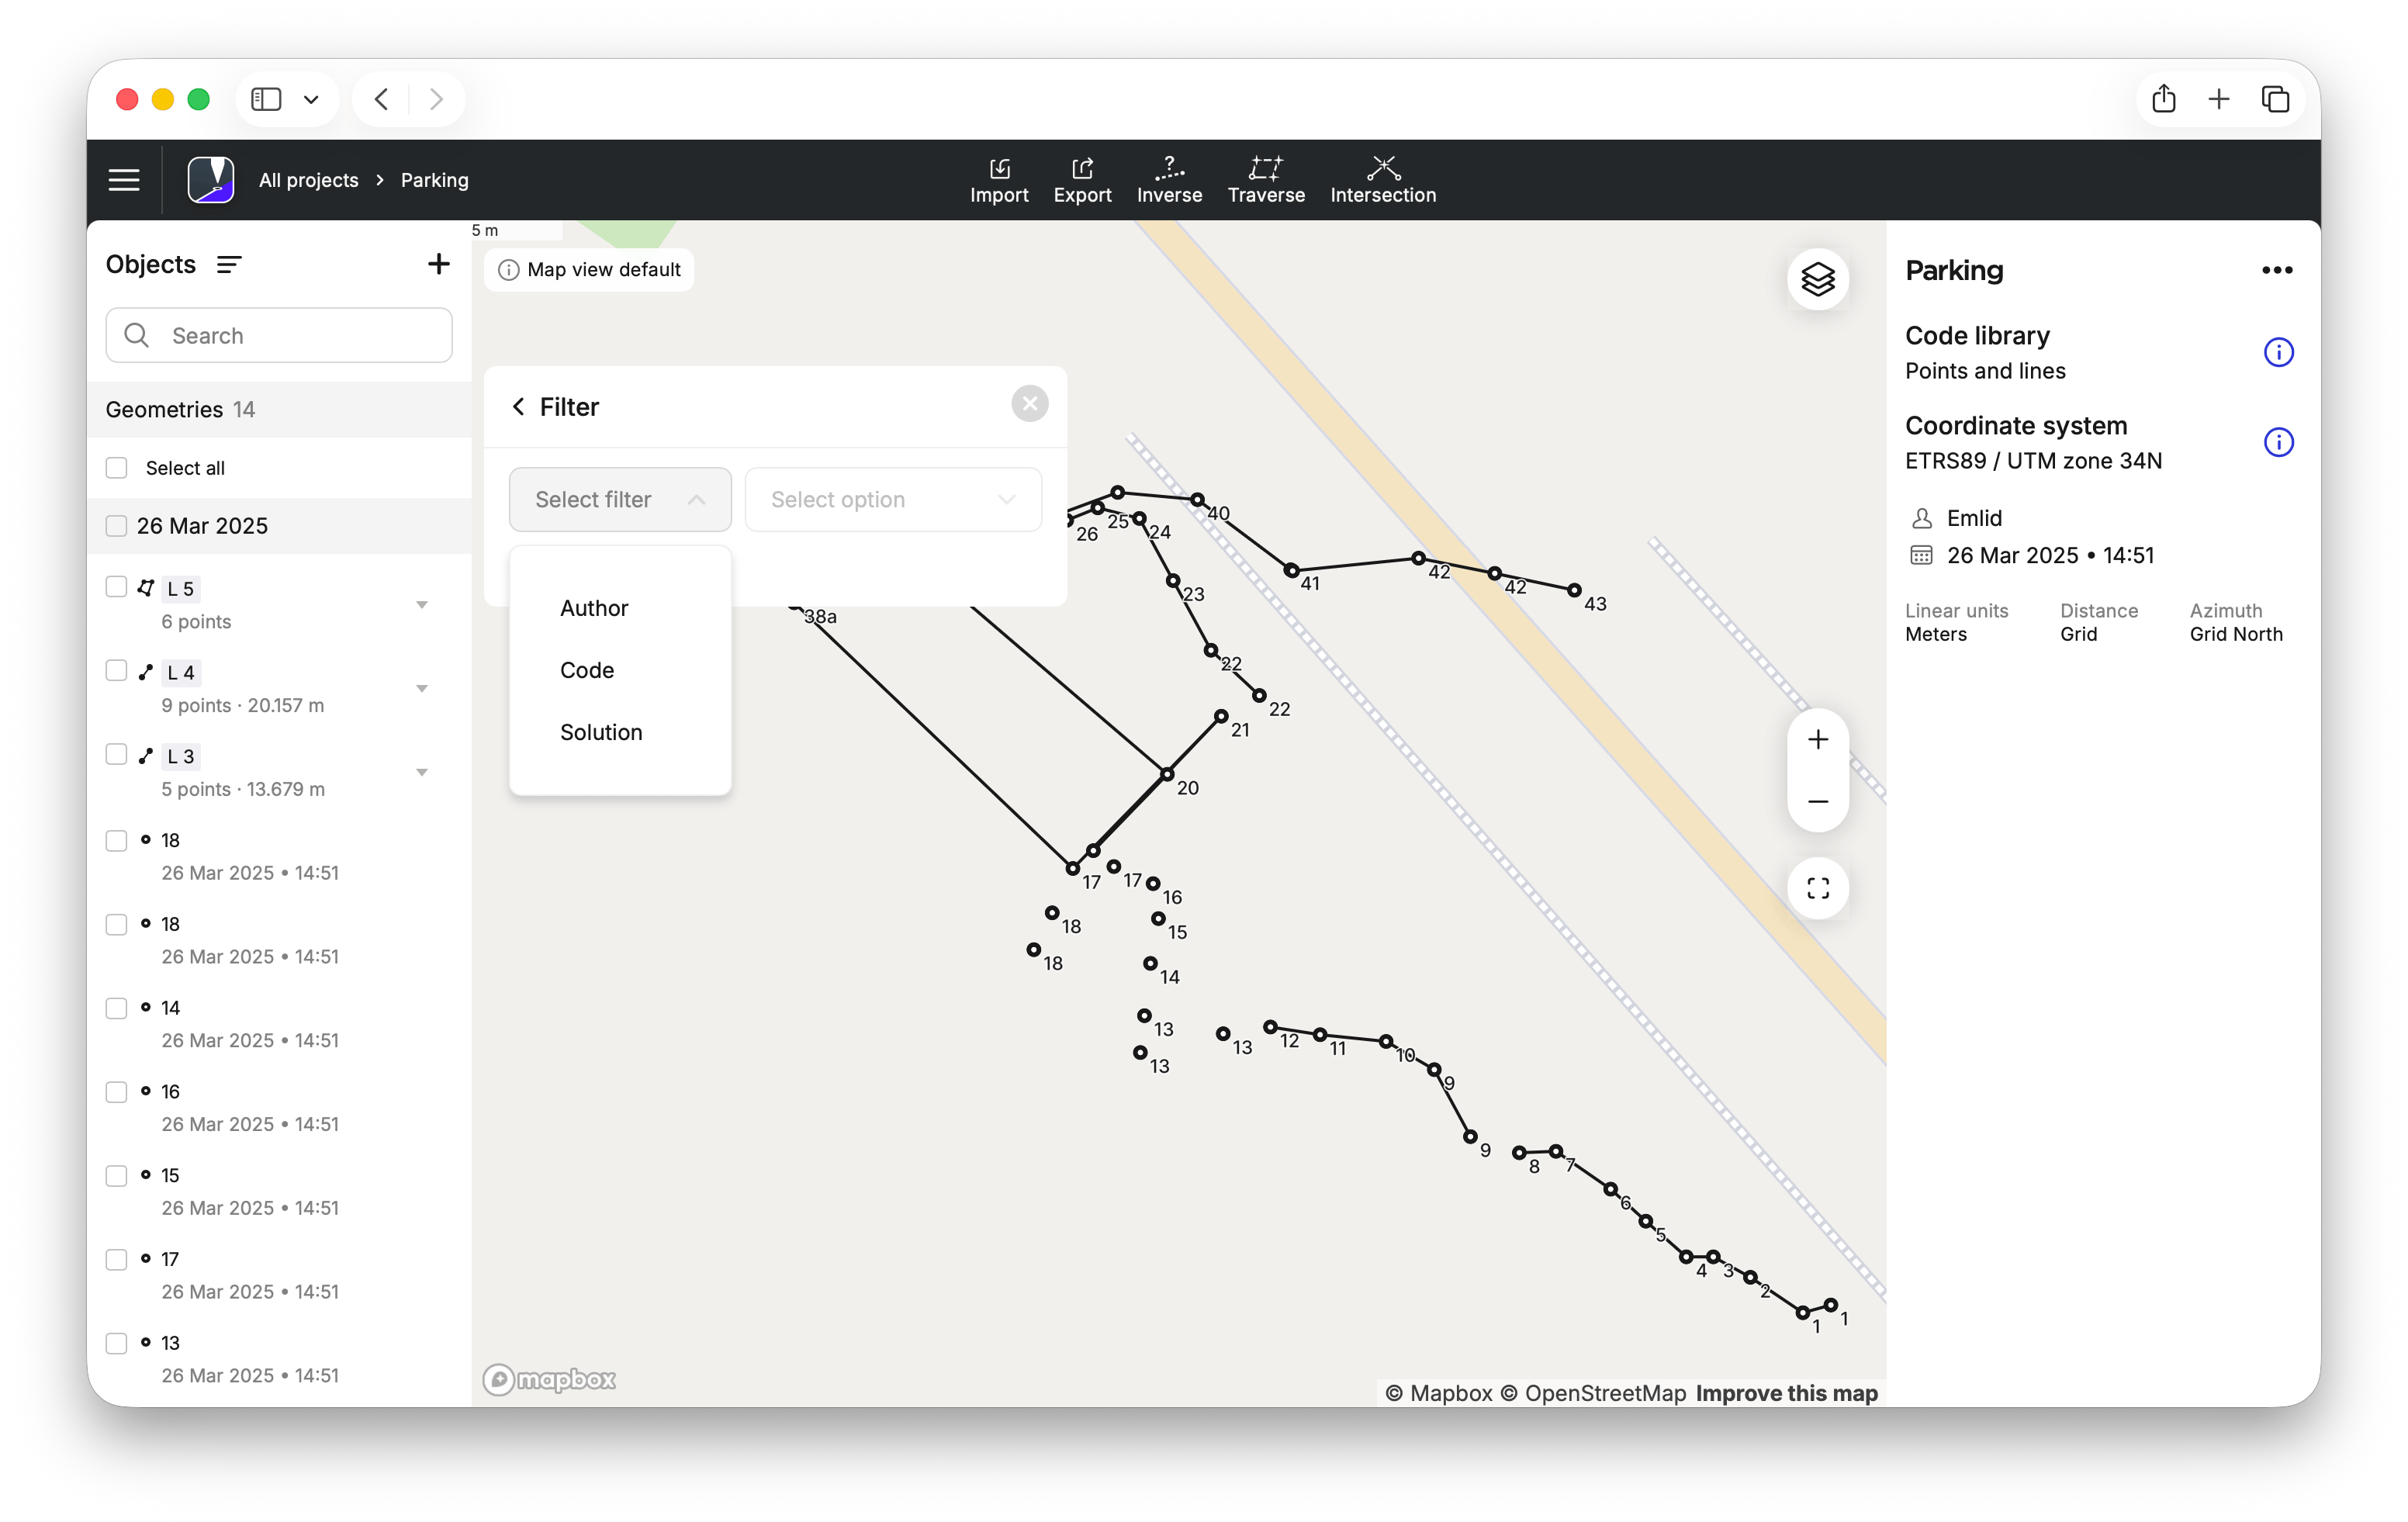
In the objects list on the left, open the menu. Emlid Flow 360 will display options to filter and group geometries in the project. By default, geometries are grouped by date. To sort geometries by author, code, or solution, apply filters. If you only need to export data grouped by date, proceed to step 4. In this guide, we keep the grouping by date and apply a filter.

-
Click Filter and then select the required filter option:
- Author name,
- Code from the ones you use in the project,
- Solution—SINGLE, FLOAT, or FIX.
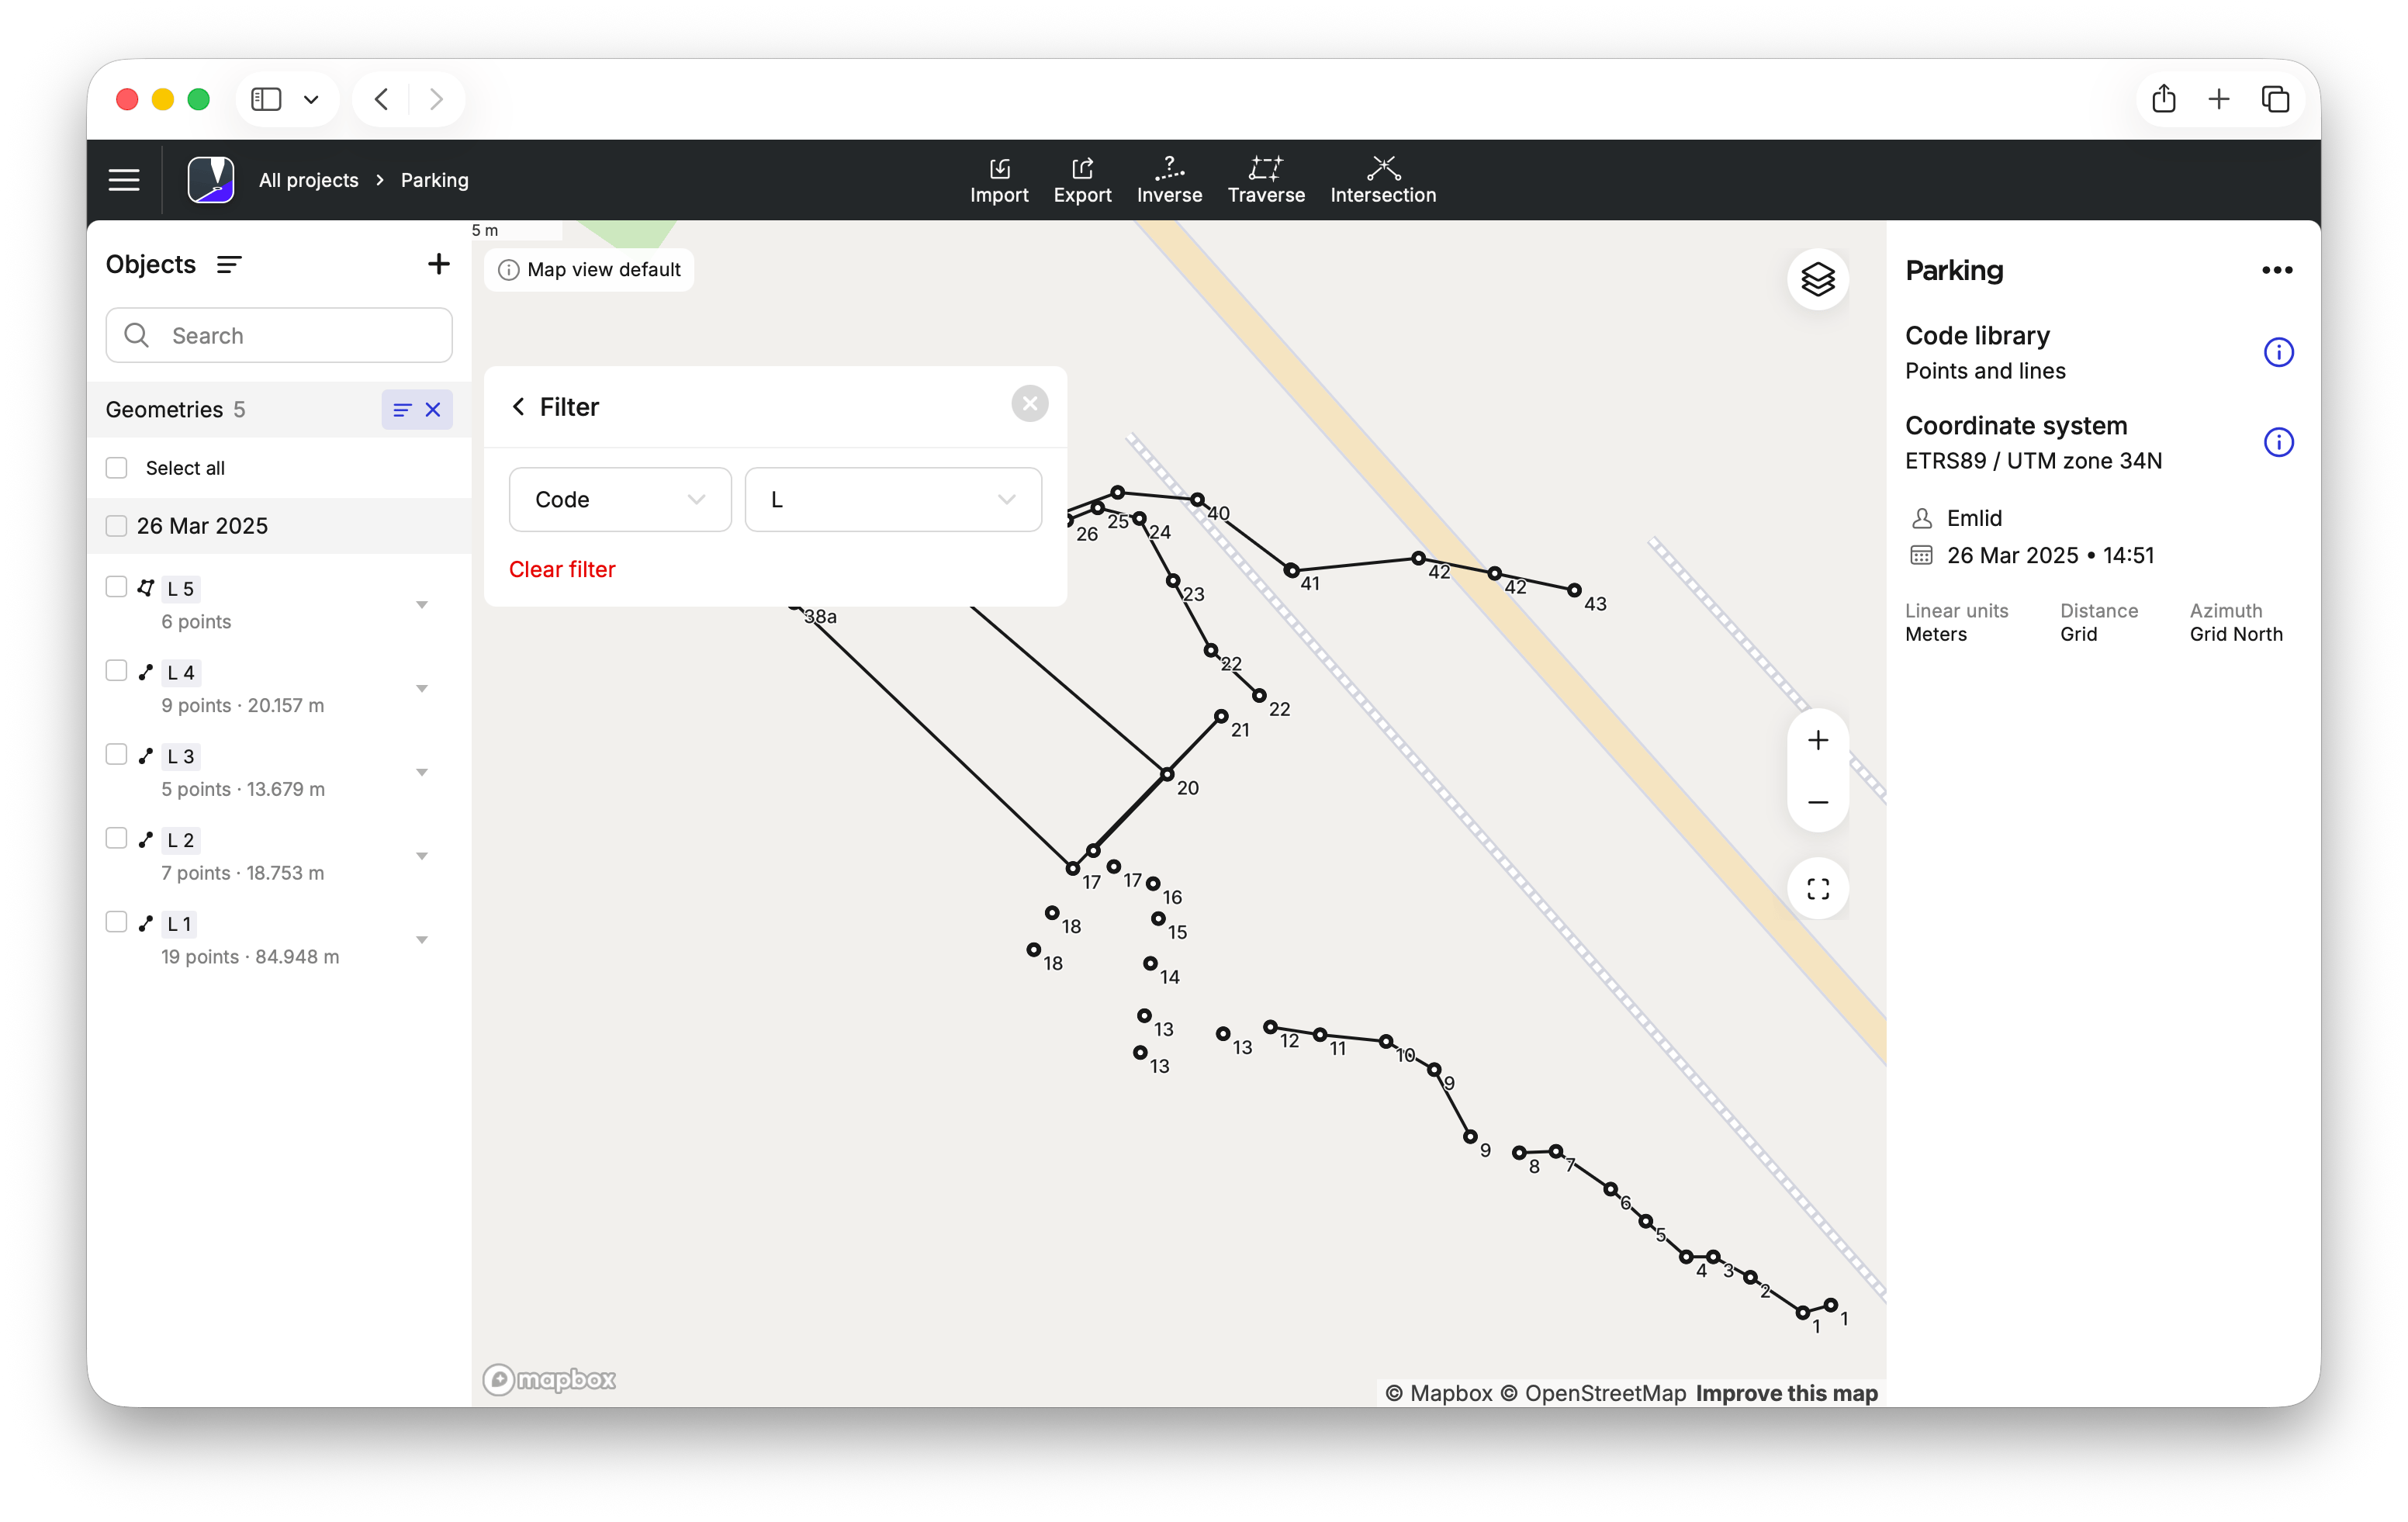
After that, the chosen filter and its option will be applied, and you will see the filtered geometries in the objects list on the left.
-
Select the geometries to export. You can select all geometries, choose specific ones, or select them by date when both grouping and filtering are applied, as in our example. If only date grouping is applied, select the required date. The action panel will appear on the right.
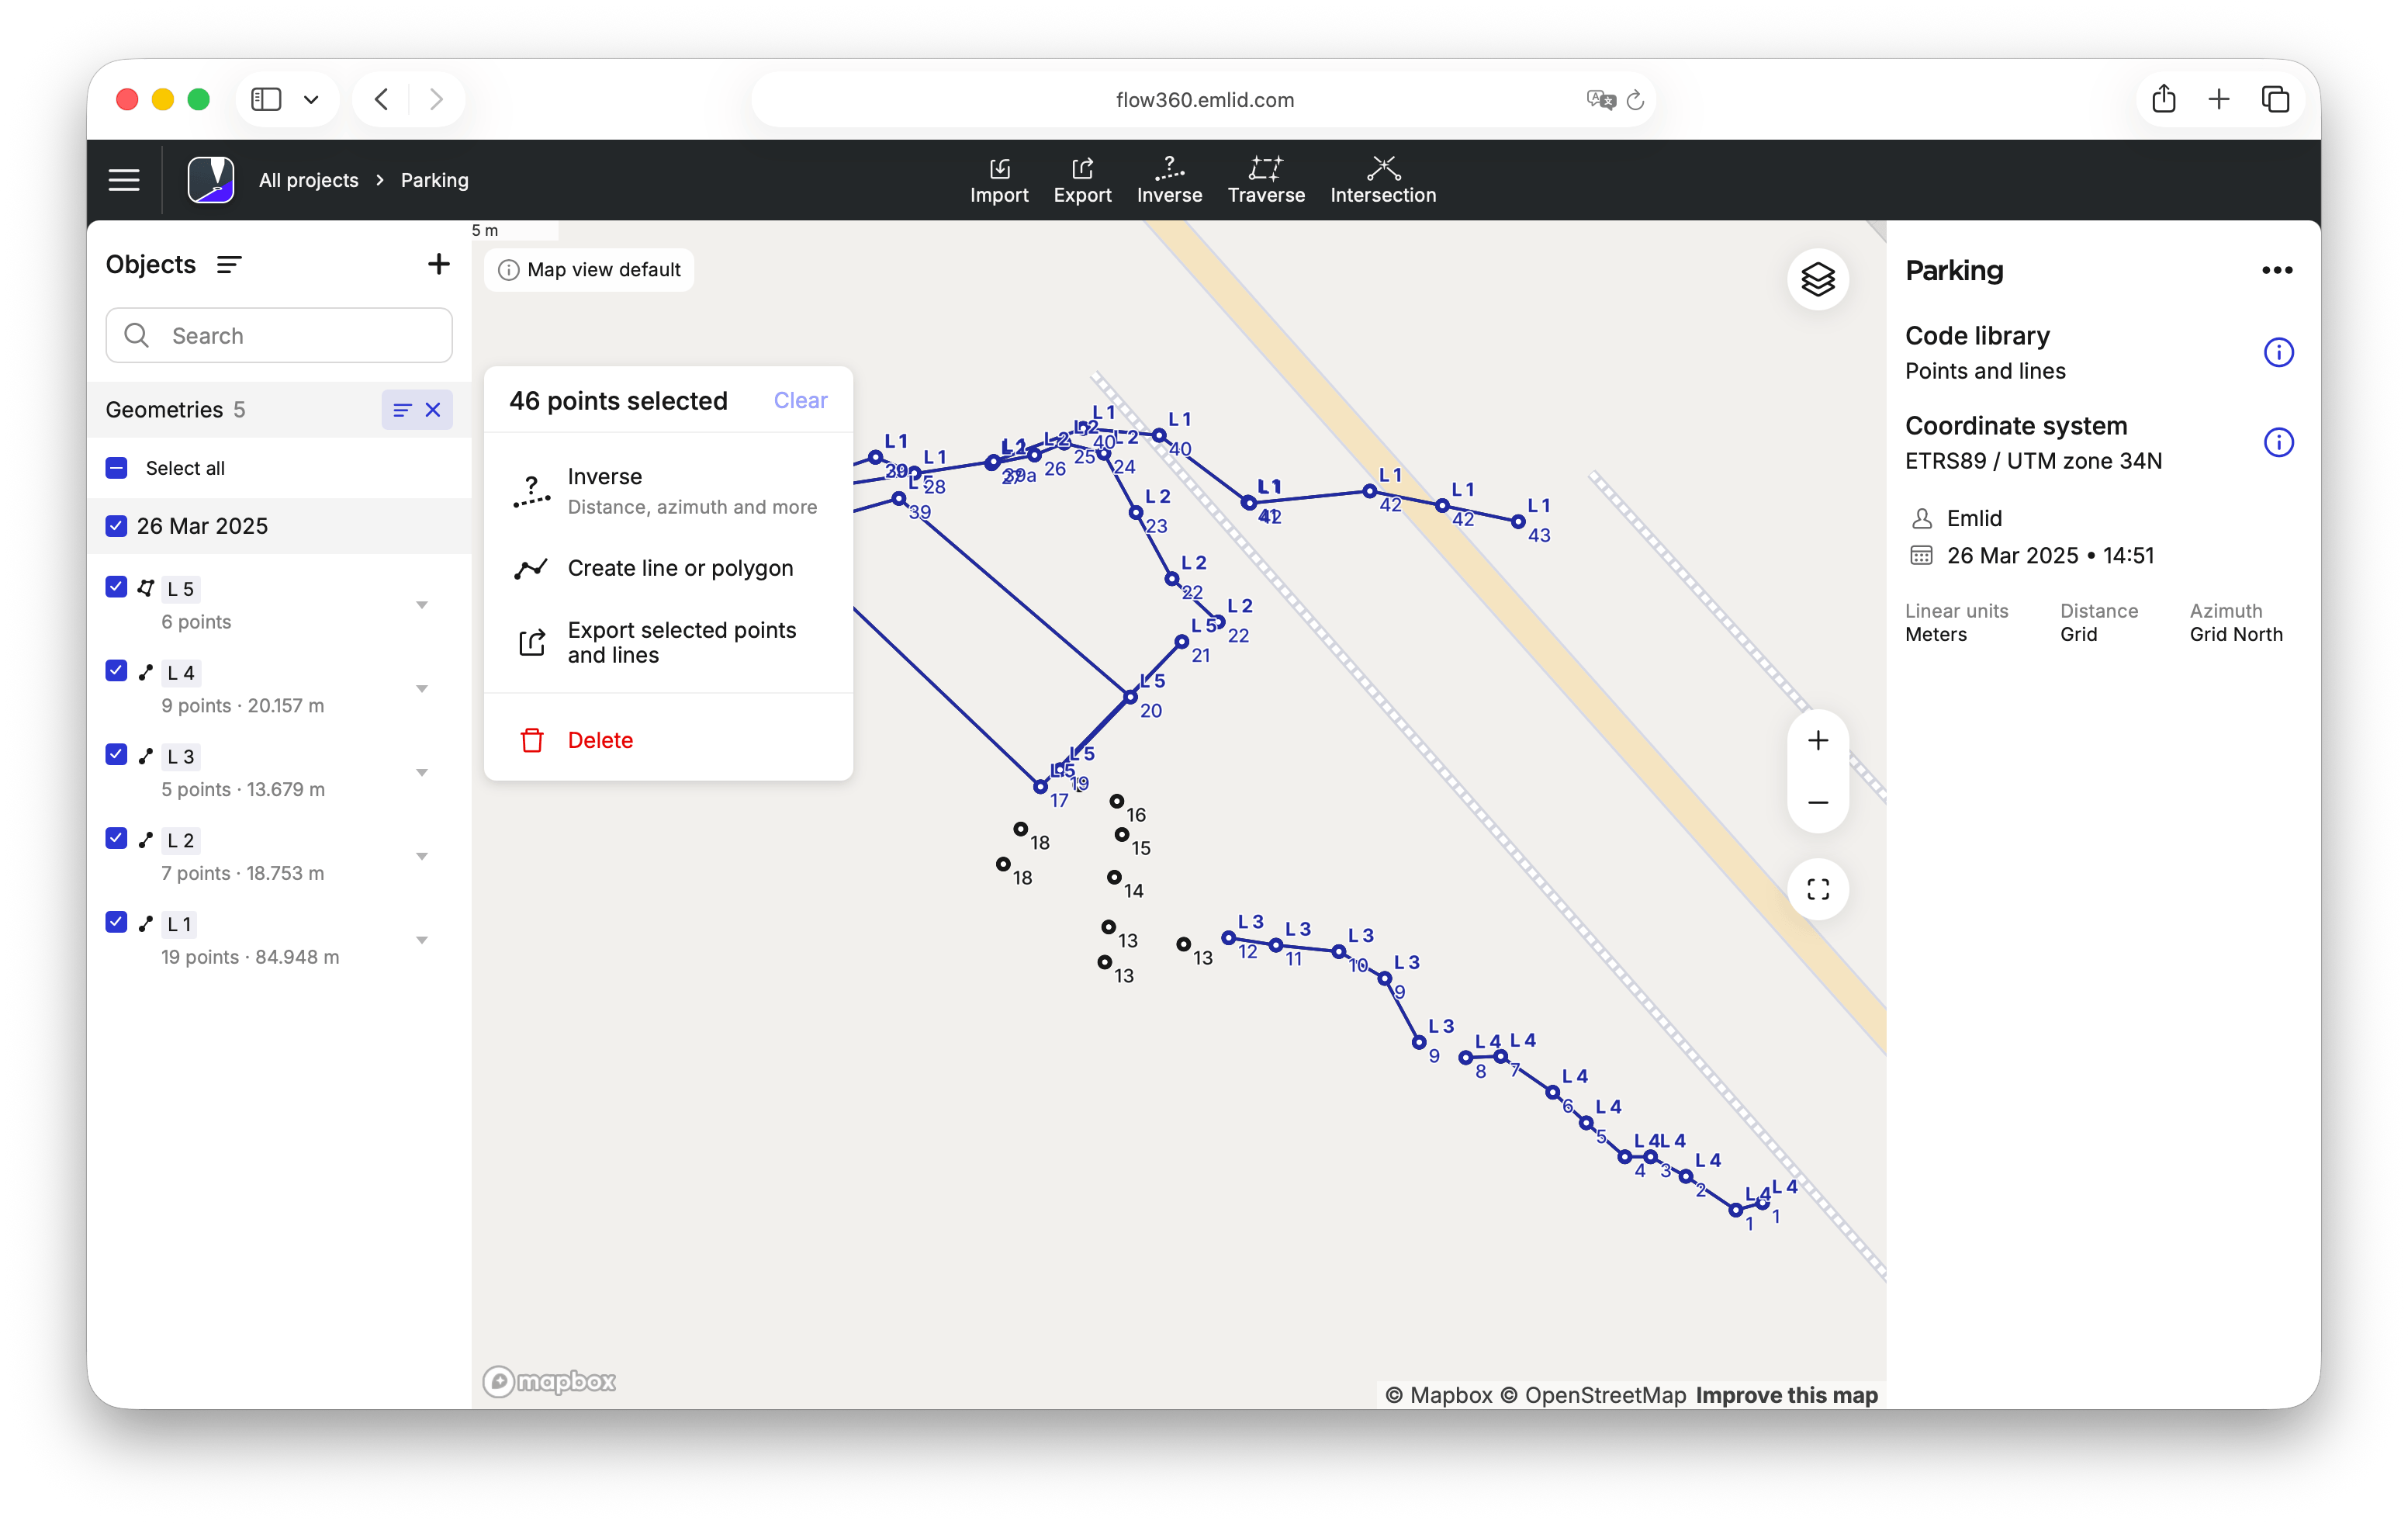
-
Click Export selected points and lines. The available export format options will appear.
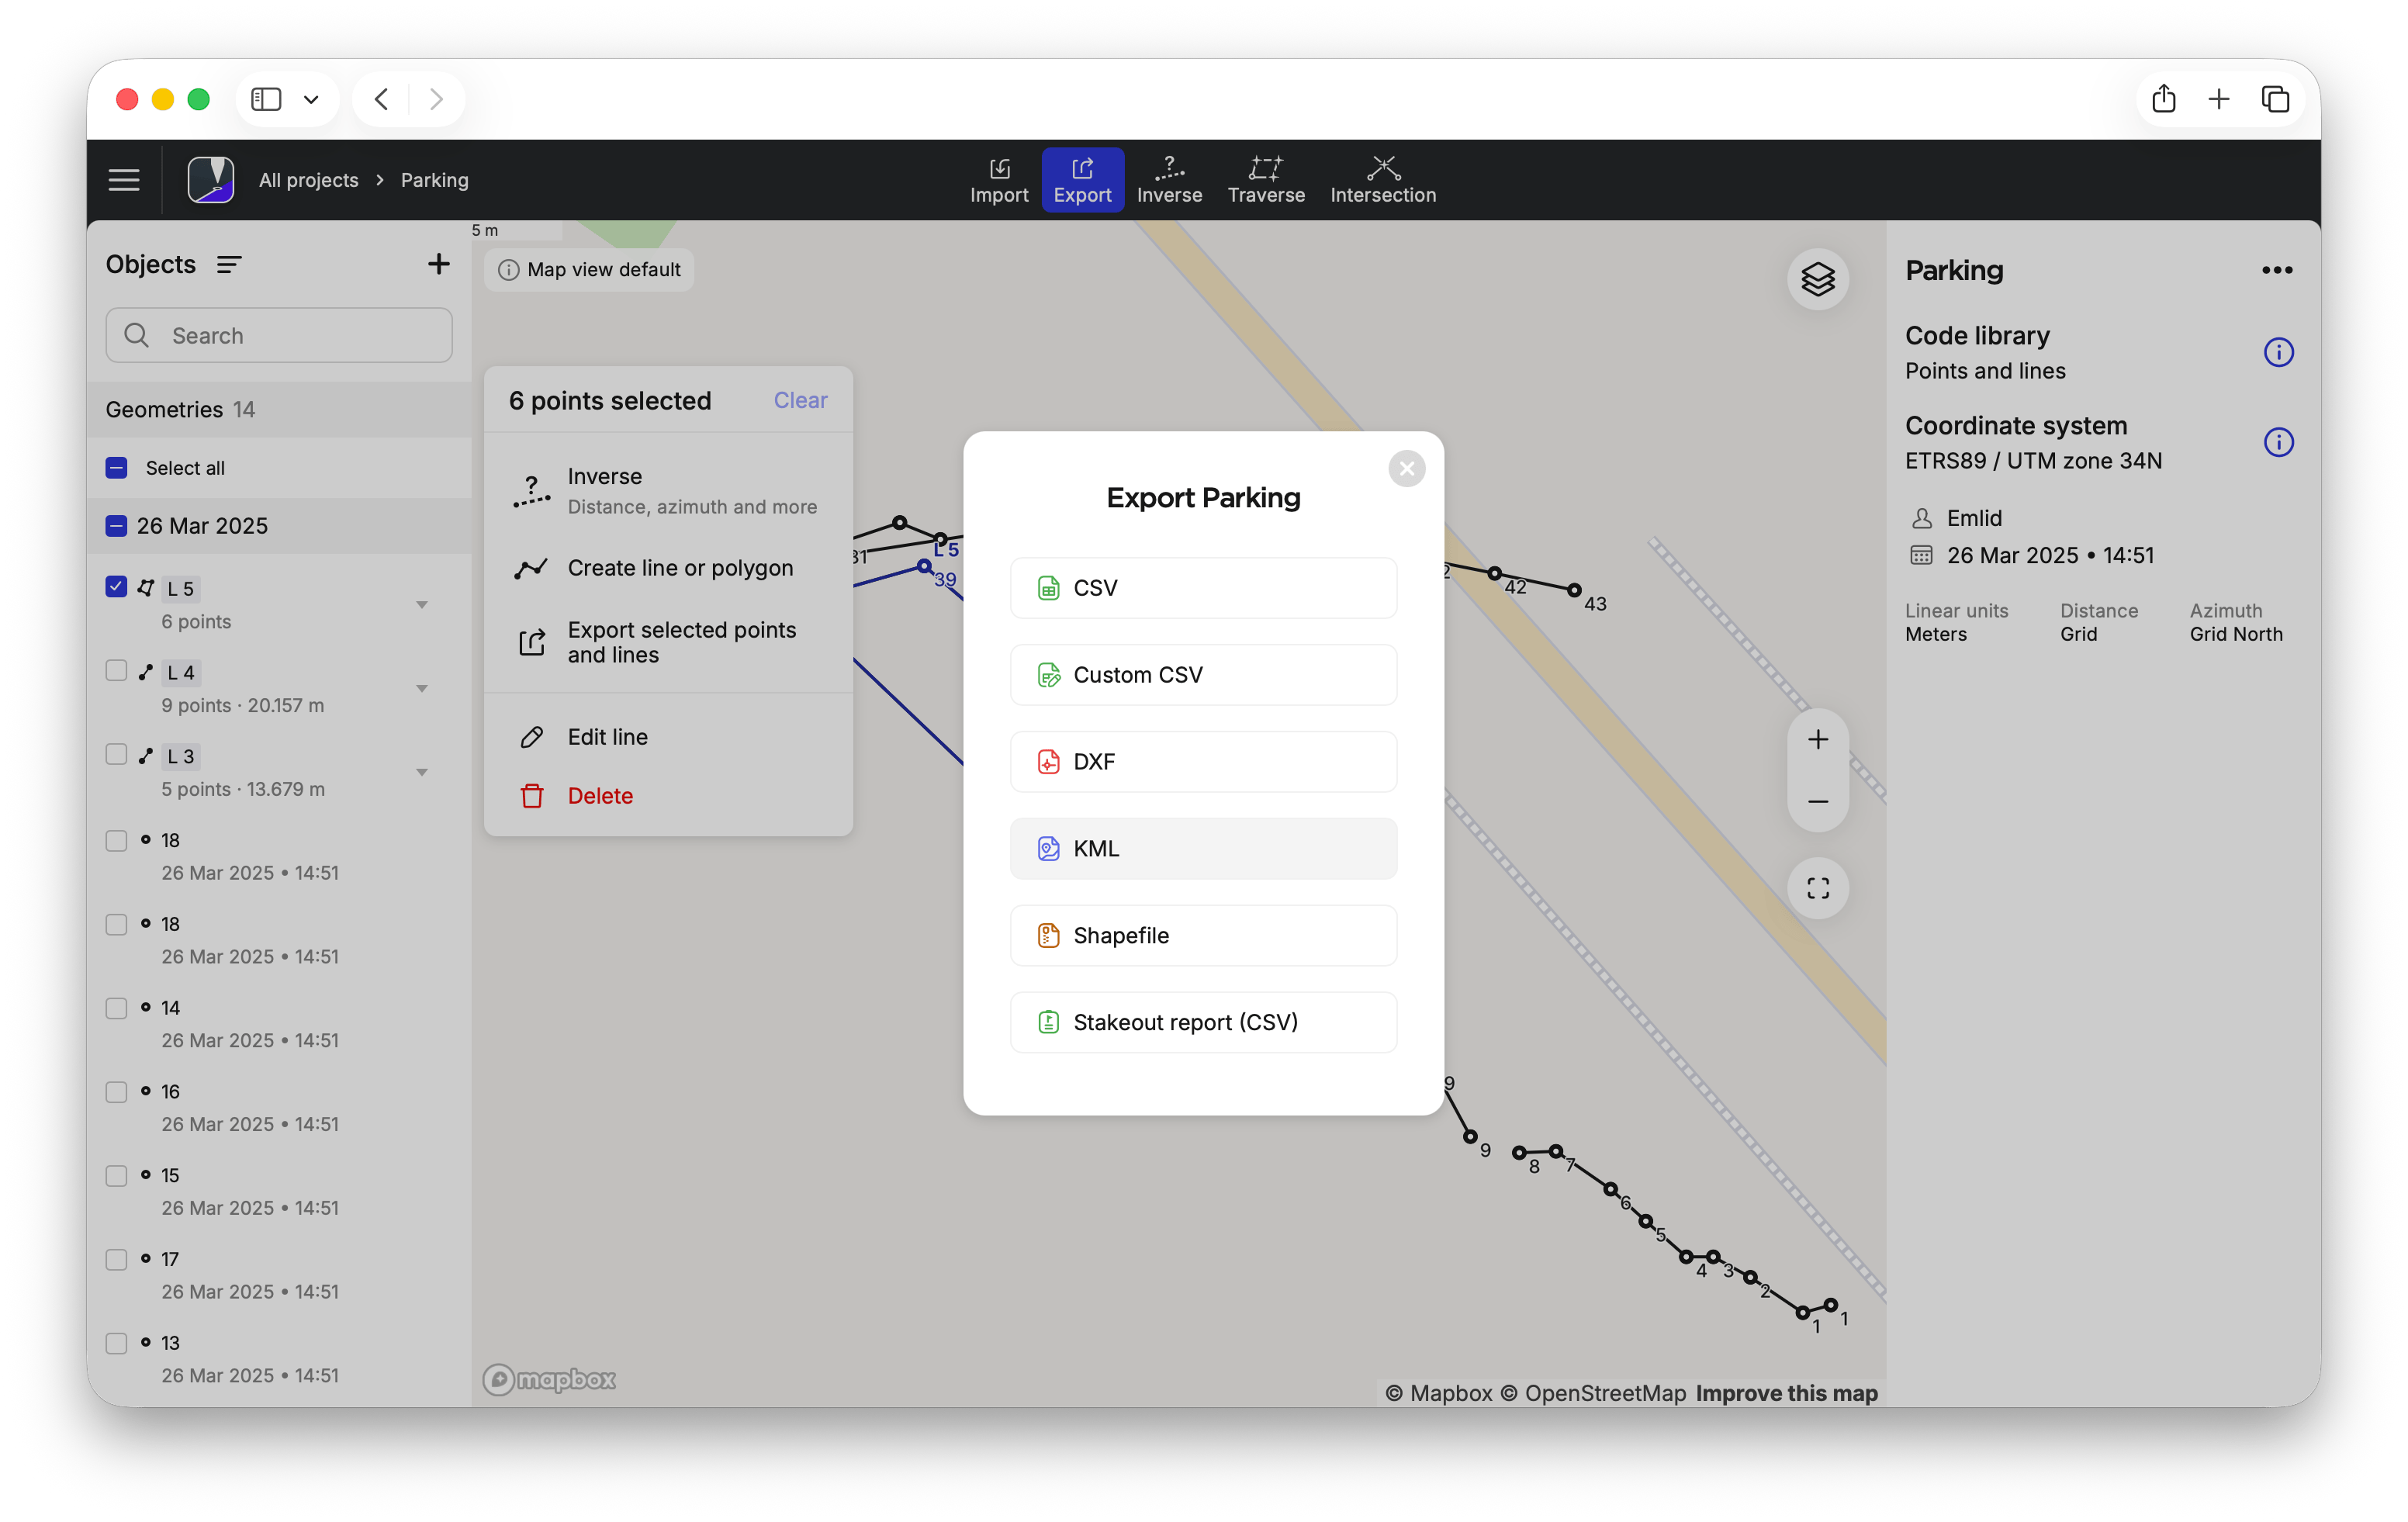
-
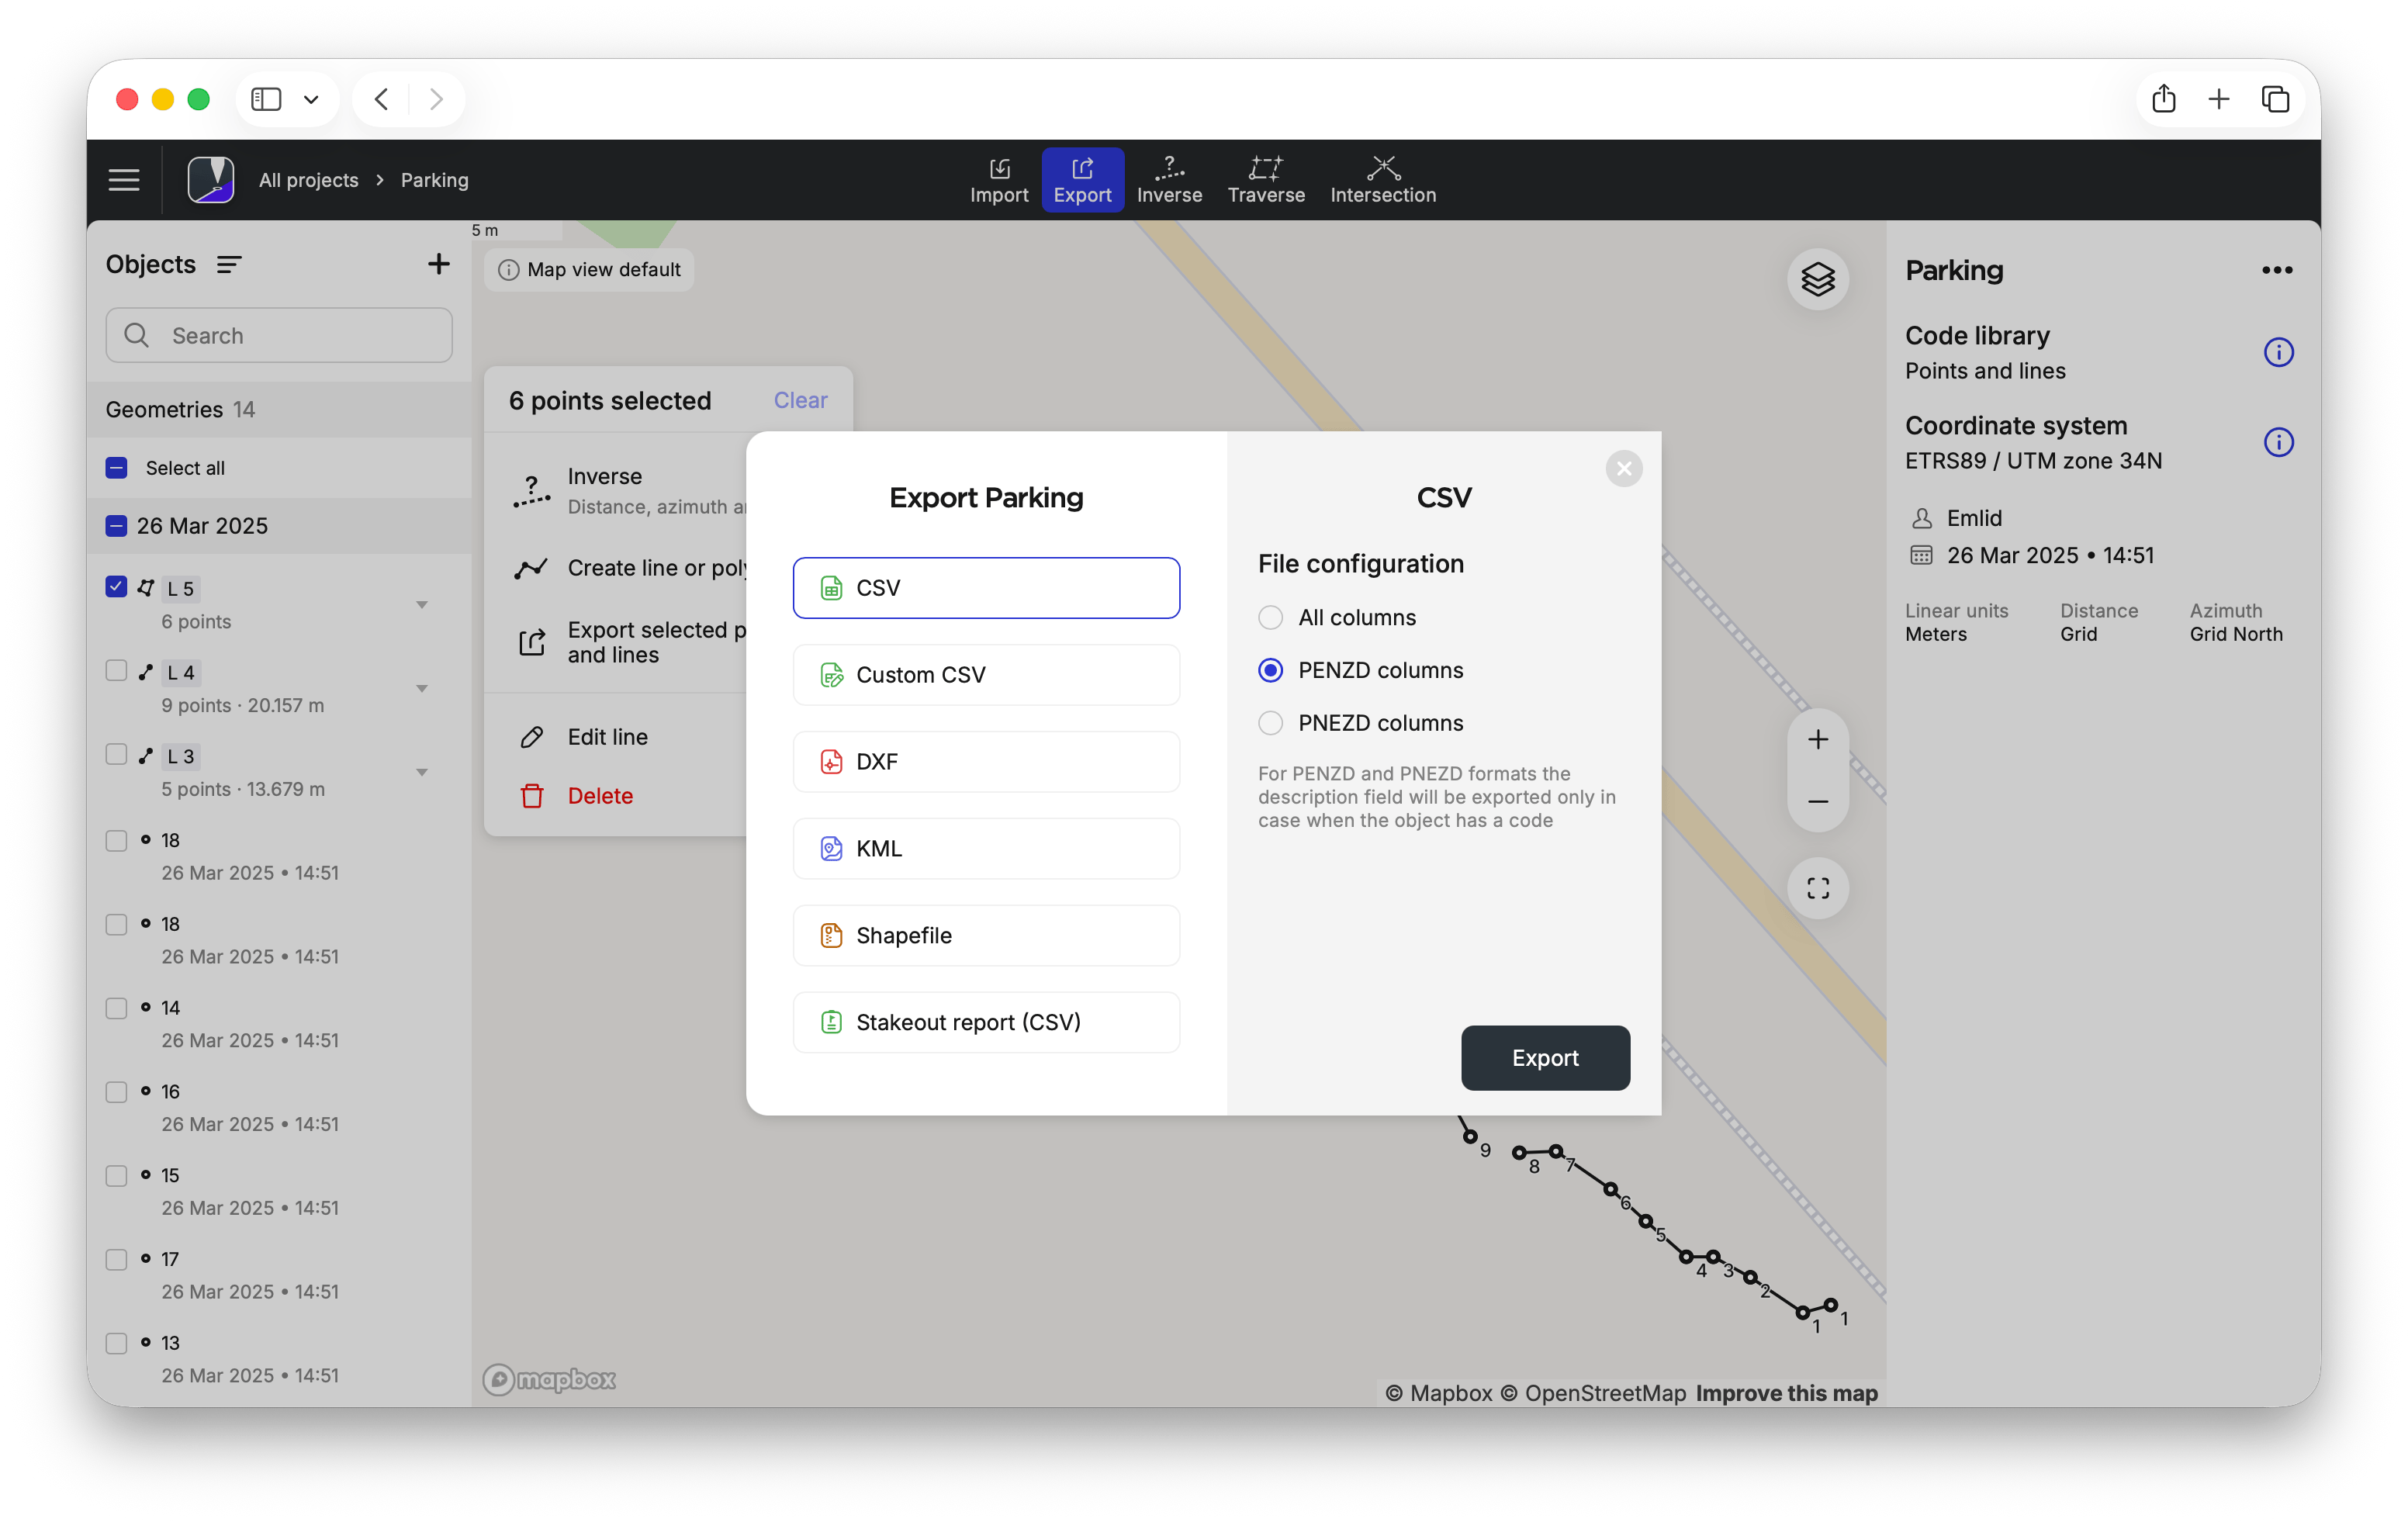
Choose the format and adjust the file configuration if necessary.
-
Click Export. The generated file will contain only the selected geometries.
Now your project’s data is ready for further use in third-party GIS software.