Prepare stakeout reports
Unlock the full set of features for topo, set-out, and as-built surveys
This option is only available for projects in a local coordinate system.
This guide shows how to stake out points, fix their actual position, and get the stakeout report with the deltas using Emlid Flow.
Overview
Stakeout is a survey tool in Emlid Flow that allows you to find the actual ground position of points for setting out the project. While staking out the points you can fix their actual position to get the stakeout report with deltas. The stakeout report contains information on the design points and coordinates deltas for the staked points.
Workflow
Staking out points
The workflow is shown using the By direction mode.
To collect points in the stakeout mode in the Emlid Flow app, follow these steps:
-
Open the Emlid Flow app and connect to your Reach.
-
Go to the Survey tab and open or import a project.
tipTo learn how to import a project, check the Create or import project guide.
-
Tap the List button to choose the point you want to stake out. You can also select the point directly on the map.
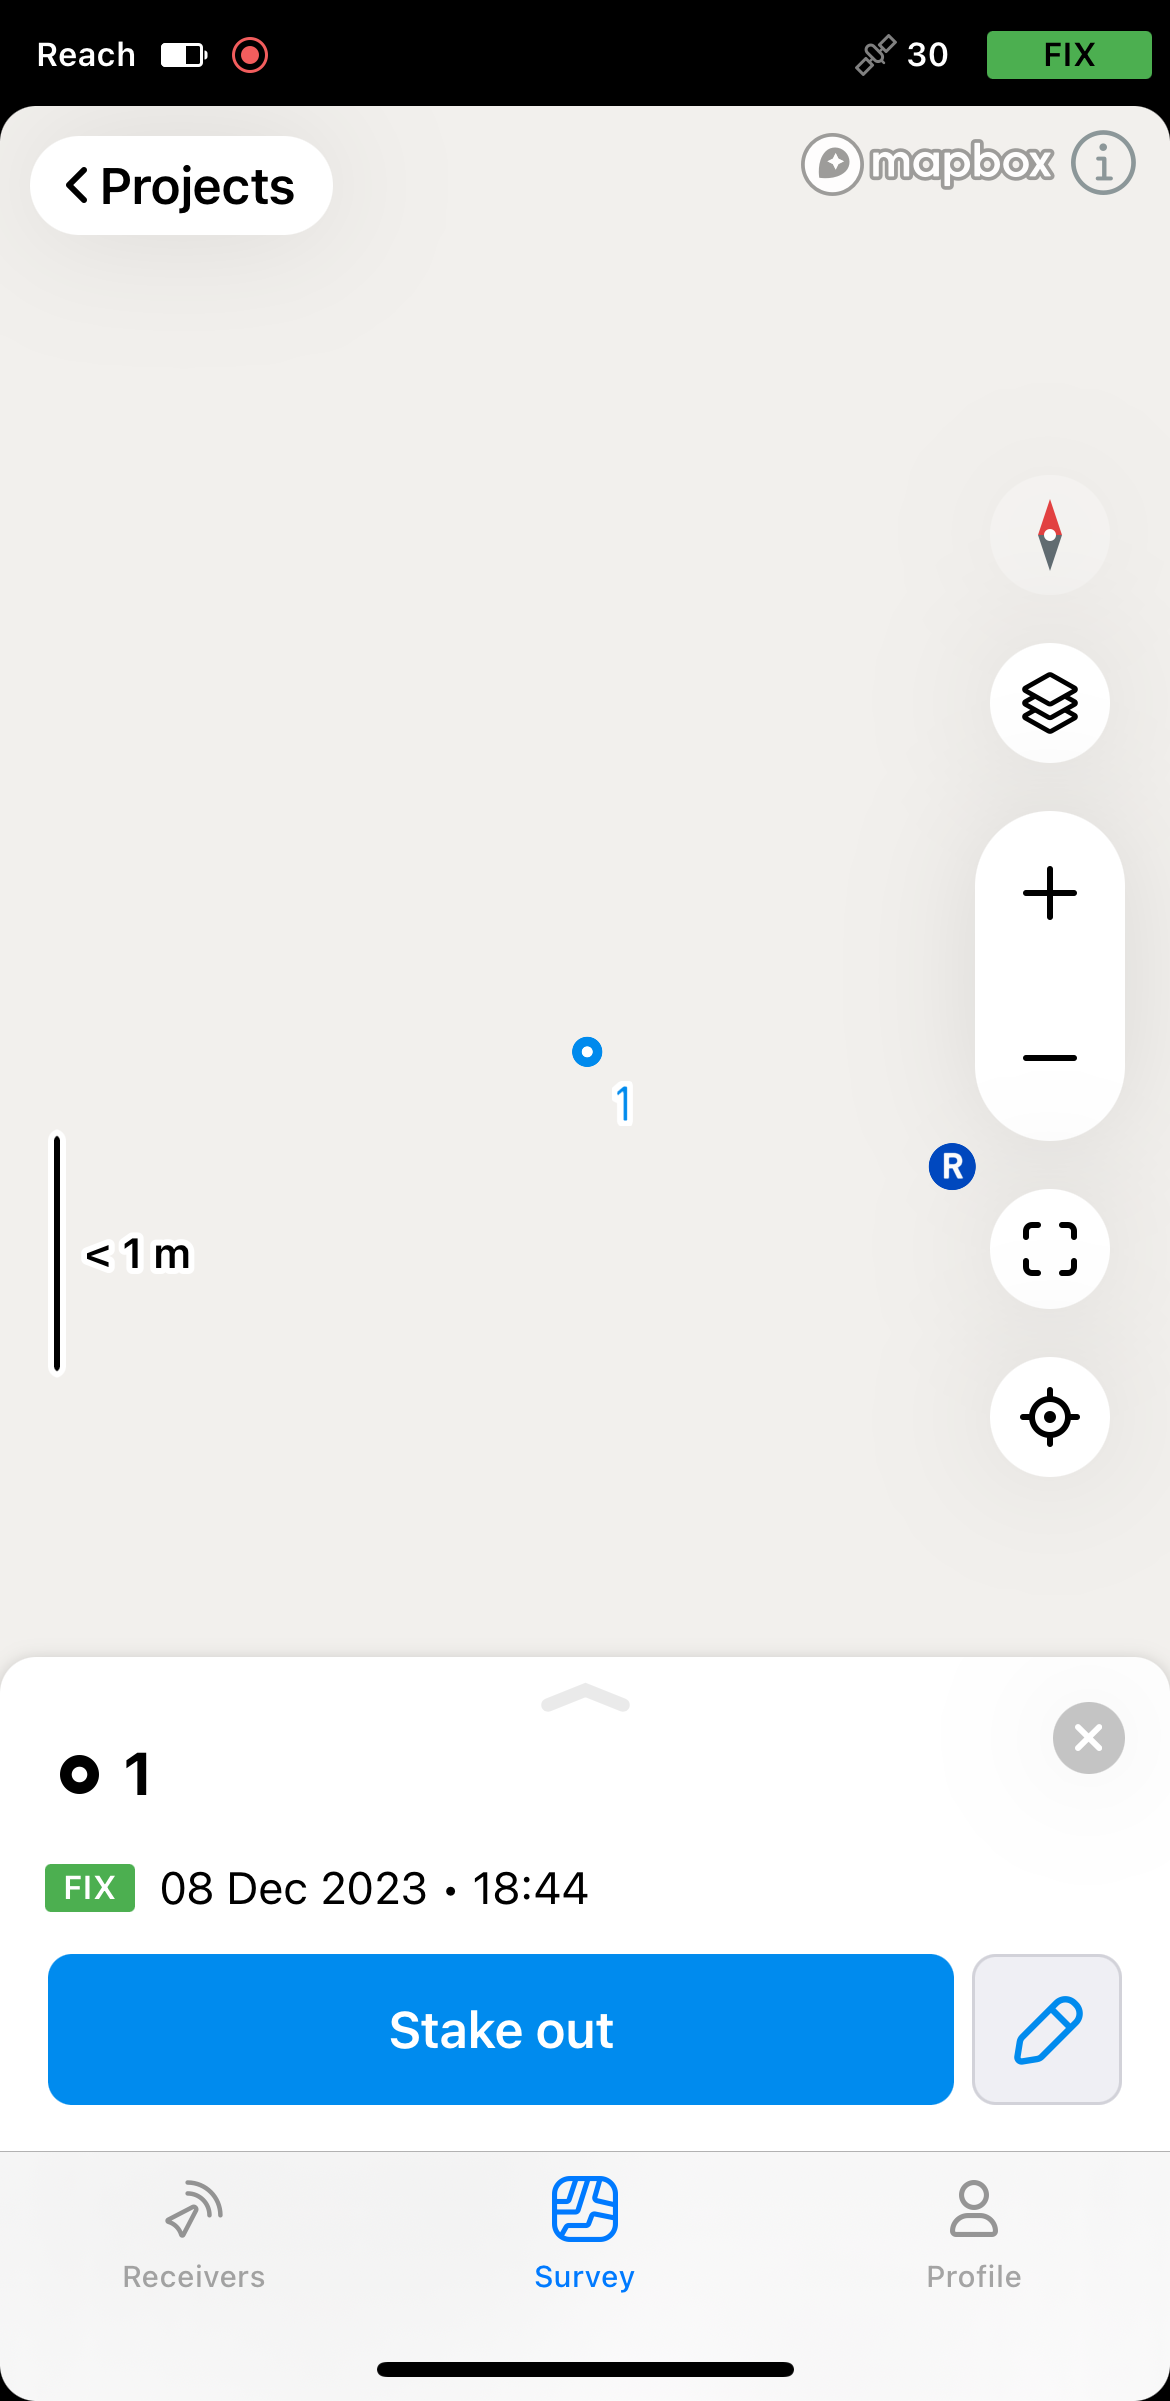
-
Tap the Stake out button.
-
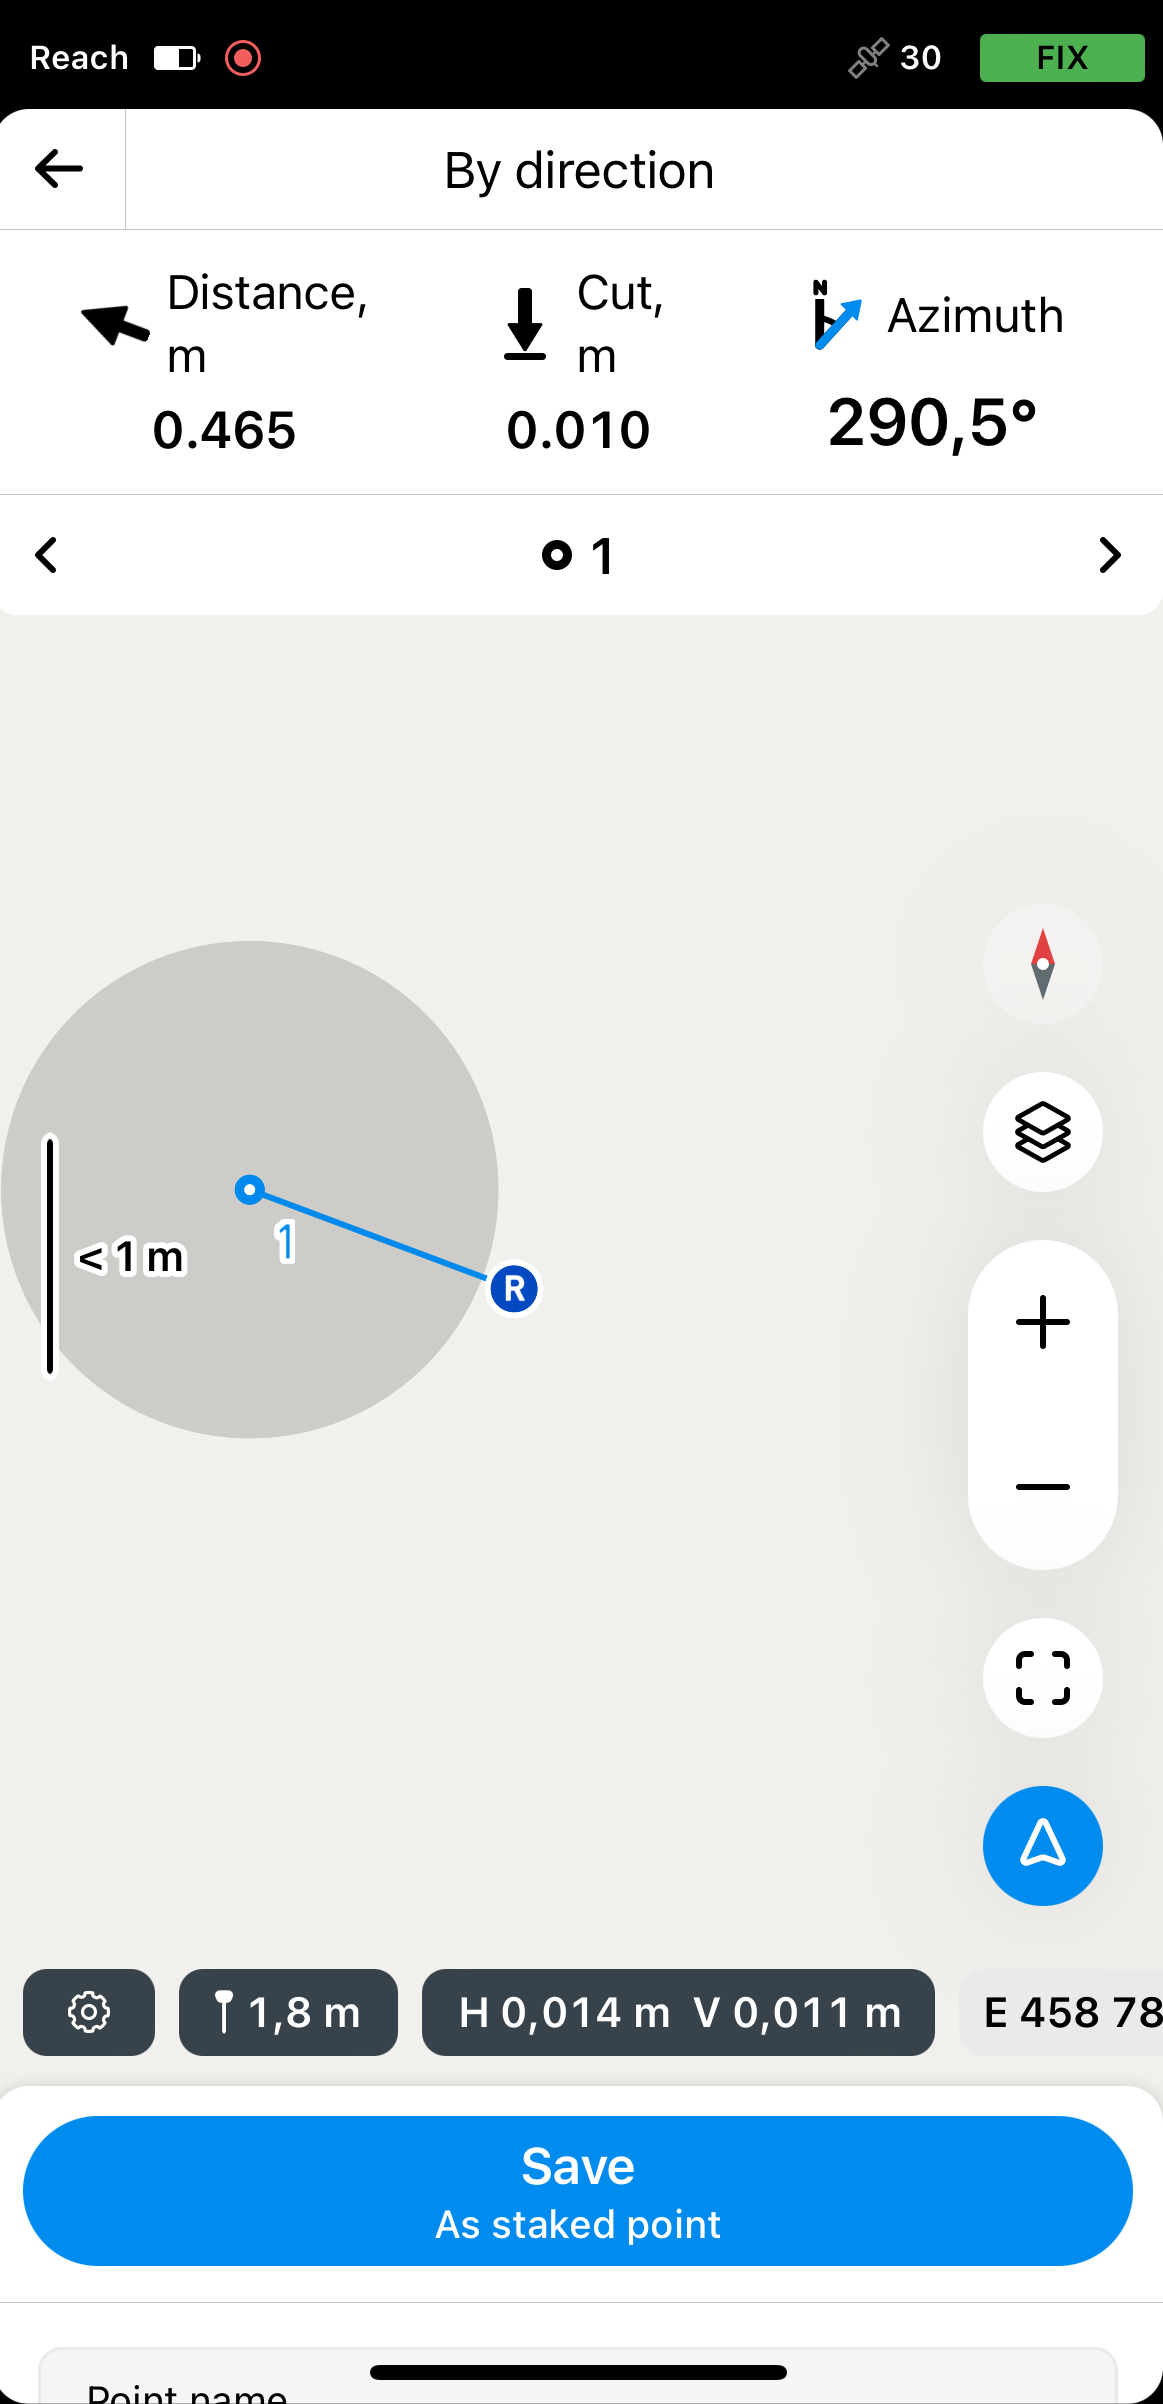
Move your Reach towards the point. When you get closer, the map zooms in automatically.
noteThe direction arrows on the stakeout plate can help you navigate to the point.
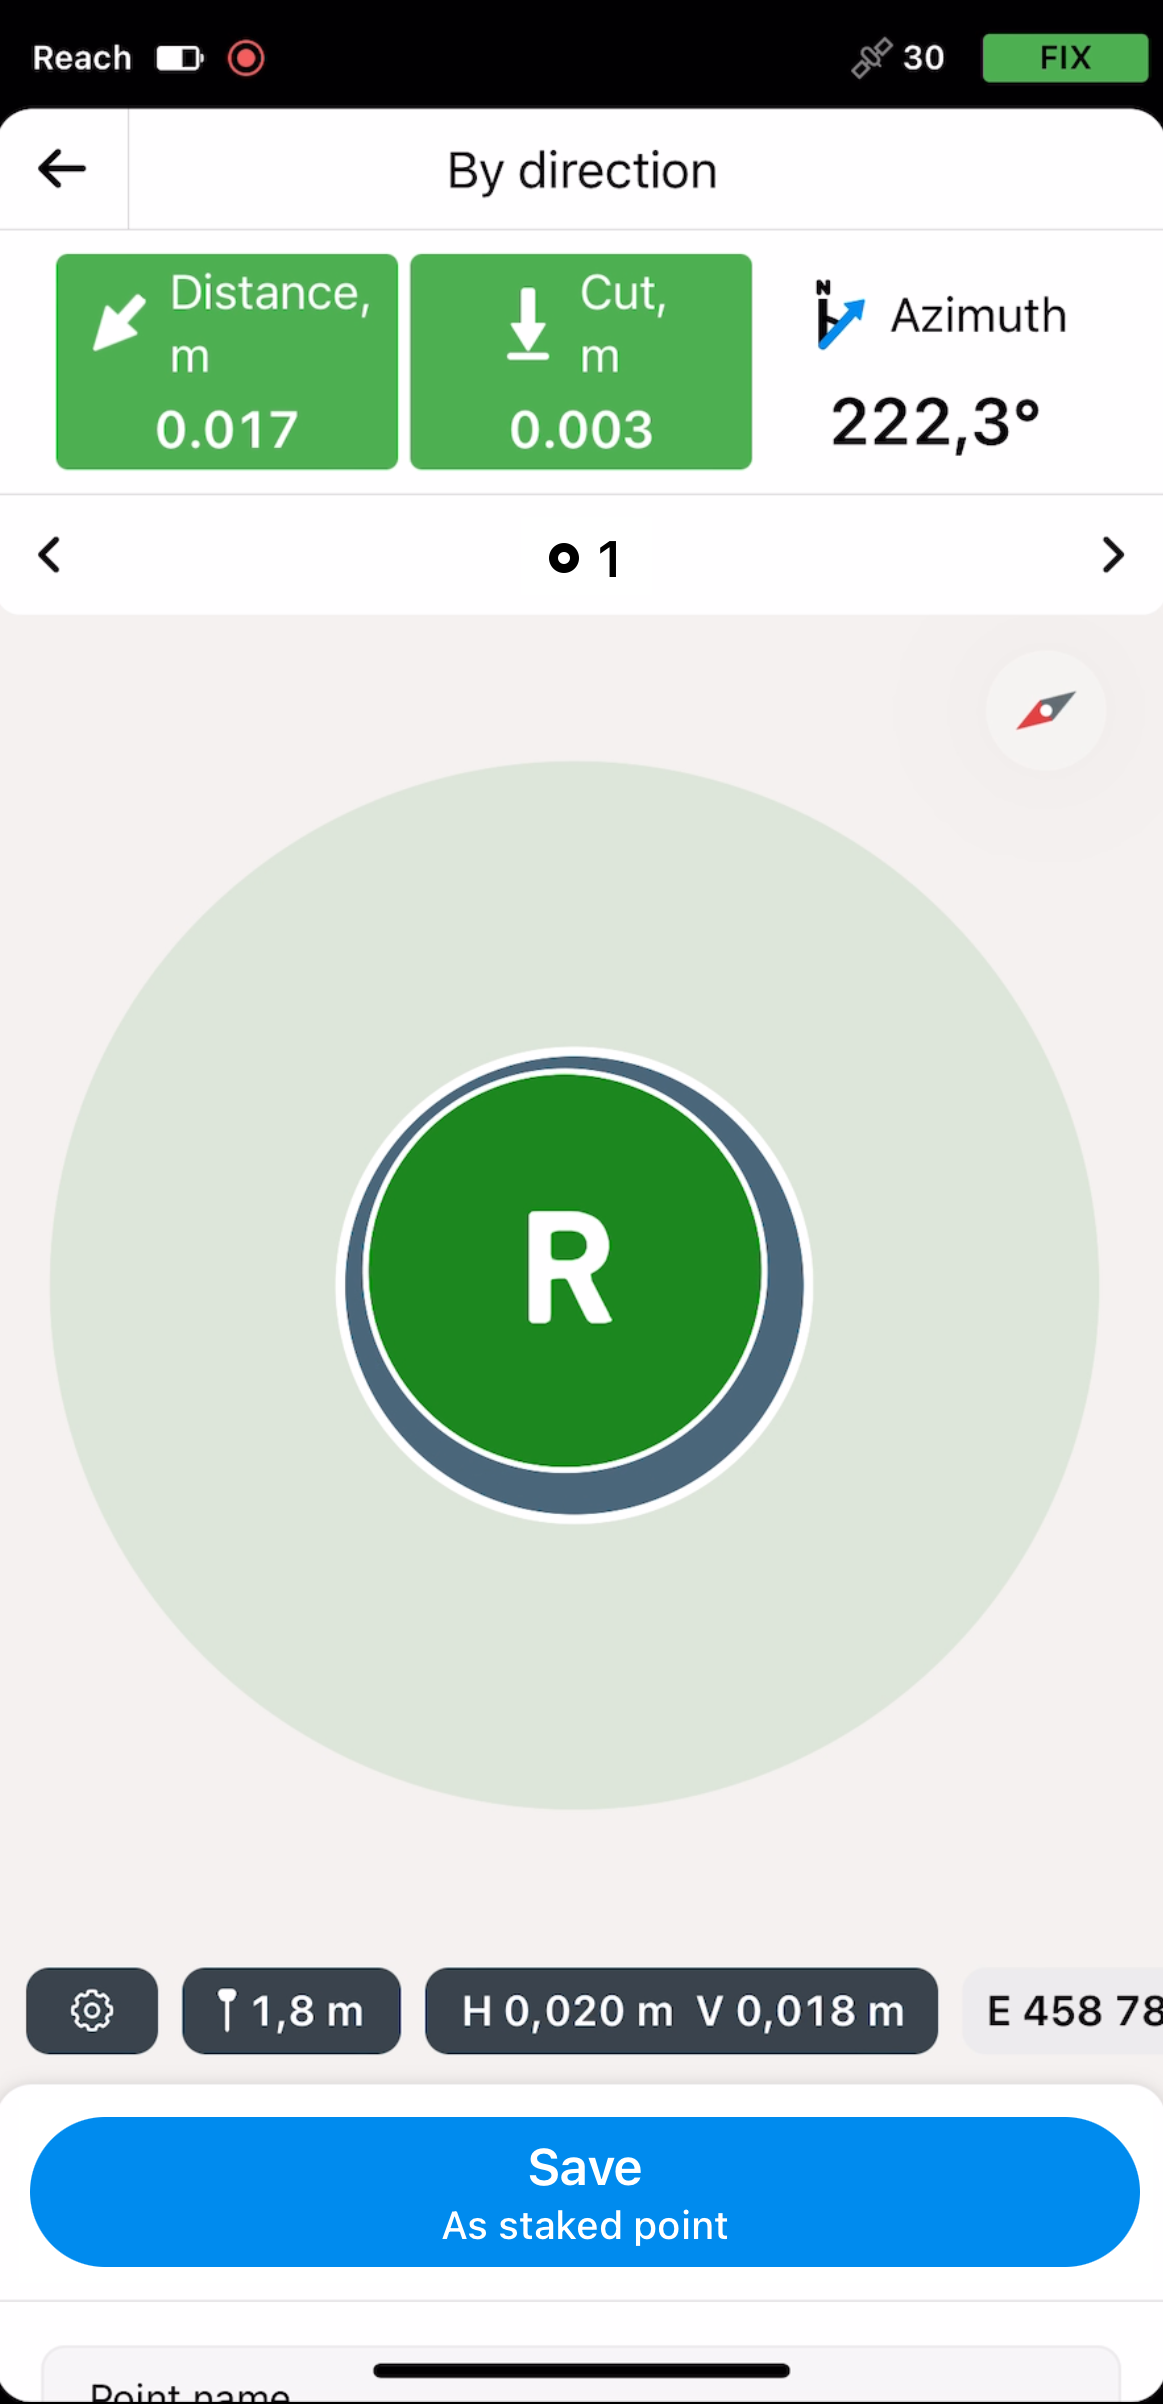
Wait until the bull’s-eye turns green showing that your Reach is less than 2.5 cm (0.08 ft) away from the point you are staking out.
 note
noteEnsure the pole isn’t tilted if you’re using Reach receiver model other than Reach RS3.
-
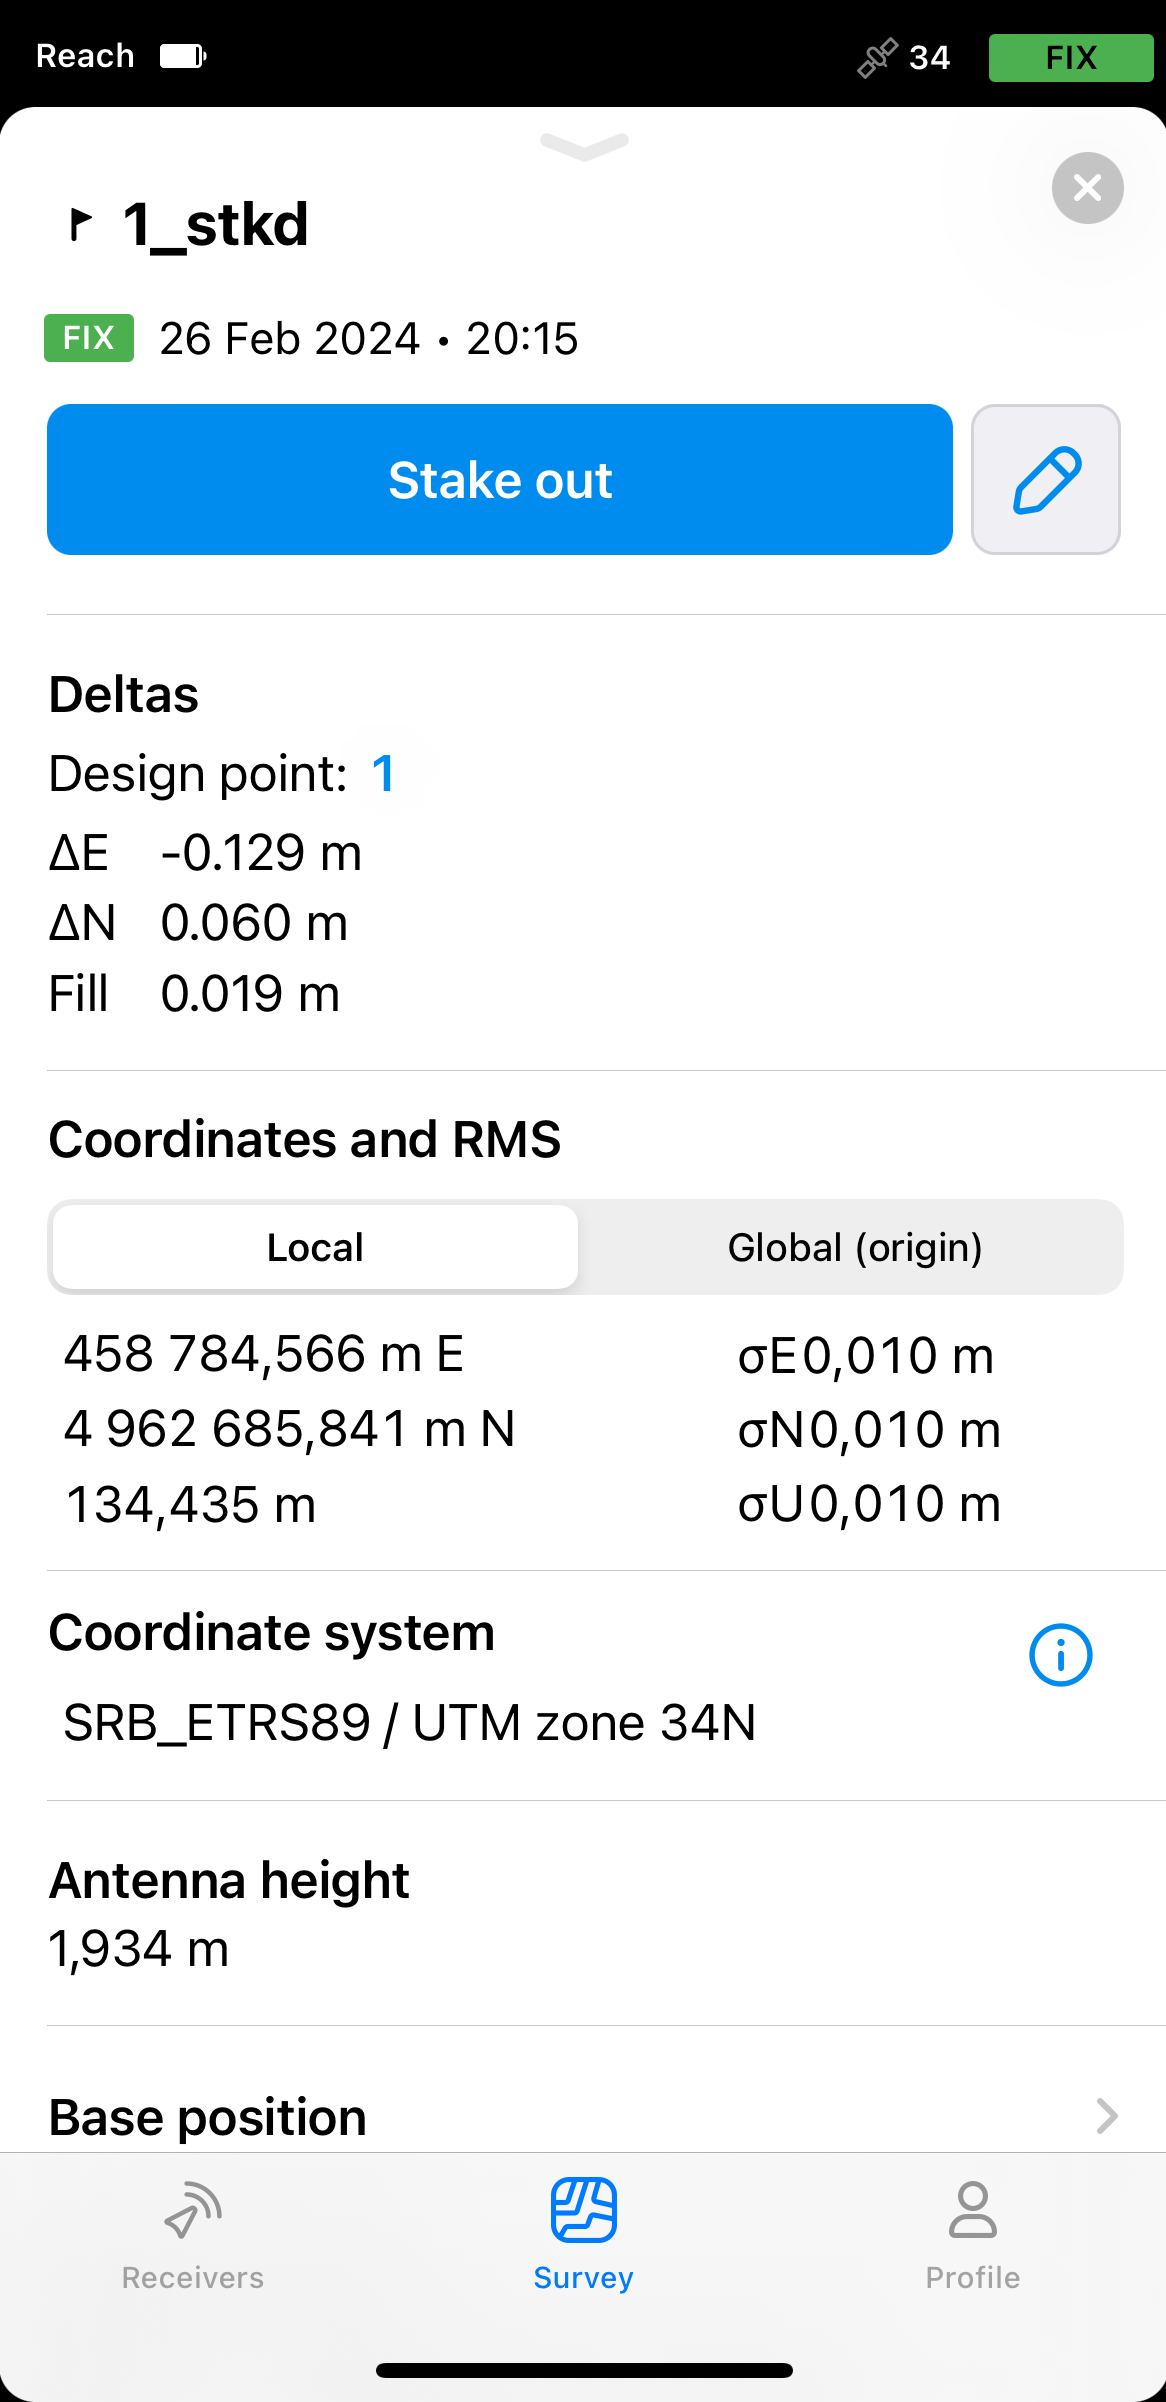
Tap Save as staked point to fix the actual position with deltas for future stakeout reports. The staked point will get its design point name with a ‘_stkd’ suffix. You can enter a different name for this point or change it at any time.
The staked point will be saved in your project and marked with a flag. The design point that has a stake will be highlighted in cyan. These points will appear in the list of objects and on the map as follows:
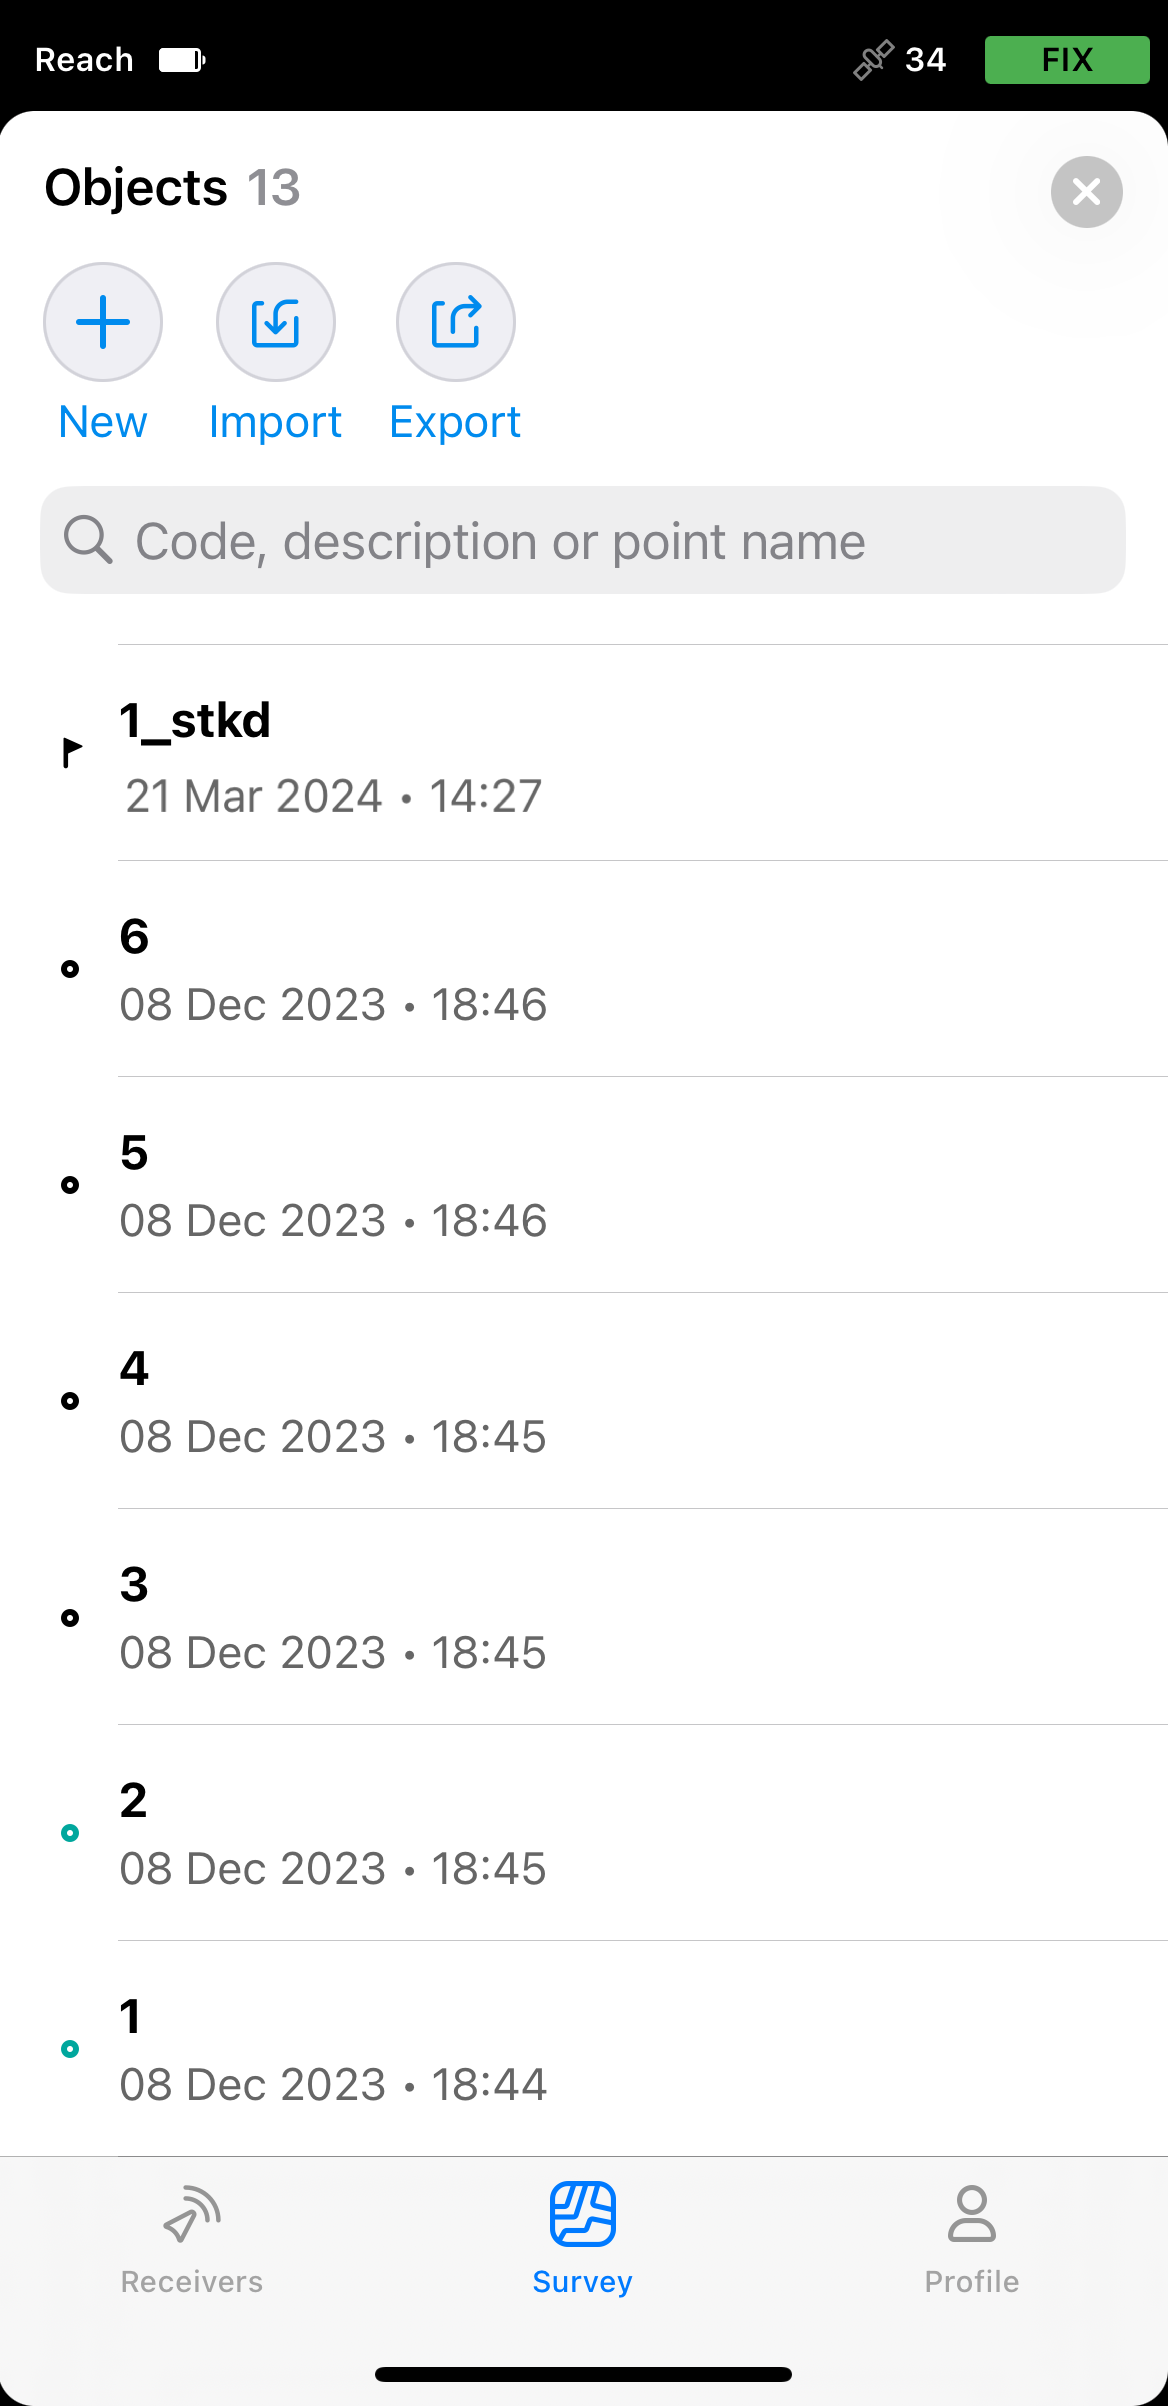
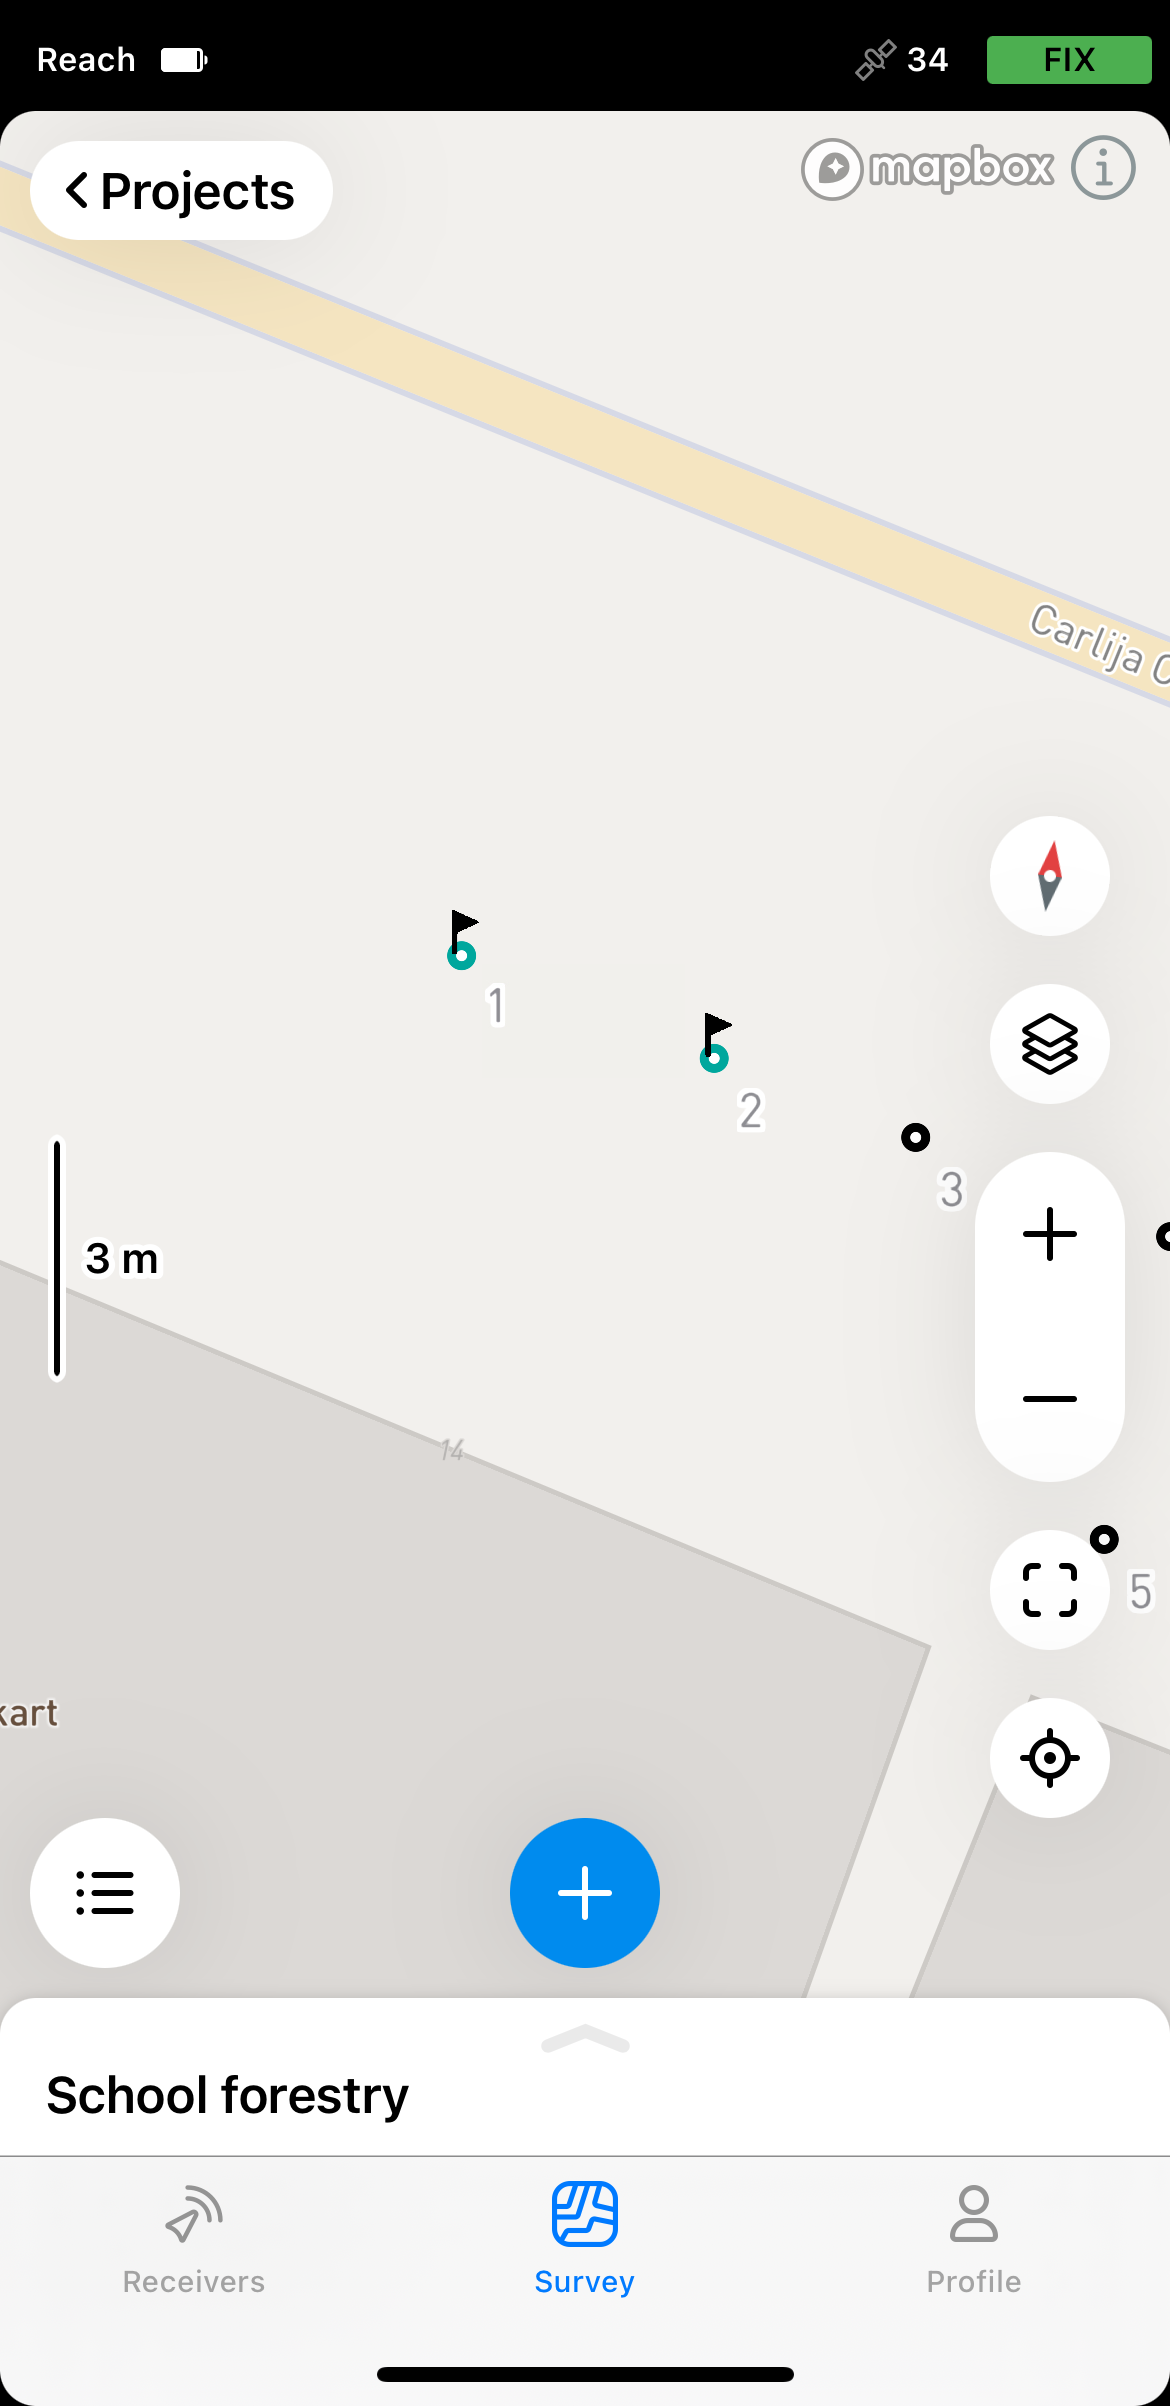
To see the deltas, the coordinate differences between the design and the staked point, tap the staked point.
-
Switch to another point by tapping the arrow buttons in the stakeout navigation area.
-
Tap the back button on the Stakeout plate to finish staking out the point.
noteYou can also find all staked points and their deltas in the Emlid Flow 360 app. This makes it more convenient to check the quality before exporting the report.
Now you can export the CSV file with the stakeout report for the staked points.
Preparing stakeout report
You can export the pairs of the design and staked points with the coordinate deltas directly from the stakeout mode as a stakeout report in the CSV format. It will contain the following info:
- Design point
- ENU coordinates
- RMS
- Solution
- Staked point
- Staked ENU coordinates
- ΔE, ΔN, ΔU
- Staked RMS
- Staked solution
To export the stakeout report, follow these steps in Emlid Flow:
-
Go to the list of objects.
-
Tap the Export button.
-
Select the Stakeout report (CSV).
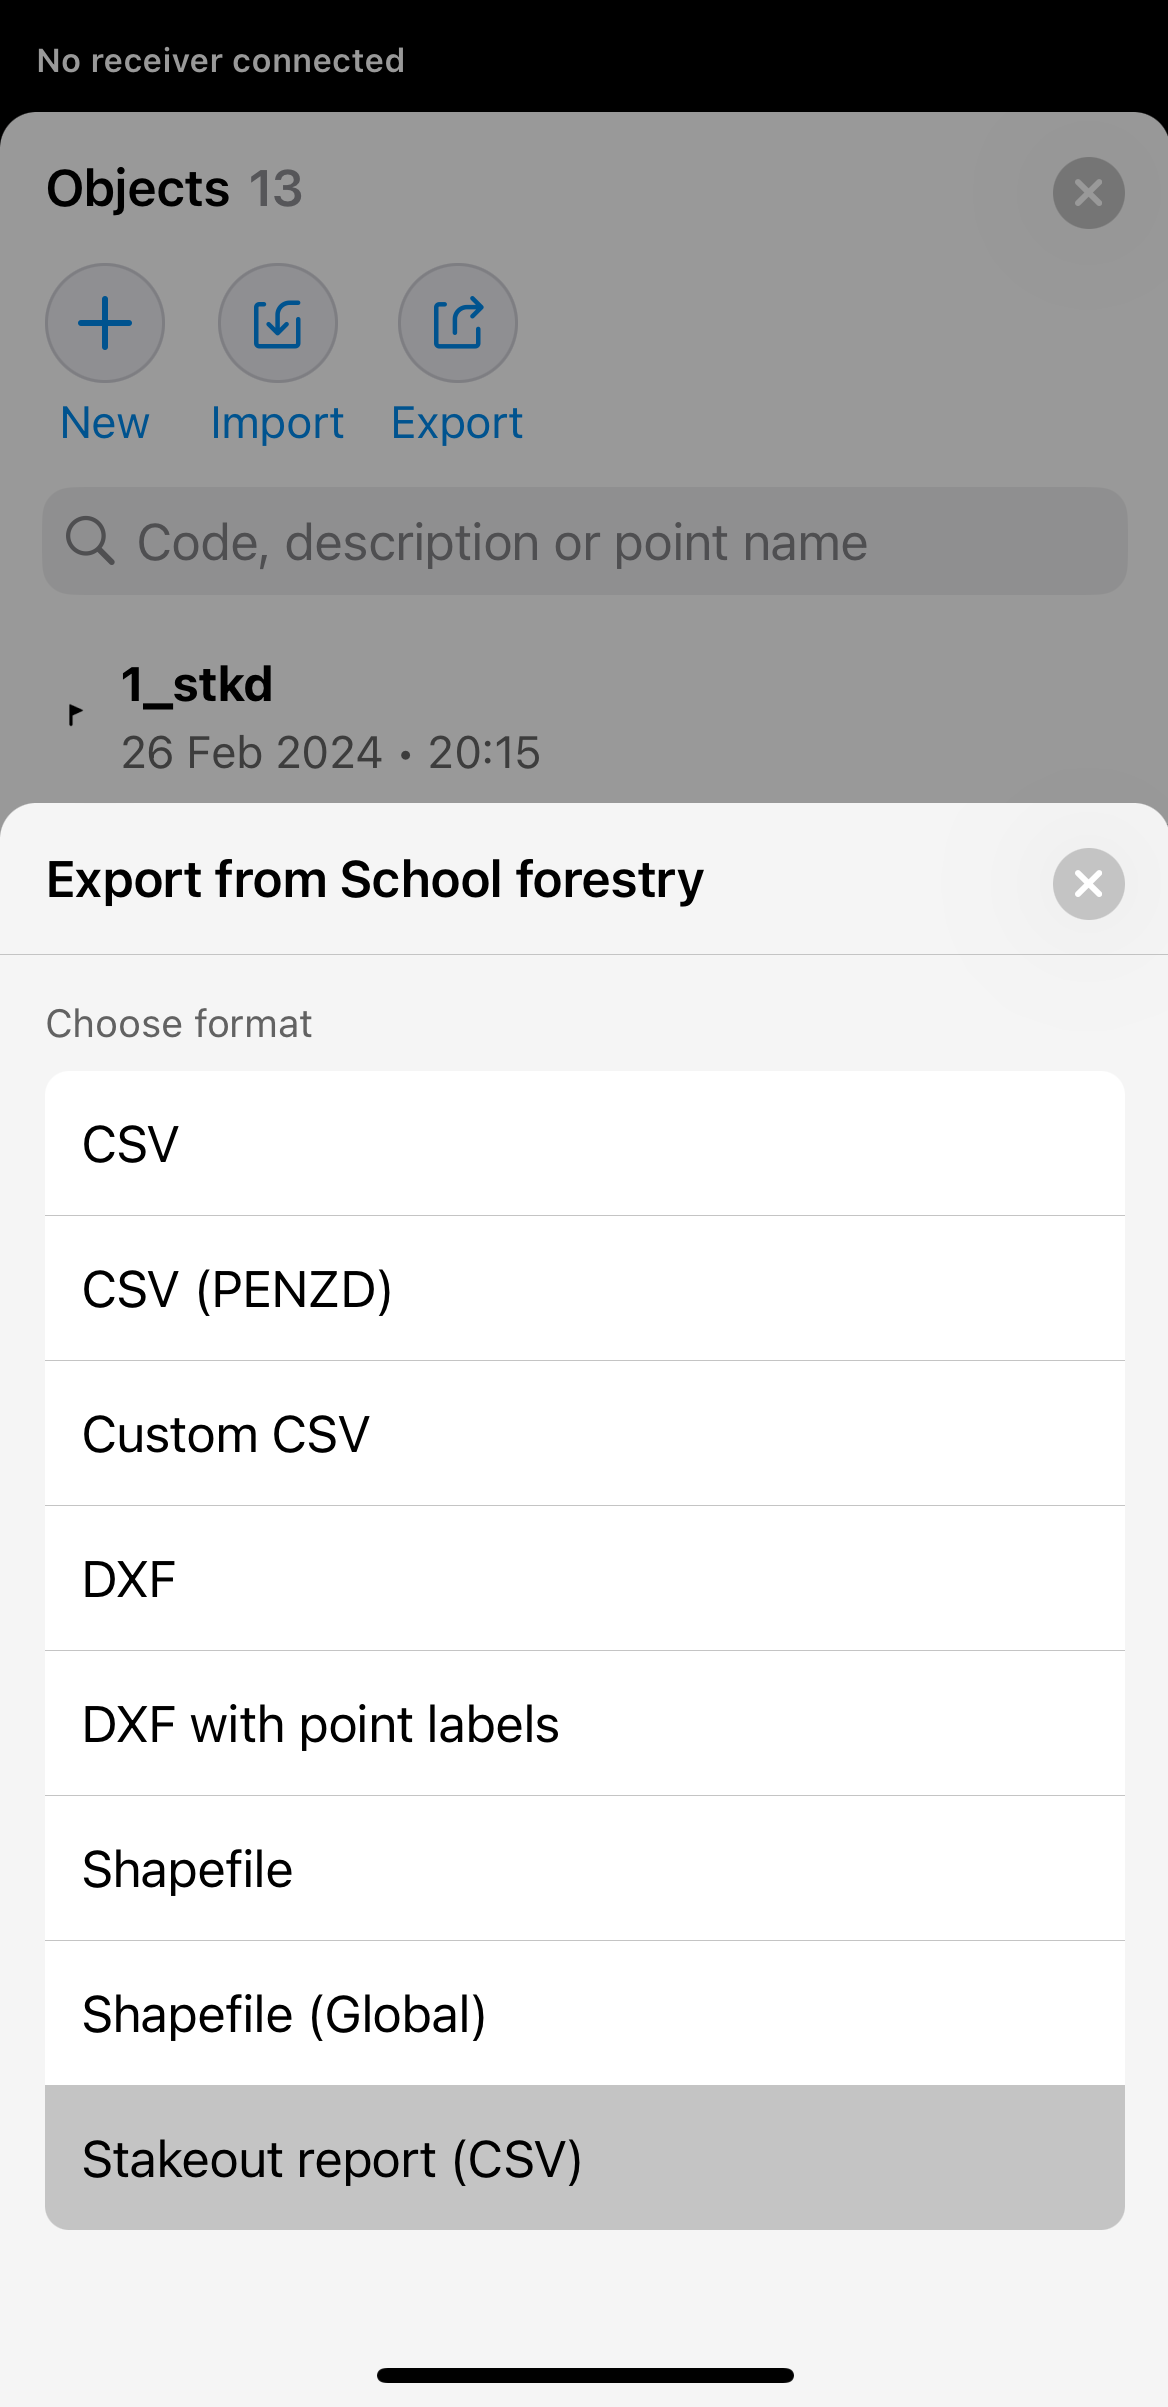
Wait until Emlid Flow finishes to export your project and saves the file.