How to Set Up Antenna Height for PPK
This guide explains how to set up the antenna height on your base and rover to ensure accurate elevations in PPK.
Overview
Reach receivers calculate positions at the antenna phase center (APC). The APC is the effective point where GNSS signals are received. However, for surveying tasks, you usually need the coordinates of the point on the ground. To get accurate ground-level coordinates, you need to enter the antenna height in Emlid Flow.
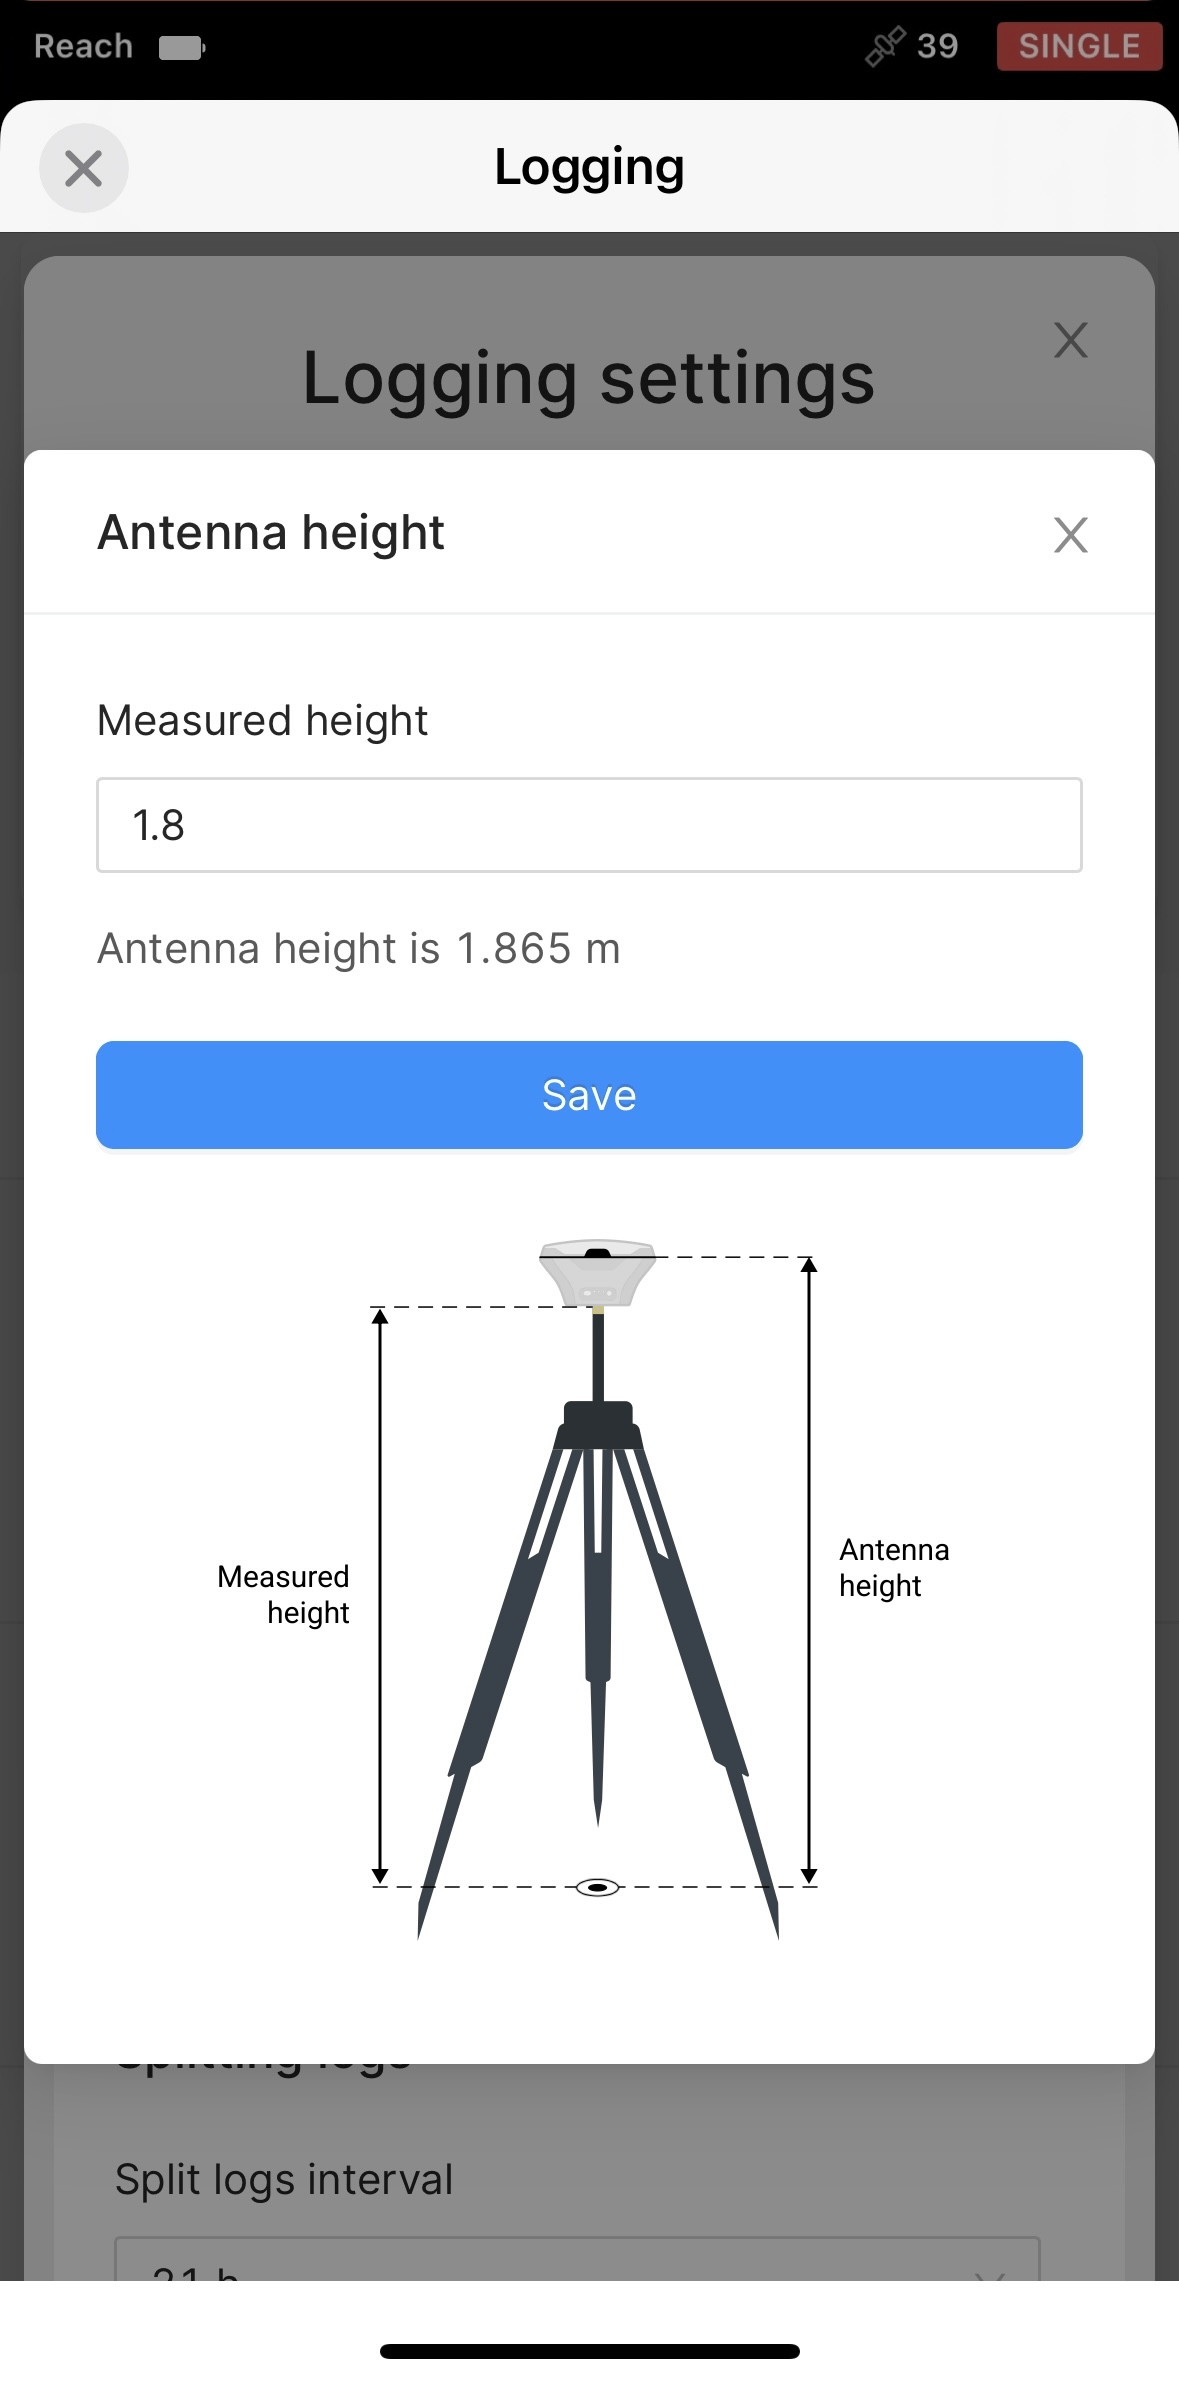
For GNSS receivers, antenna height is the distance from the mark on the ground up to the antenna phase center (APC). This height consists of two elements:
-
the distance between the mark on the ground and the center point on the bottom of the Reach, the antenna reference point (ARP),
-
the antenna offset between the ARP and APC.

In Emlid Flow, you only need to enter the height to the ARP, which is the height to the bottom of the receiver. The app automatically adds the antenna offset, which depends on your Reach model. Also, when you set the antenna height in one app section, it's updated everywhere else. This keeps the values consistent across the workflow.
To automatically sync antenna height across sections, ensure your receiver is running firmware version 32 or later. In earlier versions, you’ll need to update the height manually in each section.
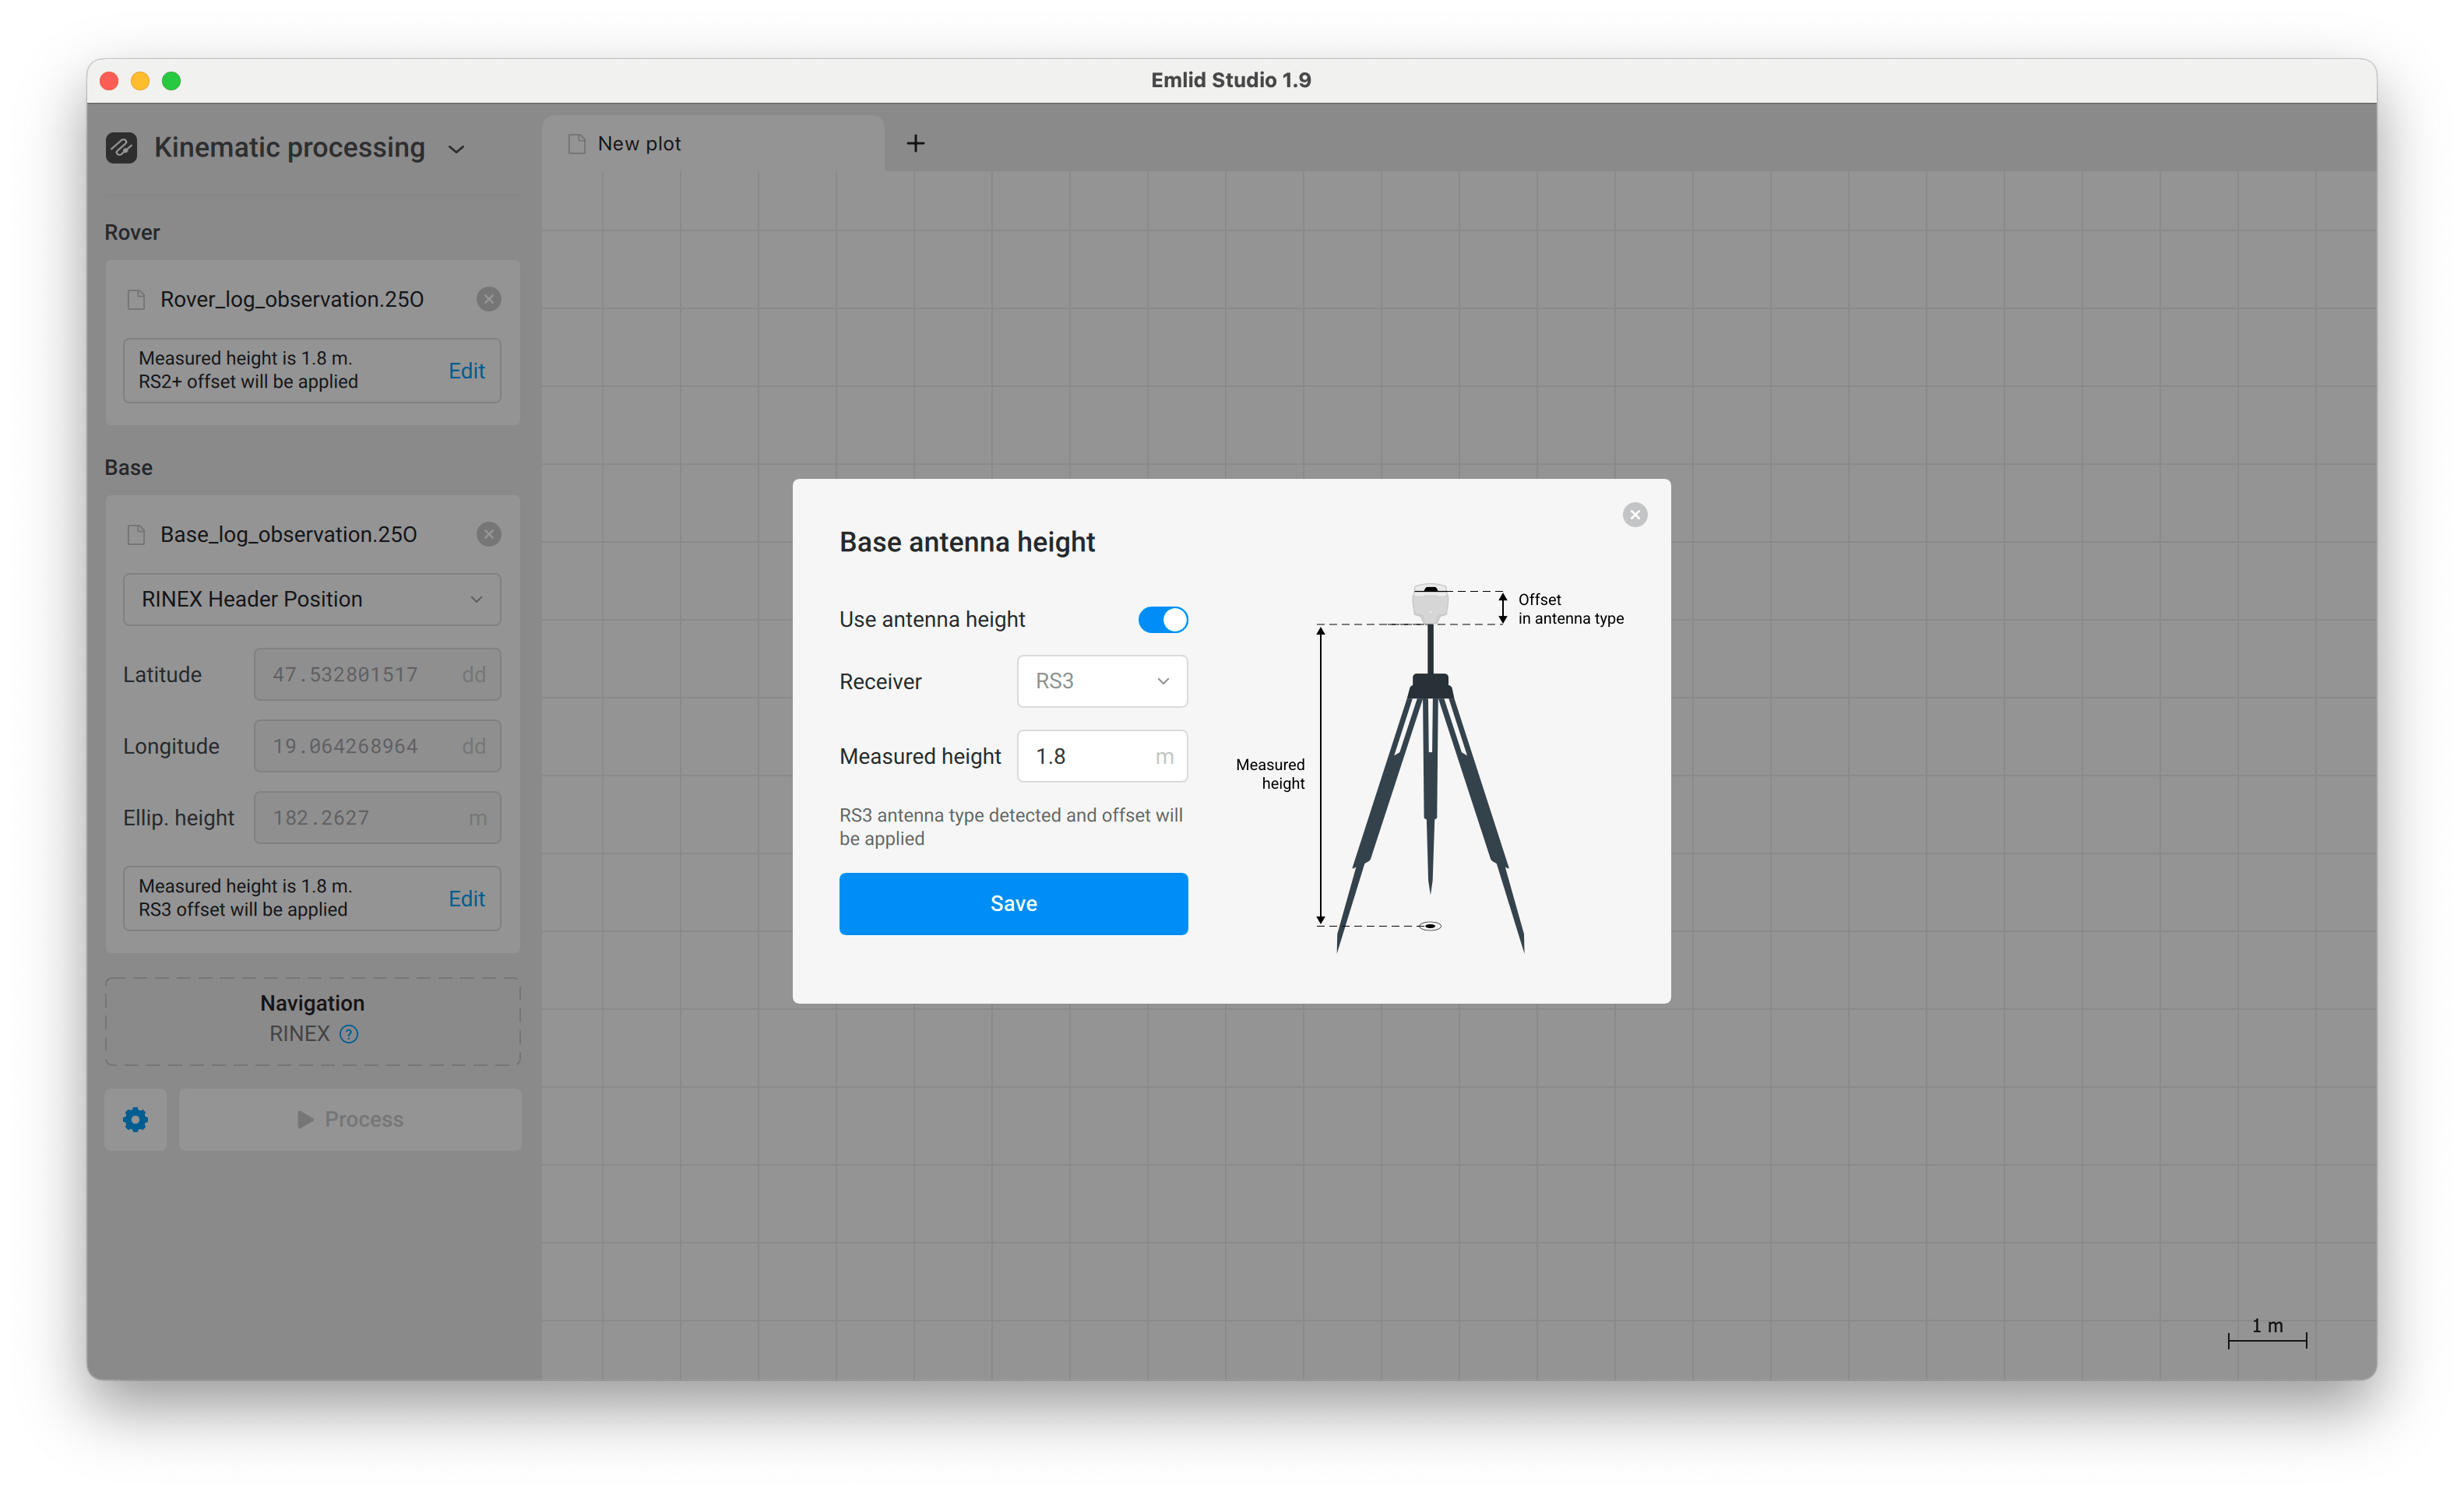
For PPK, your Reach device records logs in RINEX format, which includes the antenna height in the observation file header. Emlid Studio reads this value during post-processing and uses it to calculate accurate ground positions. If needed, you can review and adjust both the base and the rover antenna height directly in Emlid Studio.
This step-by-step guide below refers to both the base and the rover. For this workflow, we use Kinematic processing, however, this applies for the Stop & Go option, as well as to PPK geotagging and geotagging for RTK backup.
Stop & Go with Emlid Flow allows you to improve the positions of points collected without a real-time correction link between the base and the rover. This may happen due to the insufficient line of sight, absence of an internet connection, unavailability of the NTRIP service, etc. This method also serves as a reliable RTK backup and supports PPK geotagging for GCP collection. To process your data in Emlid Studio, you’ll need the RINEX logs from both the base and rover, a navigation file, and a CSV exported from Emlid Flow.
Workflow
-
Open the Emlid Flow app and connect to your receiver.
-
In the Receivers tab, tap Logging.
-
Go to the Recorded Logs and Settings tab and tap the blue gear button.

-
Under the Info for RINEX header, tap Edit and set the measured height of your tripod or survey pole

-
Tap Save, then Apply, and start Logging.
You can also adjust the antenna height for both the base and rover later during data processing in Emlid Studio if needed.