Using Reach RS2/RS2+ base station for YellowScan LiDAR systems
This guide explains how to record a raw data log on your Reach RS2/RS2+ used as a base station for the YellowScan LiDAR systems for drone mapping and prepare it to get the corrected trajectory SBET file for further processing in the CloudStation software.
Overview
You can use your Reach RS2/RS2+ as a part of the YellowScan LiDAR system setup for drone mapping. During a drone flight mission, Reach RS2/RS2+ acts as a base station that records the RINEX observation data. This data, along with the raw trajectory data from the drone, is used to obtain a corrected flight trajectory file, SBET, in the Applanix PosPac software. The obtained SBET file is then processed together with the scanner data in the CloudStation software to get the geotagged point cloud. This guide covers only the setup of Reach RS2/RS2+ base and the recording of a RINEX observation log on it, and the further preparation of the log for processing in Applanix POSPac to ensure the generation of a corrected flight trajectory trajectory SBET file.
Workflow
To record logs on Reach RS2/RS2+ base and prepare them for further processing in the Applanix POSPac software, follow these steps:
-
In the Emlid Flow app, set up your Reach as a base. in GNSS settings, select the same satellite systems in GNSS settings that you have on your drone. Set the update rate to 1 Hz.
tipLearn more about base setup in the Placement guide.
-
Set up log recording on Reach. In Logging settings, select the RINEX format, specify the antenna height, and keep the Full rate logging interval. We recommend that you start your flight 2 minutes after you start recording the log, and trim it afterwards. This will improve the log’s quality for further processing.
tipYou can learn how to record logs on your Reach base and download them in the How to log data for PPK guide.
-
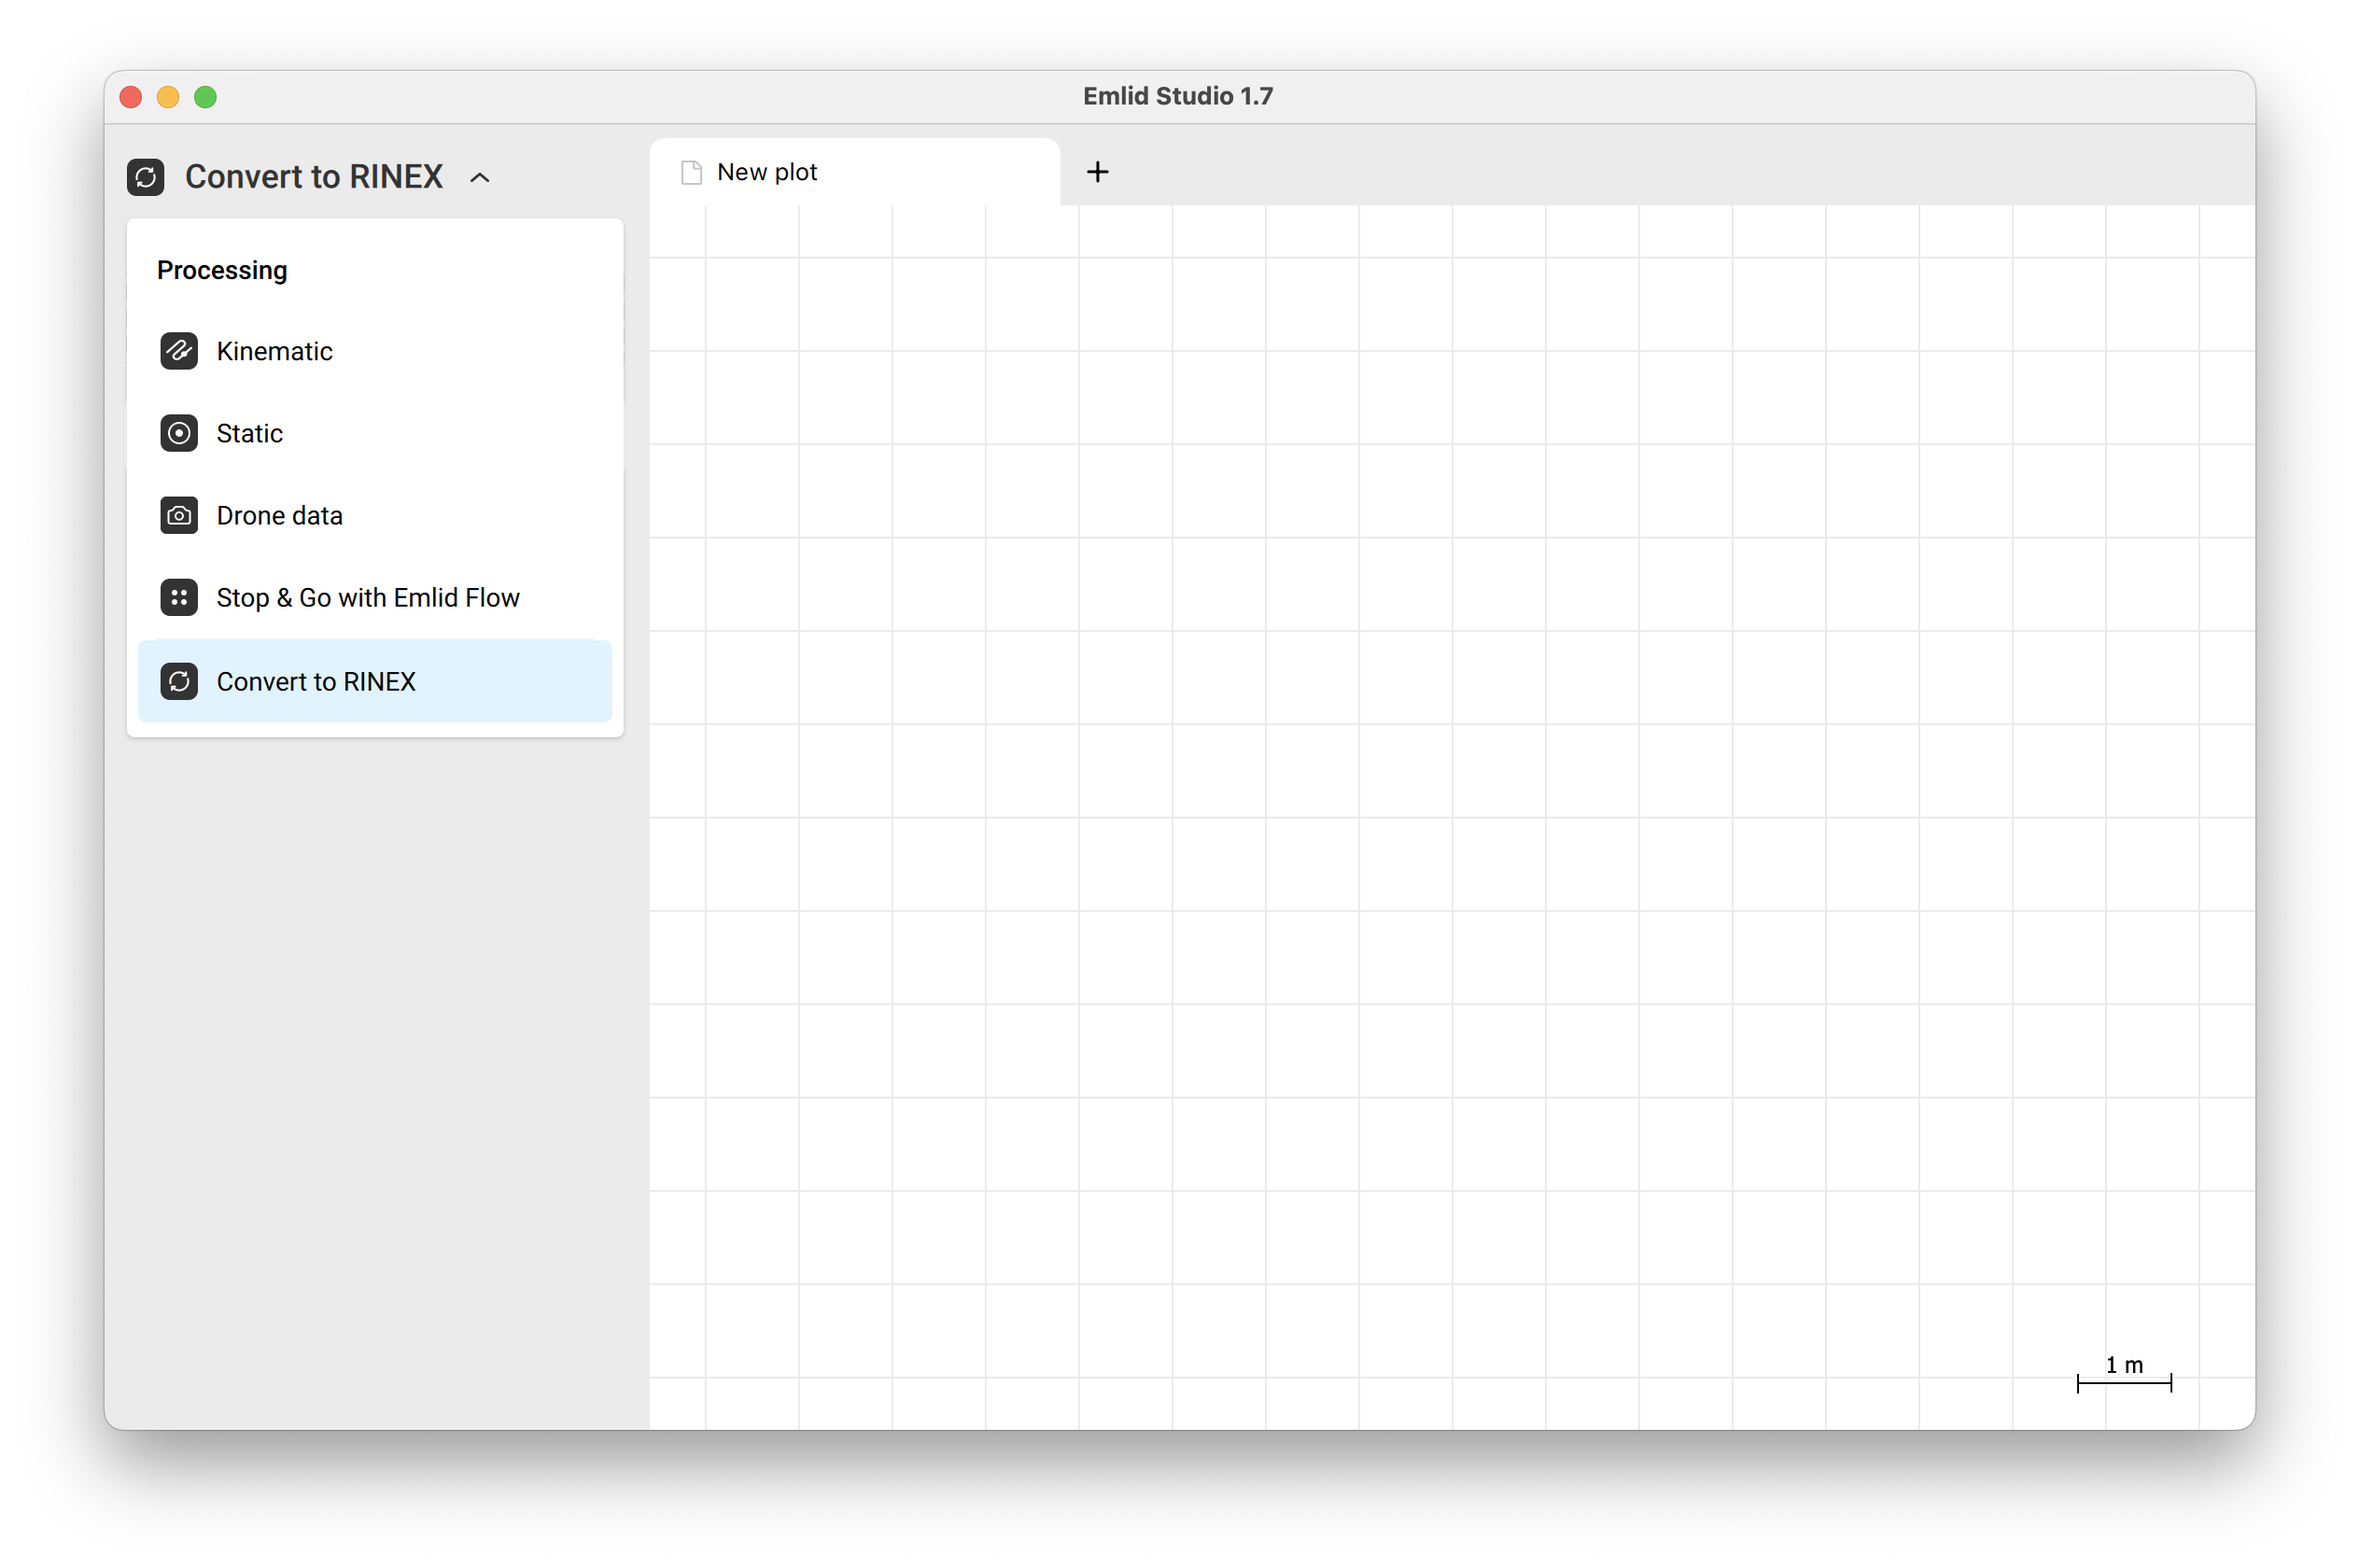
Open Emlid Studio, select Convert to RINEX.
noteLearn more about Emlid Studio and download it for free on the Emlid Studio landing page.
-
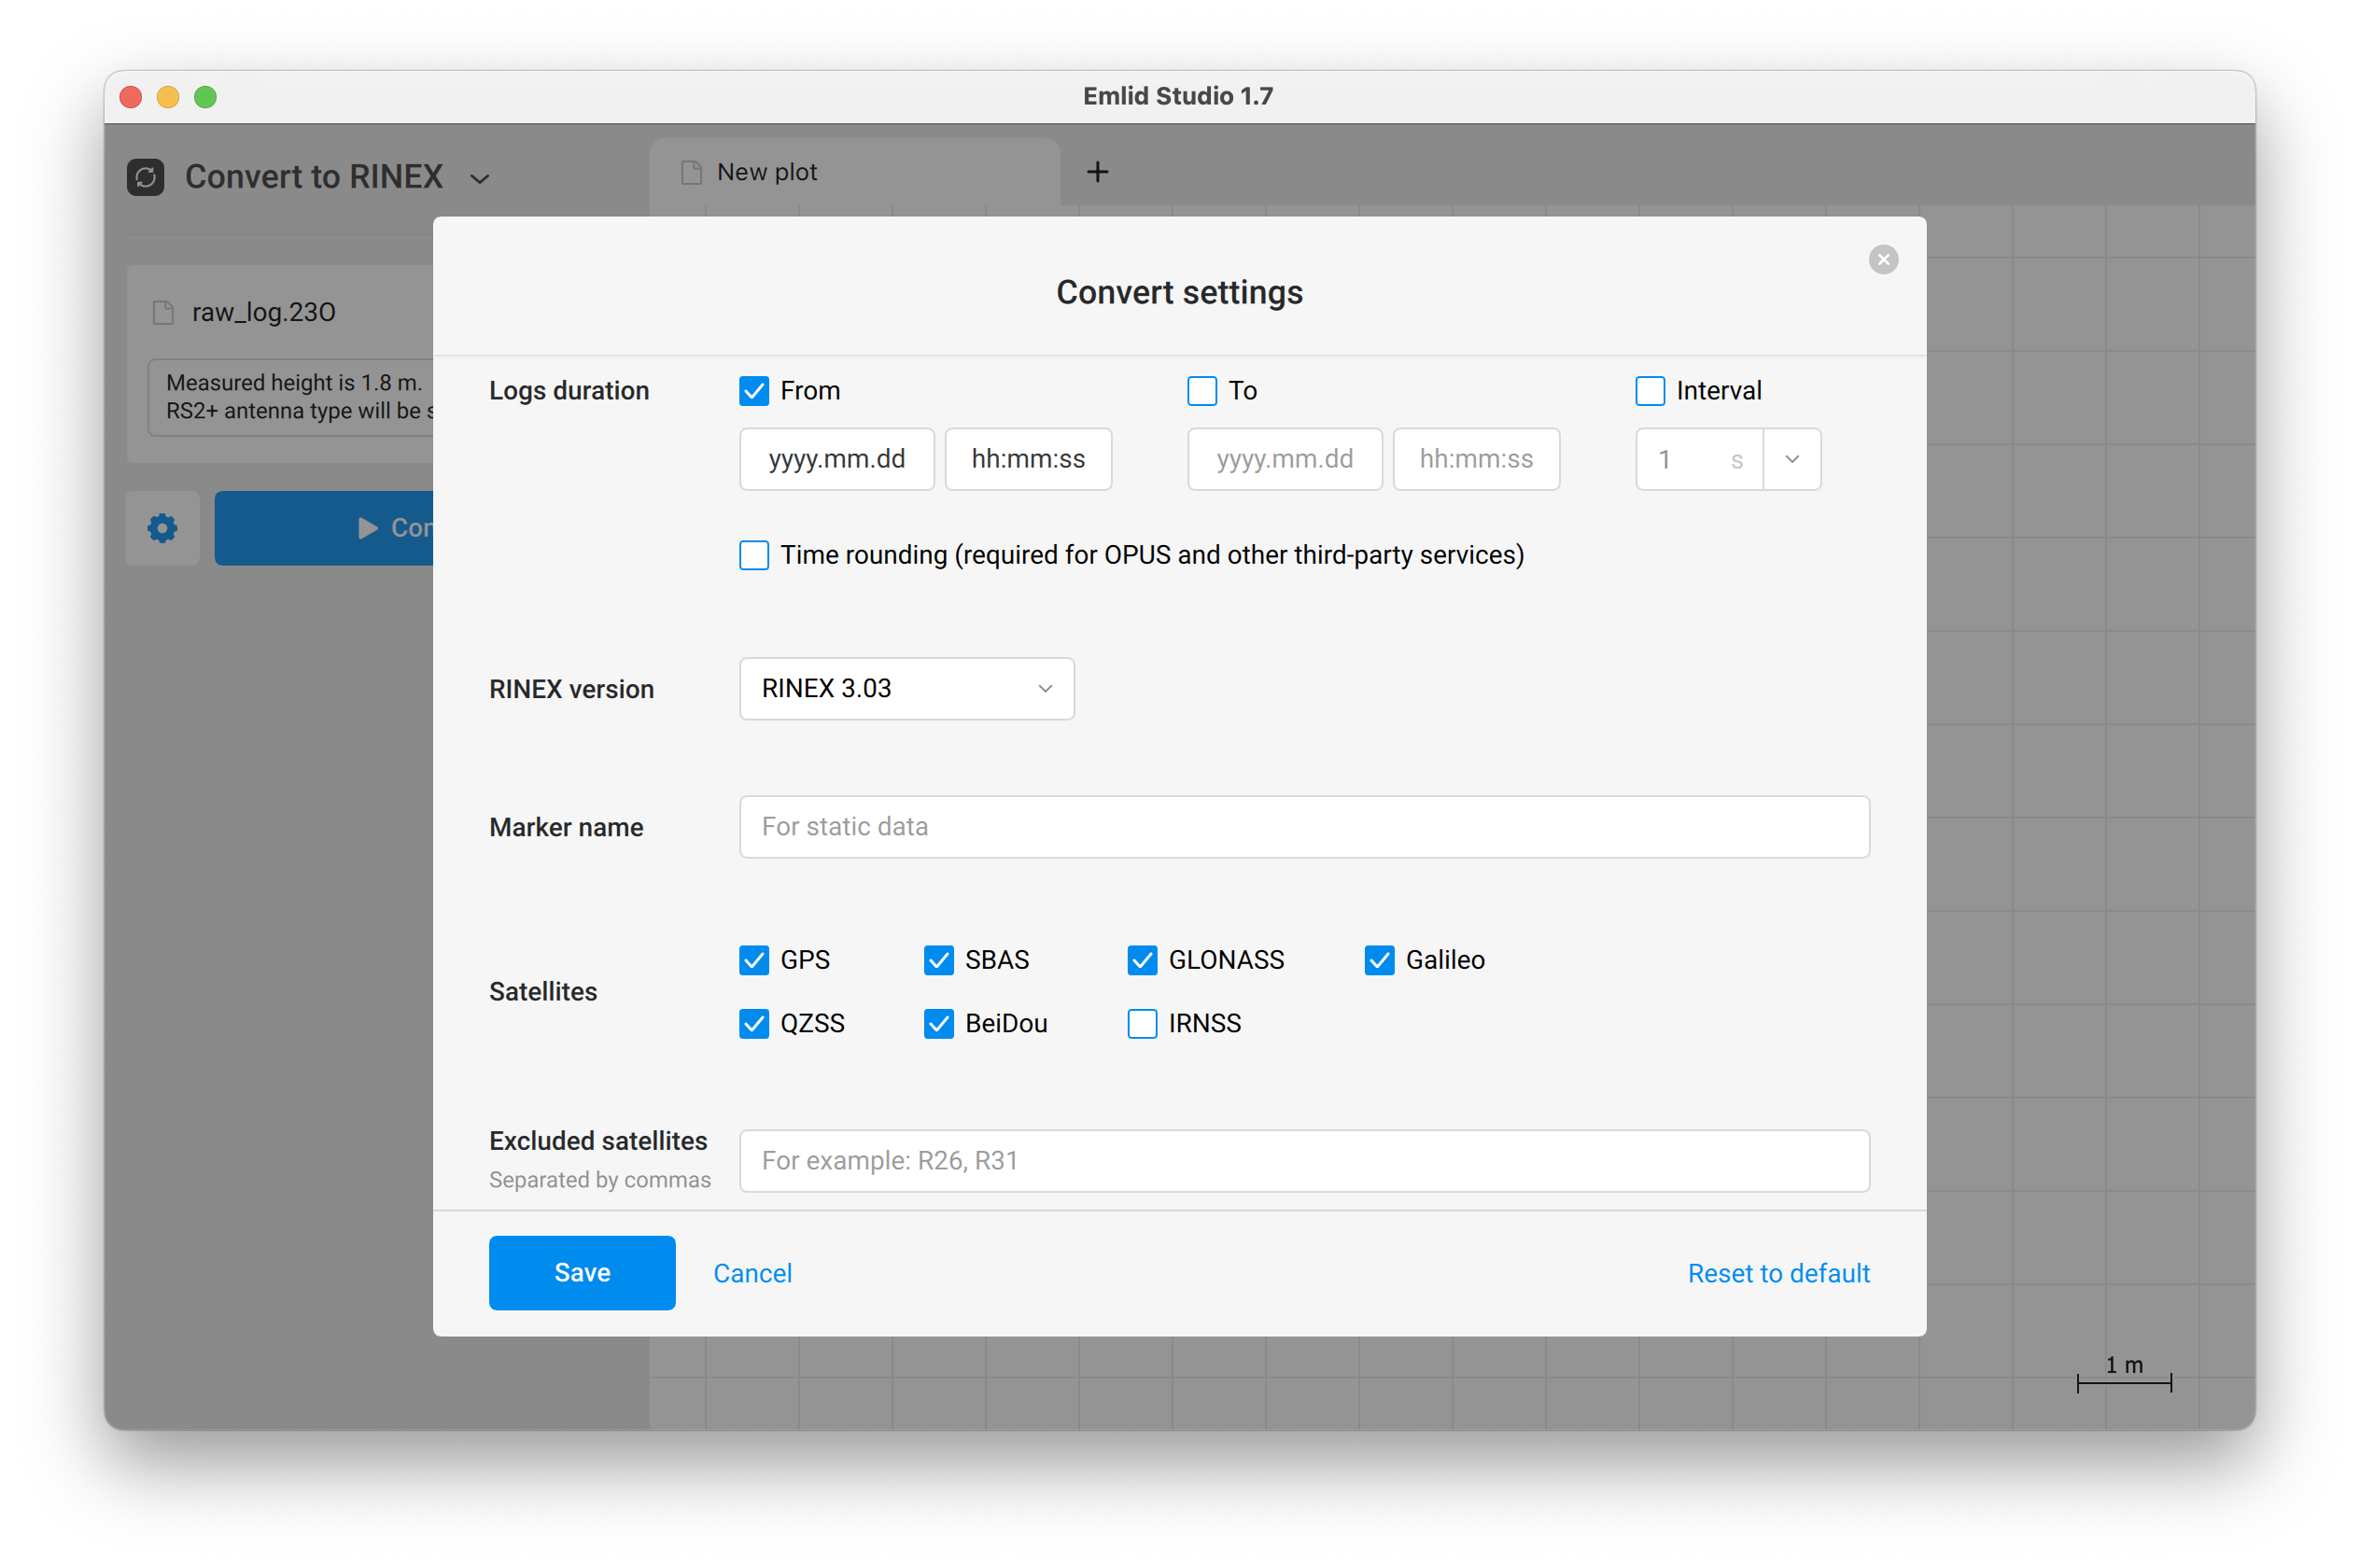
Upload your log to Emlid Studio, and tap on the blue gear button to access the processing settings.
-
In the Logs duration section, set the time 2 minutes after log recording starts to trim the log. Tap Save, and then Convert.
Once you got the trimmed log, you can upload it together with the raw trajectory T04 file from your LiDAR survey to Applanix POSPac to get the corrected trajectory SBET file. Then you can upload it to CloudStation to generate a LAS file.