Integration of Reach RS2/RS2+ with Aplitop TcpGPS for Android
This tutorial shows how to integrate your Reach RS2/RS2+ with the TcpGPS app for Android devices over Bluetooth to collect and stake out data in the field in RTK mode.
Overview
Aplitop TcpGPS is a mobile app for Android devices that allows you to collect and stake out data in the field in RTK mode.
To integrate your Reach with the Aplitop TcpGPS app, you'll need the following:
- Reach RS2/RS2+
- A device on Android OS v7.0+
- Emlid Flow v9.2+
- Aplitop TcpGPS v2.6+
Workflow
To integrate your Reach RS2/RS2+ with the Aplitop TcpGPS app follow the steps below.
Configuring Reach RS2/RS2+ settings in Emlid Flow
First you need to configure correction input and set up position streaming in the NMEA format on your Reach RS2/RS2+ in the Emlid Flow app. Follow the steps below:
-
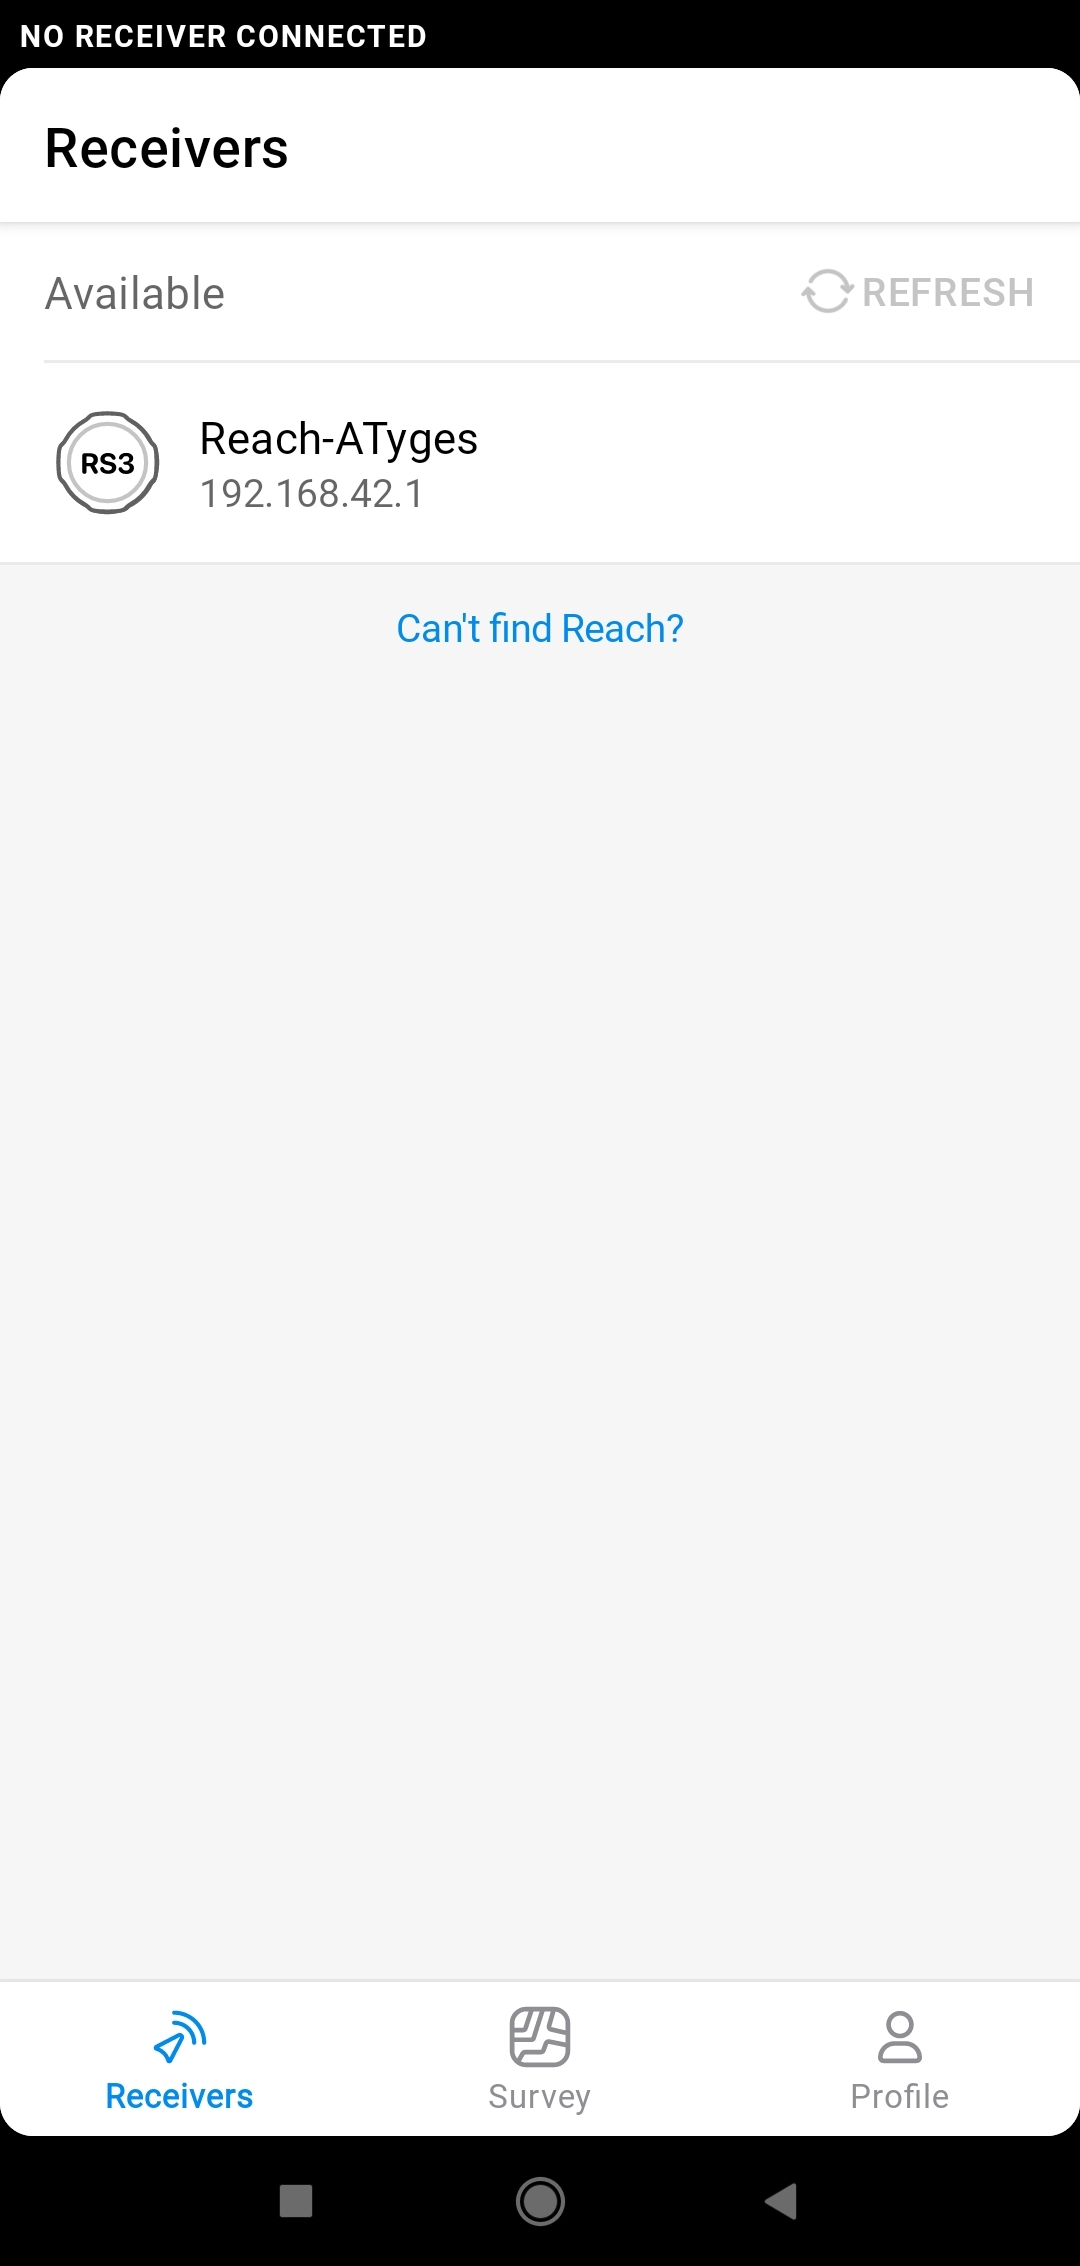
Open the Emlid Flow app and connect to your Reach using Wi-Fi.
-
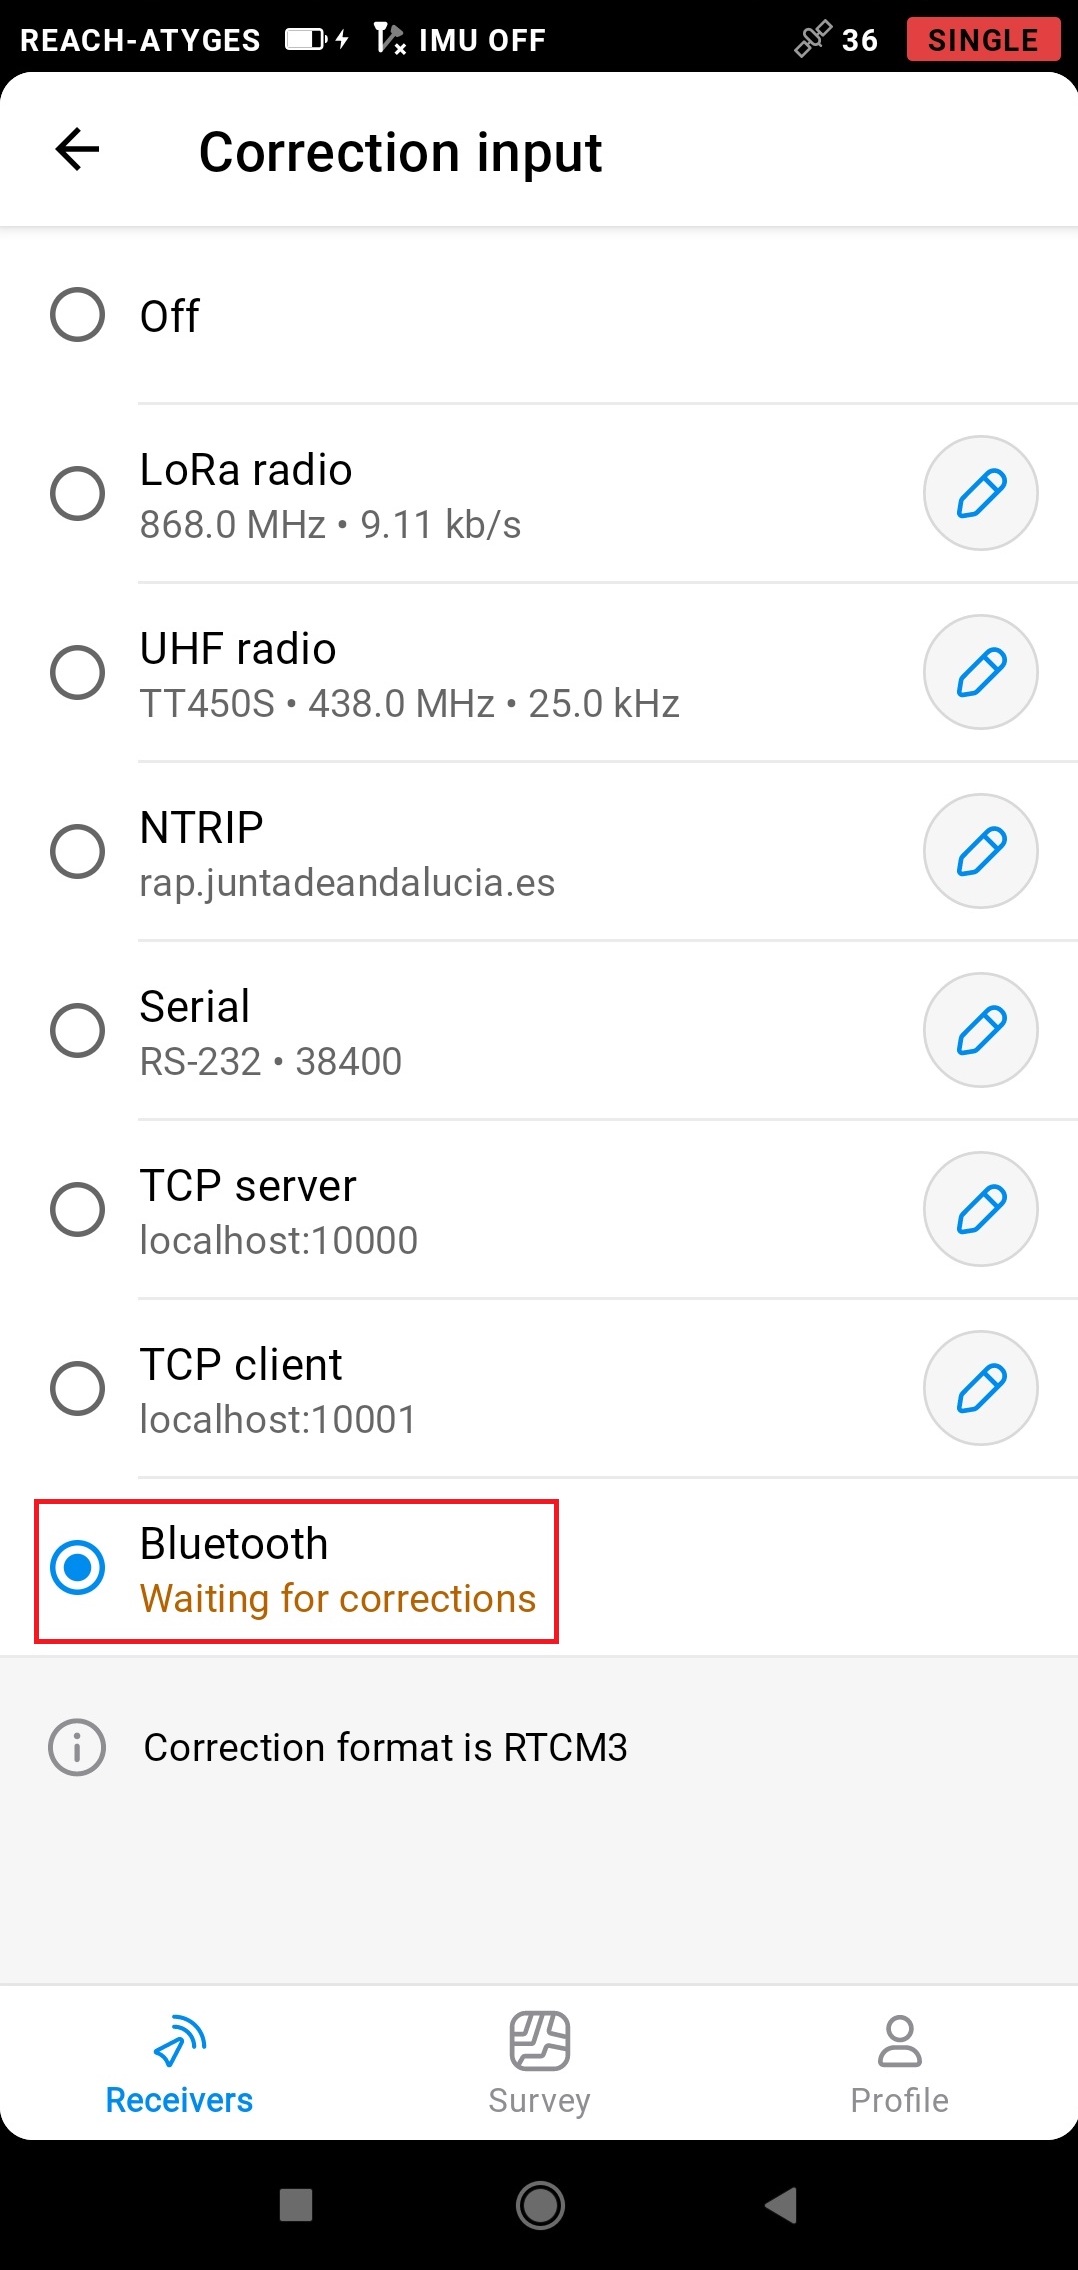
Go to Correction input and select Bluetooth.
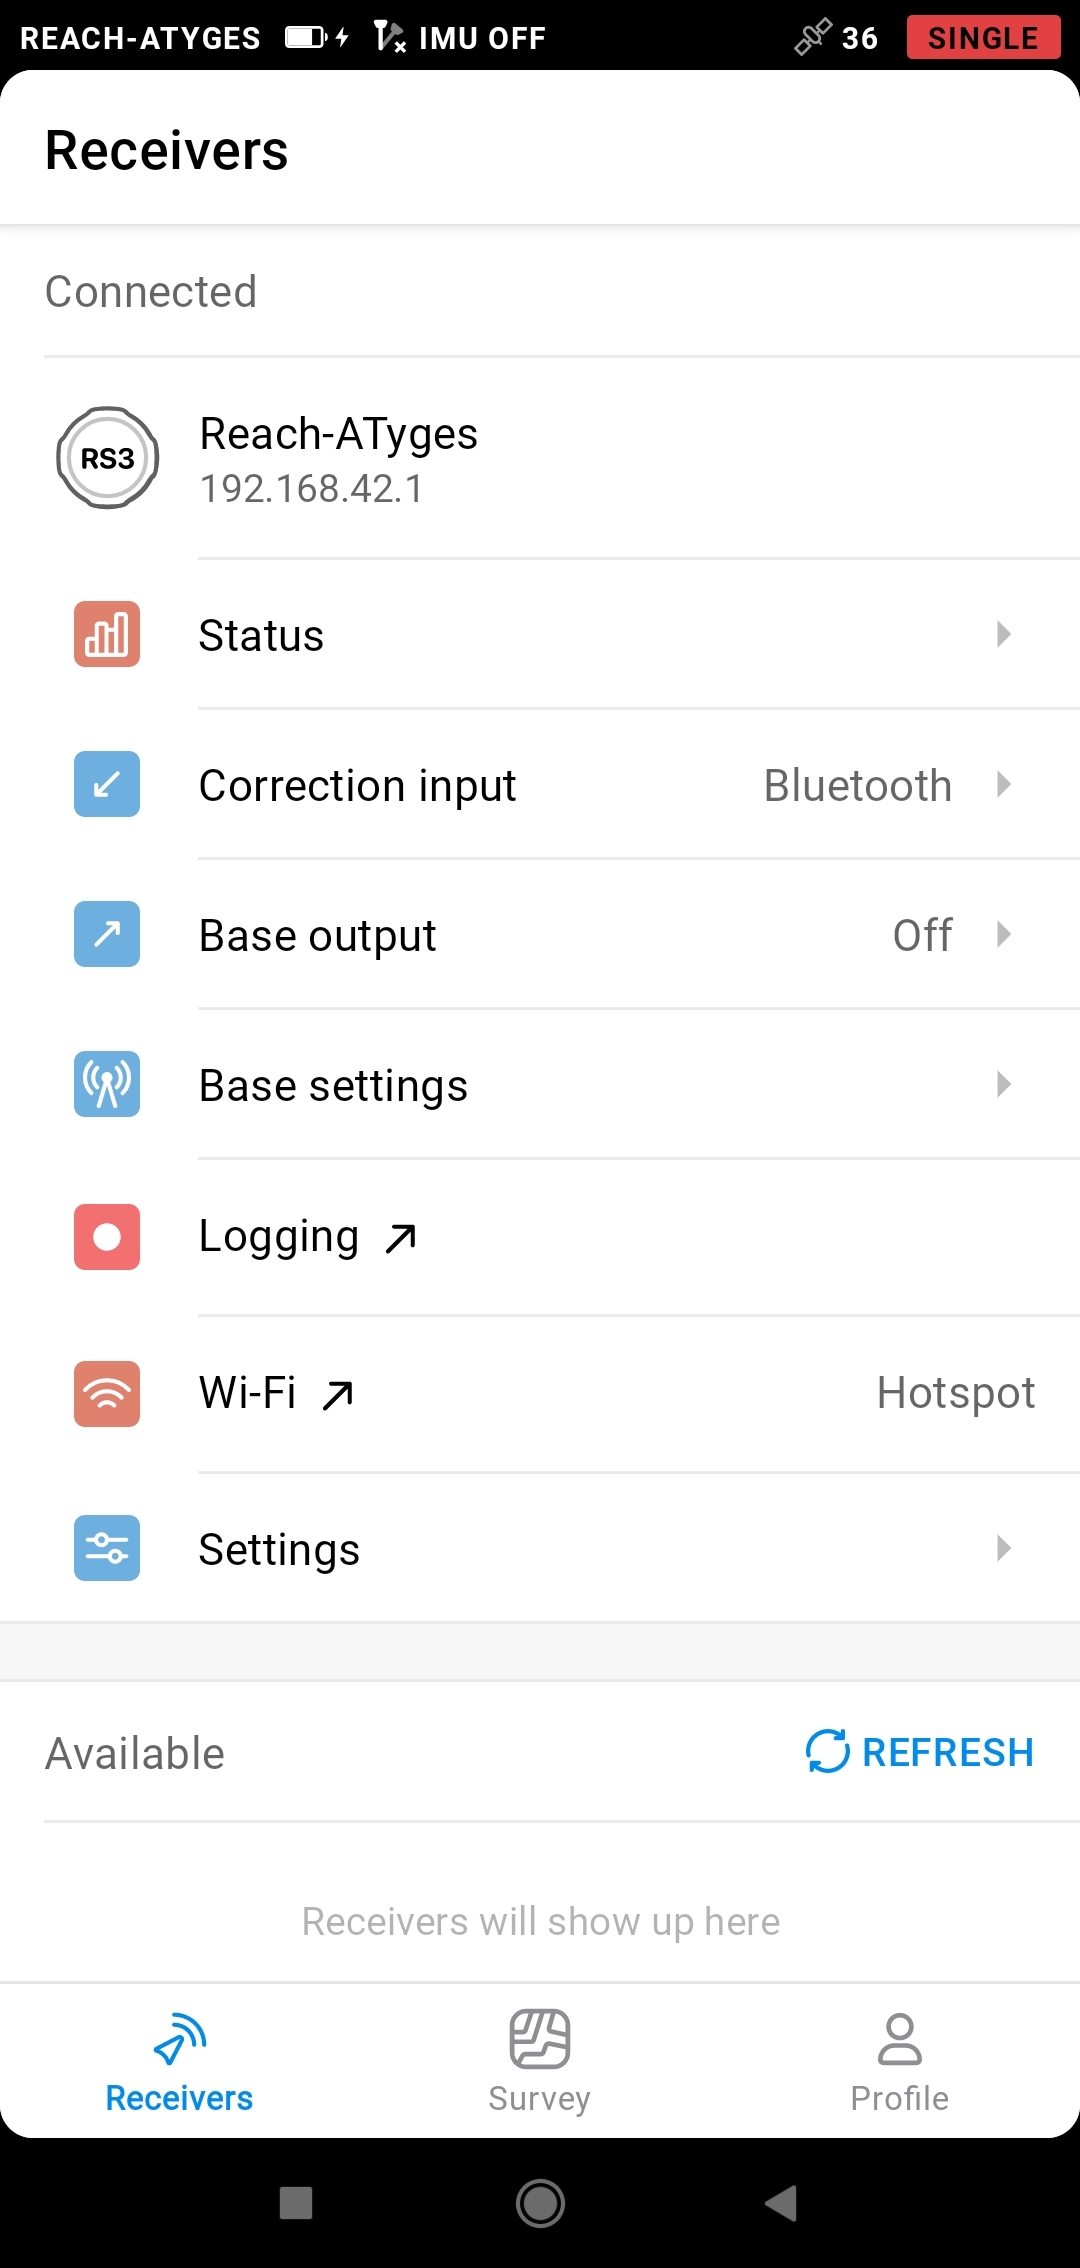
-
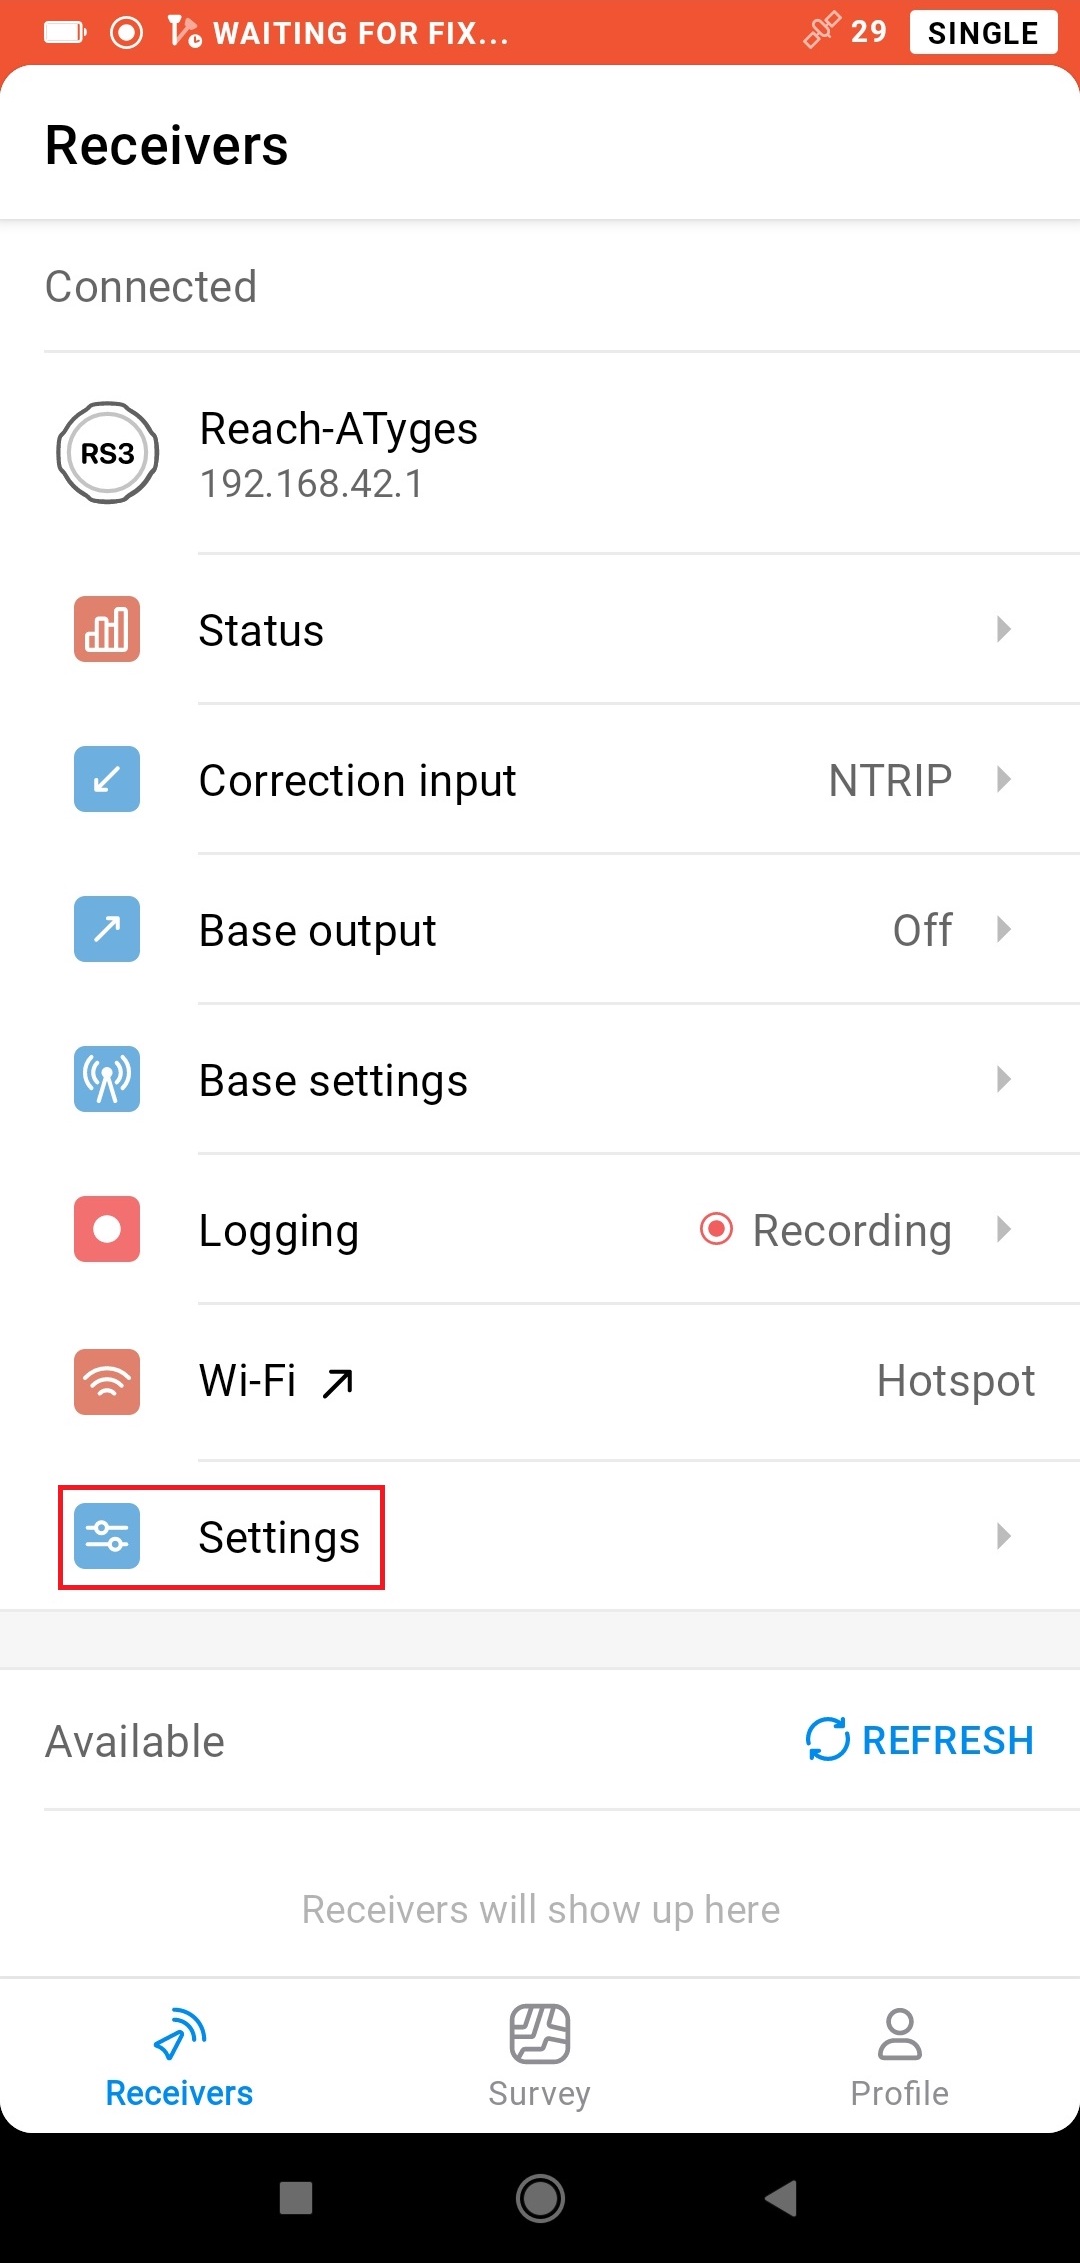
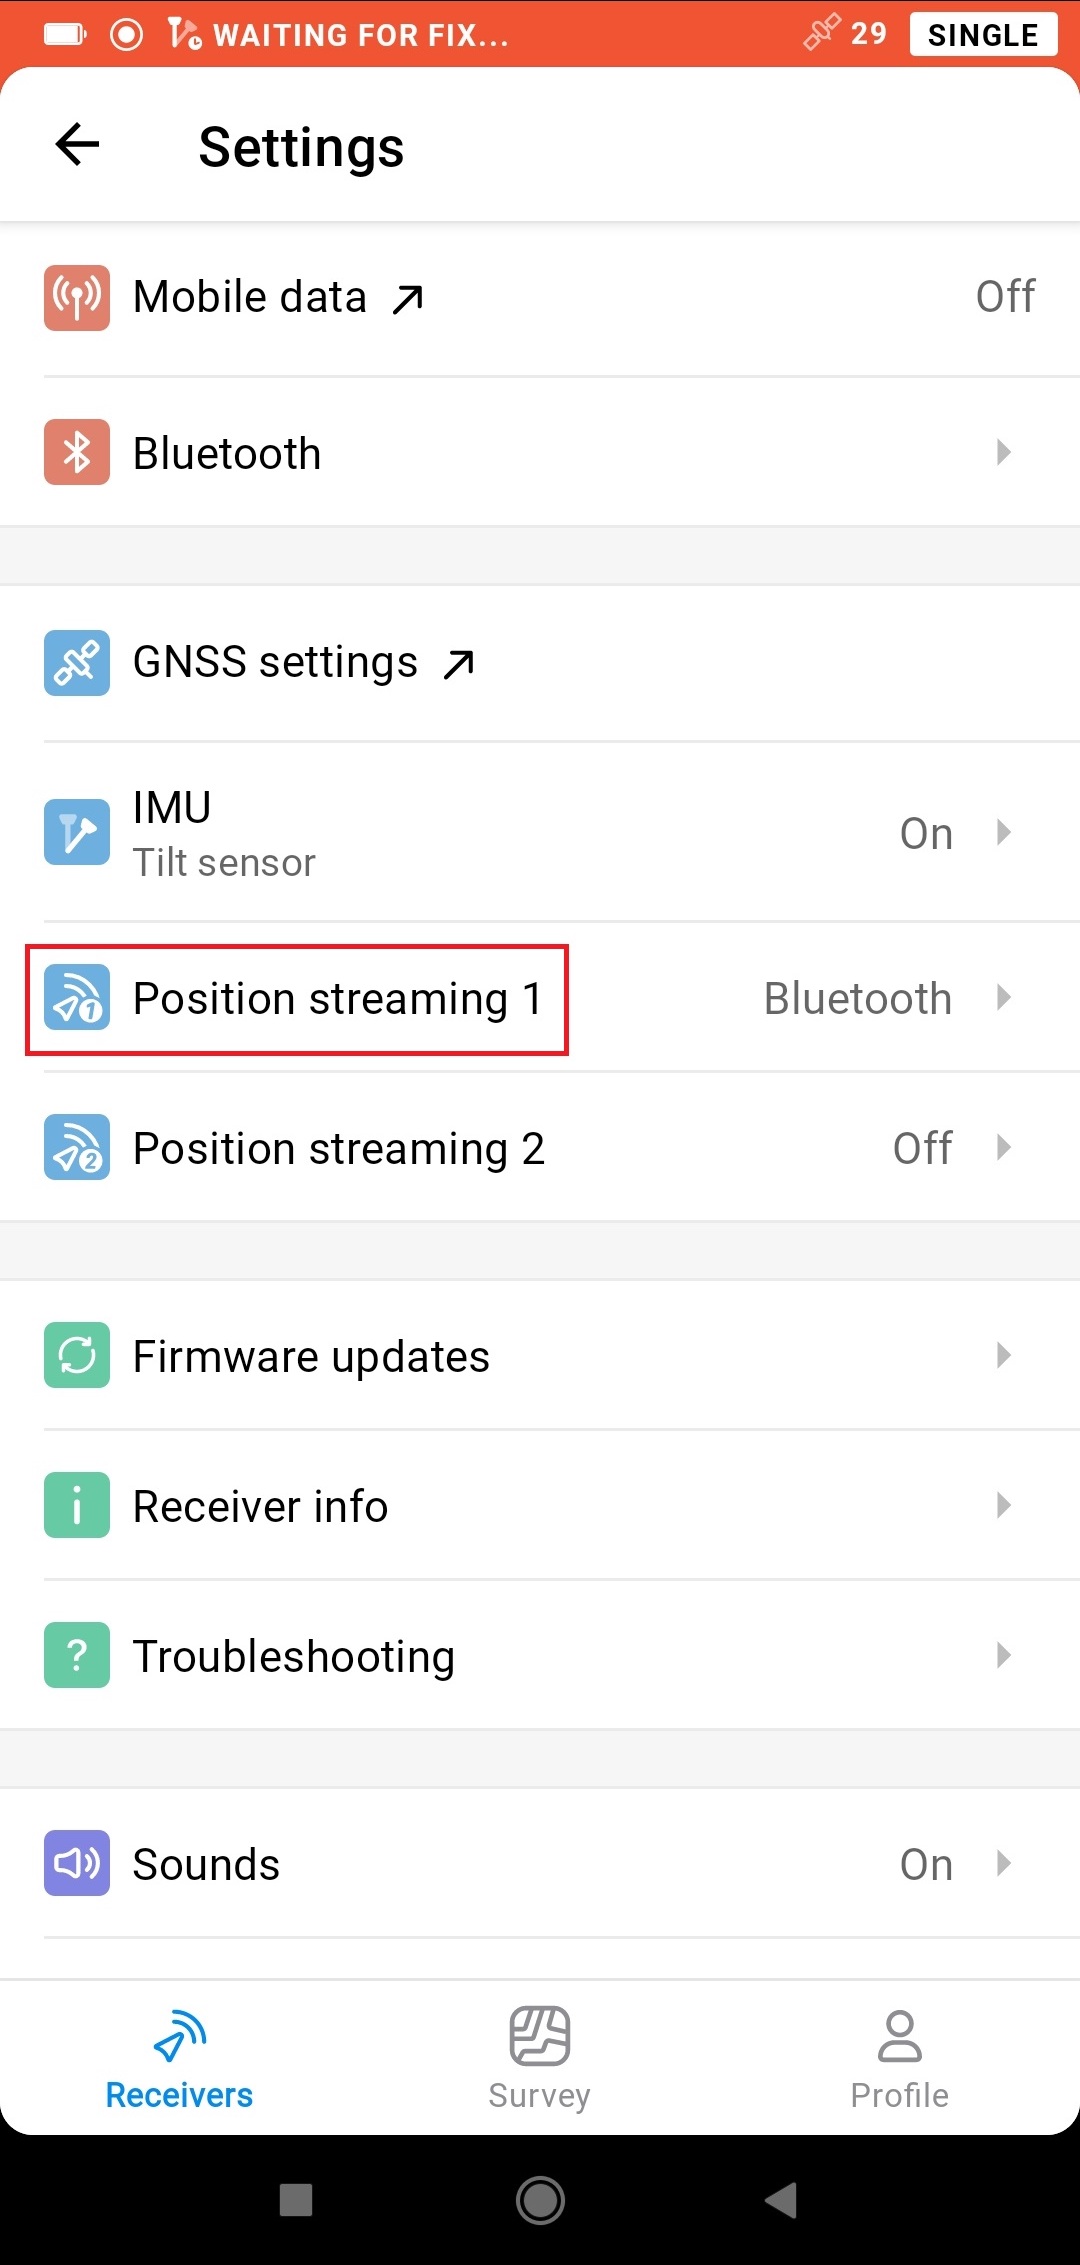
Go back. In Settings, select Position Streaming 1.
-
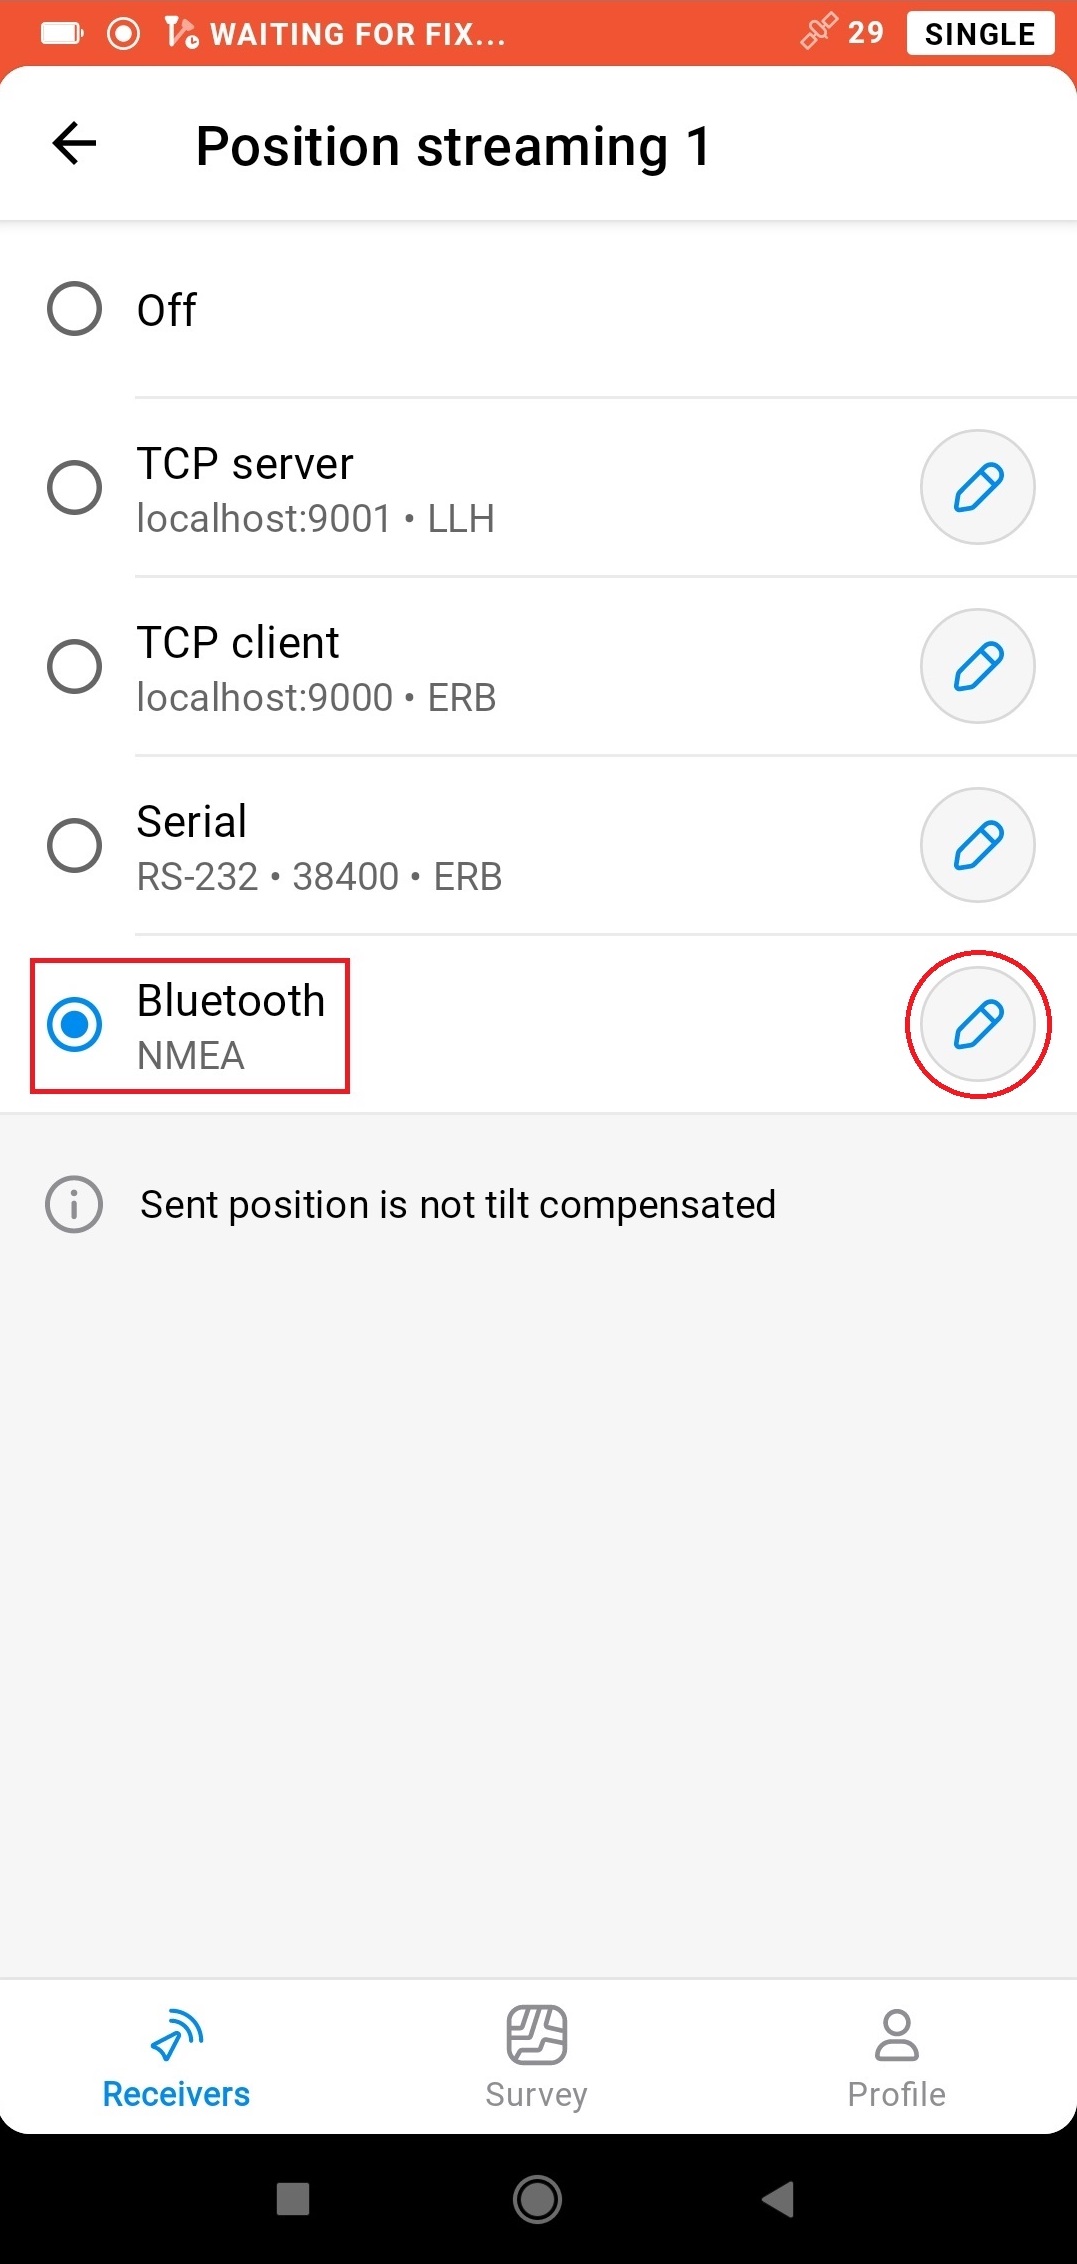
Select Bluetooth and tap the Edit button.
-
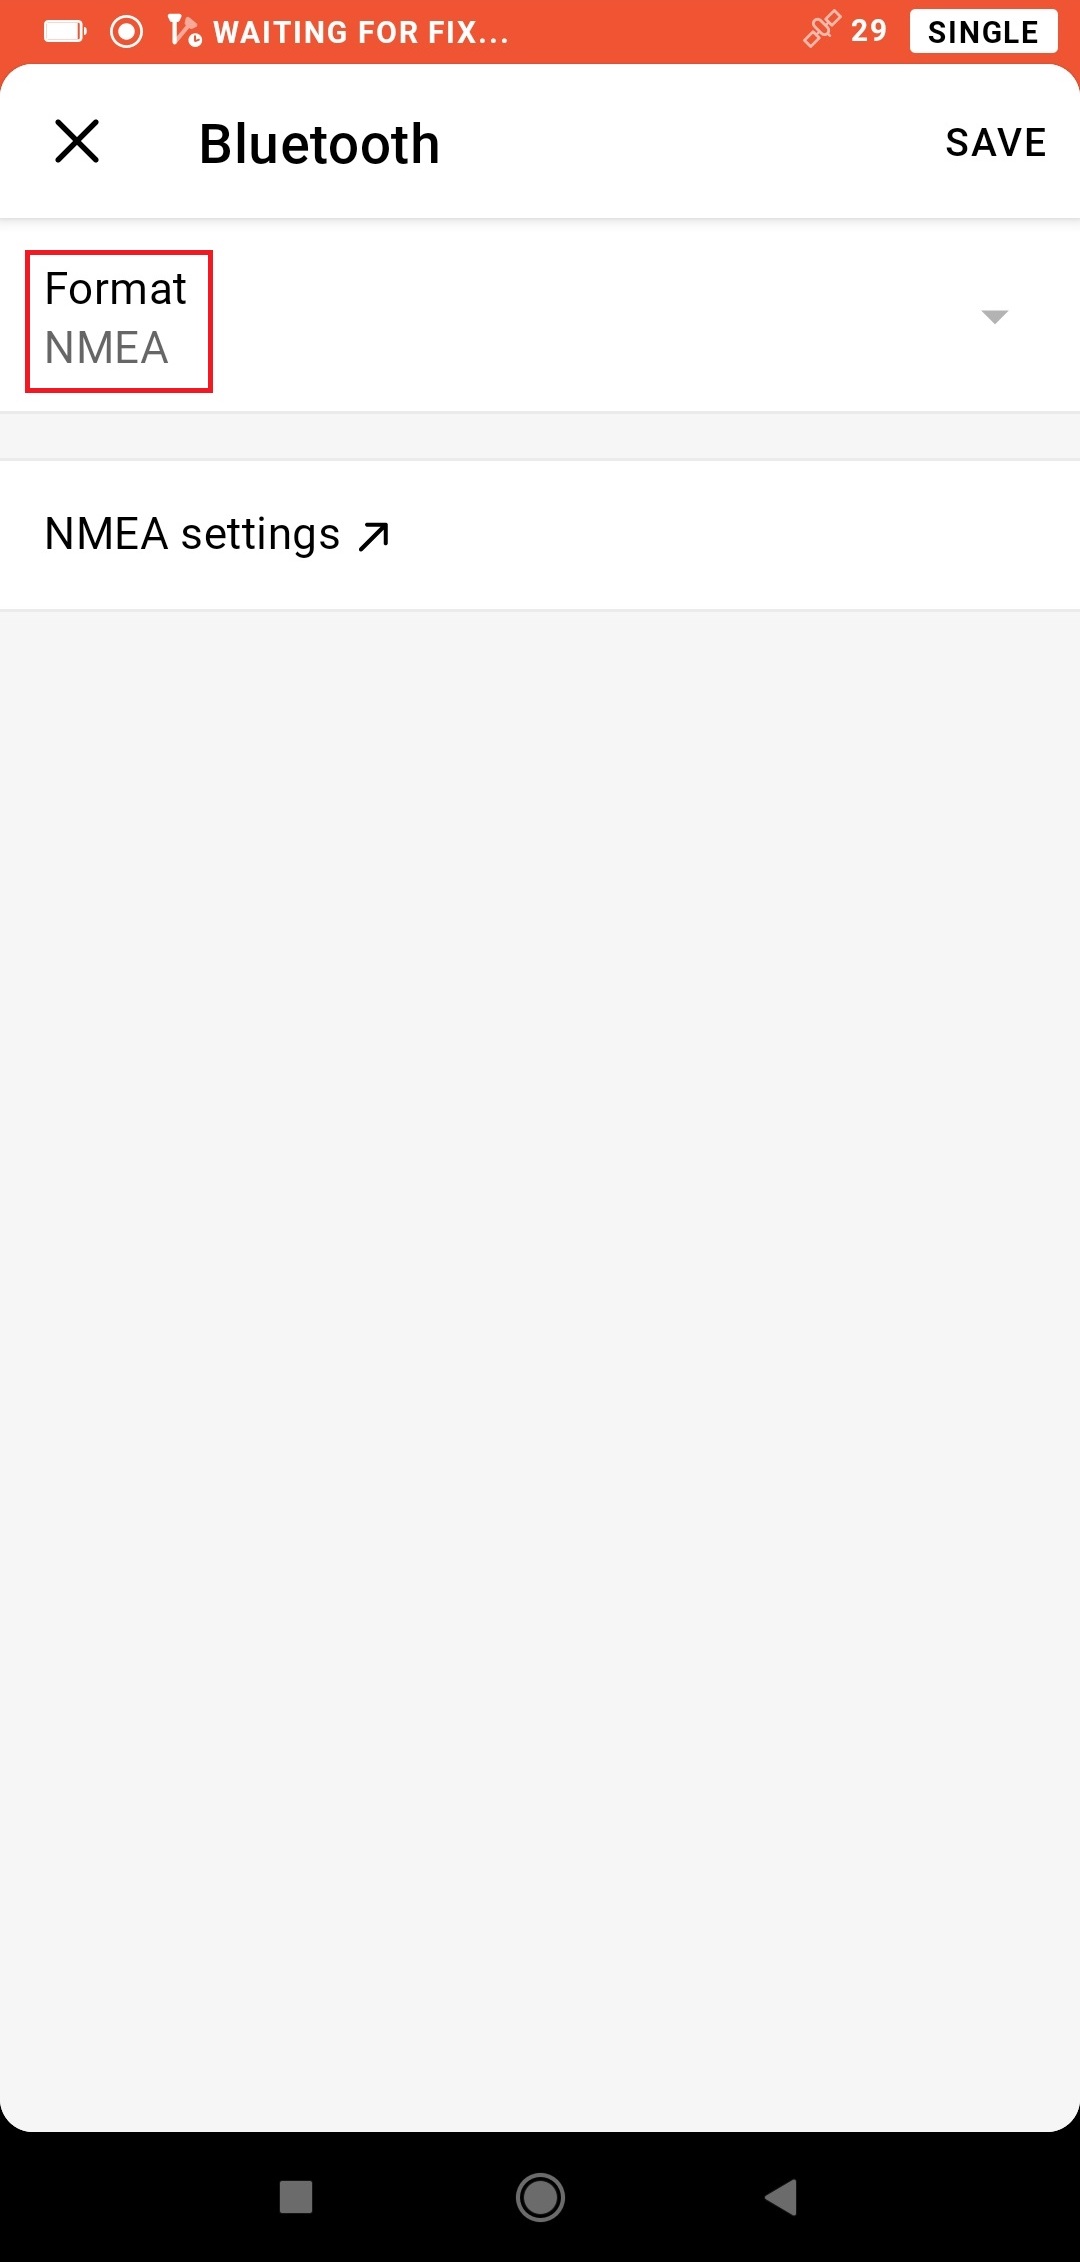
Select NMEA as format.
-
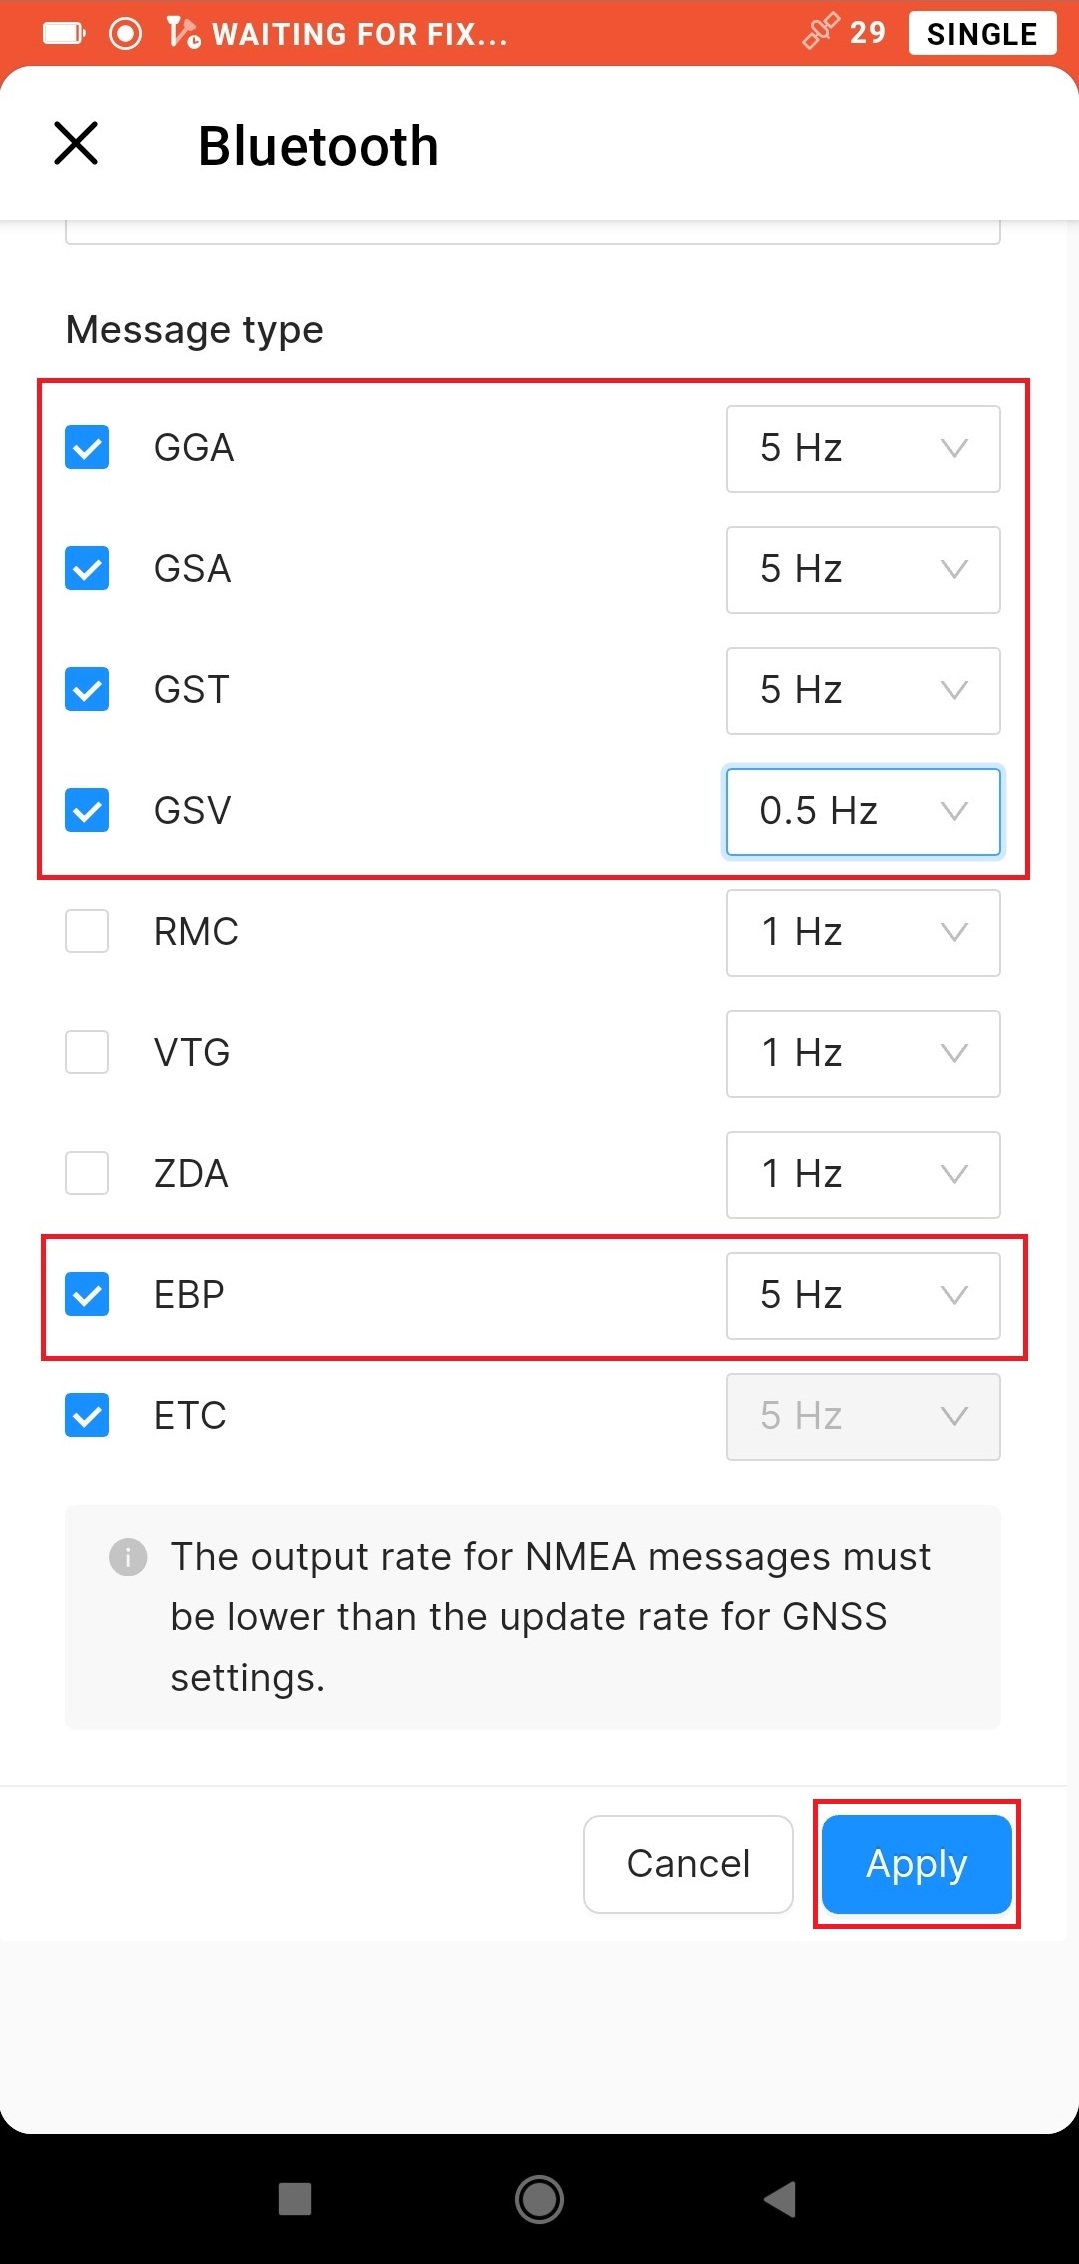
Tap NMEA settings. Select GGA, GSA, GST, EBP, and ETC messages with 5Hz frequency and GSV message with 0.5Hz frequency. Then, tap the Apply button.
Configuring communication between Aplitop TcpGPS and Reach RS2/RS2+
Make sure Bluetooth is enabled on your Android device.
-
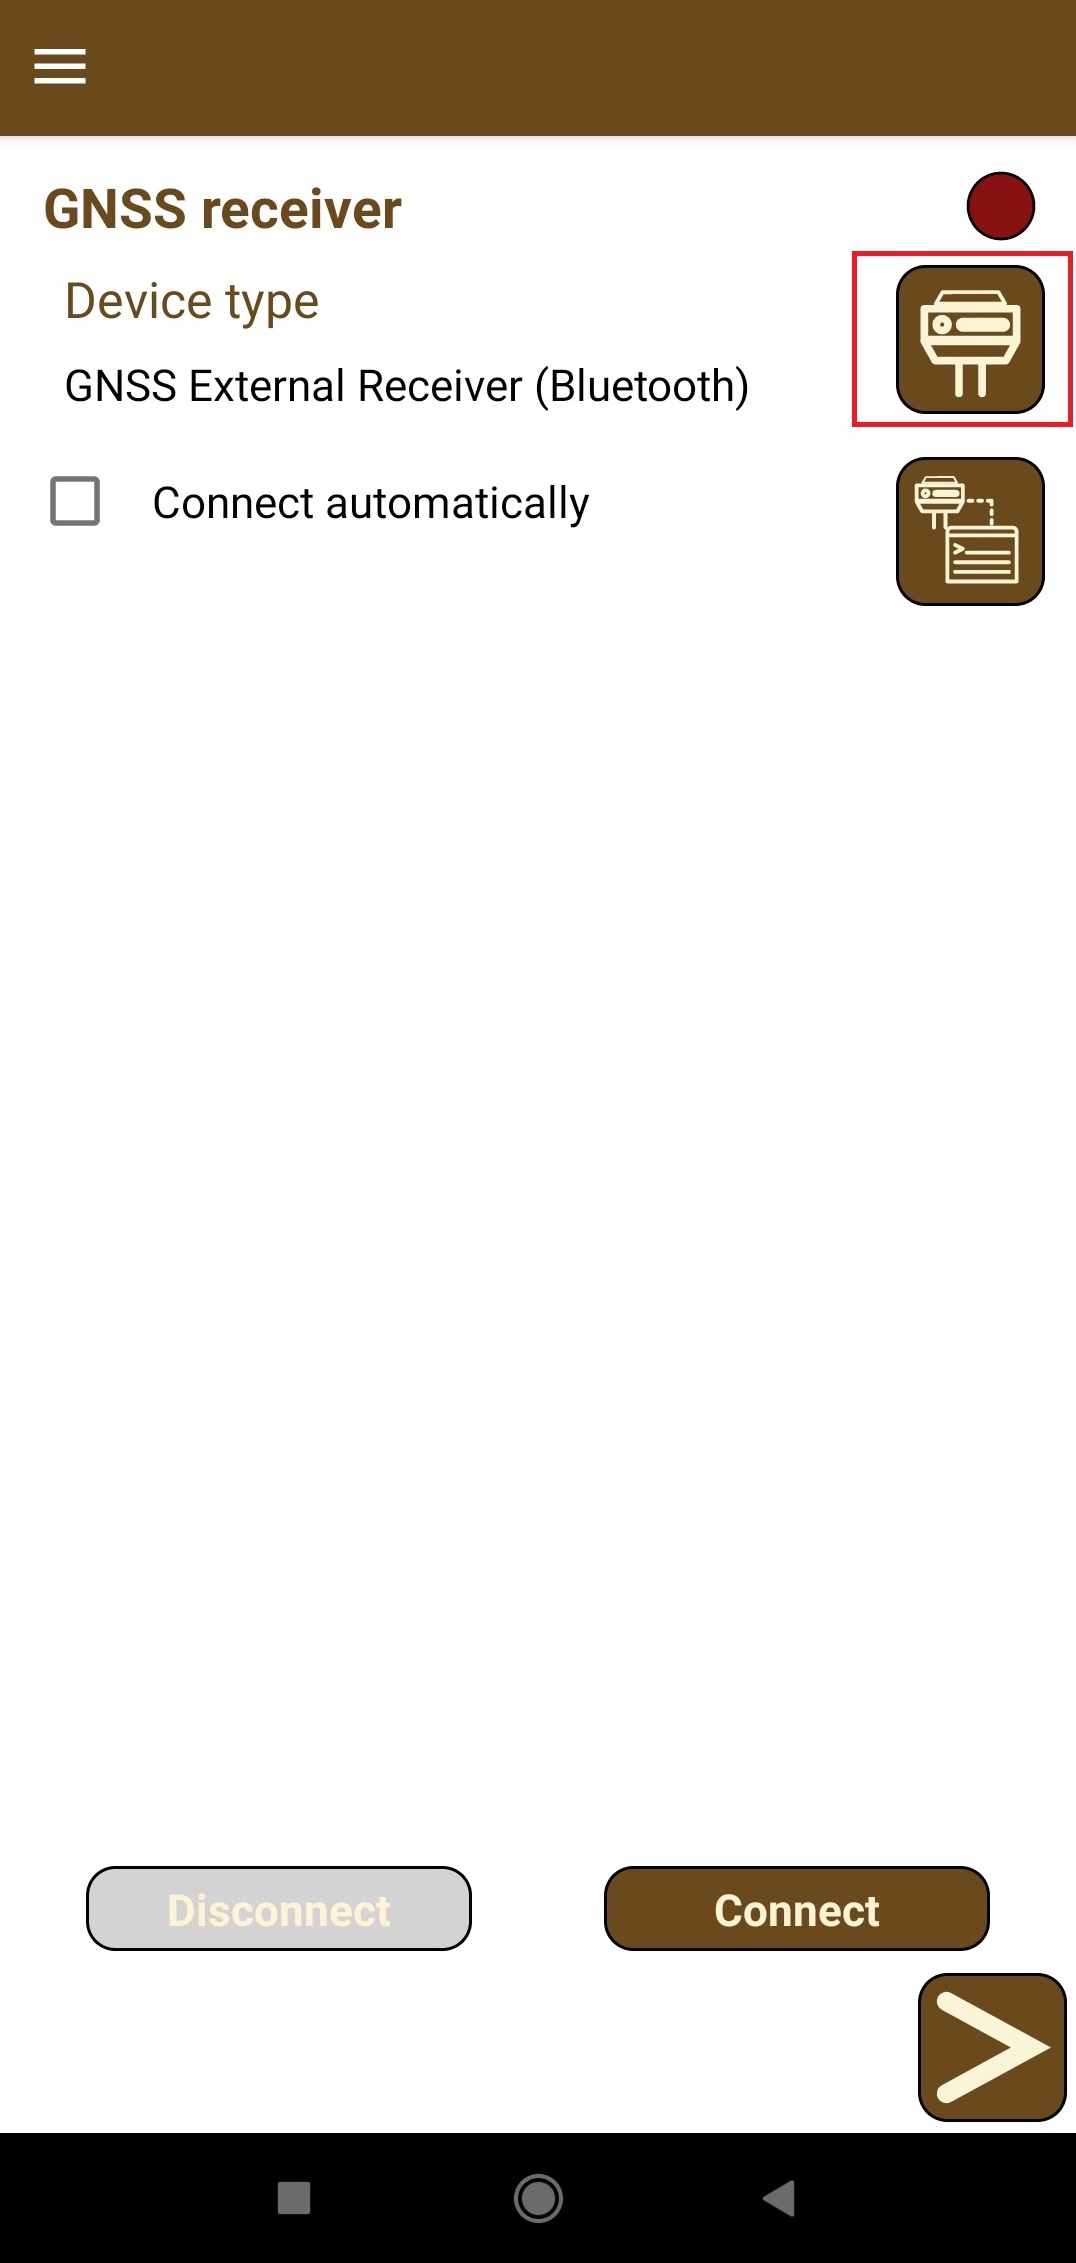
Open the Aplitop TcpGPS app and tap the receiver icon next to Device type.
-
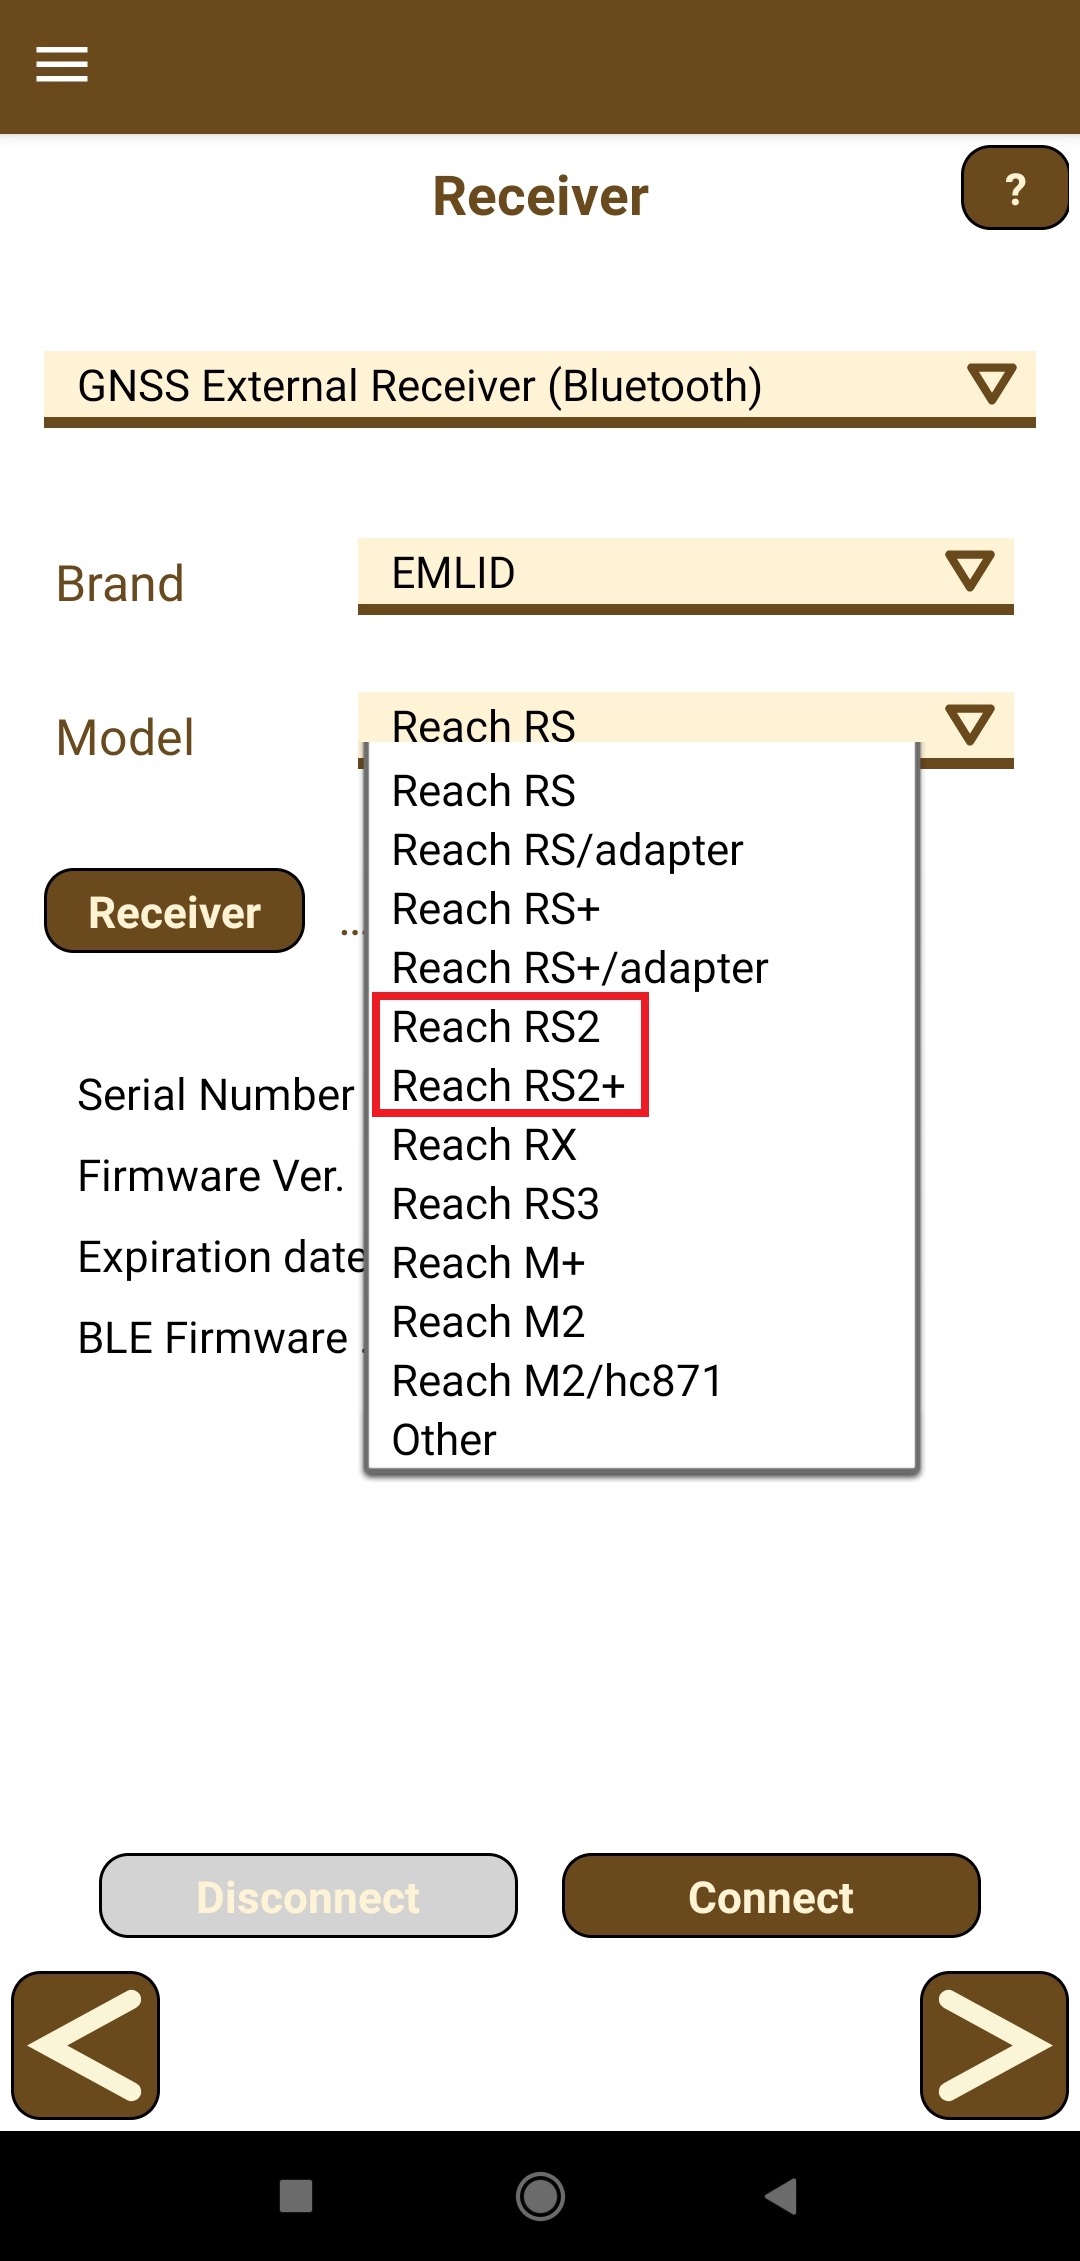
On the opened screen, select the following:
- GNSS External Receiver (Bluetooth) for Device type
- EMLID for Brand
- Reach RS2/RS2+ for Model
-
Tap the Receiver button and select the Bluetooth device. If the receiver is not on the list, tap the Search button.
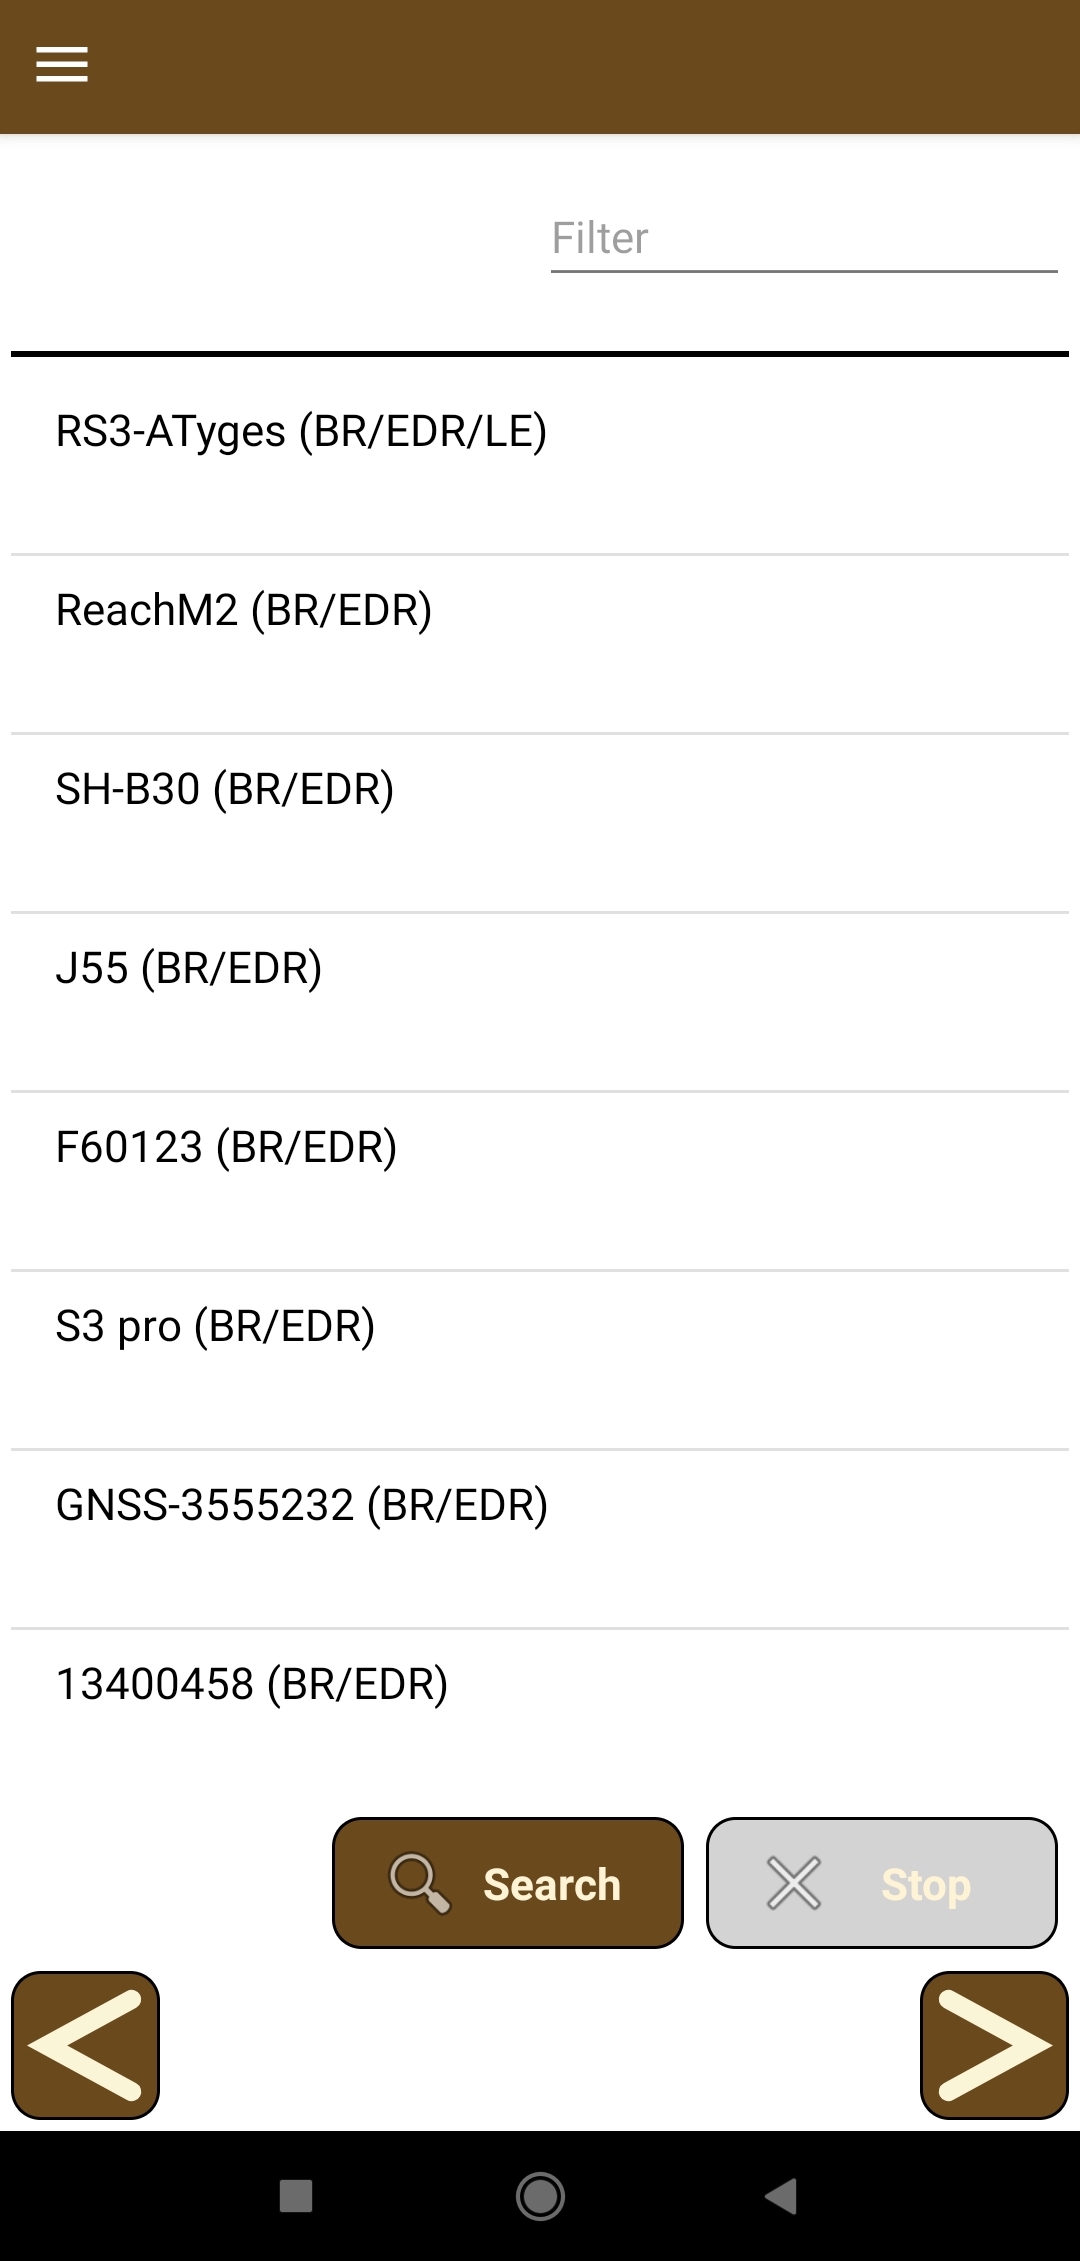
-
Tap the Connect button and wait for the configuration of Reach.

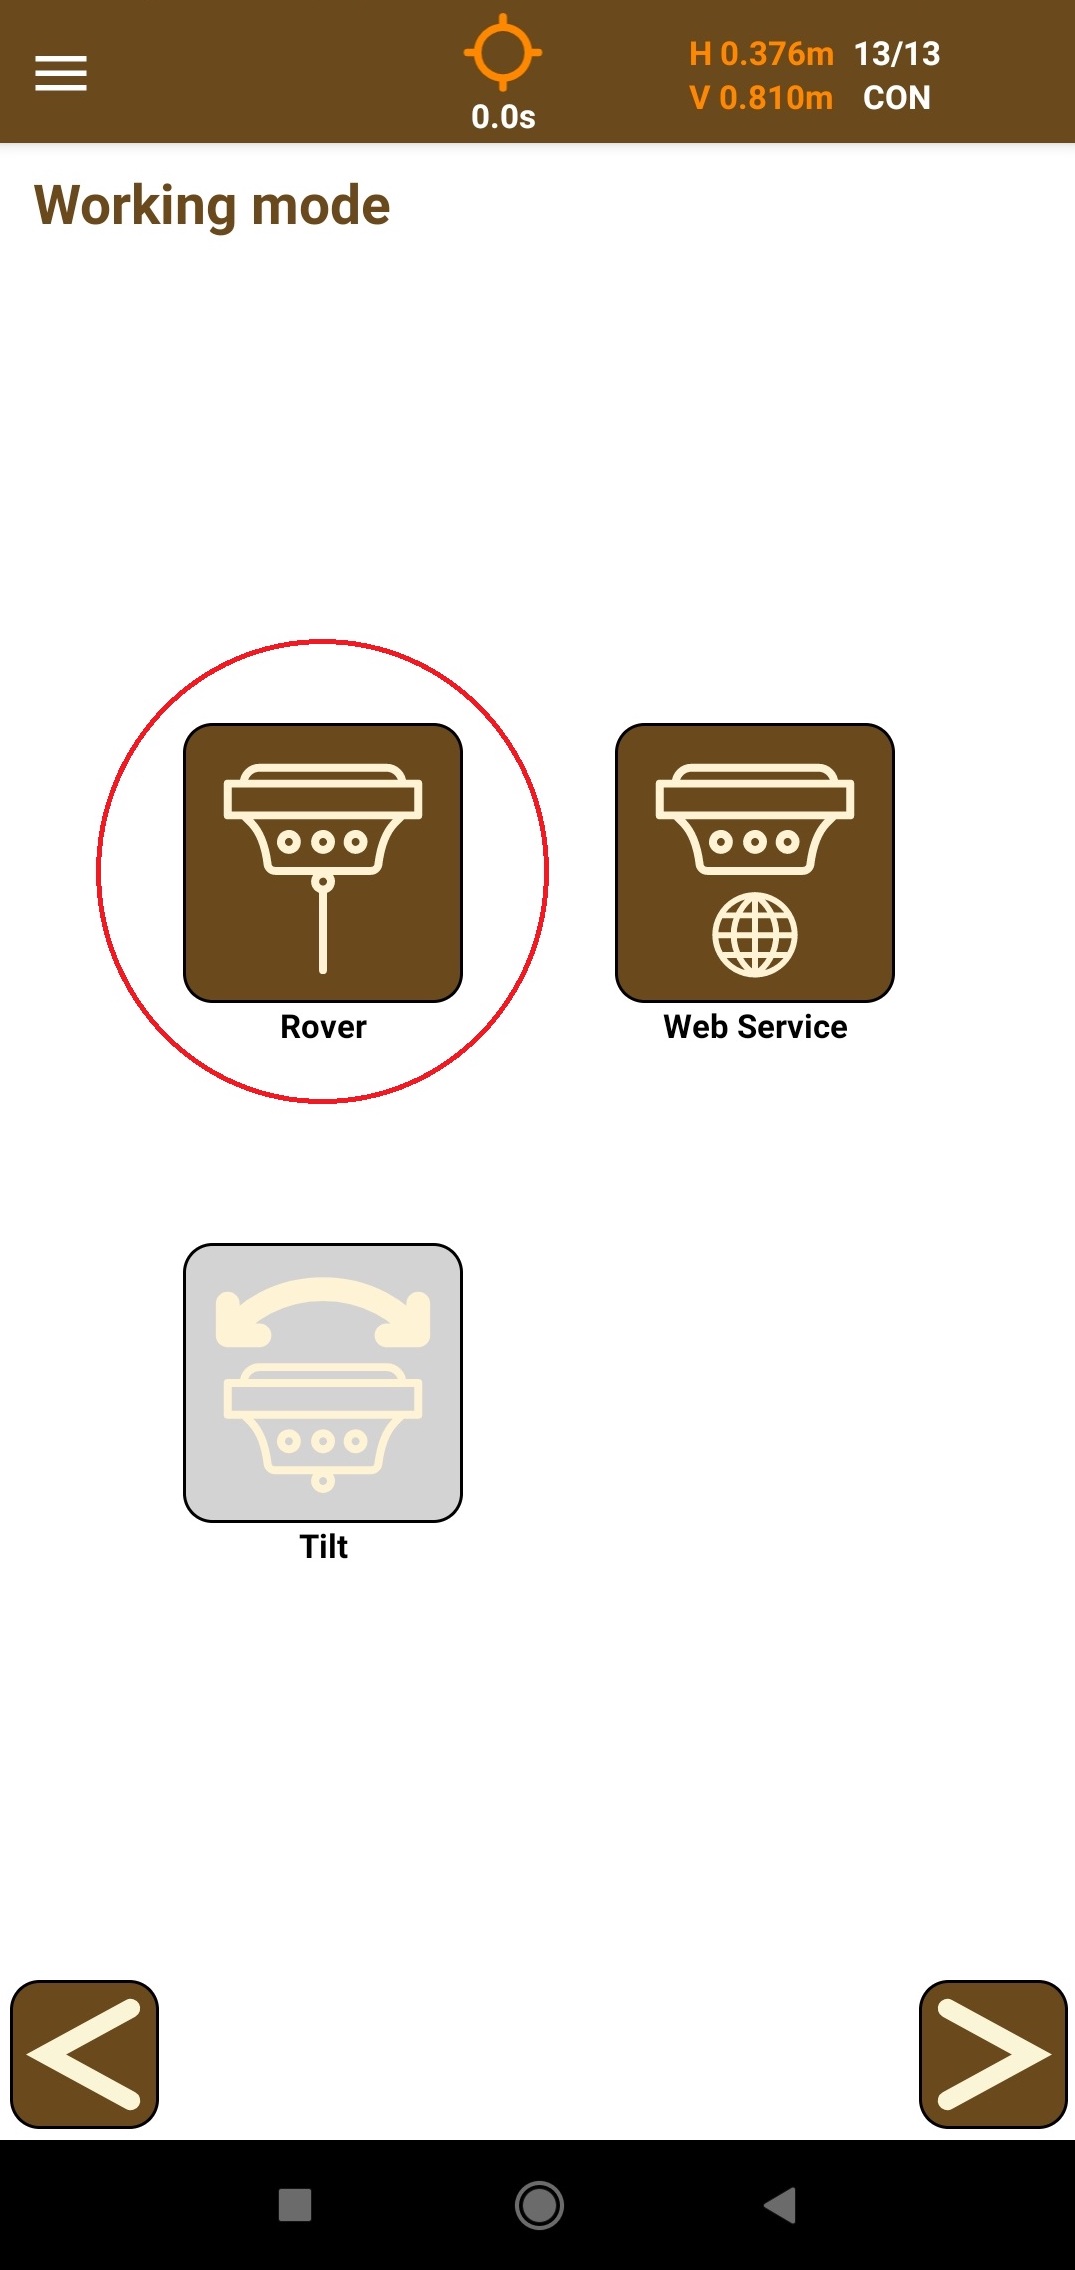
-
Tap the forward arrow button and on the opened Working mode screen, tap the Rover button.
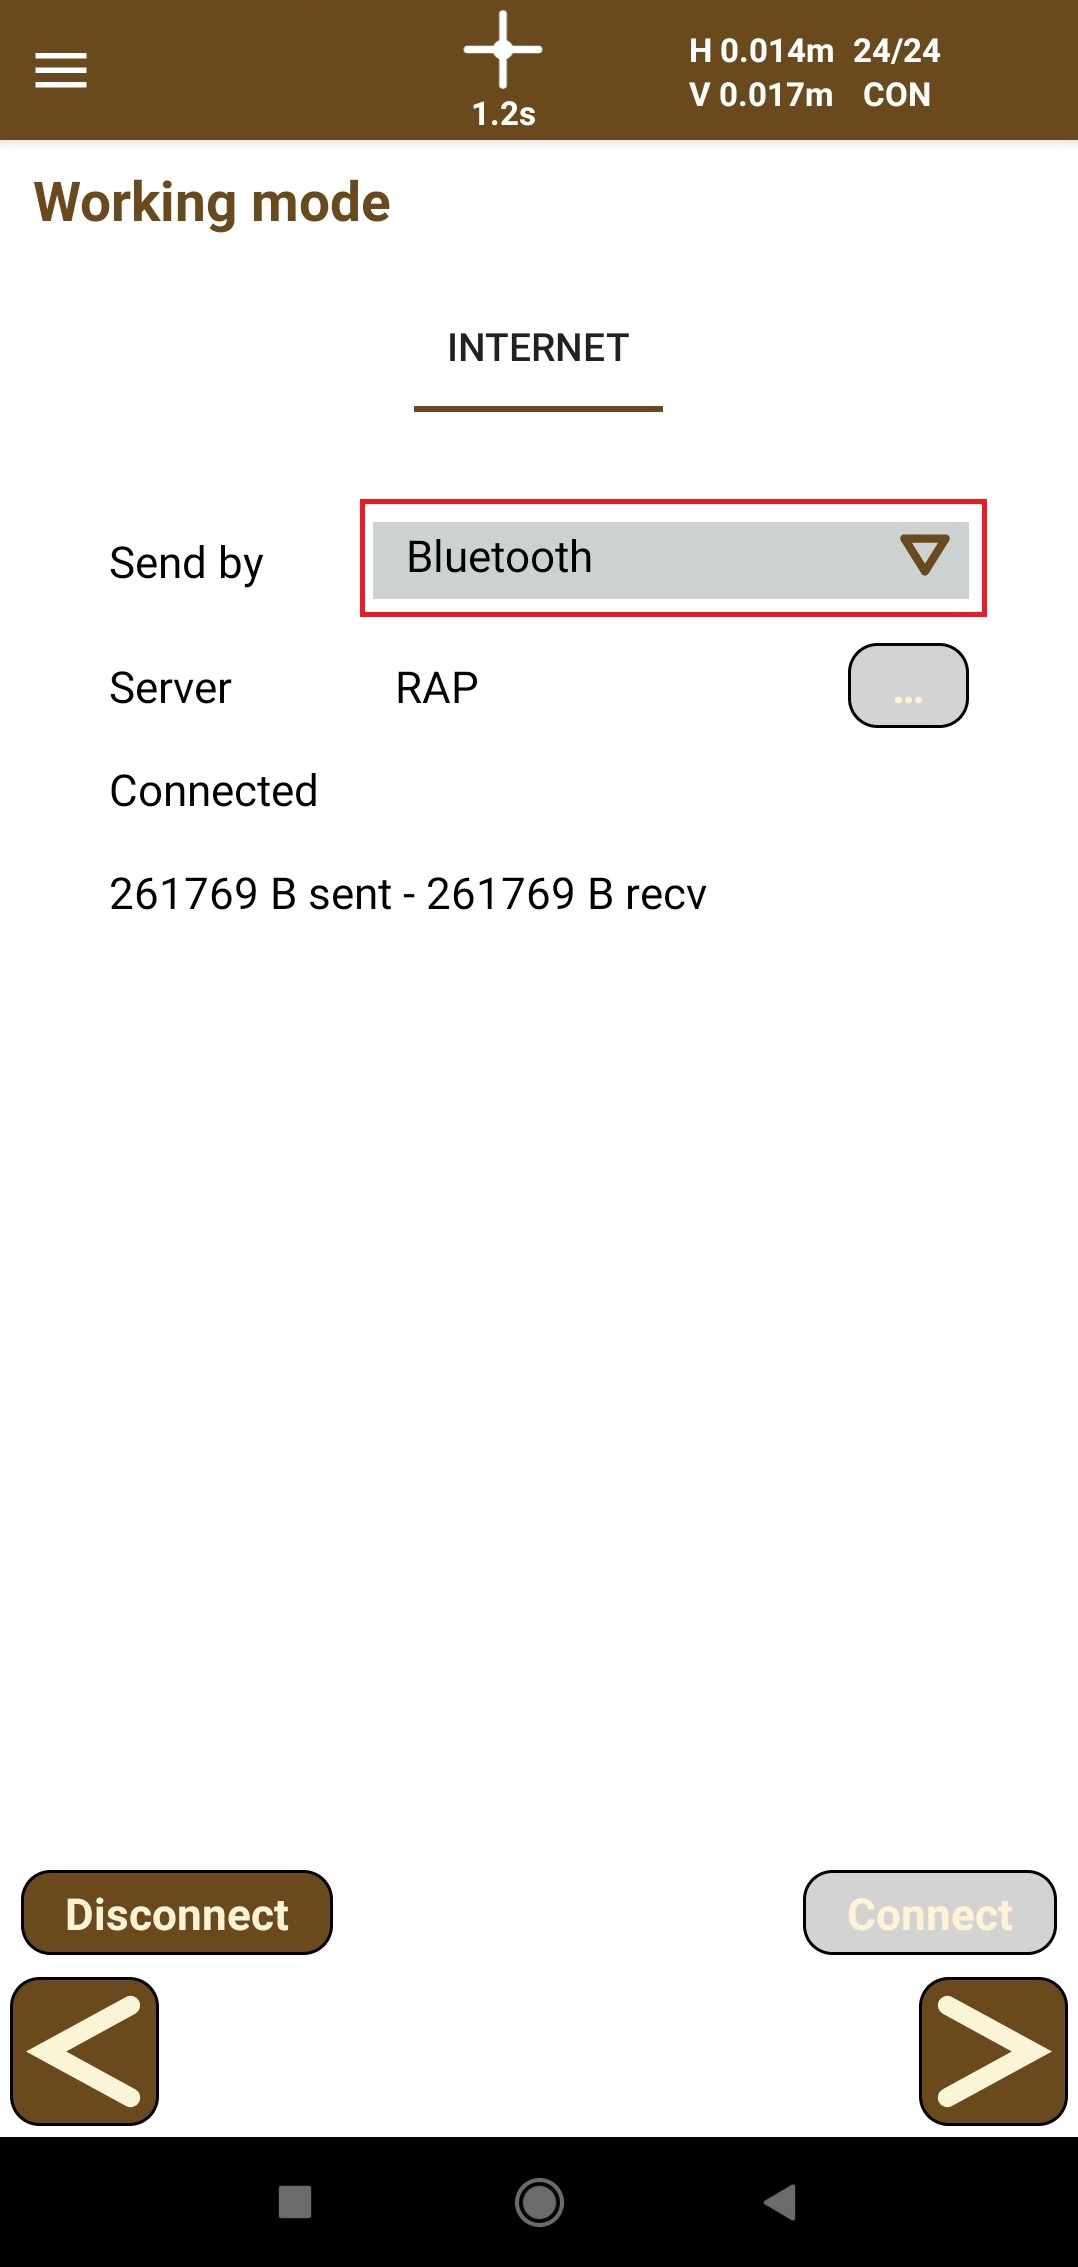
-
Configure NTRIP to send RTK corrections over Bluetooth.
-
To set up the NTRIP server, tap the three dots button and specify the following parameters:
- Name of the profile
- IP
- Port
- User name
- Password
- Mountpoint
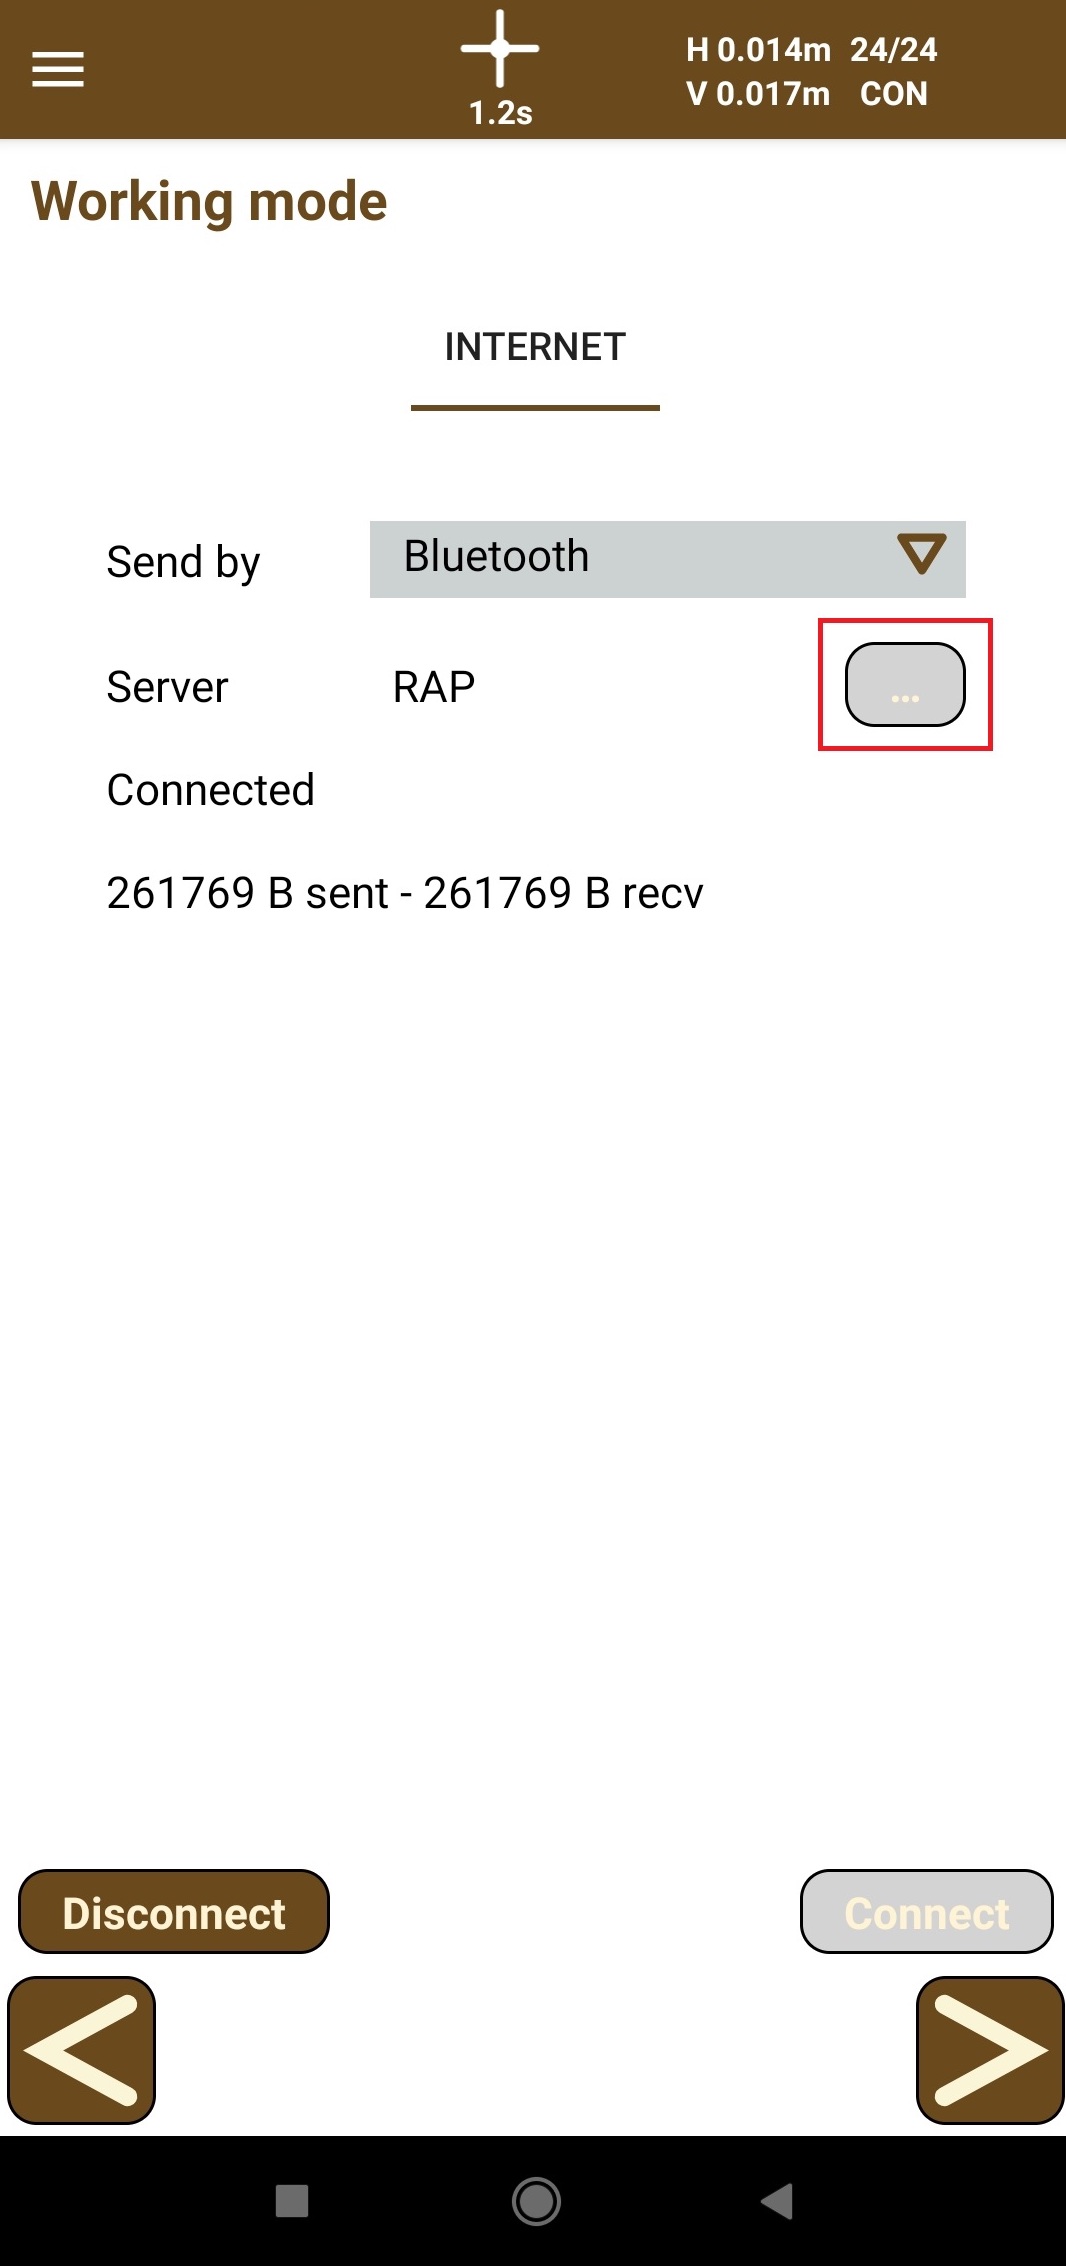

After that, tap the OK button.
-
Tap the Connect button and check that the number of bytes sent and received grows.
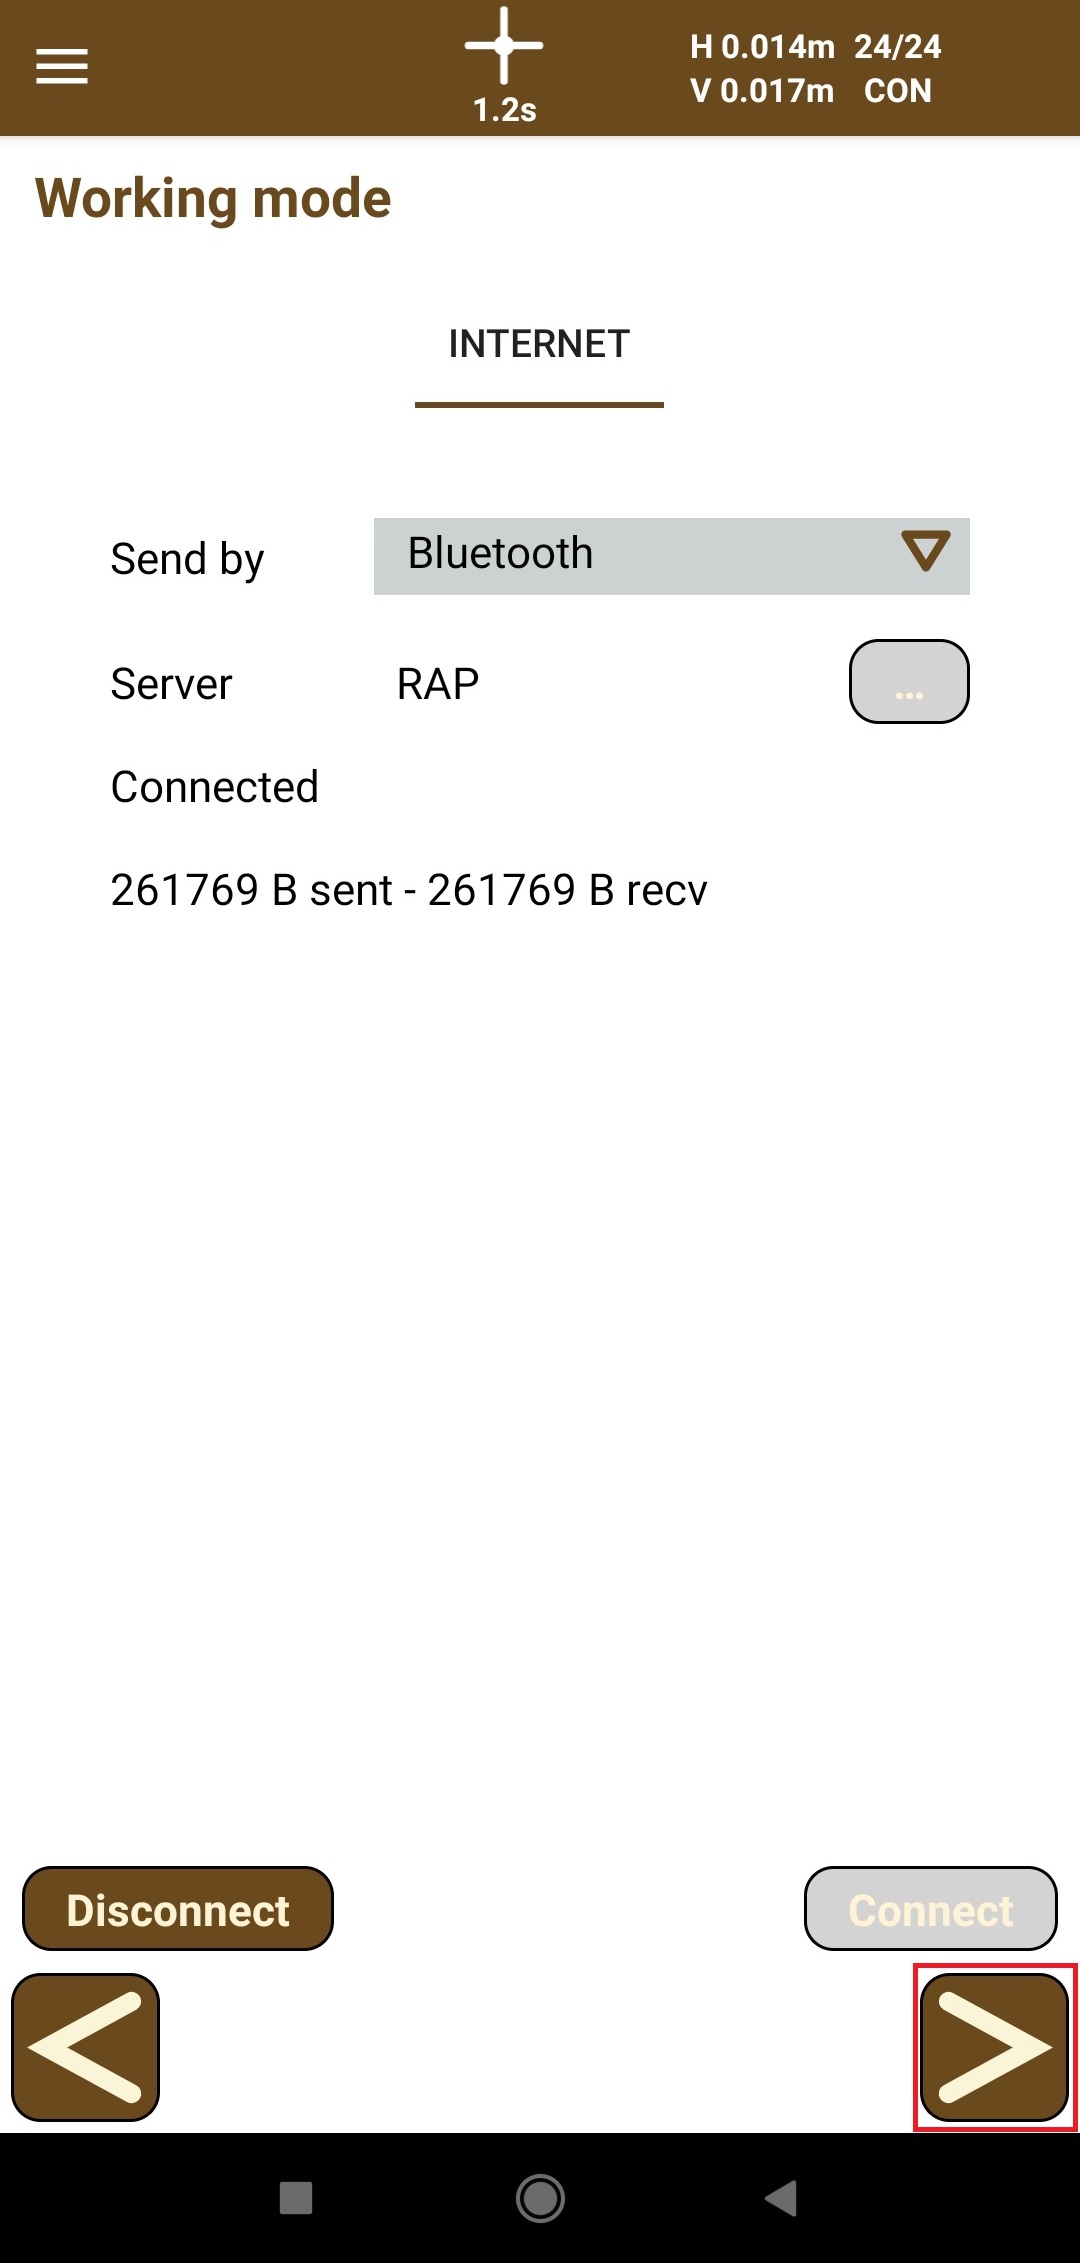
-
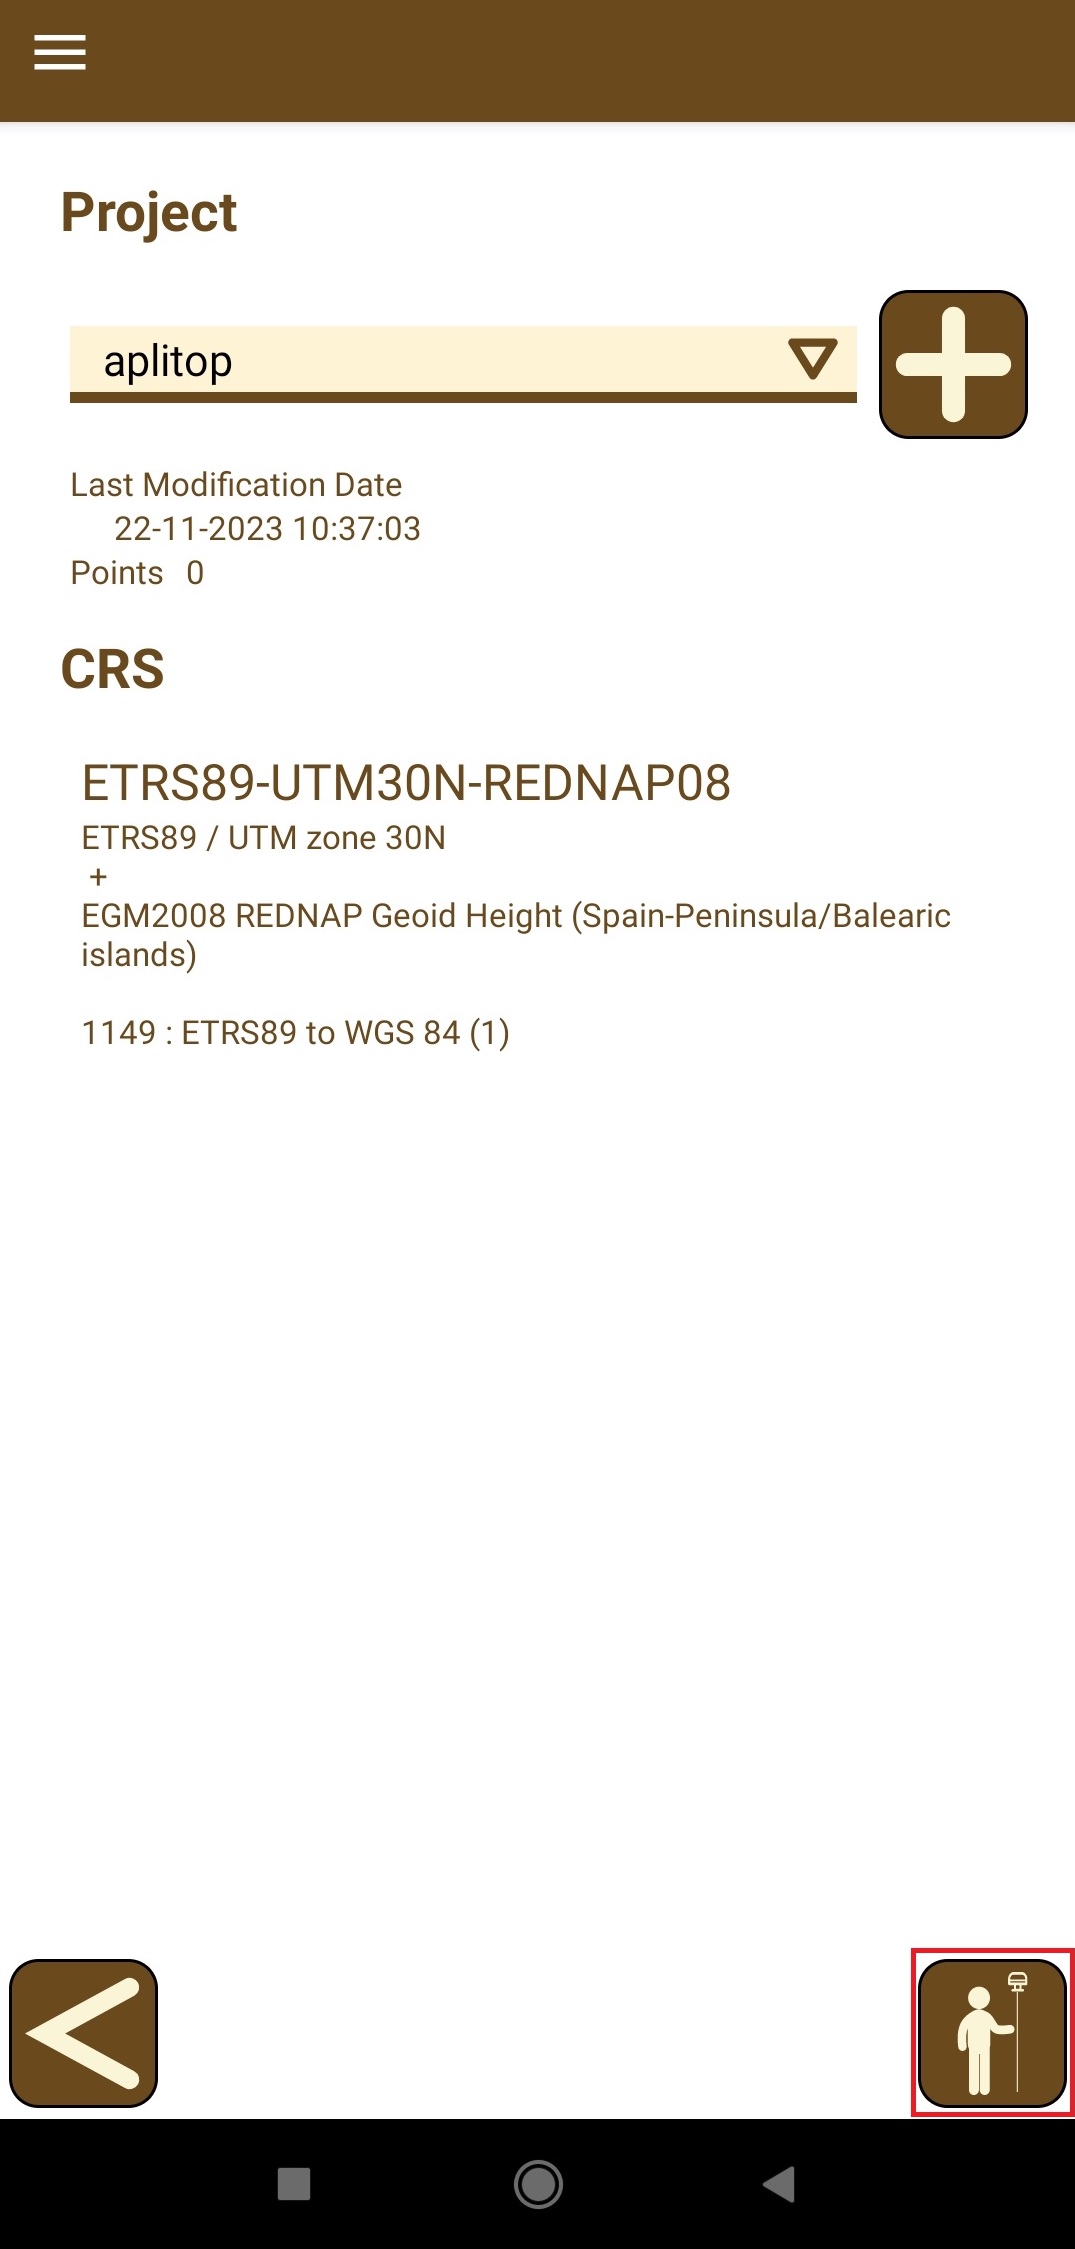
Tap the forward arrow button and select or create a project.

-
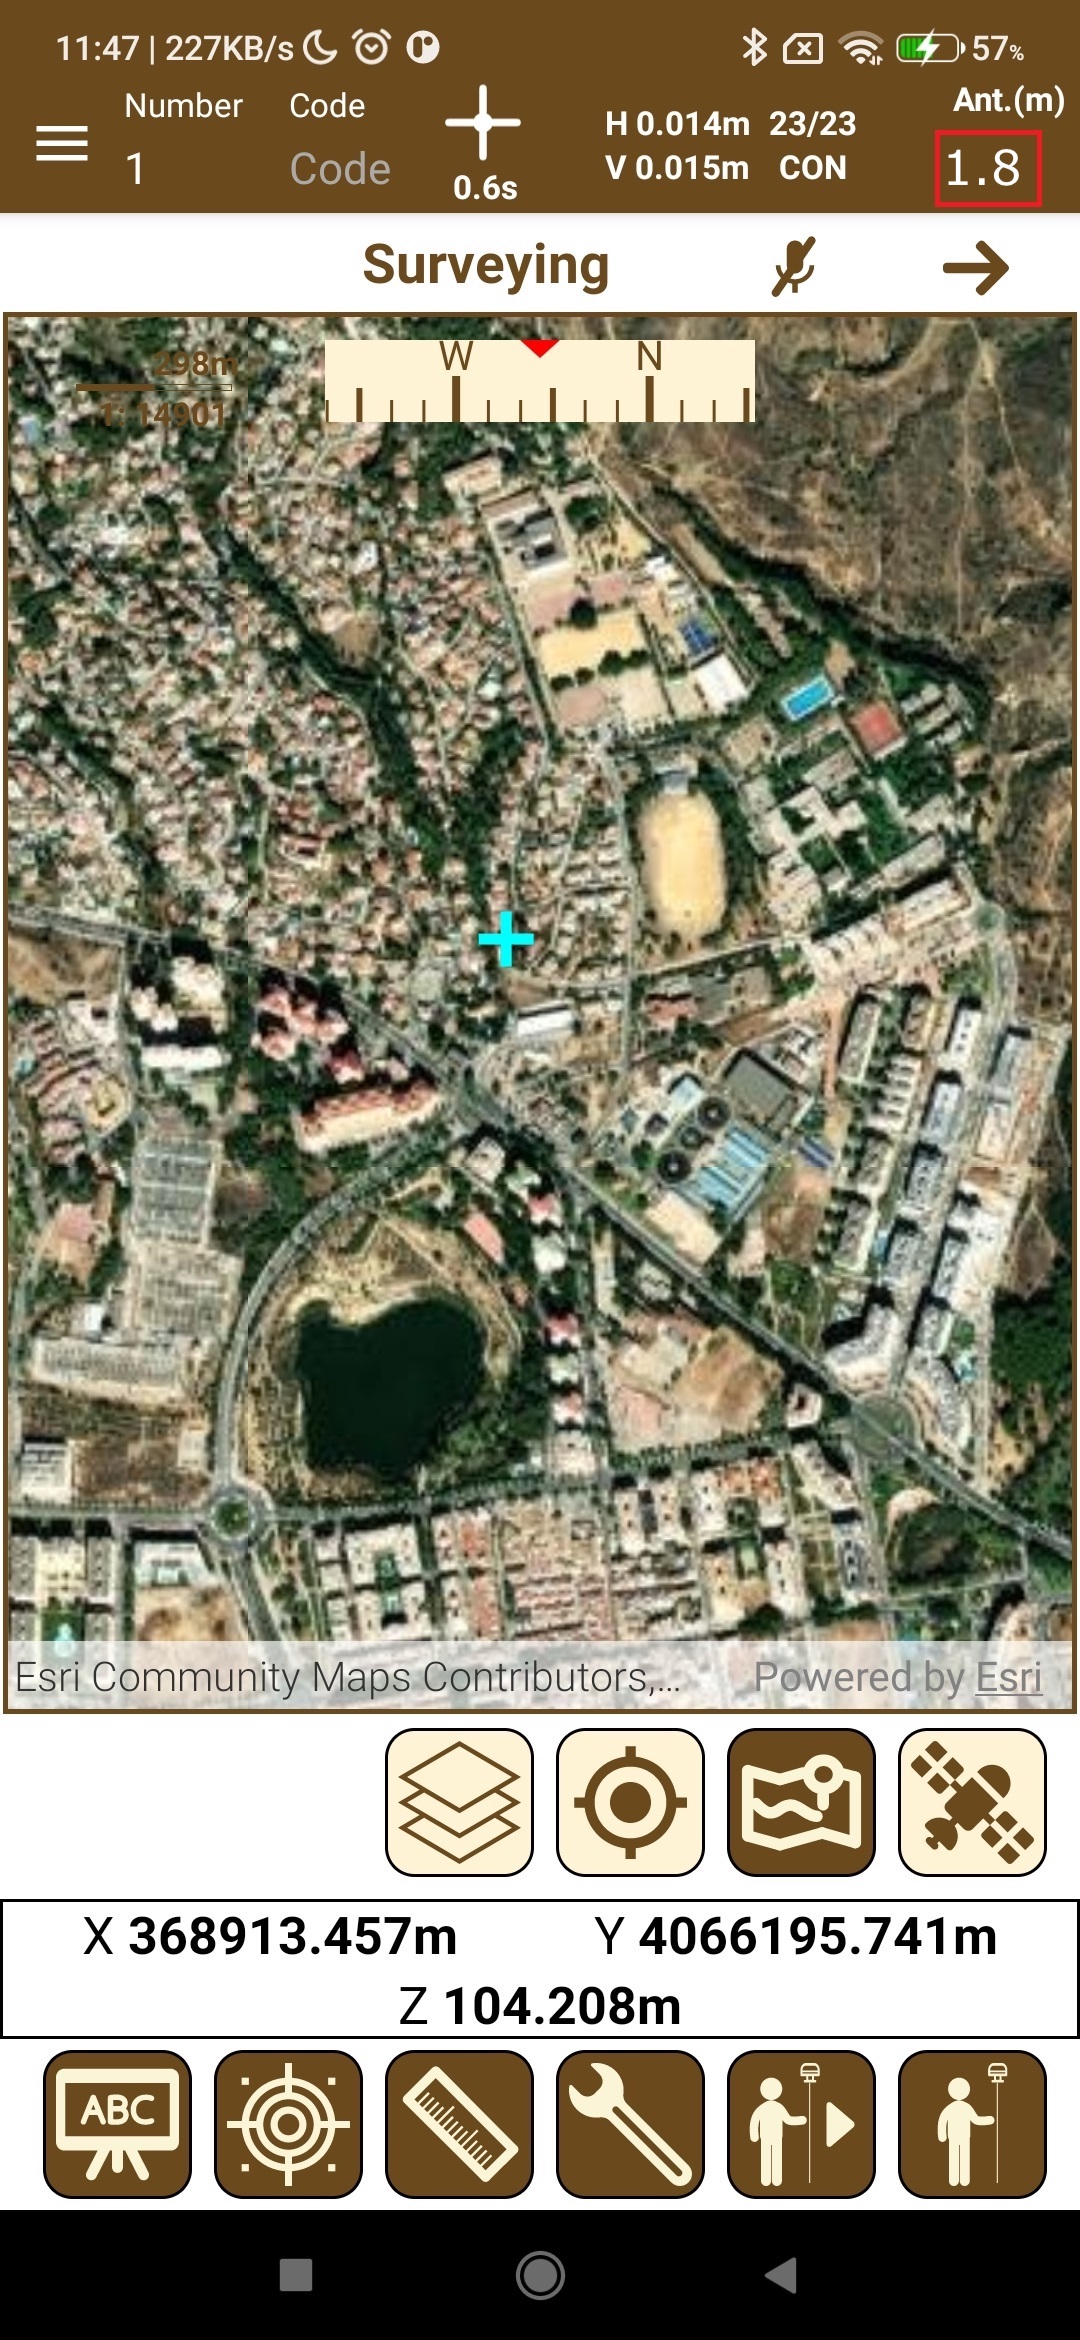
Tap the survey button, enter the antenna height on the right side of the status bar, and start working with TcpGPS for Android and the Reach RS2/RS2+.