How to log data for PPK UAV mapping
This guide shows how to record logs for PPK UAV Mapping and download them from UAV mapping kits using Emlid Flow.
With PPK workflow, accurate positioning does not happen in real time, all algorithms are applied afterward. Both base on the ground and rover on a UAV record raw GNSS logs which will be further used for post-processing of the data set, geotagging of the resulting photos, and mapping in the photogrammetric software.
To record time marks in the raw data log, you should ensure smooth synchronization of Reach and a camera. We recommend using the Reach M2/M+ hot shoe adapter.
To learn more about PPK mapping, check the following articles:
Configure logging on the rover
To configure logging on your Reach M2/M+ rover, follow the steps below:
-
Open Emlid Flow and connect to your Reach.
-
On the Receivers screen, tap Settings.
-
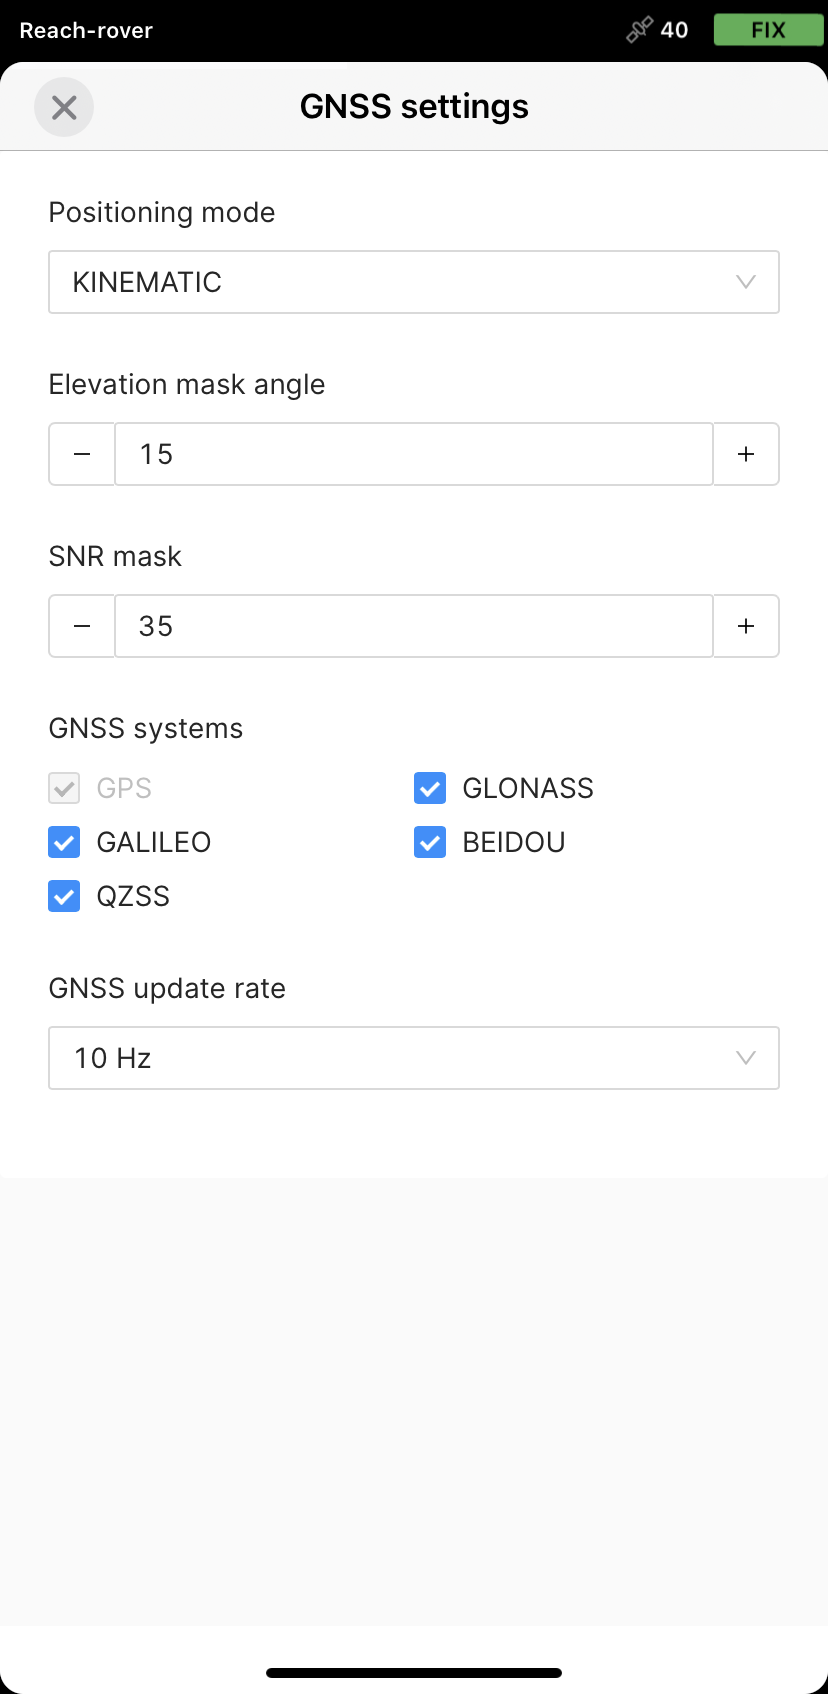
Go to GNSS Settings and set the satellite systems and update rate according to the following requirements:
- Reach M2
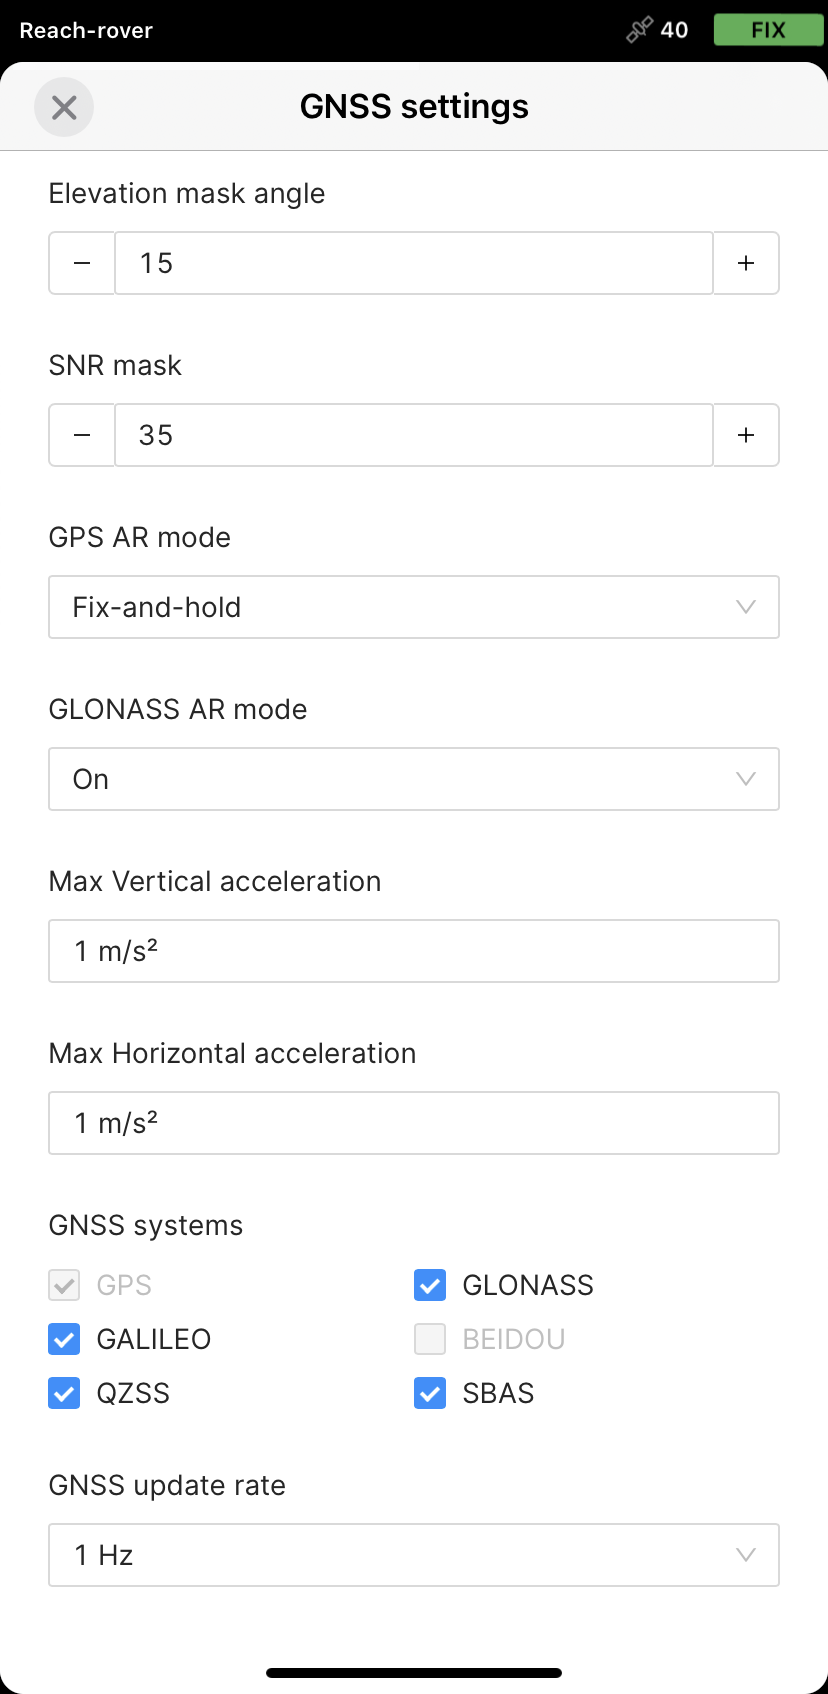
- Reach M+
Select the satellite systems and set the update rate at 10 Hz.
Reach M2 tracks GPS, GLONASS, Galileo, QZSS, and BeiDou satellite systems.
Select the satellite systems and set the GNSS update rate as follows:
| GNSS Selection | Reach M+ allowed update rates |
|---|---|
| GPS + GLONASS + GALILEO + SBAS + QZSS | 1 Hz |
| GPS + GLONASS + QZSS | 5 Hz |
| GPS + GALILEO | 5 Hz |
| GPS | 10 Hz |
-
Go back to the Receivers screen and tap Logging.
-
Tap the Recorded logs and settings button.
-
To configure logging, tap the blue gear button.
-
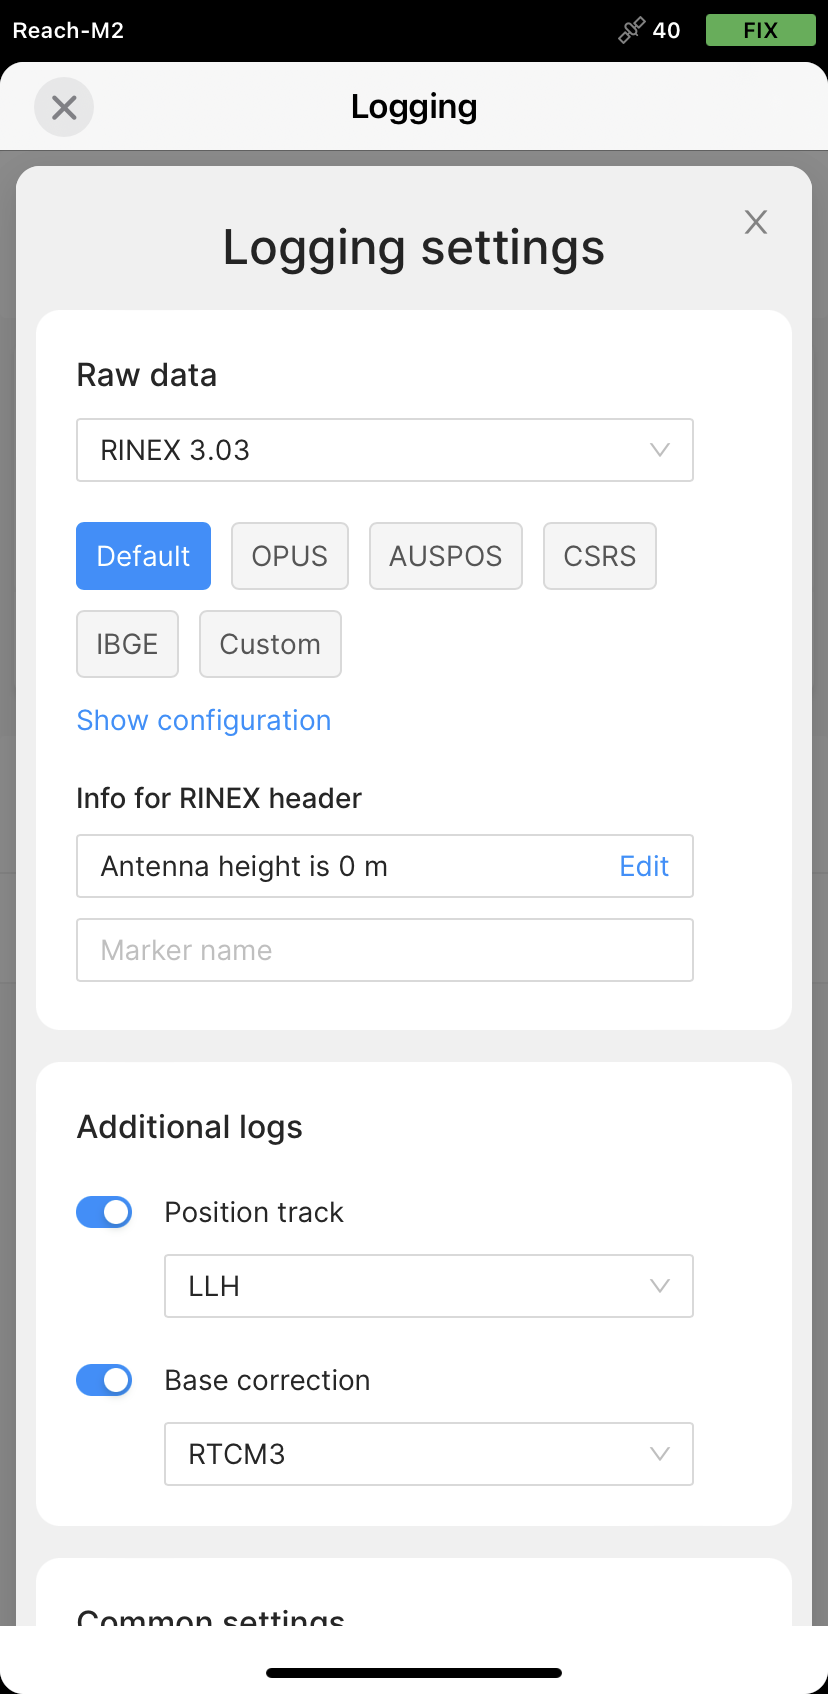
Choose the required RINEX format in the Raw data section.
noteIf you do not know which version of RINEX you need, we recommend using RINEX 3.03.
tipWhile recording in the RINEX format, you can log the UBX file as a backup. UBX file can be used to adjust RINEX file settings in the Converter tool in Emlid Studio. You can enable logging in the UBX format in the logging settings in Emlid Flow.
-
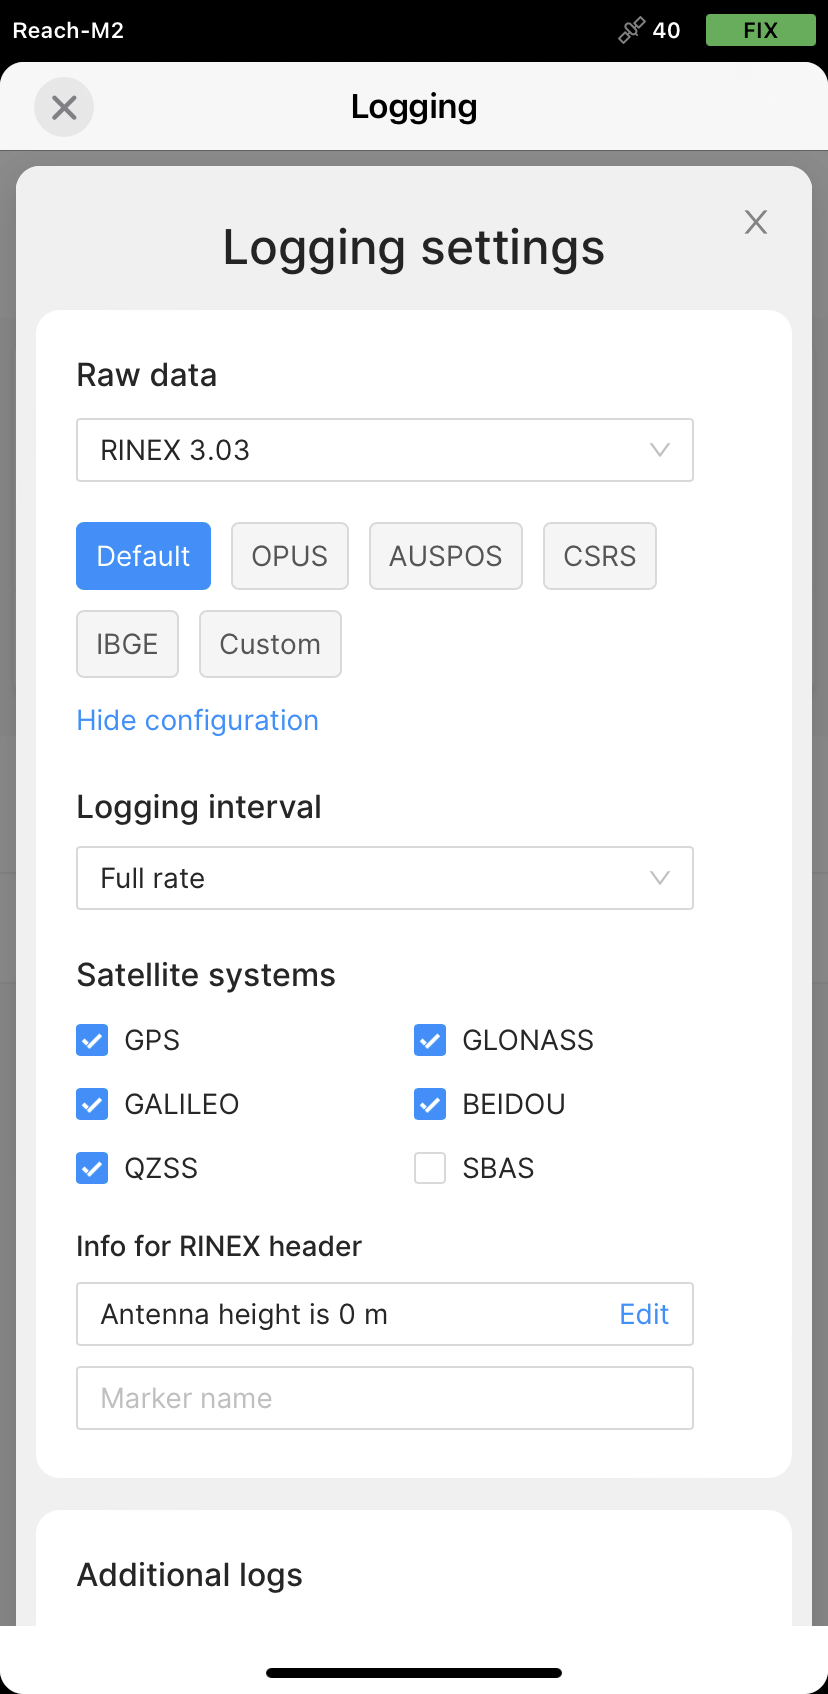
Tap Show configuration and select the same satellite systems as in GNSS Settings.
-
Set the logging interval at Full rate.
-
Do not use Antenna height.
noteWe recommend leaving the antenna height at 0. Usually, photogrammetric software has the feature of calculating the antenna offset (camera center position relative to the antenna position).
-
Leave the Marker name field empty.
-
Tap Apply.
-
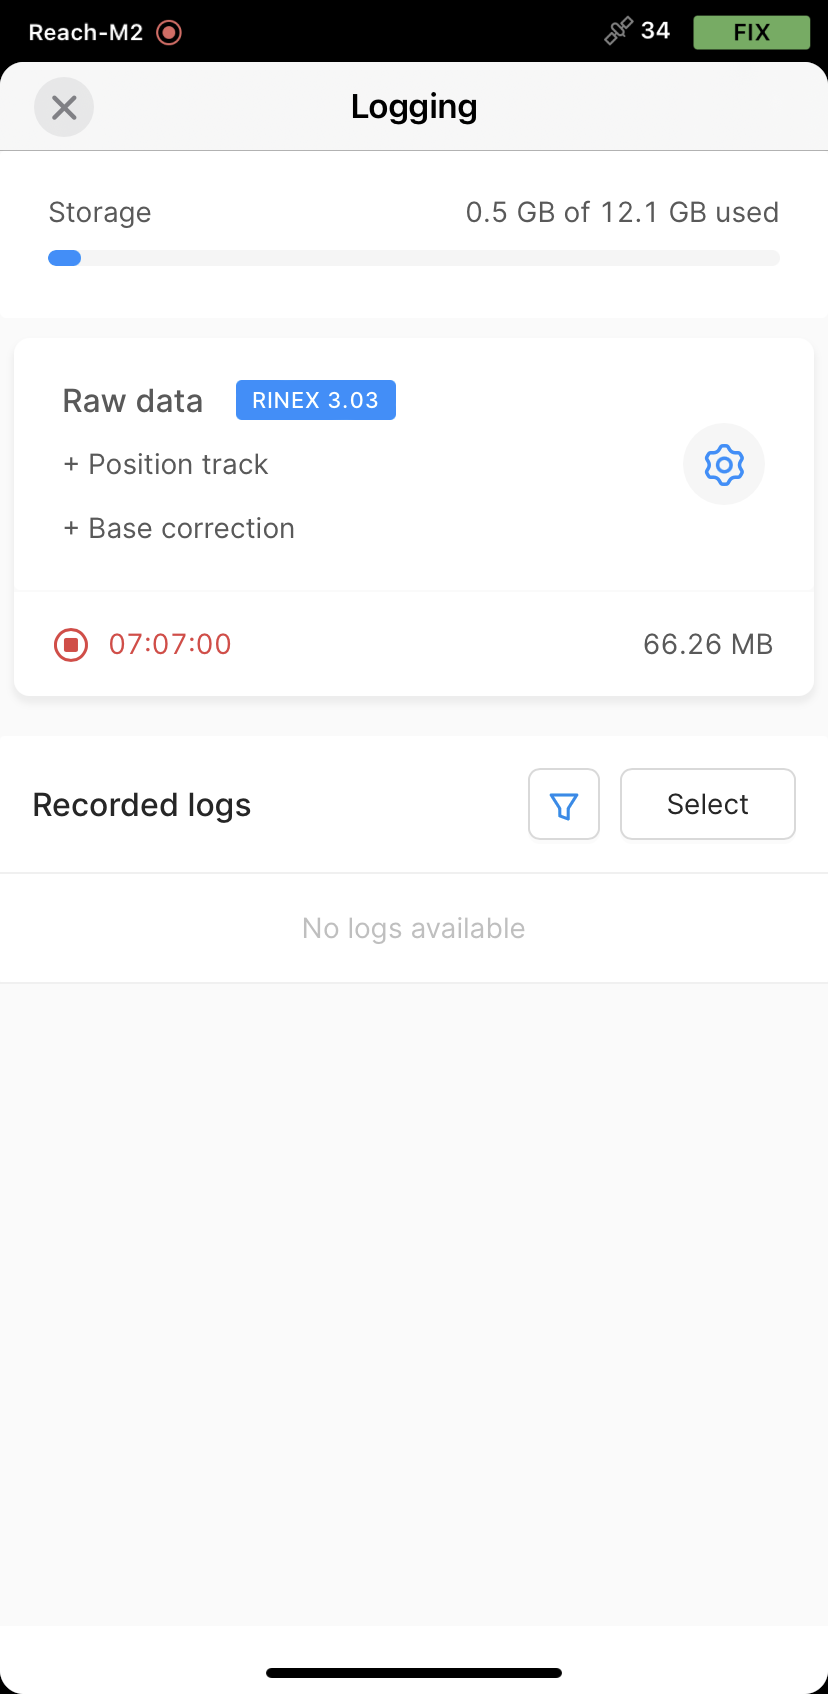
Enable log recording by tapping the Start recording button. The red recording icon will appear in the status bar.
You can start recording automatically when your receiver is turned on. Tick the corresponding field in the settings.
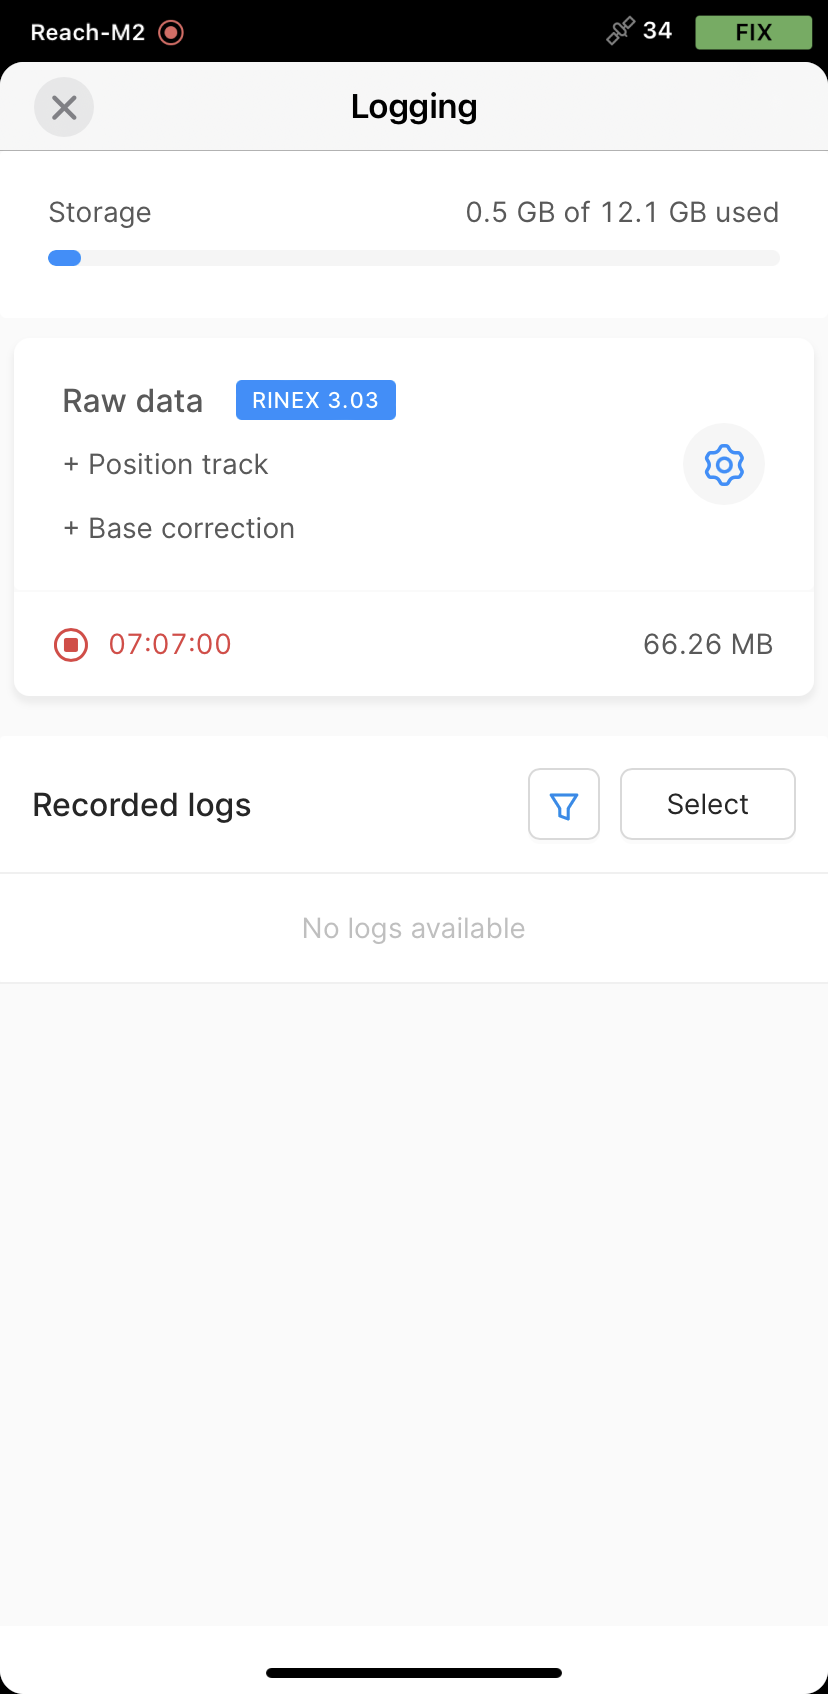
- To finish recording logs, tap the End recording button.
Wait for data processing to finish.
- Turn off the receiver by using the button.
Before pulling out the cable from a power source, wait for at least 15 seconds for the system to shut down properly.
Configure logging on the base
To configure logging on your Reach base, follow the steps below:
-
Go to GNSS settings, select the same satellite systems as for Reach M2/M+ and set the update rate at 1 Hz.
-
Go to the Logging screen in Emlid Flow.
-
Tap the Recorded logs and settings button.
-
To configure logging, tap the Settings button.
-
Choose the required RINEX format in the Raw data section.
noteIf you do not know which version of RINEX you need, we recommend using RINEX 3.03.
tipWhile recording in the RINEX format, you can log the UBX file as a backup. UBX file can be used to adjust RINEX file settings in the Converter tool in Emlid Studio. You can enable logging in the UBX format in the logging settings in Emlid Flow.
-
Tap Show configuration and select the same satellite systems as in GNSS Settings.
-
Set the logging interval at Full rate.
-
Enter the measured height to the bottom of the receiver.
-
Leave the Marker name field empty.
-
Tap Apply.
-
Enable log recording by tapping the Start recording button. The red recording icon will appear in the status bar.
You can start recording automatically when your receiver is turned on. Tick the corresponding field in the settings.
- To finish recording logs, tap the End recording button.
Wait for data processing to finish.
- Turn off the receiver by using the button.
Before pulling out the cable from a power source, wait for at least 15 seconds for the system to shut down properly.
Download logs
After you finish raw data logging, you need to download RINEX data from Reach to your mobile device.
-
Go to the Recorded logs section at the bottom of the Logging screen.
noteYou can also find information on the logs size and recording date and time here.

-
To export the file, tap the Download button.
-
Save your log depending on the device you use.
tipIf you do not need your logs anymore, you can delete them using the Select button.
When the logs are downloaded, you can start working with your data in Emlid Studio.