Drone data processing
This guide walks you through the process of geotagging of the drone images in Emlid Studio that are used for further mapping in photogrammetry software.
Overview
With the Drone data processing feature, you can easily add geotags to the drone images' EXIF data and process them later in the photogrammetry software. To perform geotagging, you need raw data logs from the base and the rover, or a ready POS file with the events, and drone images. The process includes two steps: processing and geotagging. You can skip processing and upload your own _events.pos files to obtain geotagged photos.
Getting started
To learn more, check out the How PPK works and PPK mapping with Reach guides.
As a result of the mapping mission, you should have the following files:
- RINEX log from a base
- RINEX log from a rover
- Set of images from the drone's camera
- Emlid Flow CSV file with the coordinates of ground control points
The RINEX data will be used to get precise coordinates for the image geotagging. The CSV file is not needed at this step, but it's essential for further mapping in photogrammetry software.
Workflow
Post-processing
If you already post-processed RINEX files from the base and the rover and obtained the _events.pos file, go straight to the Geotagging section.
To post-process the files from the base and the rover, follow the steps below:
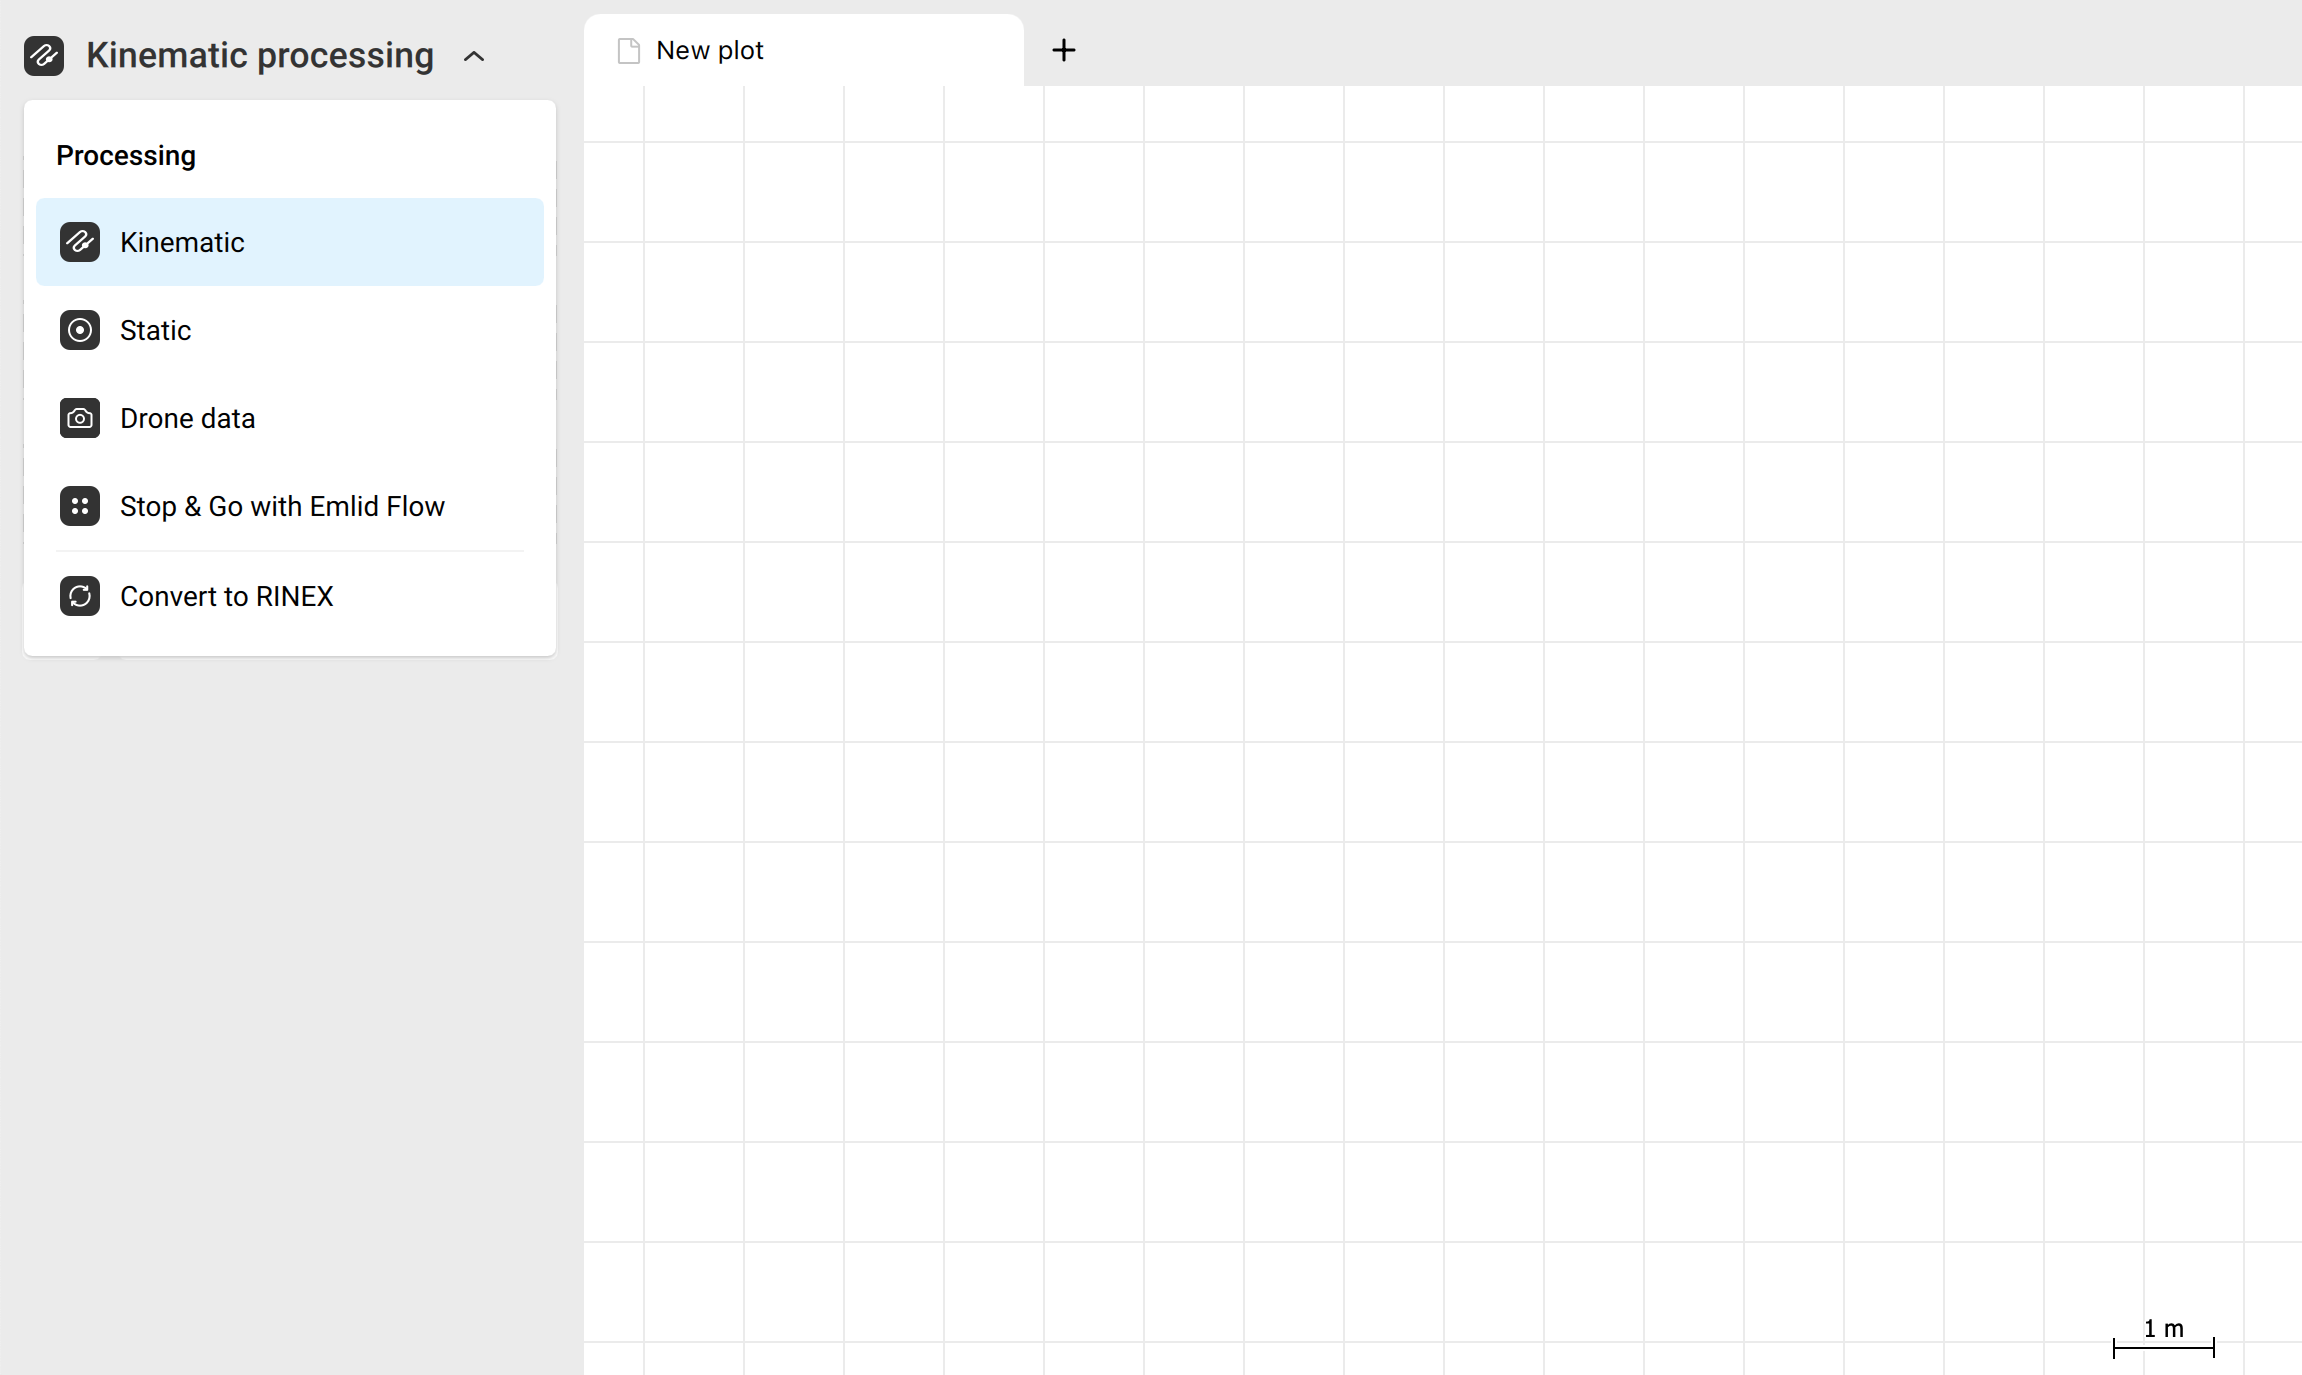
-
Select the workflow from the drop-down list in the upper-left corner.
-
Add the RINEX observation file from the rover.
-
Set the antenna height in meters.
noteWe recommend leaving antenna height to 0. Usually, photogrammetry software has the feature of calculating the antenna offset (camera center position relative to the antenna position).
-
Add the RINEX observation file from the base.
-
Set the base coordinates. Emlid Studio uses the position from the RINEX header by default. If you placed your base over a known point, you can manually enter its coordinates and antenna height, or you can also update the position by dragging in a .pos file created during static processing.
If you use a .pos file created during post-processing, Use the .pos file generated with the One Best solution option in Emlid Studio for the most accurate base position.

-
Add the RINEX navigation file from the base or the rover.
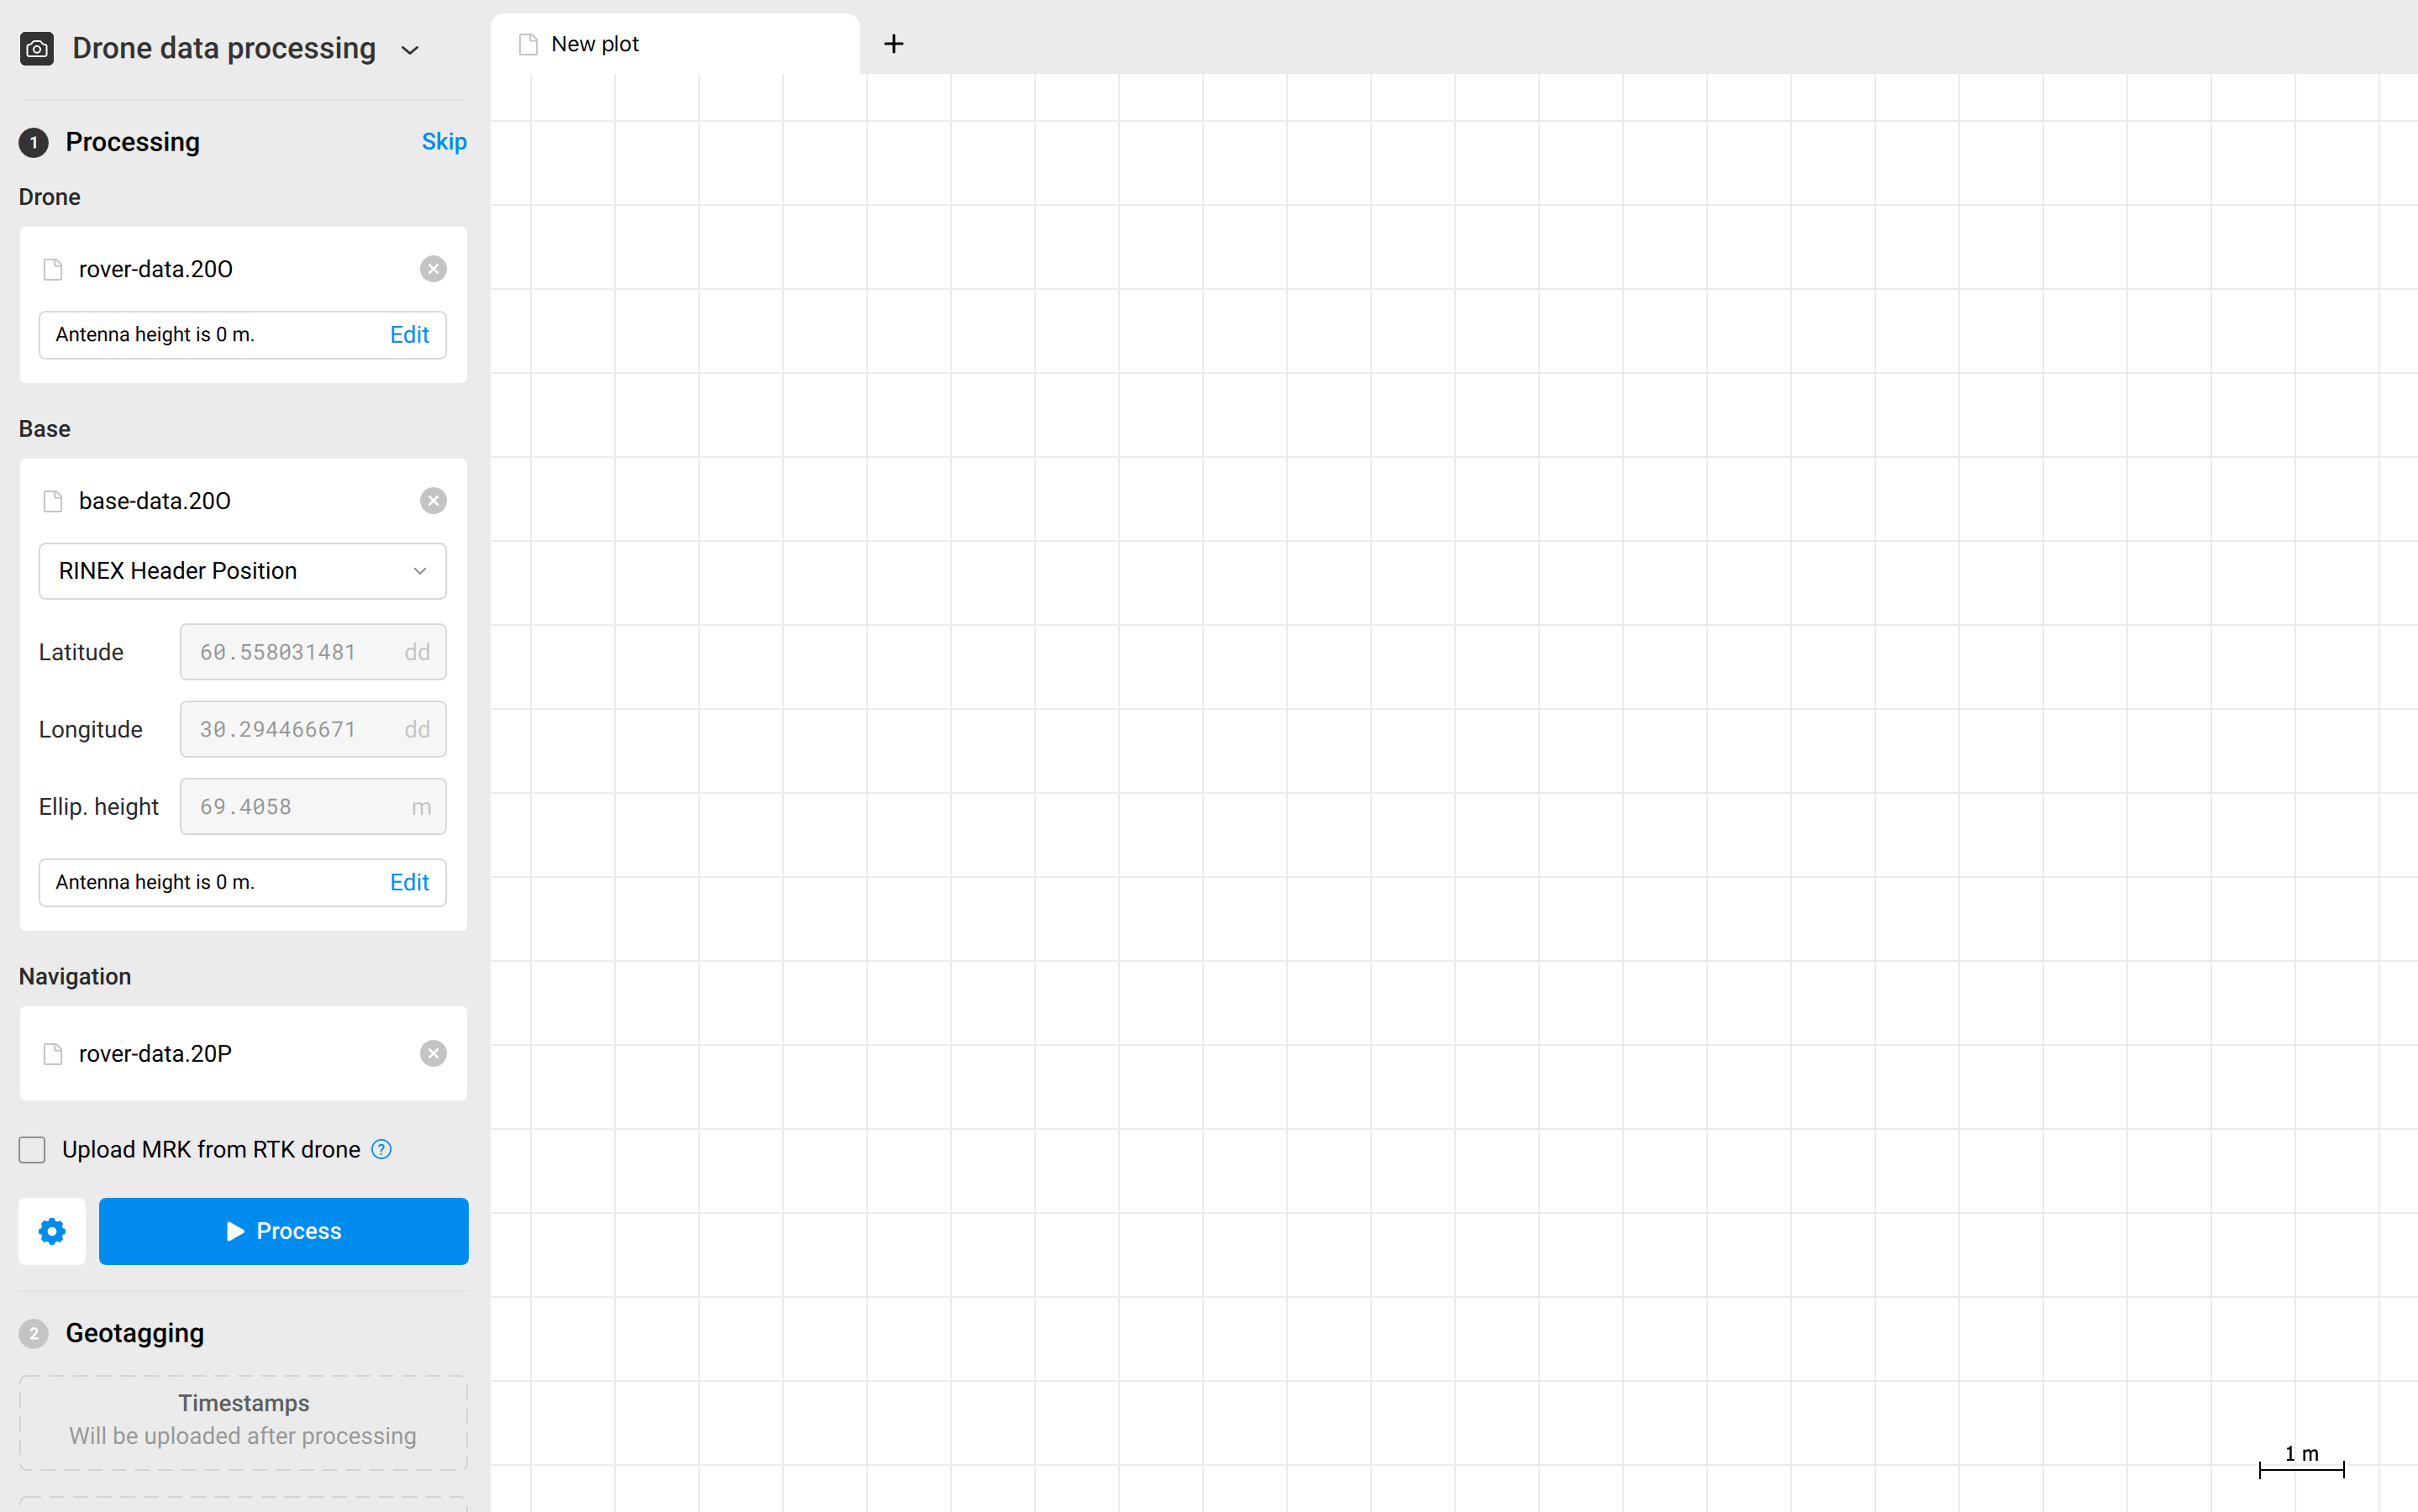
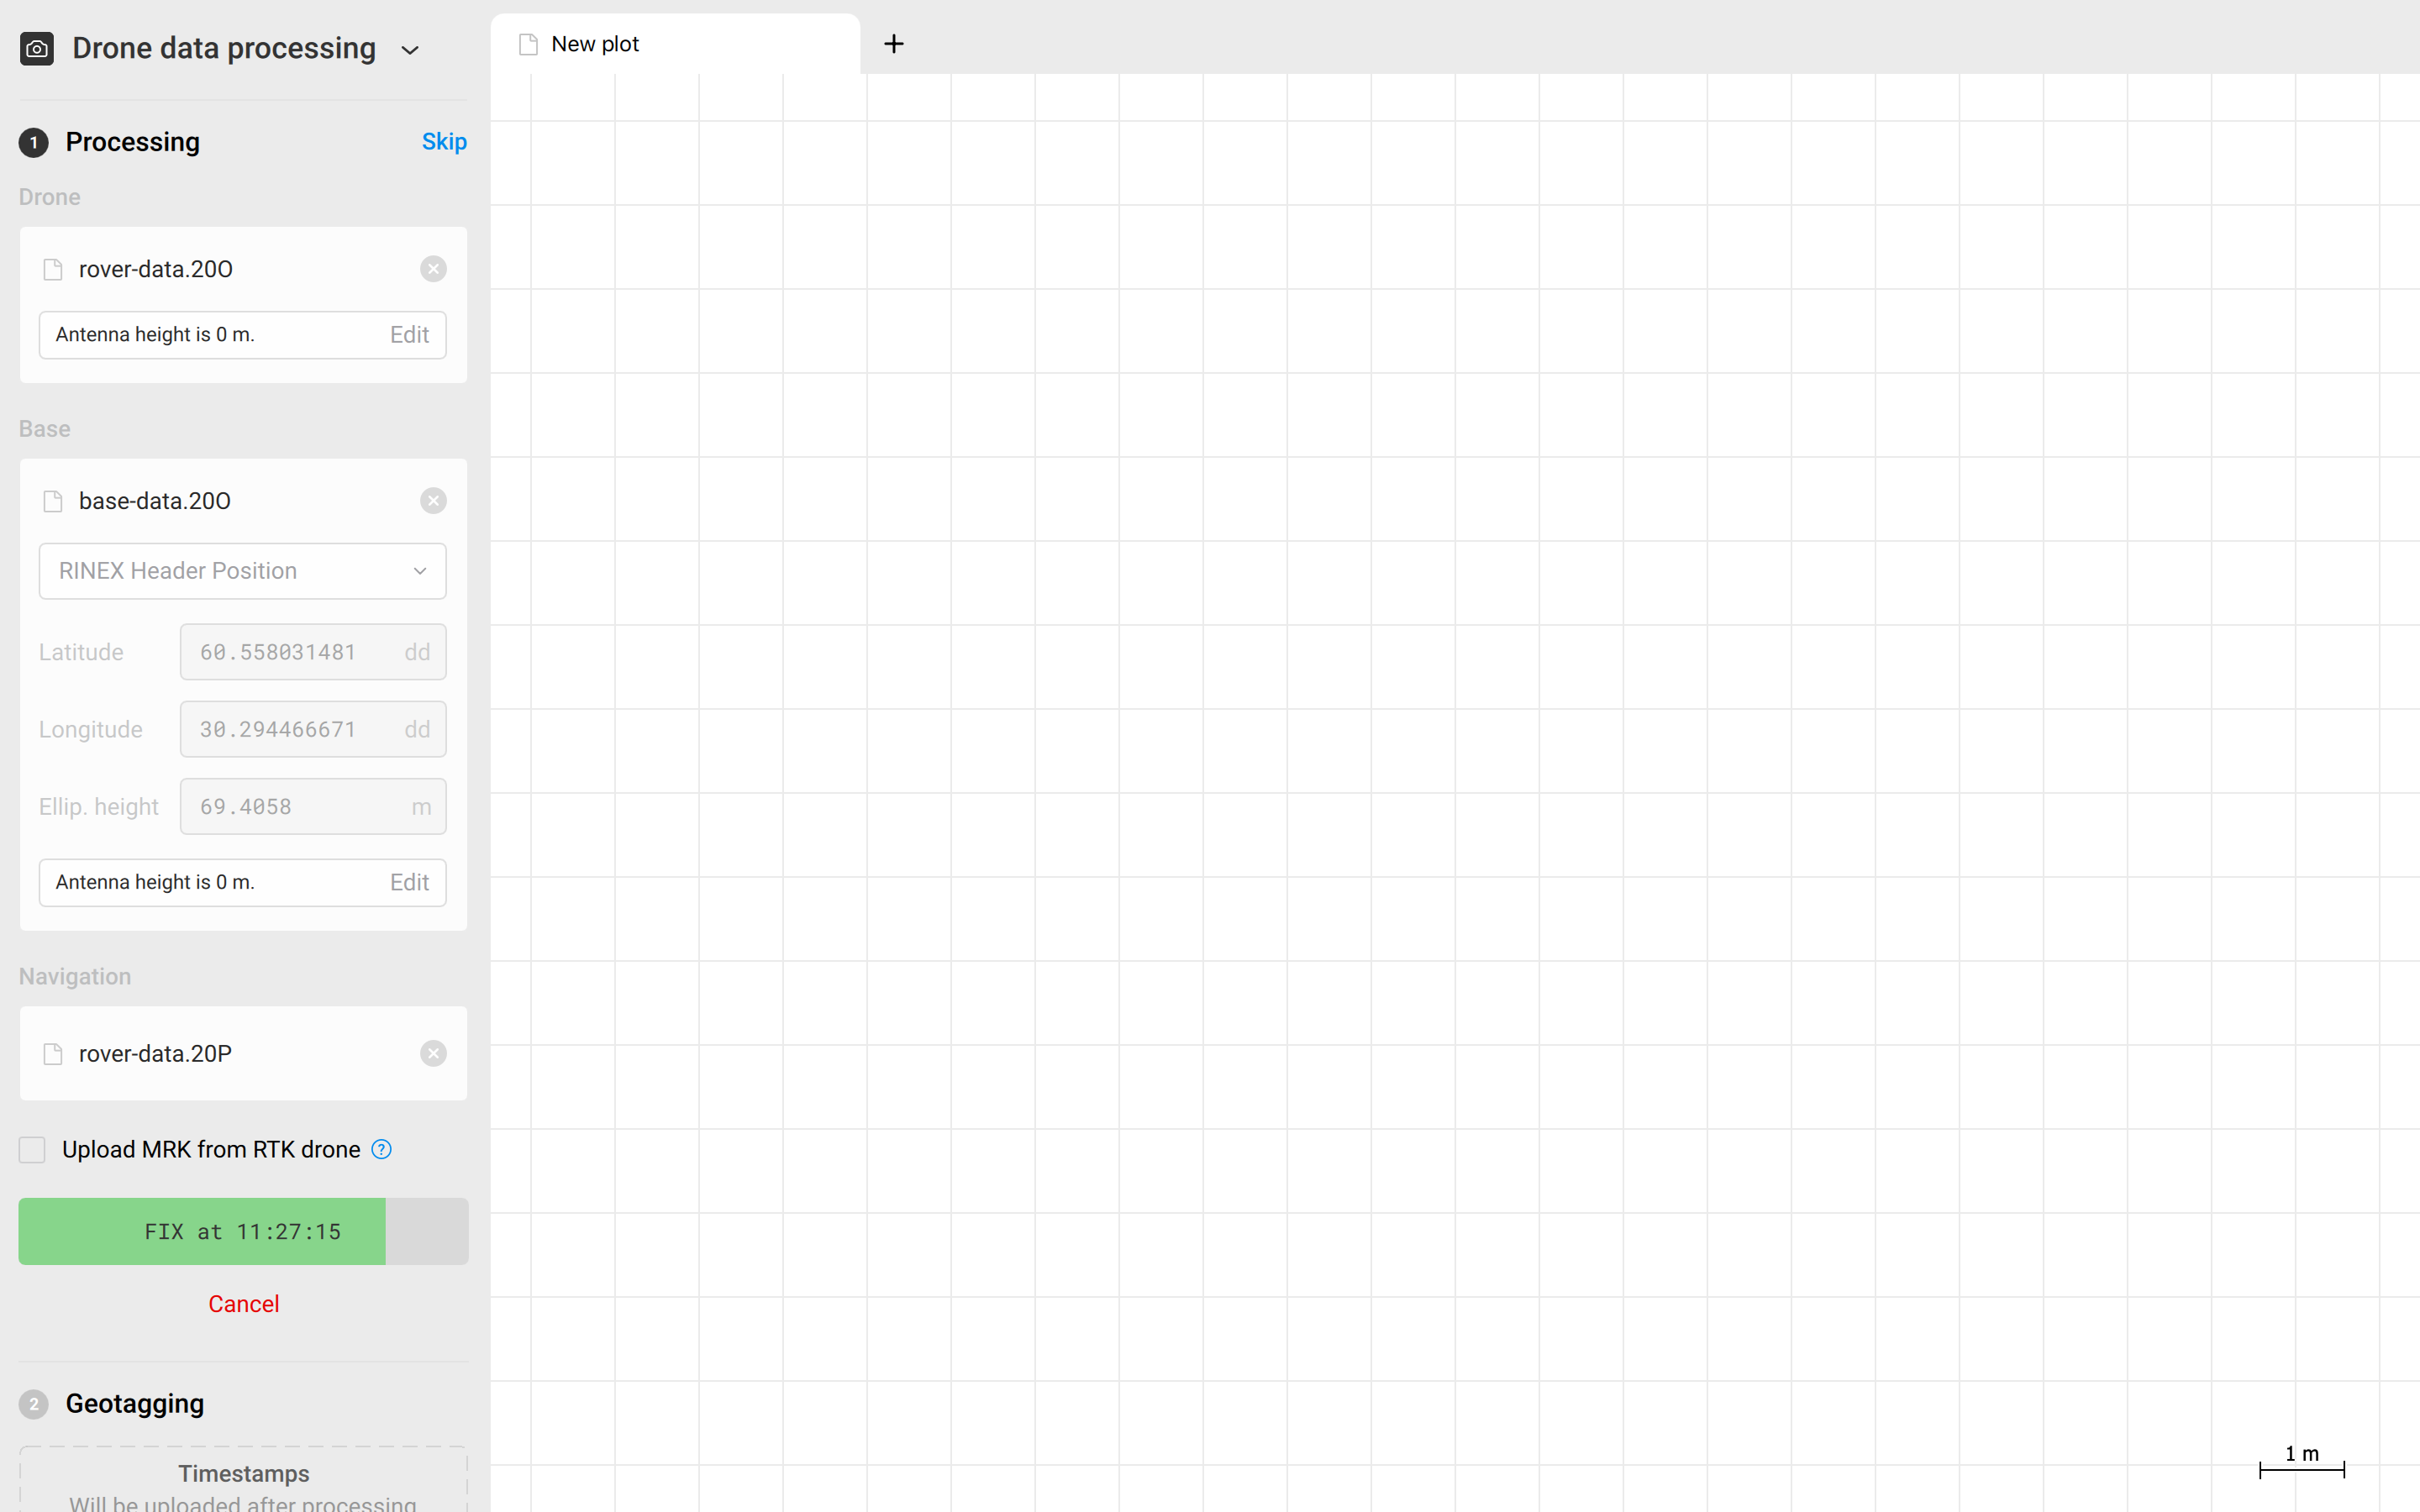
-
Click Process. You will see the progress bar in the bottom left corner.
-
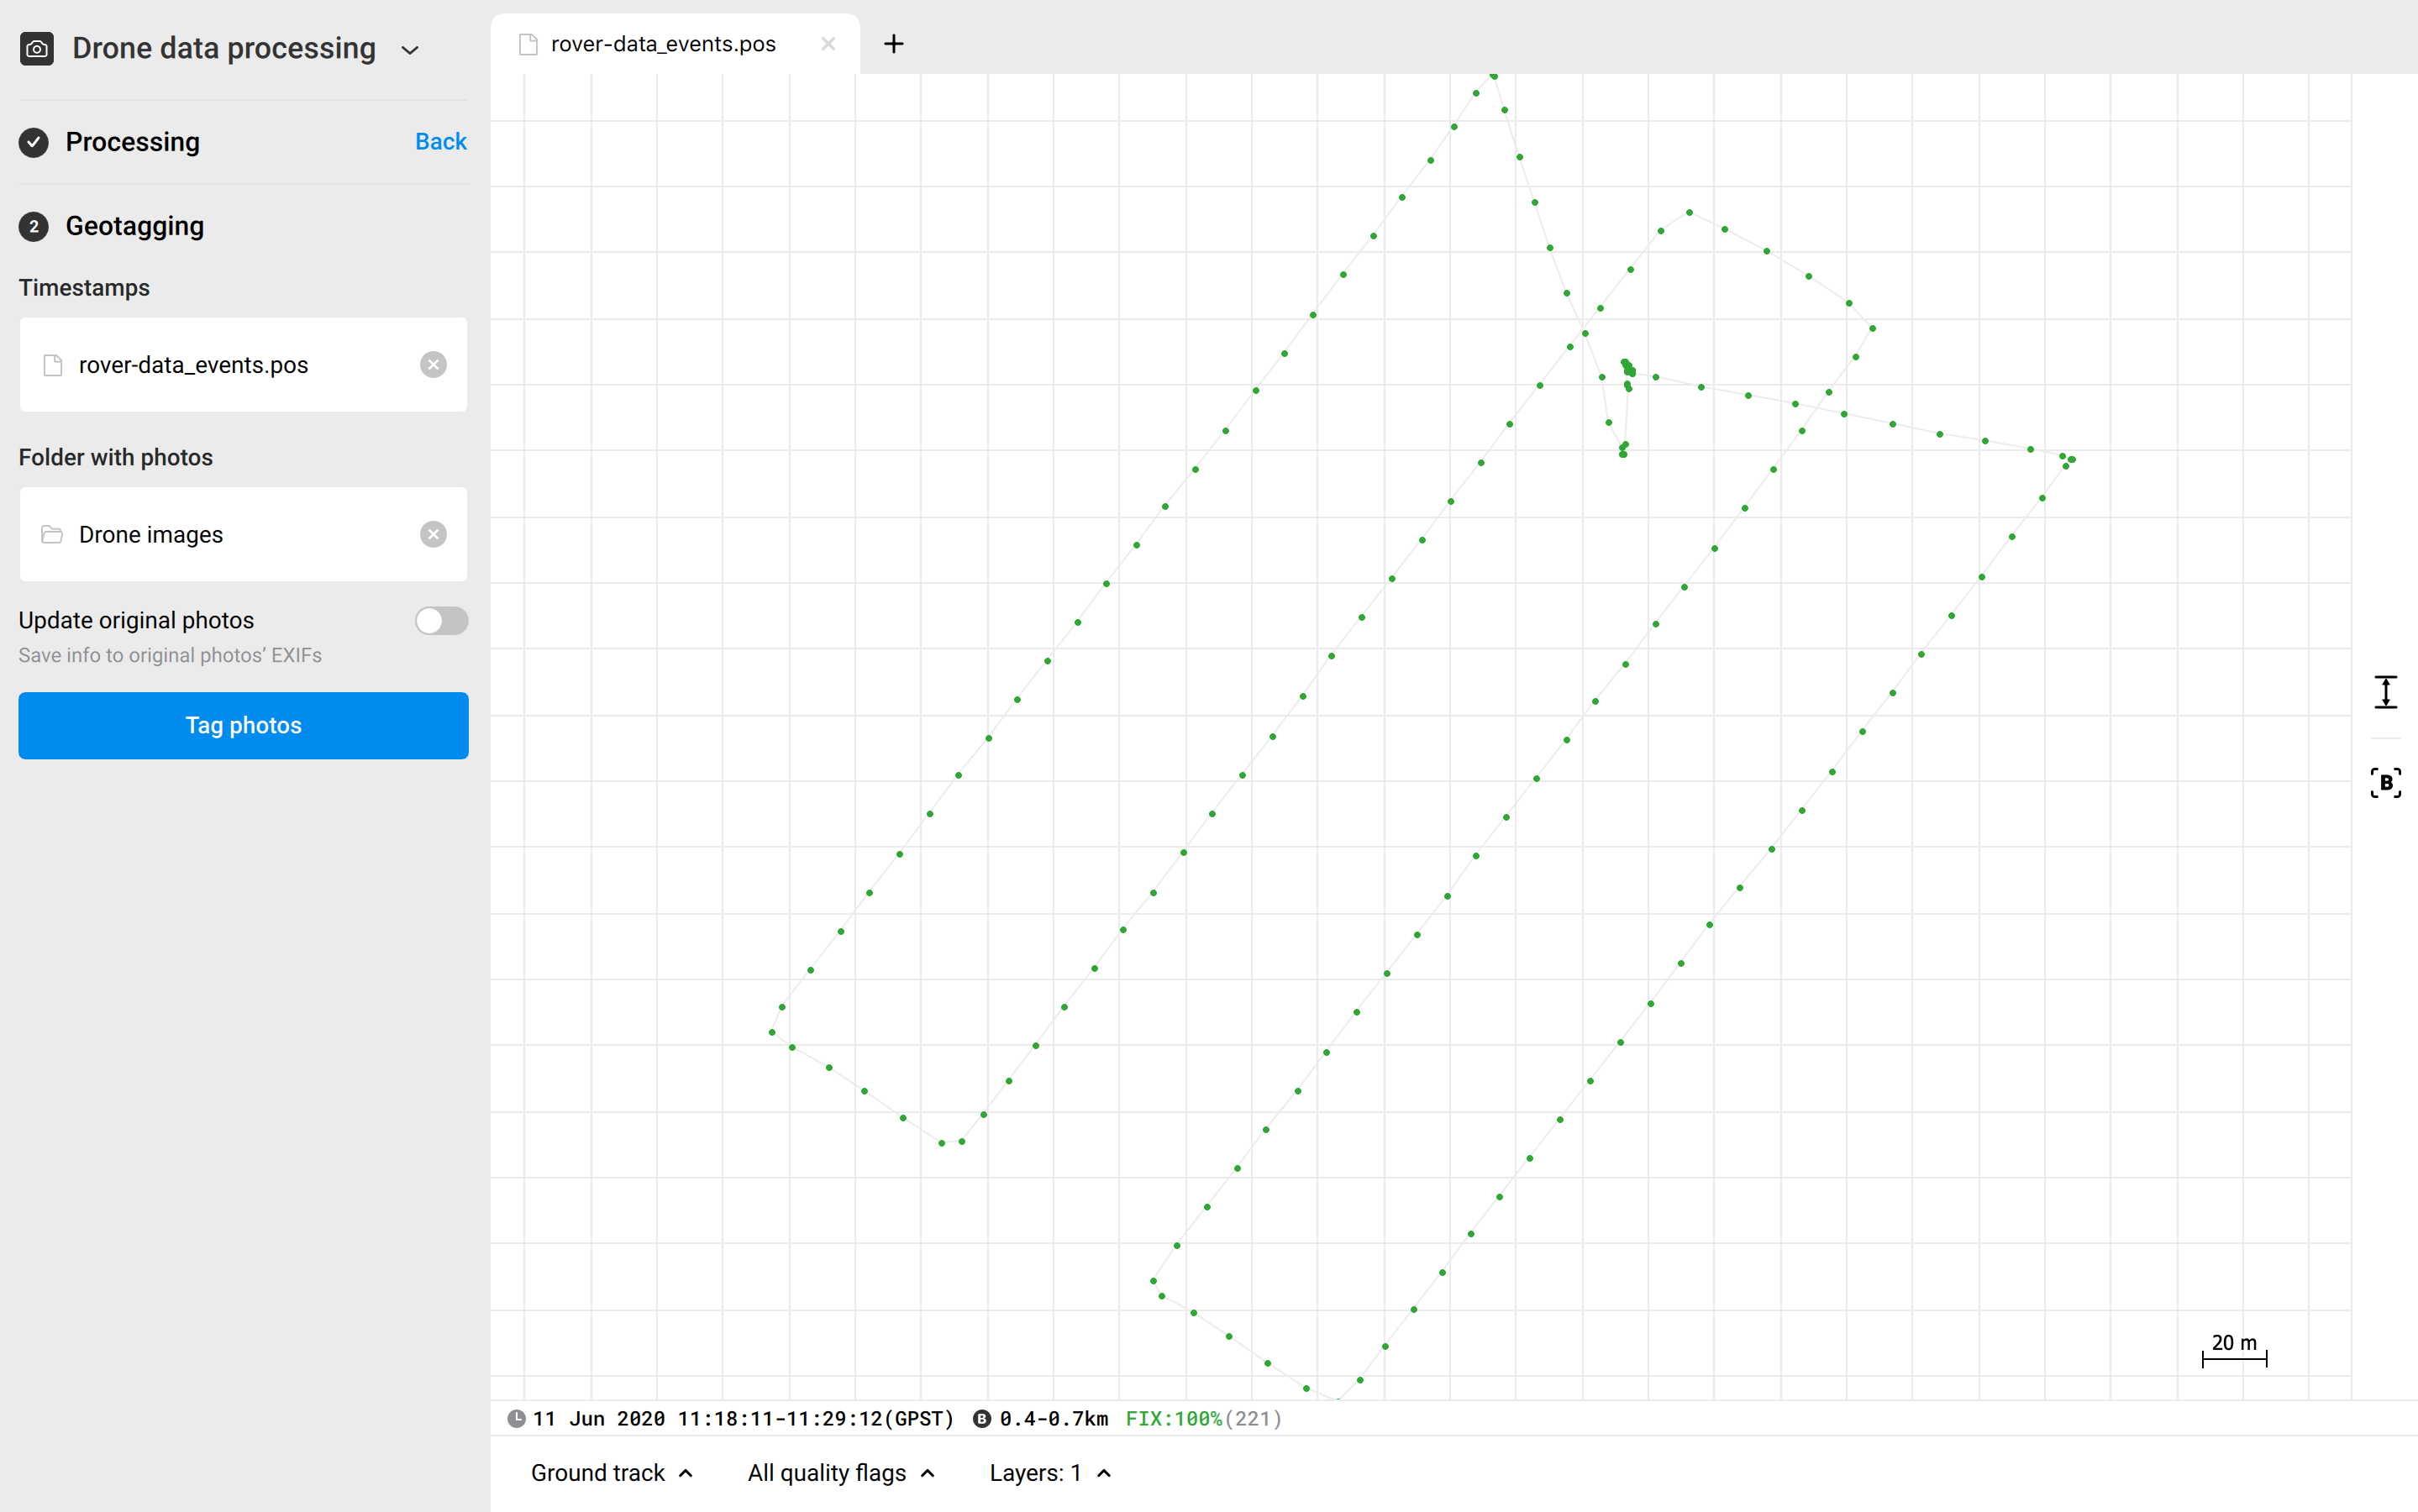
Once the .pos file is ready, Emlid Studio will show it on the plot.
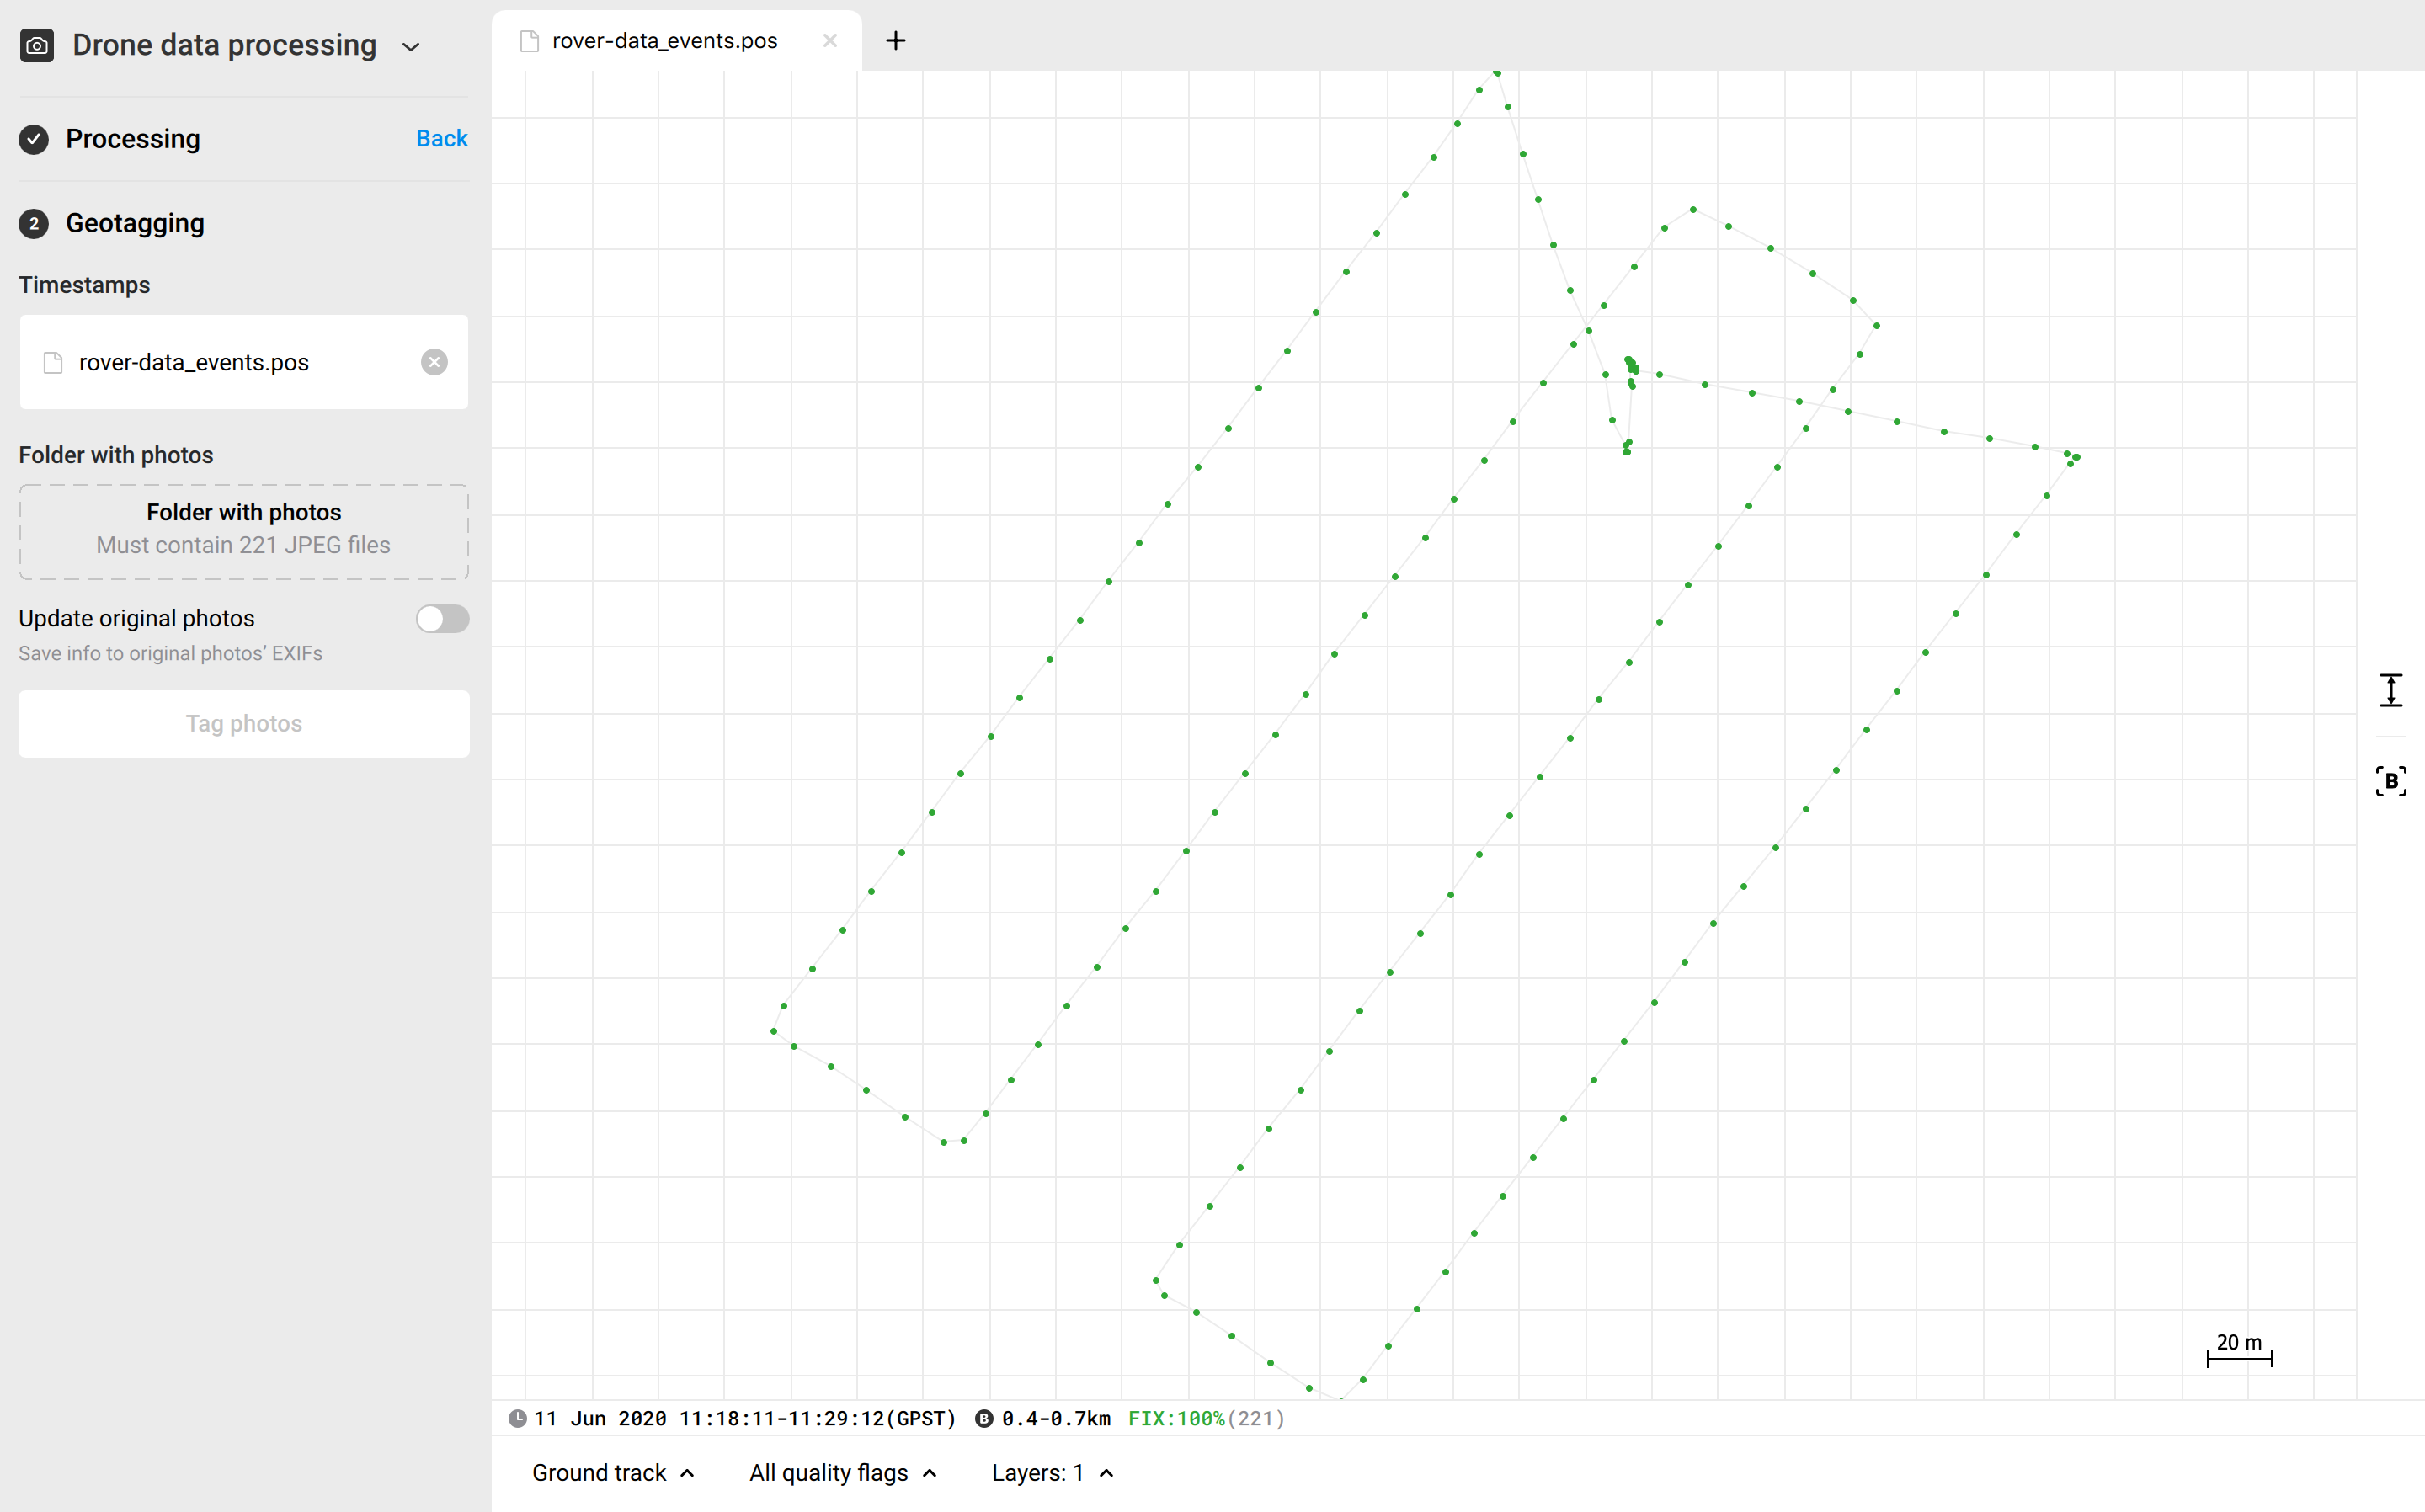
The _events.pos file with the precise photos' positions will be automatically added to the Timestamps field in the Geotagging section.
Geotagging
If you skipped the steps above, you need to add the _events.pos file manually. Drag and drop it to the Timestamps field.
To geotag your photos, follow the steps below:
-
Select the folder that contains the photos from the drone's camera.
noteEmlid Studio can only geotag photos when the number of timestamps is equal to the number of photos.
tipIf you want to update the original photos with geotags, toggle Update original photos. By default, Emlid Studio creates geotagged copies of the photos in a new folder.
- Click on the Tag photos button. The geotagging process will start. When the processing is over, you can click on Show result files to see the geotagged photos.

Once you have the geotagged photos, you can proceed with creating a map in the photogrammetry software.
To create a map using Pix4DMapper, check the Creating the map tutorial.
Video guide
Check out the workflow in the video below: