Creating map in Pix4Dmapper
This is the third part of a guide describing the PPK mapping workflow with Reach. It implies you already have raw logs from both base and rover, set of images, and Ground Control Points. If you do not, please check the Geotagging photos with Emlid Studio first.
At previous steps, we got centimeter-accurate geotags from Reach and georeferenced a set of images using this data in Emlid Studio. Now, we will turn it into a map.
Create the map in Pix4Dmapper
Pix4Dmapper is a photogrammetry software for drone mapping by Pix4D. It provides tools for creating digital maps and models and taking measurements based on them.
Create a new project
To create a new project in Pix4Dmapper:
-
Start Pix4Dmapper.
-
Click Project > New project... The New Project window opens.
-
In the New Project window, enter a name and browse for a directory.
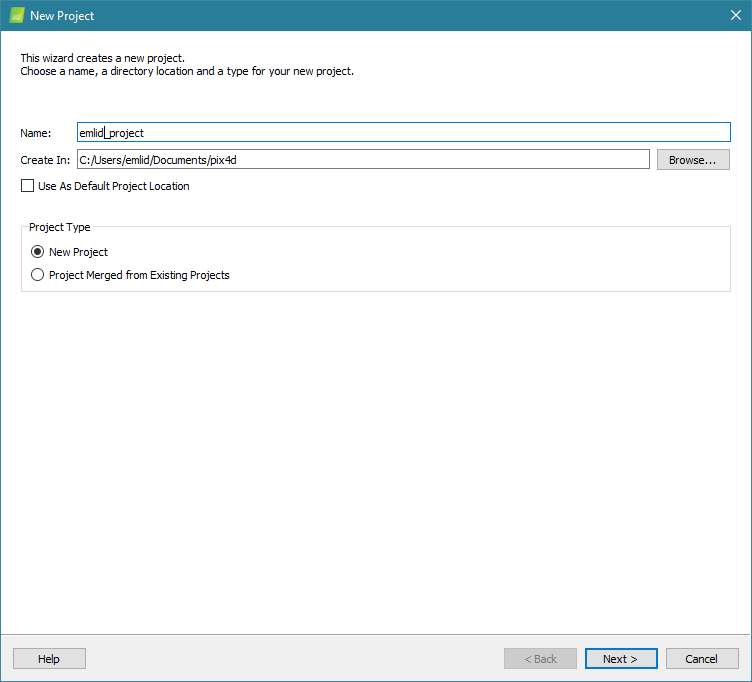
-
Click Next. The Select Images window opens.
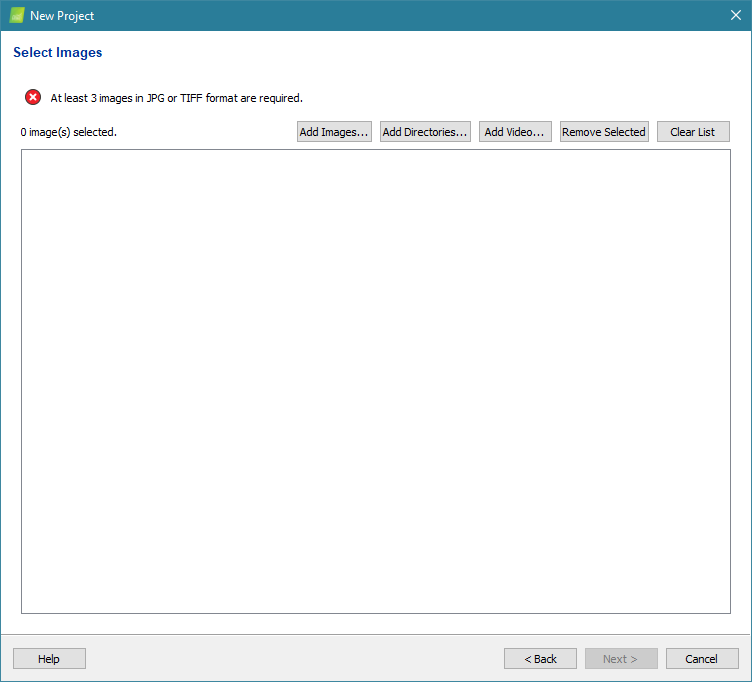
-
Click Add images. Browse to the image folder and select the images. They will display in the window. Click Next.
-
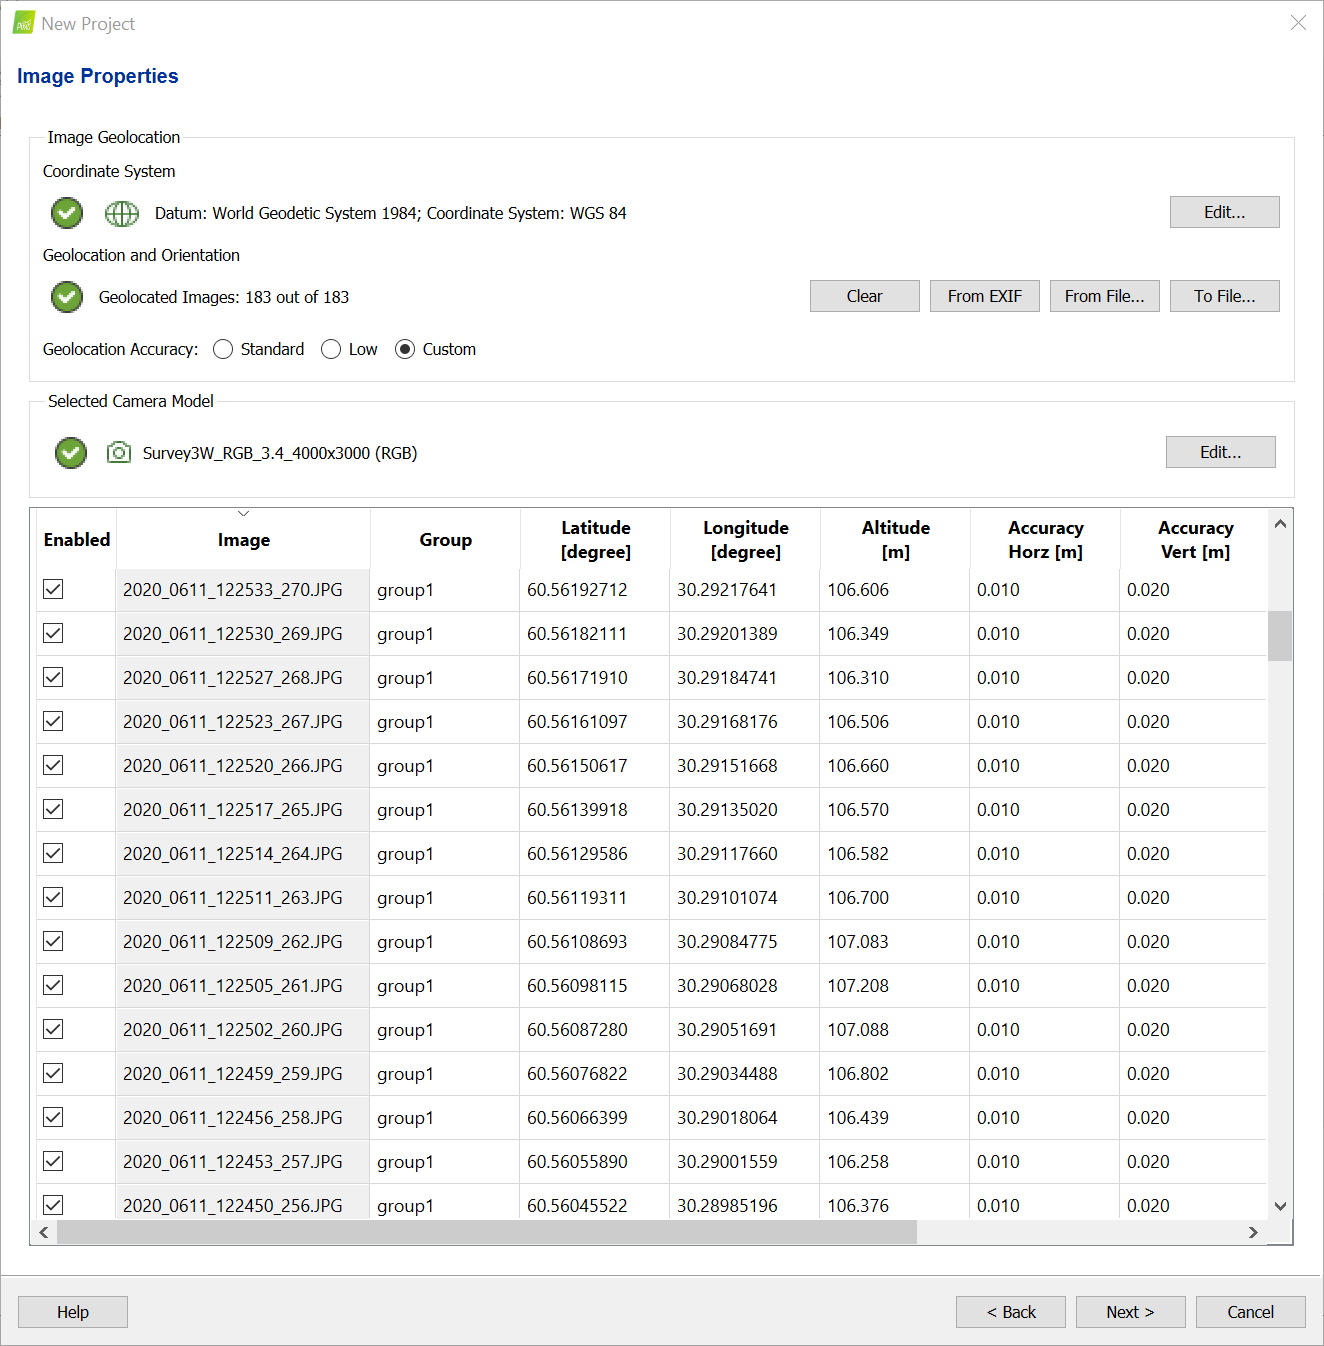
In Image Geolocation Editor - Coordinate System, click Edit… and select WGS 84 and Geoid Height Above WGS 84 Ellipsoid [m] = 0 in Advanced Coordinate Options.
-
In Image Properties Editor - Images Table adjust the Accuracy Horz and Accuracy Vert values to reflect the estimated accuracy of image geolocation.
tipThe Camera Model is usually defined automatically from images’ metadata. However, it can be changed if necessary.
-
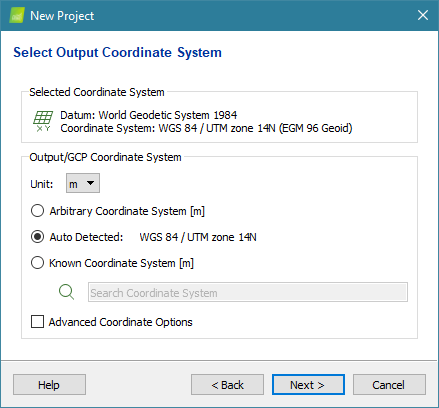
Select the Output Coordinate System that will be assigned to the generated results, for example, DSM and orthomosaic. If the images are georeferenced, a corresponding UTM zone will be auto-detected by default.
-
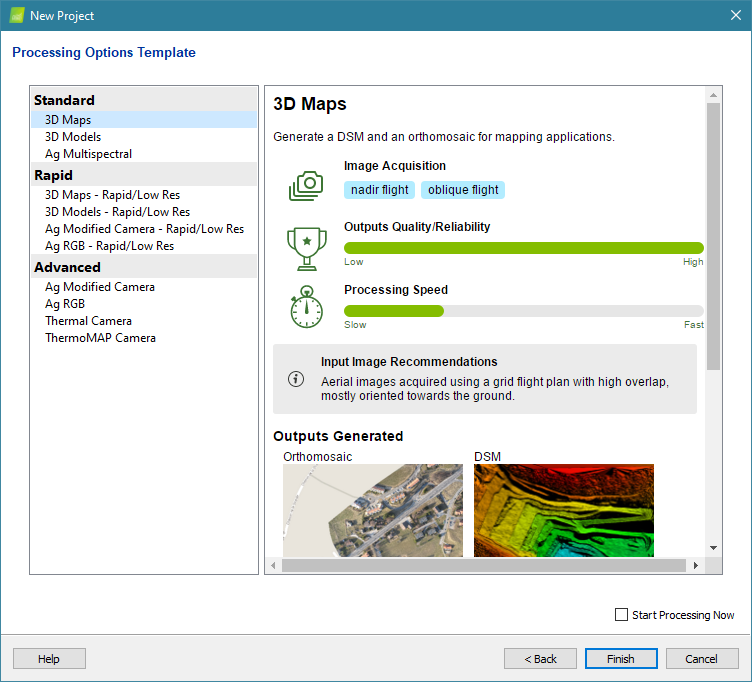
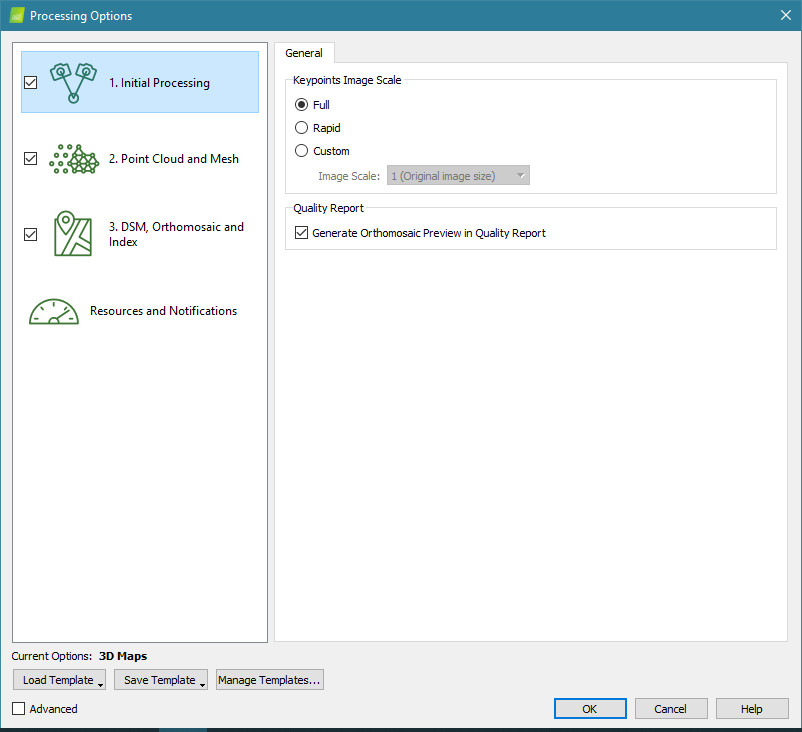
Choose Processing Options Template. The template defines parameters for each processing step and generated outputs.
The quality of the reconstruction and the processing time depend on the chosen parameters. If the goal is to generate a DSM and an orthomosaic, the 3D Maps template can be selected.
tipDigital Surface Model (DSM) is a raster data format with an elevation value for each pixel. Orthomosaic is a 2D map generated based on multiple images using orthorectification. This method removes the perspective distortions from the images using the DSM.
Import GCPs
Ground control points are optional for PPK mapping. If you do not have them, please, go to the Processing section.
For this step, the file with Ground Control Points (GCPs) is needed. The file must be in either a .csv or .txt file format and contain a point name, latitude and longitude in degrees, and altitude for each point. Use a comma to separate the values:
GCP0,46.23456,6.56114,299.931
GCP1,46.23234,6.56234,299.823
...
Reach supports points export in .csv format only.
To mark the GCPs on images:
-
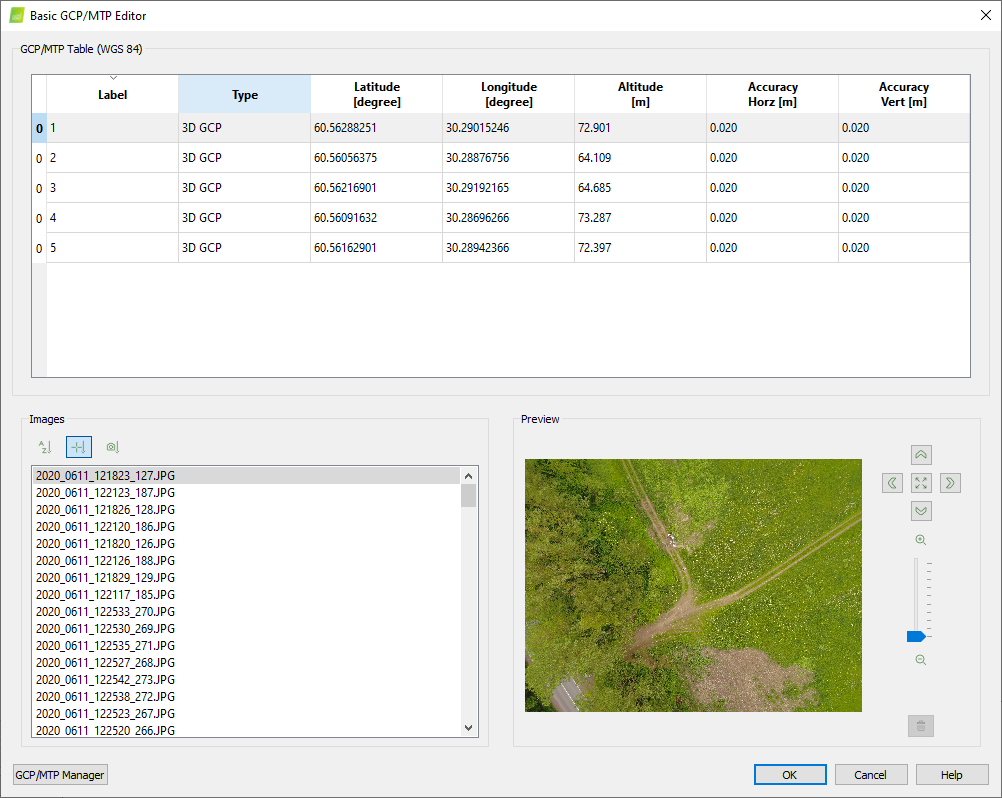
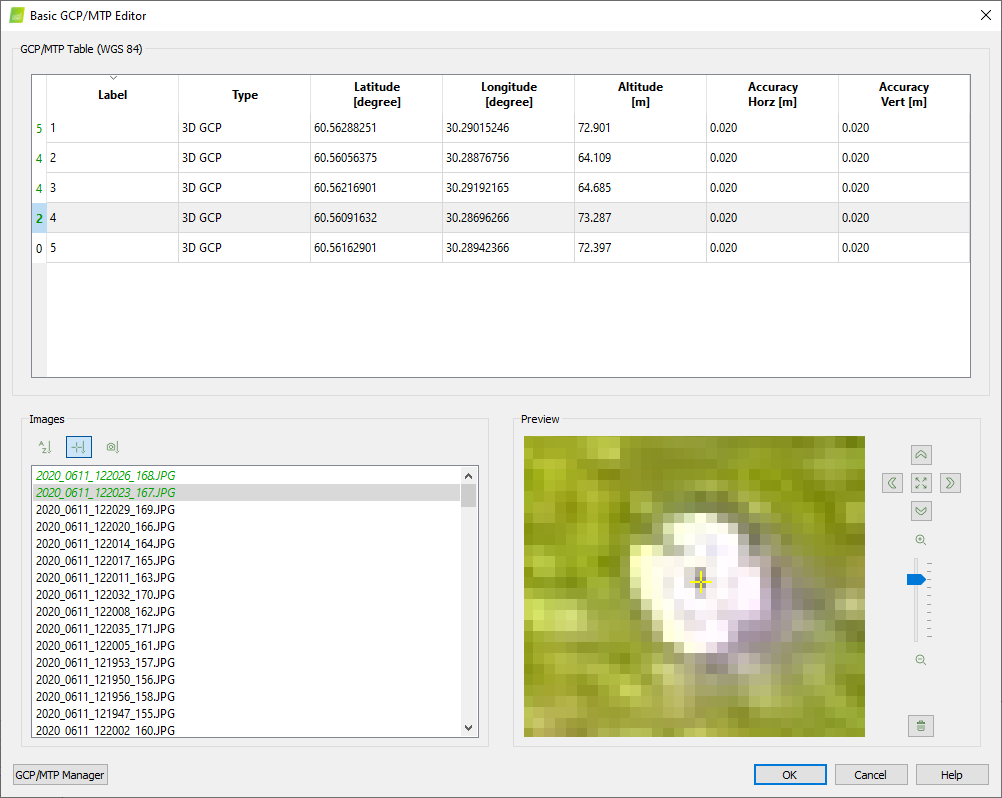
Click Project > GCP/MTP Manager.... The GCP/MTP Manager window opens.
-
Click Import GCPs. In the Coordinates Order drop-down list, choose an appropriate option, browse to the points file, press OK.
tipFor Reach, the default order of coordinates is longitude, latitude, altitude.
-
In section GCP/MTP Editor, click Basic Editor.
tipGCPs can also be marked in the rayCloud after Initial Processing has been completed. Learn more about this method on Pix4D documentation.
-
Choose Sort Images by Distance to GCP in Images section. The images are displayed in order from the closest to the selected GCP to the farthest.
-
Find and mark every point on 3 images at least. Marking instruments are in the Preview window.
-
Once all the points are marked, press OK.
Process data
- Initial processing: Keypoints are identified and matched in neighboring images and used for project reconstruction.
- Point Cloud and Mesh: The dense point cloud and 3D triangulated mesh are computed based on the results of the previous step.
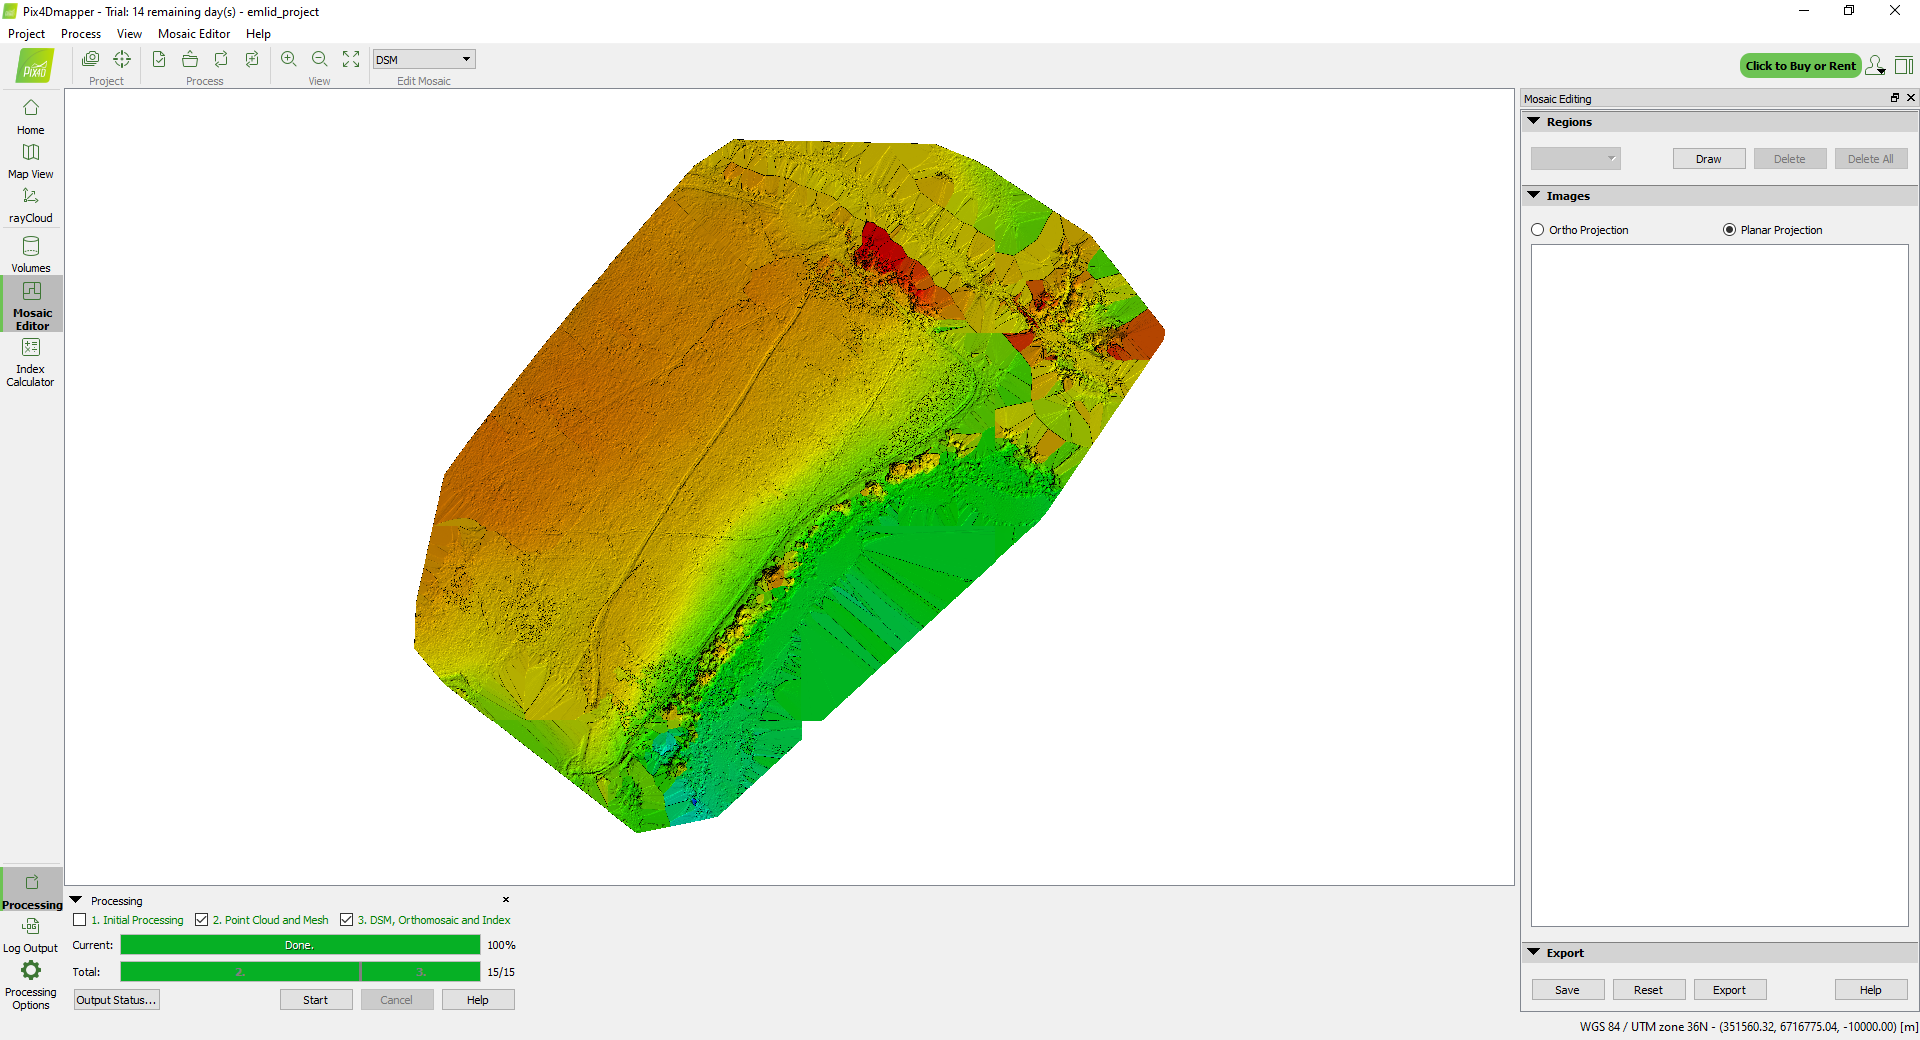
- DSM, Orthomosaic, and Index: The DSM and orthomosaic are generated based on the dense point cloud.
To start processing the project:
-
Click Processing in the bottom left corner of the main window.
-
Select all three processing steps and click Start:
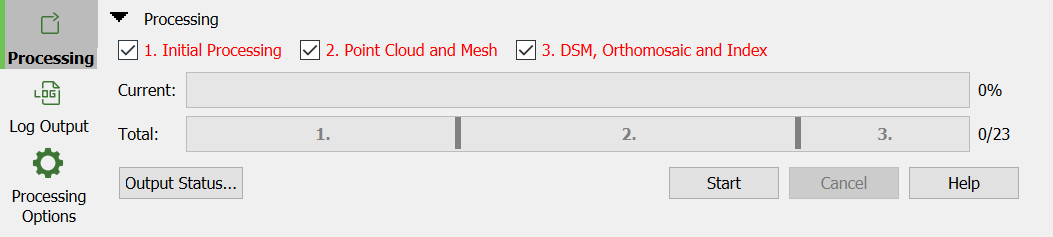
tipIf necessary, processing steps’ parameters can be changed in the Processing Options menu. For example, the density of point cloud or DSM/orthomosaic resolution. In this guide, we use the standard settings of the 3D Maps template.
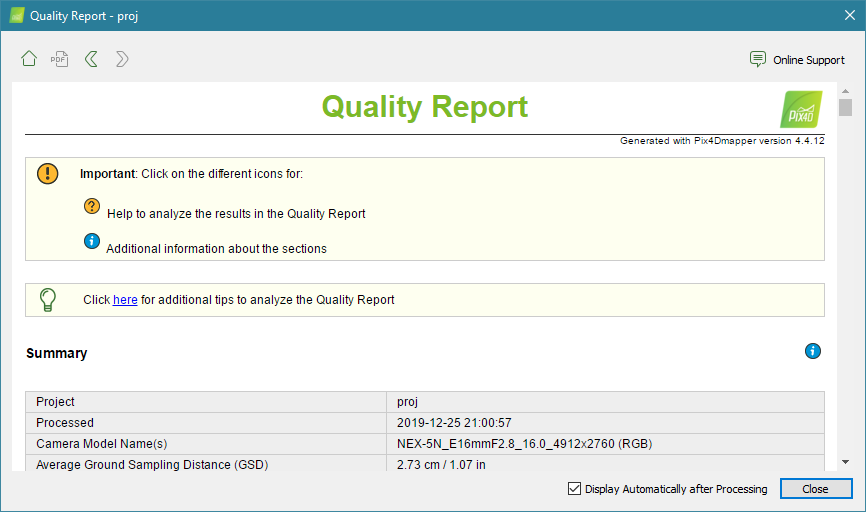
At the end of each step, a Quality report is generated and can be used to verify the success of processing.
The processing is finished! Now you can export this orthomosaic to any GIS software to create a vector map based on it.
Get results
Once the project has been processed, it is possible to analyze and display results directly in Pix4Dmapper or import them in third-party software.
To open the folder with the results, on the Menu bar, click Process > Open Results Folder...
The Orthomosaic and DSM are stored in the /3_dsm_ortho/2_mosaic/ folder.
To visualize the orthomosaic or DSM in Pix4Dmapper, click the Mosaic Editor tab.
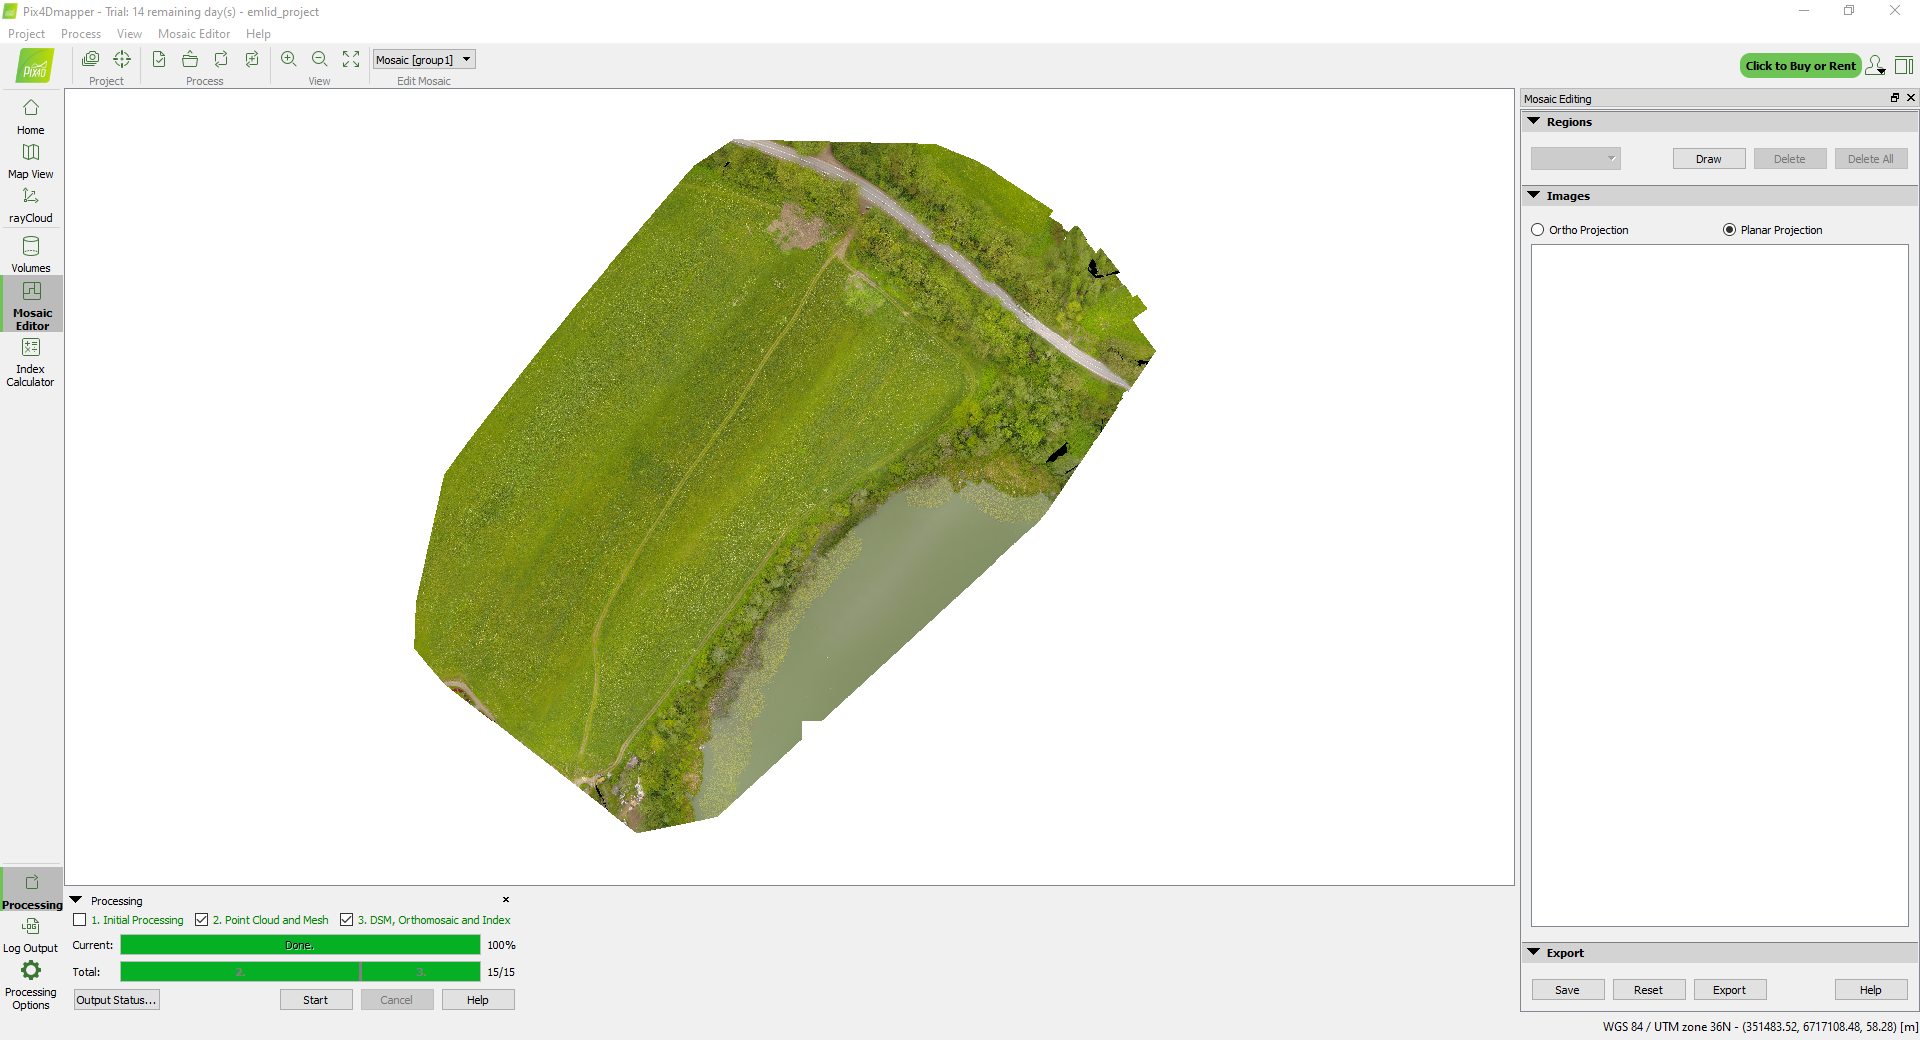
The processing is finished! Now you can export this orthomosaic to any GIS software to create a vector map based on it.
To learn more about processing projects in the Pix4Dmapper, check the Pix4D documentation.