Add WMS layers to project
Unlock the full set of features for topo, set-out, and as-built surveys
This guide explains how to add WMS layers from the WMS layers library to your project in Emlid Flow 360.
Overview
With the WMS layers library in Emlid Flow 360, you can select and add layers to your projects in Emlid Flow 360. After that, you can get access to these projects in Emlid Flow.
The use of WMS layers in projects allows you to get visual control and context of your survey area.
Learn more about creating a WMS layers library in Emlid Flow 360 in the Create WMS layers library guide.
To get access to projects with added layers from the WMS layers library in Emlid Flow, you should log into the same Emlid account you use in Emlid Flow 360. Learn more in Working with map layers.
Workflow
- Emlid Flow 360
Add layers from library to project
To add layers to your project from the WMS layers library in Emlid Flow 360, follow the steps below:
-
Go to flow360.emlid.com and sign up or sign in using your Emlid account.
-
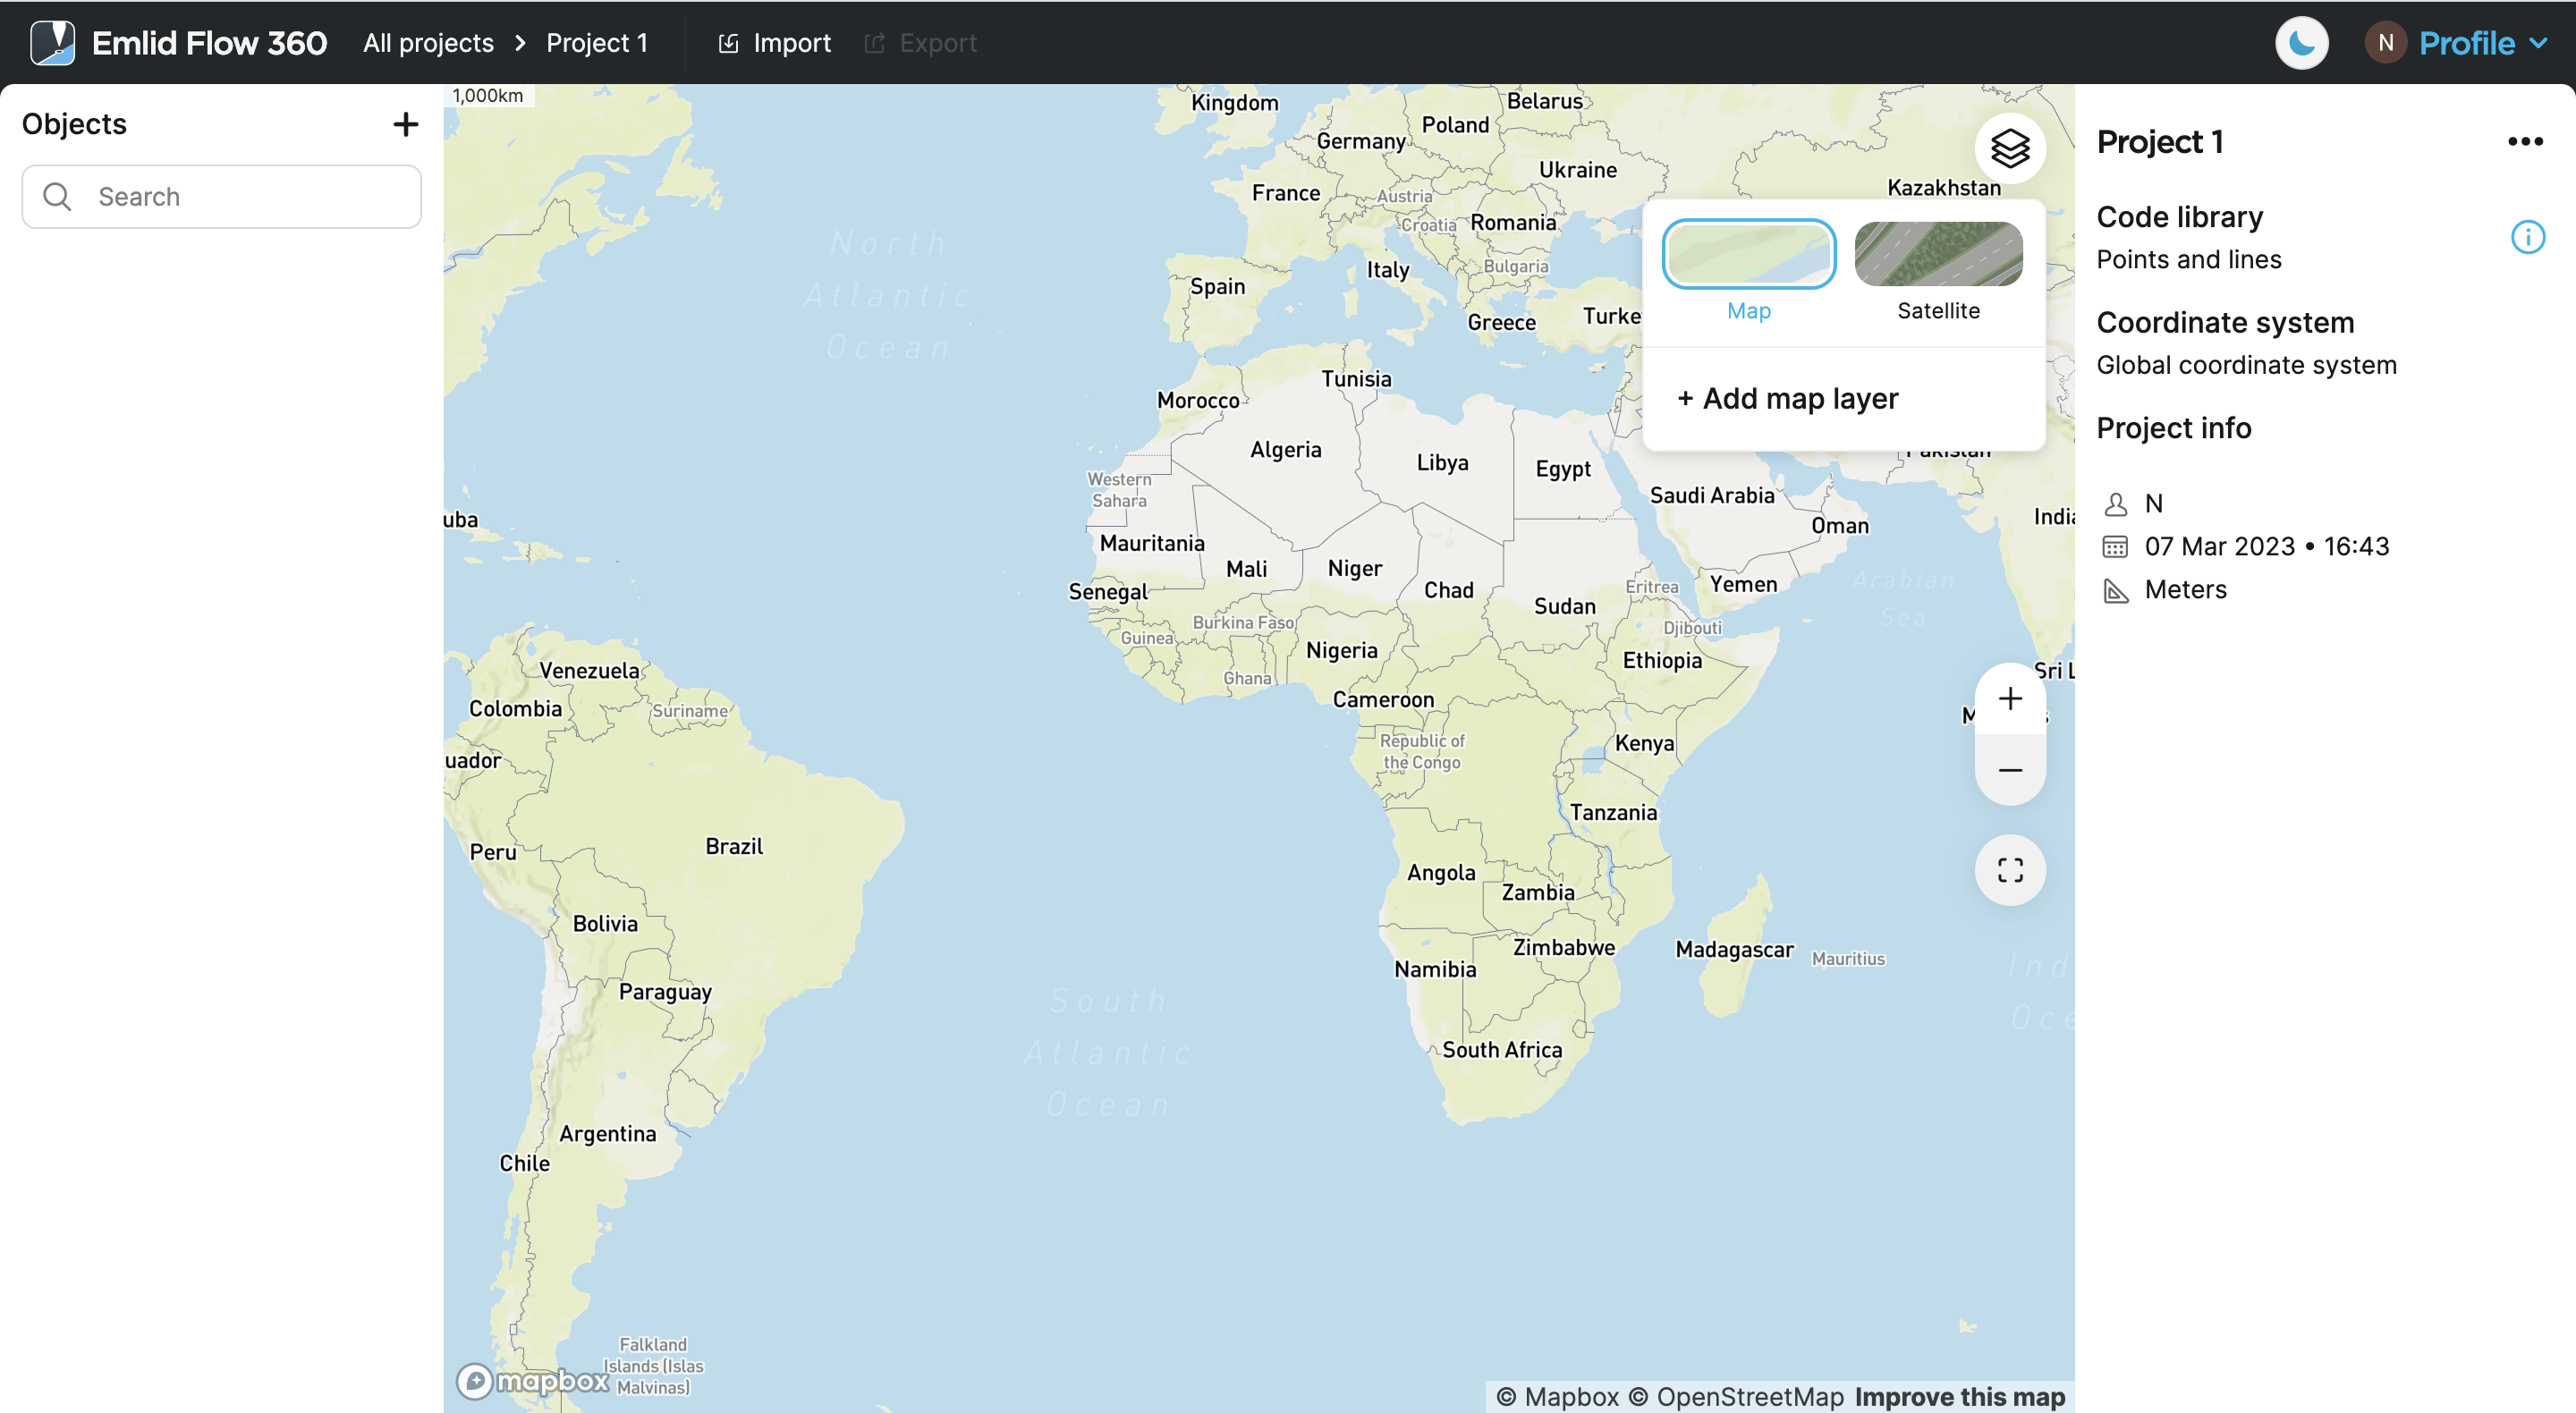
Open your project and click the Map layers button.
-
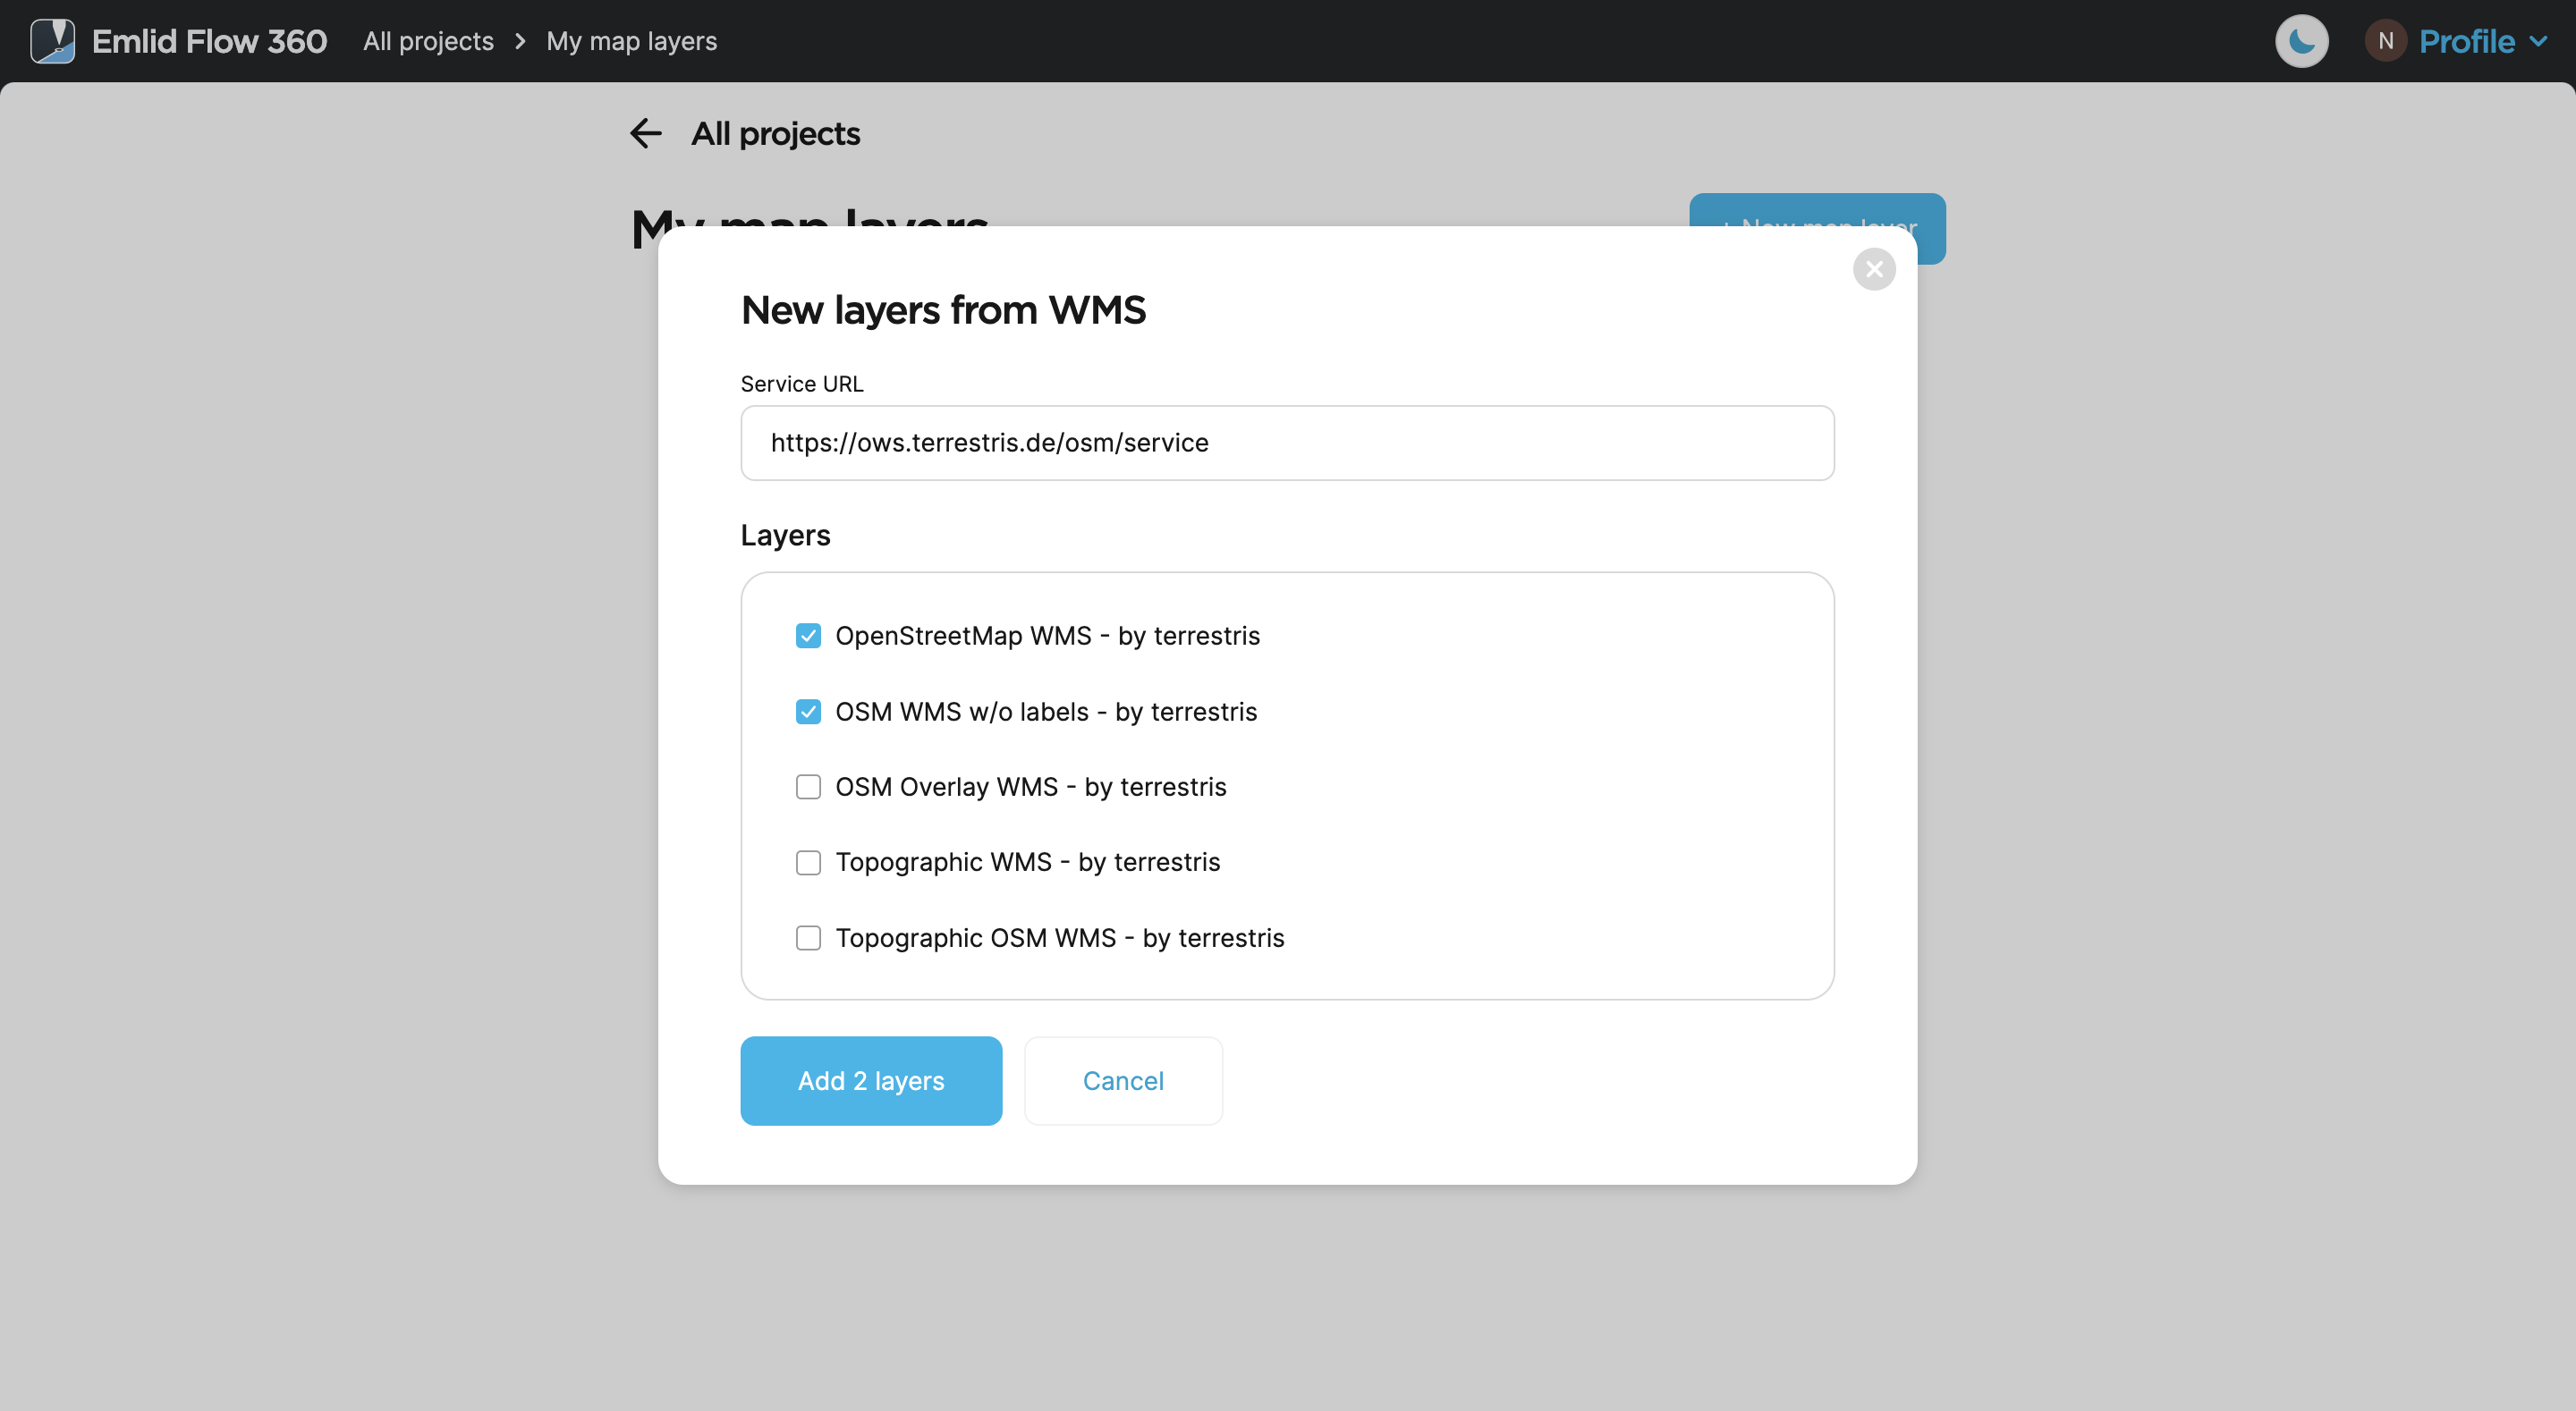
Click Add map layer and select required layers.
noteYou can also add new layers right in the project. Tap New map layer.
-
Click Add to project.
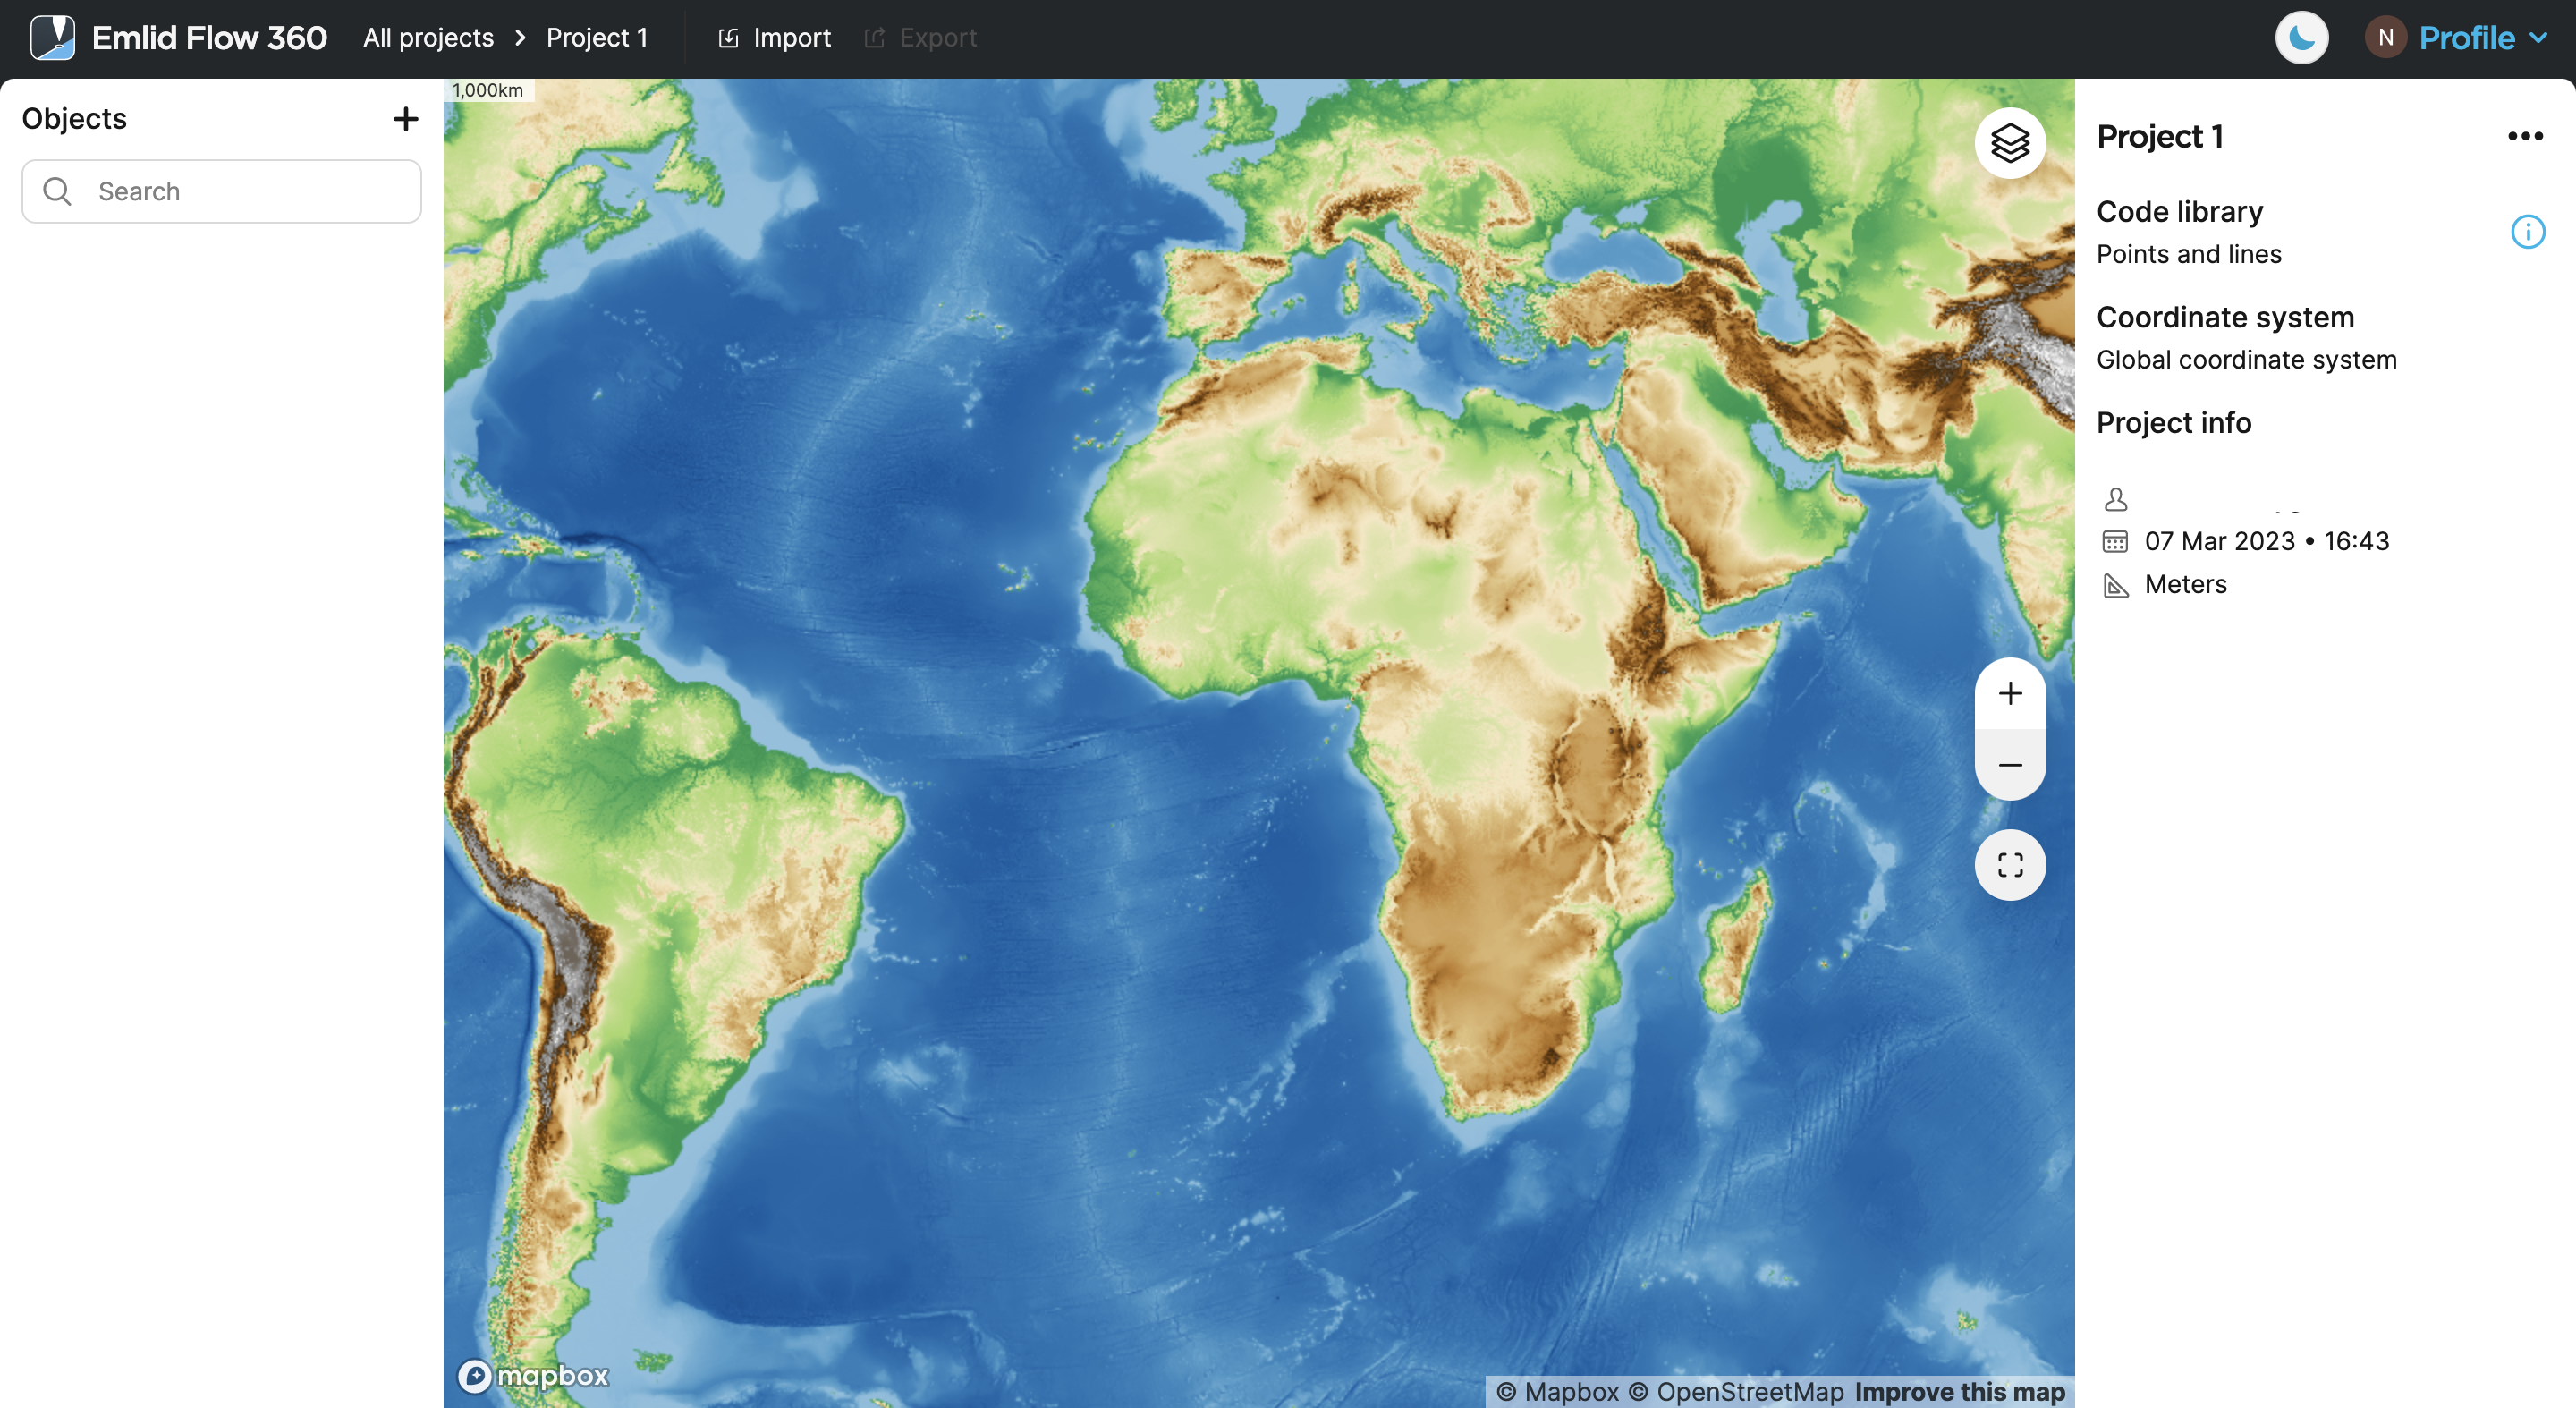
Once the layers are added to your project, you can start working with them both in Emlid Flow 360 and Emlid Flow.
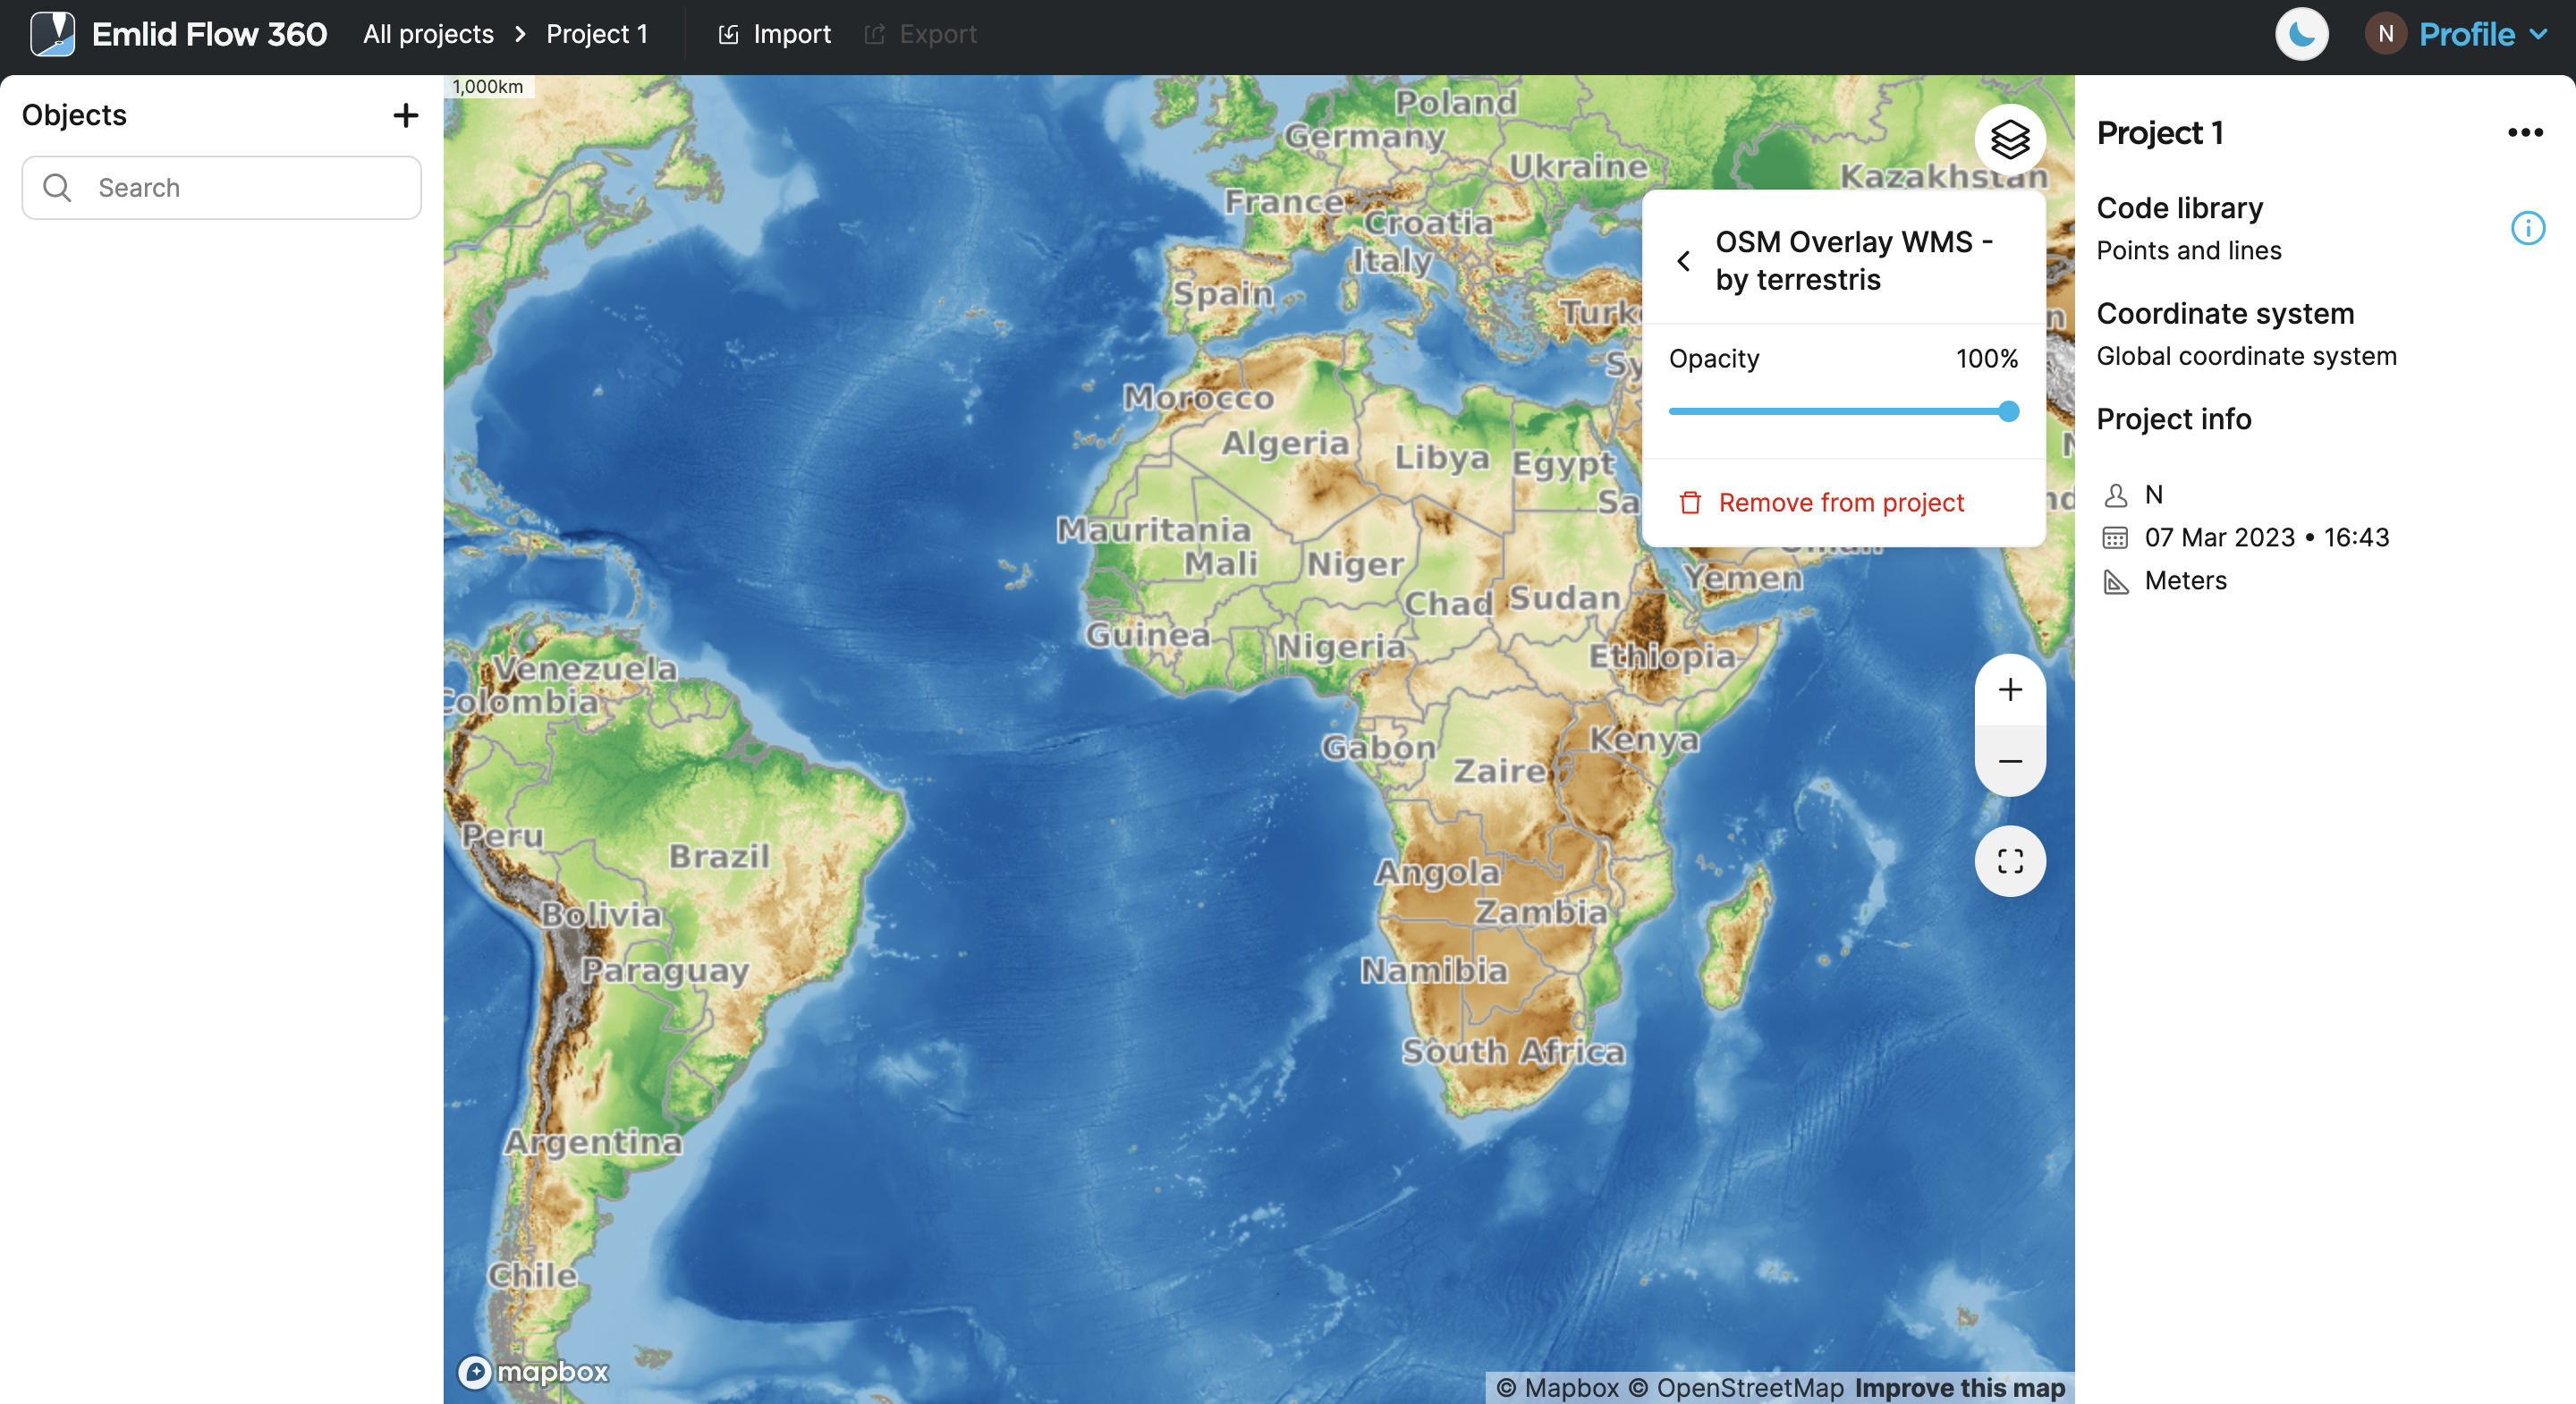
When you add a new map layer to the project, it appears at the top of the list and has an opacity of 100% by default. The app adds it to the map preview automatically. You can change the order and the layers’ opacity under the Map layers button, and change the default map view by clicking Save new default or Reset in the upper left part of the map. Look for a more detailed description in the Create or Import Project guide.
Click the Map layers button to switch between vector and satellite map types, reoder layers using the drag-and-drop feature, and change their visibility and opacity on the map by clicking the eye icon near the layer and name of the layer correspondingly.
Learn more about accessing projects with added layers in Emlid Flow in Working with map layers.
Delete layers from project
The layer will be removed only from the project. You can add it again by clicking the Map layers button and Add map layer.
You can delete WMS layers from your project as follows:
-
Go to flow360.emlid.com and sign up or sign in using your Emlid account.
-
In Emlid Flow 360, open your project and click the Map layers button.
-
Click on the layer you want to delete.
-
Click Remove from project and then click Delete.