Create WMS layers library
Unlock the full set of features for topo, set-out, and as-built surveys
This guide explains how to create a WMS layers library in Emlid Flow 360 to add layers to your projects.
Overview
In Emlid Flow 360, you can load WMS layers from web map services, create your own WMS layers library linked to your Emlid Account, and add WMS layers from it to the projects. The use of WMS layers in projects allows you to get visual control and context of your survey area.
To add a WMS layer to the library, you need only a URL from the web map service—type or paste a link, and Emlid Flow 360 will load the list of available layers. After that, you can add the loaded layers to any of your projects in Emlid Flow 360.
You can add layers to your library and projects only in Emlid Flow 360.
Workflow
- Emlid Flow 360
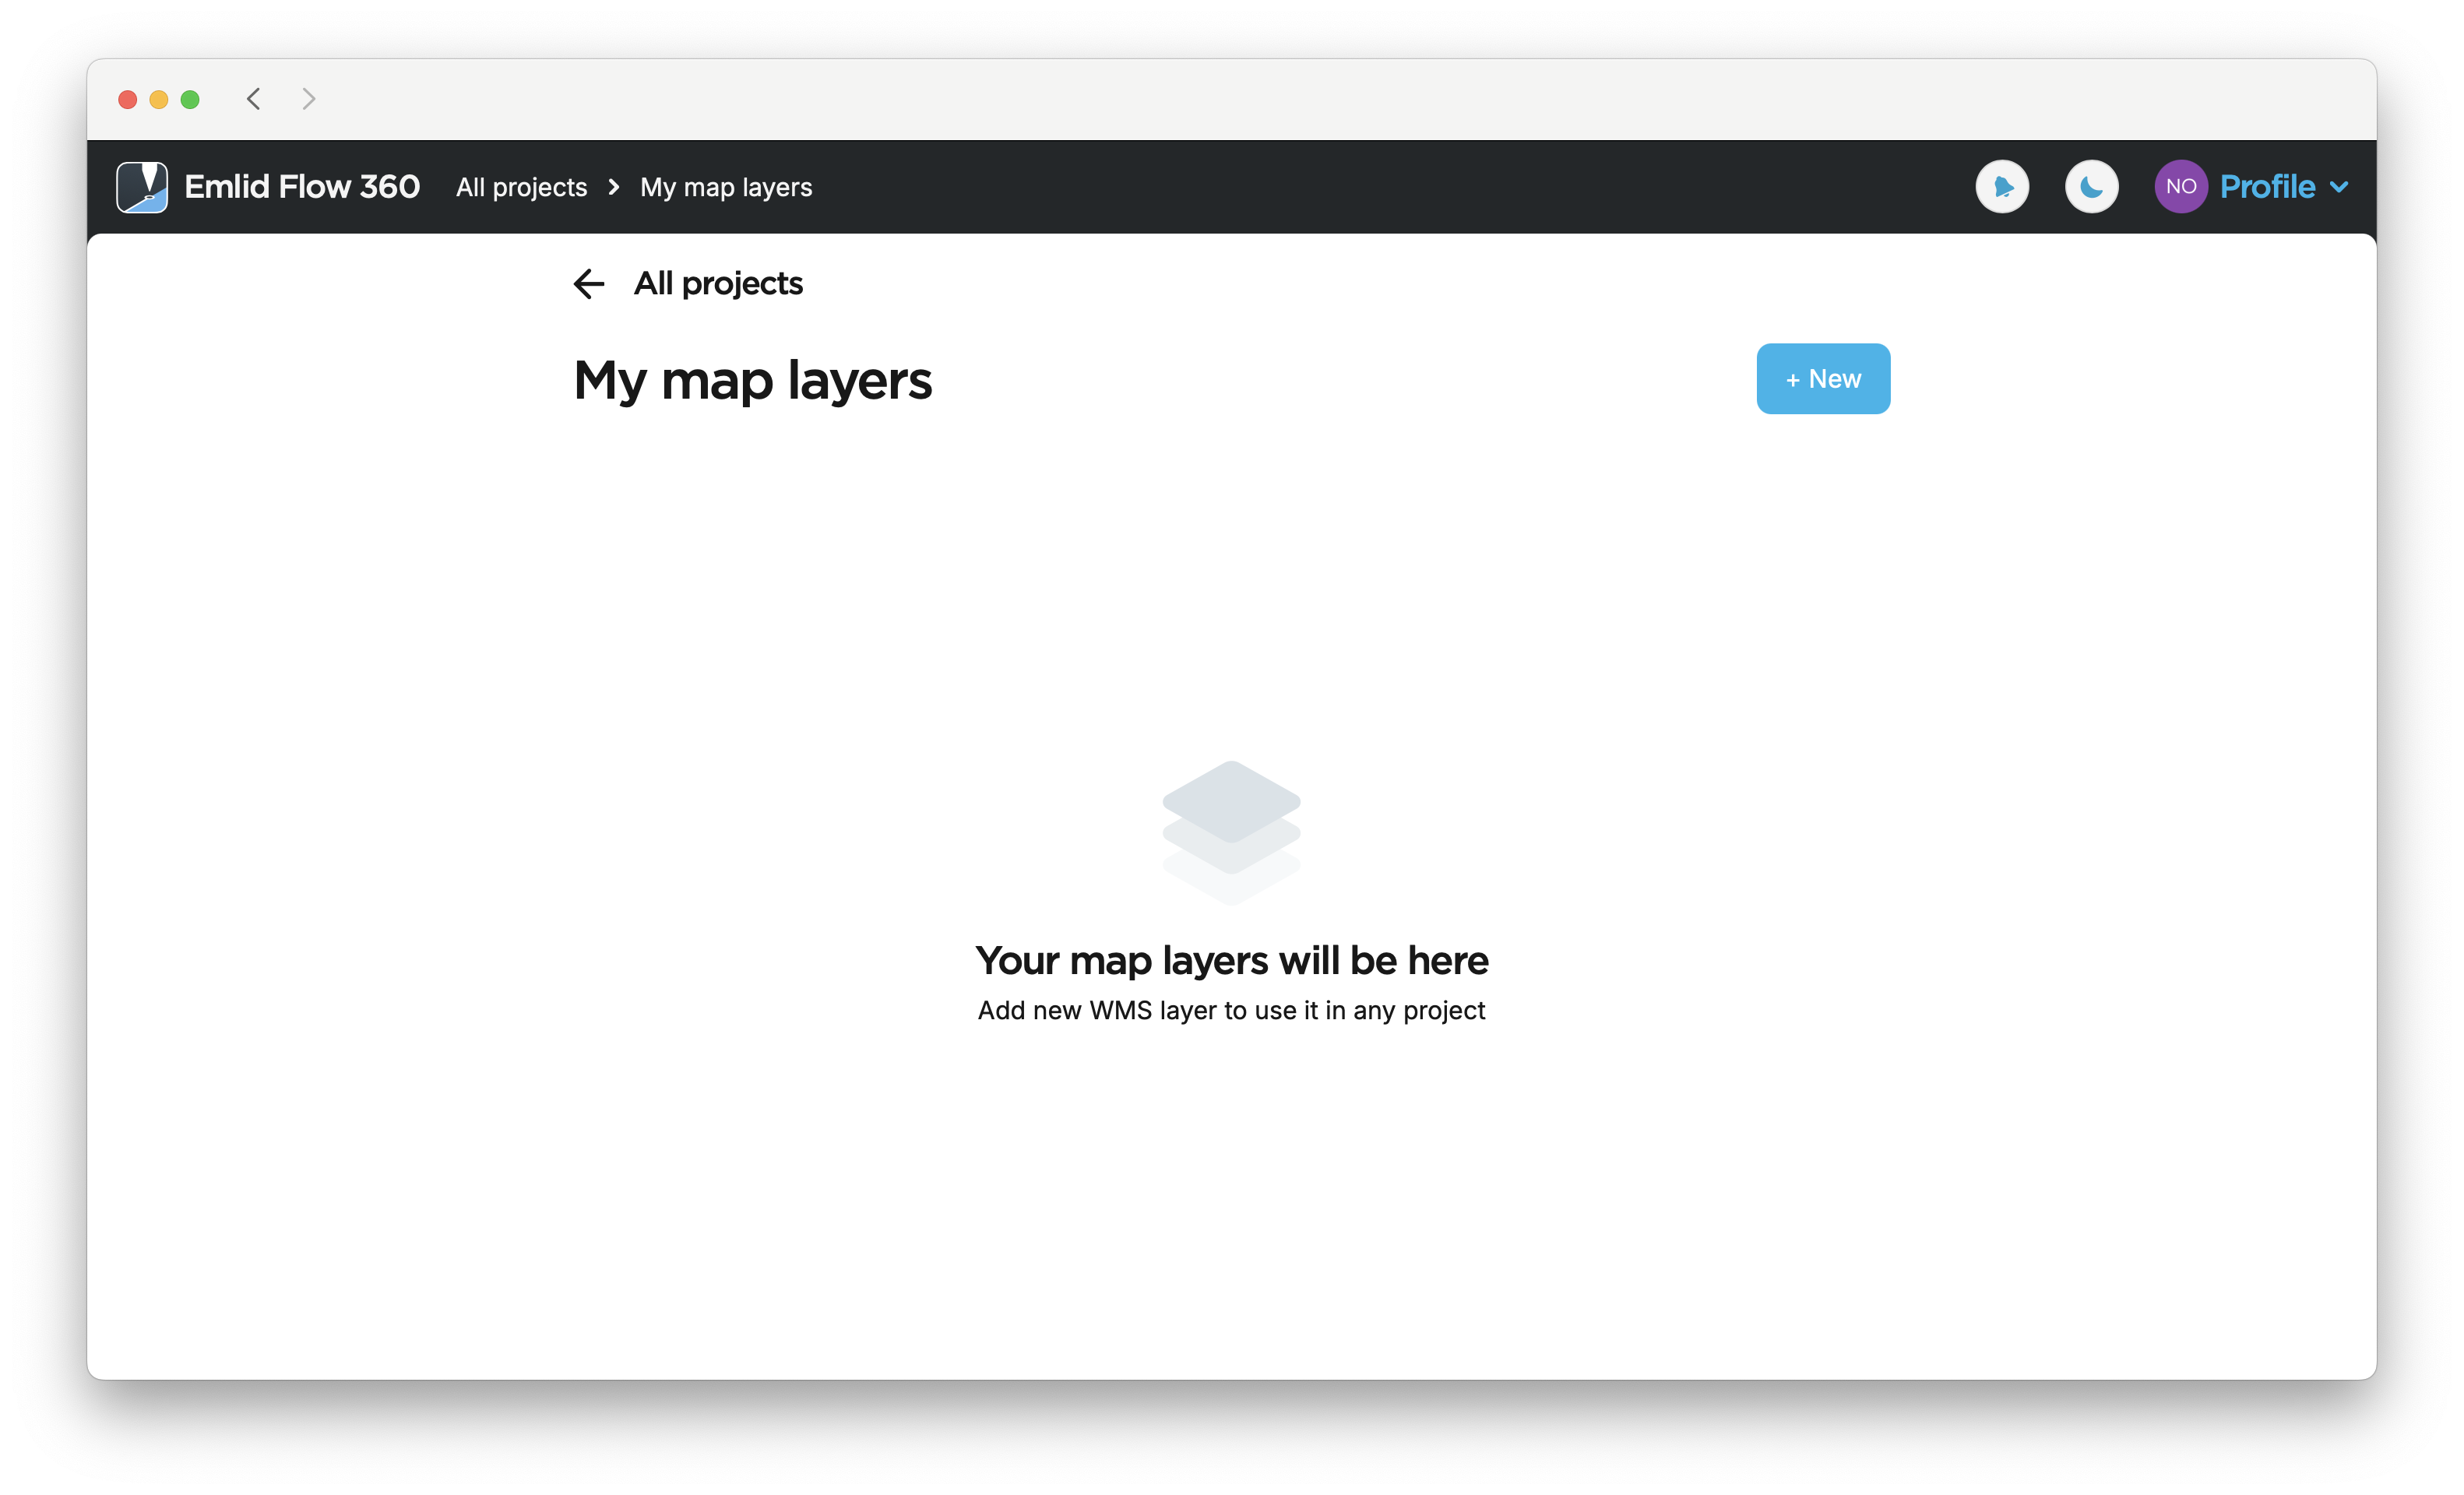
Adding WMS layers to library
To add WMS layers from web map services and create your own library, follow the steps below:
-
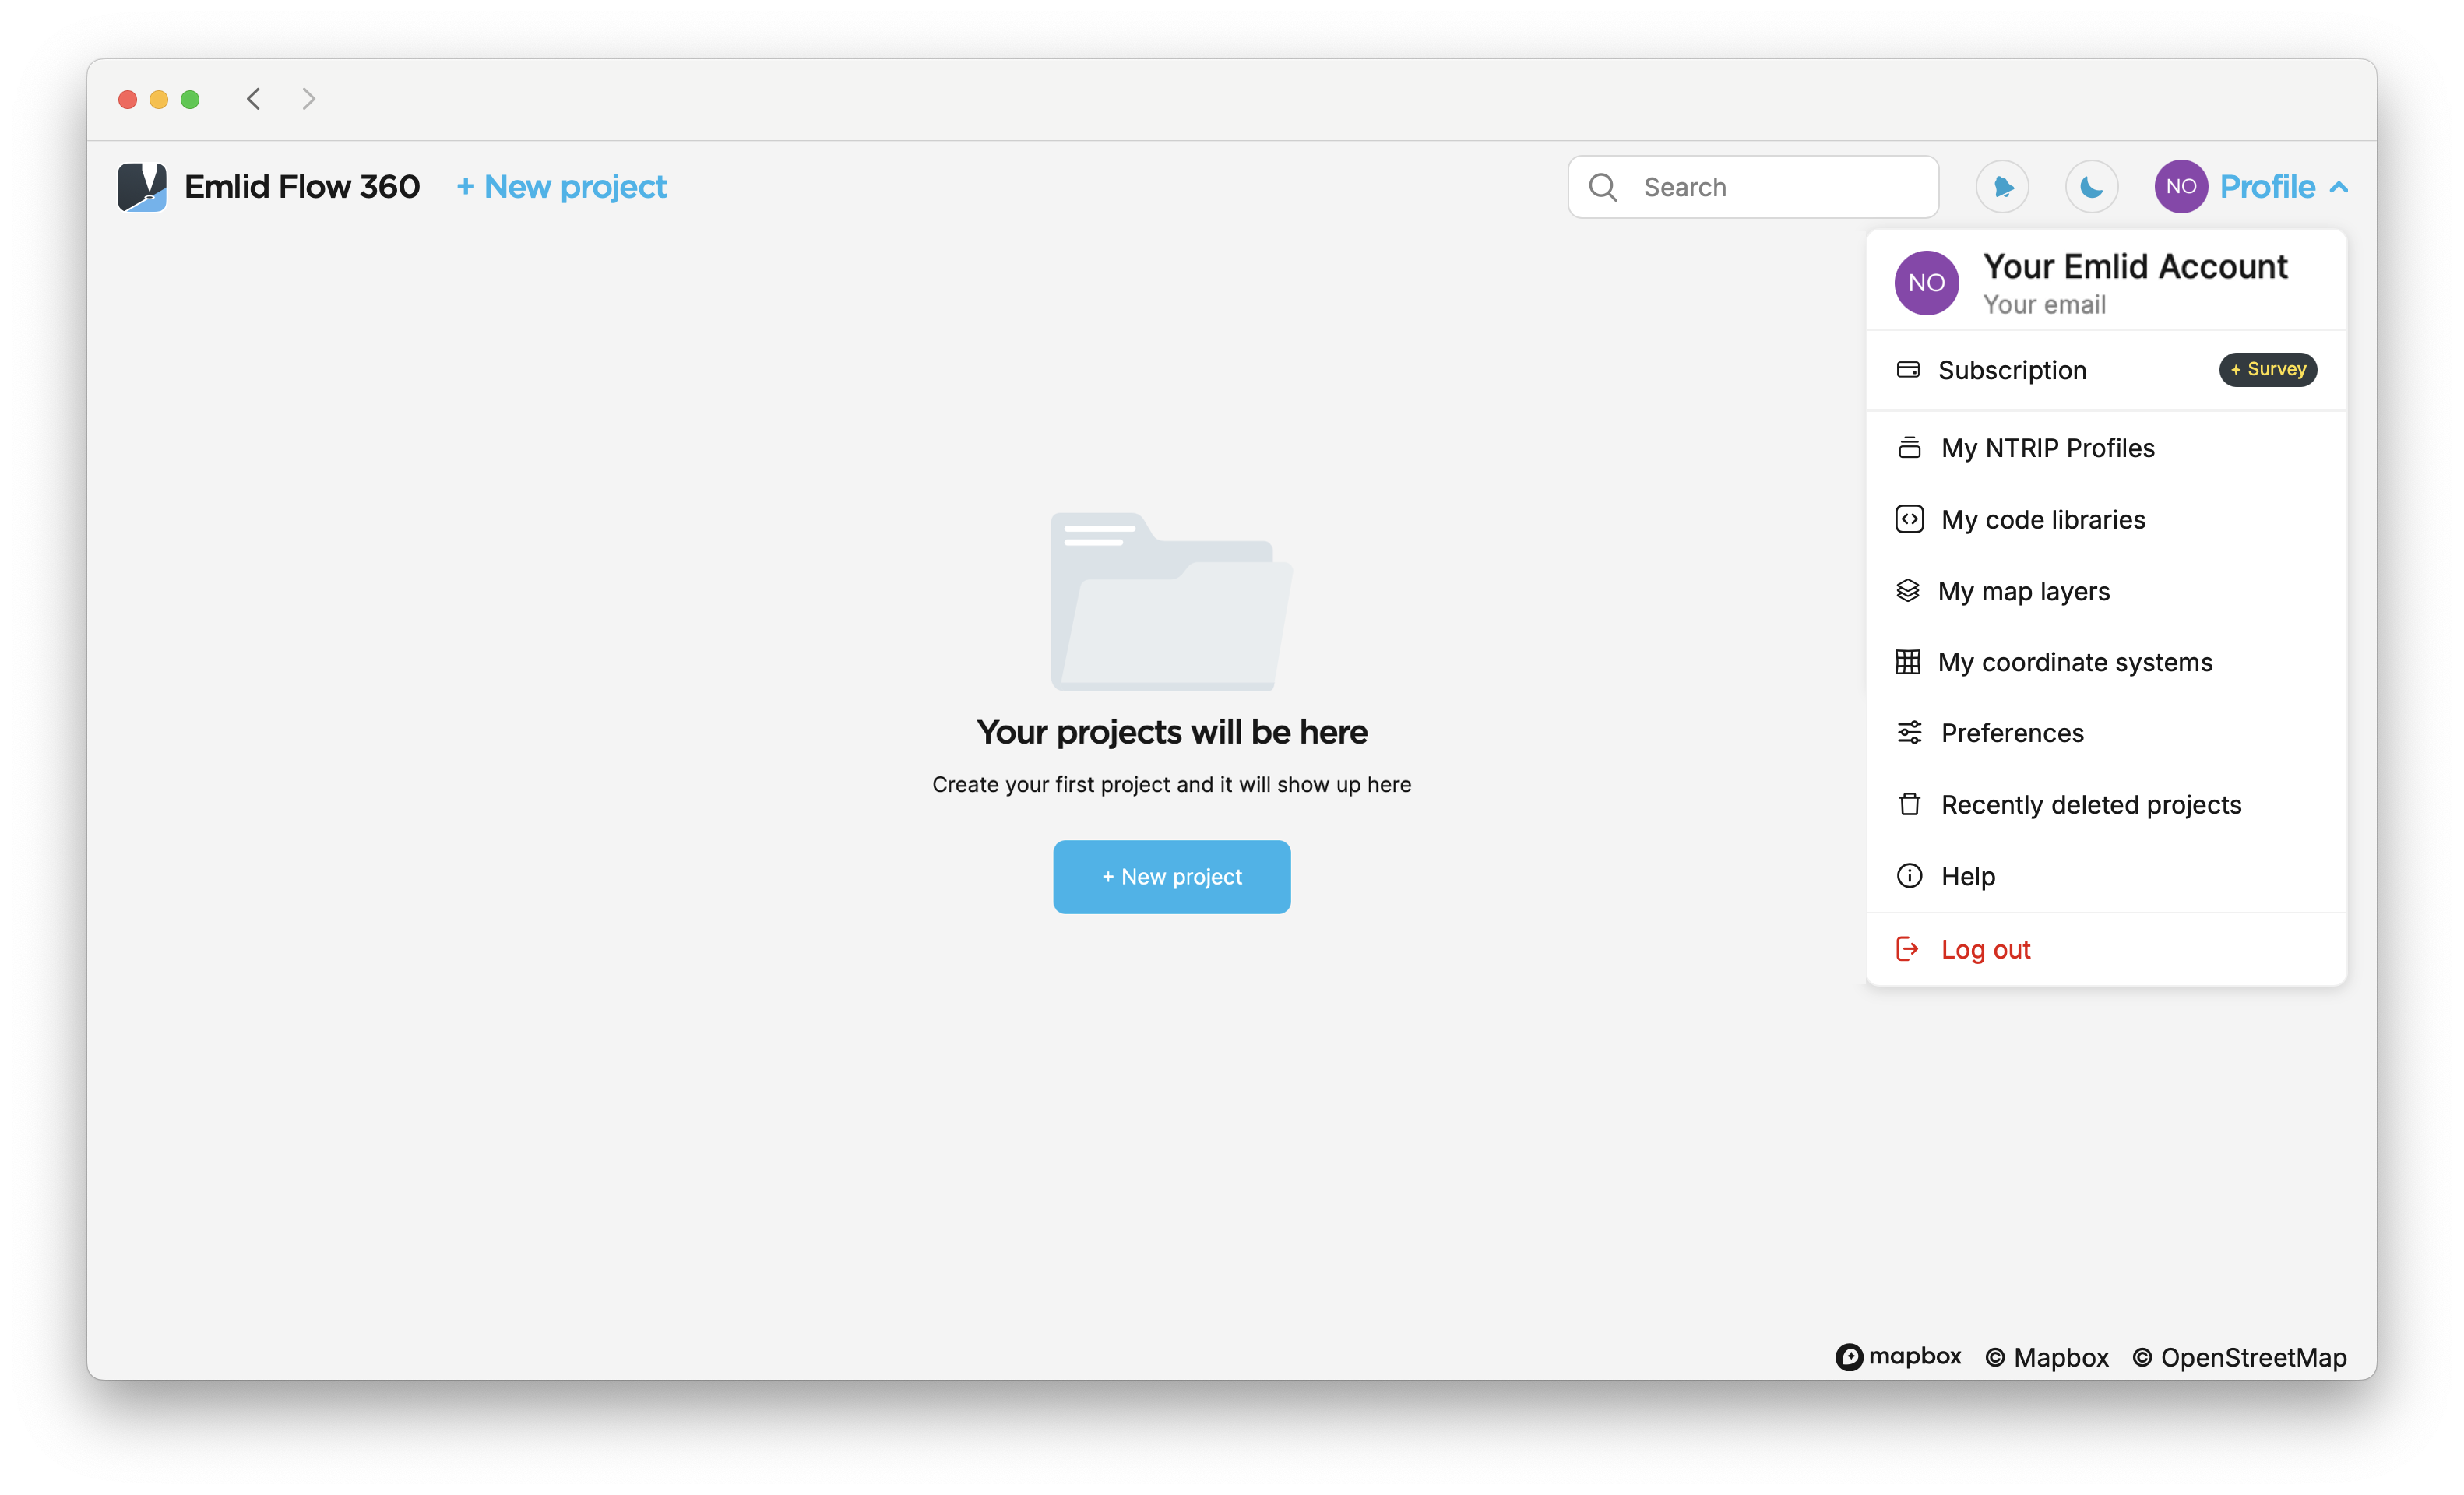
Go to flow360.emlid.com and sign up or sign in using your Emlid account.
-
Go to the menu on the left and click Map layers.
-
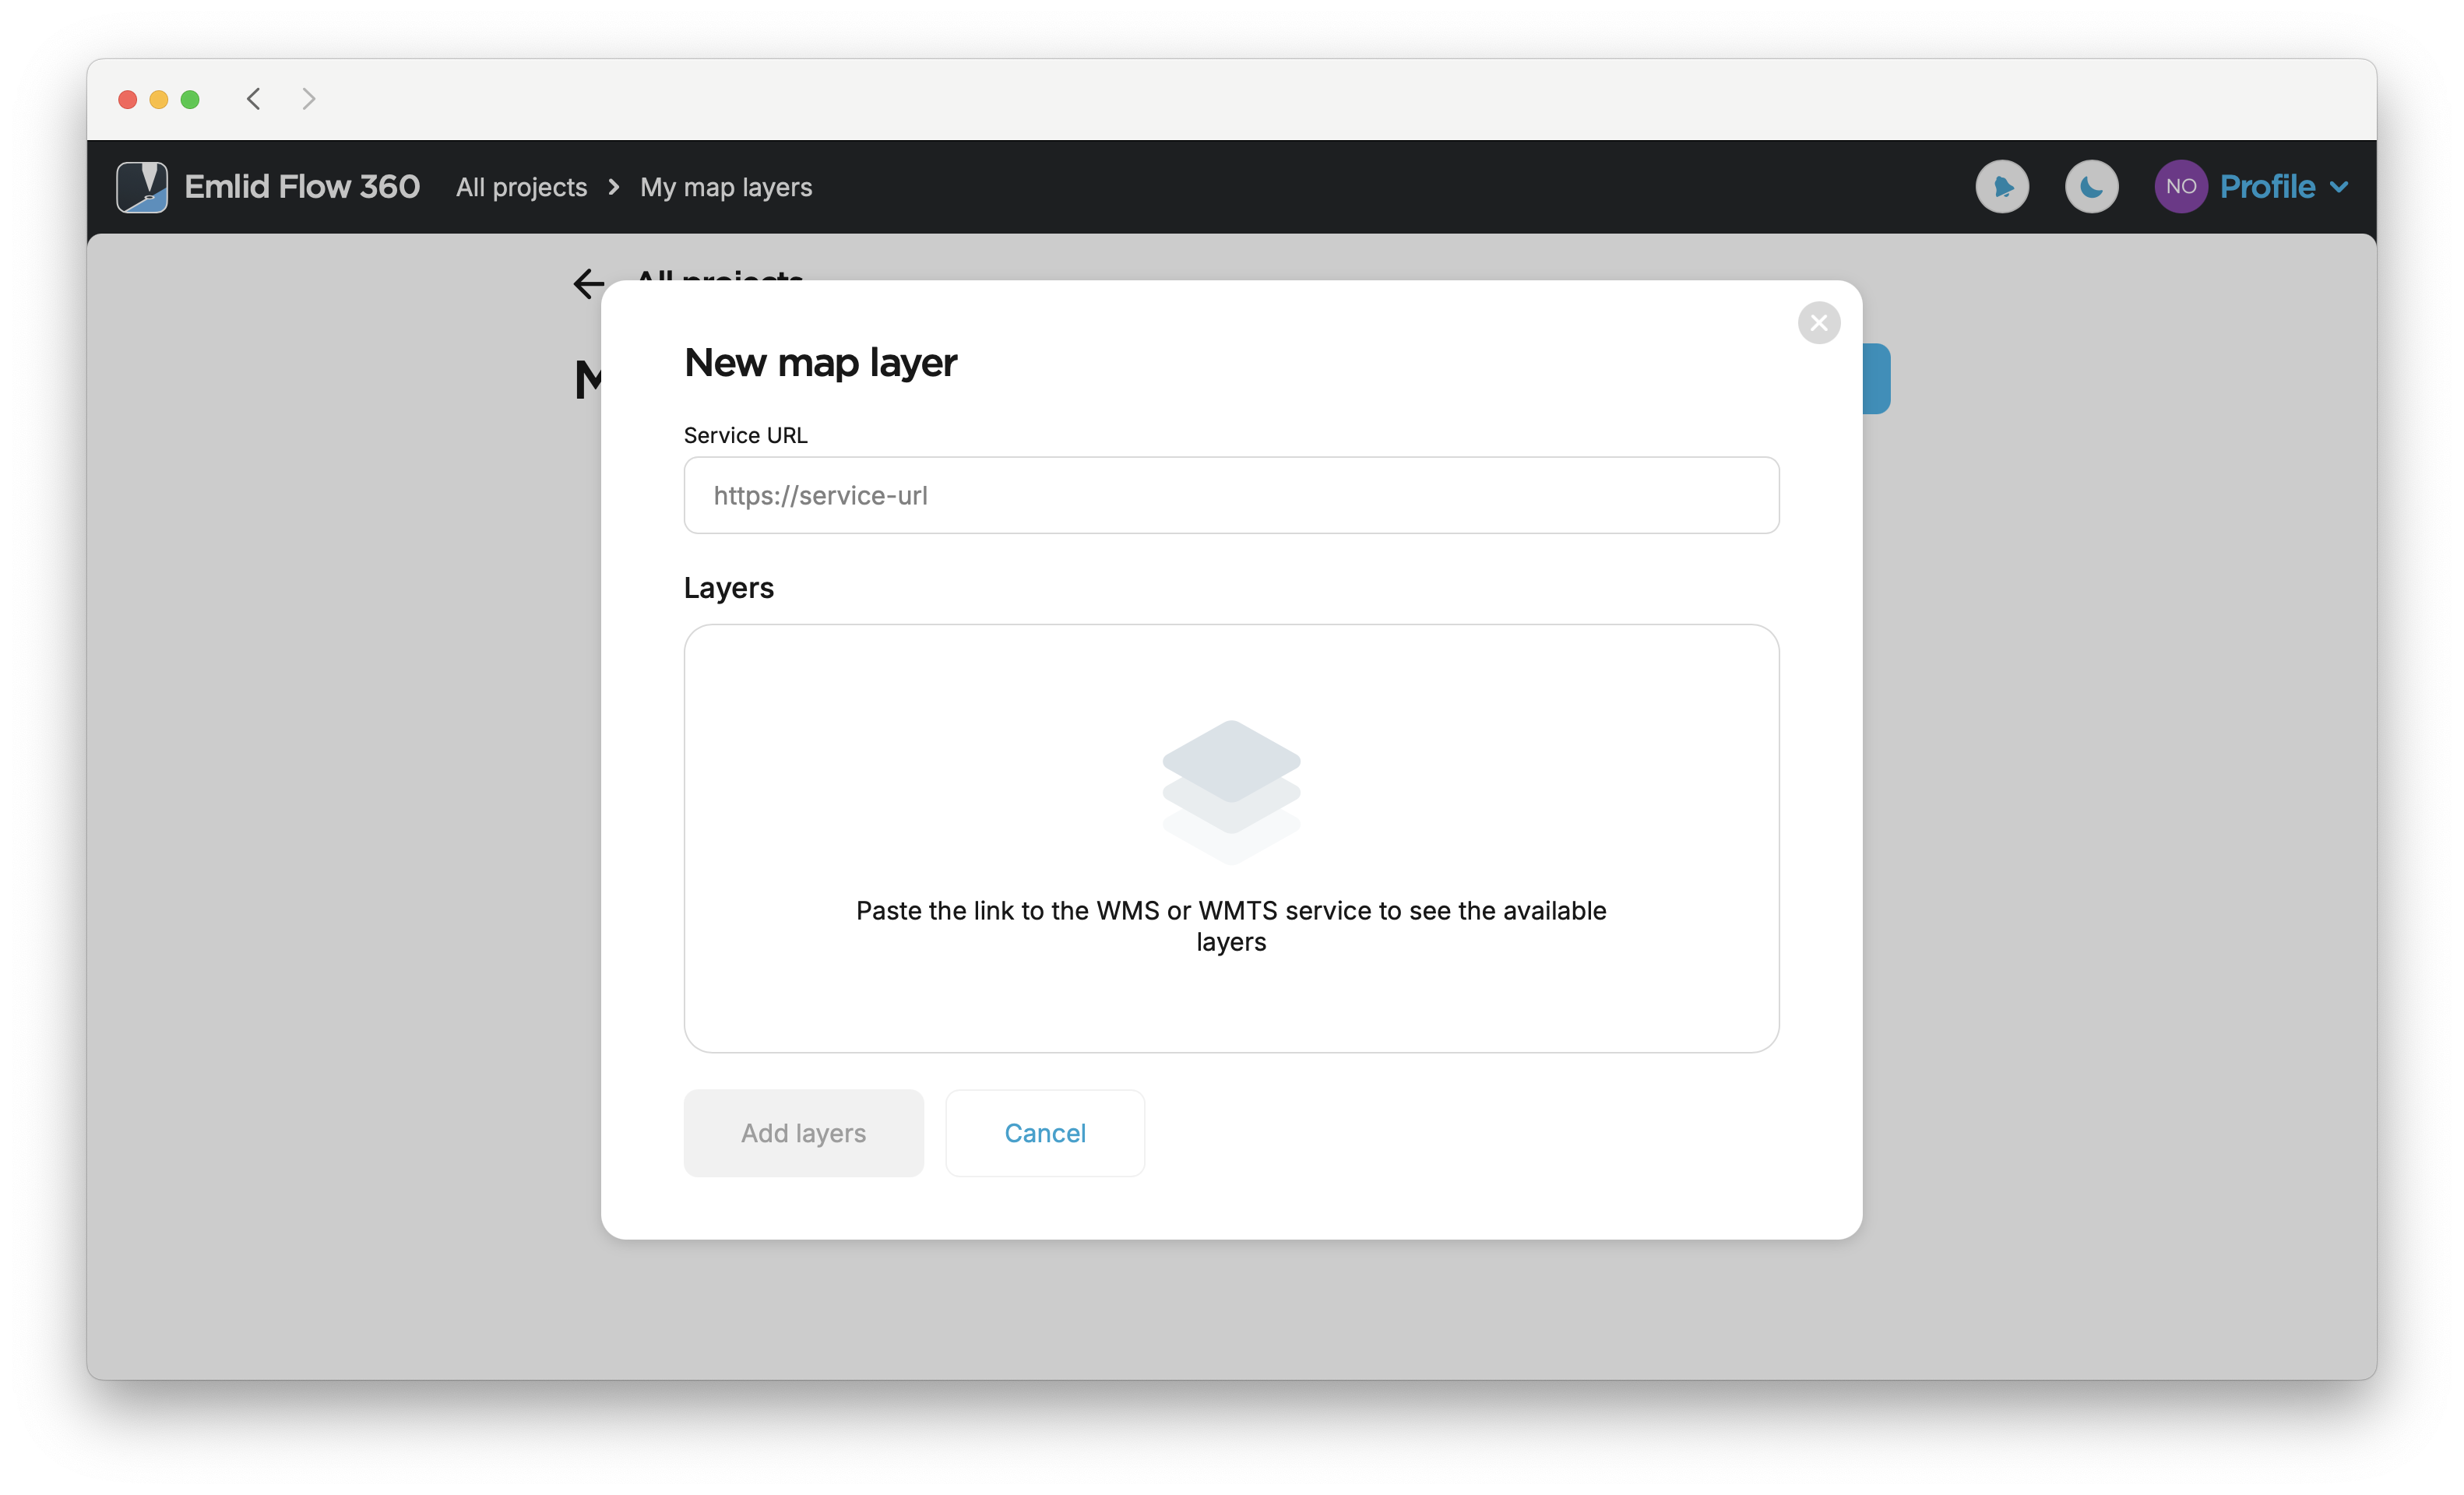
Click + New to add a new layer.
-
Type in or paste the address of the WMS service you use. Emlid Flow 360 will load the list of available layers.
-
Select the layers you want to add and click Add layers.
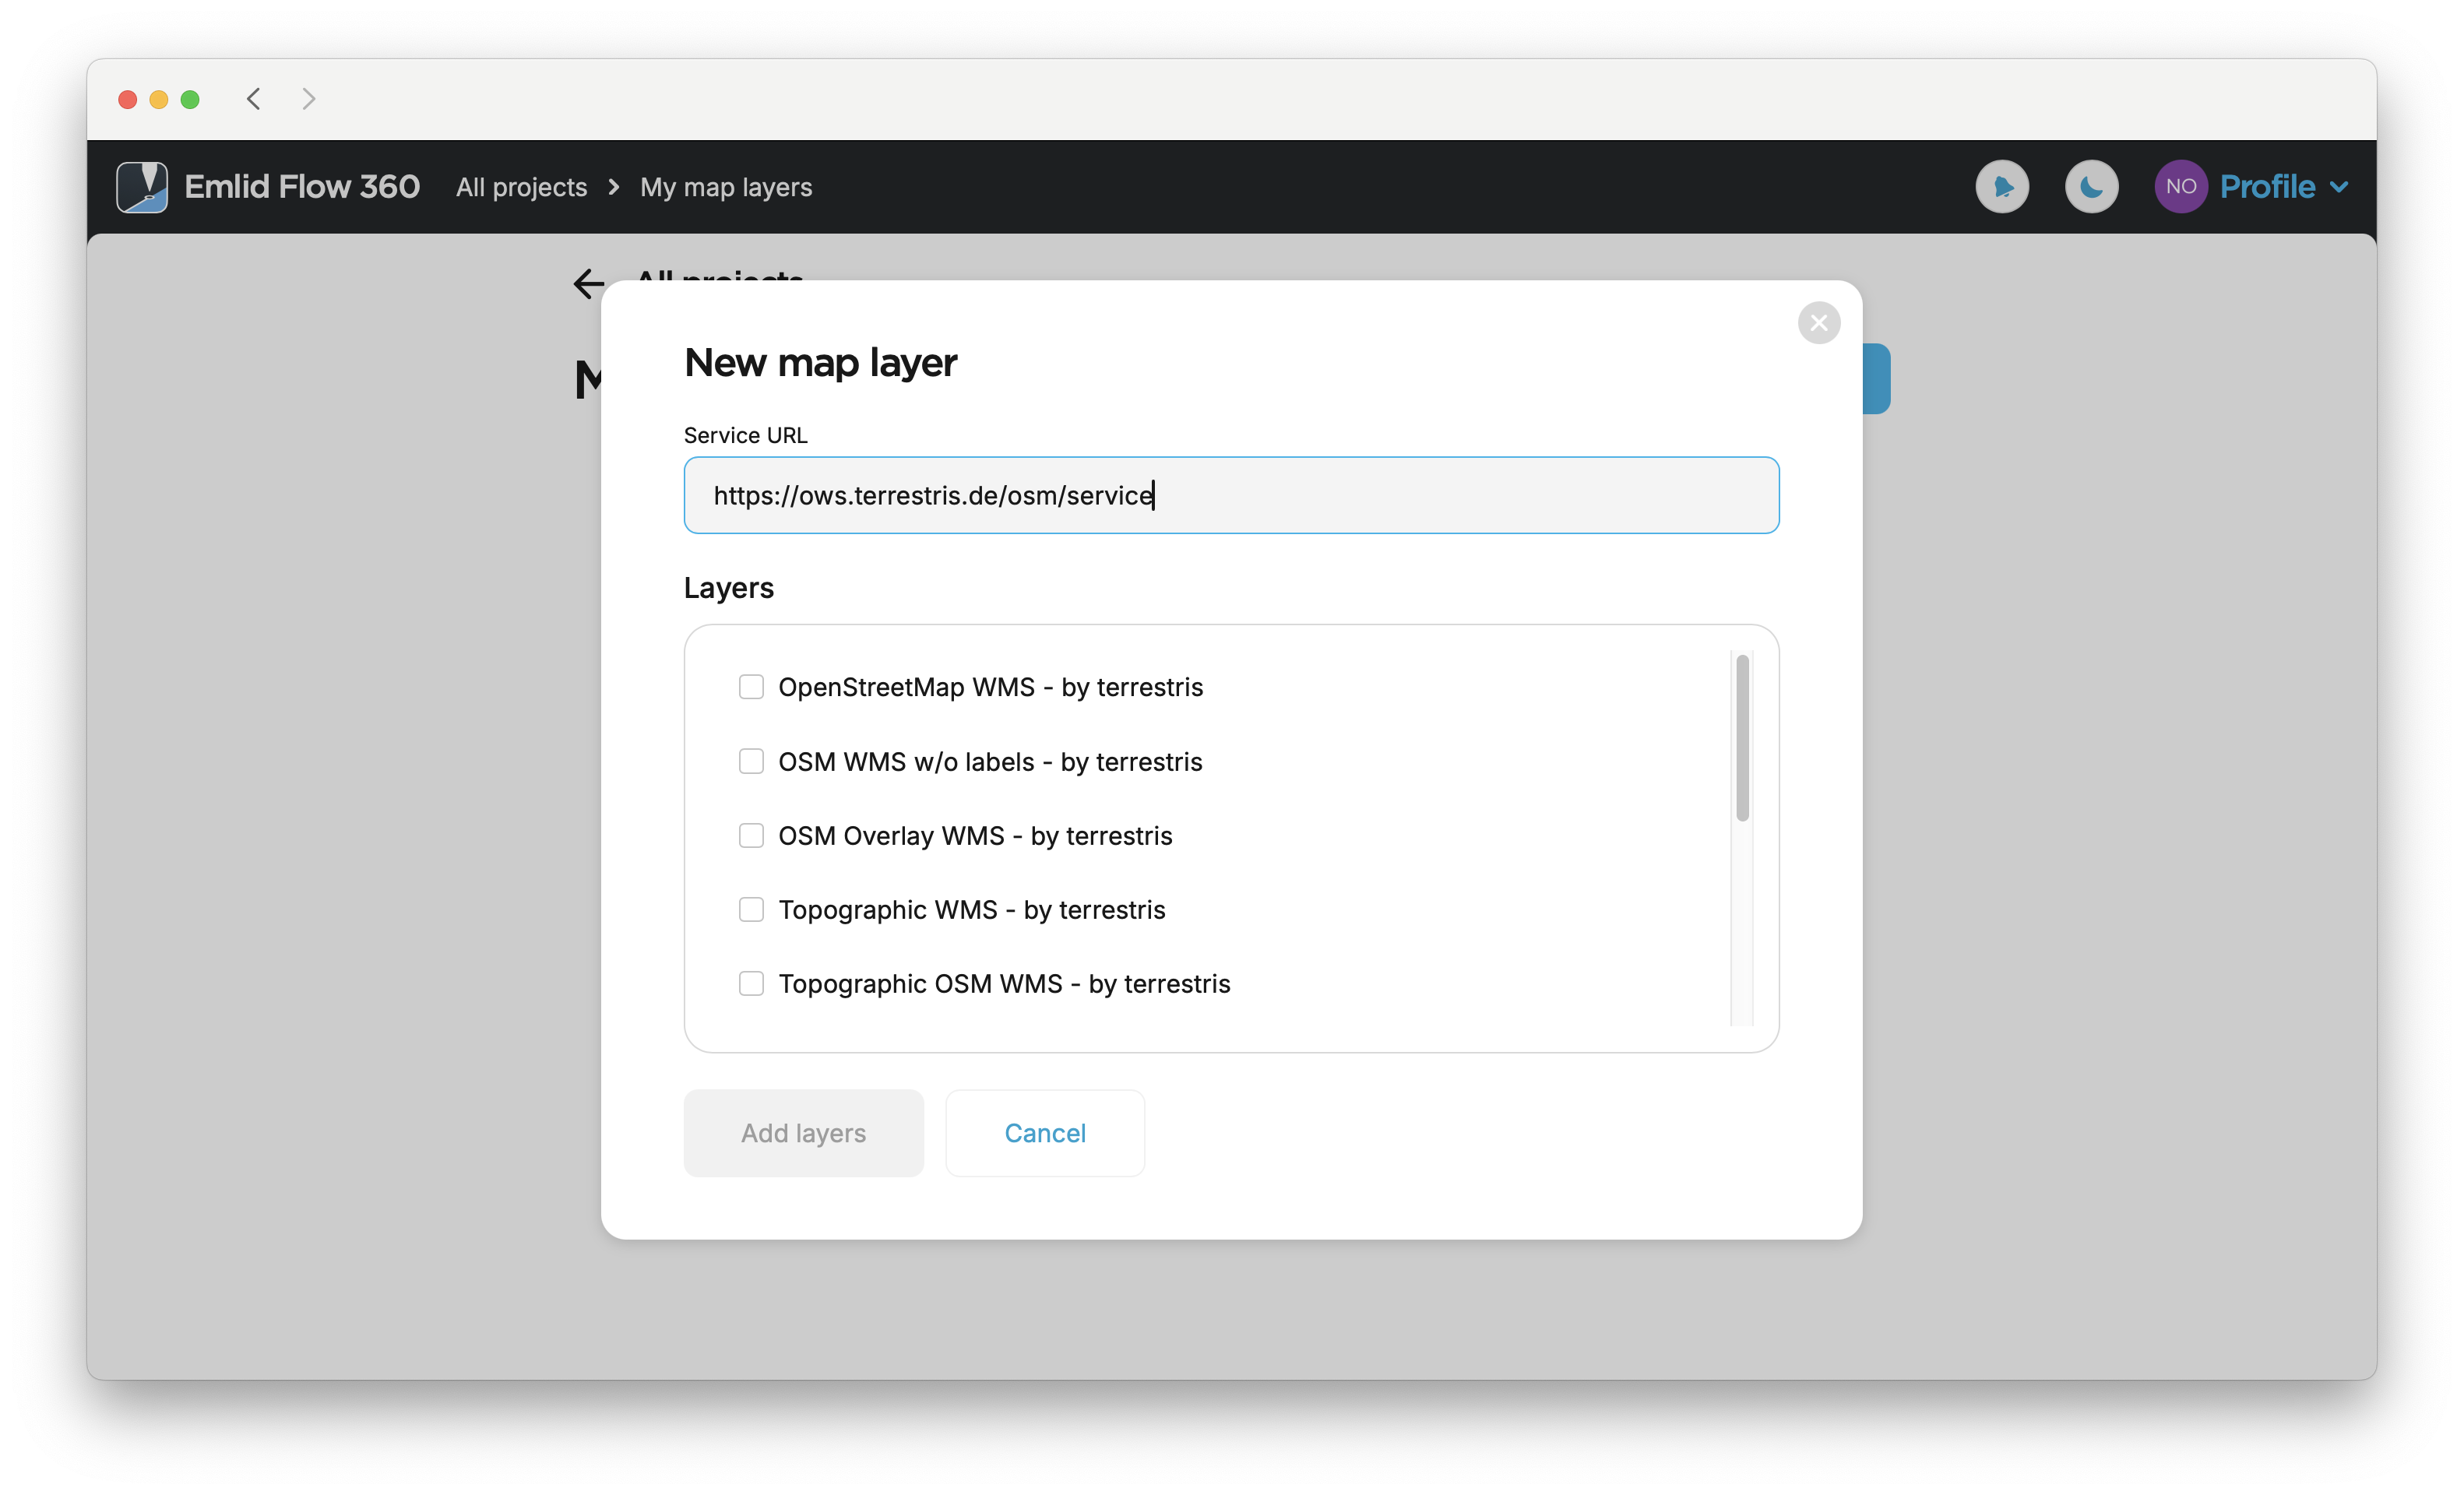
Wait until the layers are loaded.
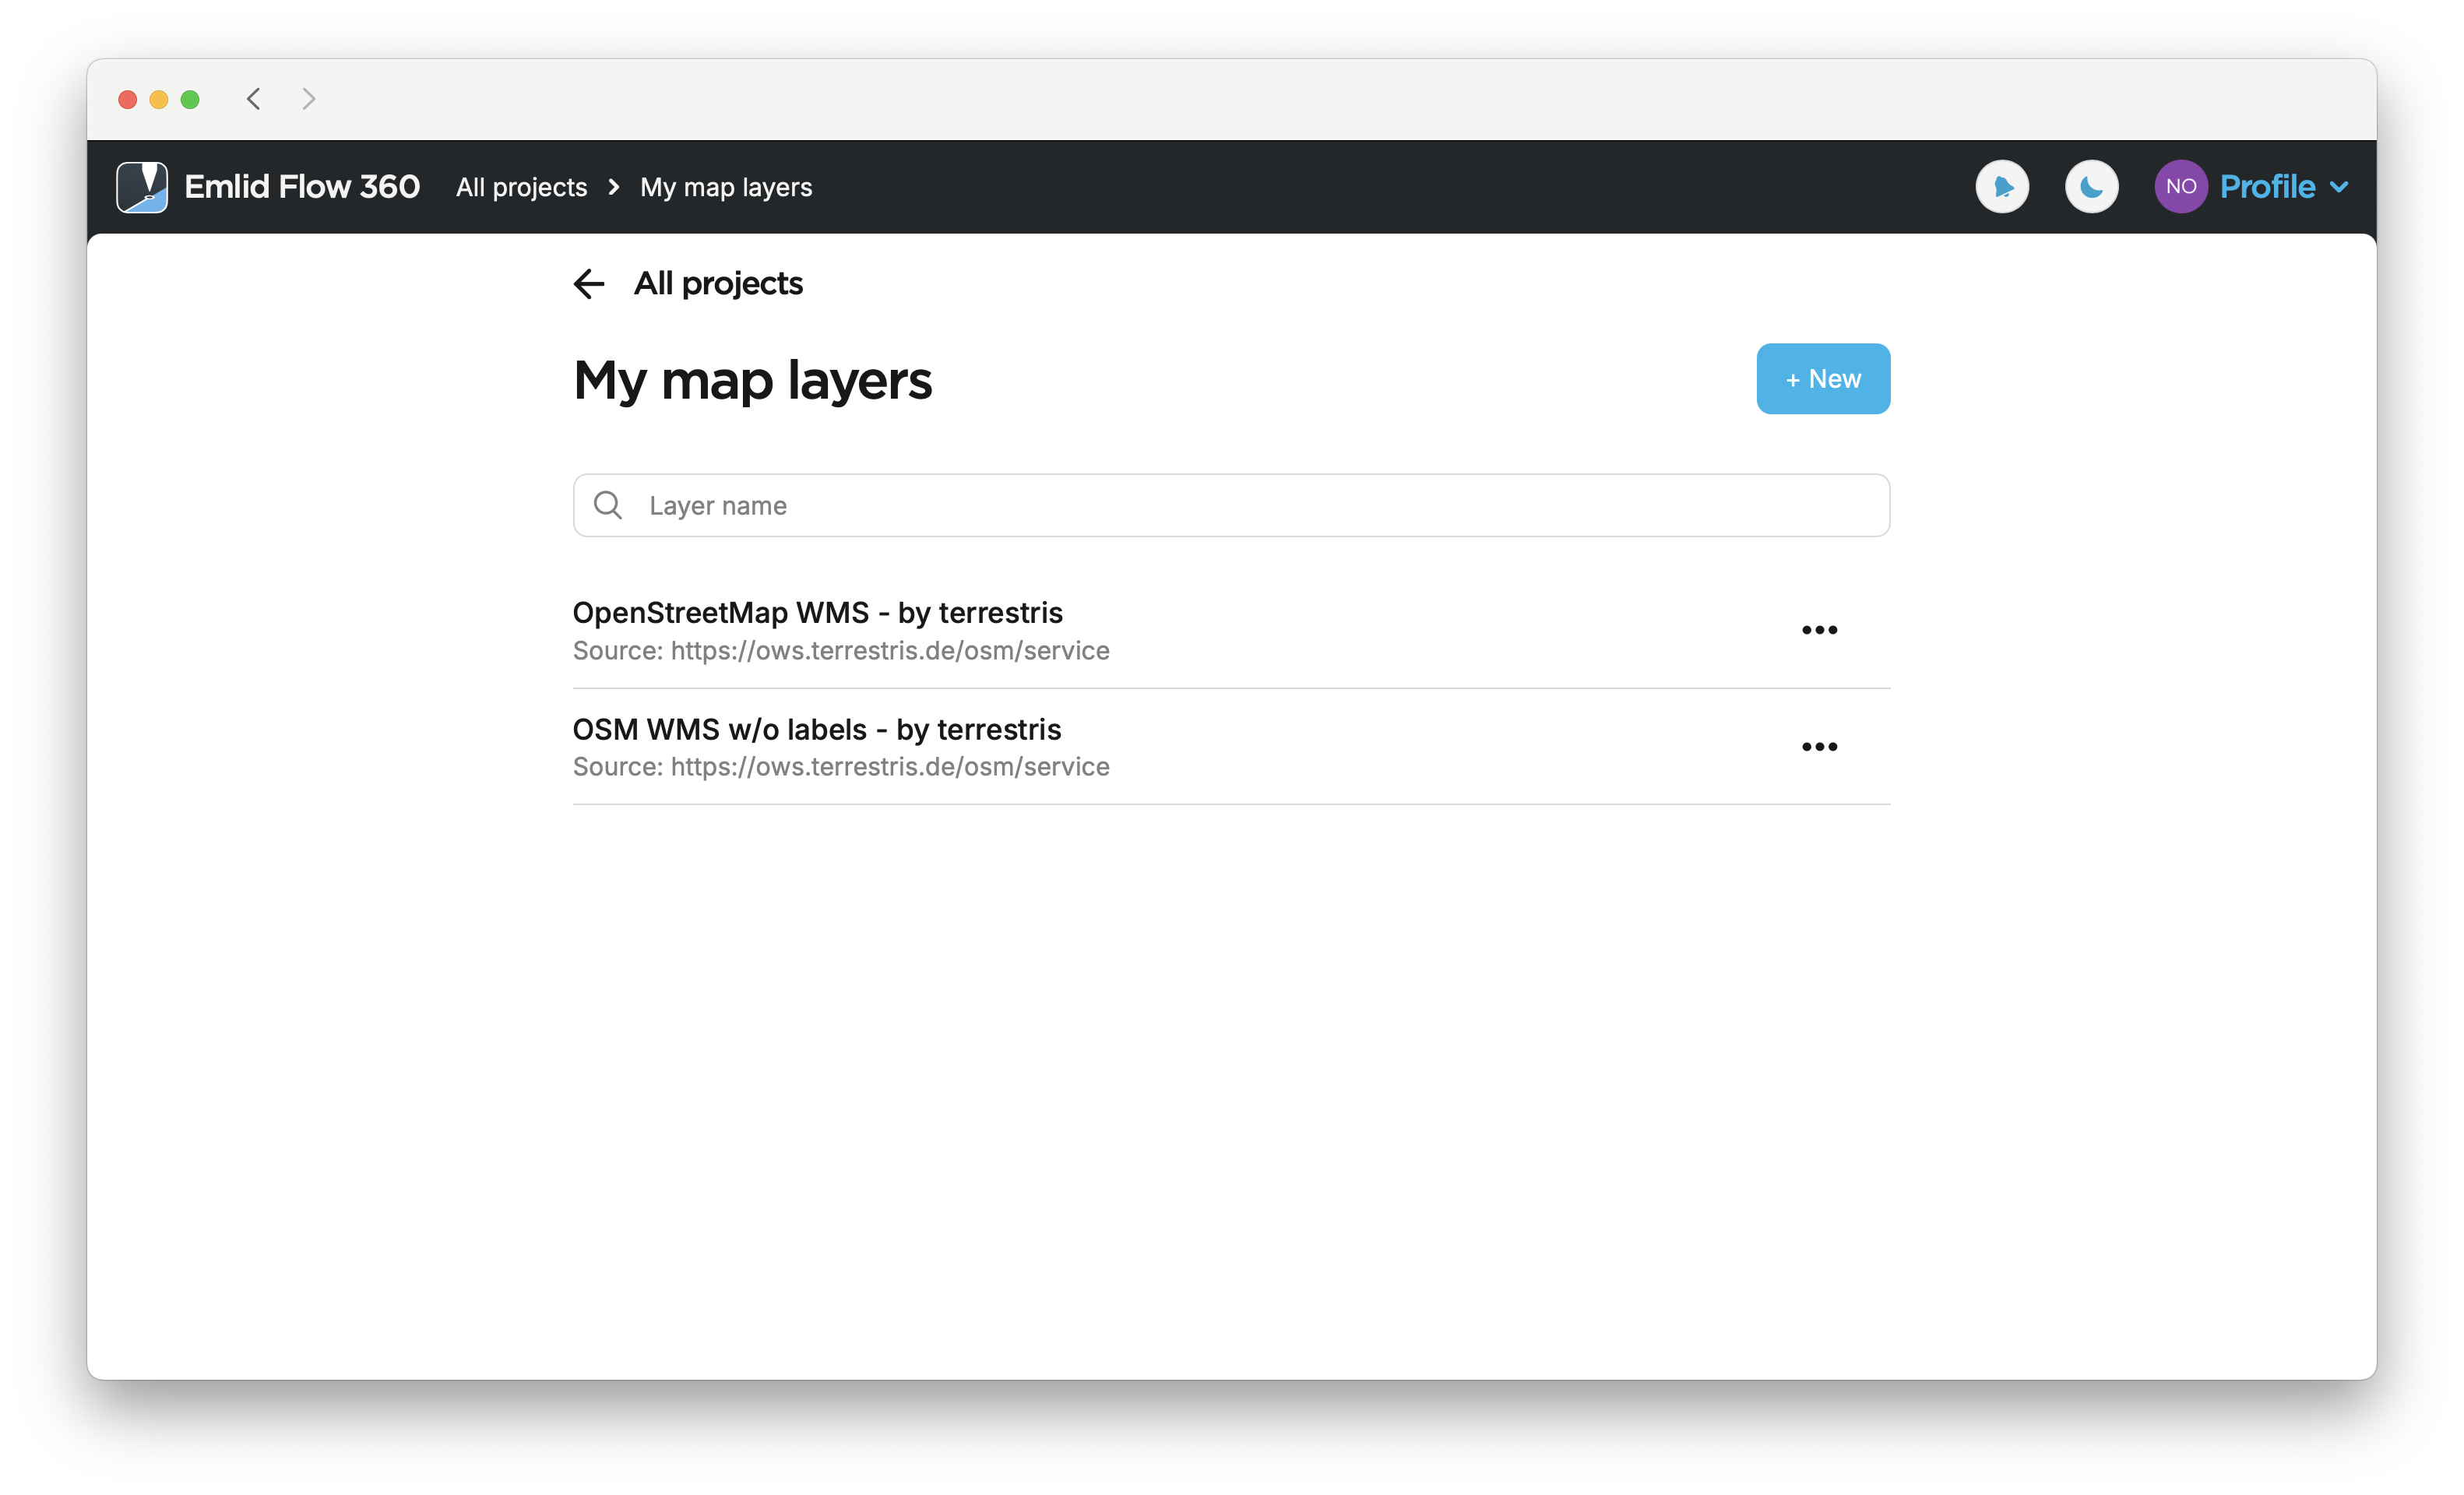
Once WMS layers are loaded to the library, you will be able to add them to any project in Emlid Flow 360.
Learn more about adding WMS layers to your project from WMS layers library in Emlid Flow 360 in the Add WMS layers guide.
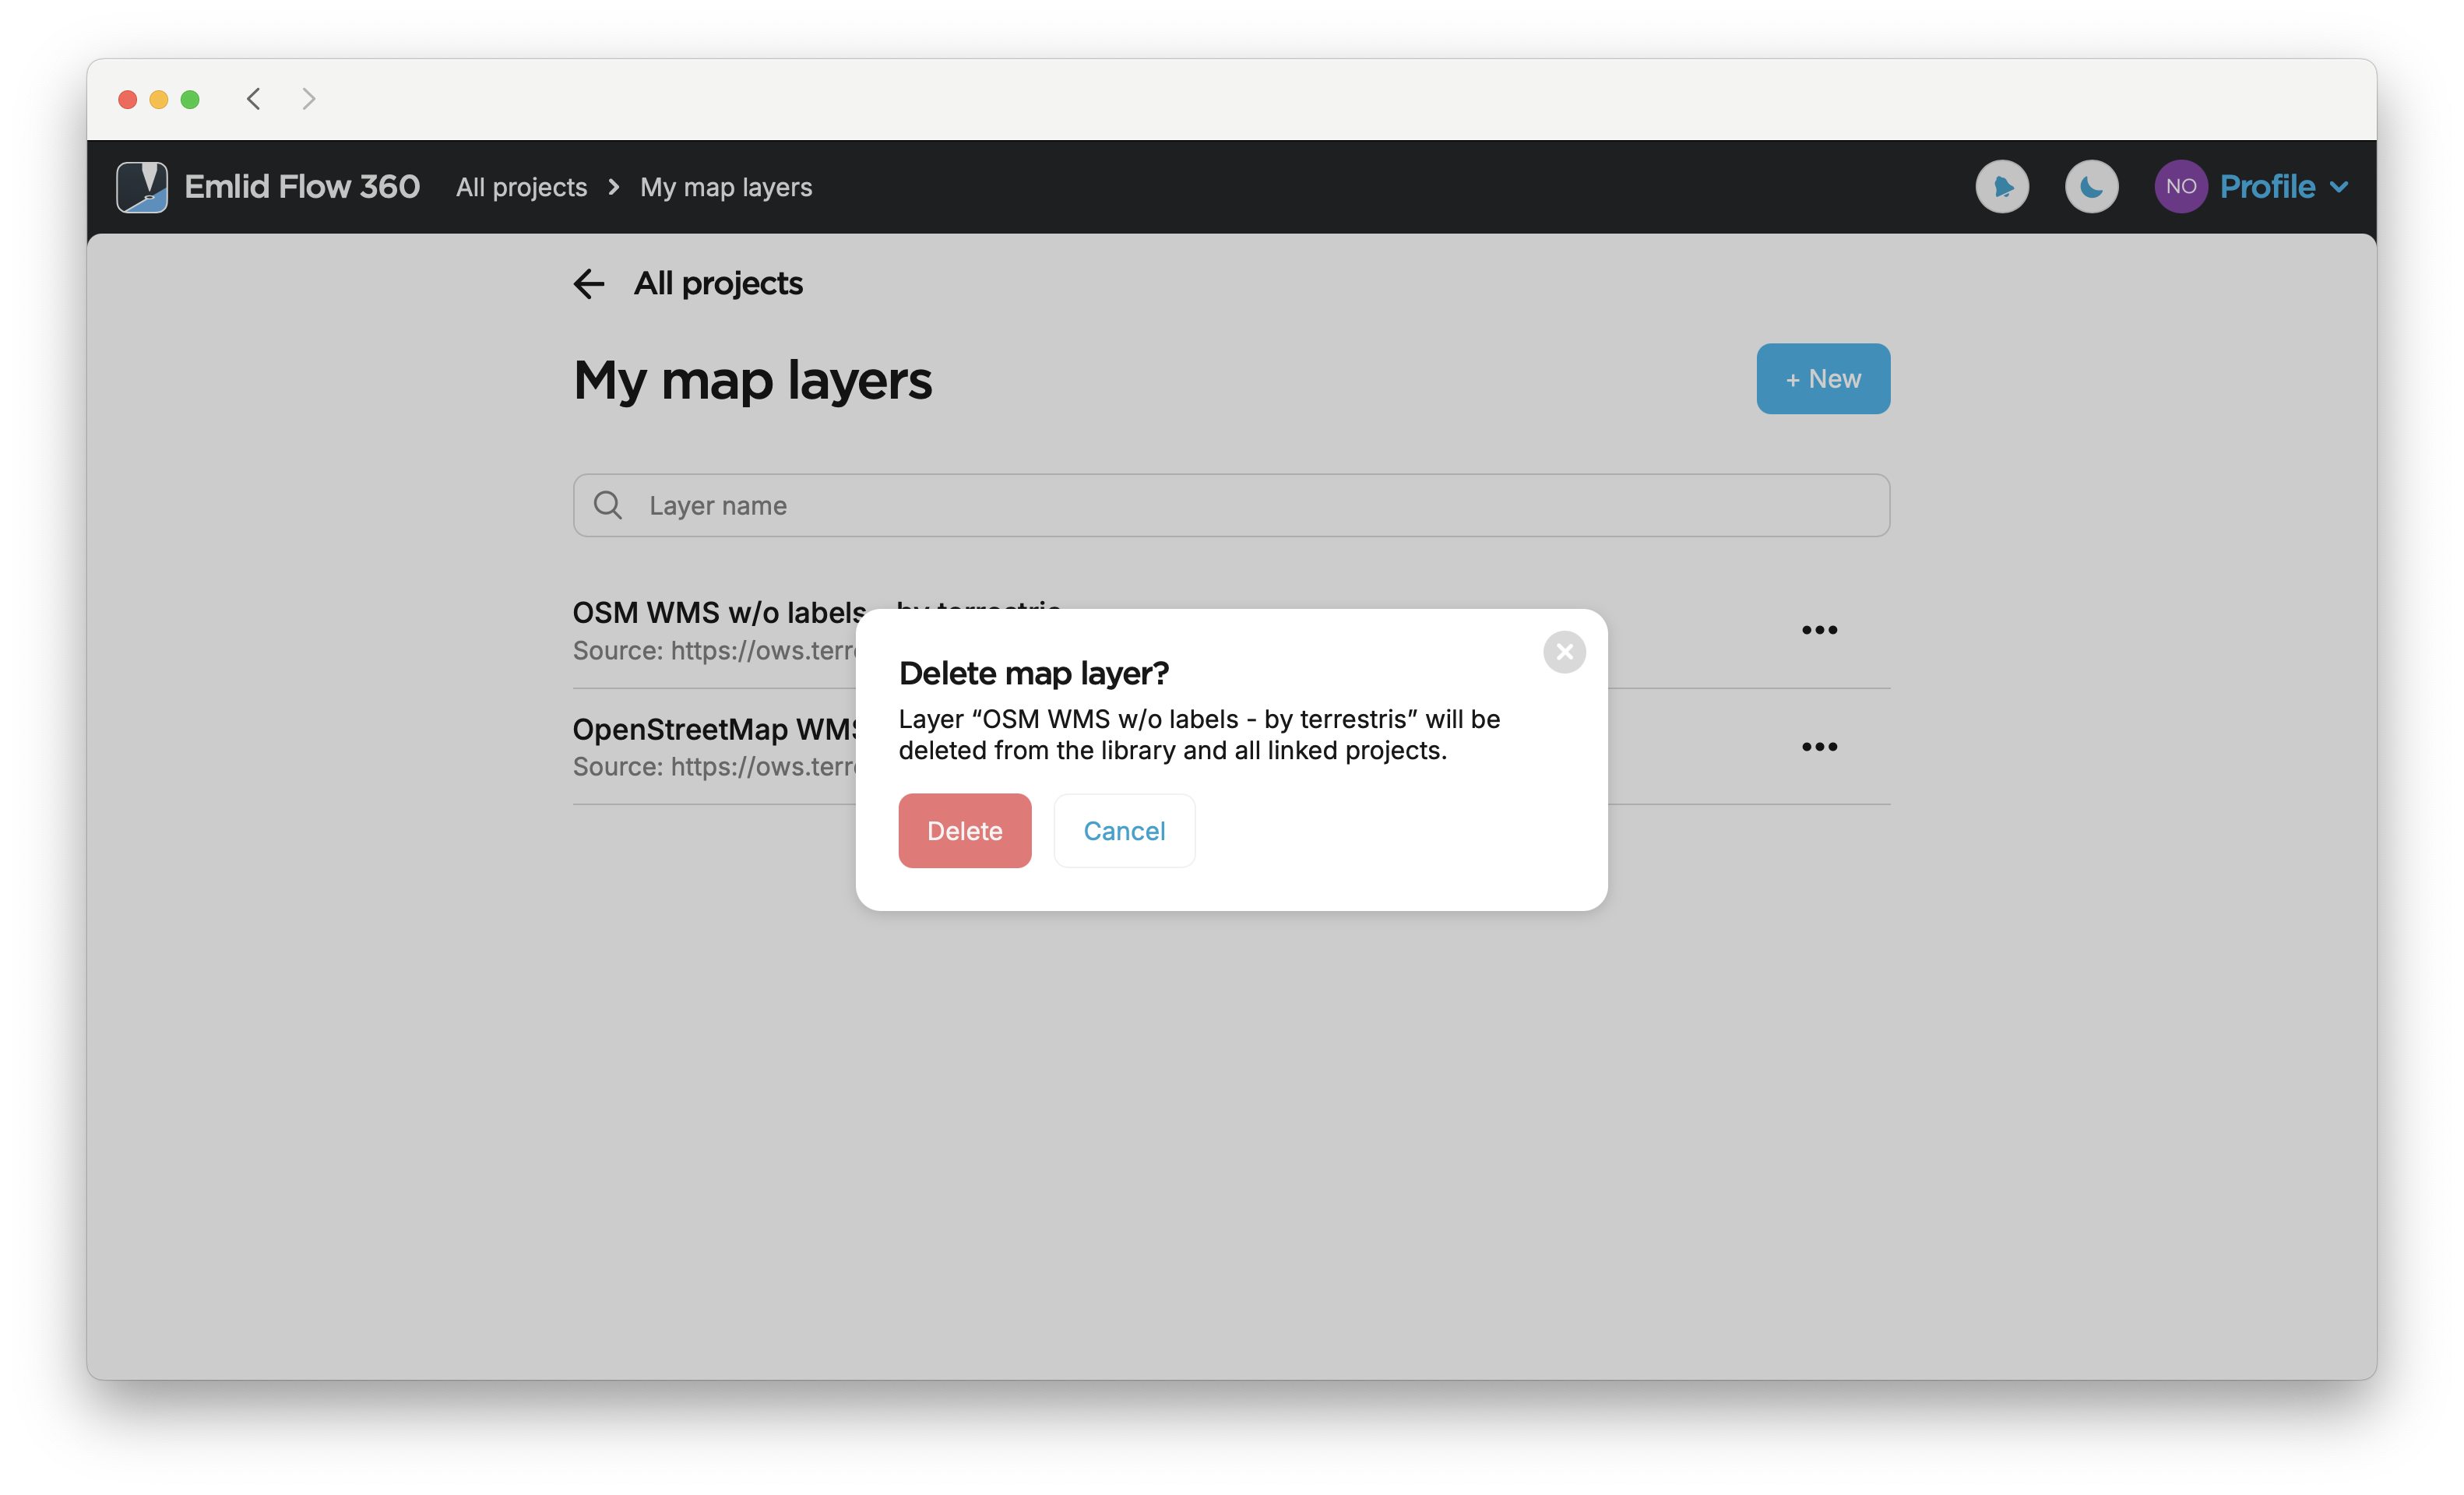
Deleting WMS layers from library
- Emlid Flow 360
This action permanently removes layers from your WMS layers library and cannot be undone.
To delete a WMS layer from your WMS layers library, follow the steps below:
-
Go to flow360.emlid.com and sign up or sign in using your Emlid account.
-
Go to the menu on the left and click Map layers.
-
Click the Map layers button, choose the layer you want to delete and click the trhee dot near it.
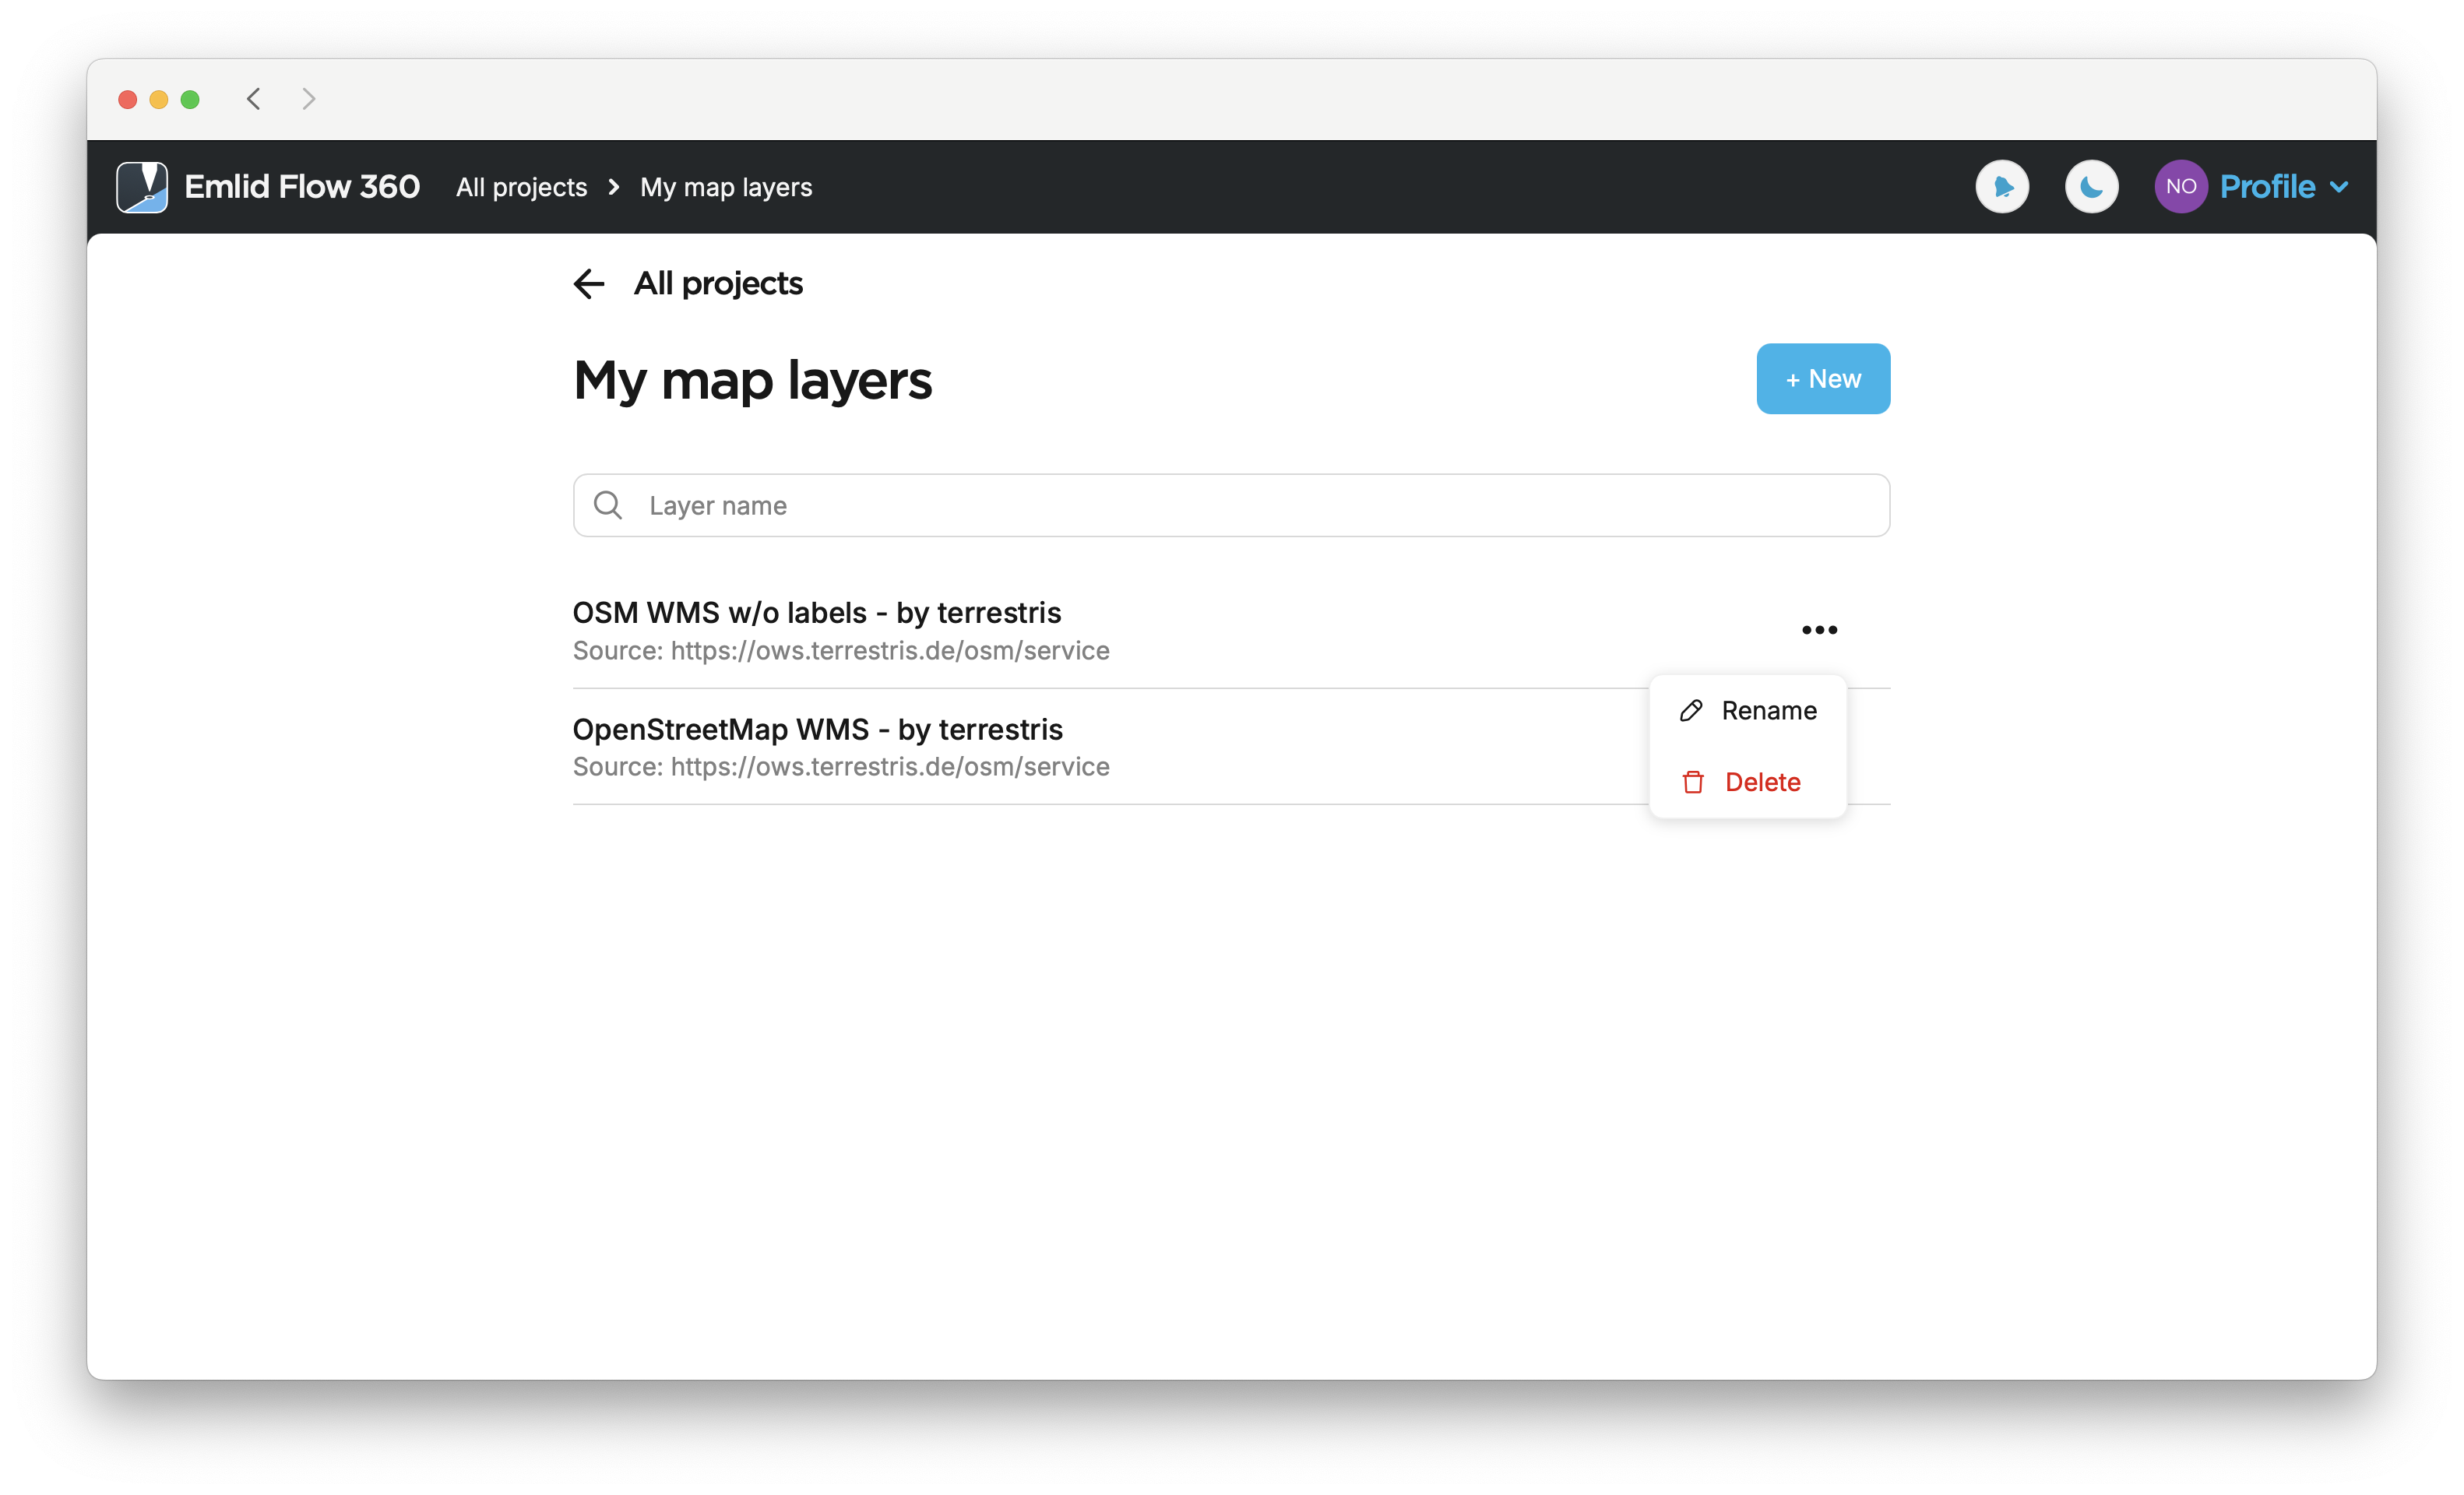
-
Click Delete and confirm the deletion.