Uso da estação base Reach RS2/RS2+ para sistemas YellowScan LiDAR
Este guia explica como gravar um registro de dados brutos no seu Reach RS2/RS2+ usado como estação base para os sistemas YellowScan LiDAR para mapeamento de drones e prepará-lo para obter o arquivo SBET de trajetória corrigida para processamento posterior no software CloudStation.
Visão geral
Você pode usar o Reach RS2/RS2+ como parte da configuração do sistema YellowScan LiDAR para mapeamento por drone. Durante uma missão de voo de drone, o Reach RS2/RS2+ atua como uma estação base que registra os dados de observação do RINEX. Esses dados, juntamente com os dados brutos da trajetória do drone, são usados para obter um arquivo de trajetória de voo corrigido, SBET, no software Applanix PosPac. O arquivo SBET obtido é então processado junto com os dados do scanner no software CloudStation para obter a nuvem de pontos georreferenciados. Este guia abrange apenas a configuração da base Reach RS2/RS2+ e a gravação de um registro de observação RINEX nela, além da preparação adicional do registro para processamento no Applanix POSPac para garantir a geração de um arquivo SBET de trajetória de voo corrigida.
Fluxo de trabalho
Para gravar os registros na base do Reach RS2/RS2+ e prepará-los para processamento posterior no software Applanix POSPac, siga estas etapas:
-
No aplicativo Emlid Flow, configure seu Reach como uma base. em Configurações GNSS, selecione os mesmos sistemas de satélite nas configurações de GNSS que você tem em seu drone. Defina a taxa de atualização como 1 Hz.
tipSaiba mais sobre a configuração do Reach no guia Colocação.
-
Configure a gravação de registros no Reach. Em Configurações de registro, selecione o formato RINEX, especifique a altura da antena e mantenha o intervalo de armazenamento Full rate. Recomendamos que você inicie o voo 2 minutos depois de começar a gravar o registro e apare-o em seguida. Isso melhorará a qualidade do registro para processamento posterior.
tipVocê pode aprender como gravar registros na sua base Reach e baixá-los no guia Como armazenar dados para PPK.
-
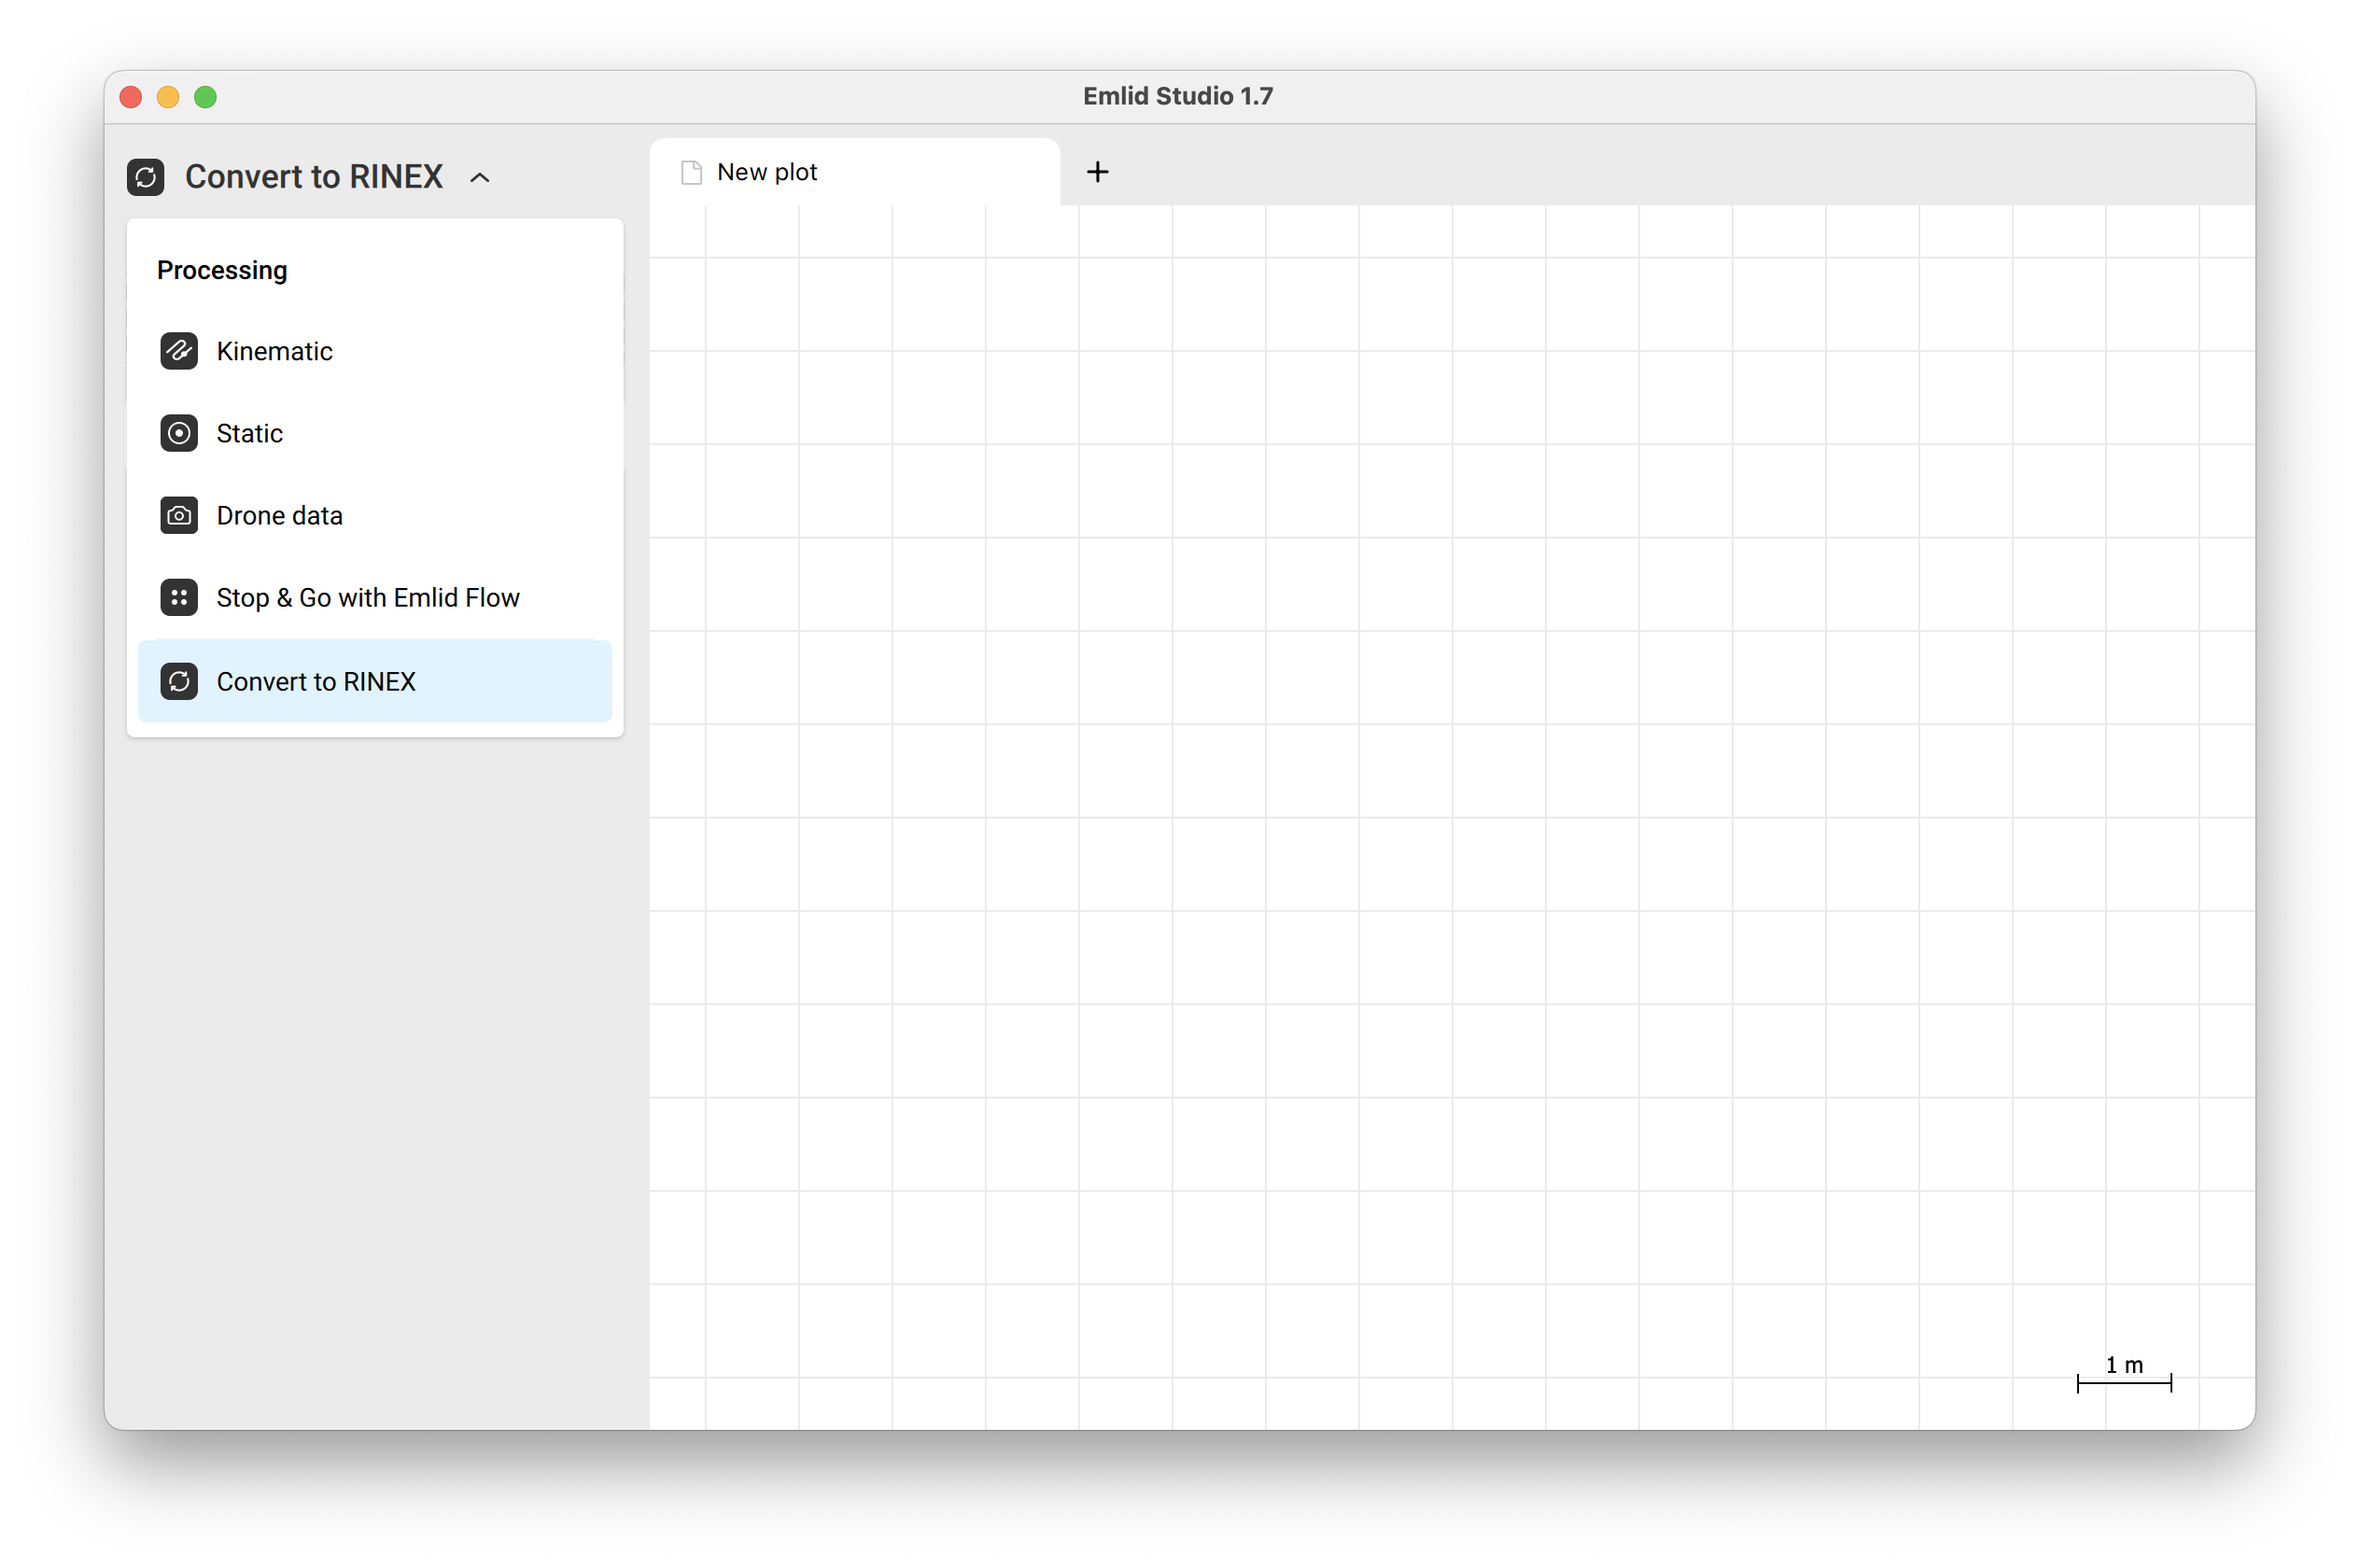
Abra o Emlid Studio, selecione Converter para RINEX.
noteSaiba mais sobre o Emlid Studio e faça o download gratuito na página de destino do Emlid Studio.

-
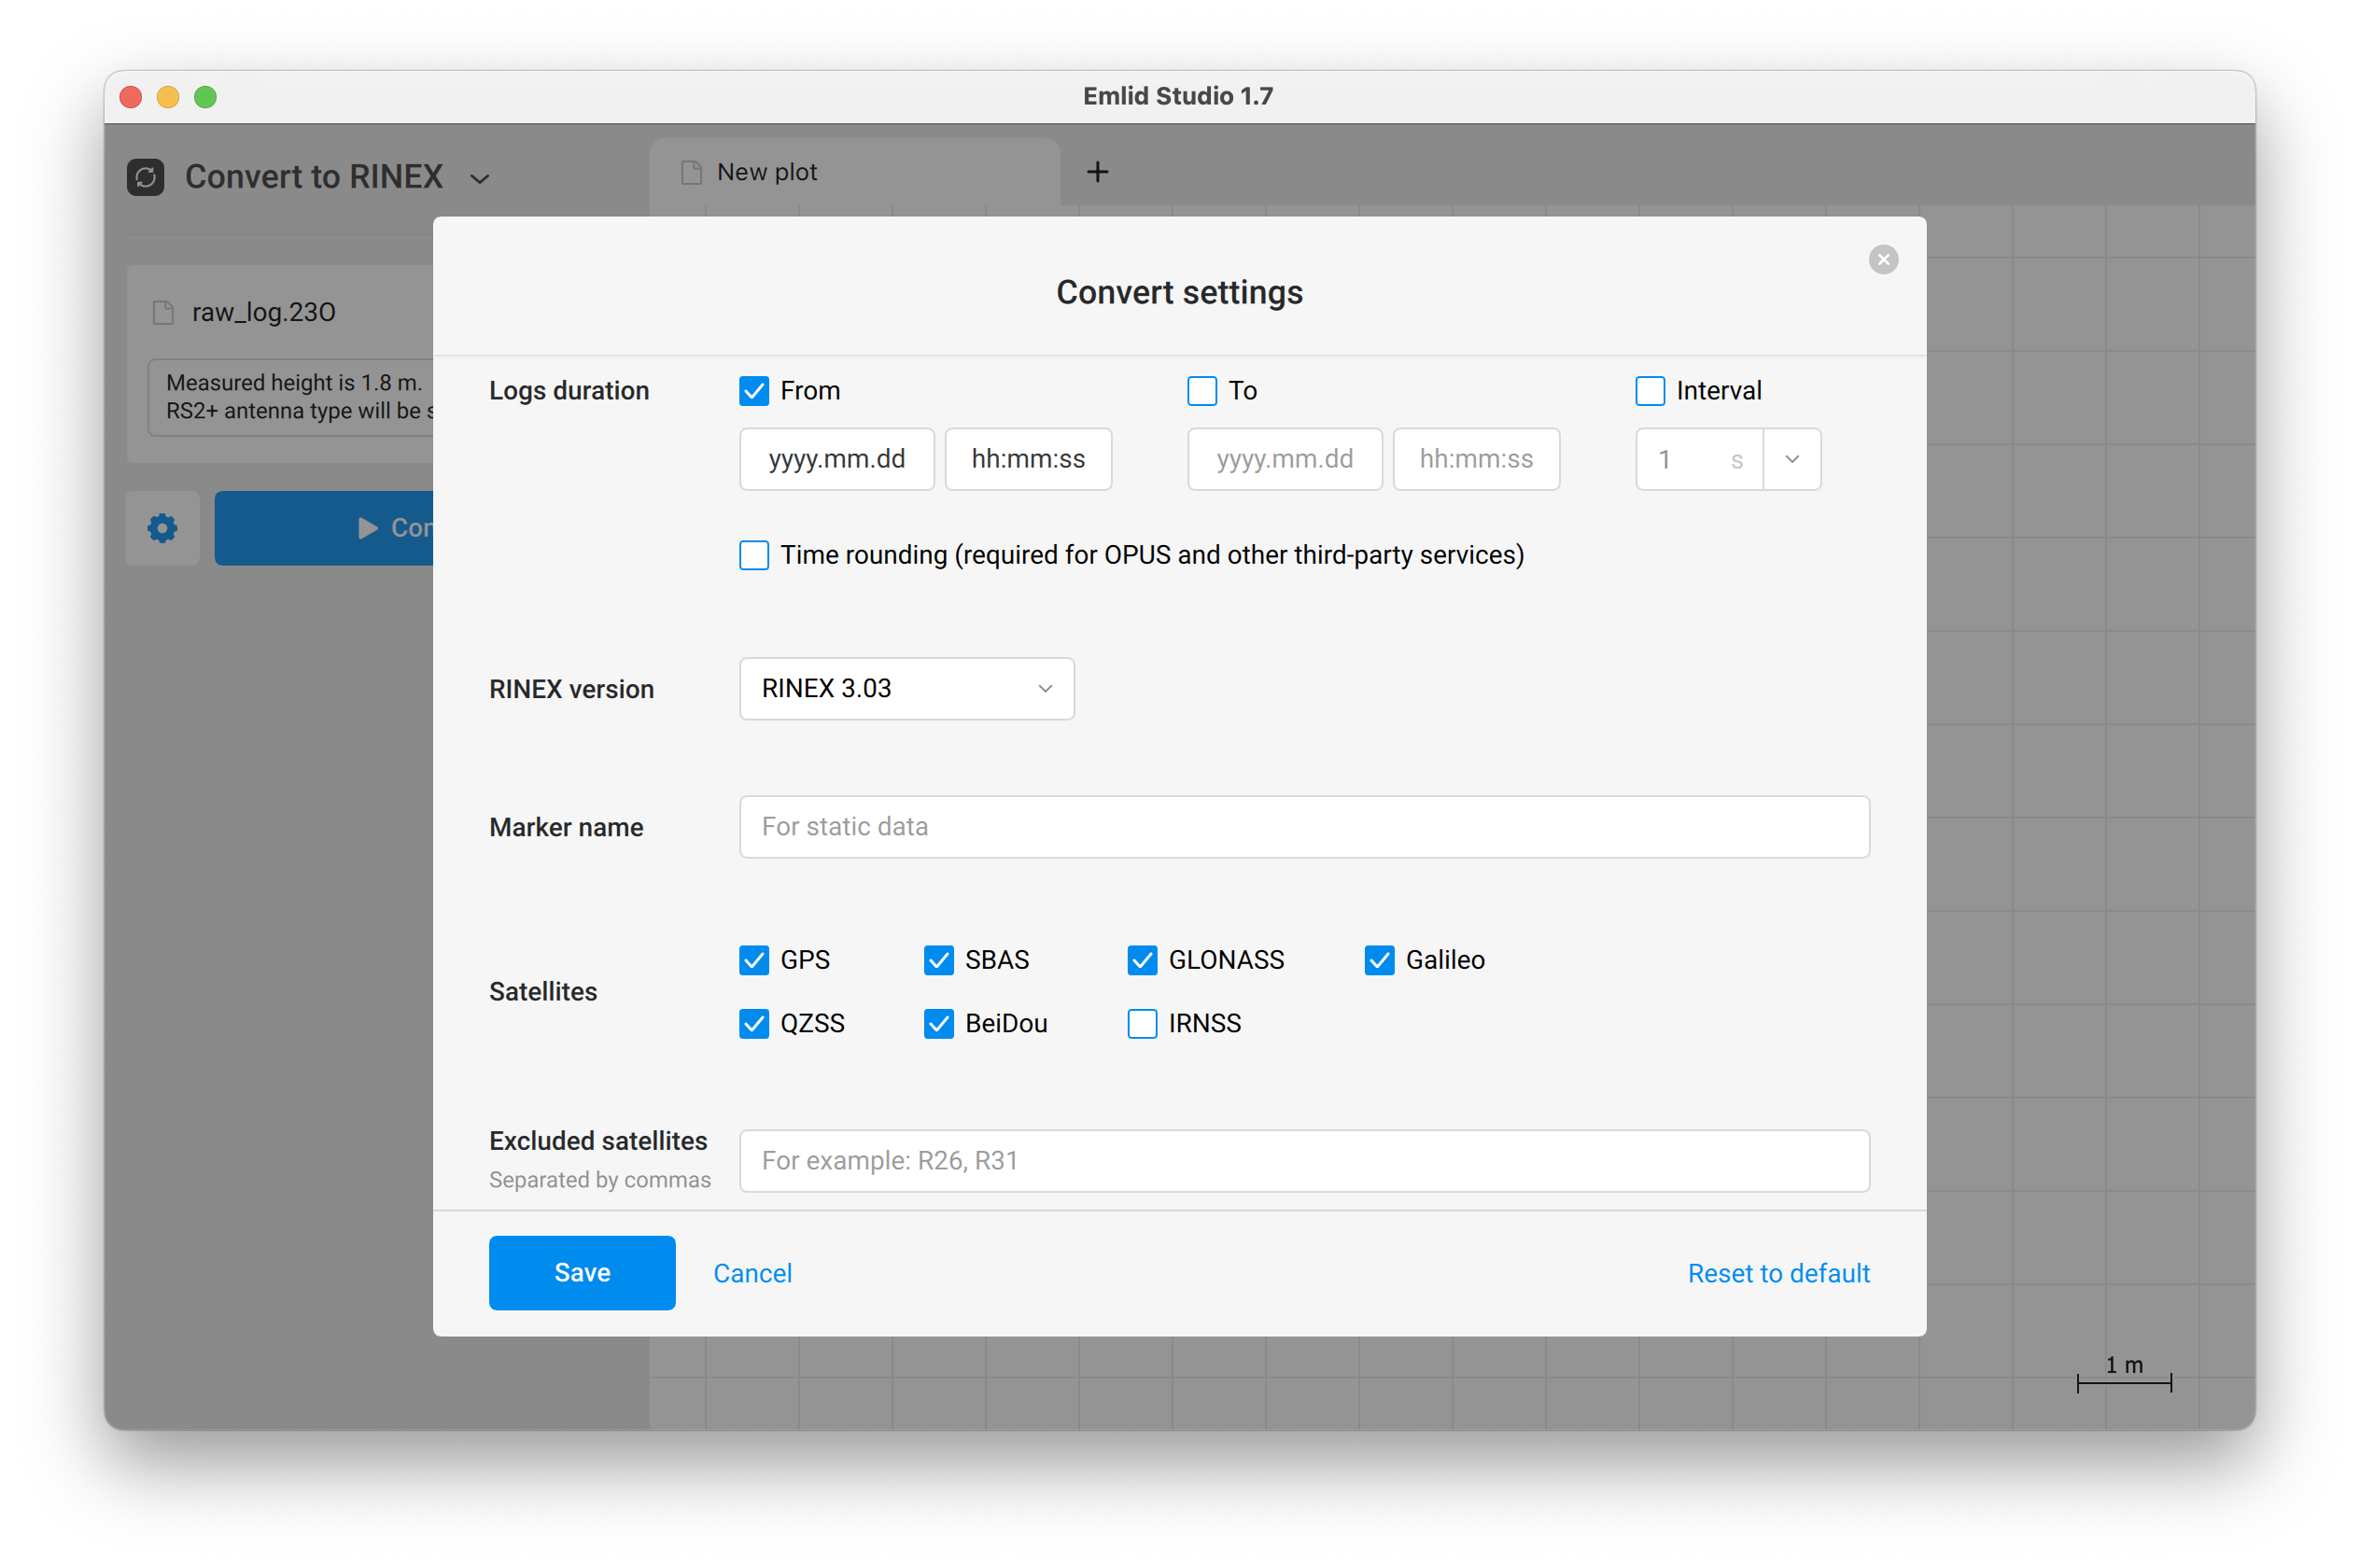
Carregue seu registro no Emlid Studio e toque no botão de engrenagem azul para acessar as configurações de processamento.
-
Na seção Duração dos registros, defina o tempo de 2 minutos após o início da gravação do registro para cortar o registro. Toque em Salvar e, em seguida, em Converter.

Depois de obter o registro aparado, você pode carregá-lo junto com o arquivo de trajetória bruta T04 do seu levantamento LiDAR no Applanix POSPac para obter o arquivo SBET de trajetória corrigida. Em seguida, você pode fazer o upload para o CloudStation para gerar um arquivo LAS.