Installation and running
Overview
You can run ArduPilot on Raspberry Pi 2, 3 or 4 with Navio2. The autopilot's code works directly on Raspberry Pi. For ArduPilot to work properly, use the configured Raspberry Pi OS distribution that we provide.
Current vehicle versions
Emlid Raspberry Pi OS has pre-installed ArduPilot. It includes all vehicles and is based on the one of the stable branch. Currently these are:
- ArduCopter: 4.0.3
- ArduPlane: 4.0.5
- ArduRover: 4.0.0
- ArduSub: 4.0.1
Greeting
Once you ssh into Raspberry Pi, you will be greated with a message that looks like this:
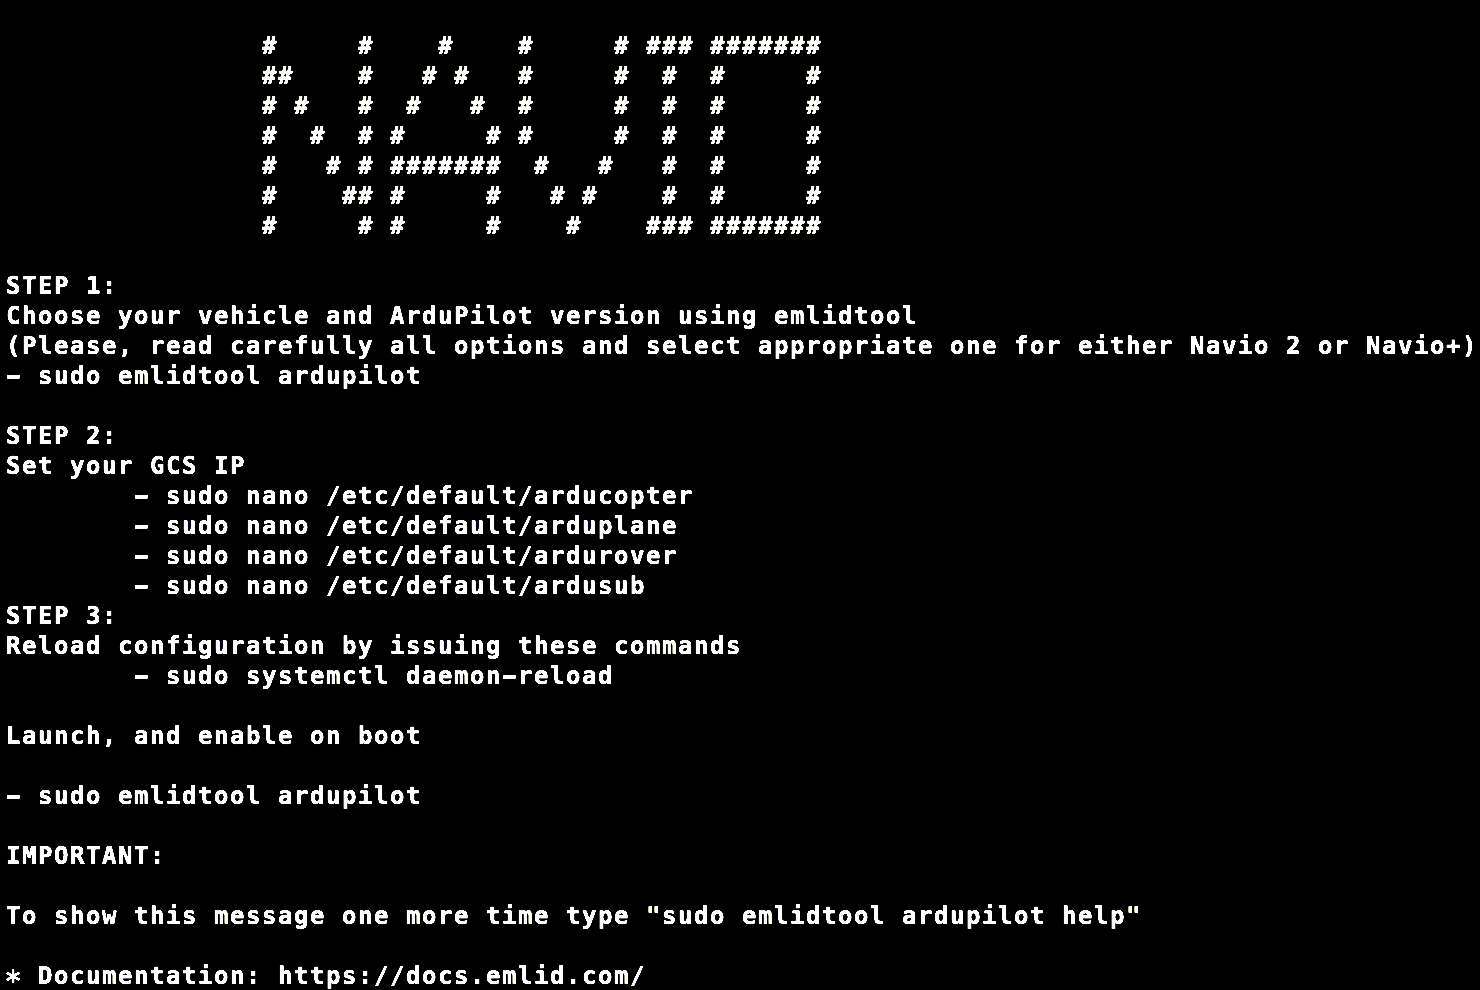
We will show what is going on under the hood in the sections below.
systemd
To launch ArduPilot, we use systemd init system which provides manager for all services and processes.
The main command used to control systemd is systemctl. Some of its uses are:
- examining the system state
- managing the system and services
tip
See man systemctl for more details.
Choose vehicle, version and board
To select the vehicle that would be launched by default, you should configure it with emlidtool:
sudo emlidtool ardupilot
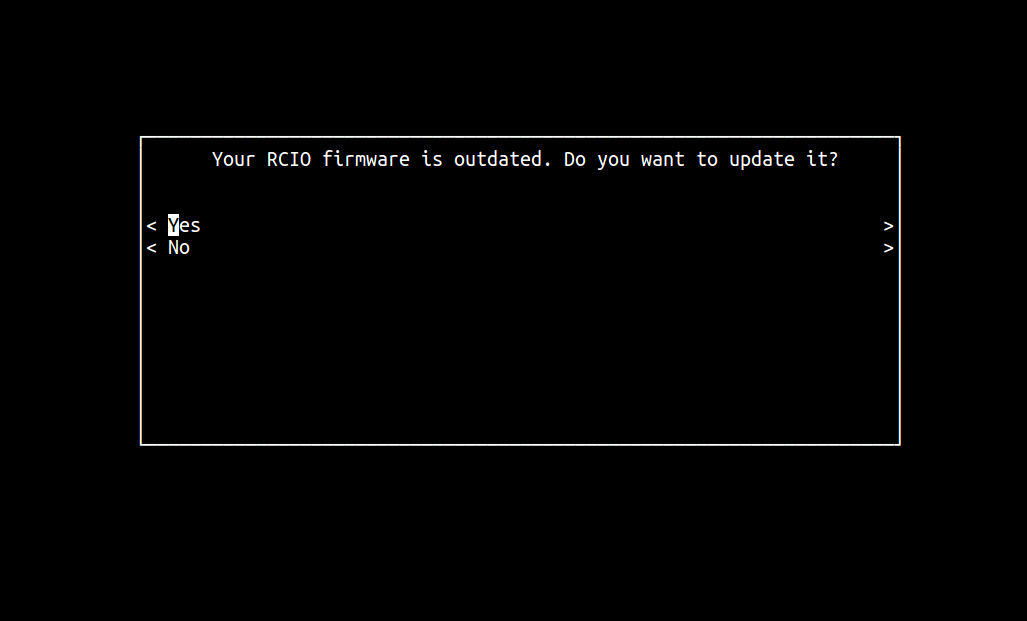
Before this configuration, emlidtool checks your RCIO firmware. It will suggest updating it if you have the outdated one:
In the example below, we will use ArduCopter, but it works the same for ArduPlane or ArduRover.
Once the command is running, it will produce the output like this:
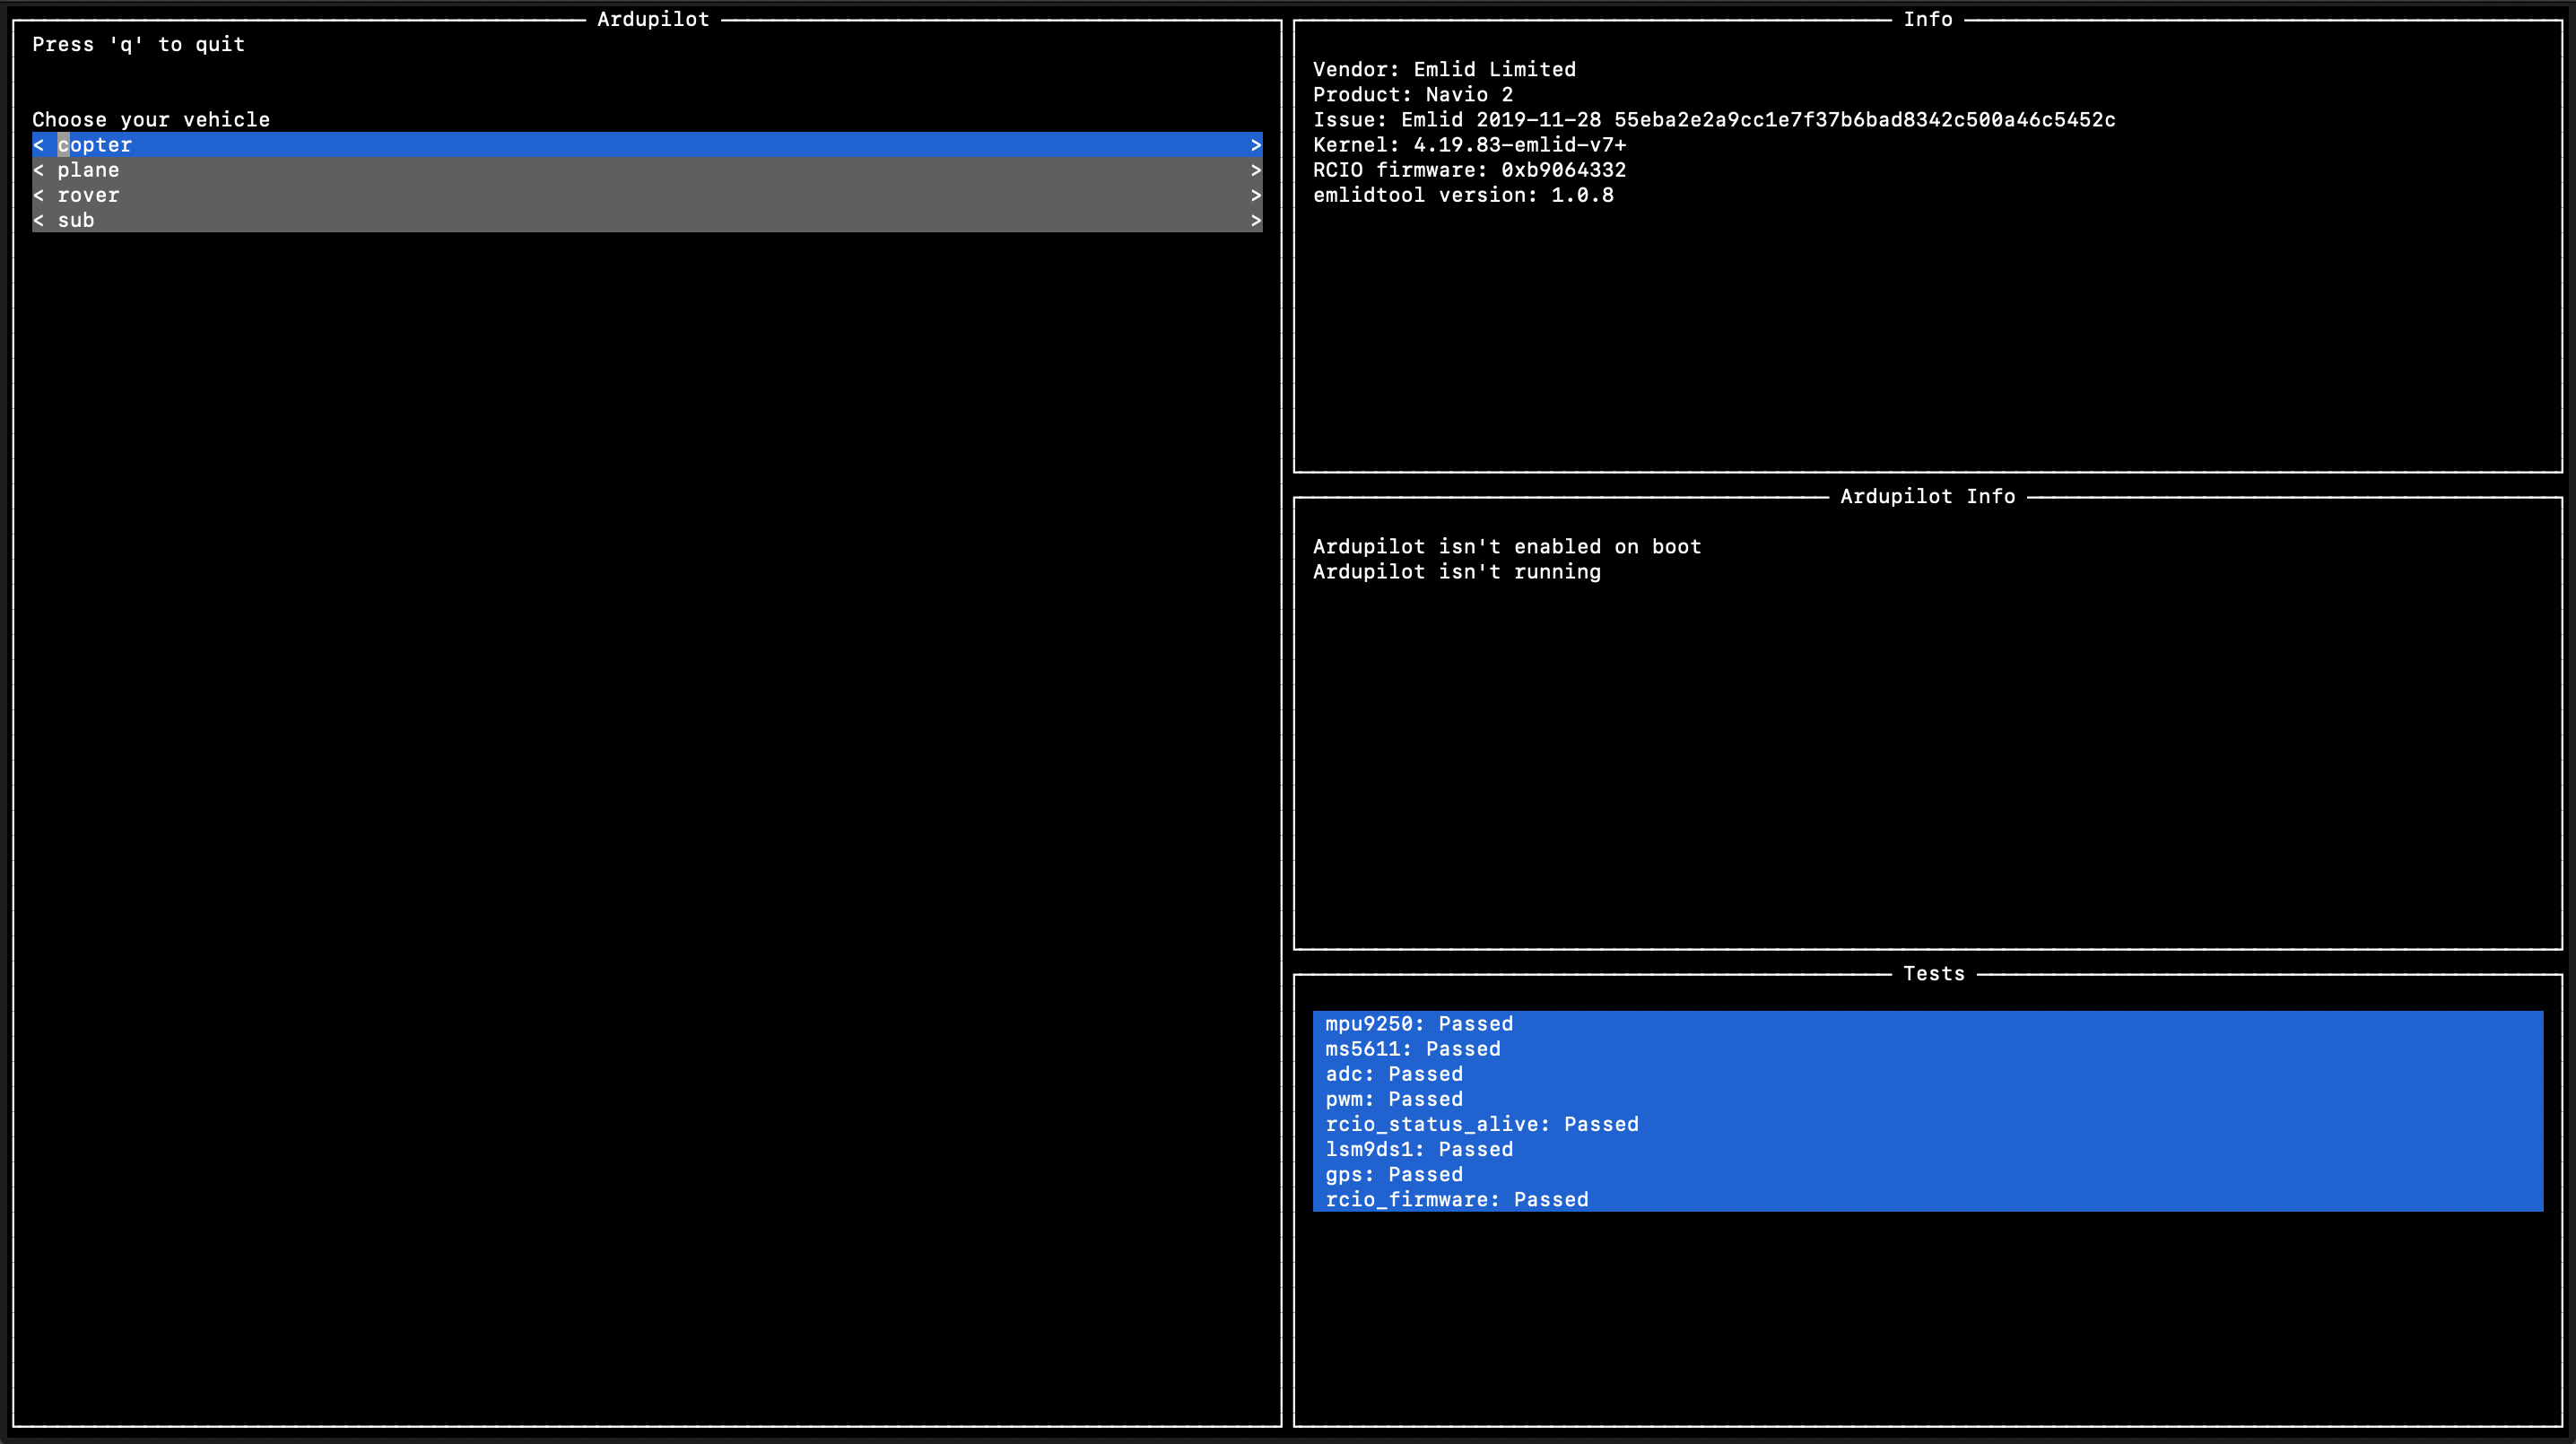
At this point, you should enter the right choices in the left menu corresponding to your vehicle and frame. Also, you need to decide whether you want to get ardupilot enabled on boot or not and start/stop it now.
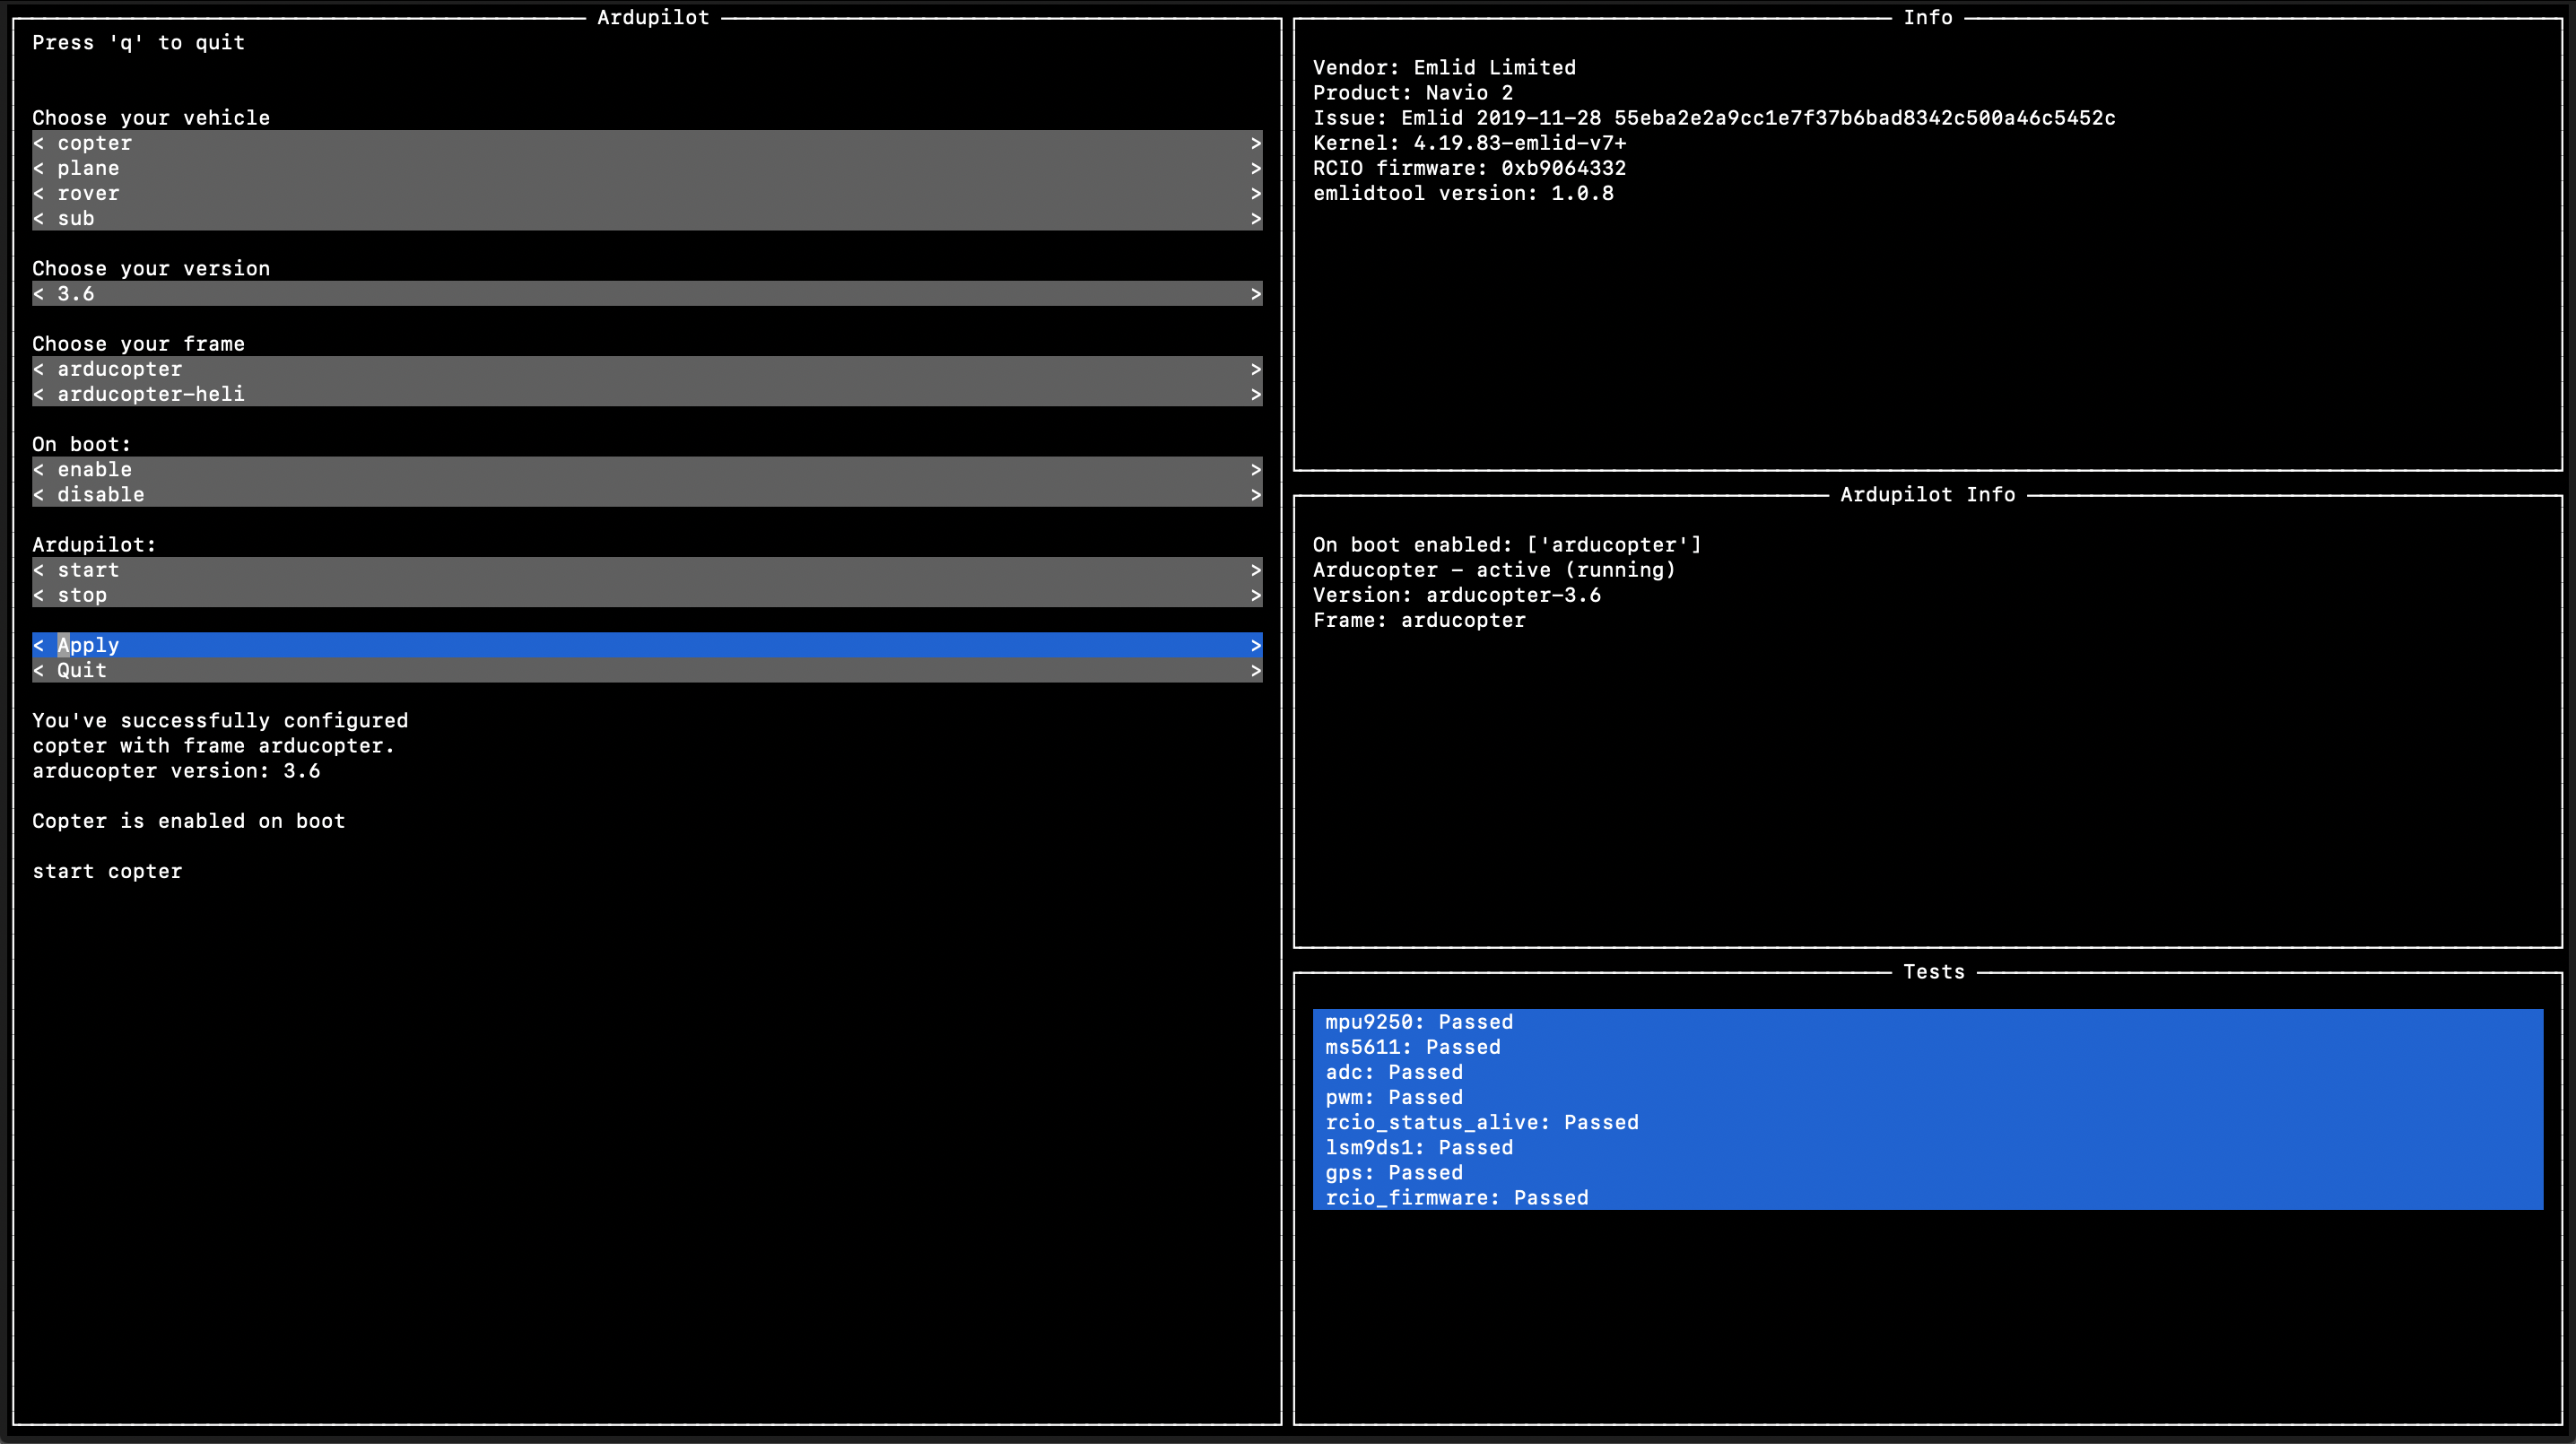
Let's assume that we have ArduCopter, and we decided to enable it on boot and start.
After clicking the Apply button, ArduPilot will be configured, and you will see the changes in the Ardupilot Info widget:
Specifying launching options
Open the following file:
pi@navio: ~ $ sudo nano /etc/default/arducopter
Here you can specify IP of your Ground Control Station.
TELEM1="-A udp:127.0.0.1:14550"
#TELEM2="-C /dev/ttyAMA0"

# Options to pass to ArduPilot
ARDUPILOT_OPTS="$TELEM1 $TELEM2"

# -A is a console switch (usually this is a Wi-Fi link)

# -C is a telemetry switch
# Usually this is either /dev/ttyAMA0 - UART connector on your Navio
# or /dev/ttyUSB0 if you're using a serial to USB convertor

# -B or -E is used to specify non default GPS
note
All lines marked '#' are comments and have no effect.
For example, you need to modify TELEM1 to point to your IP like this:
TELEM1="-A udp:192.168.1.2:14550"
Where 192.168.1.2 is the IP address of the device with the Ground Control Station (GSC) - your laptop, smartphone etc.
tip
You can add additional options to ARDUPILOT_OPTS that are then passed to ArduPilot by adding new TELEM environment variables like this:
TELEM3="-E /dev/ttyUSB1"
ARDUPILOT_OPTS="$TELEM1 $TELEM2 $TELEM3"
Mapping between switches and serial ports (TCP or UDP can be used instead of serial ports):
-A- serial 0 (always console; default baud rate is 115200)-C- serial 1 (normally telemetry 1; default baud rate is 57600). 3DR Radios are configured for 57600 by default, so the simplest way to connect over them is to run with-Coption.-D- serial 2 (normally telemetry 2; default baud rate is 57600)-B- serial 3 (normally 1st GPS; default baud rate is 38400)-E- serial 4 (normally 2nd GPS; default baud rate is 38400)-F- serial 5
Additionally, take a look at the list of serial parameters for Mission Planner.
note
When using UART for telemetry, keep in mind that serial ports have default baud rates.
Reload configuration
If you changed something in the previous step, you need to reload configuration for systemd to work properly.
pi@navio: ~ $ sudo systemctl daemon-reload
Starting
Now you can start ArduPilot:
pi@navio: ~ $ sudo systemctl start arducopter
To stop the service, run:
pi@navio: ~ $ sudo systemctl stop arducopter
Autostarting on boot
To automatically start ArduPilot on boot, you need to enable arducopter:
pi@navio: ~ $ sudo systemctl enable arducopter
To disable the autostart, do the following:
pi@navio: ~ $ sudo systemctl disable arducopter
You can check whether ArduPilot is already enabled or not:
pi@navio: ~ $ systemctl is-enabled arducopter
Connecting to the GCS
Mission Planner
Windows only Ground Control Station. It is the most feature complete, though. It can be downloaded from the firmware.ardupilot.org.
QGroundControl
A crossplatform Ground Control Station for MAVLink-based flight stacks (like ArduPilot). It can be downloaded from the qgroundcontrol.com.
APM Planner
APM Planner is a Ground Control Station software for ArduPilot. It can be downloaded from the firmware.ardupilot.org.
APM Planner listens on UDP port 14550, so it should catch telemetry from the drone automatically. Also, if you are using Linux, you have to add your user to dialout group:
sudo adduser $USER dialout
MAVProxy
MAVProxy is a console-oriented Ground Control Station software written in Python. It is well suited for advanced users and developers.
To install MAVProxy, use Download and Installation instructions.
To run it, specify the --master port, which can be serial, TCP or UDP. It also can perform data passthrough using --out option.
pi@navio: ~ $ mavproxy.py --master 127.0.0.1:14550 --out 192.168.1.2:14500
Where 192.168.1.2 is the IP address of the Ground Control Station, not Raspberry Pi.
Launching a custom ArduPilot binary
Navio2 is supported in ArduPilot upstream and if want to build the binary yourself, please proceed to the Building from sources. Also, you can download the latest stable binary files from ArduPilot buildserver. To download arducopter binary, run the following:
pi@navio: ~ $ wget https://firmware.ardupilot.org/Copter/stable/navio2/arducopter
pi@navio: ~ $ chmod +x arducopter
In case of use helicopter, change tail of the link. For example, /navio2-heli/arducopter-heli. Supported vehicle types are listed below:
- ArduRover
- ArduPlane
- ArduCopter
- ArduCopter-heli
If you want to launch a custom binary, you are expected to modify and use /etc/systemd/system/ardupilot.service
[Unit]
Description=ArduPilot for Linux
After=systemd-modules-load.service
Documentation=https://docs.emlid.com/navio2/navio-ardupilot/installation-and-running/#autostarting-ardupilot-on-boot
Conflicts=arduplane.service arducopter.service ardurover.service

[Service]
EnvironmentFile=/etc/default/ardupilot

###############################################################################
####### DO NOT EDIT ABOVE THIS LINE UNLESS YOU KNOW WHAT YOU"RE DOING #########
###############################################################################

# Uncomment and modify this line if you want to launch your own binary
#ExecStart=/bin/sh -c "/home/pi/<path>/<to>/<your>/<binary> ${ARDUPILOT_OPTS}"

##### CAUTION ######
# There should be only one uncommented ExecStart in this file

###############################################################################
######## DO NOT EDIT BELOW THIS LINE UNLESS YOU KNOW WHAT YOU"RE DOING ########
###############################################################################

Restart=on-failure

[Install]
WantedBy=multi-user.target
The comments speak for themselves. The only thing you need to adjust is
#ExecStart=/bin/sh -c "/home/pi/<path>/<to>/<your>/<binary> ${ARDUPILOT_OPTS}"
to something like this
ExecStart=/bin/sh -c "/home/pi/arducopter-quad ${ARDUPILOT_OPTS}"
Other than that the launching procedure, it is no different than the one described above. The only exception is that you need to use systemctl utility with ardupilot service instead of arducopter/arduplane/ardurover and use /etc/default/ardupilot for ARDUPILOT_OPTS modifications.
The command below will start custom ArduPilot binary and then mark it to launch on boot:
pi@navio: ~ sudo systemctl start ardupilot && sudo systemctl enable ardupilot