Applying base shift
This guide explains how to apply the base shift in Emlid Flow to calibrate all further collected data in your survey project.
Overview
With the Base shift feature, Emlid Flow helps you calibrate your survey project data based on one point—it applies an XYZ shift to the base's ECEF coordinates in real time. The app calculates the difference between the known and measured points and applies a linear shift to all further collected points within one project.
Base shift can be applied independently of the used coordinate system—you can apply it to survey projects in local coordinate systems, for example, in UTM.
The Base shift feature helps you calibrate the survey data when there is a difference between the known and current base coordinates. You may need this in the following cases:
- When it is impractical to place your base over a permanent survey mark (PSM). For example, you cannot provide a clear sky view in this area, which may compromise the quality of the base logs.
- When you exceed the baseline and need to relocate your base.
The calculated shift is stored in the attributes of a particular survey project, applies to all further collected points, and cannot be auto-applied to another project.
Calibrate your base's position relative to a PSM
This workflow describes the case when you want to survey the field using a permanent survey mark located in a hard-to-reach place. It is not convenient to install a tripod in this area or leave the base unattended. Or it is just simply a limited sky view that may compromise the quality of base logs. Here, the Base shift feature comes in handy—you can place your base in proper conditions nearby the permanent survey mark, collect the permanent survey mark with a rover and calibrate all further collected data in your survey project relative to it.
In this case, all you need is two points in the project:
-
A known point, which is the PSM you want to calibrate with.
noteEmlid Flow allows you to enter the PSM coordinates or select the existing point from the project.
-
A measured point, which is the same PSM collected with a rover in the field.
To calculate and apply base shift to your survey project data, follow the steps below:
-
Place your base and average its position in SINGLE.
tipLearn more about base placement in the Placement and Choosing base setup method guides.
-
Configure RTK communication between the base and the rover and wait for FIX.
tipTo learn more, check the following guides:
-
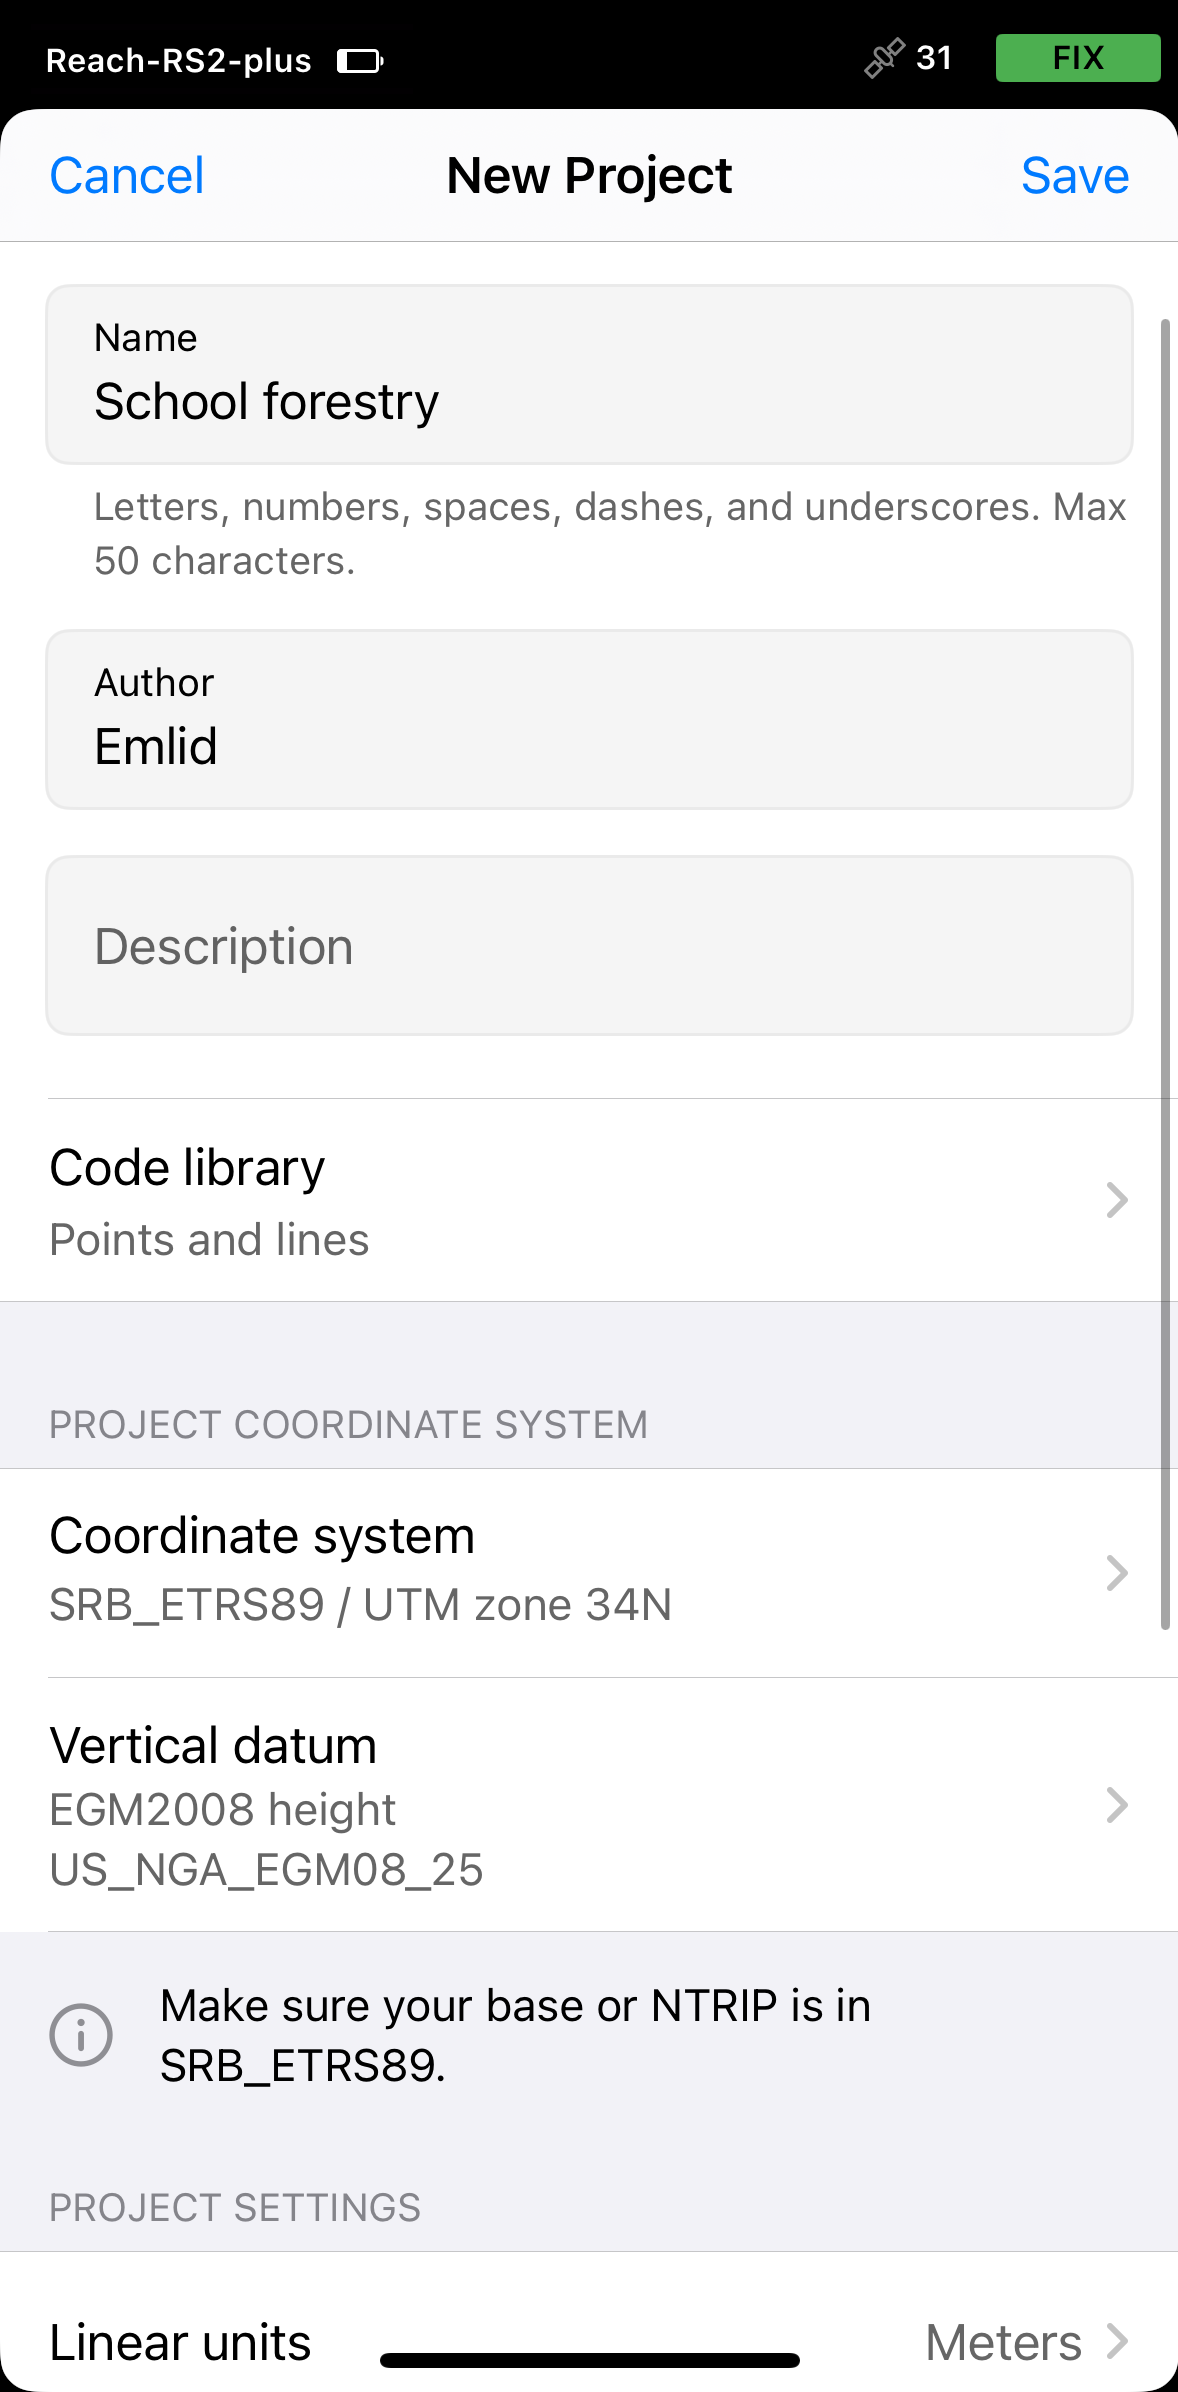
Create a survey project or open the existing one in Emlid Flow. We will create a new one.
-
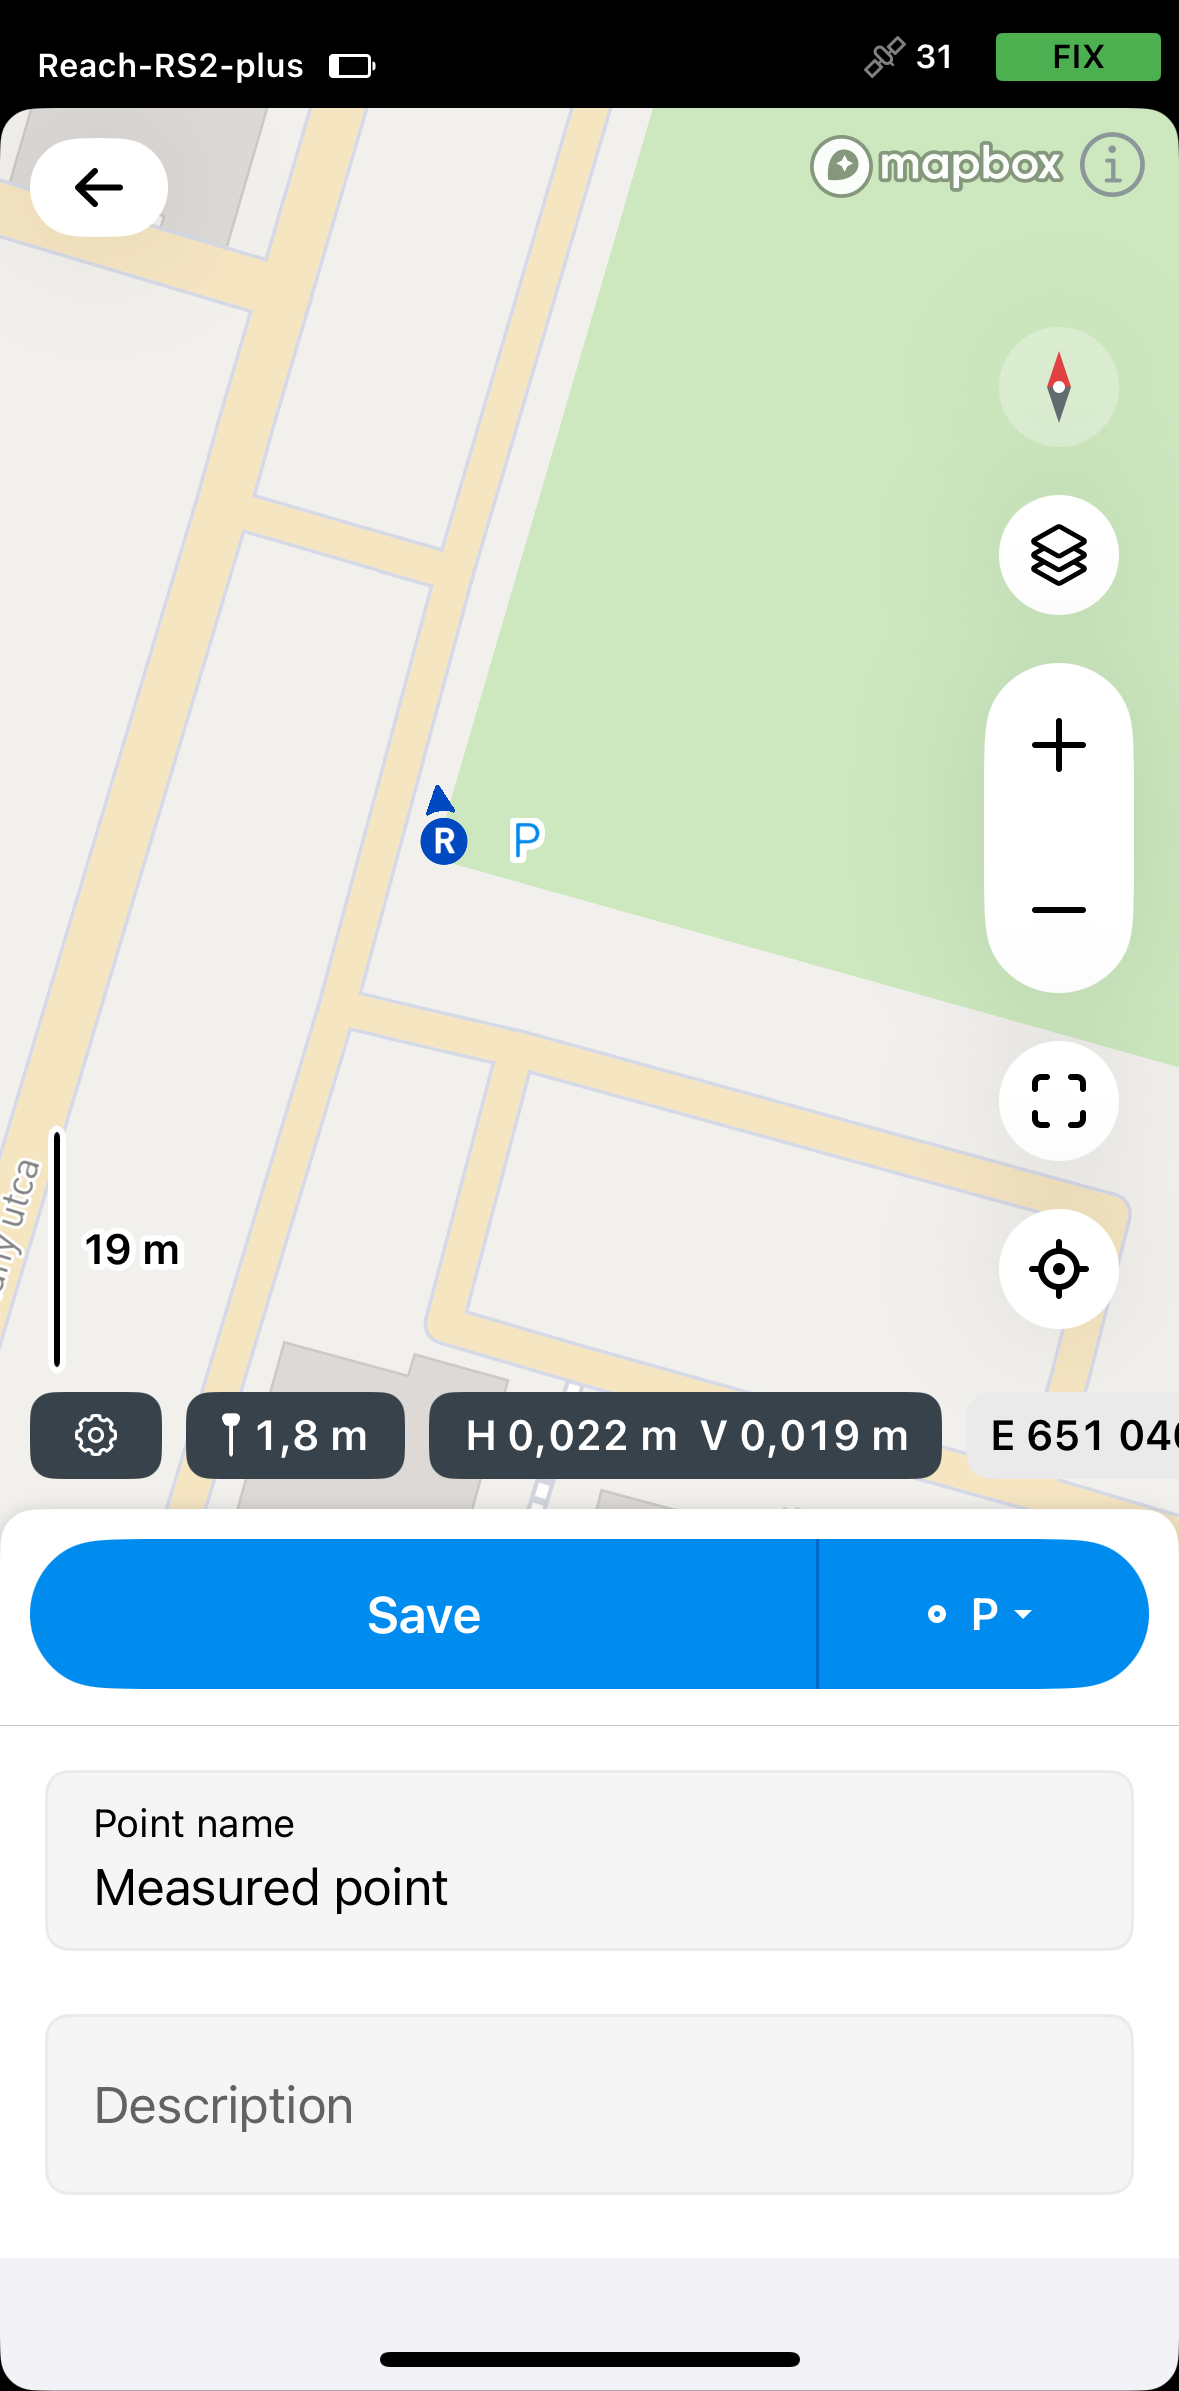
Place the rover over the permanent survey mark and collect it. Tap Save. This will be a measured point.
-
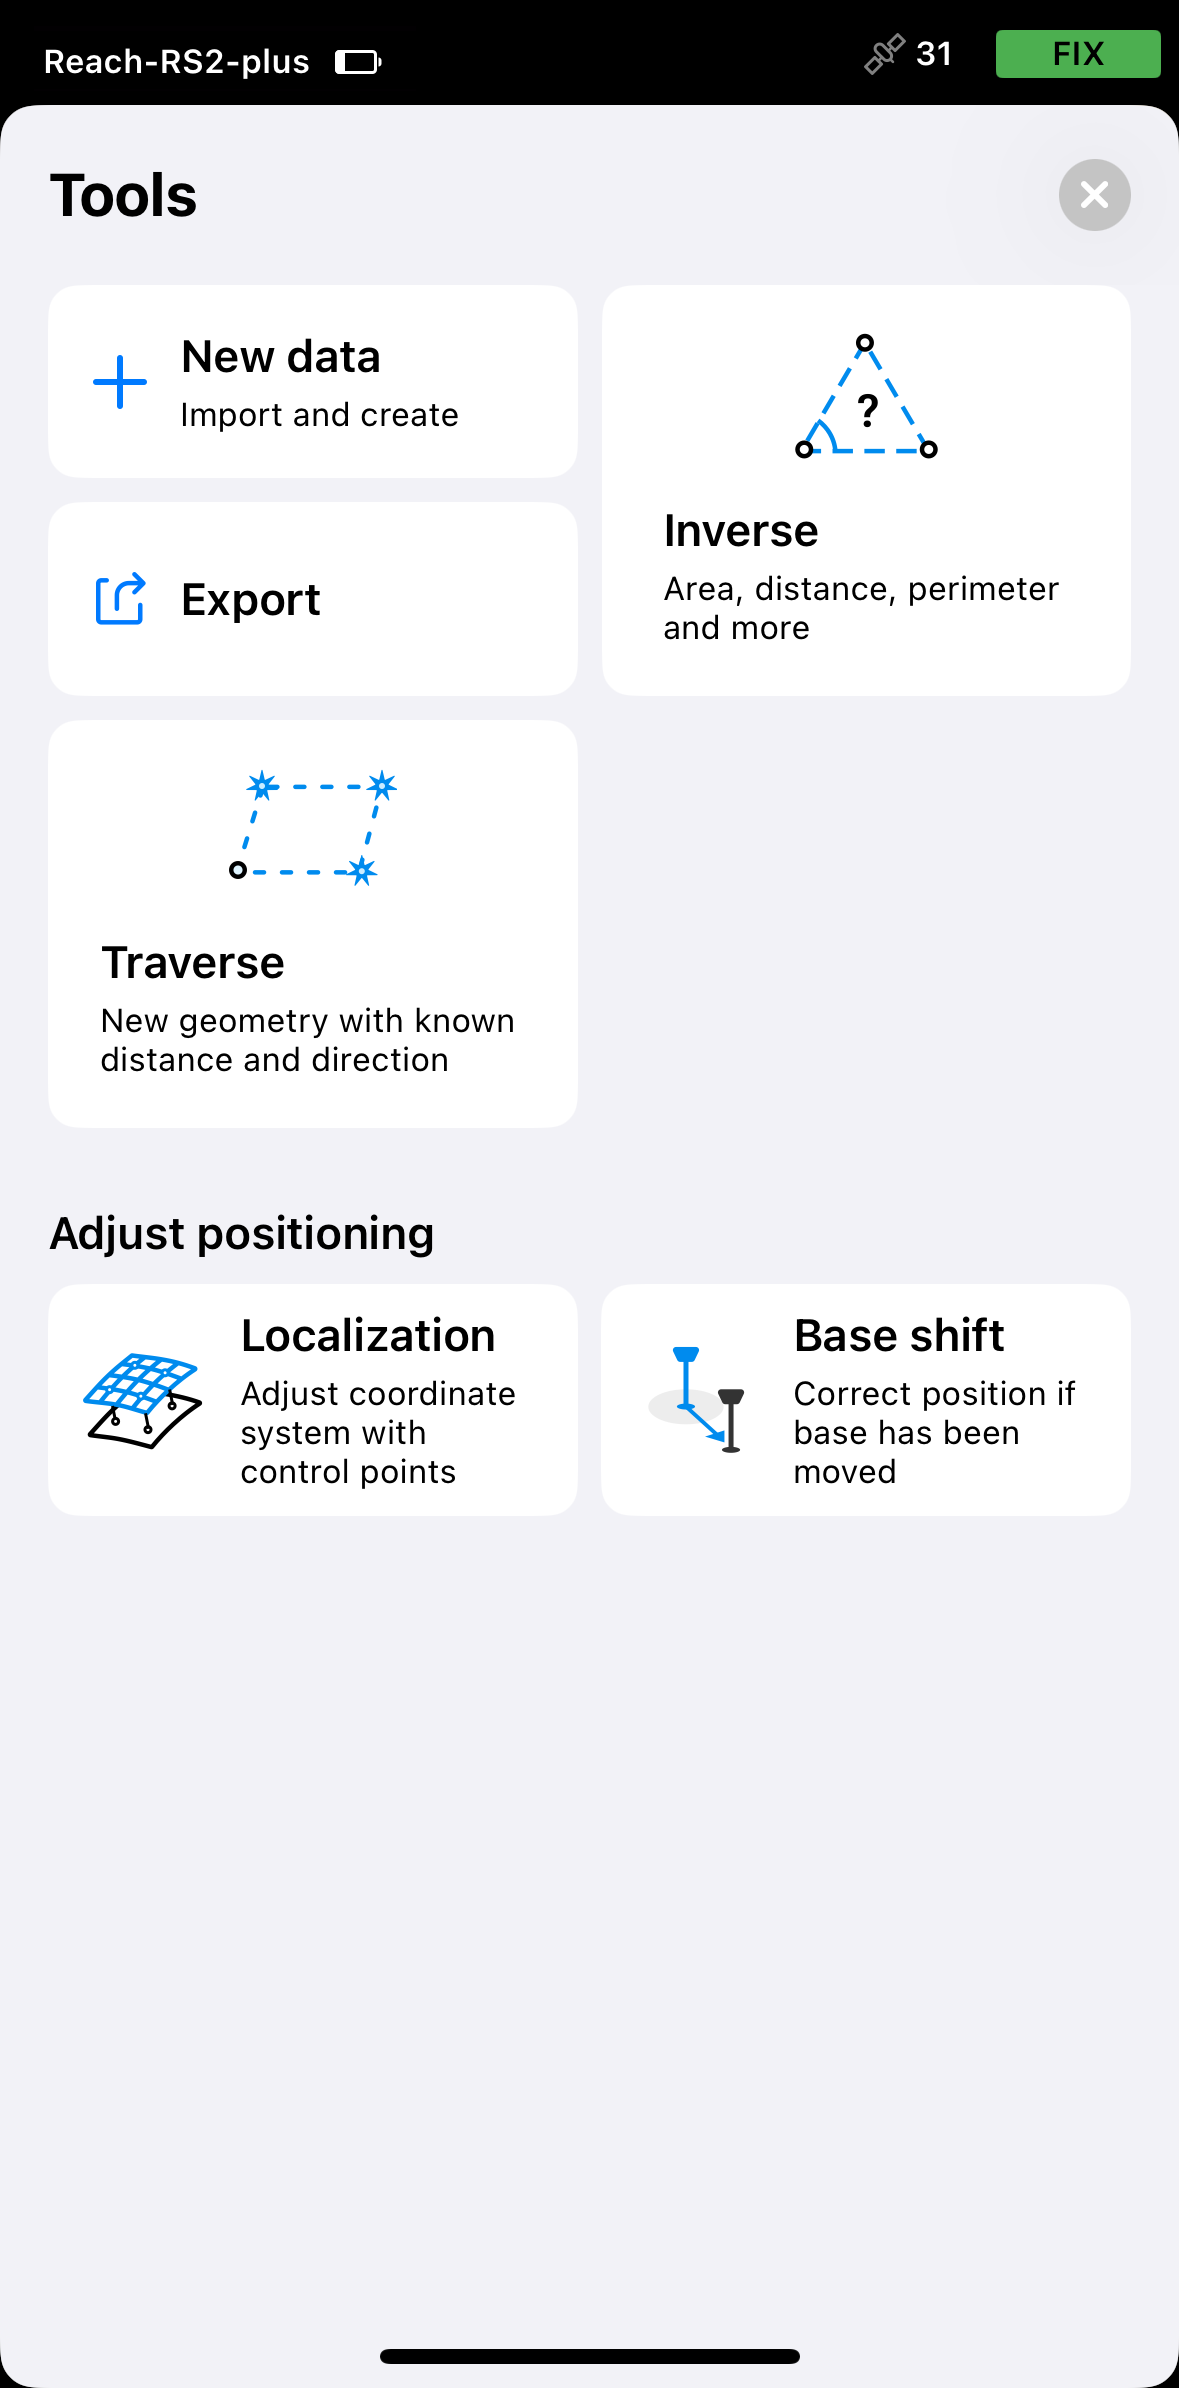
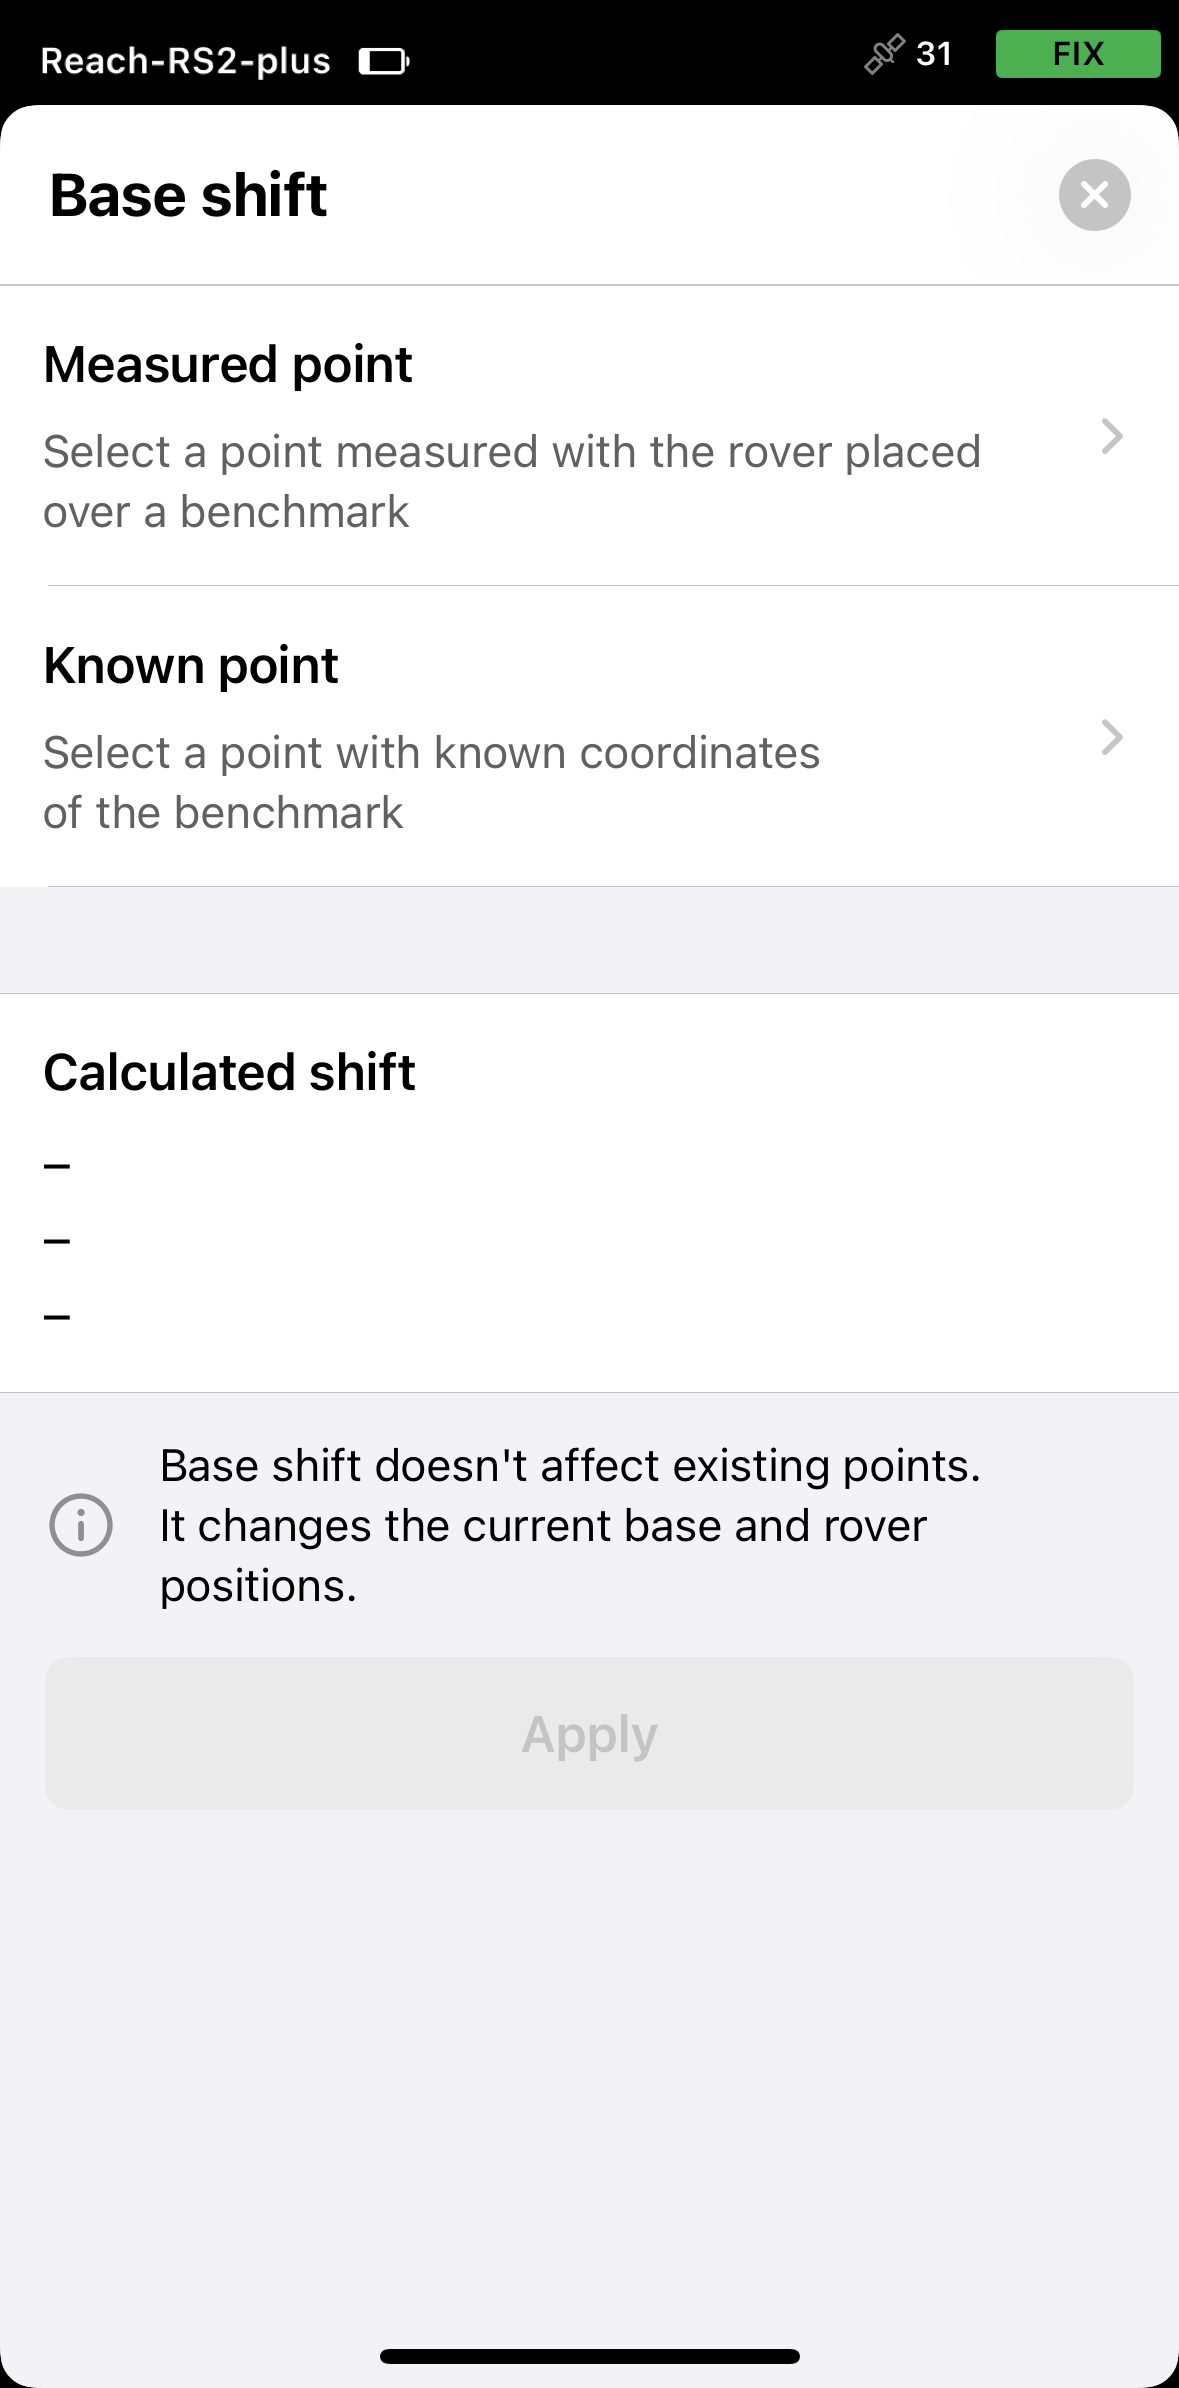
Go back to the map, tap the Tools icon and select Base shift.
-
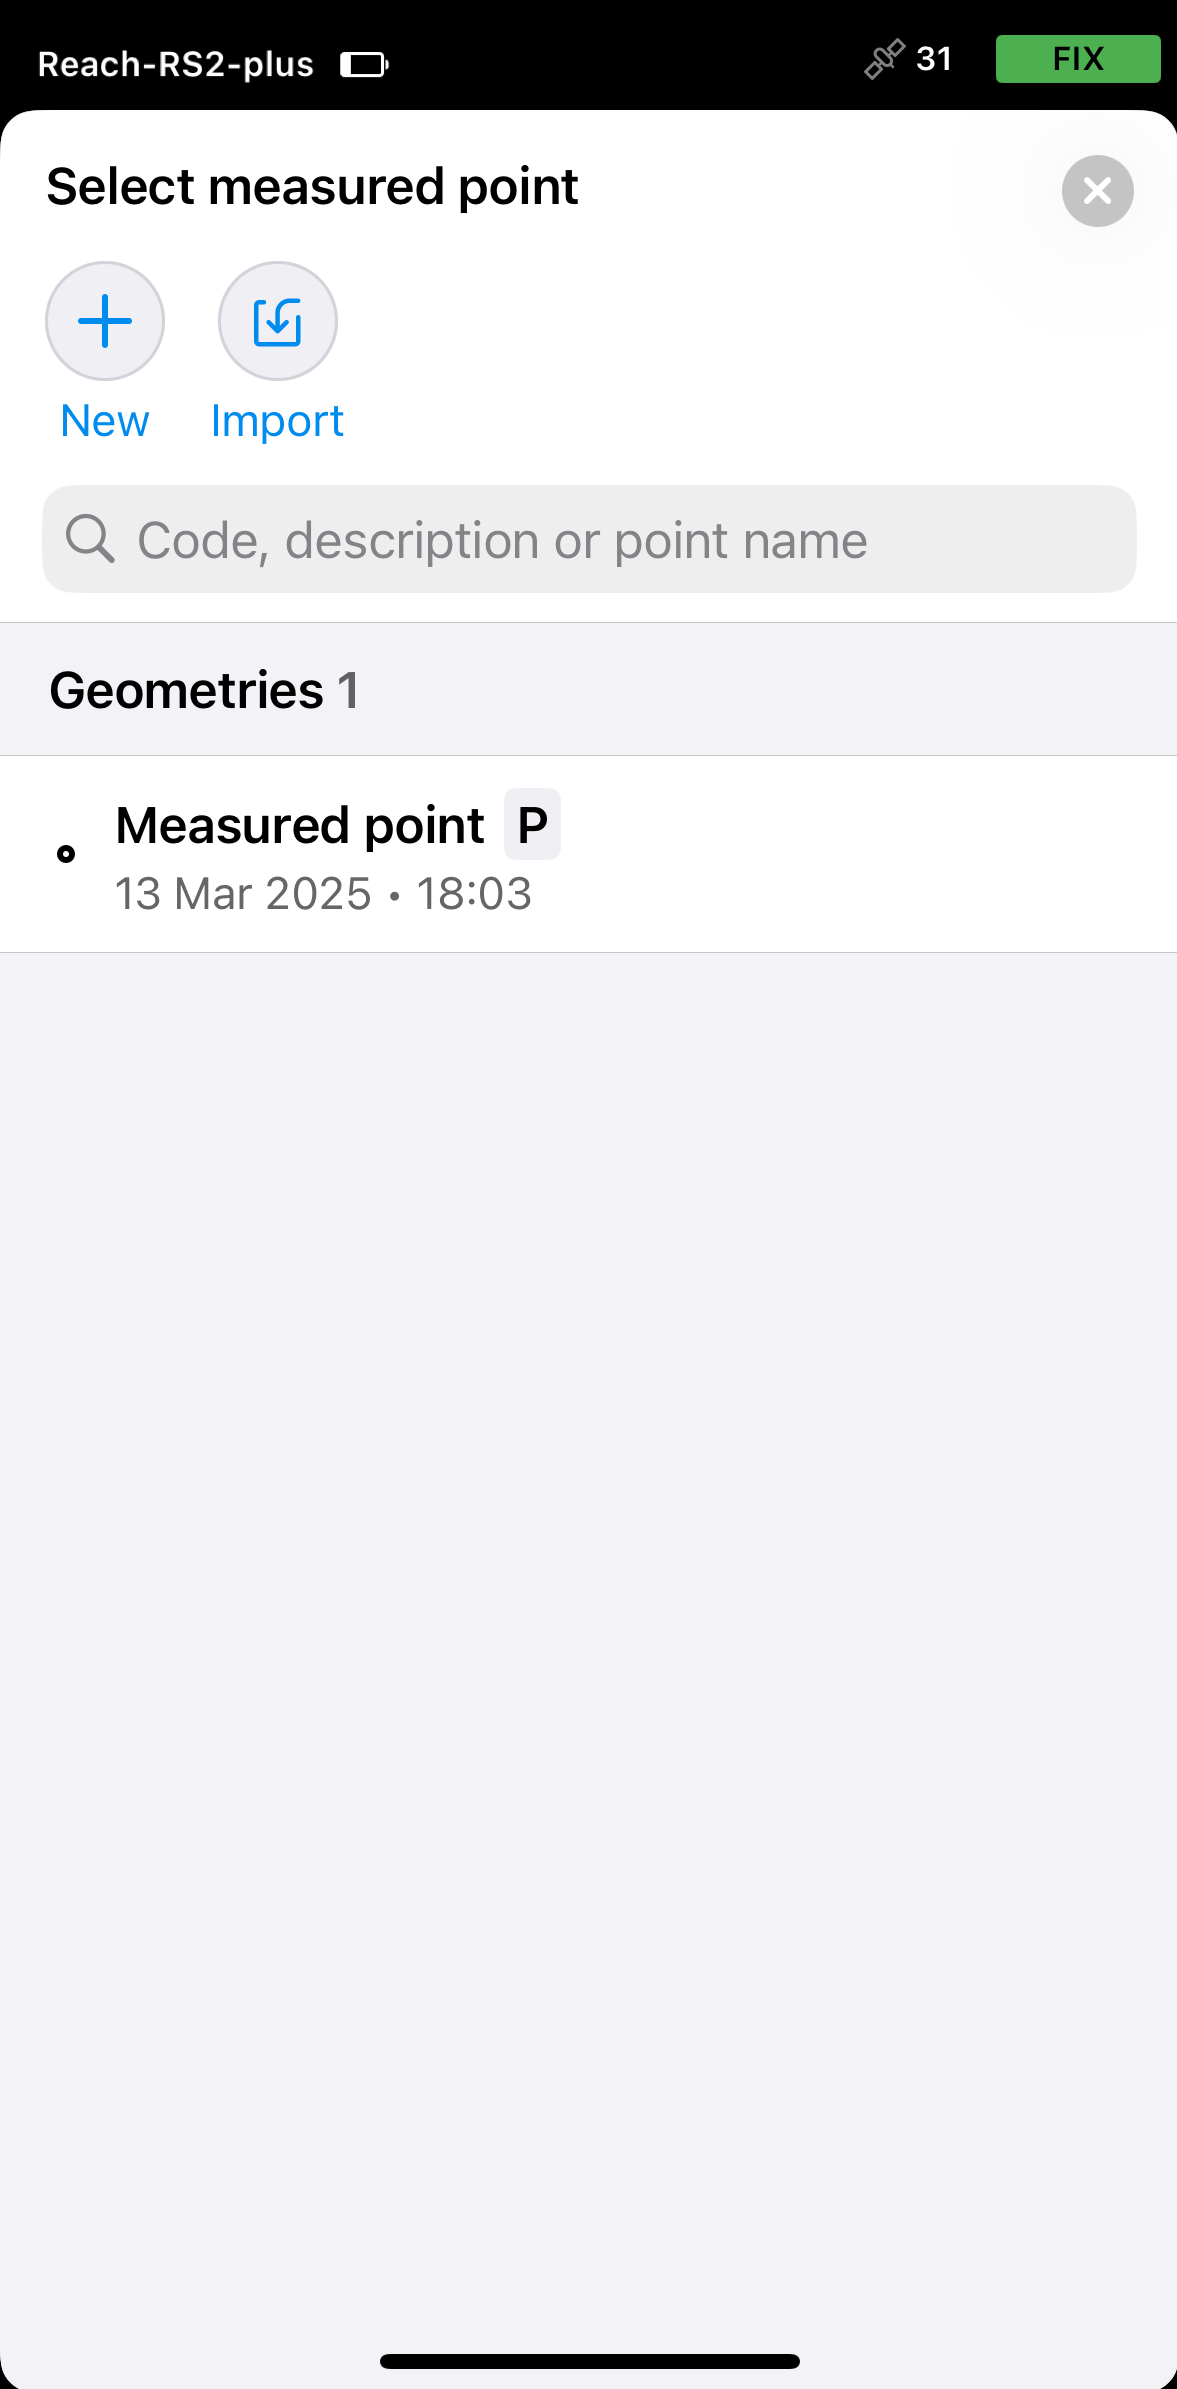
On the opened screen, tap Measured point and select the point that you collected.
-
On the Base shift screen, tap Known point, then enter the PSM coordinates or select it from the list if it's already in the project.
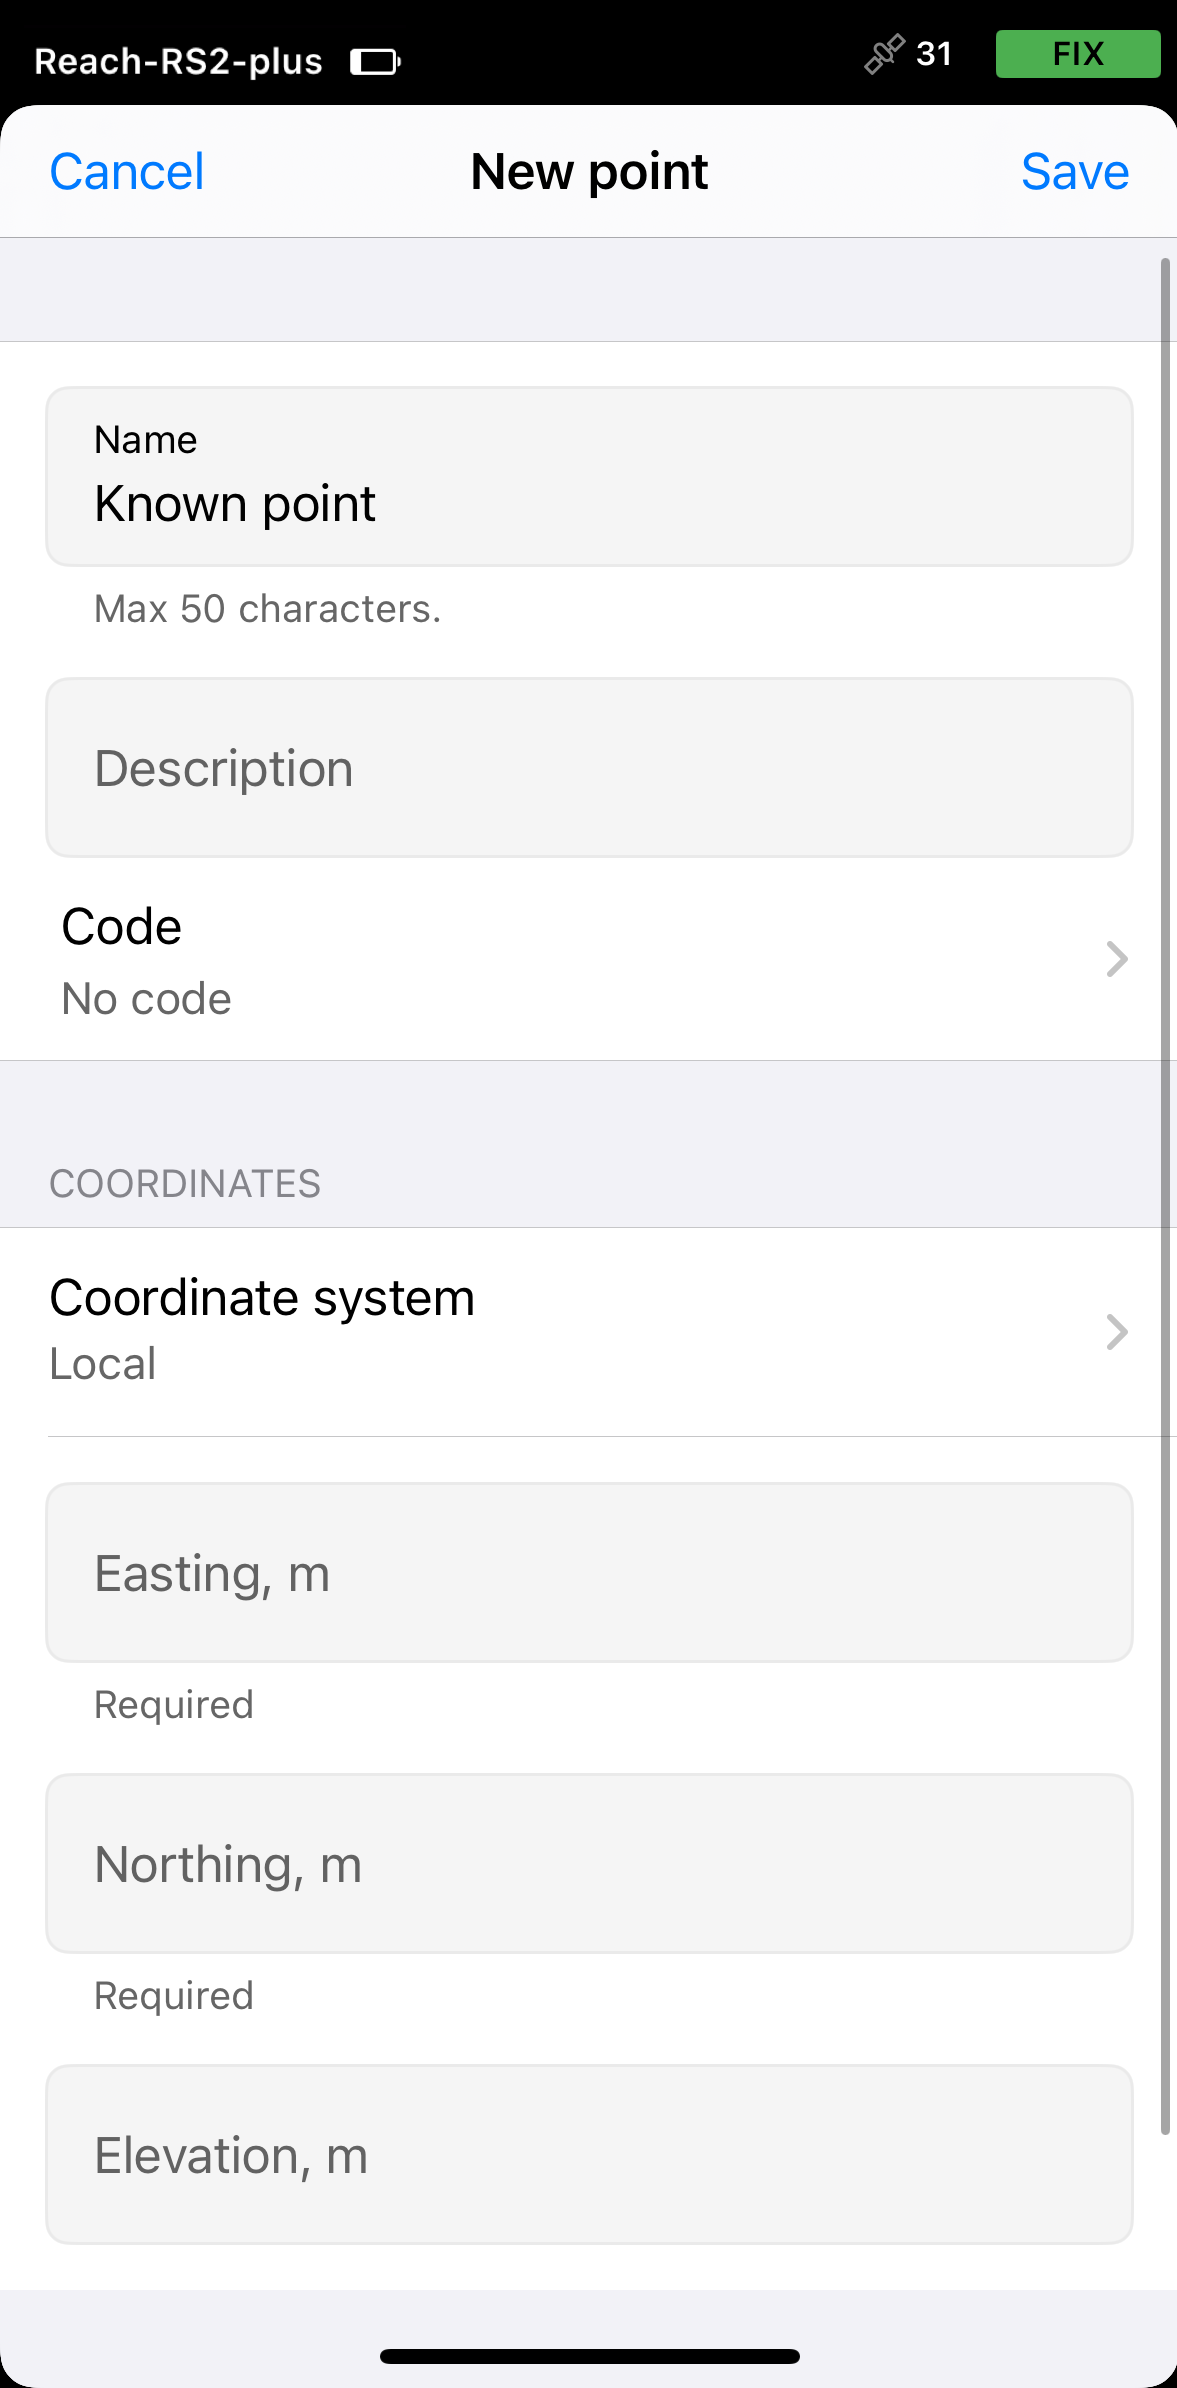 tip
tipYou can edit point’s coordinates by duplicating the point.
-
Tap the Apply button to activate the shift.
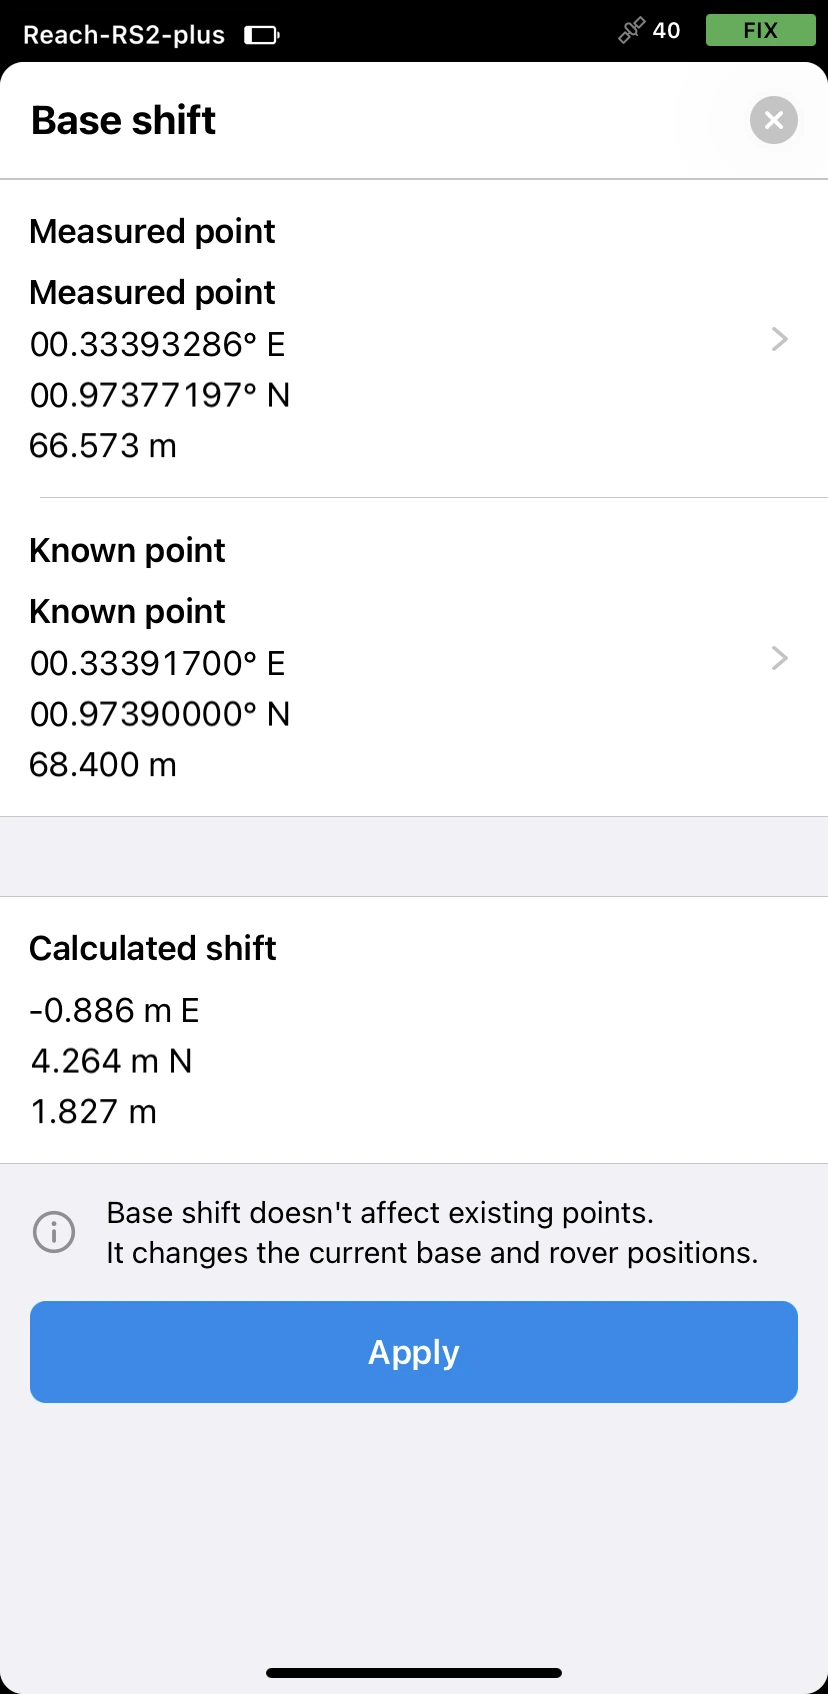
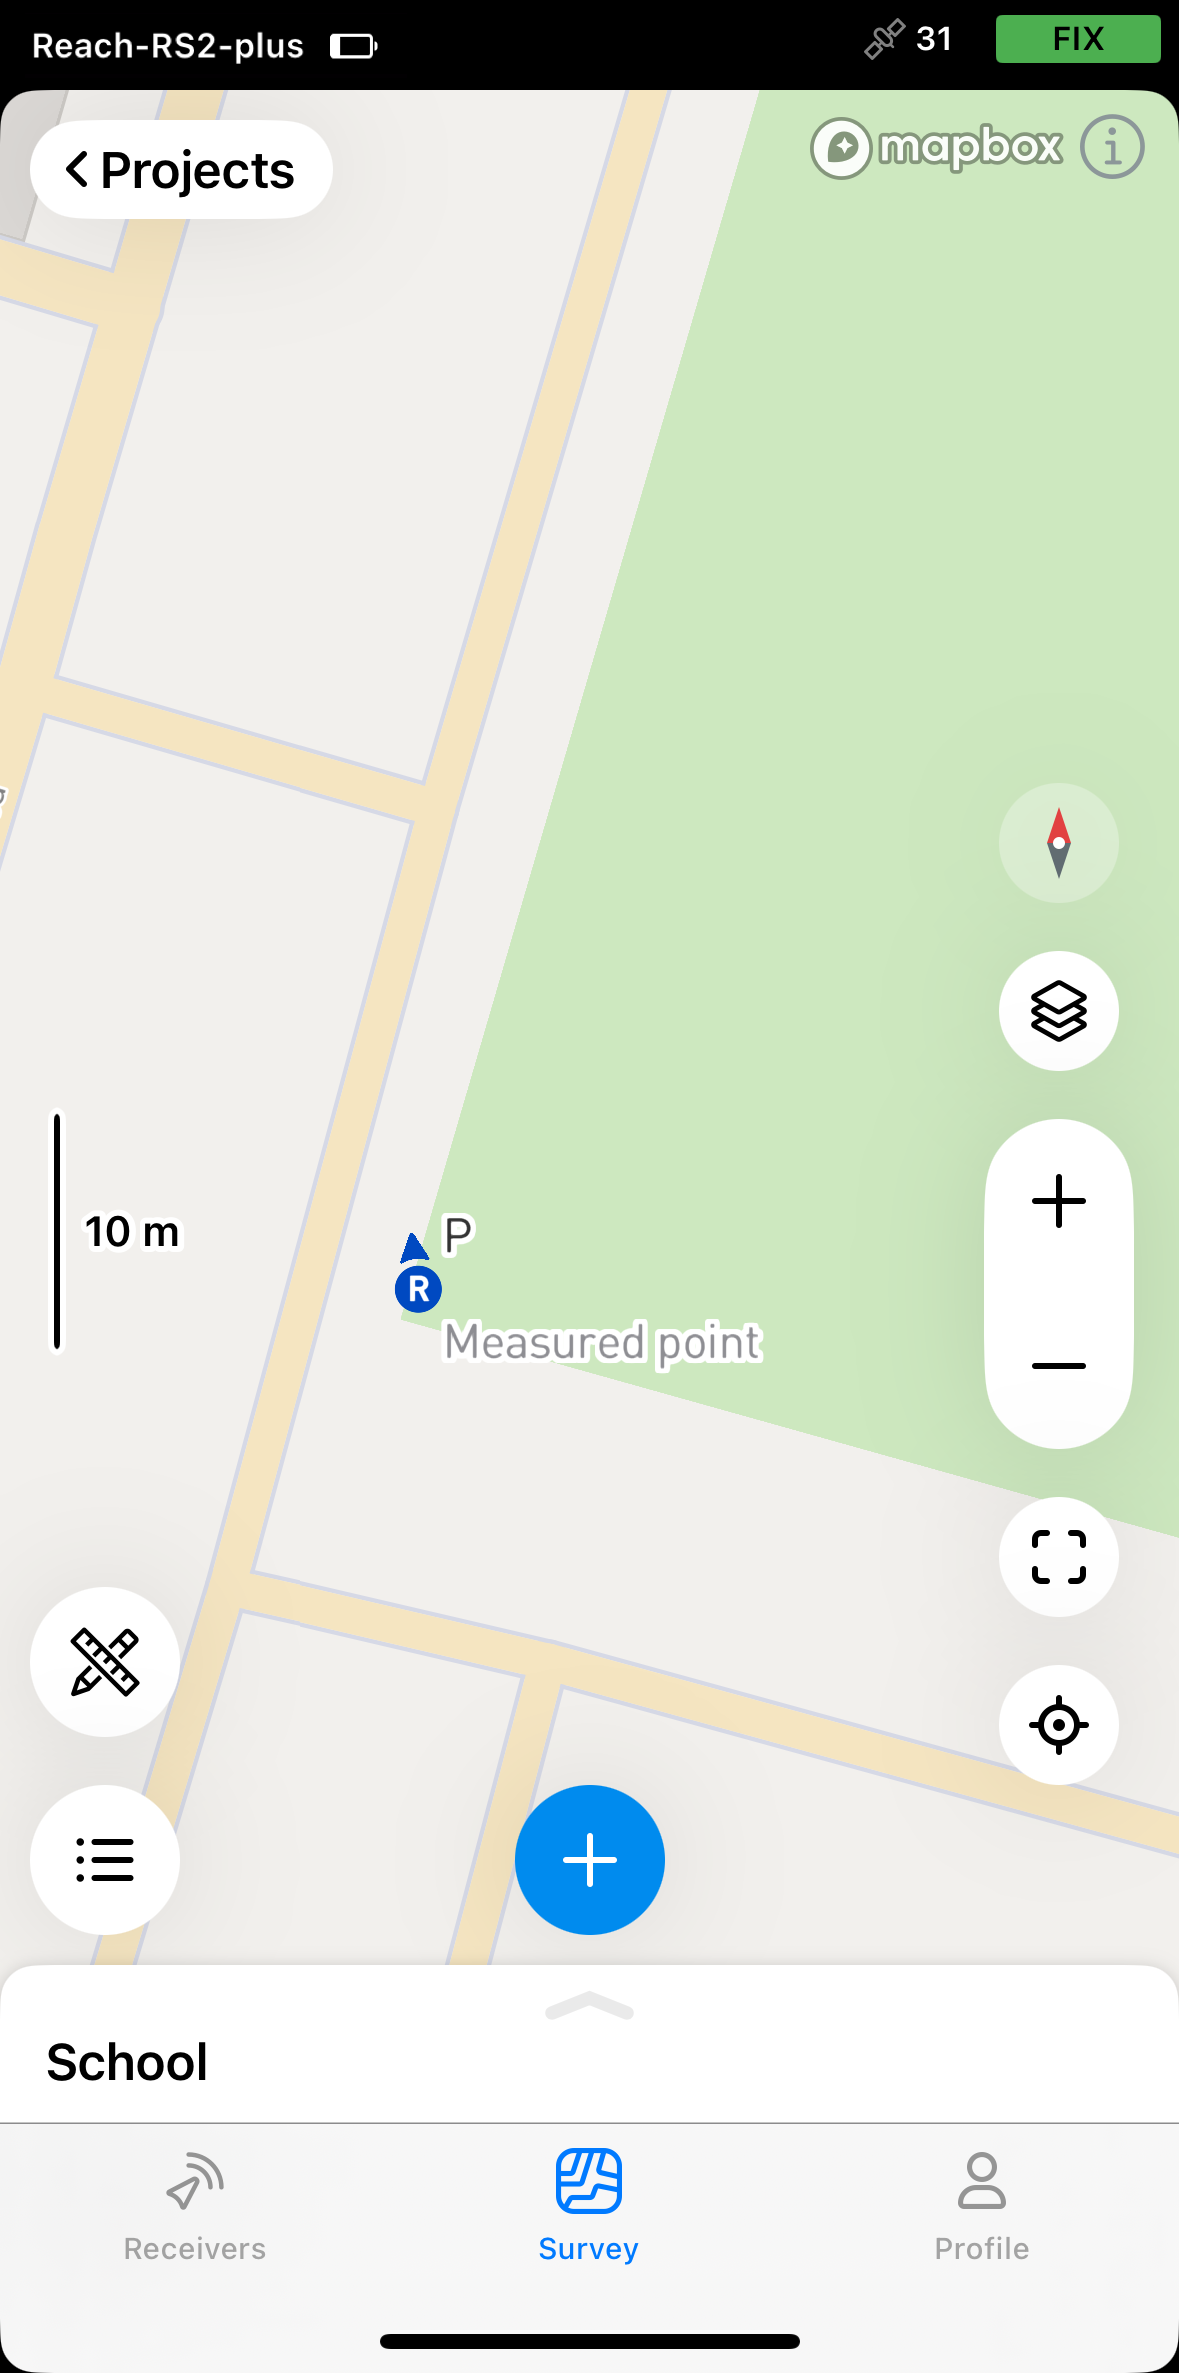
When the shift is applied, you’ll see that it’s active in the project’s overview, and the rover icon on the map appears shifted.
Right from this moment, Emlid Flow starts applying base shift to all the points you collect further. In our case, it means that all points collected after base shift will be positioned exactly relative to the permanent survey mark.
Video guide
The Emlid Flow app is regularly updated, so the interface in the video may look a bit different from the current version.
Check out the workflow in the video below: