First setup
This guide applies only to Reach devices with firmware versions below 32 Stable.
In this tutorial, we will walk you through the following steps:
- Installing the Emlid Flow App
- Connecting and placing the GNSS antenna
- Connecting to Reach M2/M+
- Performing firmware update
To do that, you will need Reach itself, an external GNSS antenna, a Wi-Fi network with internet access and a smartphone or tablet.
Download Emlid Flow
To manage Reach M2/M+, download the Emlid Flow app on your iOS or Android mobile device.


Download Emlid Flow
Some Android devices have the Battery optimization setting enabled by default. Make sure you disabled it for Emlid Flow to avoid disconnection.
Connect antenna
To connect the antenna to Reach, follow the steps below:
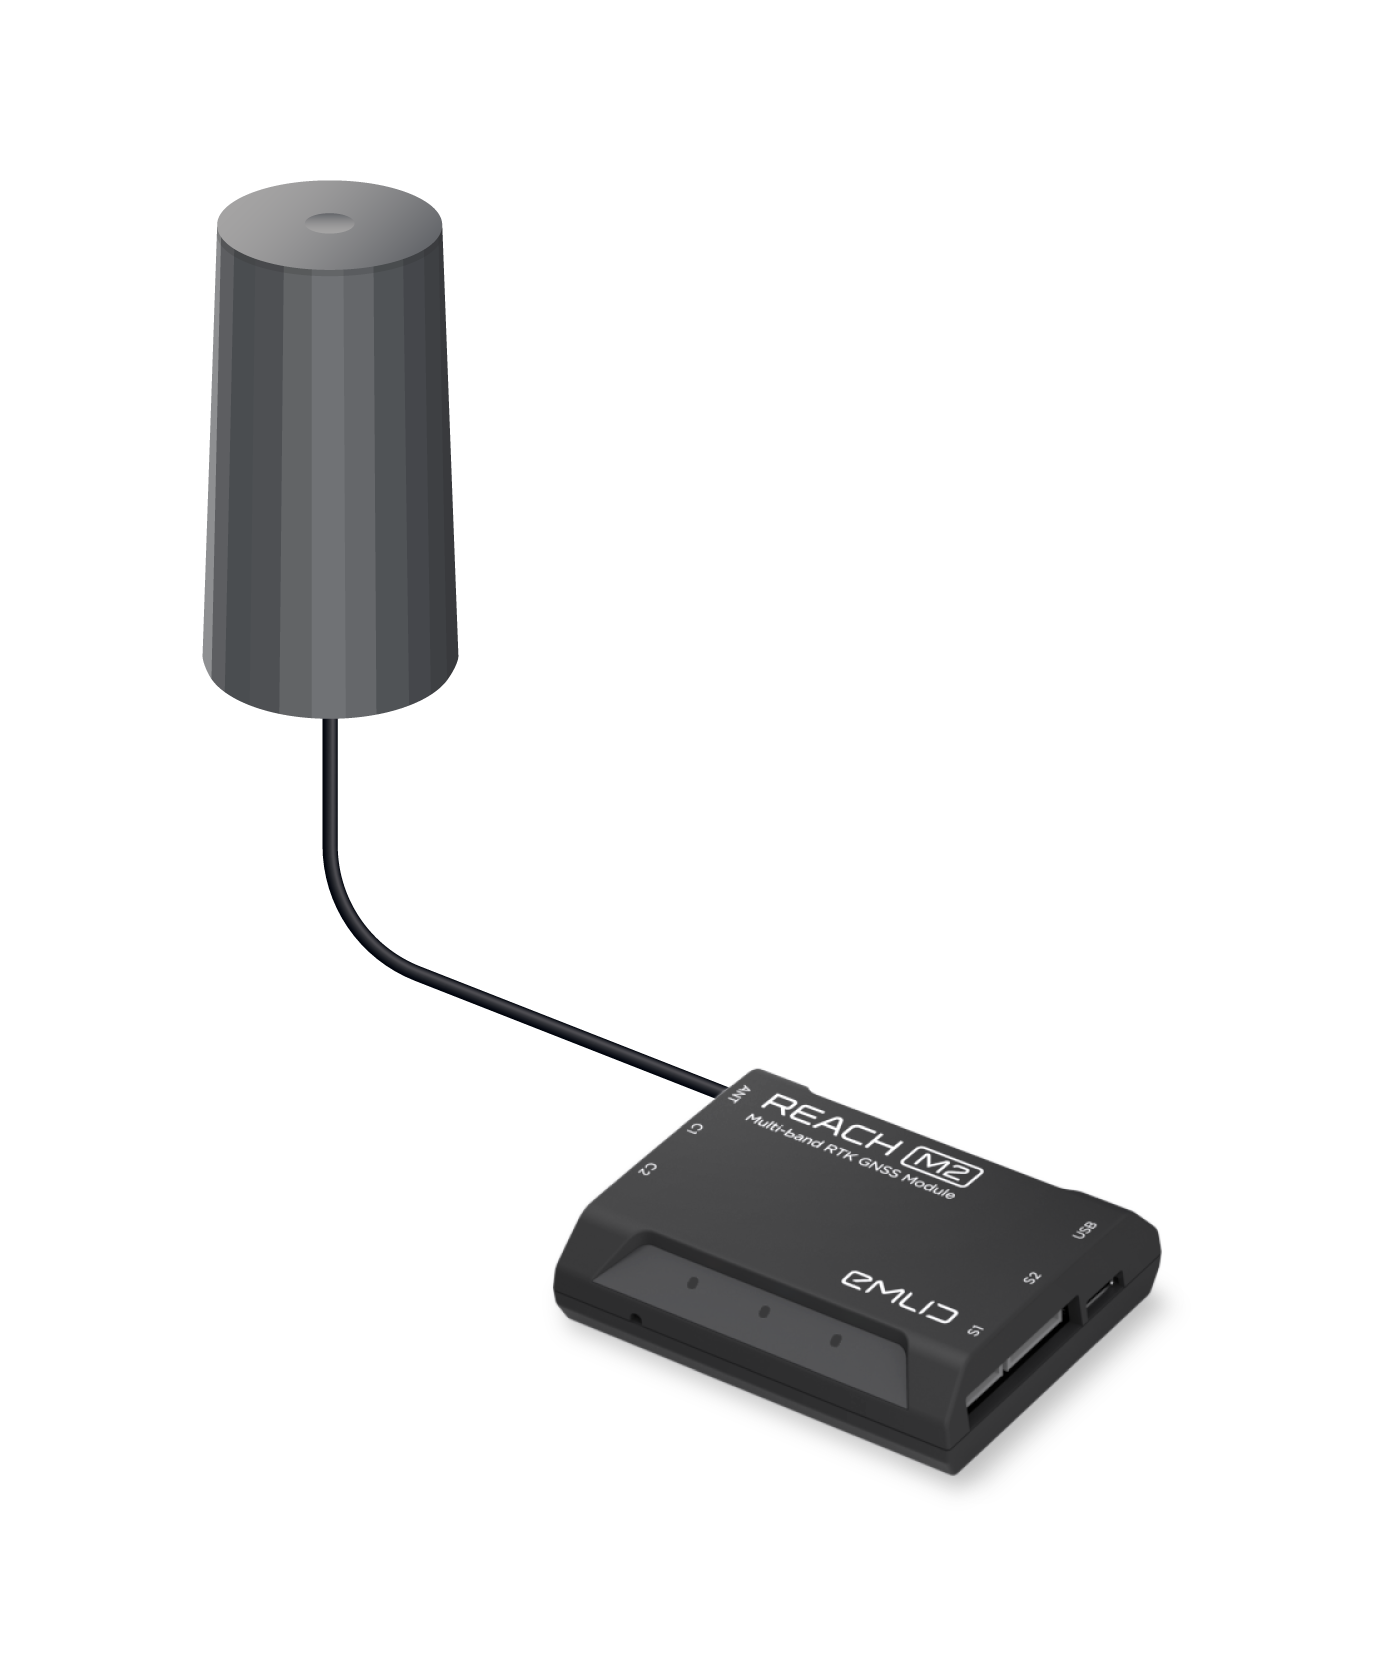
- Reach M2
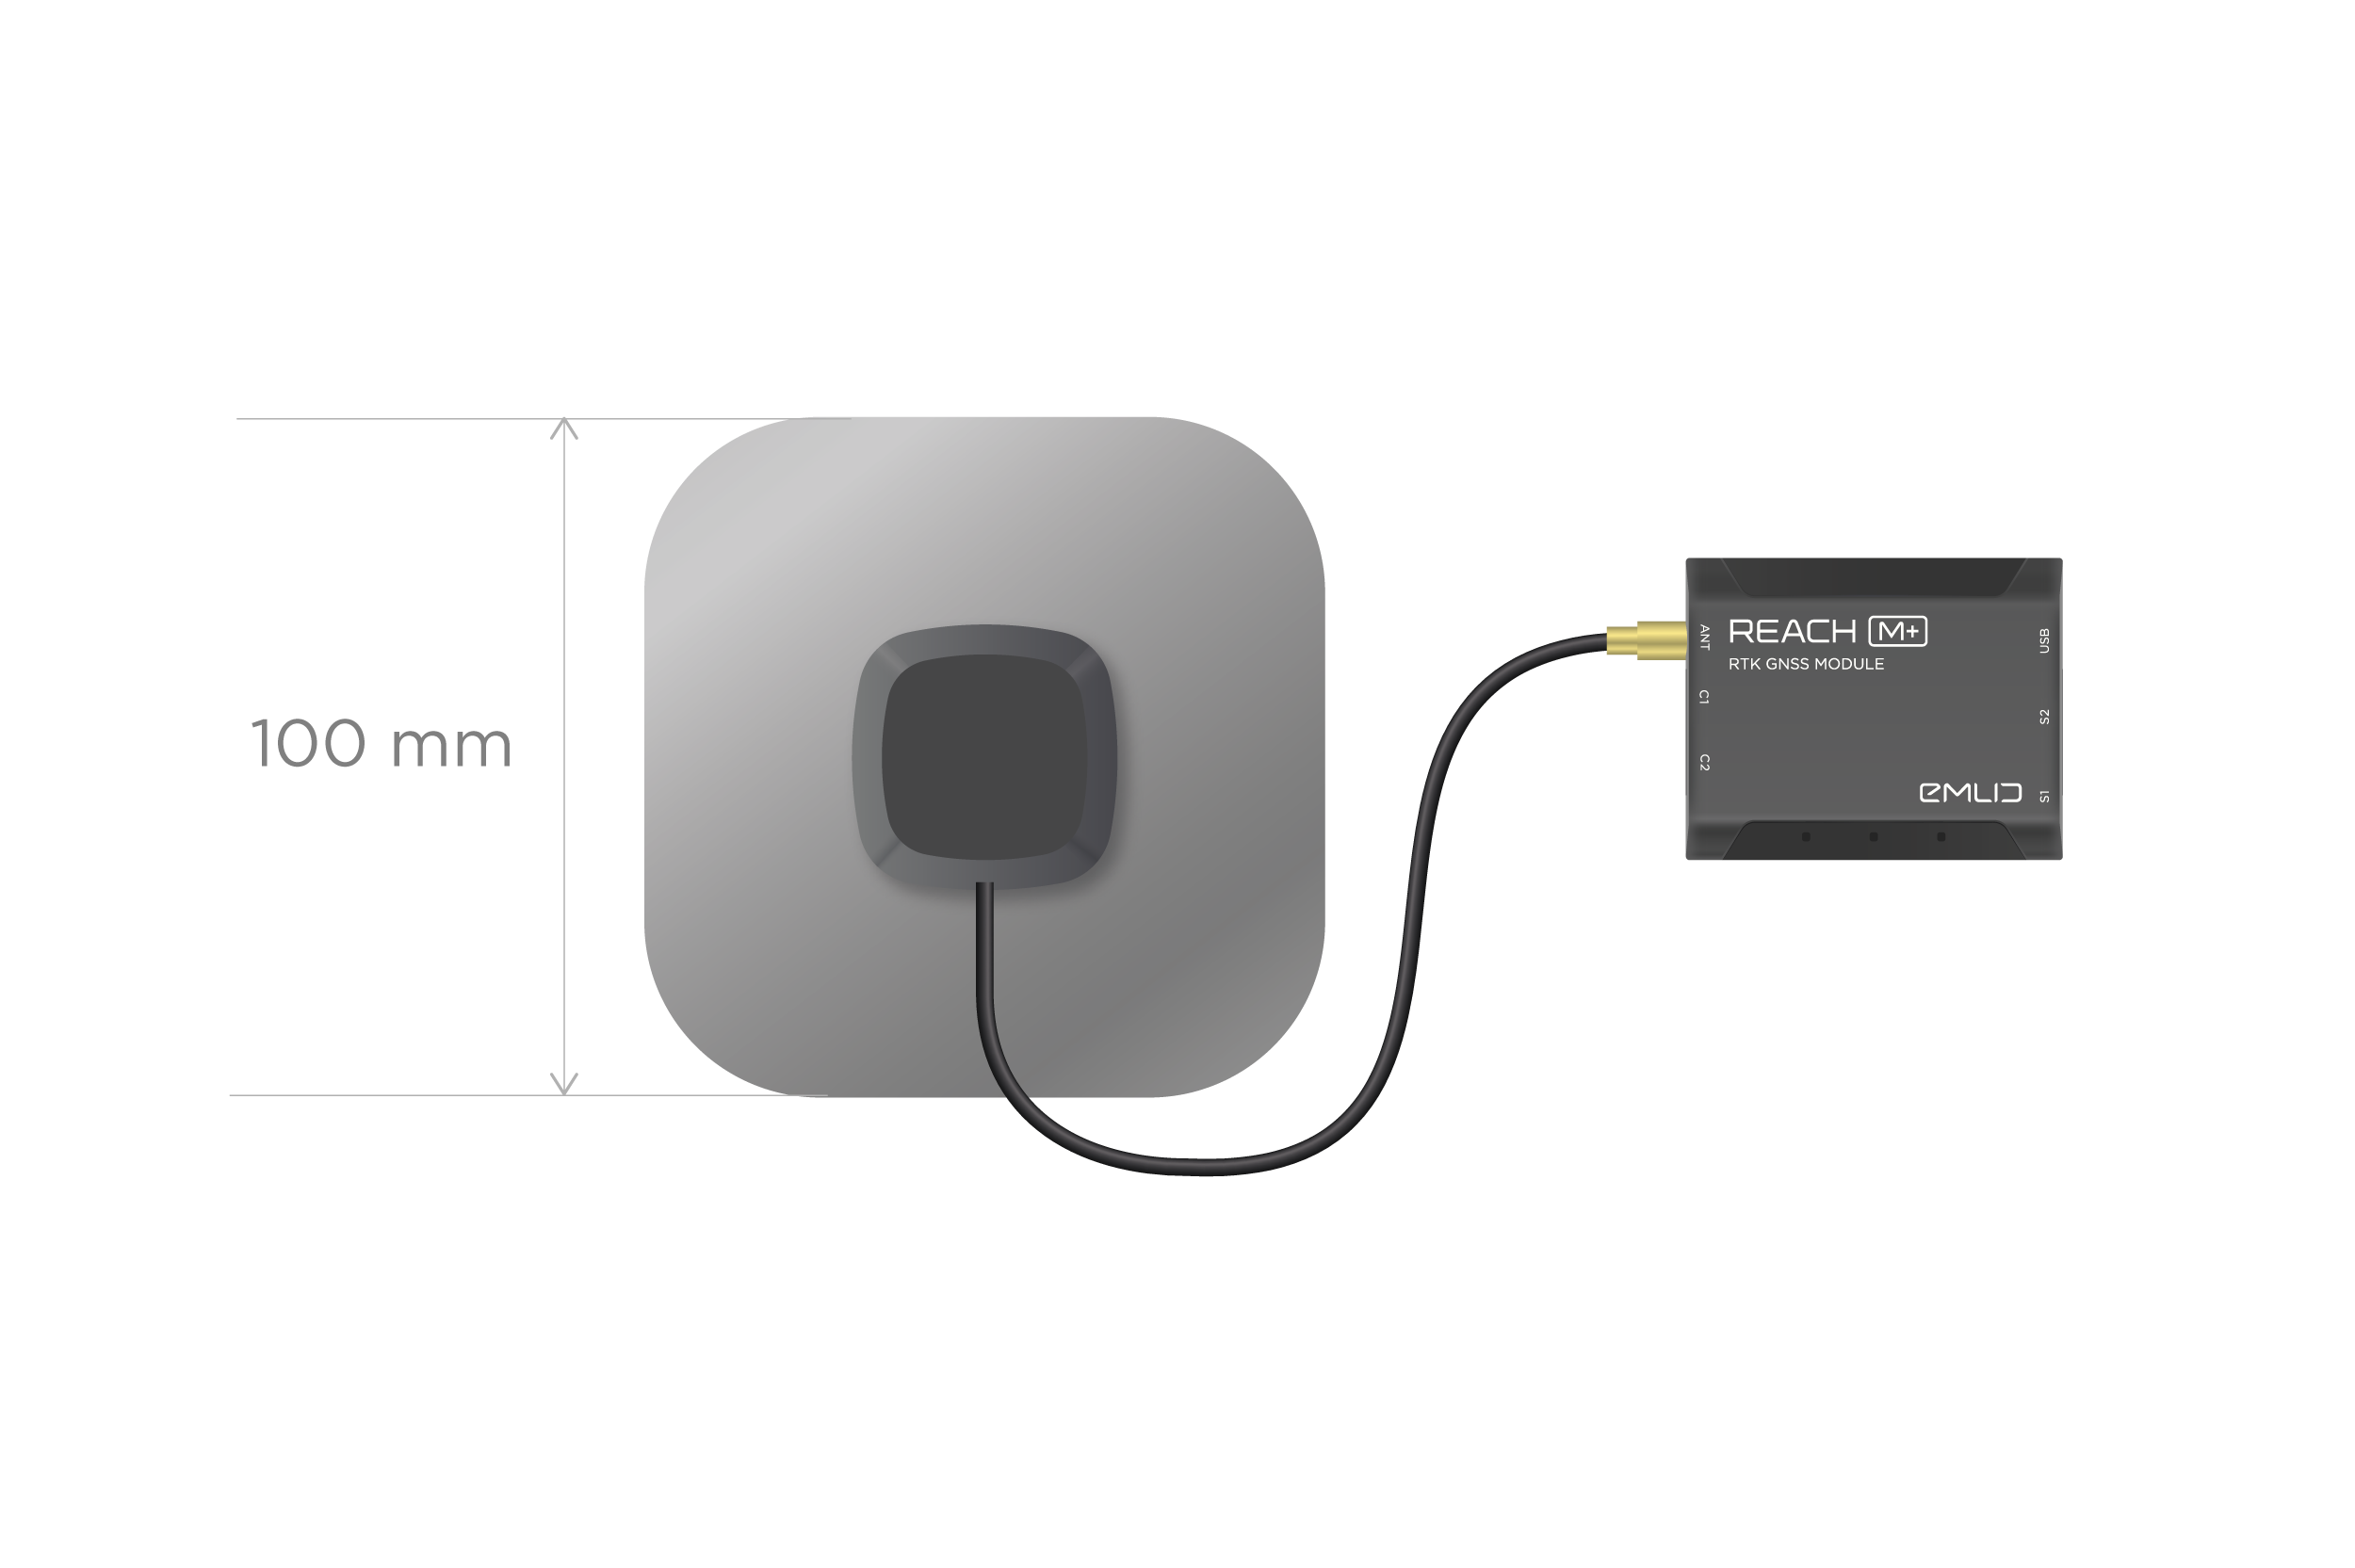
- Reach M+
Plug the antenna cable into MCX socket on Reach M2.
Plug the antenna cable into MCX socket on Reach M+. Place the antenna on the ground plane. It could be a cut piece of metal more than 100 mm in diameter, roof of a car, or metal roof of a building.
There should be no obstacles near the antenna that could block the sky view higher than 30 degrees above the horizon. Do not test the device indoors or near buildings. Do not cover the sky view for the antennas with laptops, cars or yourself. RTK requires good satellite visibility and reception.
To learn how to properly place the antenna, check the Antenna placement guide.
Power up Reach M2/M+
To power up your Reach, follow the steps below:
-
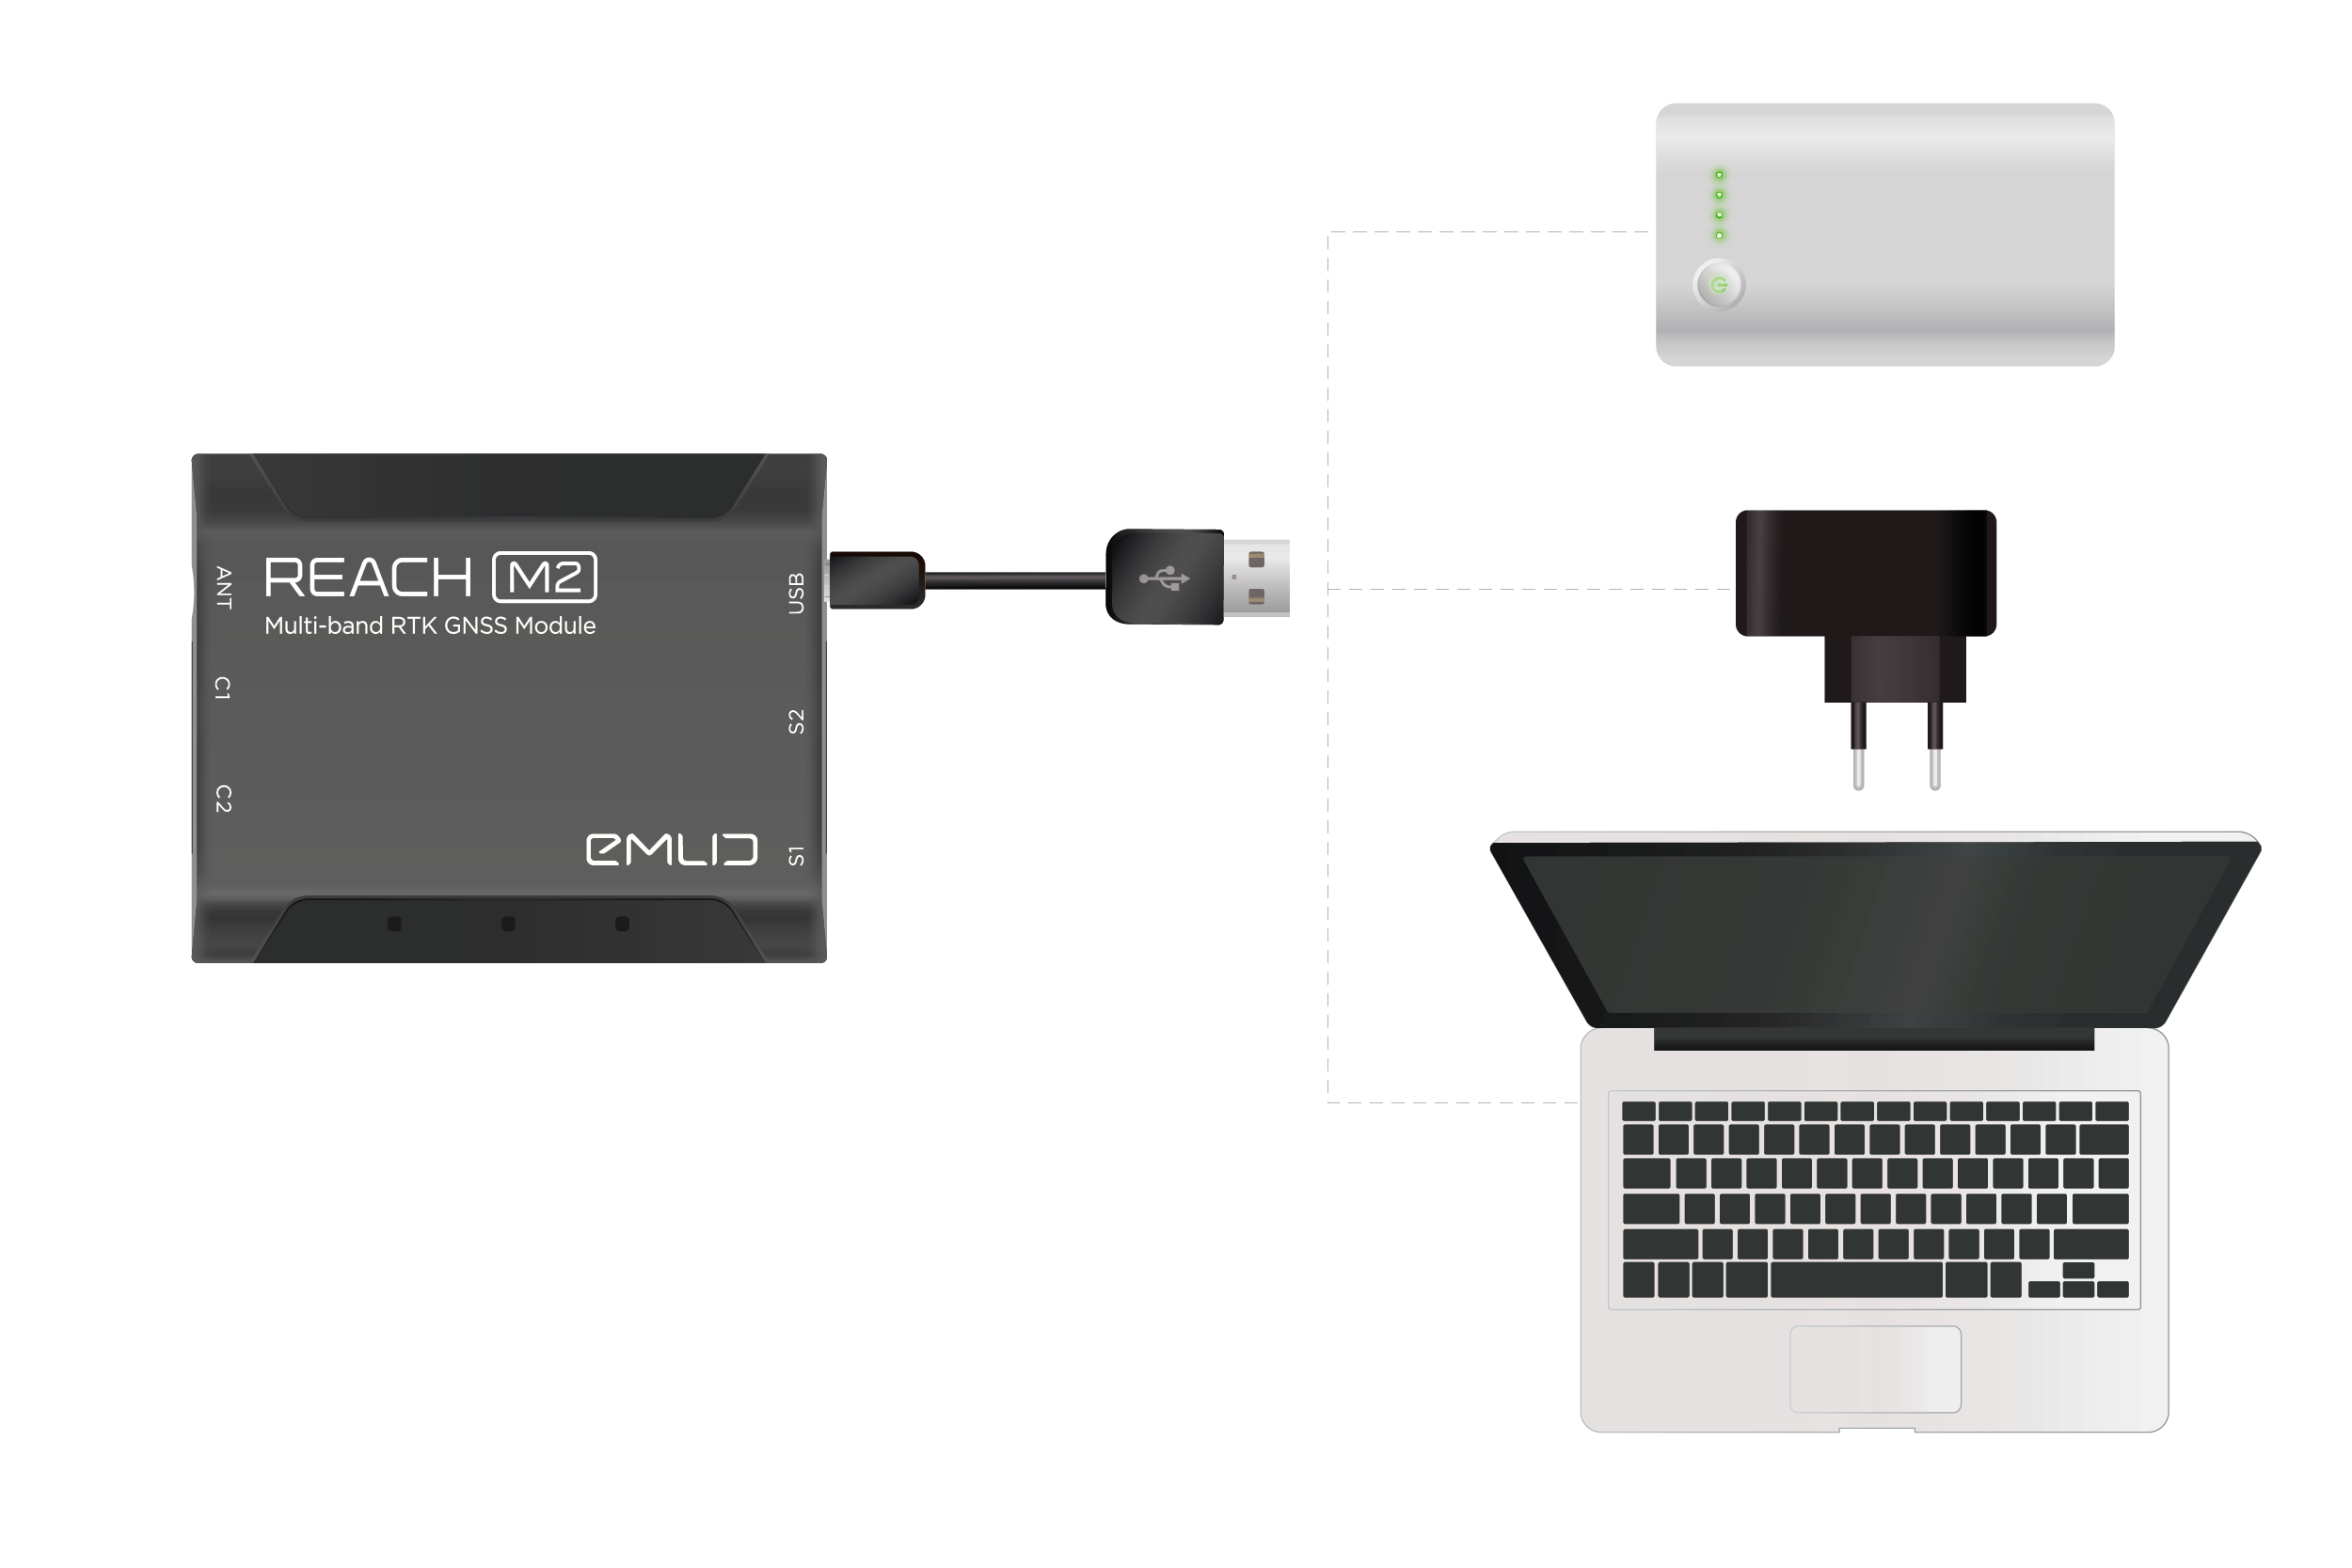
Take the Micro-USB to USB cable that comes with the package.
-
Plug the Micro-USB end of the cable into the Micro-USB port on the Reach and plug another end into a 5 V power source such as a USB power bank, USB wall adapter or USB port of a computer.
Do not plug two power supplies at the same time as it may damage the device.
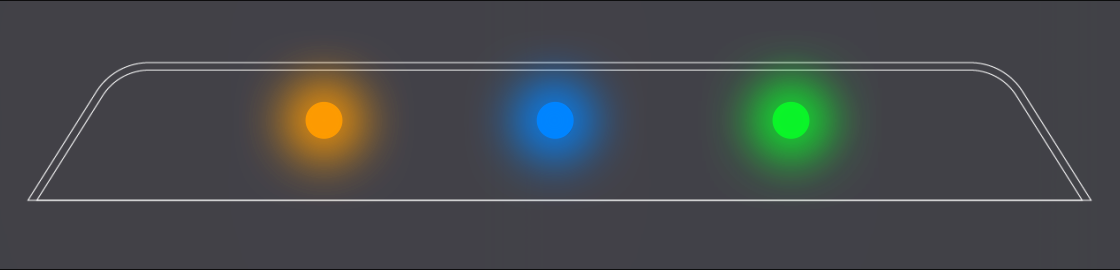
After the device is powered up, the Network LED will be blinking for about 30 seconds and then becomes solid. Reach is now broadcasting Wi-Fi.
You can read more about power supply in the Power supply guide.
Connect to Reach M2/M+
Turn off the mobile data on your device before connecting to Reach's hotspot.
To connect to your Reach, follow the steps below:
-
Open the list of Wi-Fi networks on your smartphone or tablet.
-
Connect to a network named reach:xx:xx.
-
Type the network password: emlidreach.
Once you successfully connected to Reach's hotspot, you can go to Emlid Flow and set up connection to your Wi-Fi network.
Set up Wi-Fi connection
Make sure that your Wi-Fi network uses 2.4 GHz band.
To connect Reach to your Wi-Fi network, follow the steps below:
-
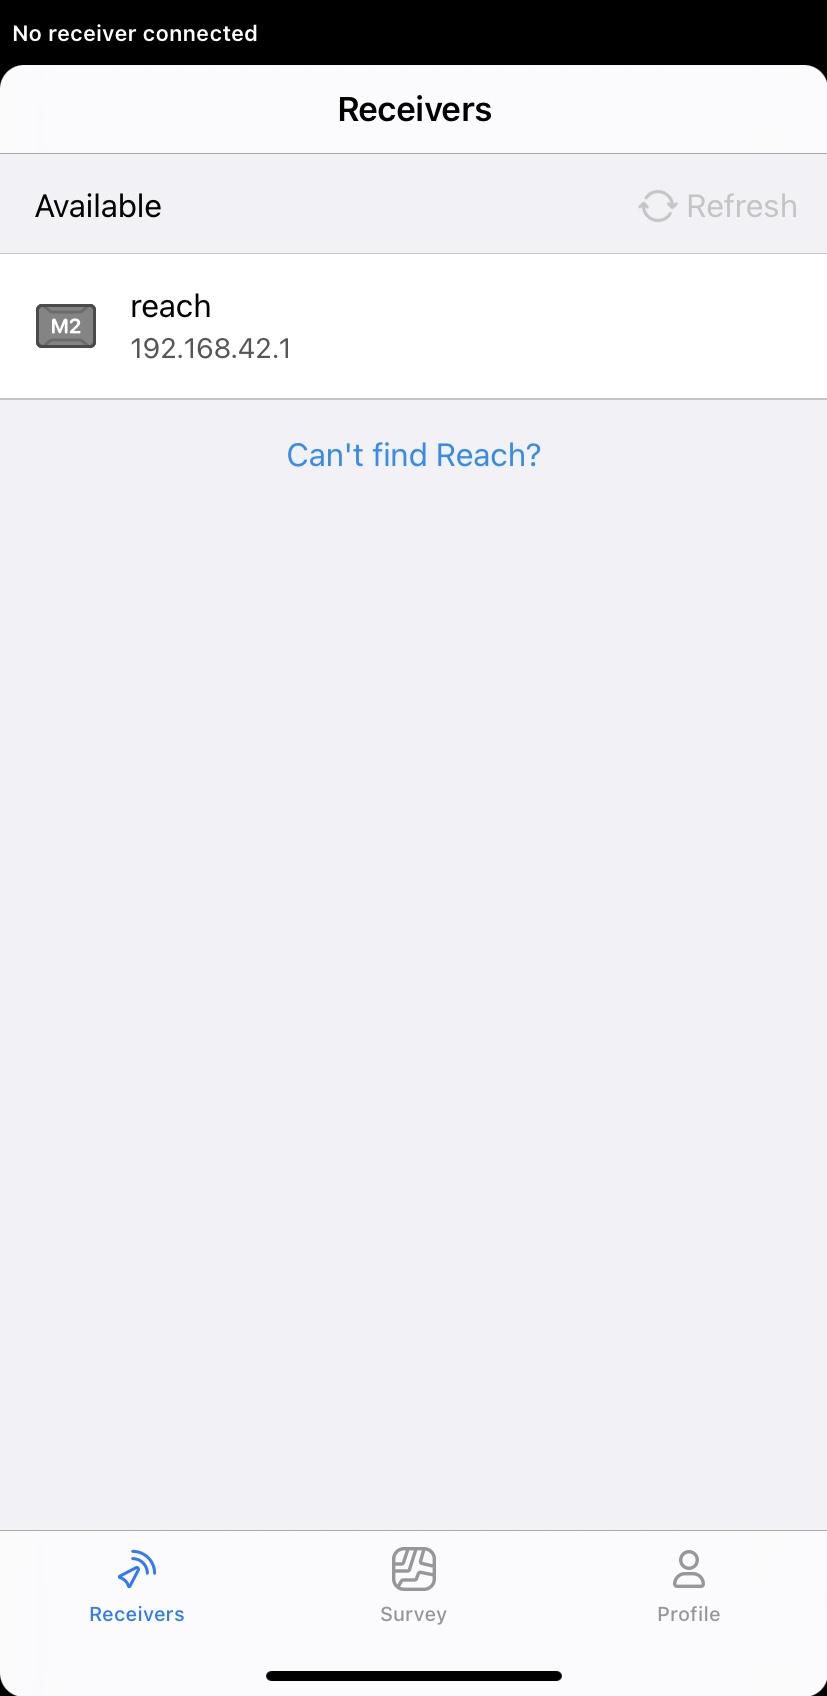
Open Emlid Flow and choose your Reach from the list.
-
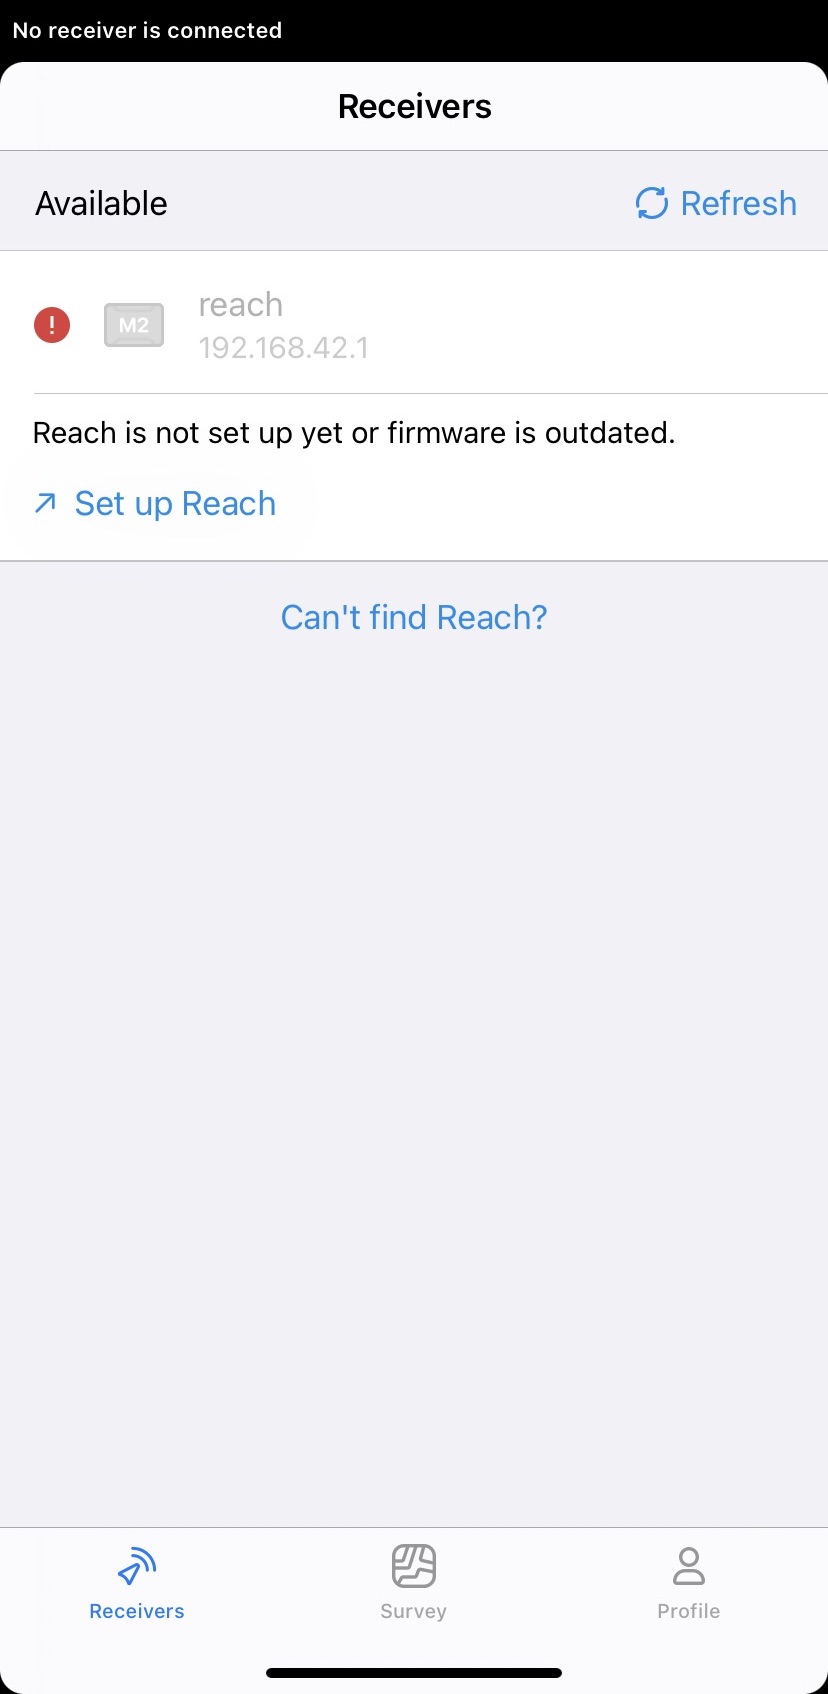
Tap the Set up Reach button to open Updater for the further setup process.
-
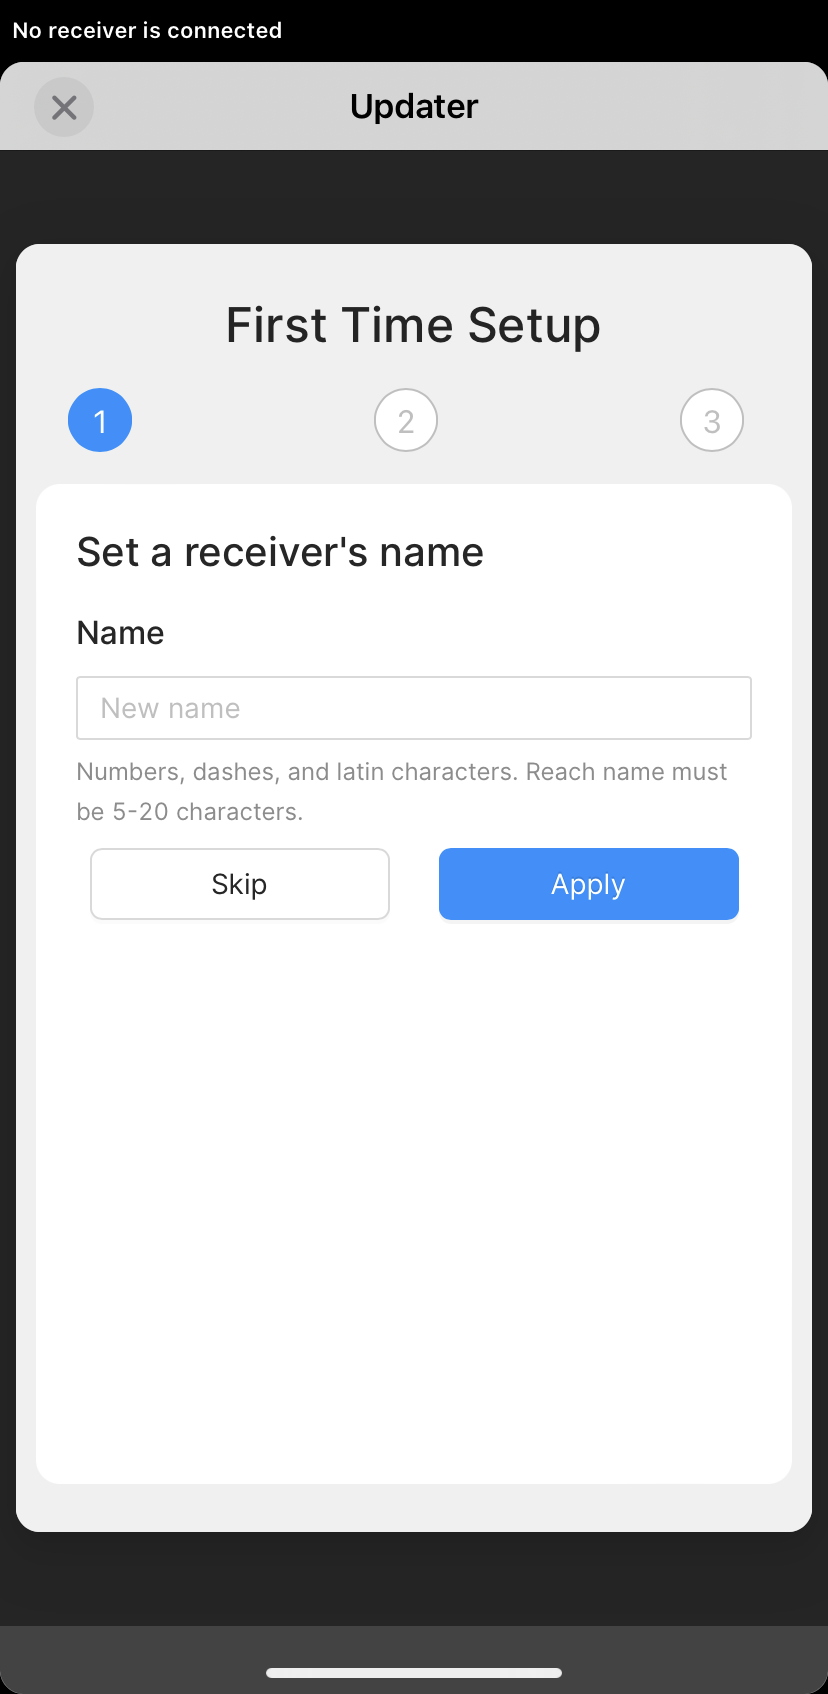
Name your Reach and apply changes.
-
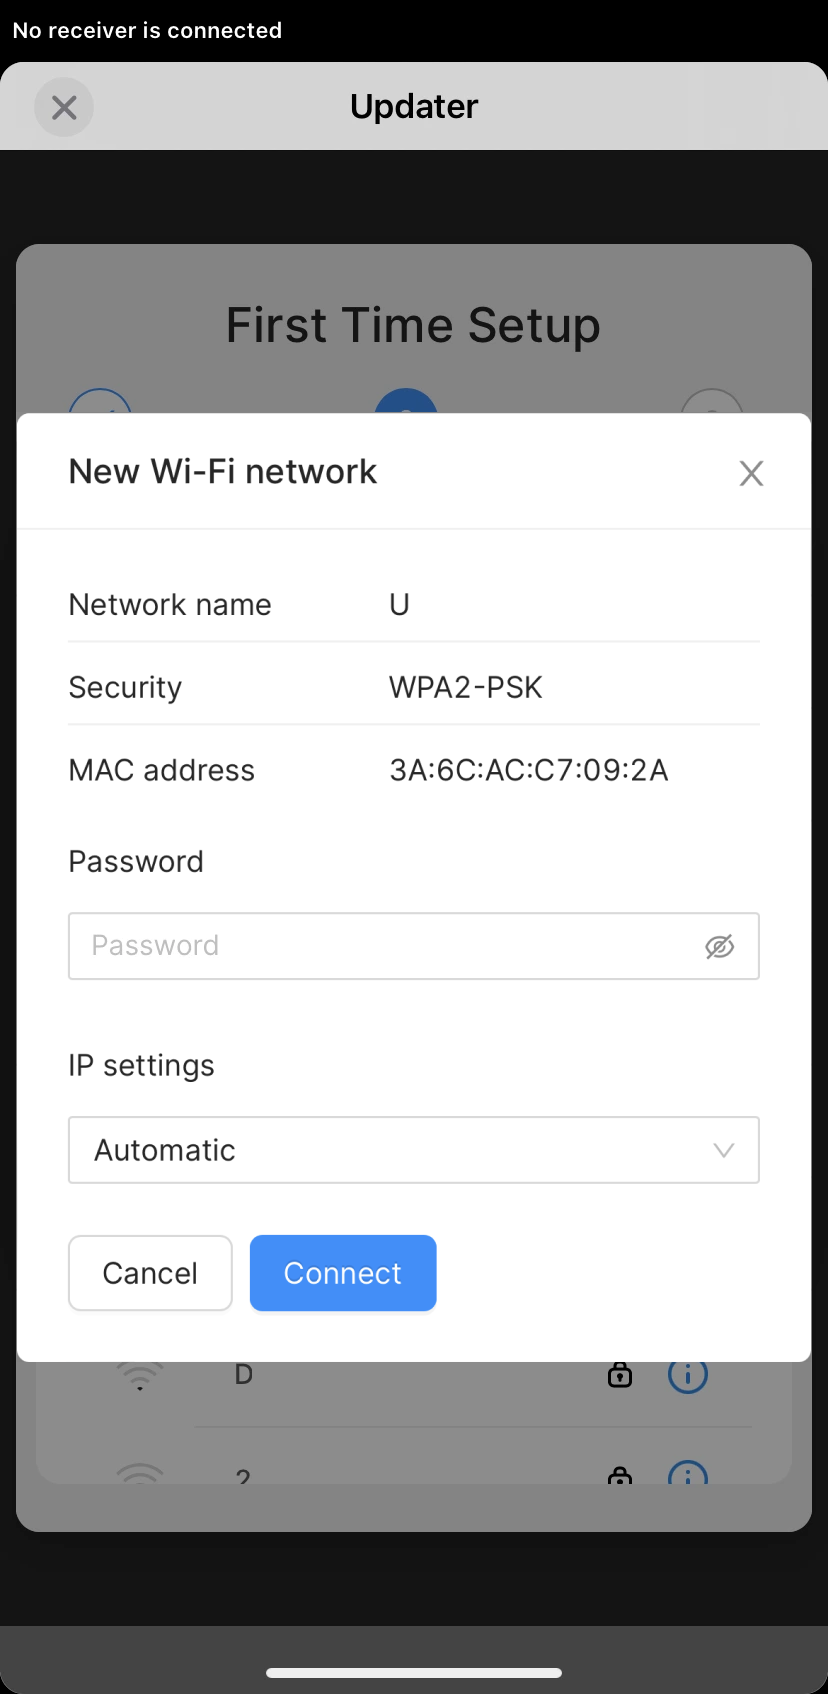
Select your Wi-Fi network from the list of available networks.

-
Enter the password and tap Connect.
Reach M2/M+ will stop broadcasting Wi-Fi and connect to your network. The Network LED will blink rapidly while scanning for networks. Once Reach connects to Wi-Fi, the LED will start blinking slowly.
When the connection of Reach with the Wi-Fi network is established, you can connect to your unit using Emlid Flow:
-
Connect your smartphone or tablet to the same Wi-Fi network.
-
Open the Emlid Flow app.
-
Choose your Reach from the list of available devices.
noteIf there is only one receiver, the app will automatically try to connect to this Reach.
tipIf your device did not connect to your Wi-Fi network, it will switch back to hotspot mode. In that case, repeat the steps and double-check the network name and password.
Update Reach firmware
After connecting to Reach M2/M+, the app will check the available firmware updates. Follow the steps below to get the latest update:
-
Wait until Emlid Flow checks for the latest update. If there is an update available, it will start the updating process.
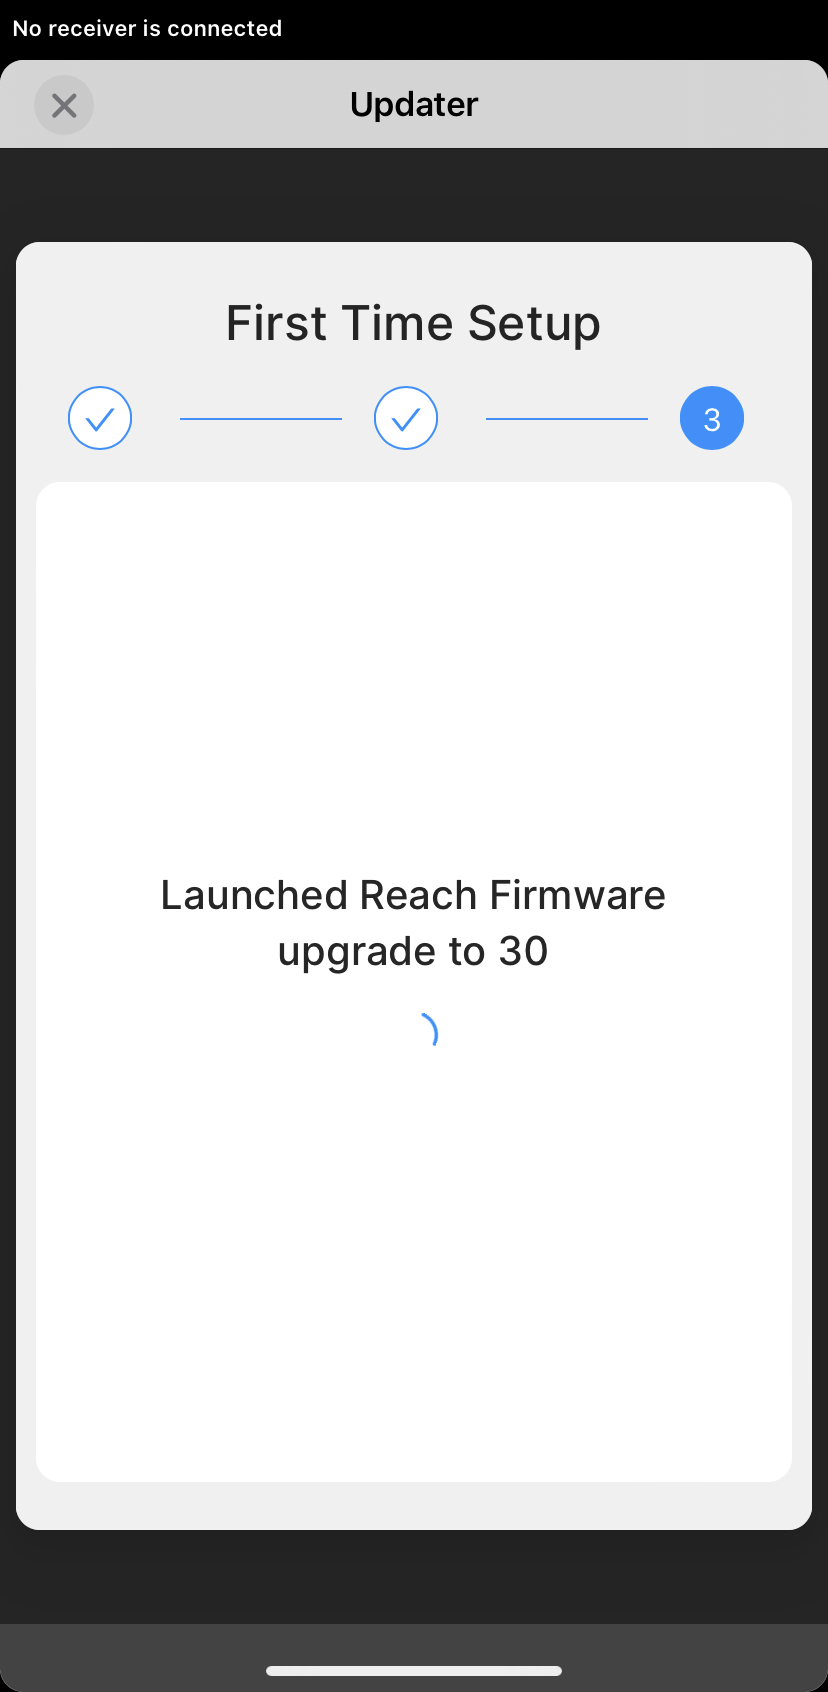
noteThe process may take a few minutes.
-
When the update is complete, wait until your Reach reboots.
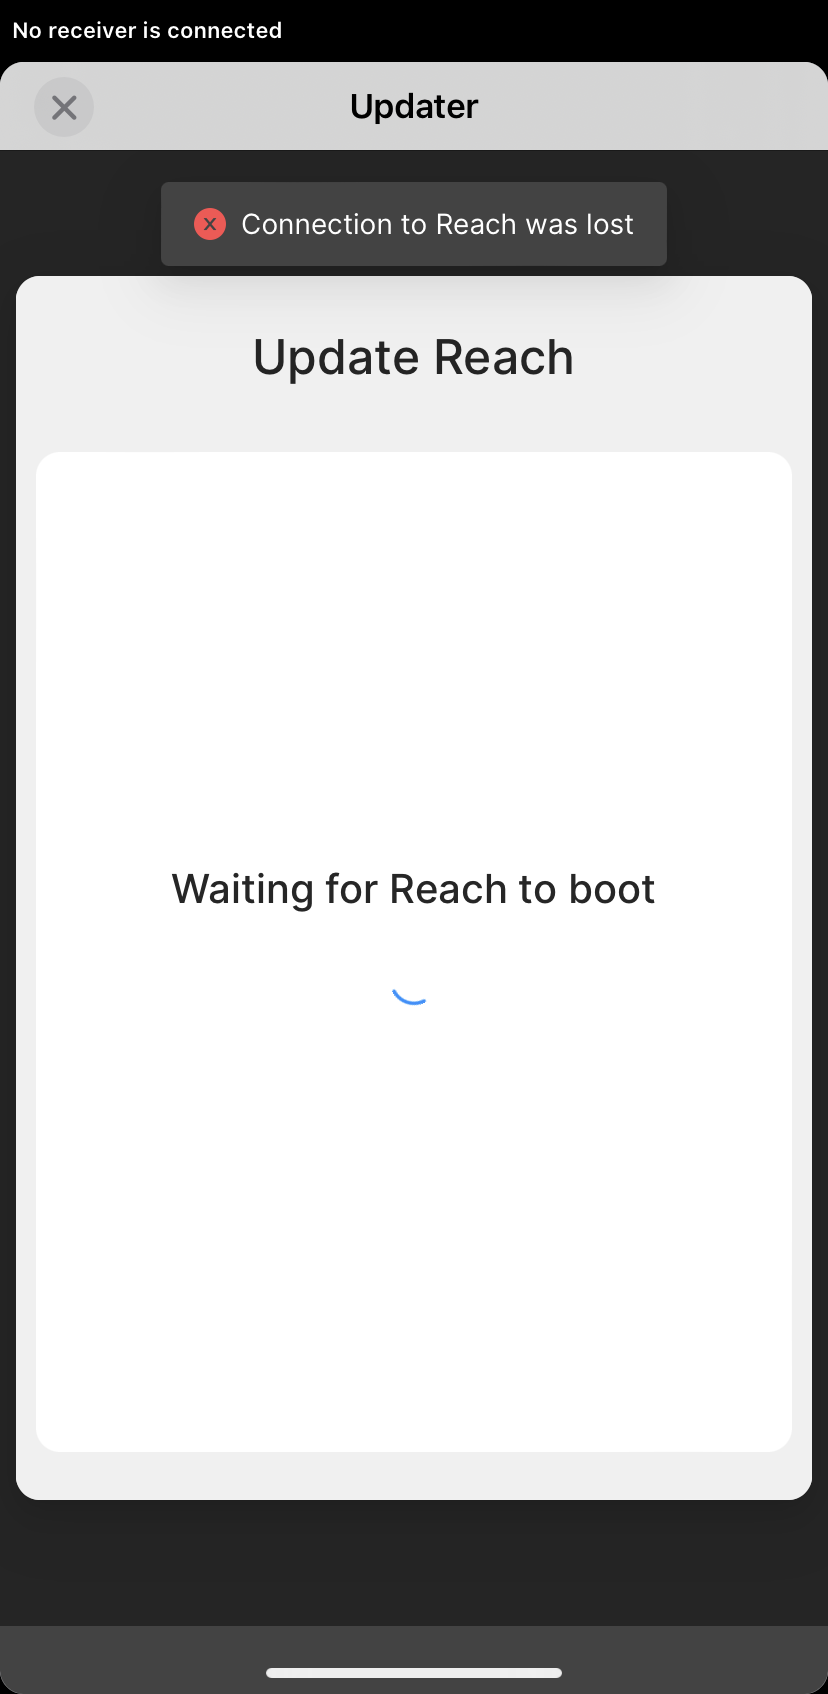
-
Wait for the Network LED to stop blinking, showing that Reach M2/M+ has joined your Wi-Fi network again. Close the Updater page.
-
Refresh the list of available devices.
-
Choose your Reach from the list of available devices.
noteIf there is only one receiver, the app will automatically try to connect to this Reach.
Your Reach M2/M+ is ready for work. Do the same with all other units.