AUSPOS—Online GPS Processing Service
This guide explains how to get the precise coordinates of a standalone receiver using the Australian online GPS processing service AUSPOS.
Overview
AUSPOS is an online GPS processing service provided by Geoscience Australia. With AUSPOS, you may accurately determine the coordinates of a static point worldwide without real-time corrections or a base station nearby.
You can learn more about the AUSPOS service on their official site.
How AUSPOS works
A standalone receiver finds its position by relying on the raw data obtained from satellites only. In this case, it can determine its position at the several-meter level. To improve the accuracy, the receiver can be used with a base station in the RTK setup. Since both receivers work in the same conditions, the base station sends corrections that eliminate ionospheric and tropospheric delays, clock errors of the receiver and satellites and improve accuracy.
With AUSPOS, you can achieve a centimeter-level accurate position of a point with one receiver. When you upload your observation file, AUSPOS chooses up to 15 nearest International GPS Service (IGS) and Asia-Pacific Reference Frame (APREF) stations for processing.
These stations form a local network that provides the data required to eliminate ionospheric and tropospheric delay errors. With the help of the data from these stations, the service calculates the approximate coordinates of the receiver.
The last stage of the processing is computing a solution. AUSPOS eliminates clock errors of the receiver and the satellites to obtain precise coordinates of the point. It computes precise coordinates in International Terrestrial Reference Frame (ITRF) anywhere on Earth and Geocentric Datum of Australia (GDA) within Australia.
AUSPOS provides a network solution (relative positioning) using a double-difference strategy.
AUSPOS uses dual-frequency GPS data for solution computation and supports only Static Positioning mode.
Depending on the accuracy level and time that is required to get the solution, the AUSPOS service can calculate the data in the following modes:
| Orbit type | When the orbit is ready for use | Accuracy |
|---|---|---|
| ULTRA-RAPID | 3–9 hours after the end of the survey | ~5 cm |
| RAPID | 17–41 hours after the end of the survey | ~2.5 cm |
| FINAL | 12–8 days after the end of the week after the survey | ~2.5 cm |
Workflow
Placing the base
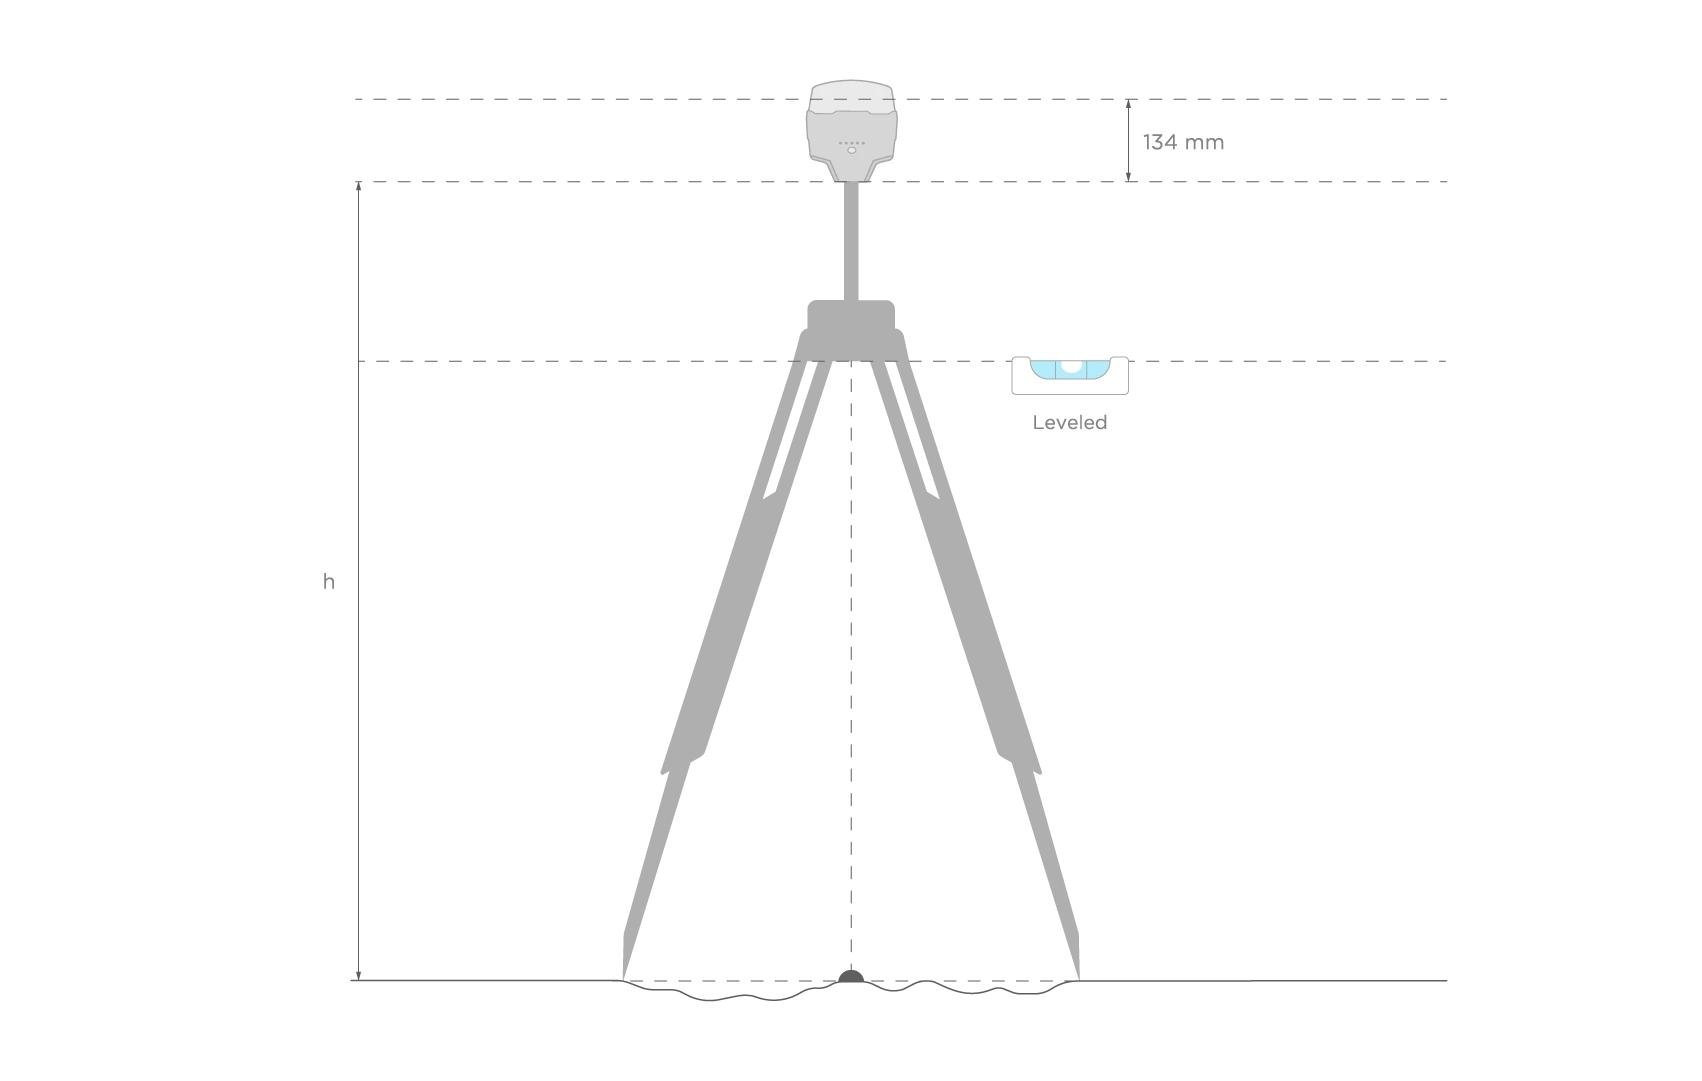
Place your Reach precisely above the marked point on the tripod and level it. You can learn more about placing Reach in the Placing the base tutorial.
Recording RINEX logs on Reach
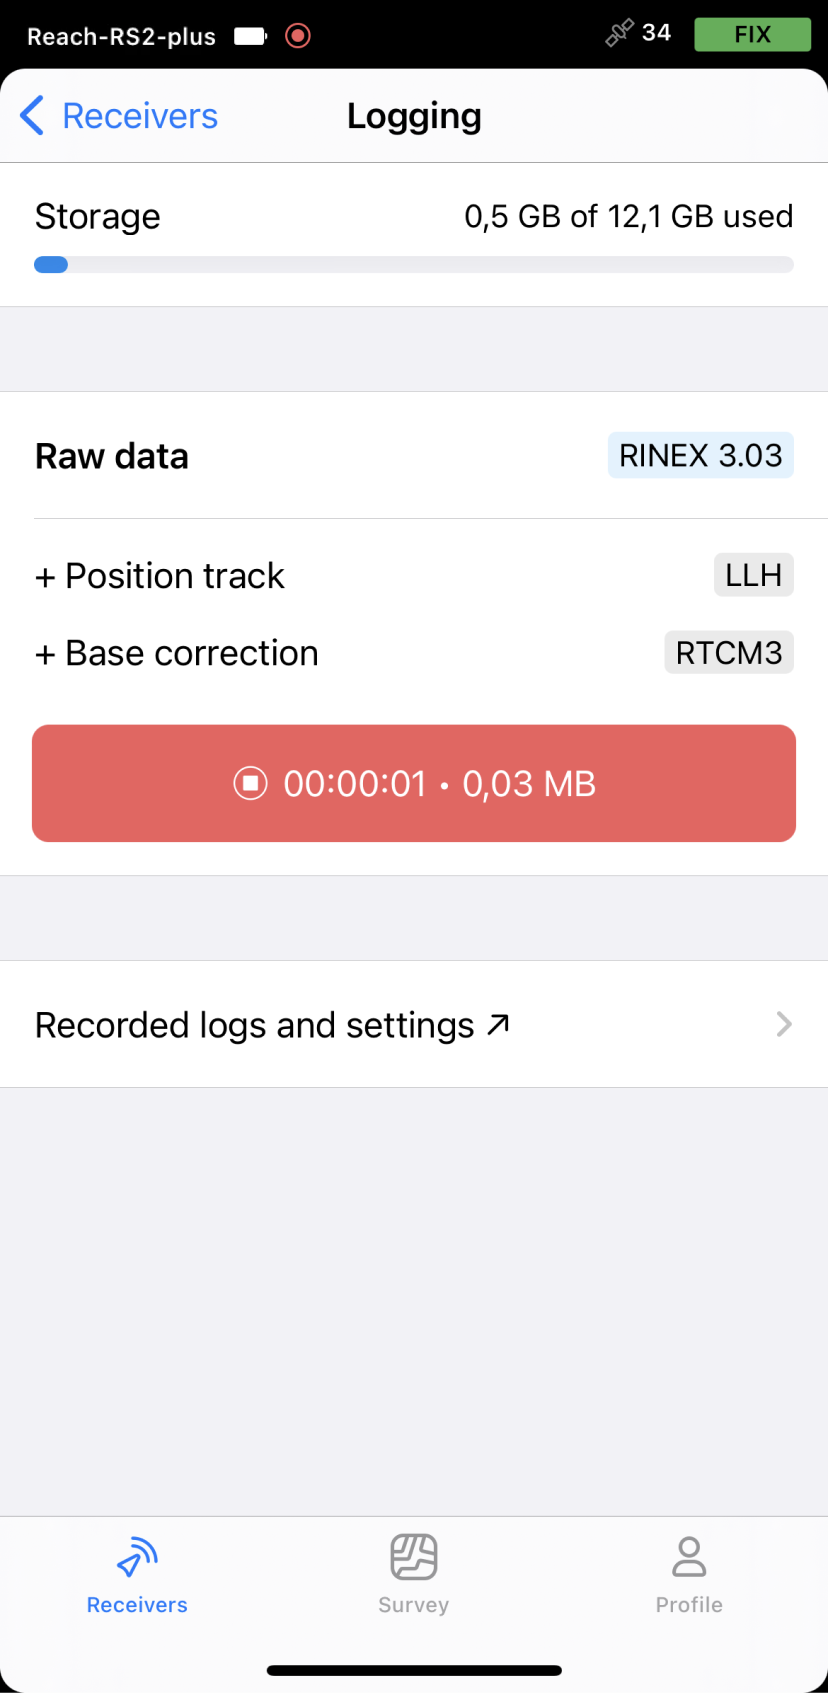
To record logs for AUSPOS, perform the following steps:
-
Open Emlid Flow and connect to your Reach.
-
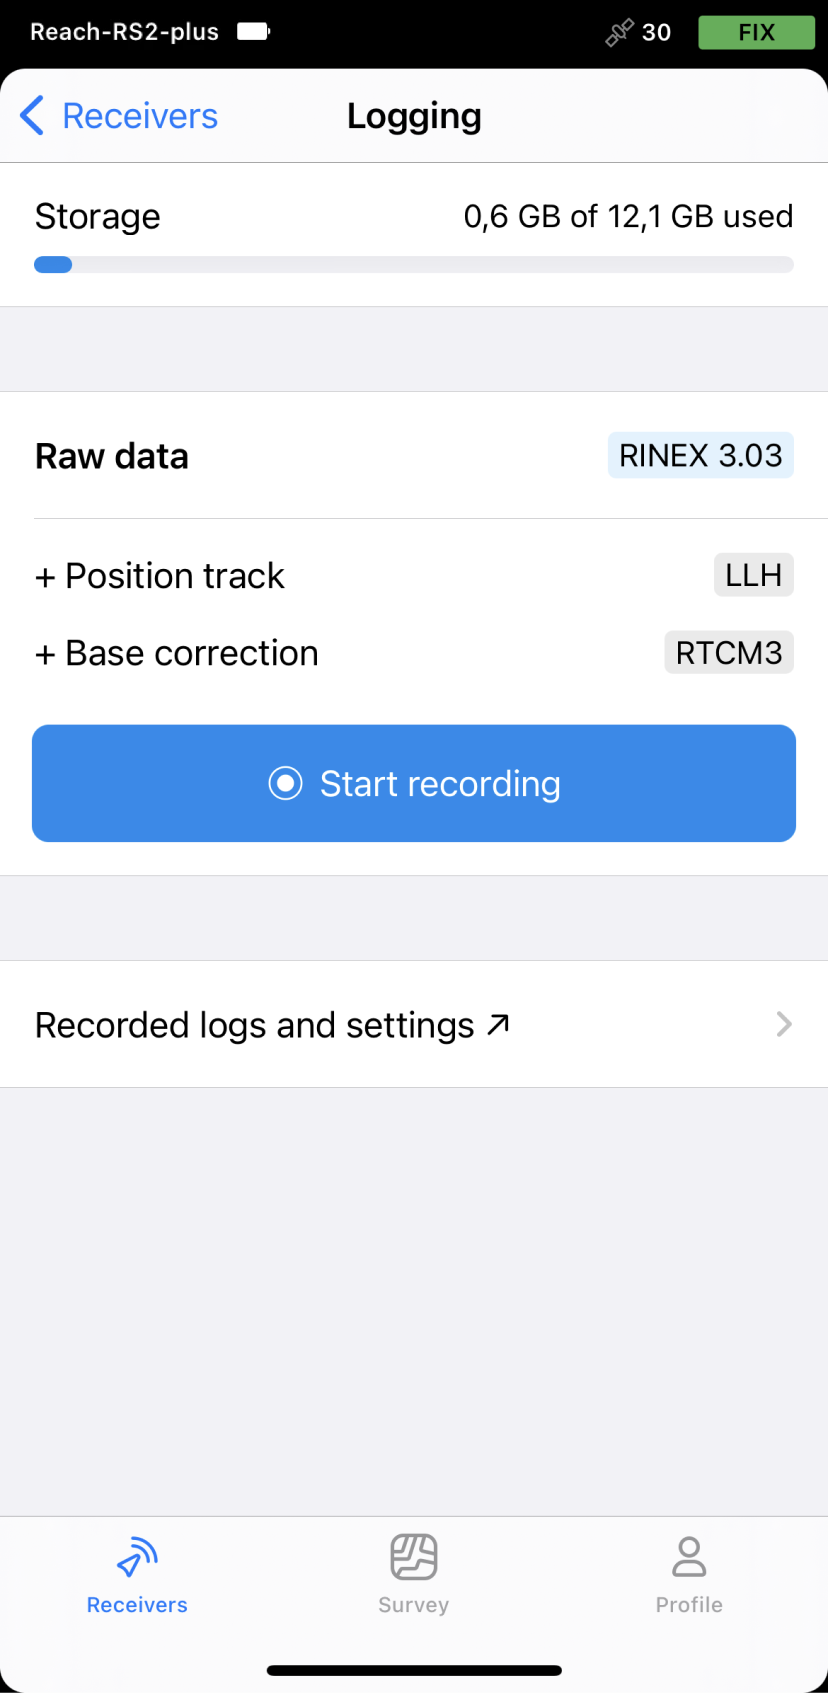
Go to the Logging screen.
-
Tap the Recorded logs and settings button.
-
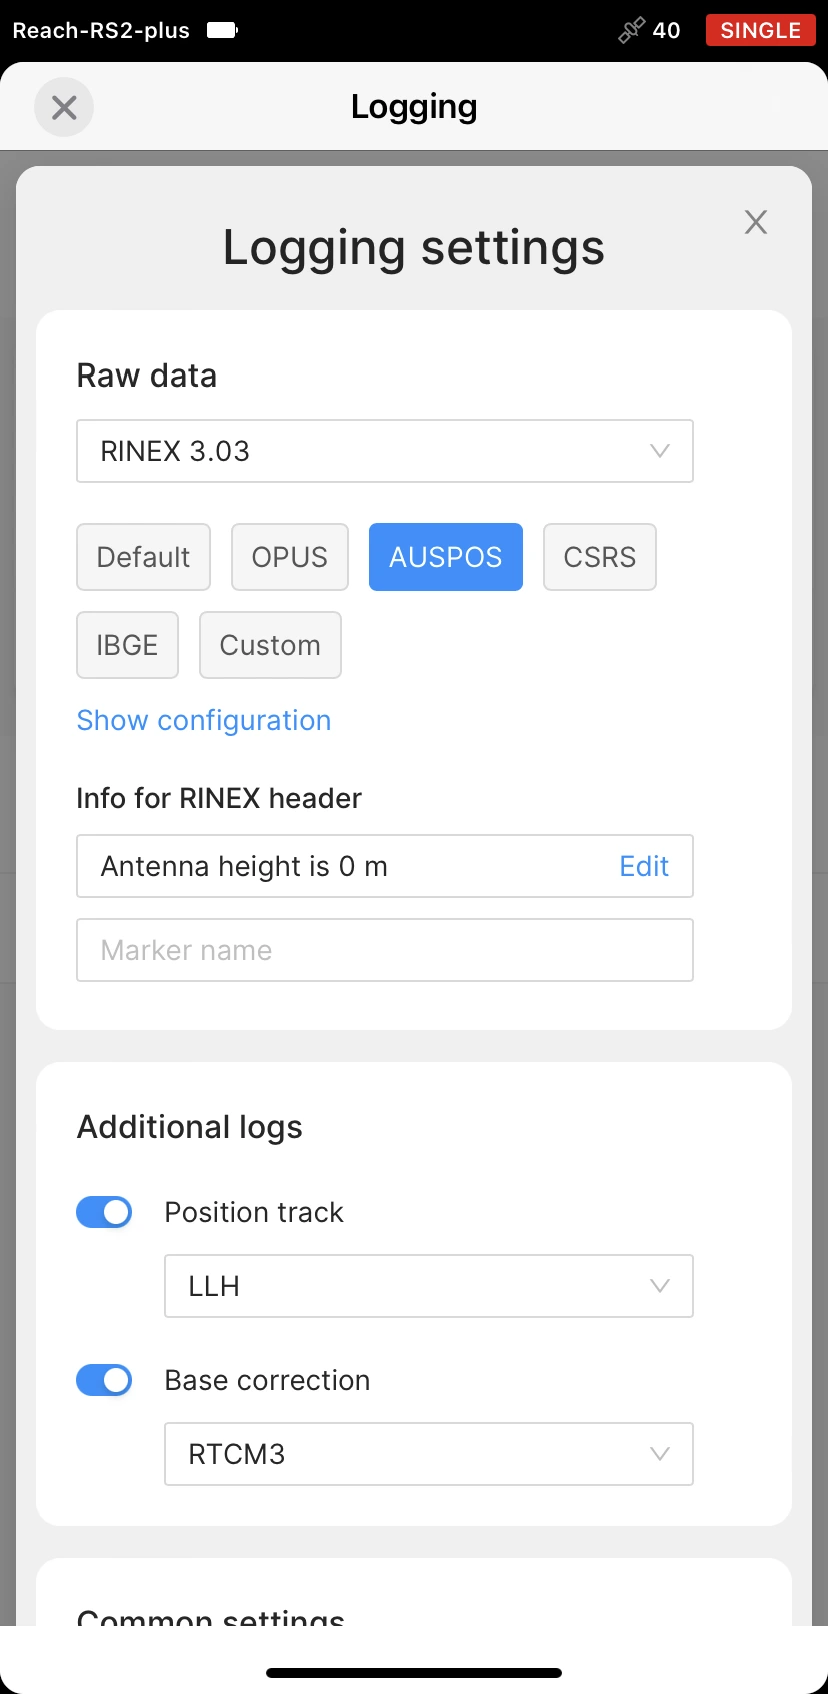
To configure logging, tap the Settings button.
-
Select the AUSPOS preset.
-
Choose the required RINEX format in the Raw data section.
noteIf you do not know which version of RINEX you need, we recommend using RINEX 3.03.
tipWhile recording in the RINEX format, you can log the UBX file as a backup. UBX file can be used to adjust RINEX file settings in the Converter tool in Emlid Studio. You can enable logging in the UBX format in the logging settings in Emlid Flow.
-
Tap Show configuration and enter the measured height to the bottom of the receiver in the corresponding field.
-
Fill in the point's name in the Marker name field.
-
Tap Apply.
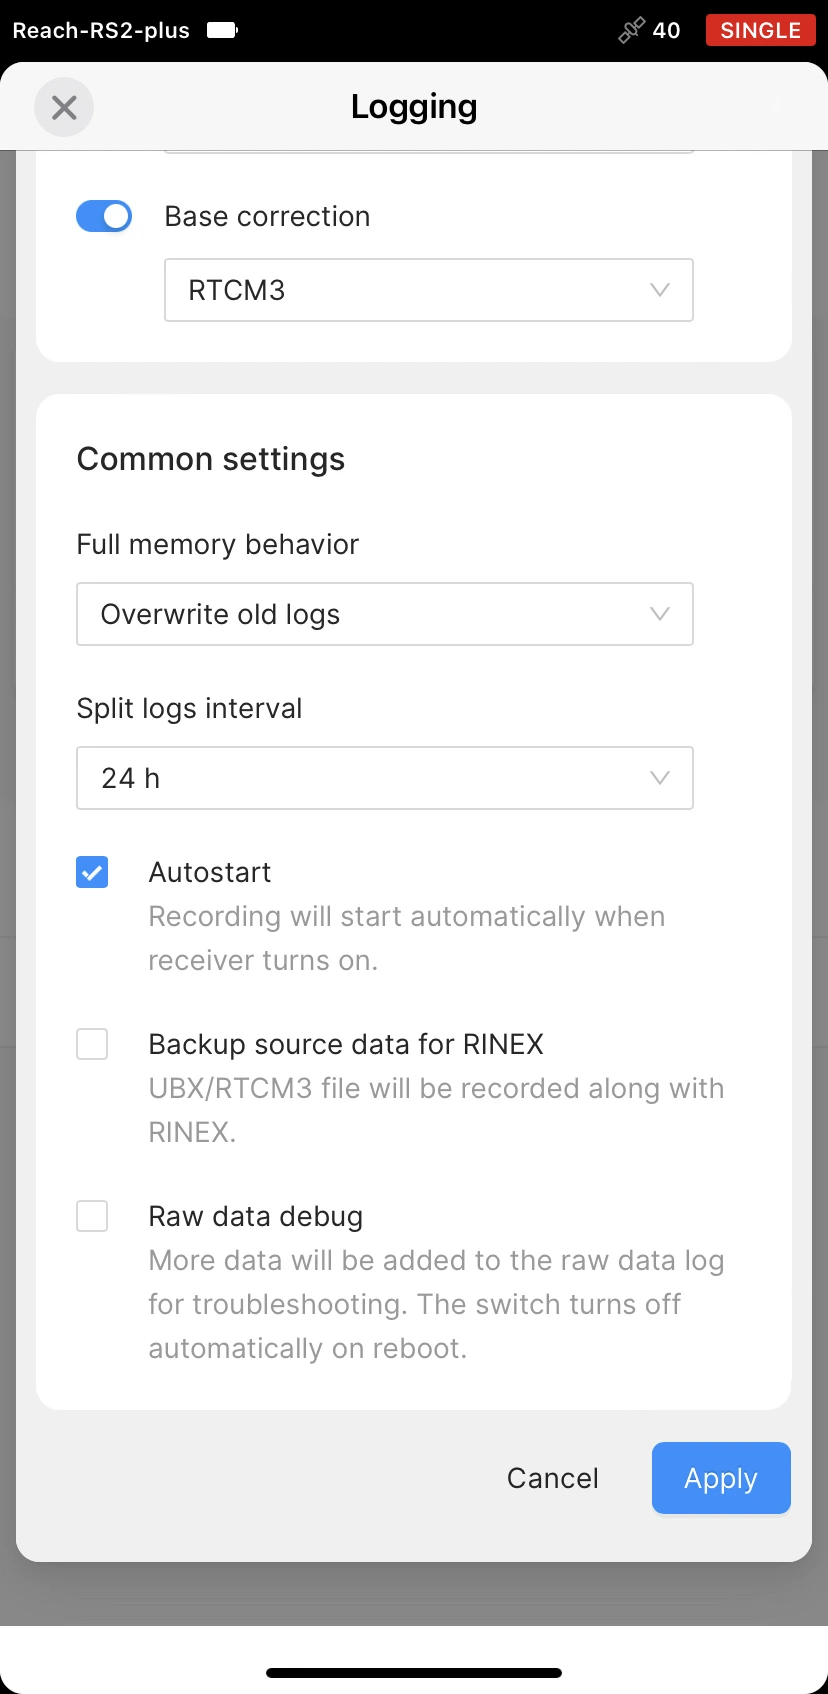
tipYou can start recording automatically when your receiver is turned on. Check the corresponding field on the Raw data settings screen.
-
Enable log recording by tapping the Start recording button. The red recording icon will appear in the status bar.
 note
noteAUSPOS requires recording the data for at least 4 hours to get the best accuracy.
-
To finish recording logs, tap the End recording button.
Wait for data processing to finish.

You may log the data for up to 24 hours, depending on the accuracy required.
Once you finish the survey, don't forget to turn off raw data recording in the logging settings.
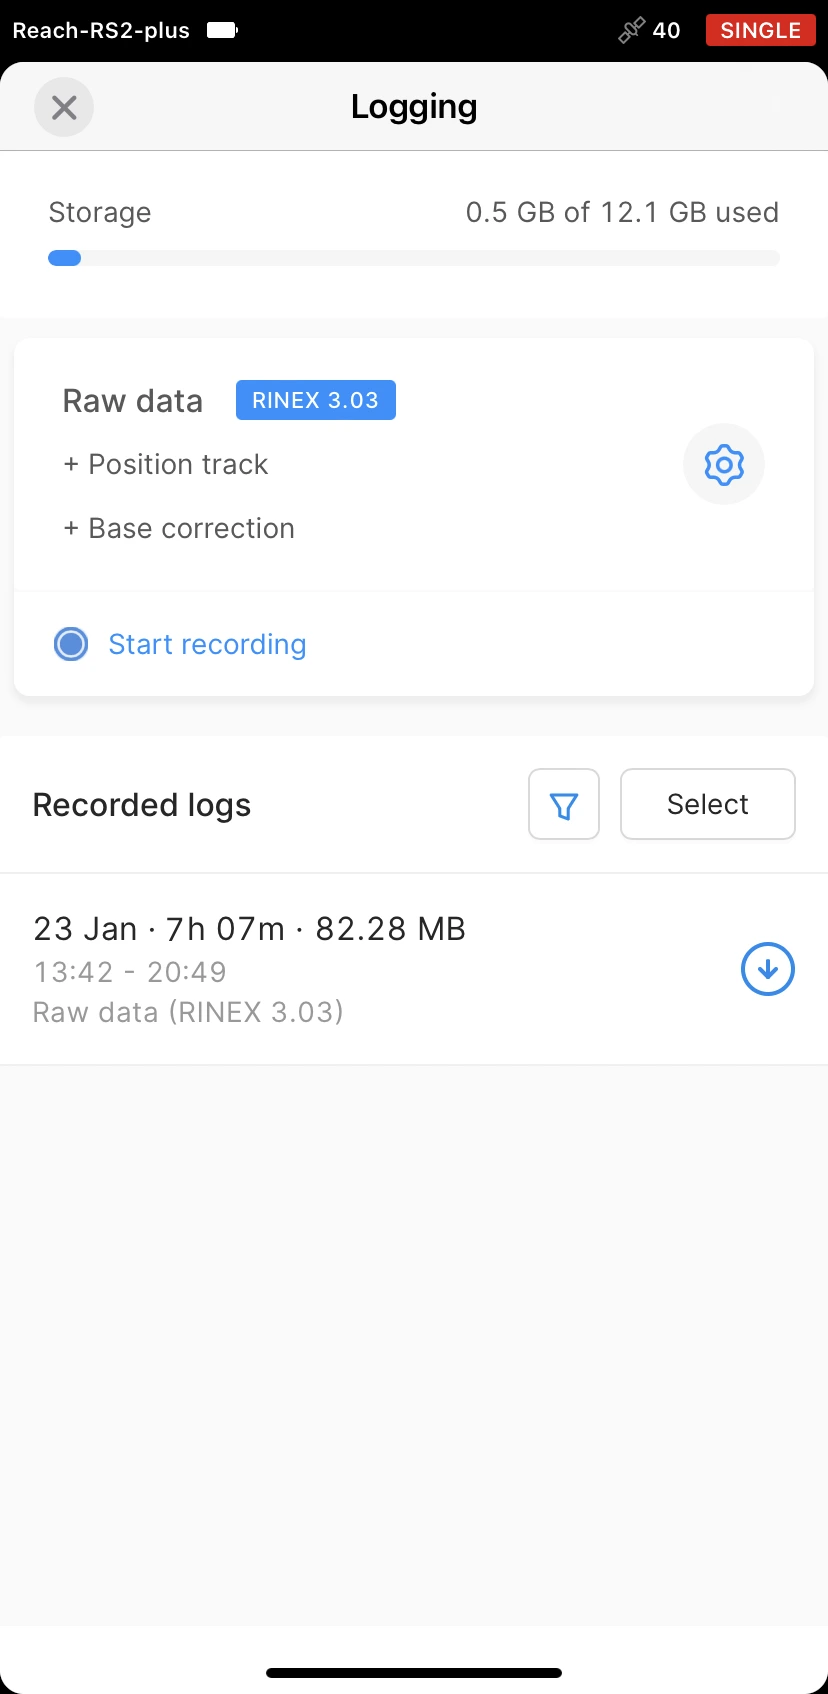
Downloading logs
After you finish raw data logging, you need to download RINEX data from Reach to your mobile device.
-
Go to the Recorded logs section at the bottom of the Logging screen.
noteYou can also find information on the logs size and recording date and time here.
-
To export the file, tap the Download button.
-
Save your log depending on the device you use.
tipIf you do not need your logs anymore, you can delete them using the Select button.
Submitting data to AUSPOS service
Once the logs are downloaded, export them to your PC in a preferred way and submit the data to AUSPOS for processing.
-
Go to AUSPOS submission page.
-
In the Load RINEX Files field, click the Choose File(s) button and browse for the observation file (.**O). You can upload up to 20 files at once.
cautionThe observation file name should not contain any special characters, symbols, or spaces. Otherwise, the file will be rejected.
-
Enter the pole height in the Height (m) field.
-
Choose EML_REACH_RS2 NONE in the Antenna Type field.
tipFor Reach RS2+, choose EML_REACH_RS2+ NONE.
-
In the Email Address field, enter your email address to get the results.
-
Click Submit.
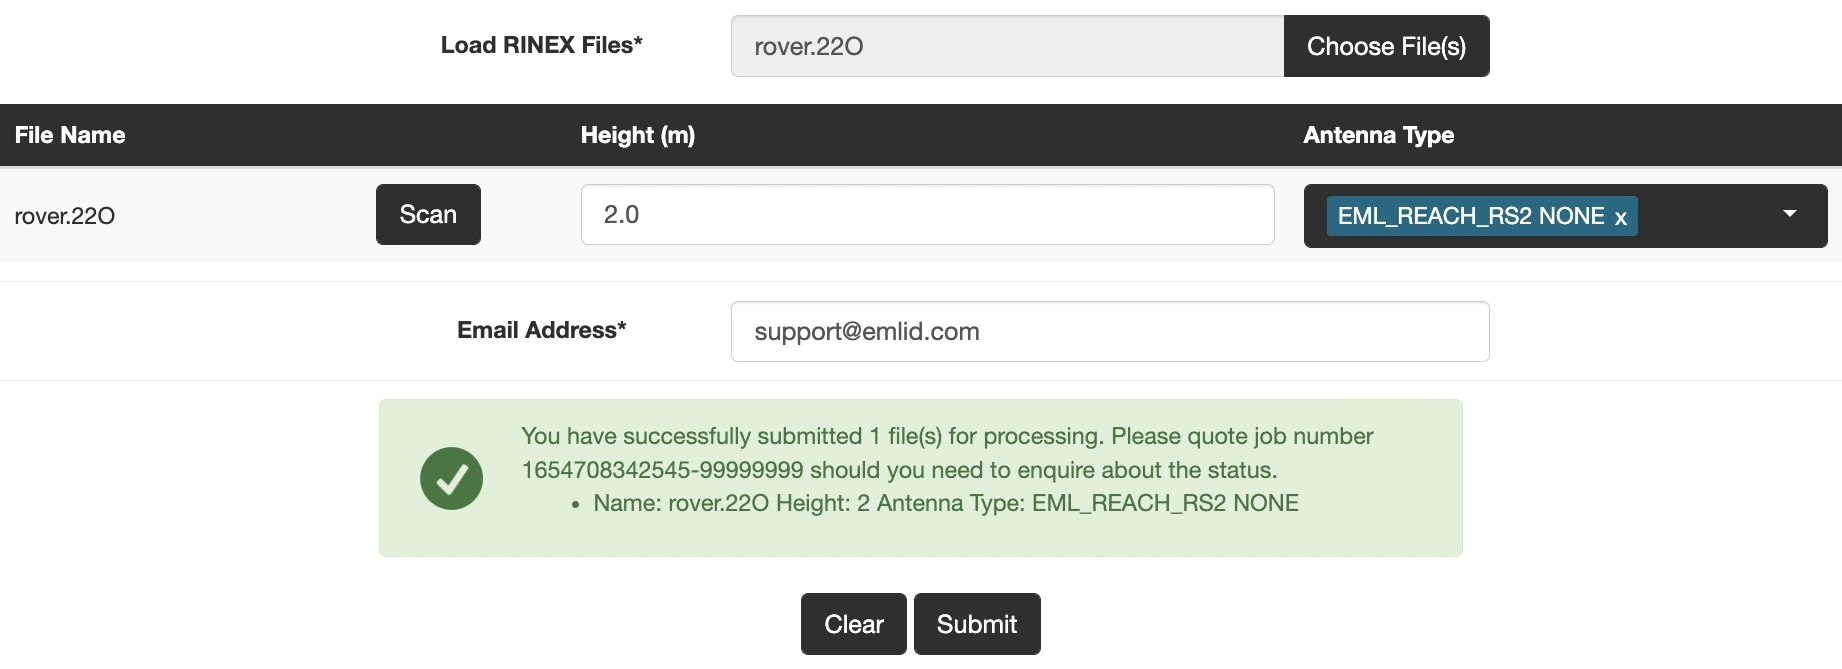
AUSPOS will assign the job number to your submission and send the file with the solution to your email address.
Assessing AUSPOS results
In the solution report, you will get the following information:
-
Computed coordinates in 3 different formats:
- Cartesian (XYZ)

- Geodetic (LLH)
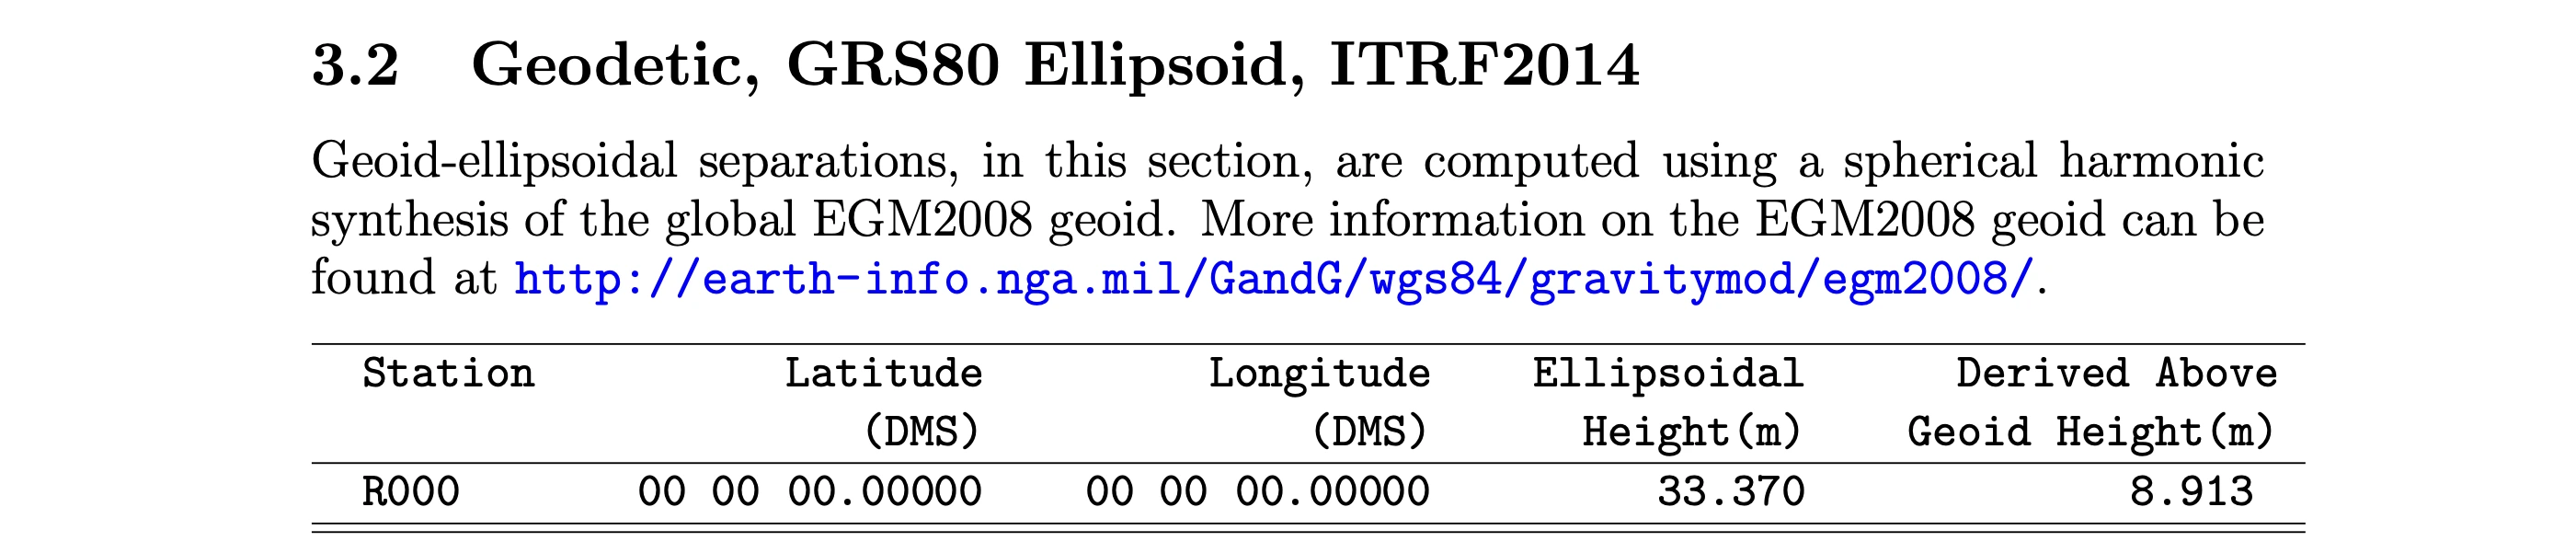
- UTM Grid

-
Positional uncertainty showing the estimated accuracy of the computed coordinates

Additionally, you can check the ambiguity resolution for every reference station used in the computation.
After you get the solution report, it might be useful to check how accurate the results are. The most accurate AUSPOS solutions have no warning messages in the report.
Setting up obtained base coordinates in Emlid Flow
If you want to use the obtained coordinates as a base position, you can enter the base coordinates in Emlid Flow.
-
Open Emlid Flow and connect to the Reach you want to use as a base.
-
On the Receivers screen, tap Base settings.
-
Tap the Configure button.
-
Set the Coordinates entry method to Manual.
-
Specify the antenna height and enter the coordinates.
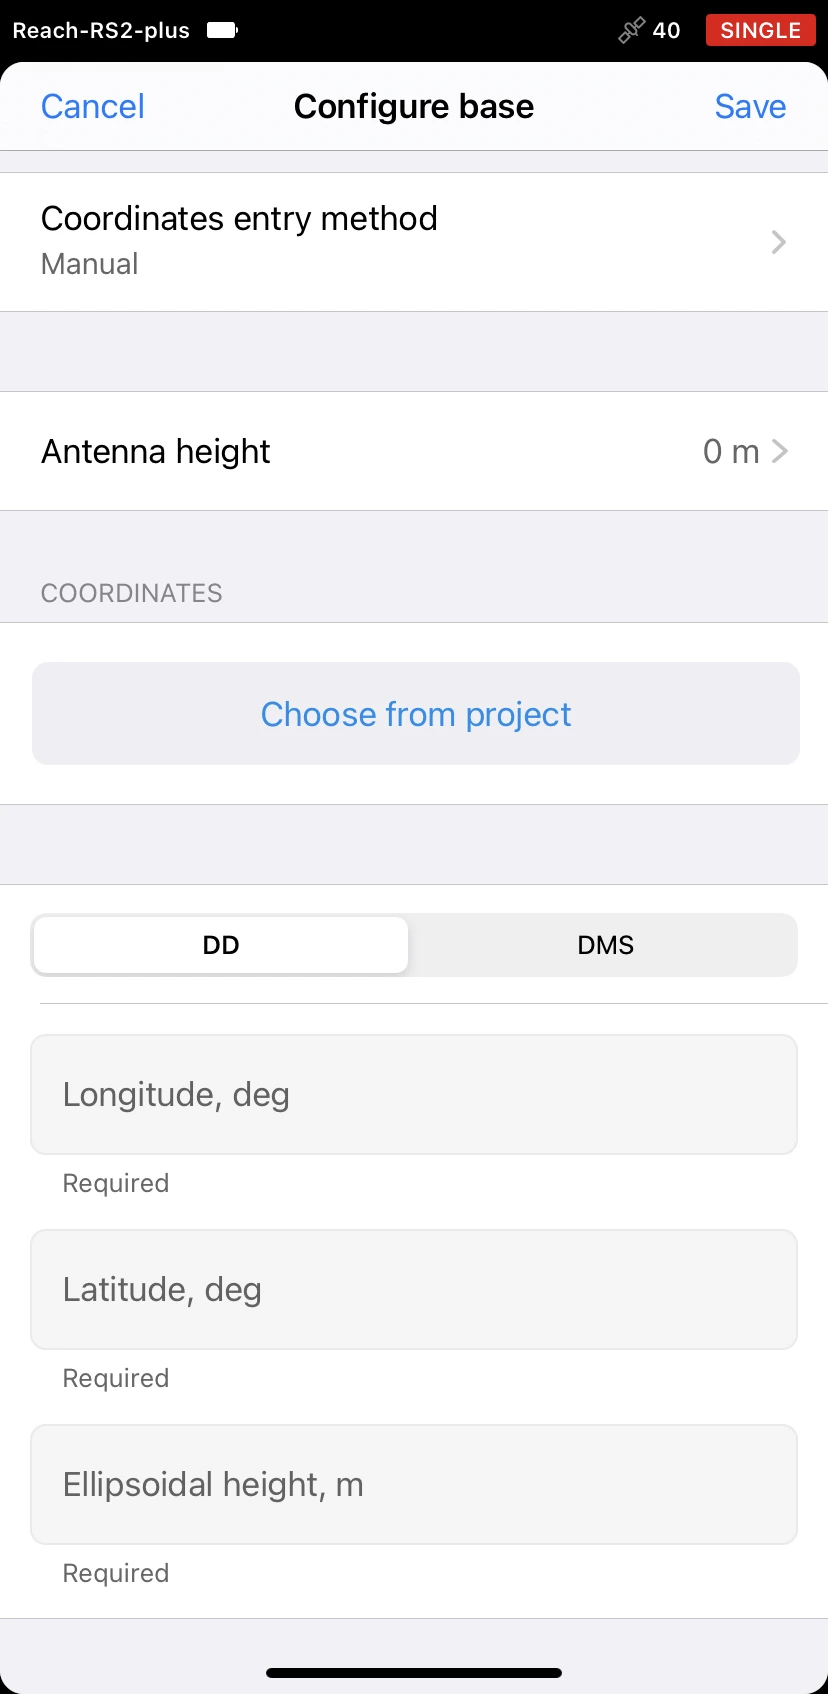
- Tap Save.
After setting up the base position, you can continue working in RTK or PPK.