How to log data for Stop & Go with Emlid Flow
This guide shows how to record logs for Stop & Go with Emlid Flow and download them from Reach RS/RS+ using Emlid Flow.
Overview
Stop & Go with Emlid Flow is a technique that involves the use of a base placed at a known point and a rover attending all unknown points and occupying each one for a short time. This workflow allows you to get separate points from the track of measurements using the logs from the base and the rover and a CSV from the Emlid Flow app.
To learn more, check the Stop & Go with Emlid Flow tutorial.
Recording RINEX logs on Reach
To record logs for Stop & Go with Emlid Flow, follow the steps below:
-
Open Emlid Flow and connect to your Reach.
-
On the Receivers screen, tap Settings.
-
Go to GNSS settings and set the update rate at 1 Hz for the base and at 5 Hz for the rover.
-
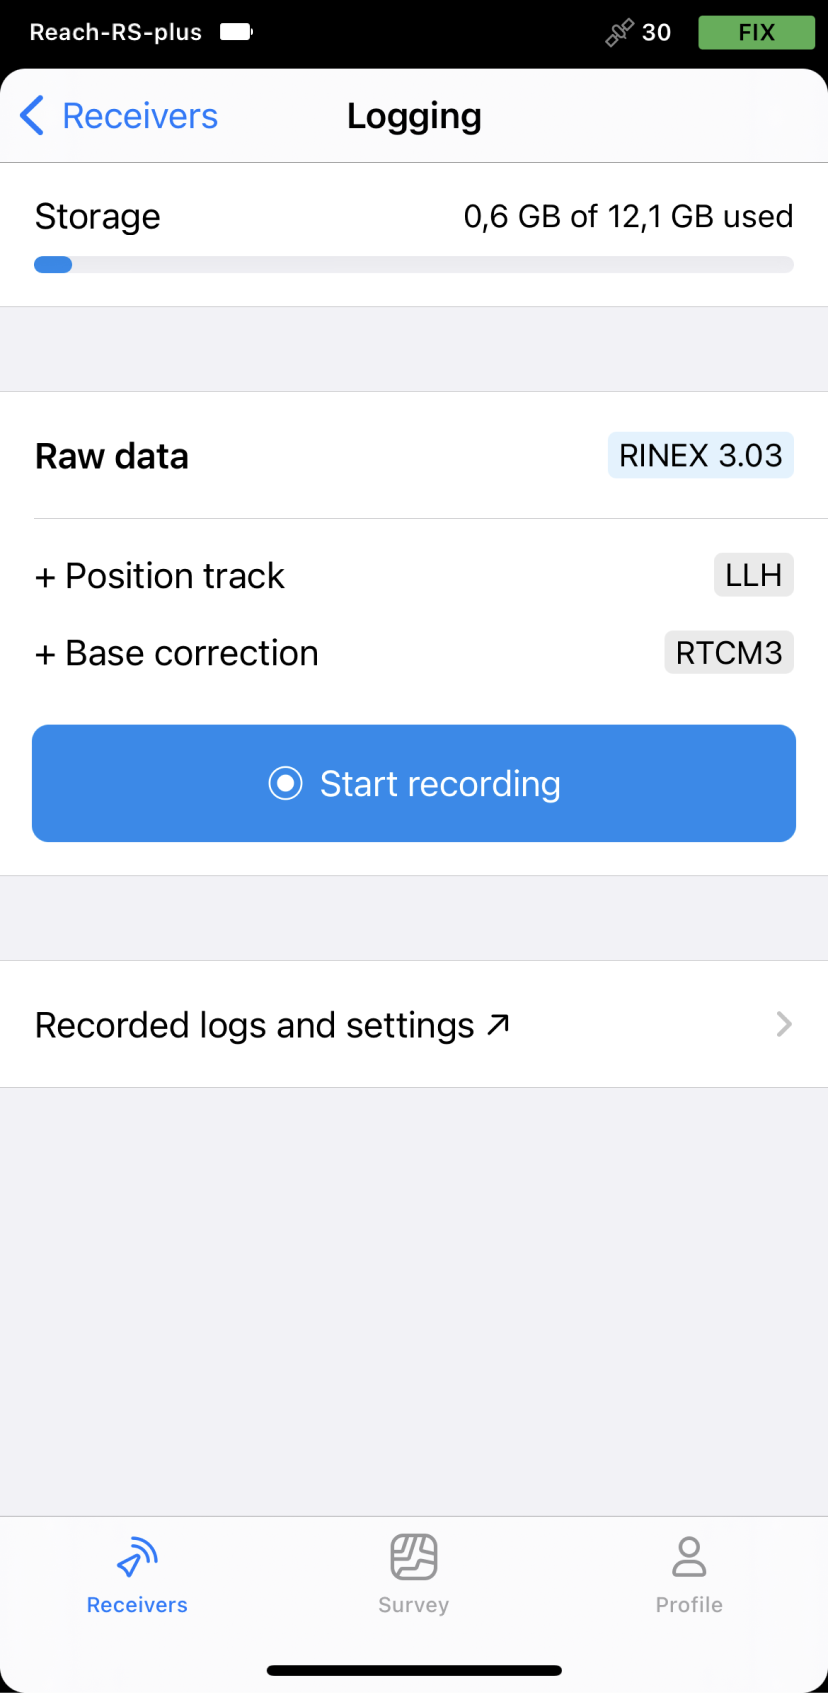
Go back to the Receivers screen and tap Logging.
-
Tap the Recorded logs and settings button.
-
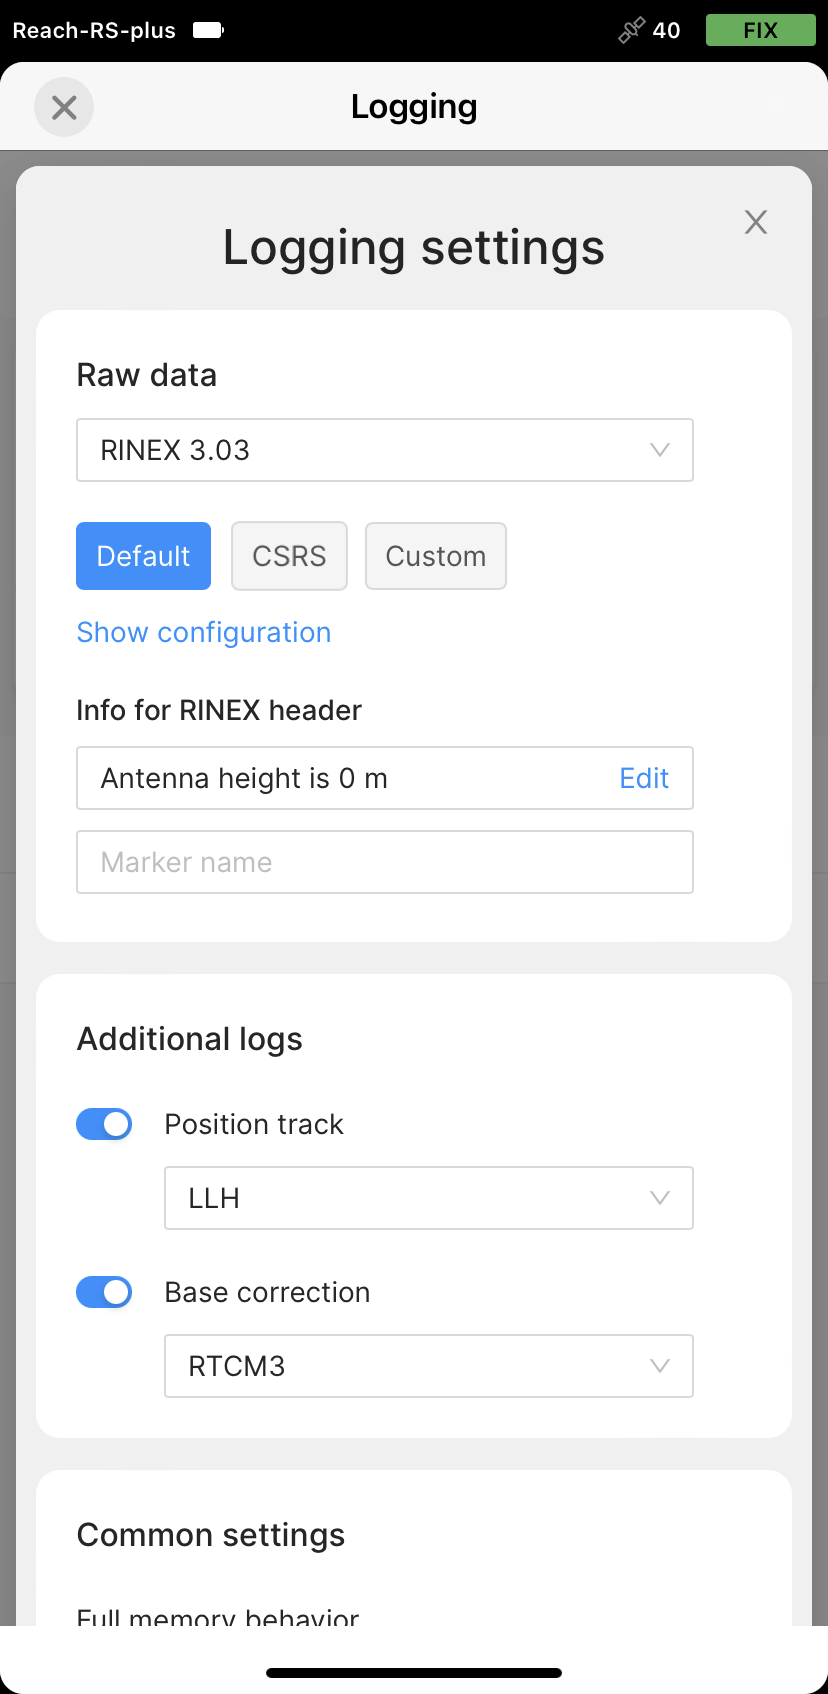
To configure logging, tap the Settings button.
-
Choose the required RINEX format in the Raw data section.
noteIf you do not know which version of RINEX you need, we recommend using RINEX 3.03.
tipWhile recording in the RINEX format, you can log the UBX file as a backup. UBX file can be used to adjust RINEX file settings in the Converter tool in Emlid Studio. You can enable logging in the UBX format in the logging settings in Emlid Flow.
-
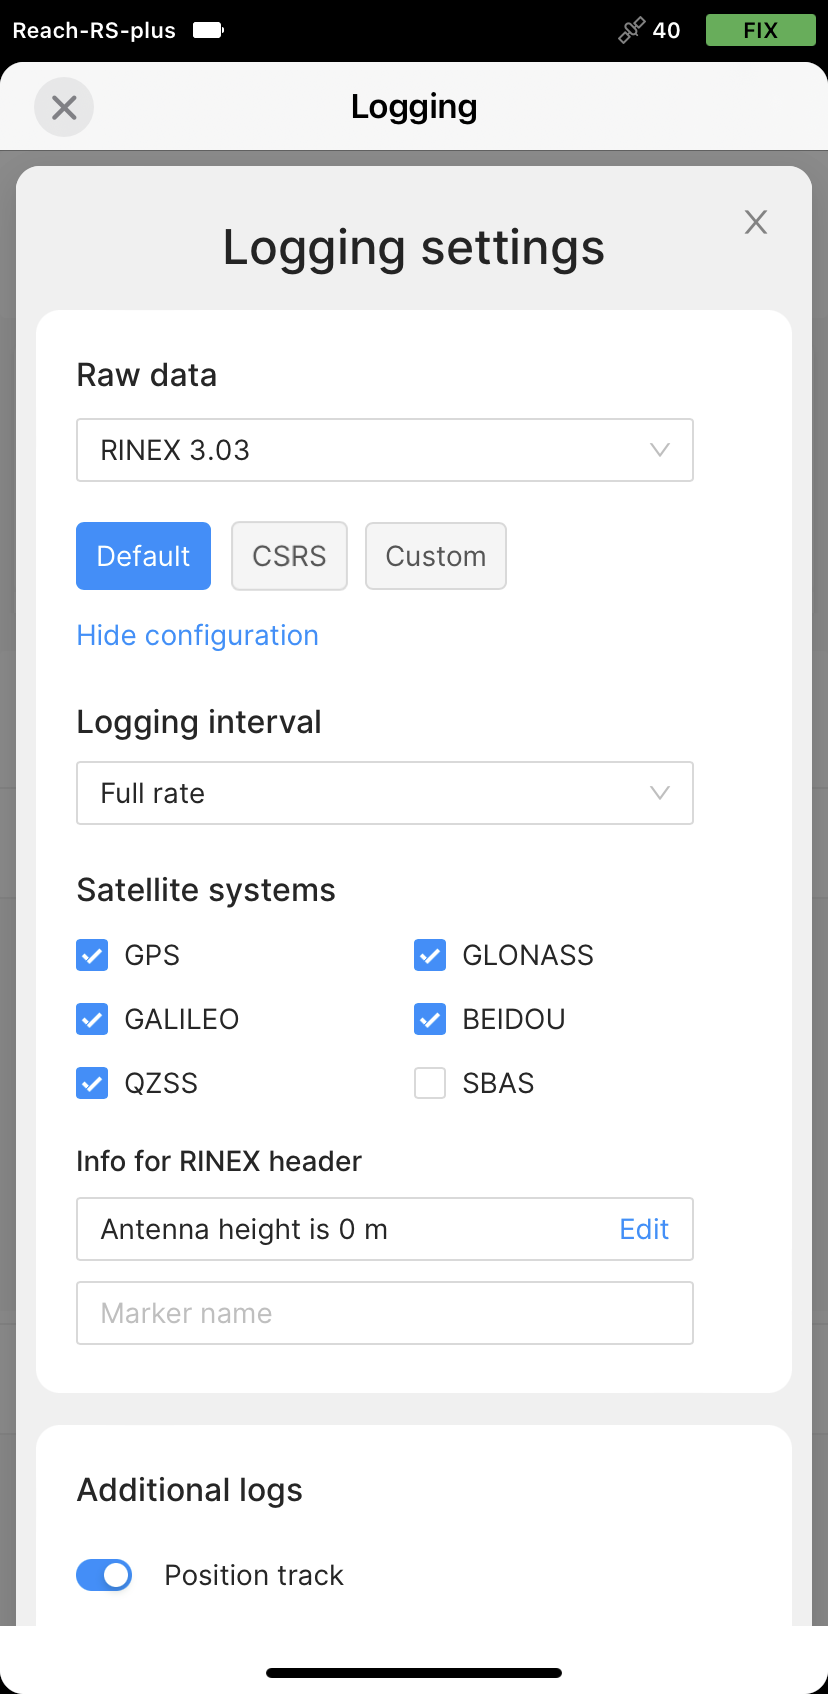
Tap Show configuration and select the required satellite systems.
noteChoose GLONASS or BeiDou depending on your location. While GLONASS covers most of the world, BeiDou might be more efficient in the Asia-Pacific region.
noteMake sure that you have chosen the same set of satellite systems both on the rover and the base.
-
Set the logging interval at Full rate.
-
Use antenna height and enter the measured height to the bottom of the receiver for the base. Don't use it for the rover.
-
Leave the Marker name field empty.
-
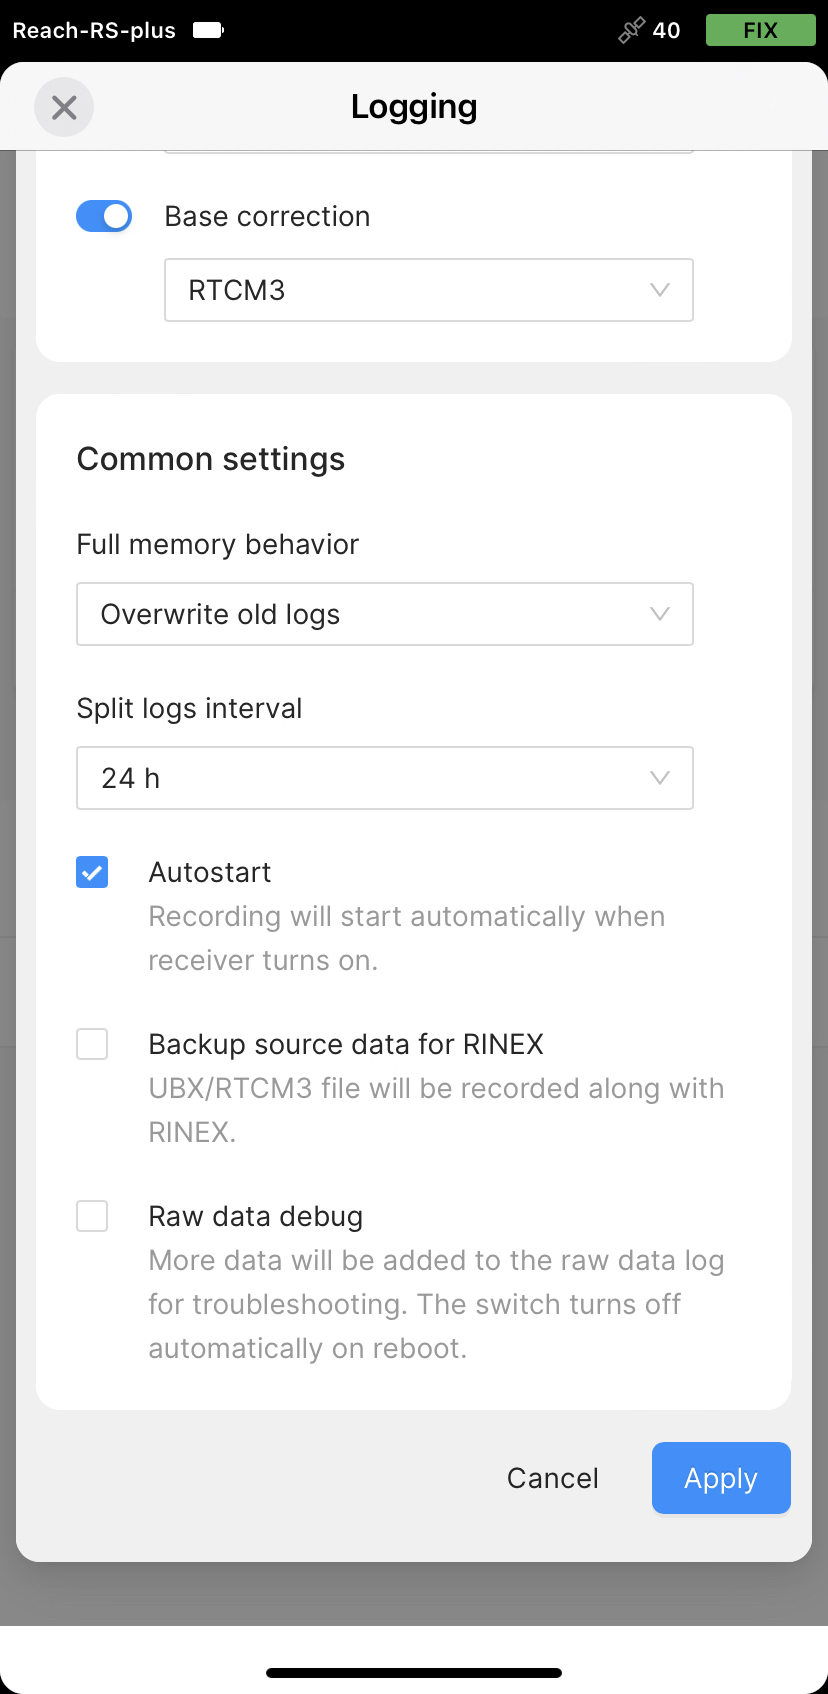
Tap Apply.
You can start recording automatically when your receiver is turned on. Check the corresponding field on the Raw data settings screen.
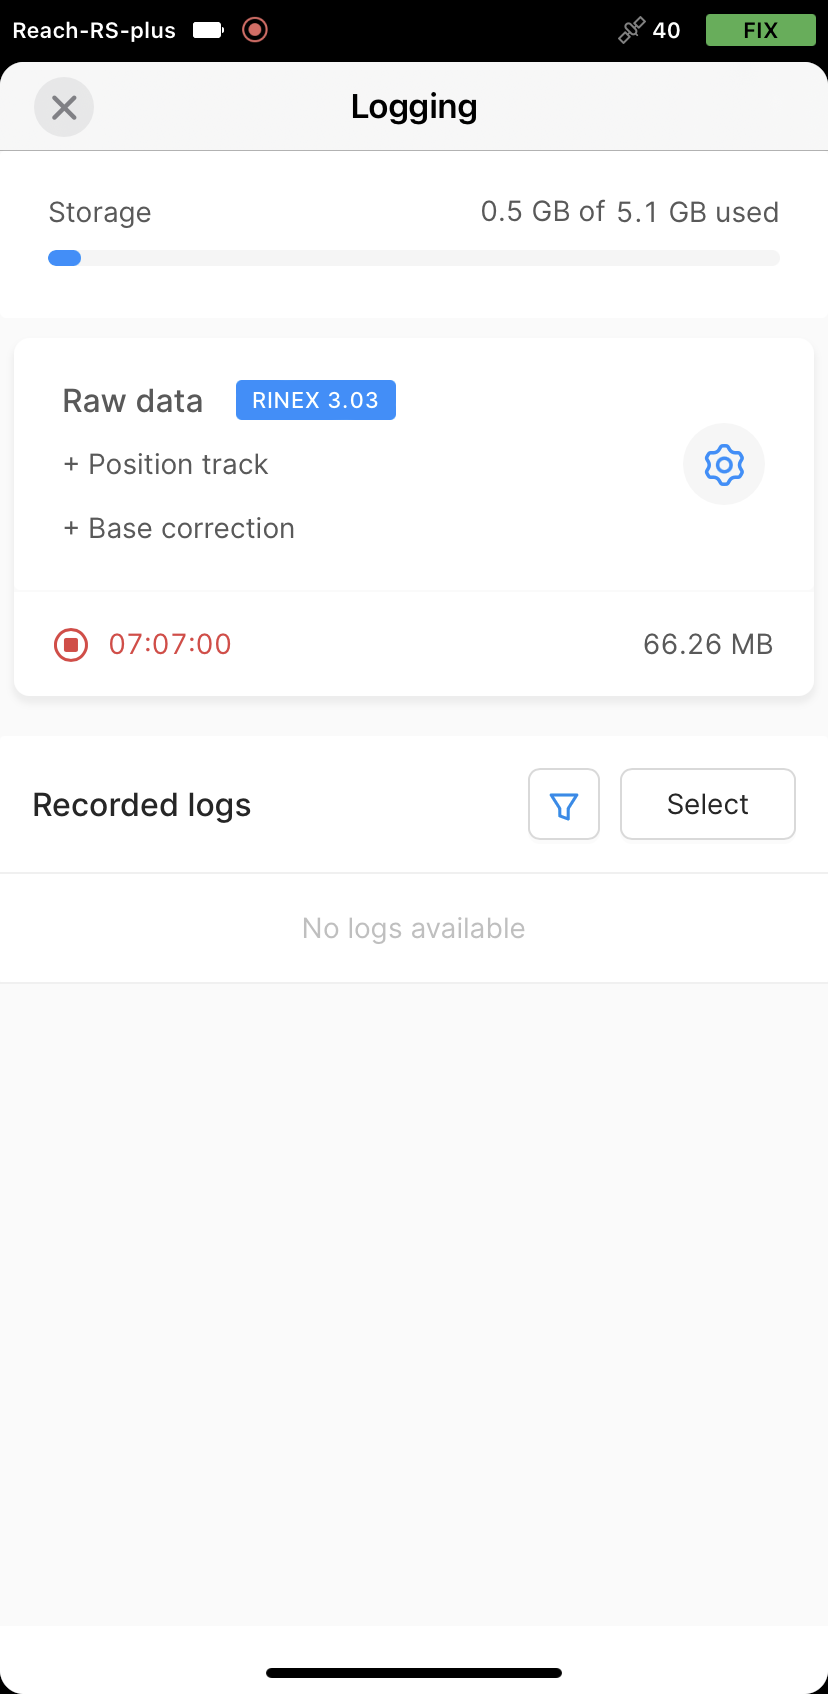
- Enable log recording by tapping the Start recording button. The red recording icon will appear in the status bar.
Now you are ready to collect the points. To learn more, check the Collect points guide.
- To finish recording logs, tap the End recording button.
Wait for data processing to finish.
Download logs
After you finish raw data logging, you need to download RINEX data from Reach to your mobile device.
-
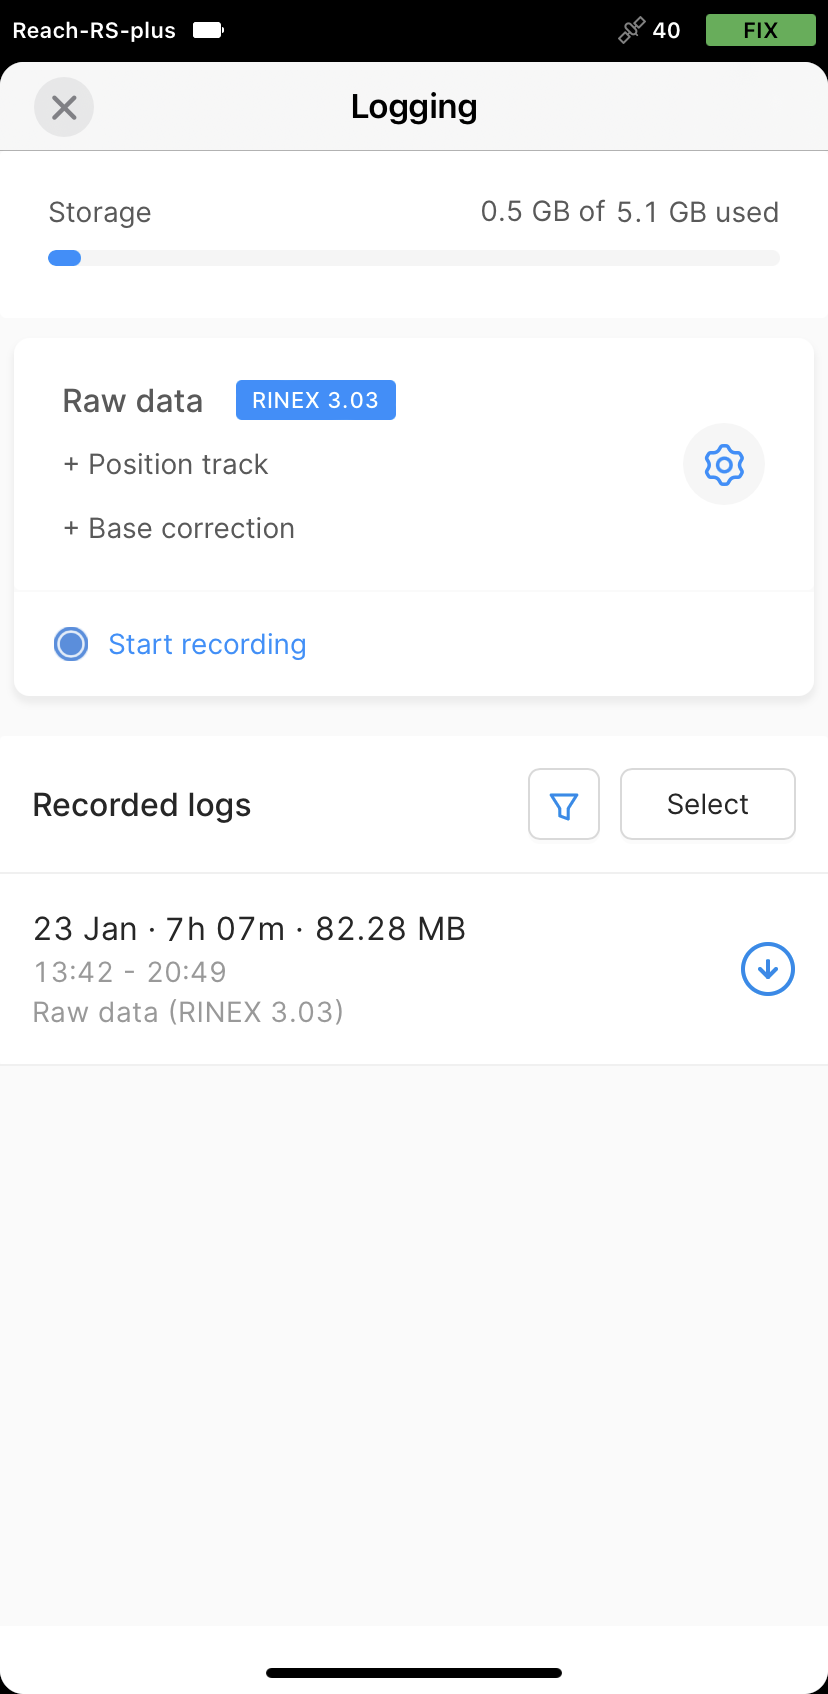
Go to the Recorded logs section at the bottom of the Logging screen.
noteYou can also find information on the logs size and recording date and time here.
-
To export the file, tap the Download button.
-
Save your log depending on the device you use.
tipIf you do not need your logs anymore, you can delete them using the Select button.
When the logs are downloaded, you can start working with your data in Emlid Studio.